

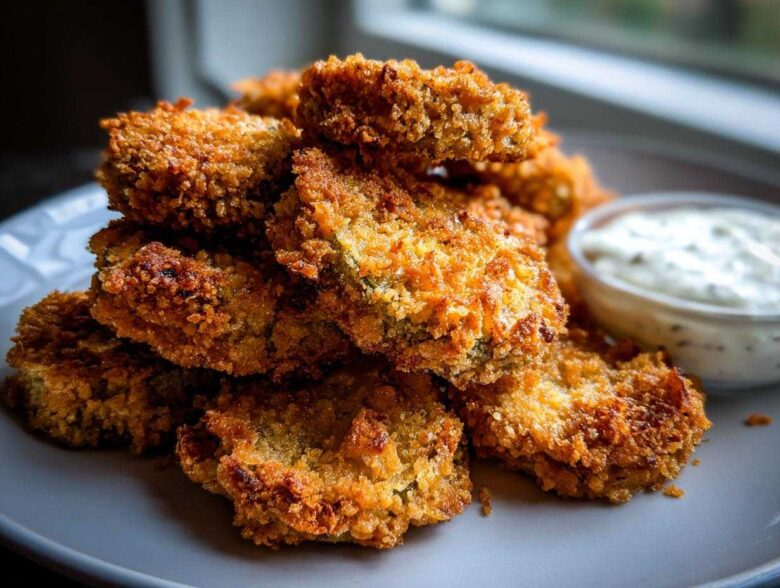
Oh, Richard and I live for appetizer season! Whether it’s a quiet Tuesday night when we just need something fun to nibble on, or a big Saturday football game where the snacks are the main event, you simply cannot go wrong with something crispy, salty, and just a tiny bit tangy. I’ve spent decades—truly, decades—perfecting the snack that disappears first from any platter, and folks, that’s the Fried Pickles recipe. It’s the crunch you crave, paired with that sharp dill flavor that just snaps your taste buds awake.
I’m going to show you exactly how to get that beautifully golden, restaurant-level crust right in your own kitchen. We have two fantastic ways to tackle this: the classic deep-fried method for ultimate indulgence, and my newer, very carefully tested Air Fryer Fried Pickles method for when we want that satisfying crunch without quite so much fuss. This recipe—the way we bread them and season them—is truly inspired by those fantastic Southern gatherings we used to attend years ago. Trust me, once you try these tangy pickle snacks, you’ll never look back!
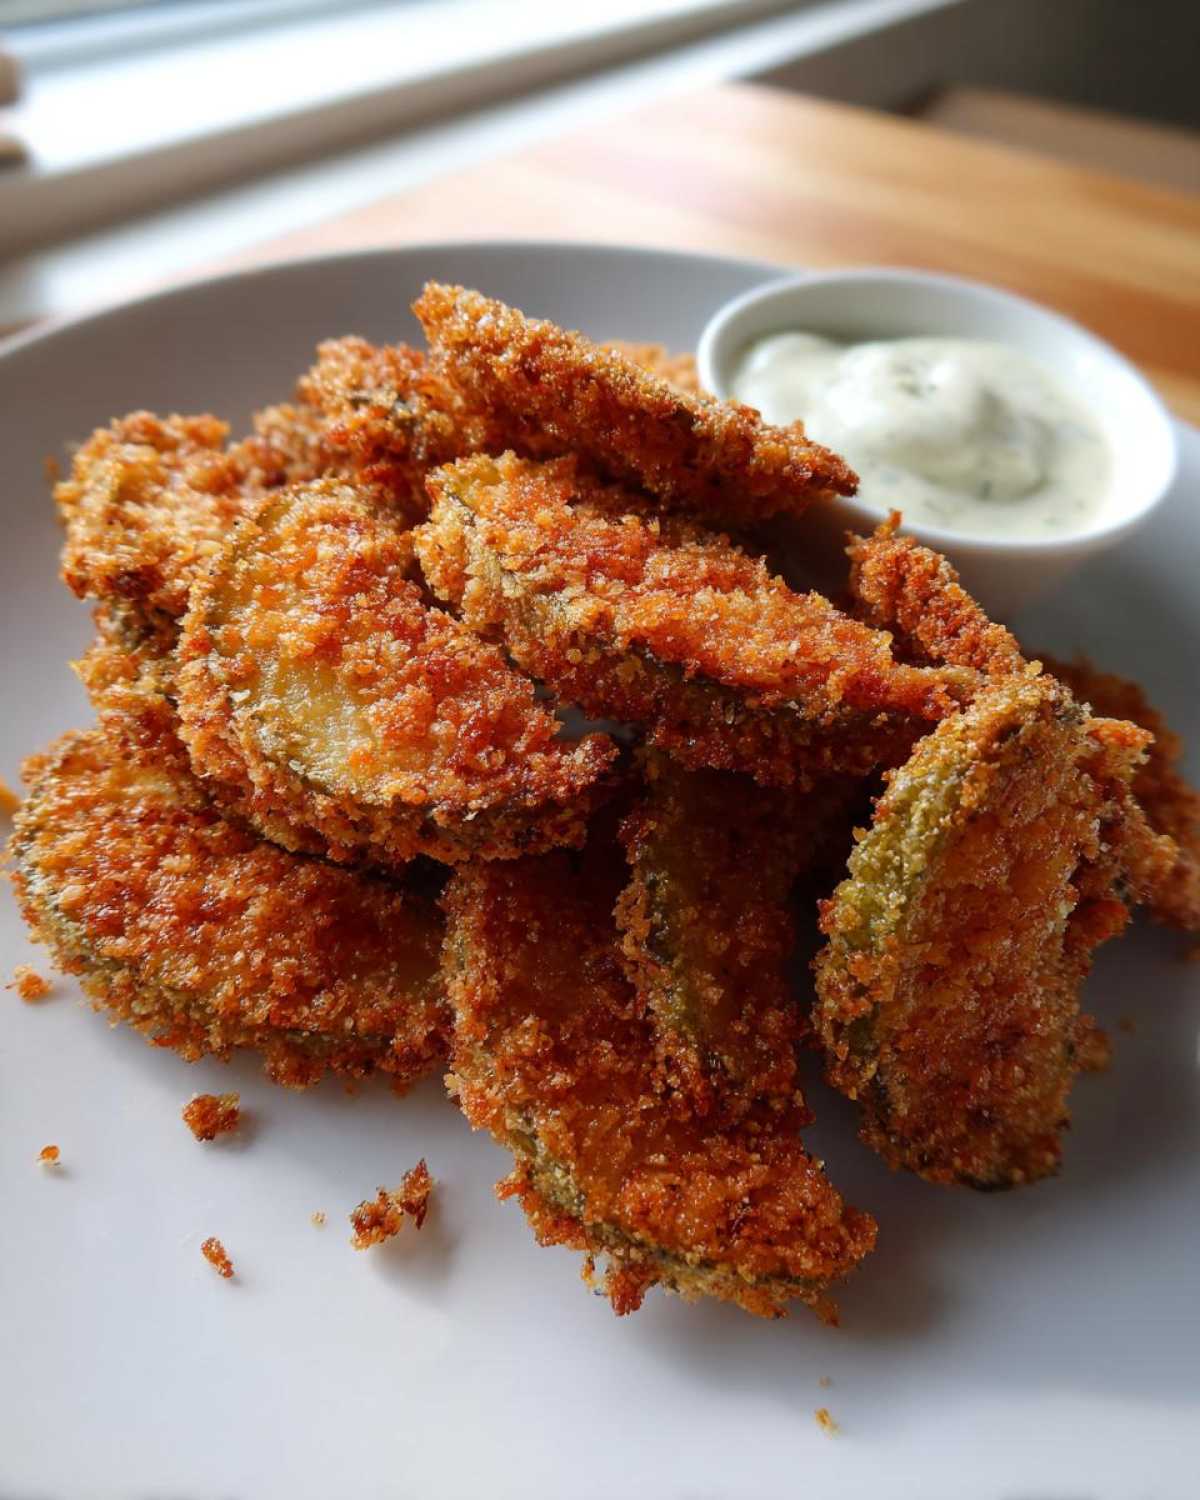
Why You Will Love This Homemade Fried Pickles Recipe
I know there are a million appetizer recipes out there, but Richard insists this one is mandatory viewing for game days! Honestly, I get it. It hits all the right notes, and I’ve whittled down the steps because fussiness does not belong in a good snack recipe. You’re going to want to make these again and again!
- The ultimate crunch factor! We use Panko breadcrumbs, which guarantees super Crispy Fried Pickles every single time. Goodbye, soggy appetizers!
- It’s genuinely an Easy Fried Pickle Recipe. Once you set up your dredging stations, it moves fast—I promise!
- They are explosively flavorful. That combination of salt, garlic, and dill makes for the most satisfying Tangy Pickle Snacks you can imagine.
- We cover both methods! Whether you want the classic deep-fried pub treat or a lighter option, I’ve got the foolproof instructions for both.
Essential Ingredients for Perfect Fried Pickles
When it comes to making true restaurant-style Fried Pickles, the ingredients aren’t complicated, but their quality and preparation matter immensely. Richard always says, “If you start with weak pickles, you end up with weak snacks!” So, first things first: you need those good, sturdy dill pickle chips, and they must be drained incredibly well. I mean it—we use a mountain of paper towels to blot them dry. Moisture is the enemy of crispness, and we are aiming for Crispy Fried Pickles!
The real secret weapon in our breading station, which sets us apart from simple recipes, is the Panko breadcrumbs. Don’t try to substitute those fine, regular breadcrumbs! Panko flakes are bigger and absorb less oil, which is what gives us that unbelievably crunchy coating. For the spice blend, we keep it savory with good garlic powder and a touch of paprika for that beautiful golden color. I love adding a little cayenne pepper; it just gives the pickle a little wink of heat that makes you reach for another one. Speaking of flavor balance, if you enjoy a sweet and savory coating, you should check out my honey mustard glaze recipe—it’s amazing on chicken, but highlights how a sweet tang works so well!
For the Zesty Fried Pickle Dipping Sauce
You can’t have magnificent Fried Pickles naked! They simply demand a creamy counterpoint that is still bright and tangy. This easy dipping sauce comes together in two minutes flat, and it’s truly the best companion for the salty, tart crunch of the pickle chips. This deliciousness keeps things exciting without stealing the show from those amazing, crunchy pickle chips.
- We start with a creamy base of mayonnaise and sour cream—that’s non-negotiable for richness.
- A little hot sauce, just enough to give it a kick without overpowering the dill.
- A squeeze of fresh lemon juice cuts through the richness beautifully.
- And finally, a whisper of dried dill to tie it all back to the star of the show!
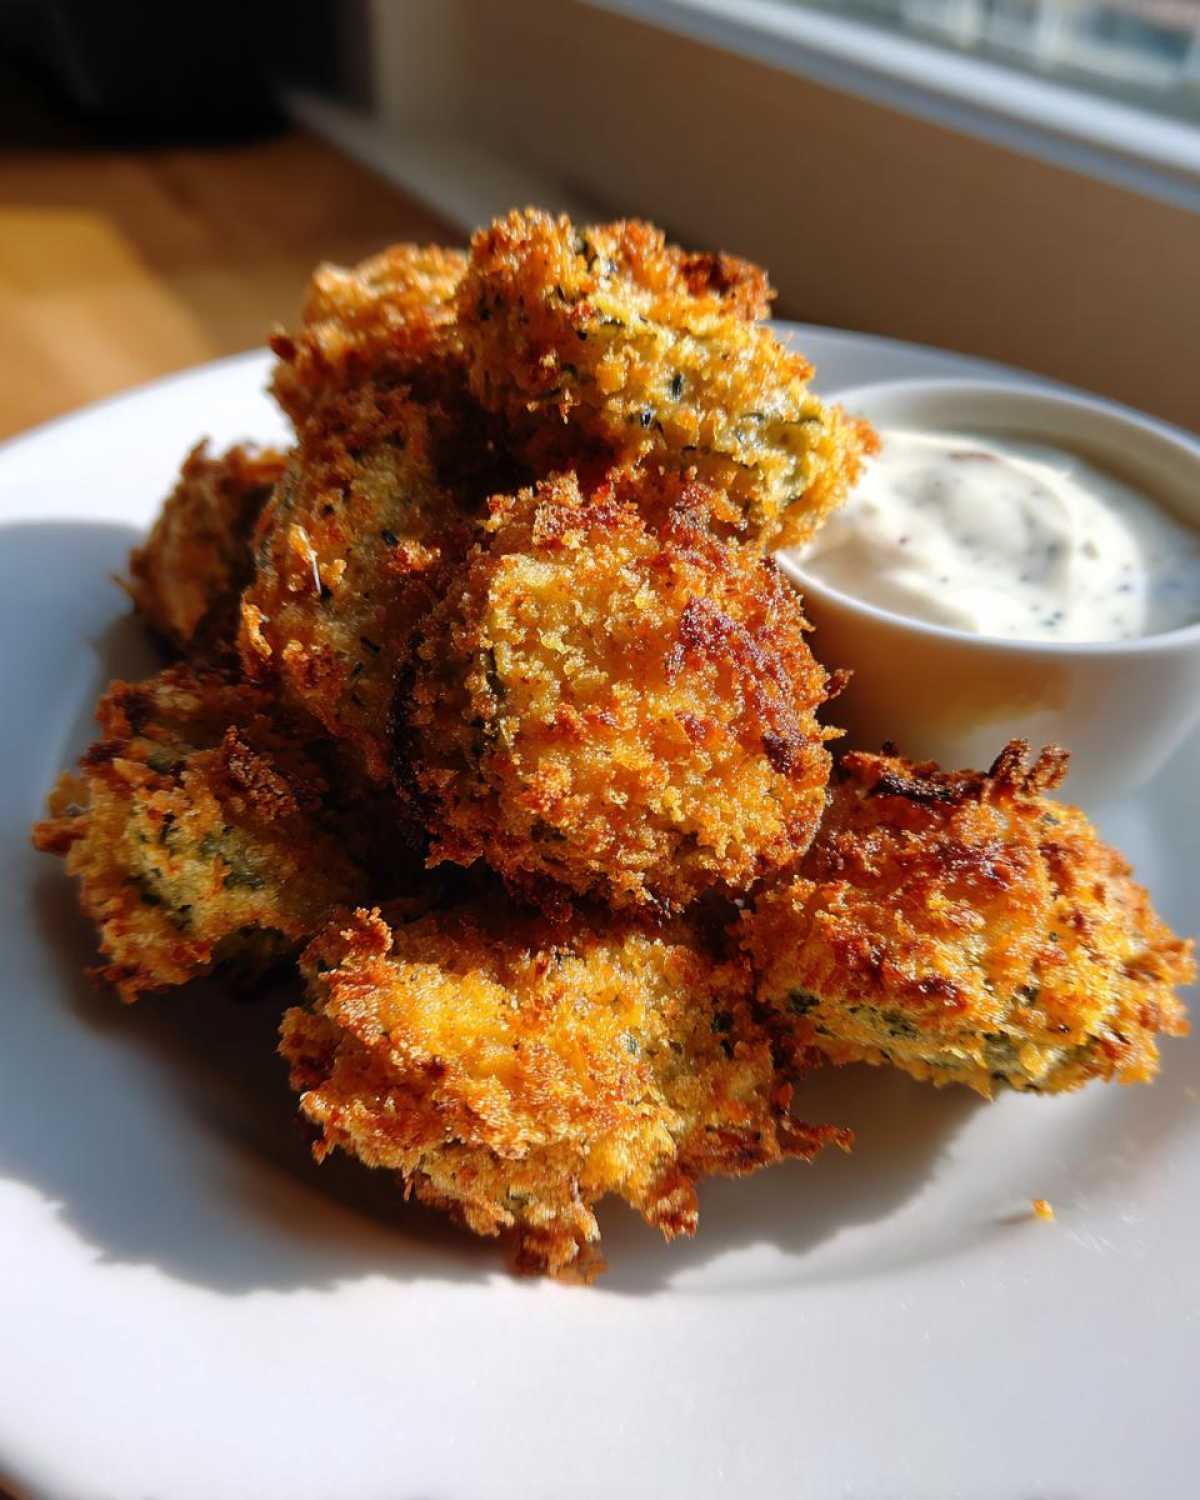
How to Make Crispy Fried Pickles: Step-by-Step Instructions
Alright, this is where the magic—and maybe a little bit of friendly chaos—happens! Making truly Crispy Fried Pickles comes down to one single, non-negotiable rule, and I won’t let you skip it. Remember what I said about moisture being the enemy? You need those pickles bone-dry before anything else touches them. I mean it! Lay them out on layers of paper towels, pat them down like you’re pressing a secret into the paper, and let them sit for a few minutes while you set up your dredging stations. This simple step is the difference between a crunchy appetizer and a sad, limp snack.
While the pickles are drying, get your three shallow dishes ready. This layering technique ensures that beautiful, thick crust that clings perfectly. We’re building armor for that dill pickle chip!
Achieving the Perfect Breading and Dredge
This is the three-step dance for flawless coating. First, we have your dry flour mixture—this is where all those wonderful spices live. You want to toss your ultra-dry pickle chips in this first. Shake off the extra; we only need a light dusting. That light dusting is the key for the next step to stick!
Next, the egg and milk wash. This acts as the glue. Dip the lightly floured pickle right into the egg bath, letting any extra drip off back into the dish. Don’t drown them, just coat them evenly. Finally, the star: the panko breadcrumbs. You need to press those pickles firmly into the panko. Make sure every little nook and cranny is covered because those Panko flakes are what explode into crunch when they hit the heat. Place these beauties on a clean, dry baking sheet. I often line this with parchment paper (you can see my love for parchment everywhere on this blog, like in my garlic butter chicken recipe!) so they don’t stick while you finish the whole batch.
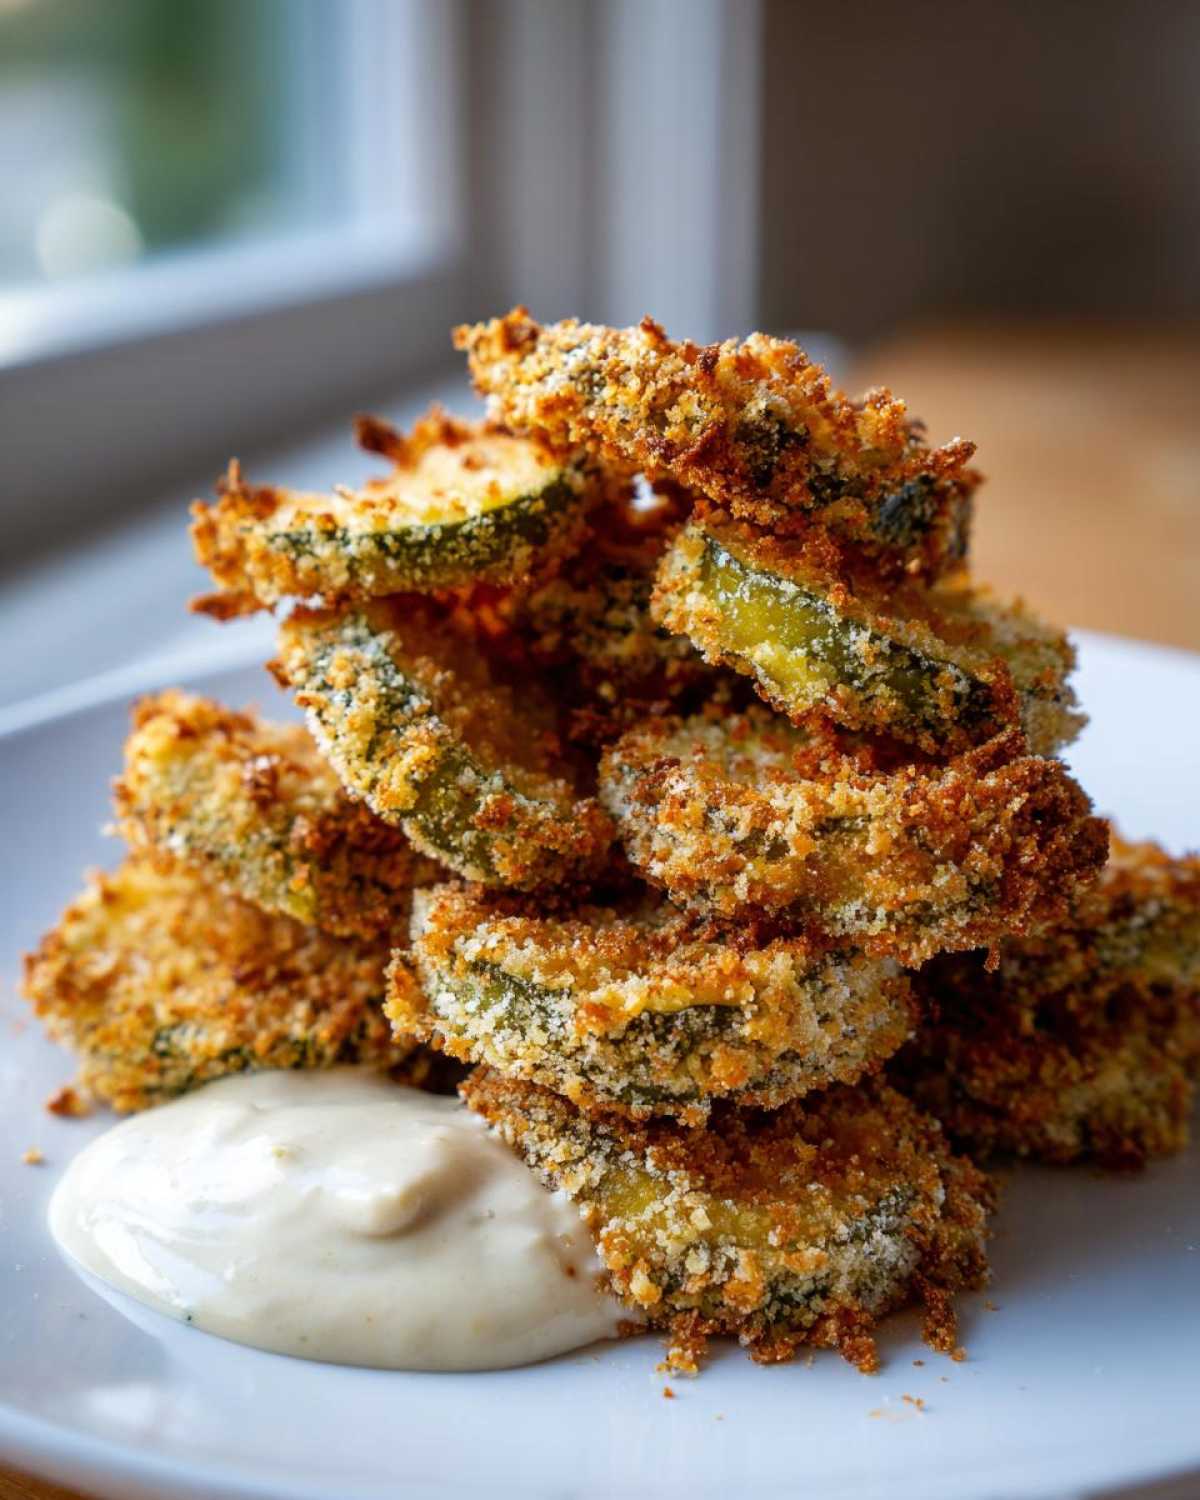
Deep Frying: Getting Golden Fried Pickles
If you’re going the classic route—and sometimes you just have to for true Southern indulgence—we need hot oil. Get about two inches of vegetable oil simmering in a heavy pot until it hits exactly 375°F. If you’re new to deep frying, please use a thermometer! Richard learned the hard way years ago managing oil for something else—it splatters something fierce if it gets too hot too fast. You want that 375°F spot.
Now, drop your breaded pickles in, but watch out! Do not overcrowd the pot. Seriously, this is my big tip: work in small batches. If you dump too many in at once, the oil temperature immediately crashes, and suddenly those Fried Pickles are soaking up oil like a sponge instead of crisping up. Trust me on this one; it keeps them golden and prevents sogginess. They only take about a minute or two per side until they are gloriously golden brown. Scoop them out onto a paper-towel-lined wire rack so the air can circulate underneath. Perfection!
Air Fryer Fried Pickles: A Lighter Approach
For those days when we want that satisfying crunch without the deep sink of oil, we turn to the air fryer. This works marvelously, especially since so many folks are looking for Healthy Fried Pickles options these days. Preheat your machine to 380°F (195°C). Remember, the air fryer needs fat to brown things properly, so don’t skip the spray!
Arrange your breaded pickles in a single layer on the bottom of the basket—again, work in batches! Then, give the tops a nice, even spray of cooking spray. This encourages that lovely golden color you associate with restaurant-style snacks. They cook for about 8 to 10 minutes total, but you absolutely must flip them halfway through. At the 5-minute mark, give the basket a shimmy or use tongs to turn them over, then spray the exposed side again lightly. When they come out, they are wonderfully crisp, and you can find more inspiration for these lighter snacks over at this lovely blog.
Tips for Texas Roadhouse Fried Pickles Copycat Success
If you’re aiming for that famous, slightly smoky, deeply seasoned look of the restaurant favorite—what some call true Pub Style Fried Pickles—we need to talk seasoning just a bit more. Richard is obsessed with recreating that specific flavor profile, and his secret, which matches what I found reviewing some tried-and-true restaurant recipes, is the paprika!
Make sure you are generous with the paprika in your flour mix. It adds that signature reddish-gold tint that makes them look instantly more appetizing. If you’re looking for a creamy side, my creamy ranch skillet sauce is divine, but for these pickles, we lean toward something a little zestier! For the absolute best experience, read up on the tried-and-true version over at this copycat recipe guide; they emphasize the seasoning just like we do!
Ingredient Notes and Substitutions for Your Fried Pickles
Now that you know the process—especially the crucial drying stage—let’s talk swaps, because I know not everyone keeps the exact same things stocked as I do. When it comes to the pickles themselves, this recipe is built around dill pickle chips. That sharp, salty tang is what stands up best to the savory batter. If you are dying to try these as Tangy Pickle Snacks but only have bread and butter pickles on hand? You absolutely can! But be warned: those are much sweeter, so you might want to reduce the salt slightly in your flour mixture because the resulting Fried Pickles just won’t have that satisfying sour punch.
The single most important ingredient note, if you take nothing else away from this section, is the Panko. I simply cannot stress this enough if you want those amazing, light, airy pockets of crunch—the ones that shatter beautifully when you bite them. Panko breadcrumbs are what give you those amazing Crunchy Pickle Chips. Regular breadcrumbs just turn dense and heavy, and we aren’t here for heavy fried food, are we? They tend to absorb too much oil, and frankly, they just don’t give that shatteringly crisp texture we are aiming for in a truly great Dill Pickle Appetizer.
Also, remember the milk in the egg wash? If you happen to be out of milk—oops!—you can swap it out equally with water or even a splash of pickle juice! Using pickle juice will amp up that brine flavor beautifully, creating a super zesty coating, but it may thin out the egg wash slightly, so make sure you still get a good thick coating on that pickle chip before hitting the panko!
Serving Suggestions for the Best Fried Pickles Appetizer
Now that you have your golden, hot, perfectly crunchy Fried Pickles cooling on the rack—and you probably couldn’t wait a minute before grabbing one—the next crucial step is figuring out what to serve them with! Honestly, for Richard and me, these are the non-negotiable centerpiece of any Game Day Fried Pickles spread. They demand a creamy dip to cut through that saltiness and fat, and that zesty sauce we whipped up earlier is truly the best partner for them.
That mayonnaise-based sauce is fantastic because the dill and lemon juice brighten everything up. But, don’t stop there! Sometimes Richard wants something a little spicier, so we often make a quick spicy mayonnaise by just taking a few tablespoons of mayo, stirring in a dash of smoked paprika and a heavy hit of sriracha. It’s so fast, and that subtle smokiness is amazing with the savory coating.
If you’re looking for something incredibly straightforward, you can never go wrong with a classic Fried Pickle With Ranch pairing. A good, thick, buttermilk ranch dressing poured into a shallow bowl makes for perfect dipping. If you happen to be making fries or onion rings alongside your pickles, you absolutely must try my recipe for easy homemade fry sauce—it’s just as wonderful dolloped over these crispy little bites!
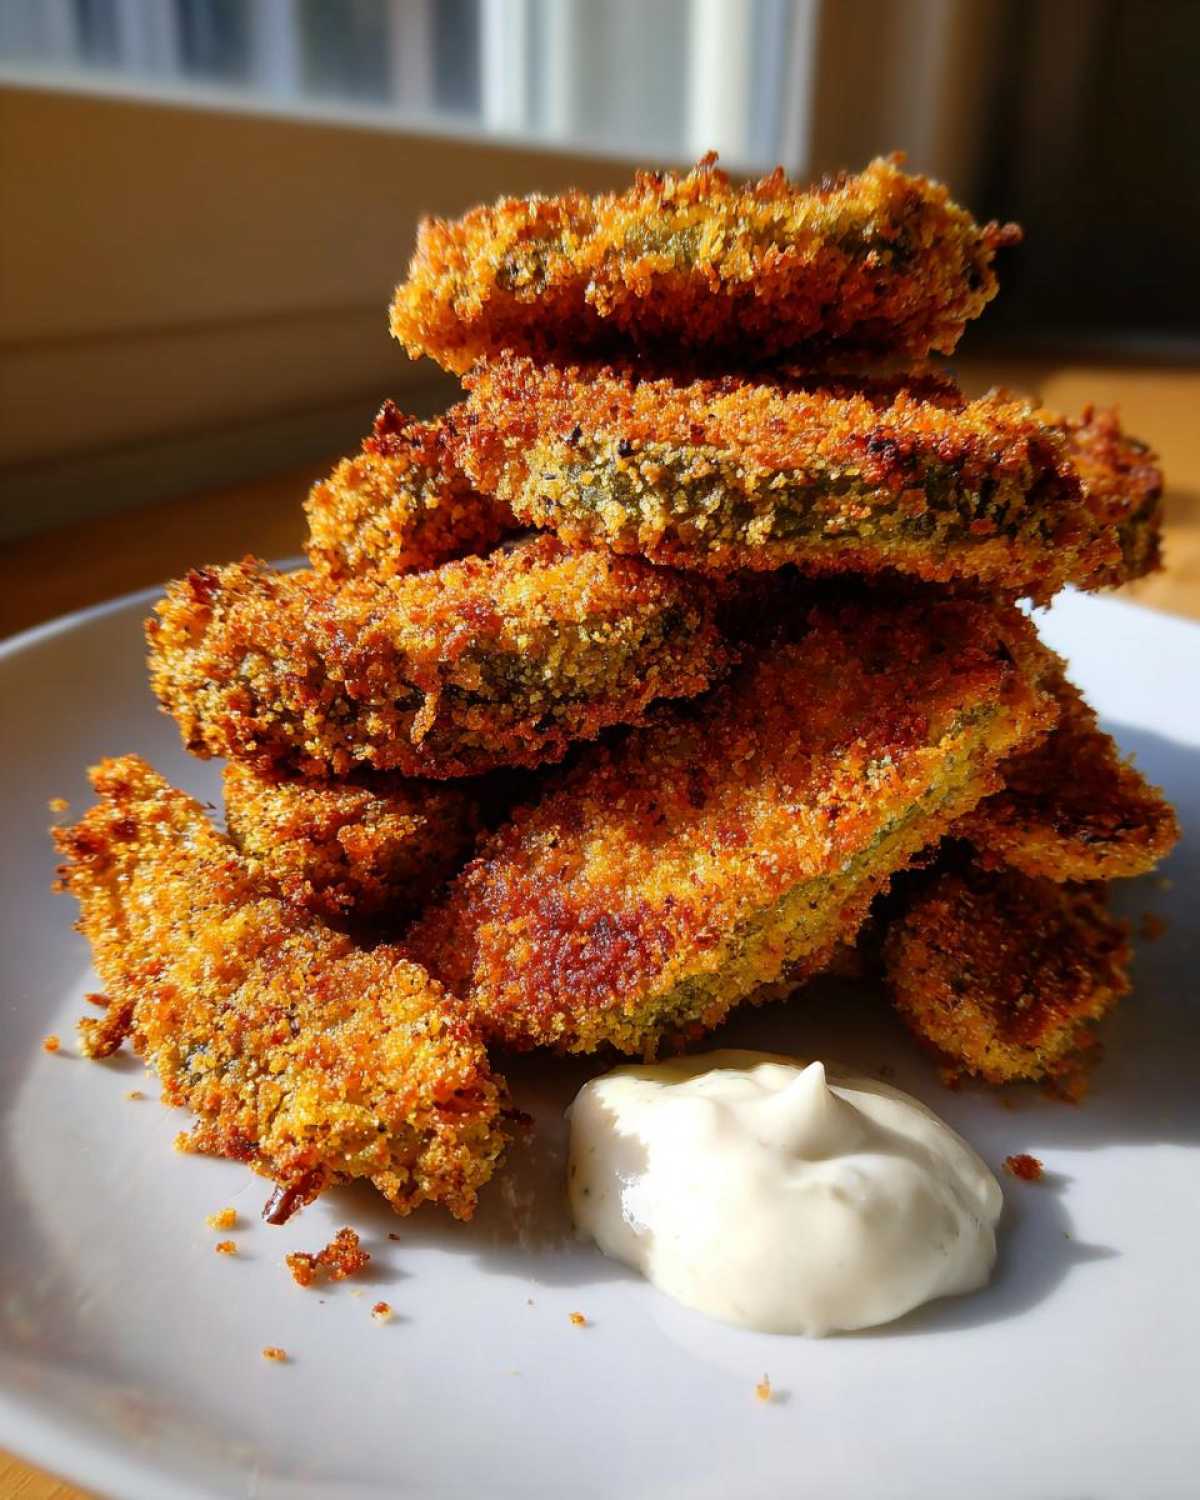
Think of these as the ultimate, shareable snack. They don’t need much else on the plate, maybe just a few celery sticks if you want to pretend you’re balancing out the menu!
Storage and Reheating Instructions for Leftover Fried Pickles
Now, I have to be honest with you all; it breaks Richard’s heart every time, but Fried Pickles are just not the same the next day. They are absolutely, unequivocally best when they are fresh out of the oil or the air fryer, when that crust is still singing! If you manage to have leftovers, the biggest hurdle is moisture creep. They will soften, that’s just the way it goes with anything breaded and fried.
If you must store them, put them in a paper bag loosely folded, *not* an airtight container, and leave them on the counter for just a few hours. If they need to last overnight, pop them in the fridge in a container with a paper towel underneath, but don’t expect miracles. The goal here is to stop them from steaming themselves into oblivion.
Reheating, however, is where we can fight back against the sogginess! You absolutely cannot use the microwave; that just turns them into limp, hot pickle pockets. The trick is giving them back that heat and that blast of dry air that fried food needs. Please, if you have the time, use your air fryer again!
- Get your air fryer humming at about 380°F.
- Place the cold pickles in a single layer in the basket. Don’t stack them!
- Cook for just 3 to 5 minutes, shaking halfway through. You are looking for them to just crisp up again, not burn.
This little revival process should bring back most of that lovely crunch we worked so hard to achieve. If you don’t have an air fryer, setting them on a baking sheet in a hot oven (around 400°F) for about 7 minutes works in a pinch, too. Just keep an eye on them so the seasoning doesn’t scorch!
Frequently Asked Questions About Making Fried Pickles
It’s funny, even after writing down every little trick Richard and I have learned over the years about Fried Pickles, folks still have questions that pop up, and I love answering them! It means you’re ready to get cooking, and that’s what this is all about. Here are the biggest questions I get asked when people try to replicate my favorite Dill Pickle Appetizer.
How do I stop my Fried Pickles from getting soggy?
Oh, the dreaded sogginess! This is where you have to channel your inner meticulous perfectionist, even if you usually cook with chaos, like my Richard sometimes does before I remind him of the rules! The number one secret to amazing Crispy Fried Pickles is making sure those pickle slices are ABSOLUTELY dry before they ever touch the flour. Lay them out, pat them often, and let them sigh onto those paper towels for at least ten minutes. If you skip that step, you are basically adding water to your hot oil or your air fryer, which guarantees a soft coating. Secondly, remember what I said about the Panko? You need that coarse texture coating to give you structure!
Can I use regular breadcrumbs instead of Panko?
Technically, yes, you *can*, but I wouldn’t advise it if you are looking for the best results! Regular breadcrumbs are finely ground, and they tend to pack down much tighter when they fry or air fry. This causes them to get dense and absorb more oil, leading to a slightly heavier, less airy crust. Panko breadcrumbs are those lovely, flaky Japanese-style crumbs, and they stick up more, creating little air pockets that get incredibly golden and crunchy under heat. If you want those unforgettable Crunchy Pickle Chips, stick with Panko. It’s worth the extra few coins, honestly!
What temperature is best for the oil when deep frying?
When we are doing the full deep-fry version—the big indulgence version—the temperature is truly critical. You want your oil to be sitting steady at 375°F (190°C). If it’s too low, the pickles just sit there soaking the oil up before they even start to brown, yielding a greasy mess. If it’s too high, the breading burns instantly before the center of the pickle even gets warm. My biggest piece of advice here is to use that thermometer! I know, I know, monitoring heat is a bit more hands-on, but for truly Golden Fried Pickles, it keeps the process fast and ensures that perfect internal texture. If you want a deep dive into getting perfect temperatures for frying, I talk a bit about maintaining heat consistency in my notes on making perfect eggs!
Are Air Fryer Fried Pickles really as good as deep-fried?
This is the question of the modern kitchen! Richard and I tested this extensively, and here is my honest Eleanor answer: No, they are not *exactly* the same, but they are shockingly close, and for serving a crowd on entertaining night or when I don’t want to use three bottles of oil, they are fantastic! The deep-fried version just has that unique mouthfeel that comes from total submersion in fat. However, the Air Fryer Fried Pickles are wonderfully crispy, much lower in fat, and they brown up beautifully, especially if you give them that good spray of oil before cooking. If you are worried about how they taste, they are still intensely flavored, bright, and tangy—they just feel a little less heavy. They are definitely delicious enough to stand as your main Easy Appetizer Recipe!
Your Next Culinary Adventure
That’s it, my dear friends! We have covered everything needed to transform simple jarred pickles into the most addictive, Crispy Fried Pickles you’ll ever pop in your mouth. Whether you decide to sizzle them the traditional way or opt for the lighter air fryer method, I hope you find as much joy in making these as Richard and I have found over the years sharing them with friends.
Now, the diary is sitting open, waiting for your entry! I truly want to hear from you. Did you try the Texas Roadhouse seasoning tweak? Did you decide to lean into the tanginess or go for a spicier sauce? Please, drop your thoughts and your star rating for this recipe down in the comments below. I read every single one, and Richard always gets a kick out of seeing how many people are making our favorite snacks.
If you’ve managed to have leftovers (good job resisting!), I hope the reheating tips helped you bring back some of that beautiful crunch. And if you’re already thinking about what other simple, satisfying snacks you might tackle next—perhaps another Southern Fried Pickles cousin or a different Quick Snack Recipe—don’t hesitate to reach out! I love getting suggestions for what we should try recreating next. You can always find a way to get in touch with us right here on the contact page at Delish Diarist. Happy snacking, and I look forward to sharing our next delicious memory with you soon!
PrintThe Ultimate Crispy Fried Pickles Recipe (Restaurant-Style & Air Fryer Options)
Learn how to make perfectly crispy, tangy fried pickles at home. This recipe includes instructions for classic deep-fried pickles and a lighter, crunchy air fryer version, complete with a zesty dipping sauce.
- Prep Time: 15 min
- Cook Time: 10 min
- Total Time: 25 min
- Yield: 4 servings
- Category: Appetizer
- Method: Deep Frying or Air Frying
- Cuisine: American
- Diet: Vegetarian
Ingredients
- 1 jar (16 ounces) dill pickle chips, drained well
- 1 cup all-purpose flour
- 1 teaspoon salt
- 1 teaspoon black pepper
- 1 teaspoon paprika
- 1 teaspoon garlic powder
- 1/2 teaspoon cayenne pepper (optional, for heat)
- 2 large eggs
- 1/2 cup milk
- 1 cup panko breadcrumbs (for extra crispiness)
- Vegetable oil, for deep frying (or cooking spray for air fryer)
- For Dipping Sauce: 1/2 cup mayonnaise, 1/4 cup sour cream, 1 tablespoon hot sauce, 1 teaspoon lemon juice, 1/2 teaspoon dried dill
Instructions
- Prepare the pickles: Lay the drained pickle chips on several layers of paper towels and pat them completely dry. Moisture prevents crispiness.
- Set up the dredging stations: In one shallow dish, whisk together the flour, salt, pepper, paprika, garlic powder, and cayenne pepper. In a second dish, whisk the eggs and milk together. In a third dish, place the panko breadcrumbs.
- Coat the pickles: Working in small batches, dredge the dry pickle chips first in the flour mixture, shaking off any excess. Dip them into the egg mixture, allowing excess to drip off. Finally, press them firmly into the panko breadcrumbs until fully coated. Place the coated pickles on a clean, dry baking sheet.
- Prepare the dipping sauce: In a small bowl, combine the mayonnaise, sour cream, hot sauce, lemon juice, and dried dill. Mix well until smooth. Set aside.
- For Deep Frying: Heat about 2 inches of vegetable oil in a heavy-bottomed pot or deep fryer to 375°F (190°C). Carefully drop the breaded pickles into the hot oil in a single layer, ensuring not to overcrowd the pot. Fry for 1 to 2 minutes, turning once, until golden brown and crispy. Remove with a slotted spoon and place on a wire rack lined with paper towels to drain excess oil.
- For Air Frying: Preheat your air fryer to 380°F (195°C). Lightly spray the bottom of the air fryer basket with cooking spray. Arrange the breaded pickles in a single layer (you will need to work in batches). Lightly spray the tops of the pickles with cooking spray. Air fry for 8 to 10 minutes, flipping halfway through, until golden and crunchy.
- Serve immediately with the zesty dipping sauce.
Notes
- To achieve the best crunch, ensure your pickles are very dry before coating them.
- For a Texas Roadhouse copycat flavor, increase the paprika slightly and ensure your seasoning blend is generous.
- If you are making the air fryer version, spraying the breading lightly with oil is key to achieving that golden, fried look.
Nutrition
- Serving Size: 1/4 of recipe
- Calories: 350
- Sugar: 3
- Sodium: 850
- Fat: 22
- Saturated Fat: 4
- Unsaturated Fat: 18
- Trans Fat: 0
- Carbohydrates: 30
- Fiber: 1
- Protein: 8
- Cholesterol: 75