

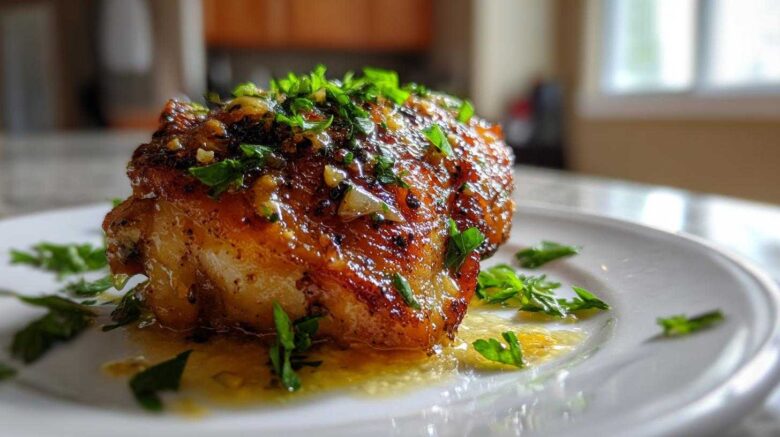
Do you dream of chicken skin that shatters like glass?
I know I do. Richard and I chased that perfect crunch for years.
We finally cracked the code for incredible Garlic Butter Chicken Thighs.
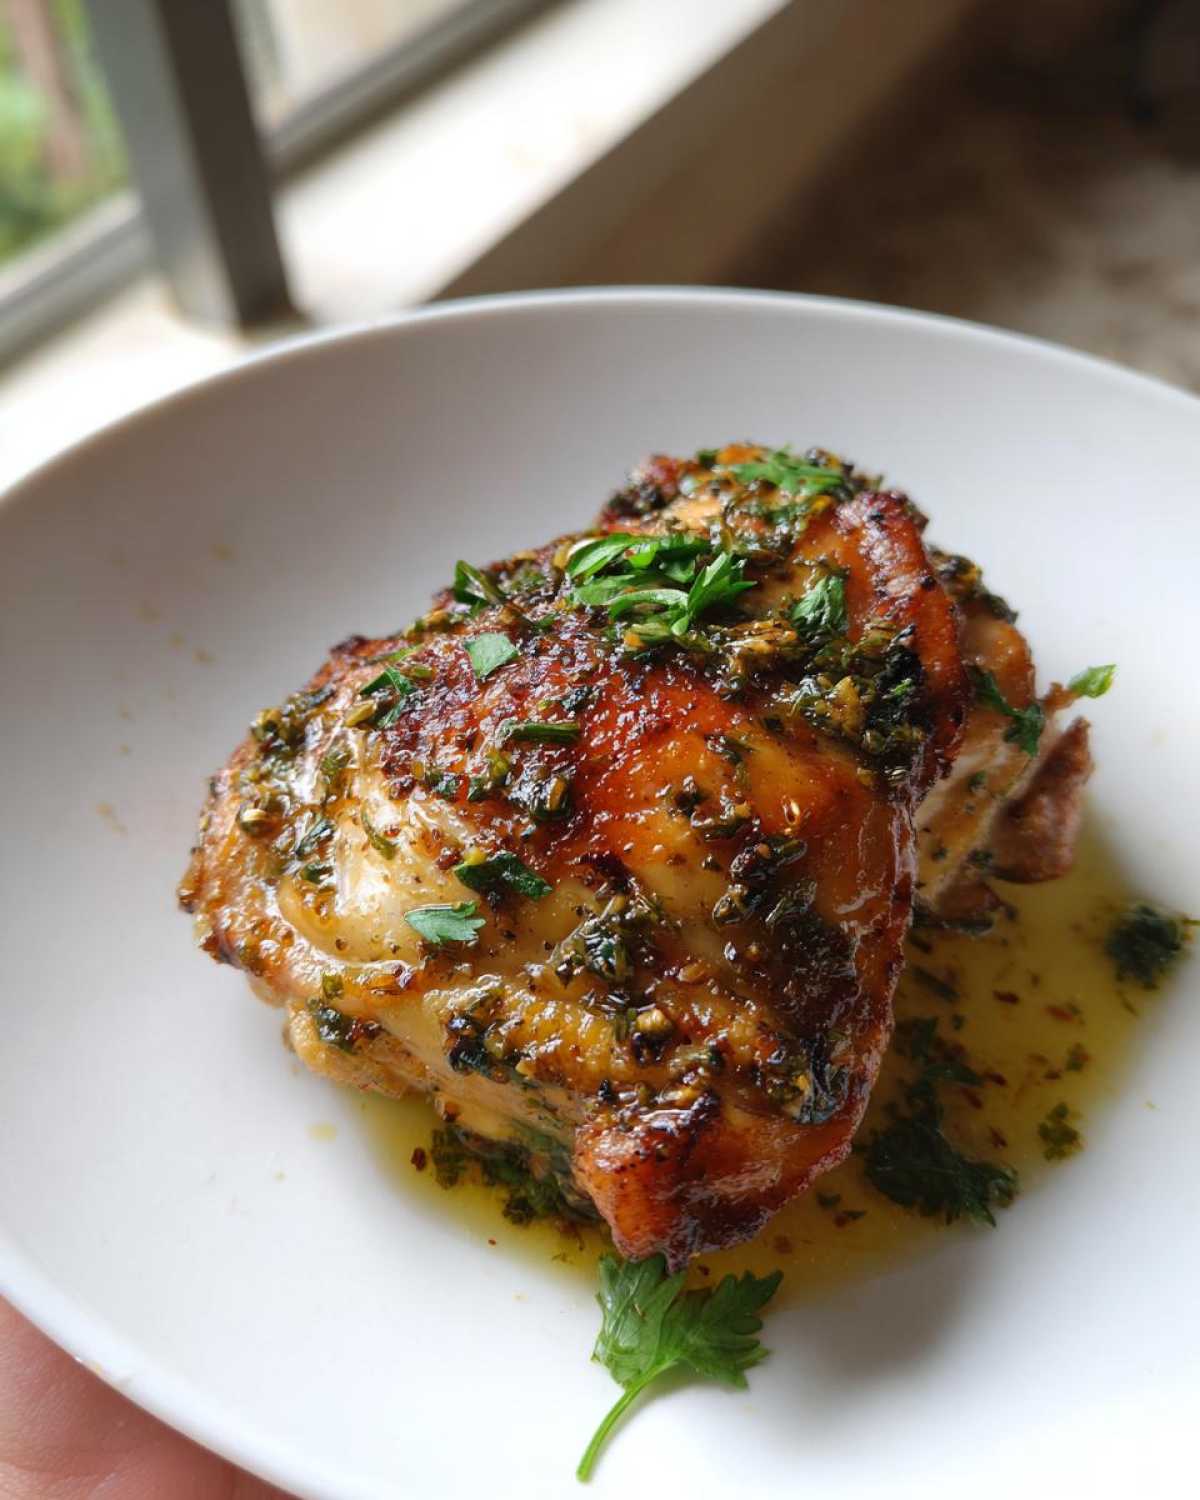
This recipe delivers truly juicy meat underneath.
It’s the restaurant-quality crisp you crave at home.
Richard, bless his memory-keeper heart, remembers every detail.
He recalled the sound of the skin from a bistro in Rome.
For forty years, we collected tastes around the globe.
Now we bring those lessons right here to our kitchen.
Richard’s decades of tasting informed these steps.
He insists on this exact searing method we use.
That golden crust seals in all the moisture.
We’re sharing our very best work today.
Get ready for the best Garlic Butter Chicken Thighs ever.
It tastes just like that special trip abroad.
The Secret to Perfect Garlic Butter Chicken Thighs
Folks, this isn’t just another chicken recipe.
This method, born from Richard’s insistence, changes everything.
We focus on two things only.
First, keeping the meat impossibly juicy inside.
Second, achieving that crackling, shatteringly crisp skin.
Making superb Garlic Butter Chicken Thighs means respecting the process.
Richard calls this the “Two-Stage Flavor Lock.”
It’s about high heat searing first.
Then, a gentler roast with aromatic butter.
You won’t believe the texture you get.
Why Bone-In, Skin-On Matters for Garlic Butter Chicken Thighs
You absolutely need the bone and skin here.
The bone acts like a little heat conductor.
It keeps the meat tender from the inside out.
The skin, well, that’s your crisping armor.
It protects the delicate thigh meat during cooking.
It also renders down beautifully in the pan.
This combination guarantees superior flavor and moisture retention.
Gathering Your Ingredients for Garlic Butter Chicken Thighs
Now that we’ve talked technique, let’s look at what you need.
The success of your Garlic Butter Chicken Thighs really starts here.
Using good quality supplies makes a huge difference, trust me.
We’re keeping the list simple, focusing on fresh flavor.
Remember the memories we’re trying to recreate?
Only the best components will do that job.
Ingredient Clarity and Preparation
Here is the simple list Richard insists upon:
- 4 Bone-in, skin-on chicken thighs
- 1 teaspoon Salt, plus more for seasoning
- 1/2 teaspoon Black pepper, freshly ground
- 1 tablespoon Olive oil
- 4 tablespoons Unsalted butter
- 4 cloves Garlic, minced
- 1 teaspoon Dried Italian herbs
- 1 tablespoon Fresh parsley, chopped (for garnish)
- 1 tablespoon Lemon juice (optional)
Remember to pat those thighs bone-dry first.
Season them generously with salt and pepper before they hit the heat.
That first seasoning layer locks in taste.
Essential Equipment for Juicy Chicken Thighs
You don’t need a fancy kitchen for this recipe.
However, having the right tools makes things much easier.
We rely on a few specific items for this method.
Proper equipment helps us manage the heat perfectly.
It ensures the skin gets that amazing crispness.
This is where the sear-to-roast technique shines.
Choosing the Right Skillet
The skillet choice is non-negotiable here, friends.
You must use an oven-safe skillet.
We start everything on the stovetop, remember?
We need that initial, hard sear for the skin.
Then, the whole pan goes right into the hot oven.
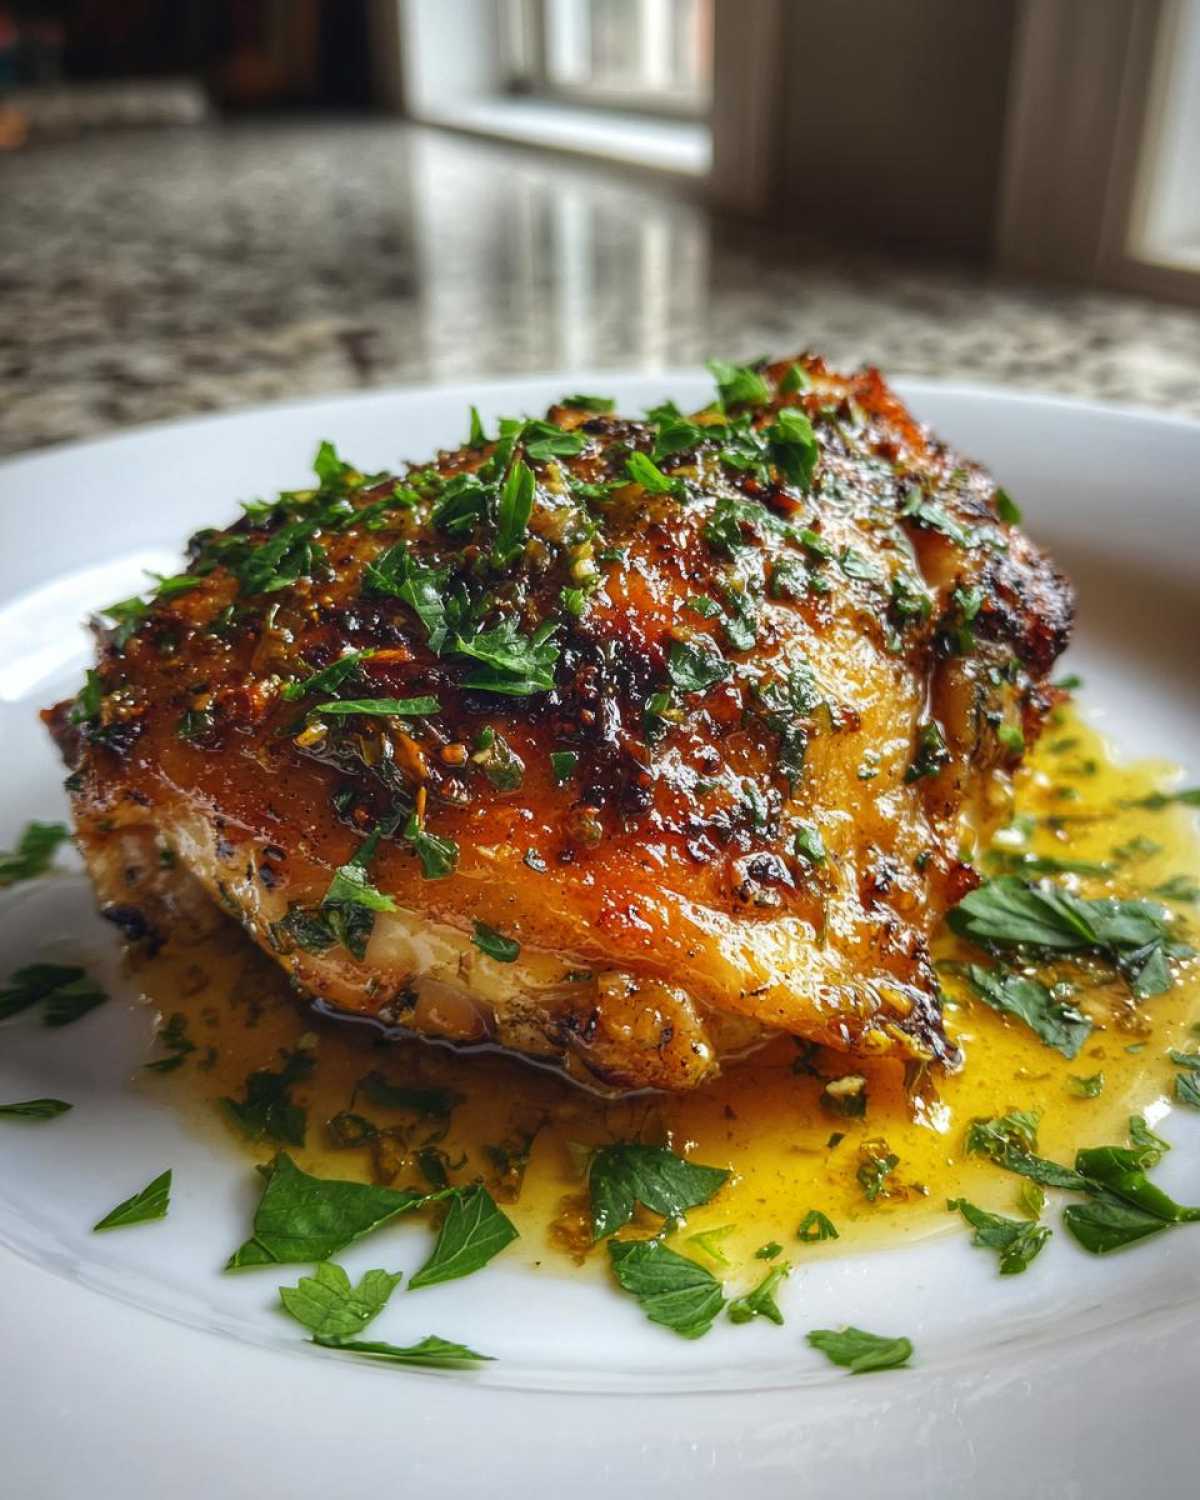
A cast iron skillet works beautifully for this job.
It holds heat wonderfully for a steady sear.
Just double-check that the handle can handle the oven heat!
Step-by-Step Instructions for Garlic Butter Chicken Thighs
Now for the main event, our cooking adventure!
Follow these steps closely for success.
This method guarantees fantastic results every time.
We are making truly exceptional Garlic Butter Chicken Thighs.
Pay special attention to the heat levels.
They control the final texture completely.
Preparing and Searing the Skin
First, grab those paper towels.
Pat the chicken thighs completely dry now.
Moisture is the enemy of crispiness, truly.
Season them well on every side with salt and pepper.
Heat the olive oil in your oven-safe skillet.
Use medium-high heat until it shimmers slightly.
Place the thighs skin-side down carefully.
Do not overcrowd the pan, give them space.
Sear them without touching for 7 to 9 minutes.
You want a deep, dark golden brown color.
Resist the urge to peek underneath too soon.
Building the Flavor Base with Garlic Butter
Once the skin is perfect, flip the thighs over.
Reduce the heat to medium-low right away.
Toss in that unsalted butter to melt.
Add the minced garlic to the foaming butter.
Sprinkle the Italian herbs over the top surface.
Tilt the skillet slightly toward you gently.
Use a large spoon to continuously baste now.
Spoon that fragrant garlic butter over the chicken.
Do this basting for about 3 full minutes.
This infuses flavor deep into the meat.
Finishing the Garlic Butter Chicken Thighs in the Oven
Preheat your oven to 400 degrees Fahrenheit.
Transfer the entire skillet into the hot oven.
Roast them for 15 to 20 minutes there.
Use a thermometer for accuracy, please.
The internal temperature needs to hit 165 degrees Fahrenheit.
That’s the safe spot for juicy thigh meat.
If you like a little brightness, stir in lemon juice now.
This is optional but I love the lift it gives.
Resting for Maximum Juiciness
This final step is crucial for flavor!
Remove the skillet from the hot oven carefully.
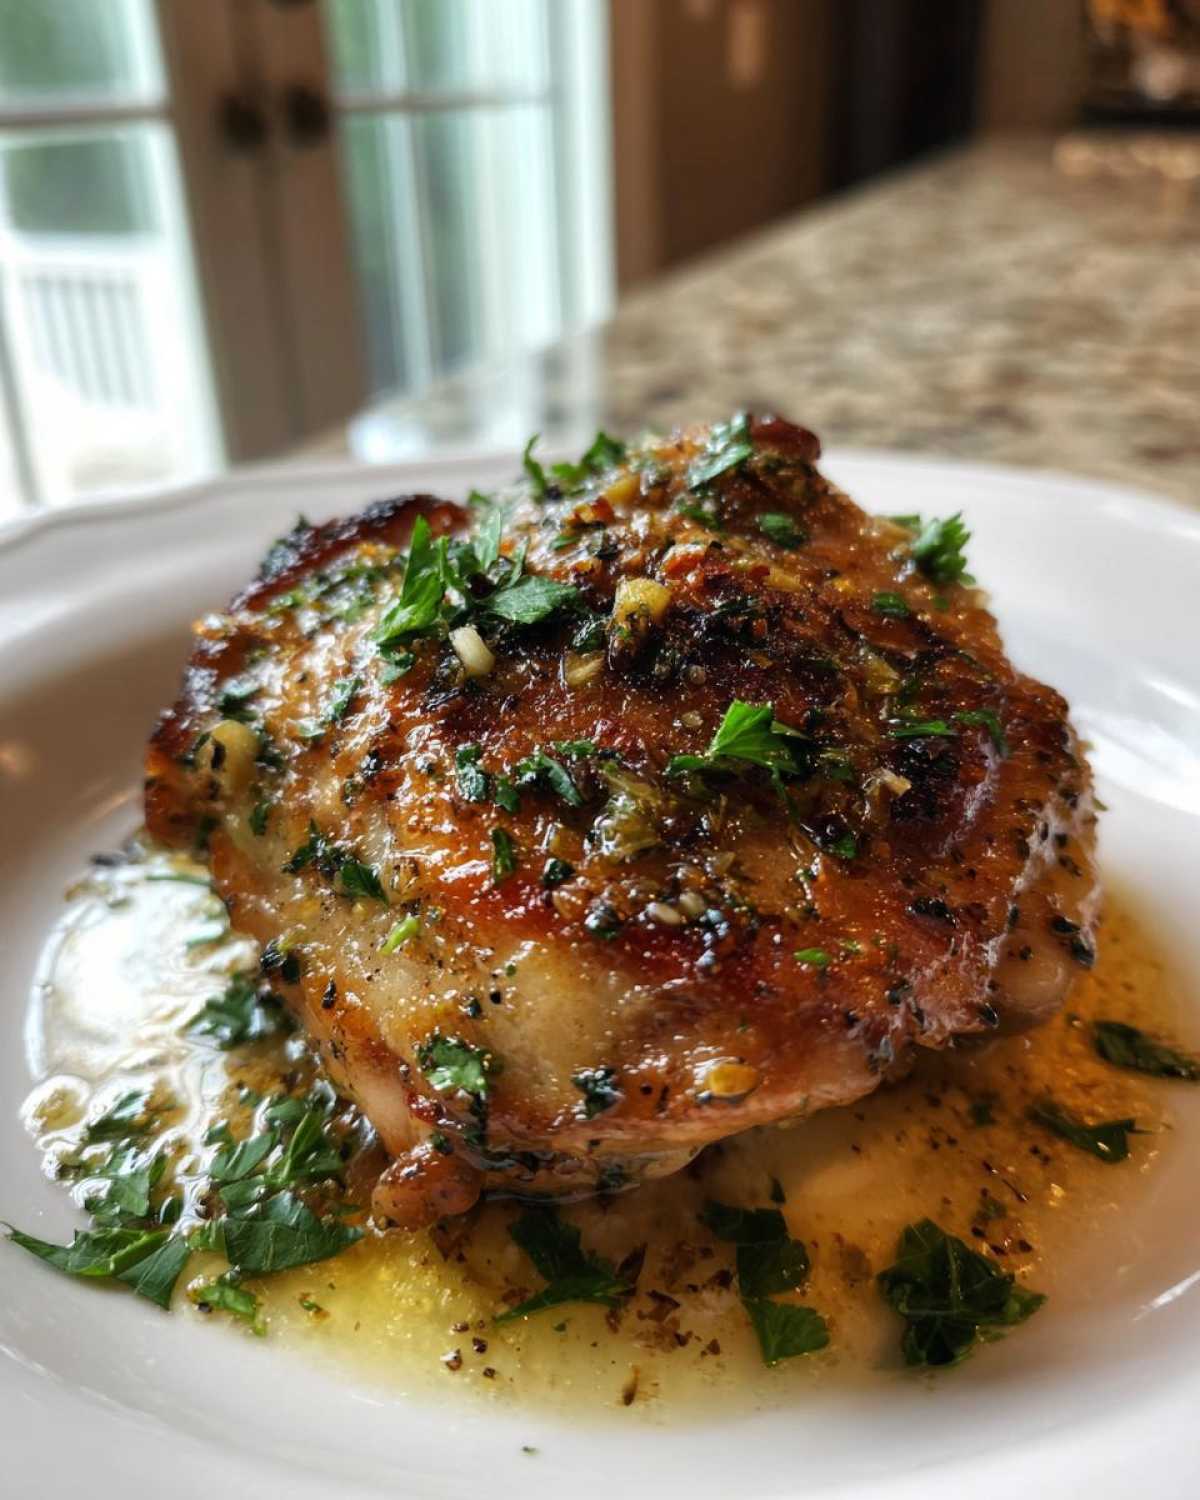
Let the Garlic Butter Chicken Thighs rest in the pan.
Resting time should be 5 minutes minimum.
This allows the juices to redistribute inside.
If you cut too soon, all that good moisture escapes.
Garnish with fresh parsley right before serving.
Enjoy that restaurant-quality texture you made!
Tips for Achieving Crispy Skin on Your Garlic Butter Chicken Thighs
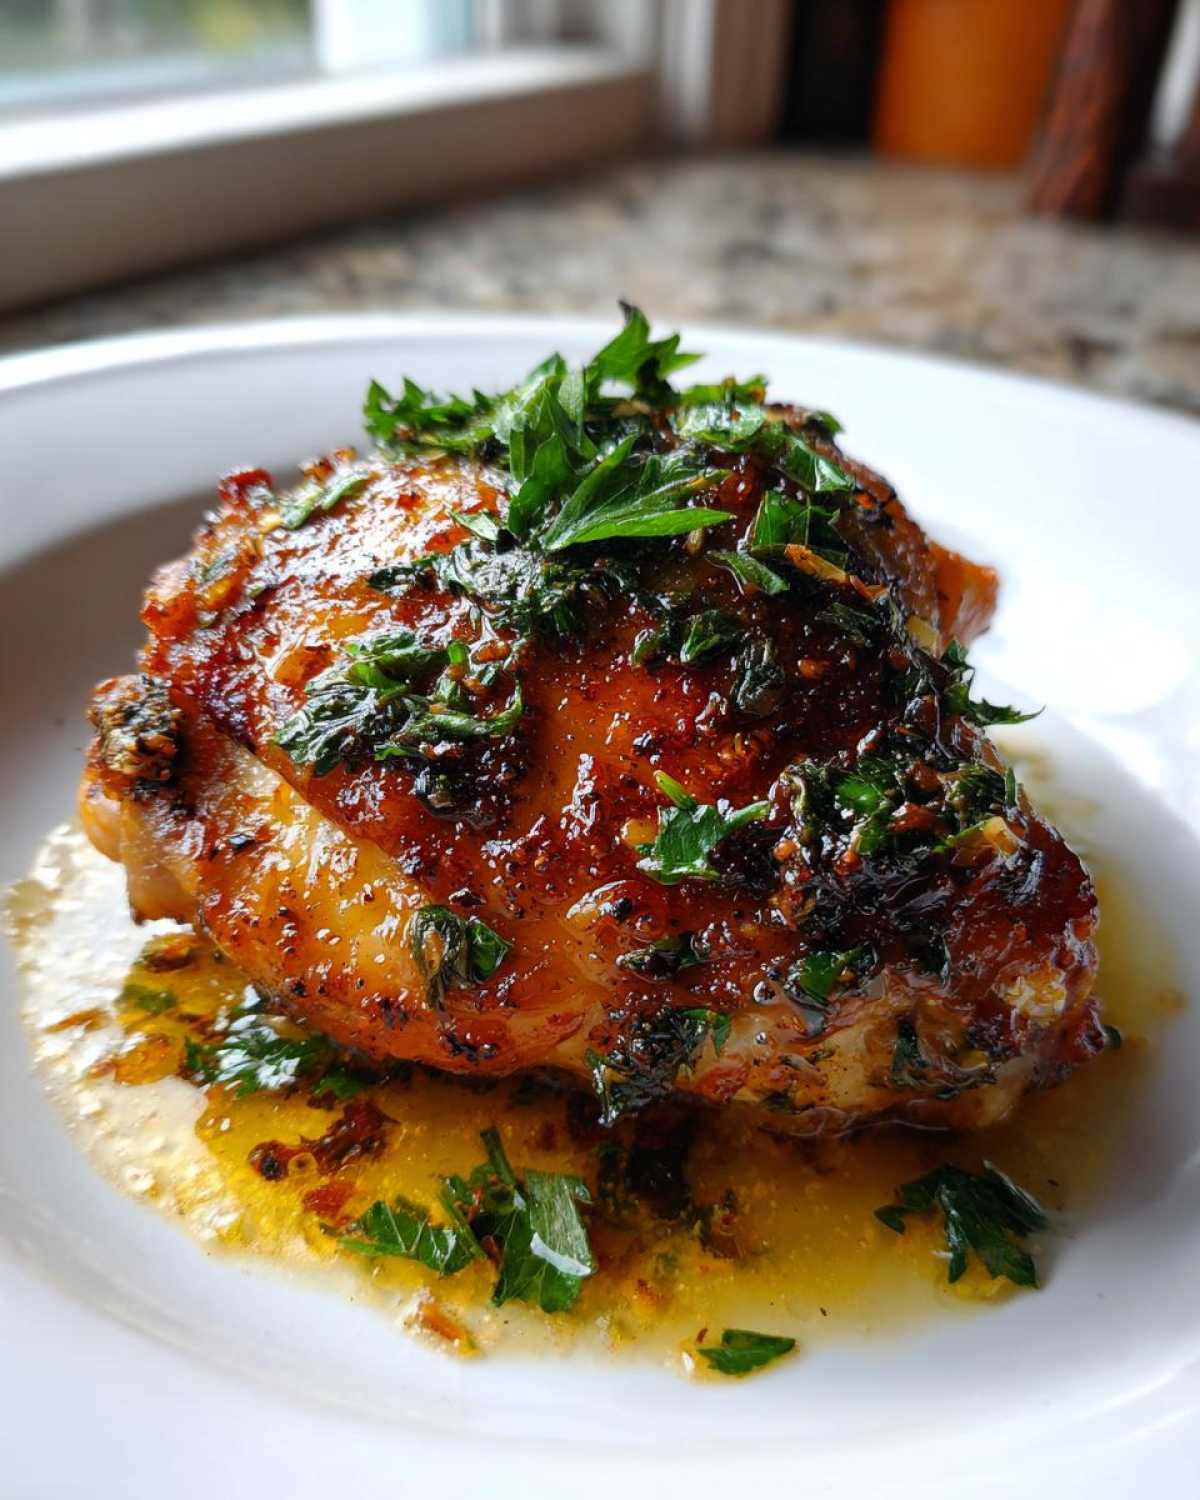
That beautiful, crisp skin is the star here.
It’s what separates good chicken from great chicken.
To nail your Garlic Butter Chicken Thighs, focus on dryness.
Seriously, pat them until your paper towels feel dry.
Any moisture turns to steam, steaming your skin.
Steam equals soggy skin, and we hate soggy skin!
Also, make sure your pan is hot enough first.
That initial high heat shock sets the crispness firmly.
Don’t move the chicken while it sears either.
Let the fat render slowly for that perfect crunch.
Frequently Asked Questions About Garlic Butter Chicken Thighs
I get so many questions about this recipe.
It’s natural when you find a winner like this.
Here are a few things Eleanor and I hear often.
Hopefully, these help your cooking journey.
We want your results to be just as great as ours.
Can I use boneless, skinless chicken thighs instead?
You certainly can try it, but you’ll miss out.
The skin is essential for that crispy texture we love.
Without the skin, you won’t get the pan-seared crunch.
Also, the bone helps keep the meat moist.
Boneless thighs cook faster and dry out easier.
You’ll get delicious flavor, but not the same experience.
How do I know when my Garlic Butter Chicken Thighs are done?
This is where relying on your eyes fails you sometimes.
For perfectly juicy chicken thighs, use a thermometer.
Insert it into the thickest part of the meat.
Make sure you avoid touching the bone itself.
The safe internal temperature is 165 degrees Fahrenheit.
Trusting that number gives you perfect doneness always.
Storage and Reheating for Leftover Garlic Butter Chicken Thighs
Even the best meals sometimes leave leftovers, right?
We hate wasting Richard’s wonderful cooking.
Storing your Garlic Butter Chicken Thighs correctly matters.
It helps preserve that incredible flavor profile.
Cool the chicken completely before you store it.
Place it in an airtight container right away.
Refrigerate within two hours of cooking for safety.
They keep well for about three or four days.
Reheating is where most people go wrong.
The microwave is your enemy for crisp skin.
Keeping the Skin Crisp After Storage
We must fight the sogginess when reheating.
The microwave steams the skin instantly.
Avoid that method if you want any crisp left.
Instead, use the oven for the best results.
Set your oven low, around 350 degrees Fahrenheit.
Place the thighs on a wire rack over a baking sheet.
This lets air circulate all around the meat.
Heat them until warmed through, about 10 minutes.
If you have an air fryer, use that instead.
It crisps up the skin beautifully in just a few minutes.
Try that approach for truly great leftovers.
Sharing Your Delish Diarist Experience
Well, friends, that’s our diary entry for today.
We poured forty years of flavor memories into this one.
Richard is already asking if I made enough for tomorrow.
He truly loves these juicy chicken thighs.
Now it’s your turn to fill our pages.
We want to hear how your searing went.
Did you achieve that restaurant-quality crunch?
Tell us if the garlic butter hit the spot.
We created Delish Diarist to share these moments.
Your success is our greatest reward, honestly.
Come back and leave a comment below this recipe.
Share your own little kitchen story with us.
We read every single word you send.
Happy cooking from Eleanor and Richard.
PrintAmazing 1 Trick for Juicy Garlic Butter Chicken Thighs

Make incredibly juicy Garlic Butter Chicken Thighs with perfectly crisp skin. Richard shares his favorite technique for achieving that restaurant-quality crunch.
- Prep Time: 10 minutes
- Cook Time: 30 minutes
- Total Time: 40 minutes
- Yield: 4 servings
- Category: Main Course
- Method: Pan-Sear and Roast
- Cuisine: American
- Diet: Low Fat
Ingredients
- 4 Bone-in, skin-on chicken thighs
- 1 teaspoon Salt, plus more for seasoning
- 1/2 teaspoon Black pepper, freshly ground
- 1 tablespoon Olive oil
- 4 tablespoons Unsalted butter
- 4 cloves Garlic, minced
- 1 teaspoon Dried Italian herbs
- 1 tablespoon Fresh parsley, chopped (for garnish)
- 1 tablespoon Lemon juice (optional)
Instructions
- Pat the chicken thighs completely dry using paper towels. This step is key for crispy skin.
- Season the chicken thighs generously on all sides with salt and pepper.
- Heat the olive oil in a large, oven-safe skillet over medium-high heat.
- Place the chicken thighs skin-side down in the hot skillet. Do not overcrowd the pan.
- Sear the chicken without moving it for 7 to 9 minutes until the skin is deeply golden brown and crisp.
- Flip the chicken thighs. Reduce the heat to medium-low.
- Add the butter and minced garlic to the skillet. The butter will melt and foam.
- Tilt the skillet slightly and use a large spoon to continuously baste the melting garlic butter over the chicken thighs for about 3 minutes.
- Sprinkle the Italian herbs over the chicken while basting.
- Transfer the entire skillet to a preheated oven at 400 degrees Fahrenheit (200 degrees Celsius).
- Roast for 15 to 20 minutes, or until the internal temperature reaches 165 degrees Fahrenheit (74 degrees Celsius).
- Remove the skillet from the oven. If using, stir in the lemon juice.
- Let the chicken rest in the pan for 5 minutes before serving. Garnish with fresh parsley.
Notes
- For the crispiest skin, make sure the chicken surface has absolutely no moisture before searing.
- Basting with the garlic butter helps infuse flavor while keeping the meat moist.
- Use an instant-read thermometer inserted into the thickest part of the thigh (avoiding the bone) to check for doneness.
Nutrition
- Serving Size: 1 thigh
- Calories: 450
- Sugar: 0.5g
- Sodium: 400mg
- Fat: 30g
- Saturated Fat: 12g
- Unsaturated Fat: 18g
- Trans Fat: 0g
- Carbohydrates: 1g
- Fiber: 0g
- Protein: 38g
- Cholesterol: 150mg