

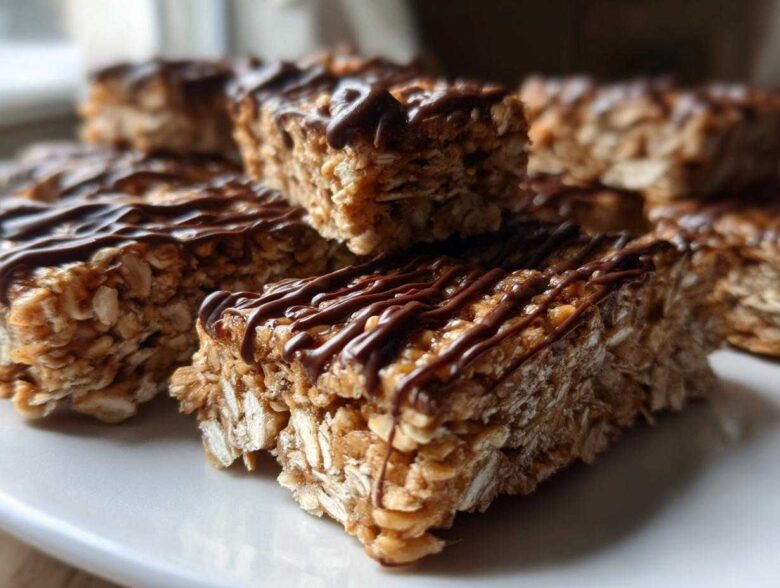
It feels like finding a true treasure when you discover a healthy snack that actually satisfies you, doesn’t it? Especially when life is moving quickly! Eleanor and I often need something quick to keep our energy up while we’re busy documenting our culinary memories—it certainly helps me stay focused on those tiny flavor notes! That’s why I treasure our high-protein yogurt bagels, but sometimes, you just need something perfectly portable. Our protein bars recipe revolutionized our snack time. I’m talking about the Easy No-Bake 5-Ingredient Peanut Butter Protein Bars. They are unbelievably simple, chewy, and taste like a treat instead of, well, cardboard!
Why These Easy No-Bake Protein Bars Are a Kitchen Diary Favorite
Now, you know we’ve sampled plenty of homemade protein bars over the years. So many recipes out there promise the world but deliver something dry and crumbly. Not these ones! We stick to five key players here because fewer ingredients mean less chance for error, which is perfect for those of us who value reliability.
- Absolutely no turning the oven on—we just mix and chill!
- They taste genuinely rich, not chalky or overly sweet like some store-bought versions we’ve tried.
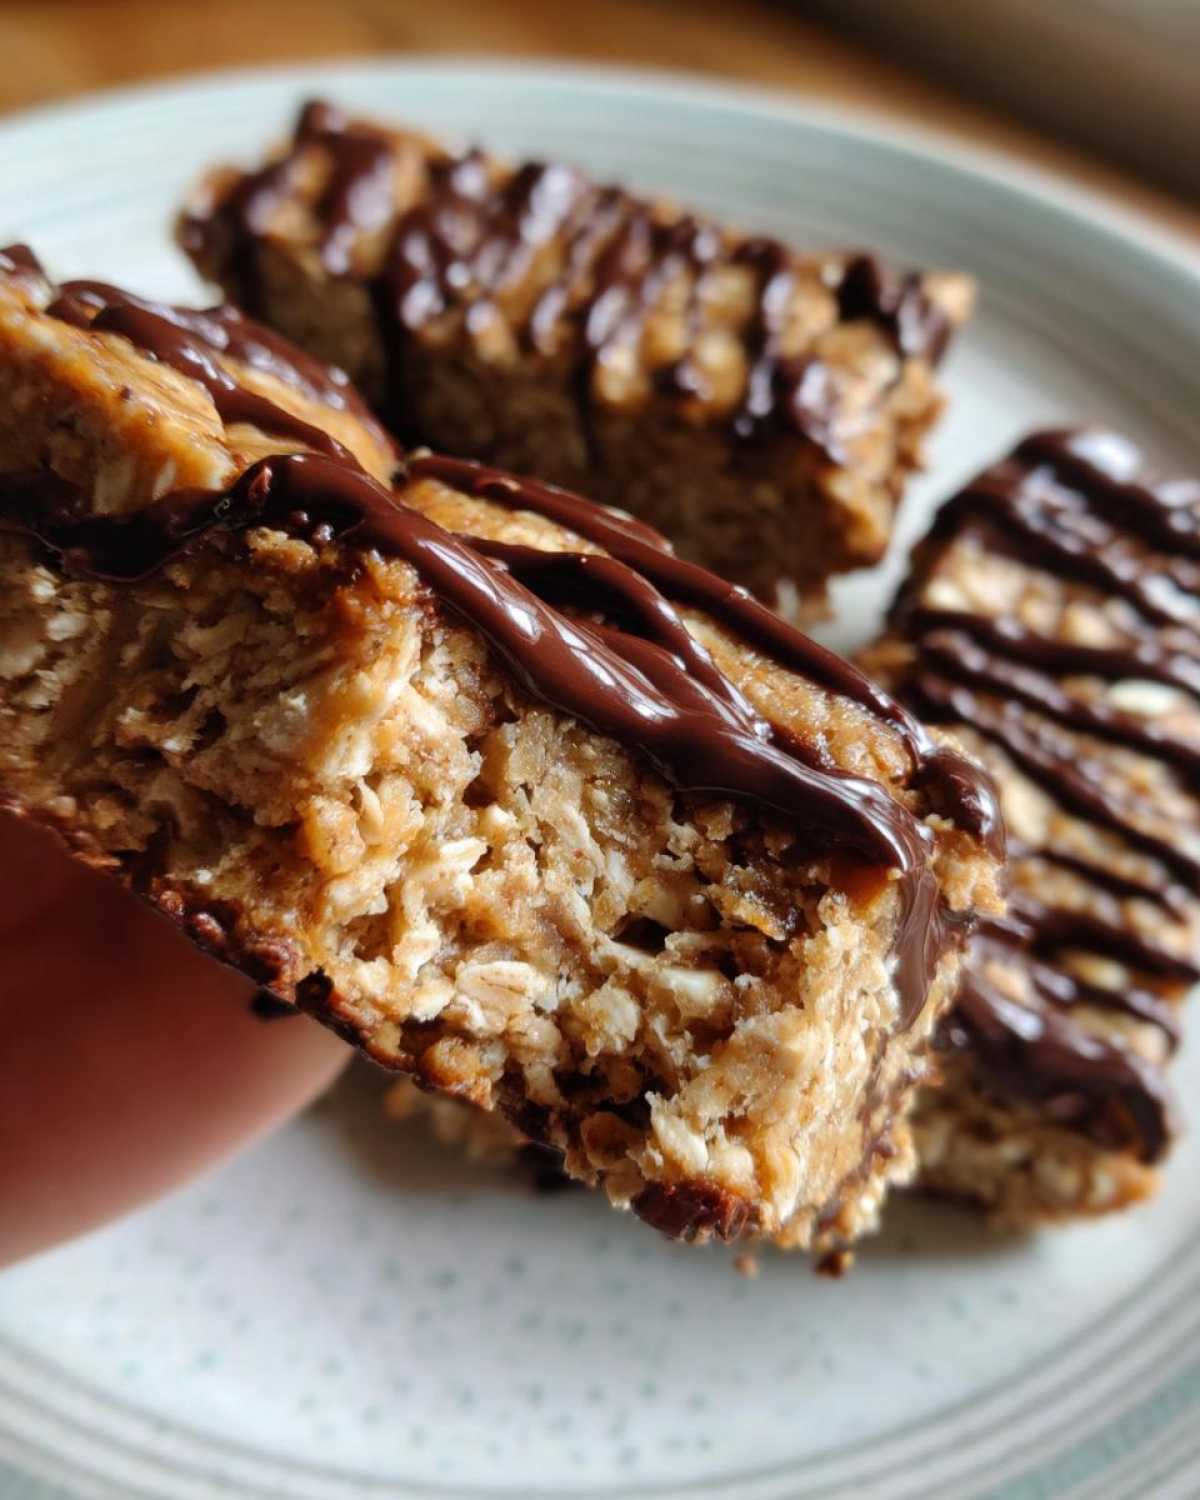
- The texture? Perfectly chewy. They hold their shape beautifully when wrapped up.
Quick Prep for Busy Days
If you’re looking for quick protein treats, this is it. Honestly, the active time is maybe ten minutes tops. We can whip these up right after a morning walk before settling in for our history research. Everything goes into one bowl, stirred together, and flattened into the pan. That kind of efficiency earns high marks in my book!
The Best Tasting Protein Bars You Can Make
Trust me, Eleanor used to turn her nose up at anything she called a ‘health bar.’ They always tasted like sweetened sawdust to her! What sets ours apart, making them arguably the best tasting protein bars around, is that perfect ratio of peanut butter and honey that locks in the moisture. You get that wonderful, slightly savory peanut butter punch balanced by the sweetness, all wrapped up in a satisfyingly chewy protein bar.
If you love a bar that slices cleanly without crumbling everywhere, you’ll want to check out how we keep our no-bake Nutella pie from doing the same thing!
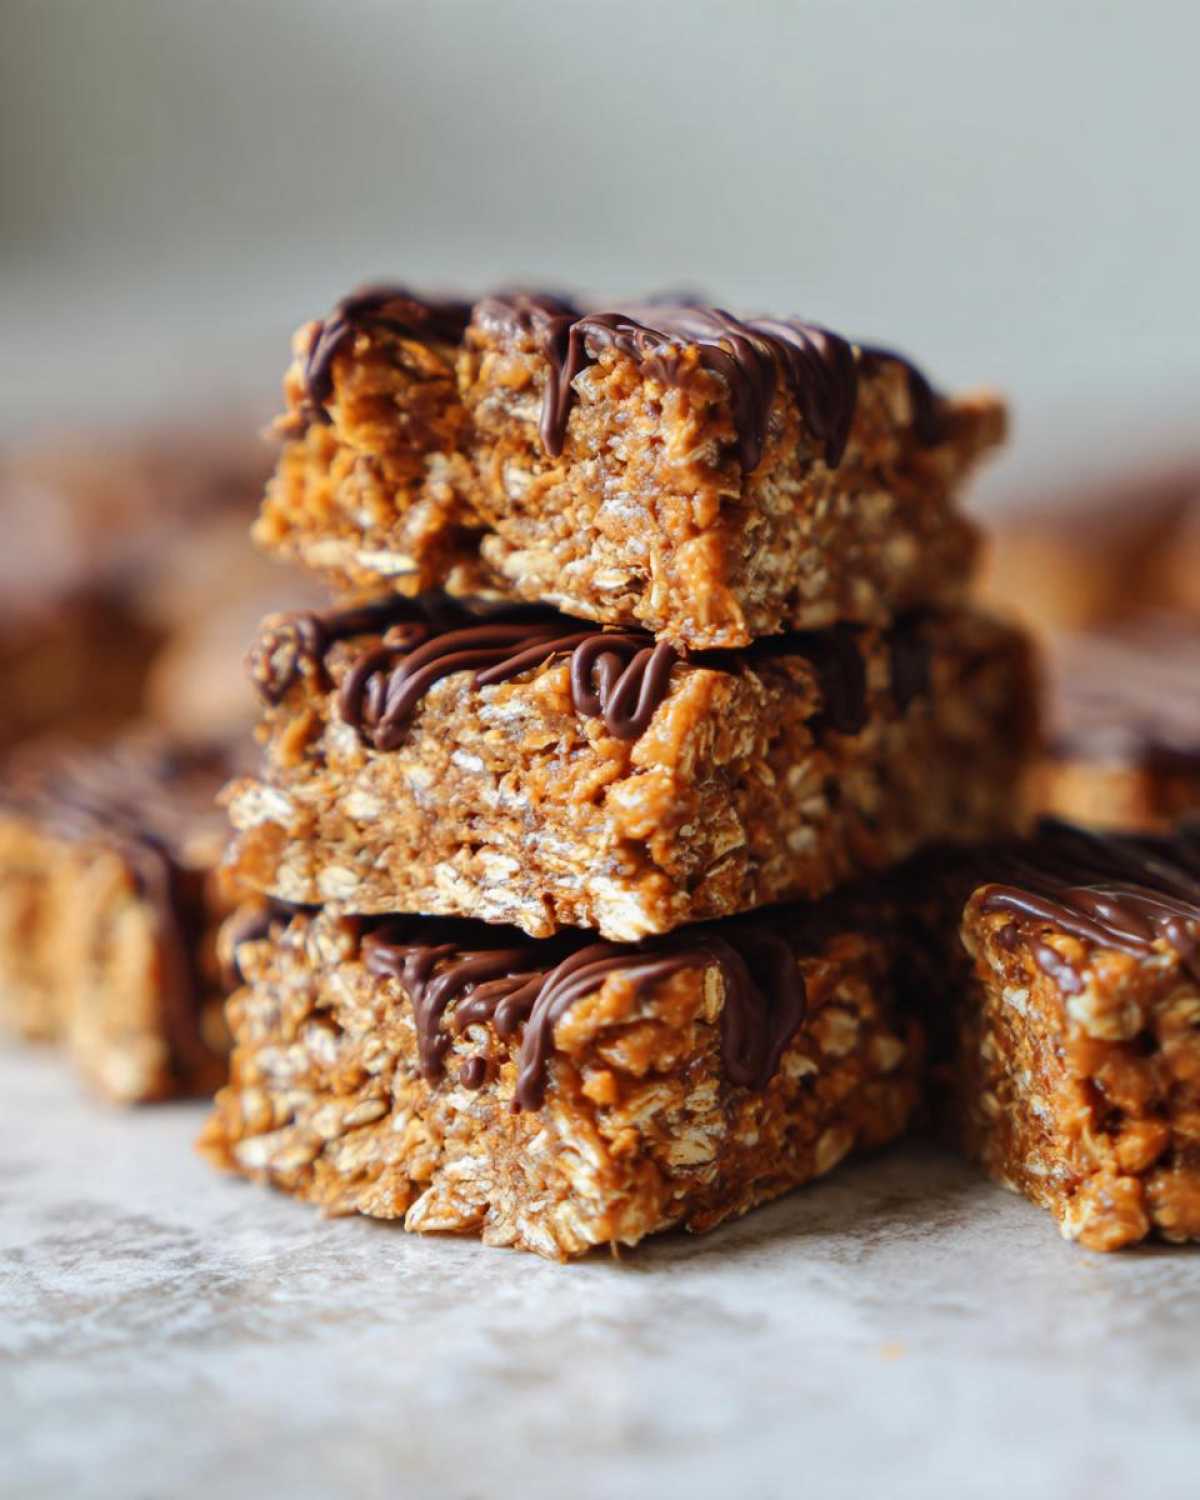
Ingredients for Simple Homemade Protein Bars
When dealing with protein bars that have so few components, the quality of those components really sings through! We aren’t hiding poor flavor behind ten different extracts here. We only needed five core items for these bars—it’s remarkable what a few good ingredients can do!
- 1 cup rolled oats (Make sure they’re regular old rolled oats, not instant!)
- 1/2 cup natural peanut butter (Needs to be the runny kind, not the super stiff stuff.)
- 1/2 cup vanilla or unflavored protein powder.
- 1/4 cup honey or maple syrup. This is our binder!
- 2 tablespoons melted dark chocolate (Just for the little drizzle on top, optional but lovely.)
Using the best butter or peanut butter you can afford makes a huge difference in how delicious these healthy snack bars turn out. You want that fresh, robust flavor!
Ingredient Notes and Substitutions for Protein Bars
Since we aim for accessibility, here are the little adjustments Eleanor makes for her own dietary needs. If you need vegan protein bars recipe style, just swap that honey out for maple syrup; it works exactly the same way here. If you’re aiming for something lower in sugar, you can test out a liquid sweetener substitute, but be warned, it might throw off how tight the bars set up.
Also, the protein powder matters! If you skip that vanilla flavor, the bar will taste distinctly like whatever powder you use. For gluten free protein bars, just ensure your oats are certified gluten-free, as oats are often cross-contaminated. We talk a lot about getting ratios right in our protein chia pudding guide, and the same principle applies here—don’t mess with the powder measurement!
How to Prepare Easy No-Bake Protein Bars Step-by-Step
Alright, buckle up because this is where the magic happens with these no bake protein bars! Since there’s no oven involved, our *mixing* technique is absolutely critical. If you get the consistency right here, you’ll have the *best* homemade protein bars imaginable. I really suggest using a sturdy bowl for this, as everything gets pretty thick together near the end!
Mixing and Forming the Protein Bars Dough
First things first: grab an 8×8 inch pan and line it with parchment paper. Make sure you leave some overhang on the sides—that’s your built-in handle for lifting them out later. This trick saves so much heartache!
In your bowl, toss in the oats, the peanut butter, the protein powder, and your sweetener (honey or maple syrup). Now, start stirring. At first, it looks like a disaster—the powder is dry, the peanut butter is thick, and you think, “Oh dear, Richard has messed up again!” Don’t panic. Keep mixing! The mixture might seem stubborn, and that’s when I tell Eleanor, “Time to get your hands dirty!” Seriously, once it starts to come together, pulling it together with your clean hands is the best way to ensure that protein powder is fully incorporated and you get that thick, uniform dough.
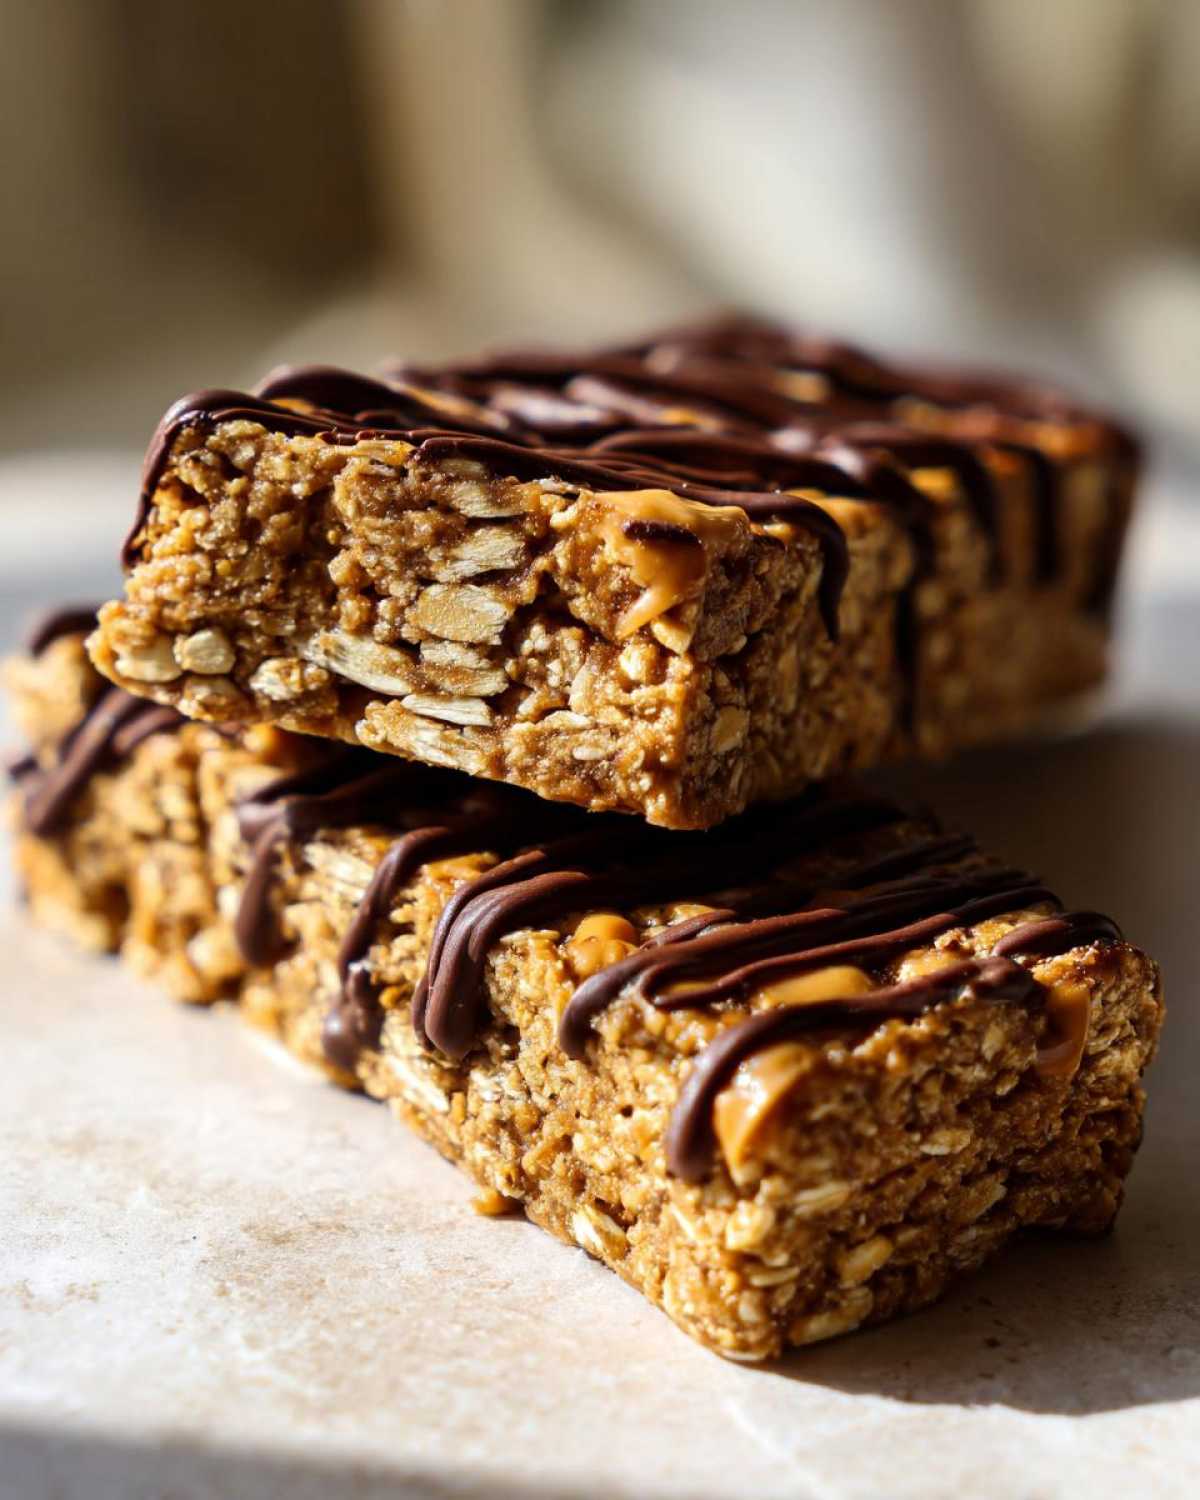
When it all holds together nicely, press it firmly into your prepared pan. And I mean *firmly*! You need to compact this mixture so these peanut butter protein bars don’t try to crumble apart on you later. Pressing down hard ensures that structural integrity we talked about.
Chilling and Cutting Your Protein Bars
The rest is easy, but patience is required here. Once everything is pressed flat and smooth, pop that pan into the refrigerator. You need to let these chill for at least one full hour, maybe a little longer if your kitchen is warm. This chilling time is non-negotiable if you want those satisfyingly chewy protein bars! If you rush this, they’ll be too soft and sticky when you try to slice them.
Once they’re rock solid, use those parchment overhangs to lift the whole slab out onto a cutting board. Then, just slice them into ten even pieces. If you want that little bit of extra visual appeal, now is the time to melt your dark chocolate and drizzle it across the tops. For easy grab-and-go snacking, I like to wrap each one individually now—it keeps them fresh and perfect for traveling!
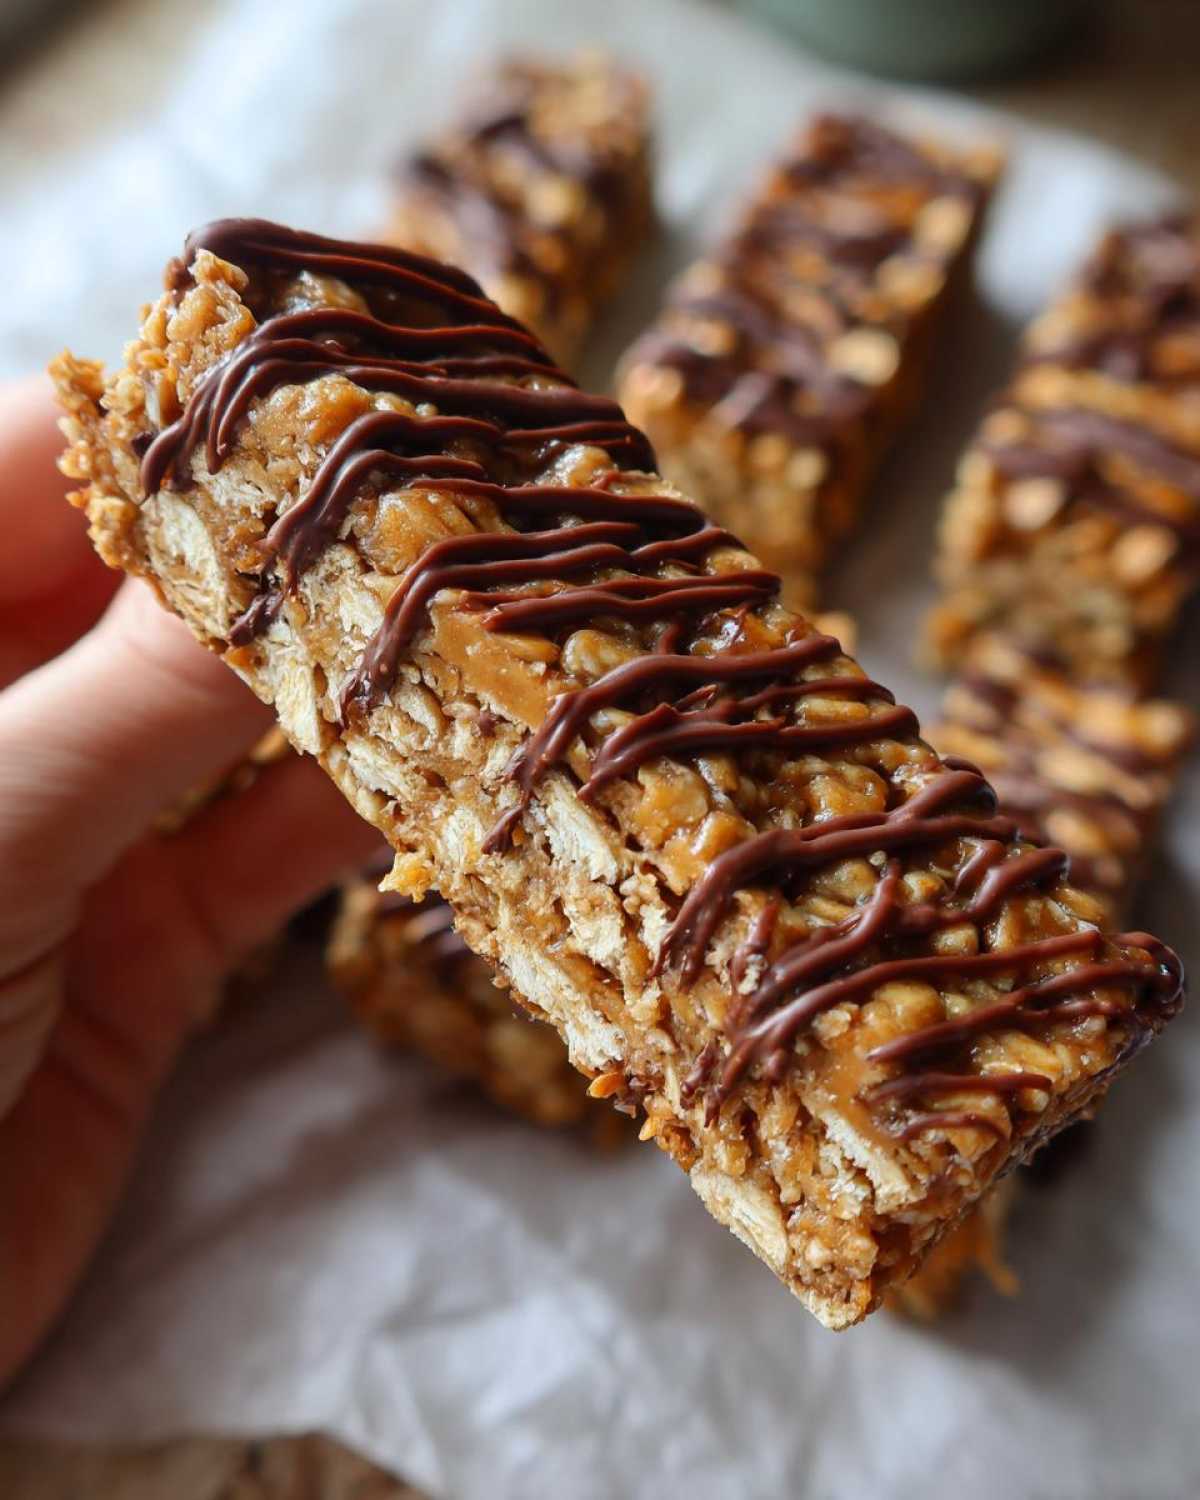
You can see how we keep our ingredients simple in our guide to no-bake peanut butter bars; simplicity is the key to getting these great results every time!
Tips for Success with Homemade Protein Bars
After making batches of these protein bars for years, you pick up a few tricks to make sure they behave exactly how you want them to. When you’re making protein bars for beginners, the biggest worry is usually binding—will they stay together or fall apart the second I pick them up? Since we use such simple ingredients here, getting the ratio right is crucial for getting that perfect, satisfyingly chewy bite.
The binder here is a cooperative effort between the peanut butter and the sweetener. If you’re making these for the first time, always err on the side of slightly too sticky rather than too dry, because dry mixtures just won’t hold together well. These tips are key if you are planning on making a big batch of make ahead protein snacks!
Troubleshooting Dry or Crumbly Protein Bars
Okay, what if you mixed everything up, and it just looks… crumbly? Maybe your protein powder was a particularly thirsty brand, or perhaps your peanut butter was naturally drier than mine that day. Don’t throw the whole bowl out! That’s the beauty of this easy protein bar recipe—it’s salvageable.
If the mixture isn’t coming together when you press it firmly in your hands, I want you to grab some warm water or a splash of milk—whatever you prefer—and add just one teaspoon at a time. Mix it in slowly. You might need two teaspoons, possibly three, depending on how dry your base is. The goal is to introduce just enough moisture so the dough comes together into that cohesive ball, like cookie dough.
Once you add that liquid, mix it well, then test the dough again. As Eleanor always says when baking bread, sometimes ingredients just need a little persuading! This little fix is usually all it takes to save a batch of crumbly bars and turn them into perfect, sturdy make ahead protein snacks.
Making Protein Bars for Meal Prep and Storage
This recipe is practically built for meal prepping, which is wonderful because these protein bars just seem to disappear around here! Having a batch of these simple homemade snacks ready in the fridge means we always have something quick before heading out or when we’re too busy focusing on capturing a memory in the kitchen to run to the store.
Once you’ve cut your ten beautiful bars, storage is straightforward, but paying attention helps them last longer and keeps them tasting fresh. You need an airtight container, and the refrigerator is definitely the place to be. Because we used no heat to bake these, they definitely thrive when kept cool. They hold up beautifully for a full week, sometimes even longer if you don’t sneak them!
Now, here’s Eleanor’s little trick for ultimate grab-and-go convenience. If you know you’ll be taking these out of the house—say, for a day trip or tucking them into a lunch bag—she takes a small square of parchment paper or wax paper and wraps each individual bar snugly. It keeps the chocolate drizzle from smearing onto its neighbor and makes grabbing just one super easy. It’s a little extra step, but it keeps my favorite kitchen helper happy!
For more ways we organize our week’s eating, you should see how we handle our salads in our Mediterranean chickpea salad meal prep tips. Meal prepping isn’t just for breakfast; it’s for all the in-between snacks, too!
Variations on These High Protein Recipes
While I sing the praises of this peanut butter version constantly, one of the joys of cooking is tinkering, isn’t it? Even in our diaries, we leave room for new entries! These high protein recipes are fantastic as is, but they are also ridiculously easy to customize if you have a specific craving or need to use up something from the pantry. Switching up the main nut butter is the easiest door to open.
If peanut butter isn’t your favorite, or if you need to avoid nuts entirely, you can use sunflower seed butter or almond butter. Just remember, different nut butters have different levels of oil and viscosity. Almond butter tends to be a bit stiffer than peanut butter, so you might need that extra teaspoon of water we talked about earlier to get things blending nicely.
For the serious chocolate lover—and I know there are many of you—turning these into chocolate protein bars no bake treats is simple. Just replace about half of your protein powder with unsweetened cocoa powder. You might need to add a tiny bit more sweetener because cocoa powder is bitter, but oh boy, the richness is worth the small adjustment!
We’ve also heard wonderful things from folks who substitute the oats entirely for something like puffed rice cereal for a lighter, crispier texture, or they’ll bake in some toasted seeds—pumpkin or sunflower seeds add a lovely crunch and a boost of healthy fats. Don’t settle for just good when you can make them exactly what you want! Eleanor often pairs these chocolatey versions with a slice of our chocolate chip banana bread for a double dose of comfort.
Serving Suggestions for Your Protein Bars
Now that you have these perfect, chewy protein bars ready to go, the next natural question is, what do you serve them with? We treat these like the satisfying, high-protein snacks they are, so they rarely sit around waiting to be a dessert!
If I’m having one mid-morning while working on my notes, I always pair it with a strong cup of coffee. The salty-sweetness of the peanut butter just cuts through the bitterness perfectly. It’s the ideal fuel to keep me going until lunch. Honestly, it beats those stale pastries from the corner shop every time.
For those afternoon slumps, or when I’ve finished a good long day in the garden, these bars shine as a recovery item. They have the perfect balance of carbs from the oats and protein to help things settle right. They go wonderfully alongside a cold, tall glass of our creamy peanut butter banana smoothie if you’re looking for something a bit more substantial after a workout or a long walk.
They are wonderful on their own, of course, but sometimes a little pairing just turns a simple snack into a little moment of enjoyment. That’s what Delish Diarist is all about, after all—making the everyday moments delicious!
Frequently Asked Questions About Homemade Protein Bars
It’s funny how once you start making your own protein bars, a dozen new questions pop up! Eleanor always has a list of things she wants to try or change next time, so I’ve gotten pretty good at troubleshooting these little guys. Since these recipes are so simple, they are very adaptable, but you do need to know how the ingredients interact.
I’ve gathered the questions I hear most often from folks trying this for the first time, especially those trying to make healthier choices like finding good low sugar protein bars or options for specific diets. Let’s tackle those lingering doubts!
Can I make these protein bars diabetic-friendly or low sugar?
That’s a very important question, and yes, you certainly can adjust for that! Remember, the sweetness here comes primarily from the honey or maple syrup. If you want to cut the sugar significantly, you’ll need to swap out that primary sweetener for a sugar alternative. A product like erythritol or monk fruit blend works well, often measuring close to sugar volume-wise.
Now, here’s the catch, and this is important for texture: honey and maple syrup are liquids, and they help bind everything together beautifully. When you swap to a granular sweetener, you are removing liquid volume. To compensate, the bars might feel a bit more crumbly or dry. You might need to add a splash of water or maybe a touch more of your binding agent—like an extra half teaspoon of peanut butter—just to get that cohesive dough you need for cutting. Be prepared to test and adjust when substituting sweeteners!
If you’re avoiding sugar but still need a satisfying protein punch, I highly recommend checking out our recipe for high-protein egg muffins; they are naturally low sugar and great for meal prep!
What is the best protein powder to use for these no bake protein bars?
This is where opinions start to diverge, even between Eleanor and me! The “best” powder really depends on what kind of nutritional profile you’re aiming for and what your tummy can handle. For this recipe, the main thing you need to watch out for is *absorption*. Protein powders are not created equal; some are thirsty and drink up all the moisture, while others are milder.
If you use a standard whey isolate, you often get a very smooth mixing powder, but they can sometimes lead to a slightly drier final texture if you’re not careful with your liquid ratios. For those aiming for vegan protein bars recipe style, plant-based proteins (like pea or rice blends) sometimes require a bit more binder because they tend to be grittier and can clump up if you don’t mix really thoroughly by hand.
My recommendation for absolute beginners making these no bake protein bars is to use a good quality vanilla whey or plant-based blend that you already know you like the taste of. Regardless of the type, always measure it loosely—don’t pack that scoop! We learned that lesson the hard way making protein french toast; too much powder changes everything!
Nutritional Estimates for These Protein Bars
Like all the recipes we journal about here, these figures are based on the ingredients we personally used when we last made a batch—primarily using honey and standard vanilla whey protein. Since everyone measures a little differently, and protein powders vary wildly in their composition, please treat these numbers as a helpful guide rather than an absolute guarantee!
When we calculate for one bar (dividing the total batch by ten servings), this is what we generally see. It’s a fantastic profile for a quick snack—high on the protein side!
- Serving Size: 1 bar
- Calories: 180
- Fat: 9g (with 2g saturated fat)
- Carbohydrates: 18g
- Fiber: 2g
- Protein: 12g (That’s the sweet spot!)
- Sugar: 6g
We are thrilled that the sugar content is relatively low, mostly coming from the honey or maple syrup needed for binding, not from added refined sugars. If you use a zero-calorie sweetener for dietary reasons, your sugar count will naturally drop lower than this estimate. It’s wonderful knowing that what we are fueling ourselves with is both satisfying and made with wholesome ingredients. If you’re looking for other sweet treats that pack a serious protein punch without the guilt, you simply must look at our recipe for the high-protein chocolate pudding!
PrintEasy No-Bake 5-Ingredient Peanut Butter Protein Bars
Make these simple, chewy homemade protein bars with just five ingredients. They are perfect for quick meal prep and give you the satisfaction of store-bought bars without the cost.
- Prep Time: 10 min
- Cook Time: 0 min
- Total Time: 70 min
- Yield: 10 servings
- Category: Snack
- Method: No-Bake
- Cuisine: American
- Diet: Vegetarian
Ingredients
- 1 cup rolled oats
- 1/2 cup natural peanut butter
- 1/2 cup vanilla or unflavored protein powder
- 1/4 cup honey or maple syrup
- 2 tablespoons melted dark chocolate (for drizzle)
Instructions
- Line an 8×8 inch baking pan with parchment paper, leaving an overhang on the sides for easy removal.
- In a medium bowl, combine the rolled oats, peanut butter, protein powder, and honey or maple syrup.
- Mix the ingredients thoroughly until a thick, uniform dough forms. You may need to use your hands to fully incorporate everything.
- Press the mixture evenly into the prepared pan. Press down firmly to compact the mixture so your bars hold together well.
- Place the pan in the refrigerator and chill for at least 1 hour, or until firm.
- Once firm, lift the mixture out using the parchment paper overhang and cut into 8 to 10 bars.
- Drizzle the melted dark chocolate over the tops of the bars, if desired. Allow the chocolate to set before serving.
- Store your finished protein bars in an airtight container in the refrigerator for up to one week.
Notes
- For a vegan option, use maple syrup instead of honey and ensure your protein powder is plant-based.
- If the mixture seems too dry, add one teaspoon of water or milk at a time until it binds together.
- These are excellent for make ahead protein snacks and travel well when wrapped individually.
Nutrition
- Serving Size: 1 bar
- Calories: 180
- Sugar: 6
- Sodium: 80
- Fat: 9
- Saturated Fat: 2
- Unsaturated Fat: 7
- Trans Fat: 0
- Carbohydrates: 18
- Fiber: 2
- Protein: 12
- Cholesterol: 0