

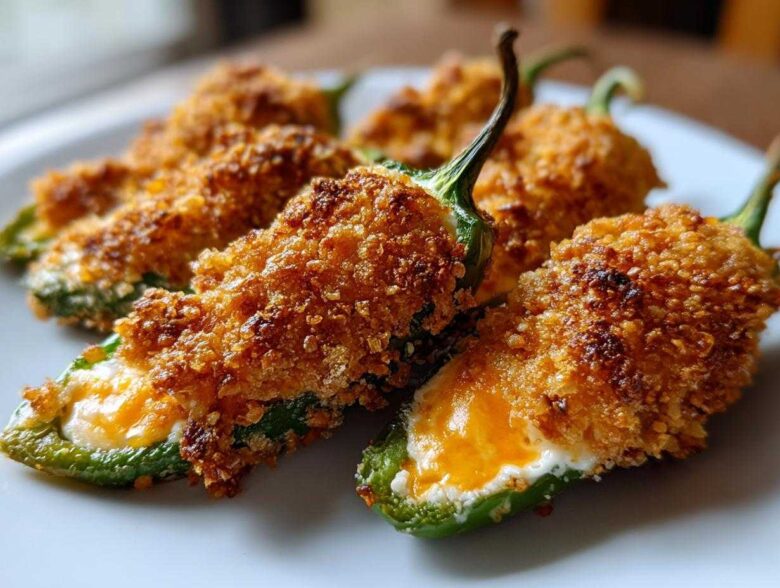
Well, hello there! If you’re anything like Richard and me, game night around here isn’t complete unless there’s something wonderfully messy, cheesy, and just spicy enough to keep you awake for the fourth quarter. We spent years testing every crunchy, fried appetizer under the sun, trying to find the perfect balance for our guests. And I can tell you, after all those years of culinary travel and testing, our baked jalapeño poppers truly won the gold medal!
These aren’t fussy at all. We skip the deep fryer entirely—Richard insists on baked goodness for easy cleanup, which I wholeheartedly agree with! They deliver that satisfying creamy center bursting through the gentle heat of the pepper, all tucked under a golden, crispy top. Forty minutes, start to finish, and you have the best spicy appetizer on the table. You’re going to love how simple these are to assemble.
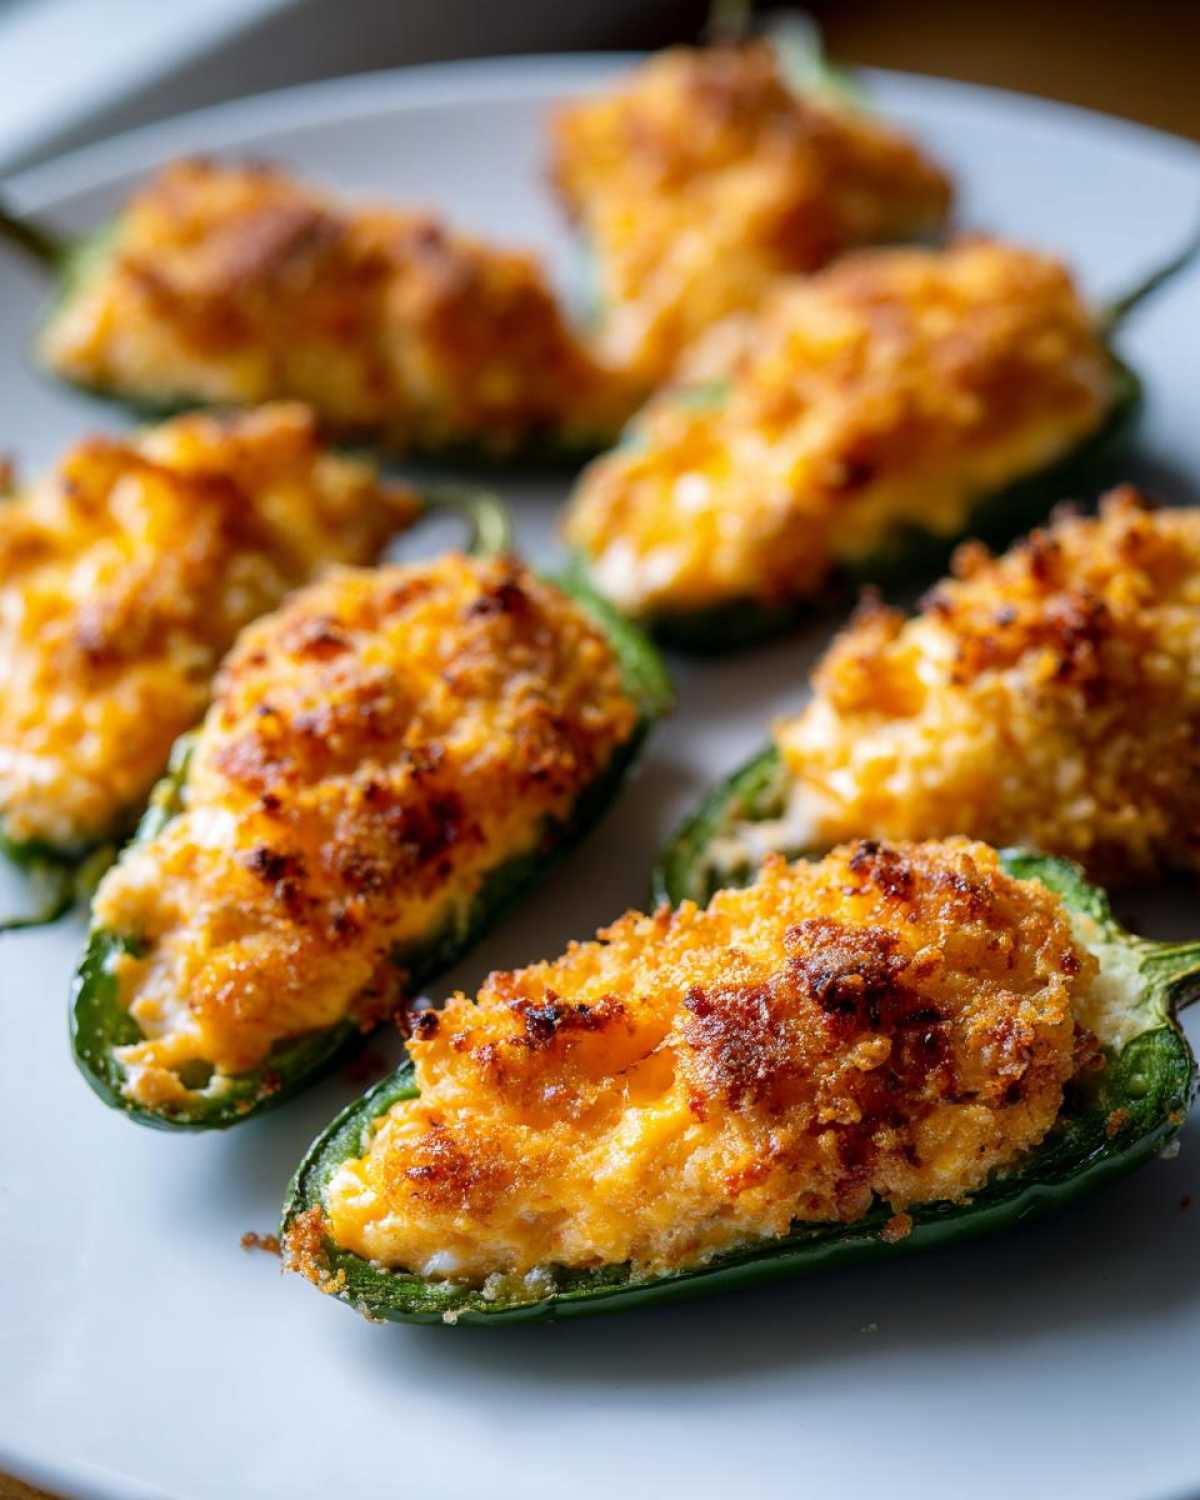
Why Our Easy Baked Jalapeño Poppers Are a Game Night Favorite
Why do people keep asking for Richard’s recipe for these cheesy delights? Honestly, I think it’s because they give you all the flavor without any of the fuss. We learned early on that appetizers should fuel the fun, not ruin the cleanup! These cream cheese stuffed jalapeños hit every mark we look for when planning our gatherings. They’re crowd-pleasing, wonderfully balanced, and they let us get back to the conversation quickly.
- We bake them, which means goodbye messy oil splatters! Hello, clean countertops!
- The ratio of cheese filling to pepper heat is absolutely perfect—spicy kick, but always followed by creamy comfort.
- They reheat beautifully, though I rarely have leftovers once we put them out.
- They satisfy that deep craving for a great spicy appetizer poppers.
Quick Prep for Perfect Jalapeño Poppers
When we have friends over, I need things done fast. That’s where this recipe shines! From start to finish, you’re looking at just 40 minutes total. Even the stuffing goes quickly once you get into a rhythm. Honestly, knowing I can whip up two dozen of these beautiful poppers before the guests even arrive is half the fun. It’s the kind of simple, delicious recipe you’ll definitely want to save. If you love great game day food, you simply must try them alongside these Loaded Totchos!
Gathering Your Ingredients for Cream Cheese Stuffed Jalapeños
When Richard and I taught this recipe to our grown children, we learned quickly that precision matters, especially when you’re dealing with heat! You simply can’t guess measurements when you want that perfect creamy bite every time. Here is exactly what you need to pull these incredible cream cheese stuffed jalapeños together. We focus on sharp cheddar because its tang cuts through the richness of the cream cheese beautifully. If you need a cool dip to go alongside these, check out our recipe for fresh guacamole!
- 12 large jalapeño peppers (Don’t substitute these for smaller ones; you need the space for the filling!)
- 8 ounces cream cheese, softened just right—it should give easily when pressed.
- 1 cup shredded sharp cheddar cheese
- 1 teaspoon garlic powder
- 1/2 teaspoon onion powder
- 1/4 teaspoon salt and 1/4 teaspoon black pepper
- 1 cup panko breadcrumbs (Trust me, panko gives you the crispness we are aiming for!)
- 2 tablespoons melted butter
Ingredient Spotlight: Controlling the Heat in Your Jalapeño Poppers
Now, let’s talk safety first. Before you even look at slicing those peppers, put on some gloves! Those capsaicin oils are sneaky, and I don’t want your hands burning later when you accidentally rub your eyes—we learned that the hard way years ago! The most important step for consistent jalapeño poppers is that careful deseeding. You must scrape out *all* the white membrane where the seeds attach. That membrane is where nearly all the heat hides. Removing it ensures the delicious cream cheese filling truly balances the spice. It’s how we make our appetizer friendly for everyone!
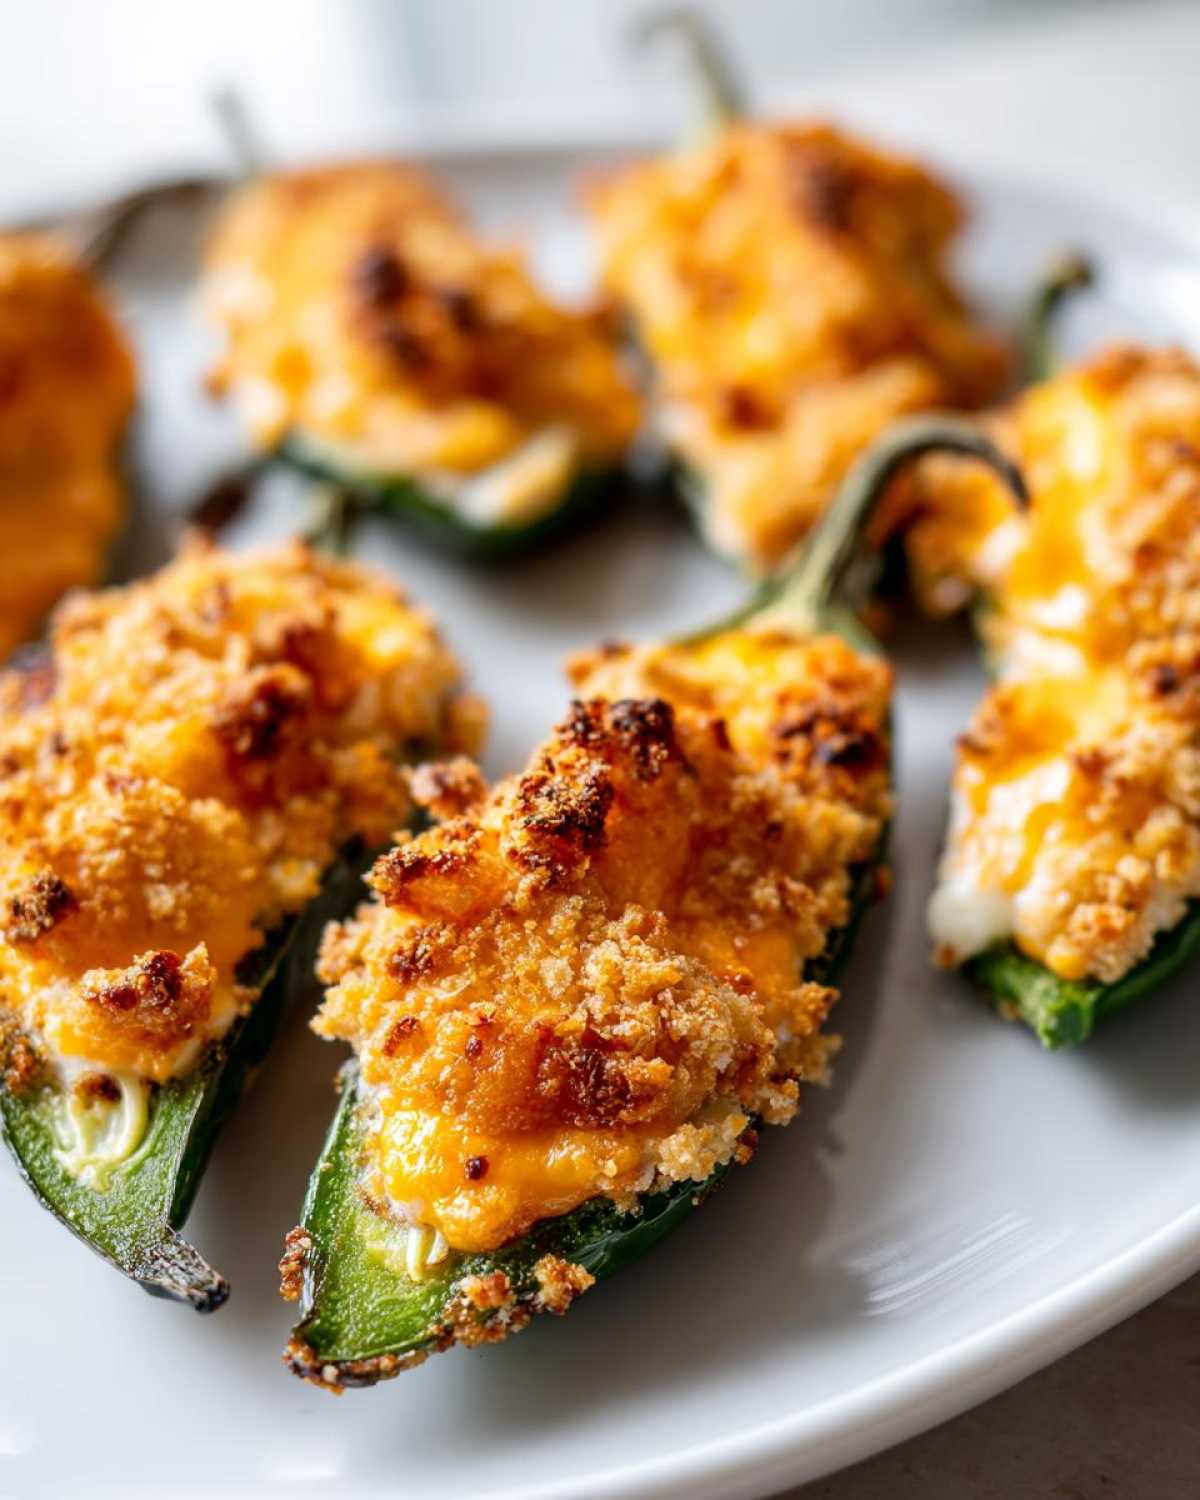
Step-by-Step Instructions for Baked Jalapeño Poppers
Alright, this is where the real magic happens! Since Richard swears by a specific order of operations for even baking, we follow these steps precisely. First thing’s first: get your oven humming along at 400 degrees Fahrenheit. Once that’s going, line a sturdy baking sheet with parchment paper—that’s your insurance policy against sticking, trust me. Now, if you’ve already handled the deseeding steps (which I hope you did with gloves!), it’s time to start assembling these beauties. This whole process moves so quickly once you get started. If you’re looking for other simple oven recipes that never fail, check out how we do our baked cream cheese chicken!
Creating the Cream Cheese Stuffed Jalapeños Filling
Take that softened cream cheese and your sharp cheddar, and mix them up really well in a bowl. You want them completely combined—no streaks of white cream cheese left! Keep mixing until it’s smooth and luscious. I always sneak in a tiny, tiny pinch of smoked paprika here—just a whisper! Richard notices if I forget it, claiming it adds a depth that other recipes lack. Add your garlic powder, onion powder, salt, and pepper, and stir until everything is perfectly homogenous. Then, you just spoon that wonderful mixture generously into each pepper half. Don’t be shy; mound it up slightly!
Achieving the Perfect Crunch on Your Jalapeño Poppers
This coating step separates the good poppers from the *great* ones! While you have your butter melted, whisk it right into your panko breadcrumbs in a shallow dish. Now, hold the stuffed pepper gingerly and dip just the top—the cheesy surface—into that buttery panko mixture. Press down gently, just enough for the crumbs to cling nicely to the cheese. You want good adhesion, but if you press too hard, you’ll smoosh your lovely mound of filling right off! Place them cheese-side up on your prepared sheet. If you follow these short steps, the cheese melts perfectly underneath that golden crust.
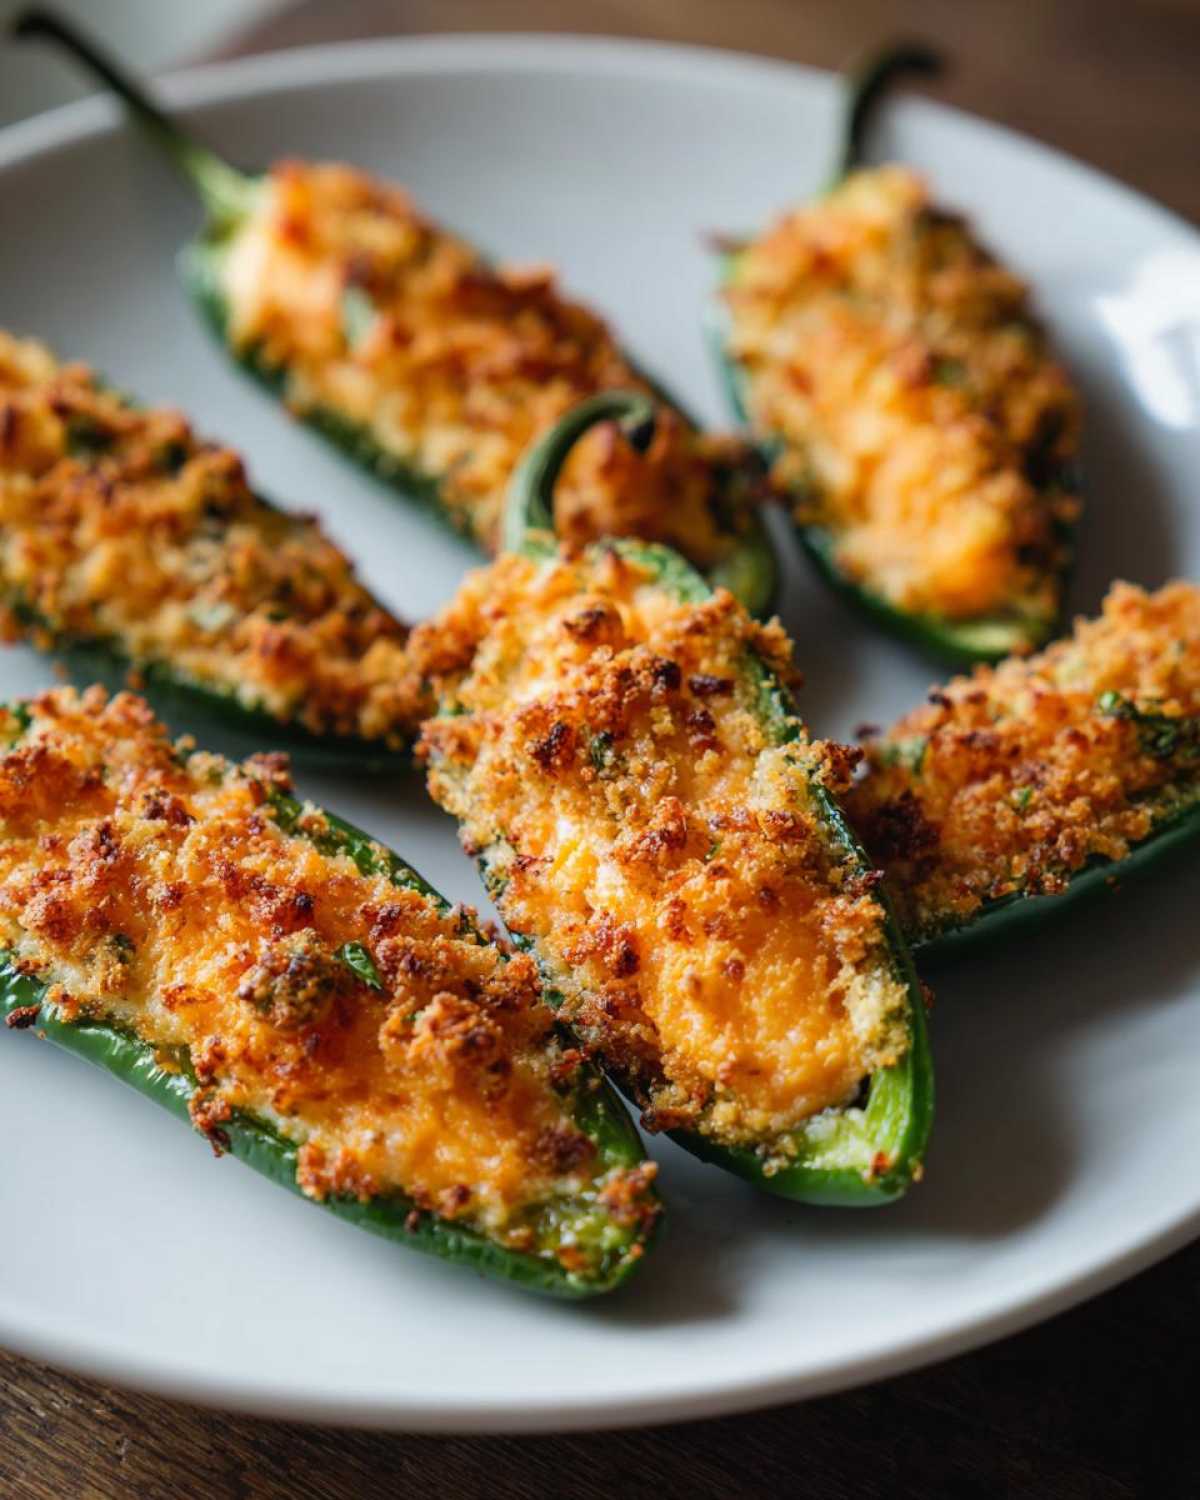
Tips for Success Making the Best Jalapeño Poppers
Even though these are easy, Richard always insists that the key to making truly memorable jalapeño poppers lies in those little details we picked up from every local market stand we visited over the years. You want that satisfying snap when someone takes a bite, not a sad, limp pepper!
First, let’s talk about the heat control again, because it’s so important. If you’re serving these to guests who are spice-shy, here is a trick that always works for us: after you hollow out the peppers, just drop them into a bowl of ice water for about fifteen minutes. That cold soak seems to calm the residual pepper oils down just a hair, making them wonderfully mild but still flavorful. We learned this from a lovely lady in New Mexico!
Next, if you really want to step these up for a special occasion—maybe a big anniversary party or even just a really important football game—you absolutely have to try the bacon wrapped poppers variation. The notes mentioned it, but honestly, it’s non-negotiable for me now! After you stuff them with the cheese mixture, just wrap half a thin strip of bacon securely around the whole thing before you sprinkle on your panko. Bacon fat dripping into the cheese while it bakes? Perfection. You can find our detailed guide on that specific method right here: bacon wrapped jalapeño poppers.
And finally, a pointer from my dear Richard about presentation: when you are spooning that filling in, make sure you mound it slightly higher than the rim of the pepper cup. It looks so much more appealing coming out of the oven that way! It gives the popper a more luxurious, generous look, and it ensures that wonderful, crispy breadcrumb topping gets maximum exposure to the heat. It’s a small thing, but it makes all the difference on the platter!
Variations on Classic Jalapeño Poppers
Now, I know we just raved about the classic baked version, but if you’re like Richard and always looking for *just one more layer* of flavor, we’ve experimented quite a bit with these jalapeño poppers over the years. They are such a wonderful canvas for creativity because the texture of the pepper and the creaminess of the cheese hold up well to changes.
The easiest adjustment, of course, is playing with the cheese. While sharp cheddar is my go-to because of that wonderful tang, trying smoked Gouda instead will give you an incredible, woodsy depth that pairs beautifully with the heat. If you use Gouda, I usually cut back on the onion powder just a tiny bit because the cheese brings so much flavor itself. It truly transforms these into something much fancier than a simple game night snack!
For those who read the spice level notes and thought, “Hmm, I wish these were even spicier,” I have a trick that avoids making the overall filling watery. Instead of skipping the deseeding step (which I still recommend for everyone else!), you can take just two or three of the de-seeded pepper tops and mince them up very, very finely—almost to a paste. Mix that minced pepper right into your cream cheese and cheddar mixture. It delivers that concentrated pepper punch right in the center without making the rest of the filling too aggressive.
If you are looking for another great cheesy appetizer that really leans into the baked route, you absolutely have to try our recipe for hot spinach and artichoke dip. It uses similar cheeses but in a completely different, dippable format—perfect for when you have a crowd!
Serving Suggestions for Your Spicy Appetizer Poppers
Once these beautiful, bubbly jalapeño poppers come out of the oven, the hardest part is waiting for them to cool just enough so you don’t burn the roof of your mouth! Remember that short cooling period we talked about? That’s when you want everything else ready to go. These are definitely finger food, but they are so rich and satisfying that they cry out for a wonderful side sauce to cut through the cheese and the spice.
Richard loves anything cool and tangy with his peppers. If you are looking for something classic that everyone loves, you simply cannot go wrong with a good, thick ranch dressing. Make sure it’s a good one; none of those thin, watery bottles! The cooling ranch just balances the fire from the pepper so nicely. If ranch isn’t your style, a simple dollop of sour cream mixed with just a squeeze of lime juice and maybe a tiny bit of chopped fresh cilantro is fantastic.
If you want to get fancy—and you know Richard loves to show off his palate—we sometimes make a slightly different dip. We have a recipe for an easy French fry sauce that we adapted years ago, and it works like a dream here too! It’s creamy, slightly sweet, and has a little mustard tang. It works with these savory poppers just as well as it does with salty fries.
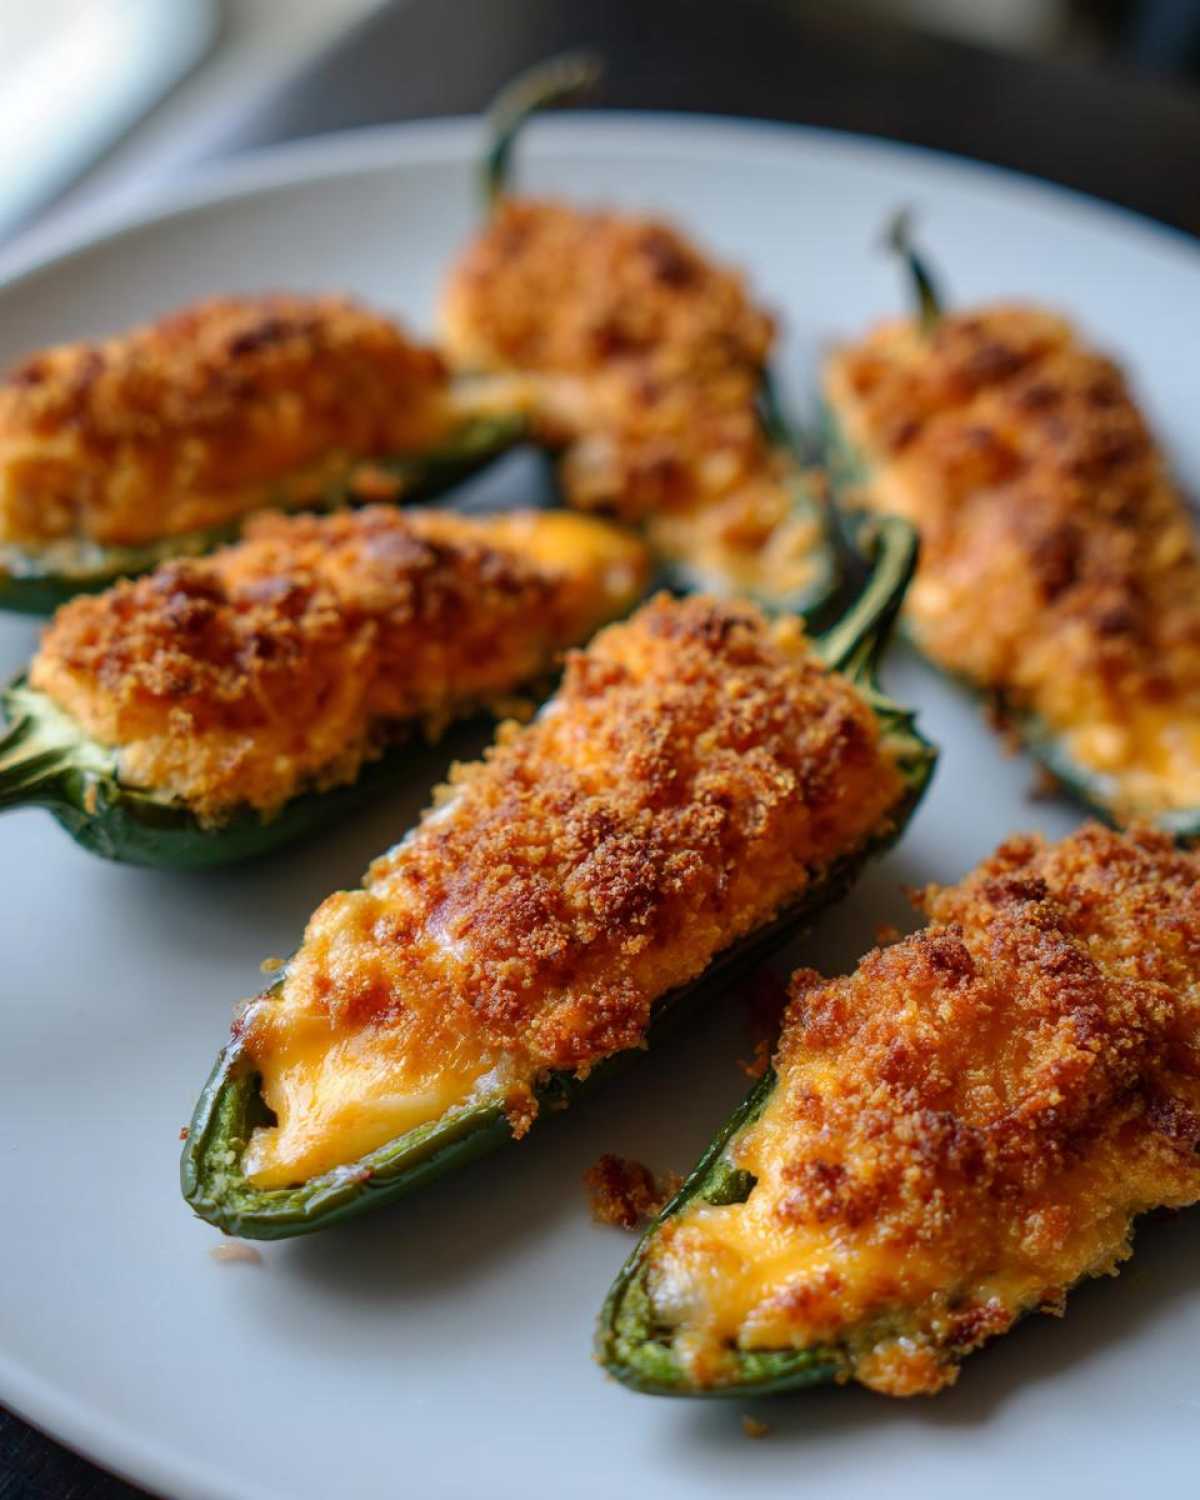
The best way to serve them is immediately after that short rest, piled high on a platter with a small bowl of your chosen dipping sauce right in the center. They really don’t stay hot for long, and the crunch from the panko is best when fresh. Enjoy watching everyone grab two or three before you even finish plating the rest!
Storage and Reheating Instructions for Leftover Jalapeño Poppers
Even though they usually vanish the second I put them out, sometimes Richard and I manage to save a few of these little cheesy jewels for the next day. But here’s the thing about anything breaded, especially baked jalapeño poppers: they lose that glorious initial crunch once they go into the fridge, and that’s a sad, soggy truth we have to confront!
If you have leftovers, the absolute best thing you can do is get them into an airtight container within an hour of them cooling down slightly. Don’t leave them sitting out at room temperature for too long; we want to keep things safe, especially with all that cream cheese inside. They should be perfectly fine in the refrigerator for about three, maybe four days max.
Now, for reheating—this is crucial, friends. Please, for the love of crispy toppings, do not reach for the microwave! The microwave is the enemy of crispness; it just steams the breadcrumbs right into mush. Richard and I always use the oven, or even a toaster oven if we only have a few left.
Preheat your oven back up to about 375 degrees Fahrenheit. This is slightly lower than the baking temp, which helps reheat without burning the topping before the center gets warm. Lay your leftover poppers right on a baking sheet—no need to add extra butter or anything—and pop them in for about 8 to 10 minutes. You’ll see the cheese soften up again, and those panko crumbs will crisp right back up nearly to their original glory. It’s like they were just made!
If you’re making a big batch ahead of time, I have found that you can actually stuff them, assemble them fully right down to the panko coating, and then place them on the baking sheet, cover them tightly with plastic wrap, and keep them in the fridge for up to 24 hours before baking. Just add about 5 to 7 extra minutes to the bake time. If you want to try prepping ahead while also making a hearty pasta dish, make sure you check out our very simple one-pot creamy sausage gnocchi recipe!
Frequently Asked Questions About Making Jalapeño Poppers
Richard and I always compile these questions after we’ve finished writing up the process because they represent the exact things we used to wonder about when we first started making party snacks like these. It’s natural to have questions, especially when you’re dealing with heat and trying to keep things crispy!
Can I make these *cream cheese stuffed jalapeños* ahead of time?
Oh yes, you absolutely can! This is one of the great things about this recipe. If you’re planning a big party, you can stuff all of your peppers, put the panko on top, and place them on the baking sheet just like we did in the assembly steps. Cover them tightly with plastic wrap and pop them into the fridge for up to a full day. When you are ready to bake, just add 5 to 7 extra minutes to your bake time since they are starting cold. They still come out fantastic!
What is the best way to make *baked jalapeño poppers* crispy?
The panko breadcrumbs mixed with melted butter are our secret weapon for crispness, but you have to give them space to work their magic! When you place the stuffed peppers on your baking sheet, make sure they aren’t touching each other at all. If they are crowded, the steam gets trapped between them, and that’s when you end up with soft sides instead of crispy ones. Give them at least half an inch of breathing room between each one. That high heat and space allow that buttery coating to crisp up perfectly, giving you that satisfying crunch with every bite of your jalapeño poppers.
We also always recommend using panko over standard breadcrumbs. Panko crumbs are lighter and flakier, so they absorb less moisture and toast up much faster and crunchier. It truly makes a difference for these spicy appetizer poppers!
If you ever need to get in touch with us about a specific recipe tweak, please feel free to send us a note through our contact page. We love hearing how your cooking adventures turn out!
Approximate Nutritional Data for These Jalapeño Poppers
One thing Richard always reminds me of, especially when we’re sharing recipes with others, is that we are cooks, not nutritionists! We are busy remembering those wonderful tastes from around the world—we aren’t sending everything off to a lab for exact counts. So, I want to be upfront: the numbers below are estimates based on the core ingredients listed for two of these baked jalapeño poppers.
These figures assume you made the basic baked version, without the optional bacon wrap, and they don’t account for any dipping sauces you might add on the side. Please use these as a general guide only! If you need precise dietary information for health reasons, make sure you input the exact brands you use into a reliable online calculator. For the full context of our site policies, you can check out our disclaimer page.
- Serving Size: 2 poppers
- Calories: 150
- Total Fat: 12g (Saturated Fat: 7g)
- Protein: 6g
- Total Carbohydrates: 6g (Fiber: 1g, Sugar: 1g)
- Cholesterol: 30mg
Easy Baked Jalapeño Poppers with Cream Cheese Filling

Make these simple, spicy, and cheesy jalapeño poppers in the oven for a perfect game night appetizer. Control the heat by removing the seeds.
- Prep Time: 20 min
- Cook Time: 20 min
- Total Time: 40 min
- Yield: 24 pieces
- Category: Appetizer
- Method: Baking
- Cuisine: American
- Diet: Vegetarian
Ingredients
- 12 large jalapeño peppers
- 8 ounces cream cheese, softened
- 1 cup shredded sharp cheddar cheese
- 1 teaspoon garlic powder
- 1/2 teaspoon onion powder
- 1/4 teaspoon salt
- 1/4 teaspoon black pepper
- 1 cup panko breadcrumbs
- 2 tablespoons melted butter
Instructions
- Preheat your oven to 400 degrees Fahrenheit. Line a baking sheet with parchment paper.
- Put on gloves before handling the peppers to protect your skin. Slice the jalapeños in half lengthwise. Use a small spoon to carefully scrape out the seeds and white membranes. This step controls the heat level.
- In a medium bowl, mix the softened cream cheese, cheddar cheese, garlic powder, onion powder, salt, and pepper until well combined. This is your creamy cheese filling.
- Spoon the cheese mixture evenly into each jalapeño half, mounding it slightly.
- In a shallow dish, mix the panko breadcrumbs with the melted butter.
- Dip the top (cheese side) of each stuffed pepper half into the buttered breadcrumbs, pressing gently so the crumbs stick.
- Place the poppers, cheese-side up, on the prepared baking sheet.
- Bake for 18 to 20 minutes, or until the cheese is melted and bubbly and the pepper edges are slightly softened.
- Let them cool for a few minutes before serving your spicy appetizer poppers.
Notes
- If you prefer a bacon wrapped poppers style, wrap half a slice of bacon around each stuffed pepper before breading and baking.
- For a milder flavor, soak the hollowed-out peppers in ice water for 15 minutes before stuffing.
- If you want extra crunch, you can lightly toast the panko breadcrumbs before mixing them with the butter.
Nutrition
- Serving Size: 2 poppers
- Calories: 150
- Sugar: 1
- Sodium: 250
- Fat: 12
- Saturated Fat: 7
- Unsaturated Fat: 5
- Trans Fat: 0
- Carbohydrates: 6
- Fiber: 1
- Protein: 6
- Cholesterol: 30