

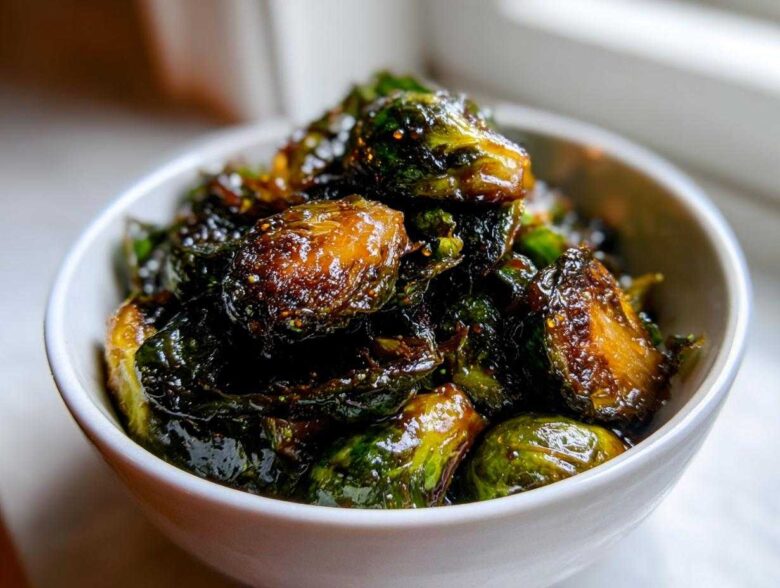
Oh my gosh, I know exactly what you’re thinking. You walk out of that big, bustling restaurant, and what is the one thing you can’t stop thinking about? It’s not the beer, I’ll bet you a dollar – it’s those incredible sprouts! I spent way too long trying to nail down that perfect crunch combined with that sweet, tangy glaze. Trust me, I’ve burned enough oil to fill a small kiddie pool trying to get this recipe right.
But the search is over! I finally cracked the code for the definitive copycat recipe for the famous Yard House Brussels Sprouts. This isn’t some sad, soggy version; this is deep-fried perfection tossed in that signature sauce. We’re talking restaurant-quality appetizer that you can easily make when that craving hits!
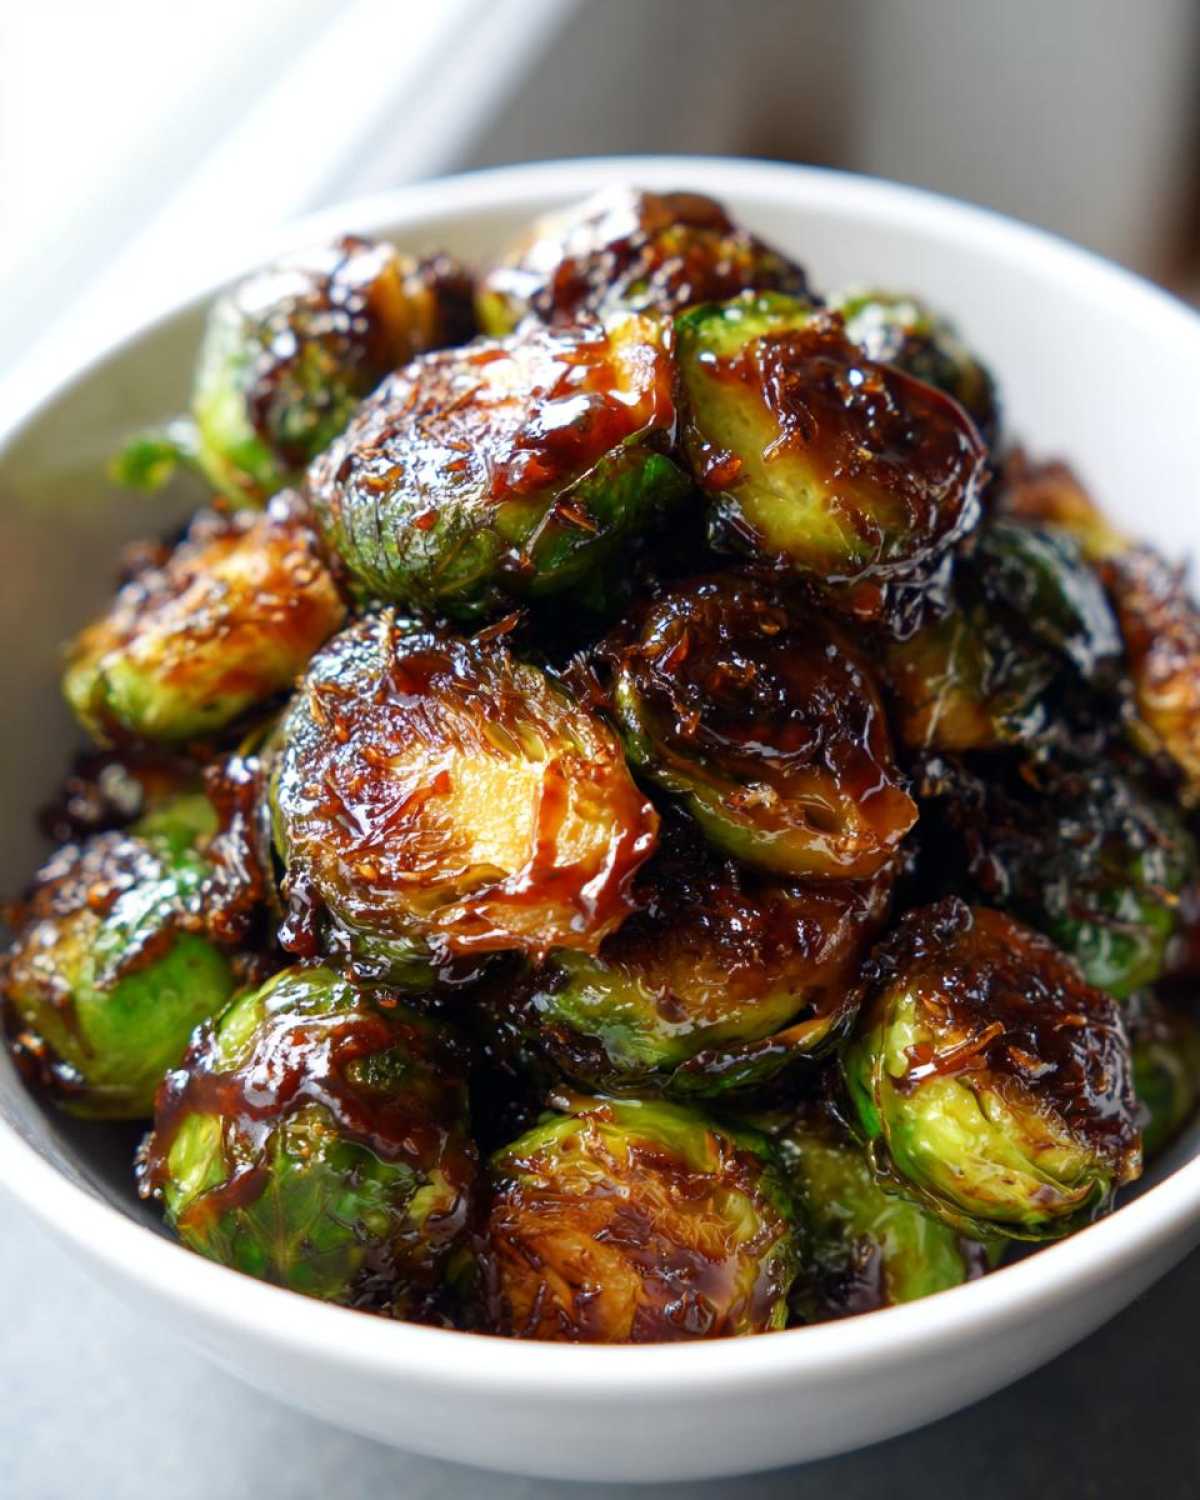
Why You Will Love This Copycat Yard House Brussels Sprouts Recipe
If you’ve been dreaming about those perfect sprouts, this is your answer. You don’t need to drive all the way to the restaurant to get that signature appetizer experience. I promise, these will become your go-to party food!
- You get that ideal flavor profile: savory, salty, and that unmistakable sweet tang.
- The texture is spot on! We’re hitting the sweet spot of crispy exterior and tender center.
- You get the ultimate Copycat Yard House Brussels Sprouts experience using simple ingredients!
Achieving Crispy Glazed Brussels Sprouts Perfection
Folks, the secret to the texture everyone raves about is the fry. We toss them lightly in flour first, which shields them while they hit the hot oil. This quick, high-heat cooking sets the outside before the inside gets mushy. It’s the only way to get that real restaurant bite.
The Signature Balsamic Glaze for Your Yard House Brussels Sprouts
The glaze really ties it all together, doesn’t it? It’s nowhere near as complicated as you might think! We rely on a quick reduction of balsamic vinegar, honey, and a touch of soy sauce. This simple mix is exactly what gives the Crispy Glazed Brussels Sprouts their famous sweet-and-sour finish.
Essential Ingredients for Authentic Yard House Brussels Sprouts
Okay, let’s talk about supplies. Getting the authenticity right means sticking close to the list. Don’t try to skip the honey or use cheap vinegar; these flavors really stand out in the glaze for the Savory Glazed Vegetables, so we need good stuff!
First, grab about two pounds of fresh Brussels sprouts. You have to trim them up and halve them—no using those tiny, dried-out ones that look suspicious. They are the star, so we treat them right.
For the coating, plain old all-purpose flour is what does the trick for that crisp crust, along with salt and pepper for basic seasoning. Then, for the amazing sauce, you’ll need balsamic vinegar, honey, soy sauce, Dijon mustard, and just one tiny clove of garlic, minced super fine.
Honestly, the quality of your balsamic vinegar makes a huge difference when aiming for the best Yard House Copycat Recipes. Keep these ingredients on hand, and you’re halfway to appetizer heaven!
Step-by-Step Instructions: How to Make Restaurant Style Appetizer Recipe
This is where the magic happens! Don’t let the deep frying scare you off; keeping the oil temperature right is the key to success here. Take your time with the first couple of steps, and you’ll be rewarded!
Preparing and Coating the Sprouts
First thing, let’s get those sprouts dusty. Combine your flour, salt, and pepper in a bowl—you want a light dust, not a heavy breading. Toss your halved sprouts in that mix, and the biggest tip here is to give them a good shake over the bowl before they hit the oil. We only want a thin layer of coating sticking; too much flour will burn before the veggie cooks!
Frying for Maximum Crispness in Your Yard House Brussels Sprouts
This is the make-or-break moment. You need about two inches of vegetable oil heated up to 350°F (that’s 175°C). If you toss a tiny bit of flour in and it sizzles immediately, you’re close! Fry those coated sprouts in small batches—seriously, small batches! If you crowd the pot, the oil temperature drops instantly, and you’ll end up with soggy sprouts. Give them about 5 to 7 minutes until they’re that gorgeous, deep golden brown.
Creating the Signature Balsamic Glaze
While the last batch is draining on paper towels—and make sure you drain them well!—whisk together your five glaze ingredients in a small saucepan. Bring that mixture to a simmer over medium heat. You’re looking for it to reduce down a bit until it’s thick enough to coat the back of a spoon. It should smell tangy and sweet—taste it! If it’s too sharp, toss in a tiny bit more honey.
Glazing and Serving Your Crispy Glazed Brussels Sprouts
Once the sprouts are drained and cooled just slightly, drop them into a big bowl. Pour that warm glaze right over the top and toss them gently but quickly. You want them coated, not drowned! Serve these immediately. Like any fried food, they are truly best enjoyed within moments of glazing for that perfect textural contrast.
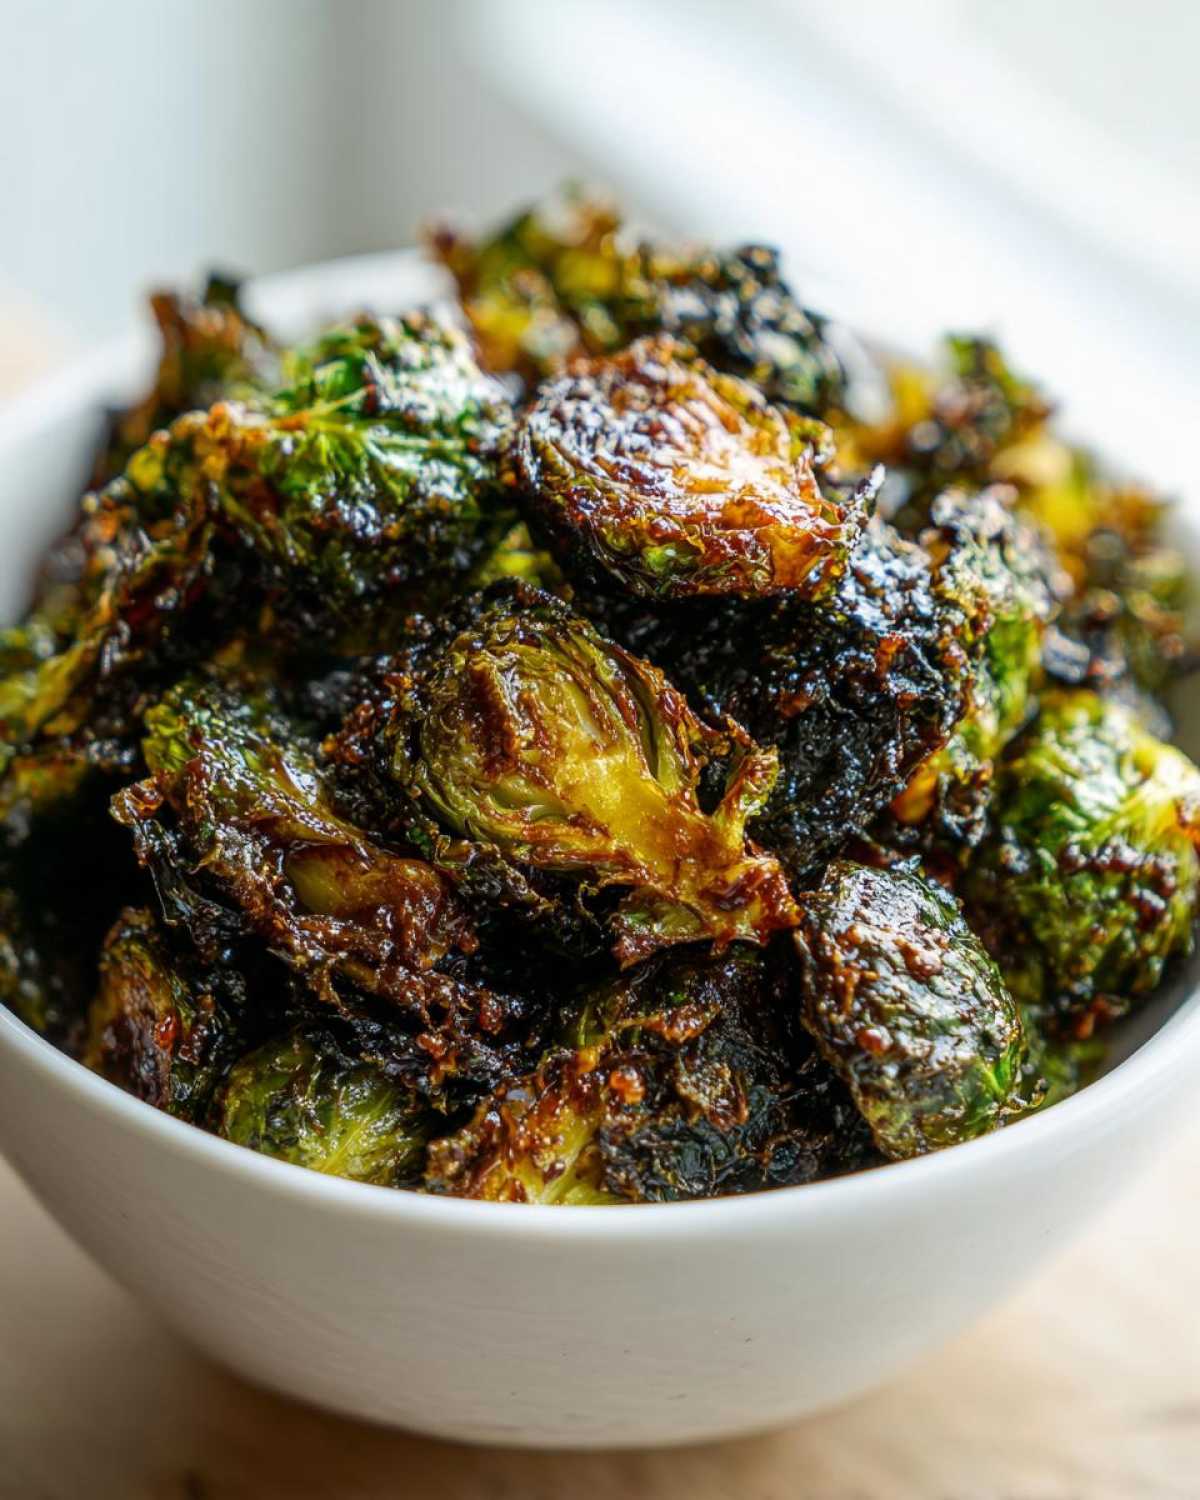
Expert Tips for Perfect Yard House Brussels Sprouts Every Time
I’ve made this recipe so many times now, and I’ve learned a couple of tricks to make sure you nail the restaurant texture without needing a catering license. Remember, while the recipe is straightforward, small details make the difference between good and genuinely great, copycat-worthy sprouts.
My number one piece of advice for achieving the absolute best Yard House Brussels Sprouts is safety first, especially around hot oil. Always make sure those sprouts are dry before they go into the flour, and never, ever overcrowd the fryer. It’s tempting to speed things up, but sogginess waits for no one!
Alternative Cooking Methods for Yard House Brussels Sprouts
Now, I know deep frying isn’t everyone’s favorite thing to deal with indoors. If you absolutely must bake them, go for it! Toss them with a tiny bit of oil and roast them on a sheet pan at 400°F until they are nice and charred. But I’m going to be honest? Roasting gets them crispy, but frying gets you that signature thick, almost shatteringly crisp shell that the restaurant serves. If you bake, just be prepared for a slightly more tender result overall.
Ingredient Adjustments for Your Perfect Glaze
The beauty of making this at home is you get to customize! That glaze has a lovely sweet and savory punch, but if you’re like me and like things extra tangy, feel free to cut back on the honey just a touch. Or, if you want a little extra kick along with the balsamic, try adding a tiny dash of red pepper flakes to the saucepan while the glaze simmers. Just taste as you go!
Ingredient Spotlight: Why Balsamic Vinegar Works for Yard House Brussels Sprouts
When we talk about what makes these sprouts so addictive, we have to give a huge shout-out to the balsamic vinegar. It’s not just vinegar; it’s complexity in a bottle! It provides that deep, almost fruity acidity that cuts right through the richness of the frying oil and balances out the sweetness from the honey.
When you simmer it down for the glaze, you concentrate those flavors, creating that perfect sweet-and-sour zip that defines the Balsamic Glazed Vegetable Side Dish. Using a slightly nicer quality balsamic makes a noticeable difference here, trust me on this one!
Serving Suggestions for Your Gourmet Vegetable Sides
Now that you have these amazing, crispy sprouts, what are you going to eat them with? Since they are such a hearty appetizer, they pair perfectly with classic bar food mains. Think about pairing them with a juicy gourmet burger or maybe some crispy ahi tuna tacos!
If you’re making a bigger meal, they work great alongside creamy mac and cheese or a simple grilled steak. They elevate any casual spread! Honestly, though, they are so good, sometimes I just make a huge batch and call it dinner. Check out my list of other Appetizer Recipes to Make at Home for more inspiration!
Storage and Reheating Instructions for Leftover Yard House Brussels Sprouts
If you manage to have any leftovers—which I highly doubt, they go fast!—you need to handle them properly or you’ll lose that precious crunch. Store any remaining glazed sprouts in an airtight container. Don’t leave them out on the counter; refrigeration is a must if you want them to last beyond a few hours.
The absolute biggest rule? Do NOT reheat these in the microwave! Microwaves are the enemy of anything crispy—they just steam everything. To bring back the glory of your Yard House Brussels Sprouts, you have to use dry heat. Pop them in an air fryer for about 4 minutes until they crisp back up, or use your oven at about 375°F until they are hot and slightly toasted again. A little reheat effort goes a long way!
Frequently Asked Questions About Making Crispy Glazed Brussels Sprouts
I get so many messages asking about tweaks and little details on this recipe, which is great! It means you all are serious about making these at home. Here are the questions I hear the most when people are trying to make the ultimate Quick Vegetable Side Dishes copycat.
Can I roast these instead of deep frying to make the Yard House Brussels Sprouts?
Yes, you absolutely can roast them, and sometimes I do when I’m making a huge batch and don’t want to deal with deep frying! Just make sure you toss them lightly in oil and roast them at a high heat, like 400°F (200°C), until they get nice and browned on the edges. However, if you want that true, thick, crackly crust like the restaurant, frying is still the gold standard for the genuine Yard House Brussels Sprouts experience.
What oil temperature is best for achieving the restaurant texture?
Don’t guess on this one! You need that oil to be steady at 350°F (175°C). If it’s too cool, the flour coating soaks up oil and gets greasy. If it’s too hot, the coating burns before the inside softens up. Using a simple candy thermometer is a lifesaver here to lock in that perfect texture!
How far in advance can I make the balsamic glaze?
The glaze is your friend because it holds up really well! You can totally make the glaze a day or two ahead of time. Just store it in an airtight container in the fridge. When you’re ready to glaze your sprouts, gently warm the sauce on the stove until it’s back to that perfect pourable consistency. It saves so much time when you’re frying in batches!
Recipe Details and Estimated Nutrition
Now that you’ve got the technique down for making truly amazing Yard House Brussels Sprouts, here are the quick stats so you know what you’re committing to! This recipe is super fast, which I love for a weeknight treat or a party appetizer.
You’re looking at just 15 minutes of prep time—that’s mostly trimming the sprouts—and another 15 minutes of cooking time. So, 30 minutes from start to finish! It yields about 4 generous appetizer servings, but honestly, just double it if you’re serving a crew because they disappear so fast.
Here are the basic stats, though remember, since we are deep frying and using a sweet glaze, the numbers are a little higher than just steamed veggies. I put together a quick estimate based on the ingredients we used. You can find my full disclaimer policy over here if you want to read more about how these are calculated.
- Prep Time: 15 min
- Cook Time: 15 min
- Total Time: 30 min
- Yield: 4 servings
- Category: Appetizer
- Method: Frying
- Cuisine: American
- Diet: Vegetarian
And here is the estimated nutrition breakdown per serving:
- Calories: 350
- Fat: 20g
- Carbohydrates: 35g
- Fiber: 8g
- Protein: 7g
- Sugar: 18g
Copycat Yard House Brussels Sprouts

Make the popular crispy, glazed Brussels sprouts from Yard House at home using this straightforward recipe.
- Prep Time: 15 min
- Cook Time: 15 min
- Total Time: 30 min
- Yield: 4 servings
- Category: Appetizer
- Method: Frying
- Cuisine: American
- Diet: Vegetarian
Ingredients
- 2 lbs Brussels sprouts, trimmed and halved
- 1 cup all-purpose flour
- 1 teaspoon salt
- 1/2 teaspoon black pepper
- Vegetable oil, for frying
- 1/4 cup balsamic vinegar
- 2 tablespoons honey
- 1 tablespoon soy sauce
- 1 teaspoon Dijon mustard
- 1 clove garlic, minced
Instructions
- Combine the flour, salt, and pepper in a medium bowl. Toss the halved Brussels sprouts in the flour mixture until lightly coated. Shake off excess flour.
- Heat about 2 inches of vegetable oil in a deep pot or Dutch oven to 350°F (175°C).
- Carefully add the coated Brussels sprouts to the hot oil in batches, being careful not to overcrowd the pot. Fry for 5 to 7 minutes, or until they are deep golden brown and crispy.
- Remove the sprouts with a slotted spoon and place them on a paper towel-lined plate to drain excess oil.
- While the sprouts drain, prepare the glaze. In a small saucepan, combine the balsamic vinegar, honey, soy sauce, Dijon mustard, and minced garlic.
- Bring the mixture to a simmer over medium heat. Cook for 3 to 5 minutes, stirring often, until the sauce thickens enough to coat the back of a spoon.
- Place the crispy Brussels sprouts in a large bowl. Pour the warm glaze over the sprouts and toss gently until they are evenly coated.
- Serve immediately.
Notes
- For extra crispiness, you can briefly toss the sprouts in ice water after trimming before coating them in flour.
- Adjust the honey amount in the glaze if you prefer a sweeter or tangier finish.
- If you prefer not to deep fry, you can roast the sprouts at 400°F (200°C) until tender, then toss them in the glaze. Frying yields the closest texture to the restaurant version.
Nutrition
- Serving Size: 1 serving
- Calories: 350
- Sugar: 18
- Sodium: 450
- Fat: 20
- Saturated Fat: 4
- Unsaturated Fat: 16
- Trans Fat: 0
- Carbohydrates: 35
- Fiber: 8
- Protein: 7
- Cholesterol: 0