

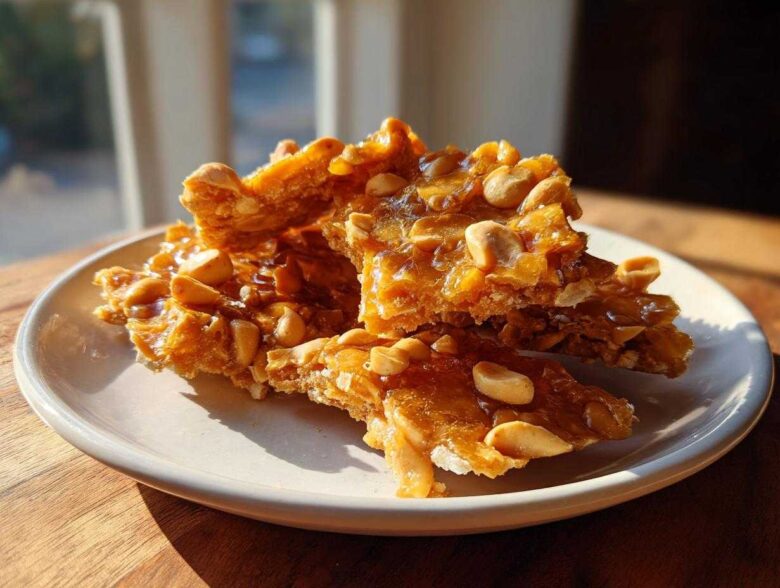
Oh my gosh, there is no sound in the world that beats that sharp, satisfying *CRACK* when you bite into a perfect piece of homemade peanut brittle! Seriously, if it’s chewy, it’s not brittle, right? I have tried so many versions over the years, and I used to get so frustrated when my beautiful caramelized sugar turned into a soft, sticky mess. Ugh! But I learned the hard way—and now I can share the secret with you.
This isn’t just *a* peanut brittle recipe; this is *the* one. I promise you, if you follow my guide, you will ditch every other recipe you have ever tried. We are focusing purely on temperature control, which is the absolute key to getting that amazing, airy, crunchy snap every single time. I still remember the first batch I made back in college; I snuck it into a movie theater instead of buying overpriced candy, and I swear the entire row could hear me breaking off a piece. It wasn’t perfect—it was a little chewy—but the flavor was incredible, and that’s when I knew I had to master the hard-crack stage. We’re there now. Get your thermometer ready; let’s make some magic!
If you’re looking for other easy stovetop treats, check out my latest blog posts for more nostalgic candy inspiration!
Why This is the Best Peanut Brittle Recipe for a Perfect Snap
I can assure you, this is the best peanut brittle recipe because we conquer the number one fear of all candy makers: stickiness! If your homemade brittle recipe ends up clinging to your teeth, it means the sugar didn’t get hot enough. That’s it. End of story! We need to push that sugar mixture all the way to the hard-crack stage, which is 300 degrees Fahrenheit, give or take a tiny bit. Trust me, this precision is what separates the amateur batches from the satisfyingly crunchy, shatter-prone candy that makes everyone ask for your secret.
Forget trying to guess; that’s just asking for trouble when it comes to caramelizing sugar. If you pull it off the heat too early—say, at 290°F—you’ll have soft-ball candy, and it will be wonderfully delicious, but it will definitely be chewy, not brittle. If you somehow burn it trying to get hotter, well, it tastes like charcoal, and nobody wants that! Mastering that 300°F target guarantees that beautiful, sugary snap. Check out my favorite no-bake bars if you’re nervous about the heat, but this brittle is worth it!
Achieving Hard Crack: Essential Candy Thermometer Tips
Your candy thermometer isn’t just a suggestion; it’s your co-pilot on this journey! For this crunchy peanut brittle, we are aiming squarely for 300°F. This temperature means all the water has boiled off, and the sugar strands have locked into a sturdy, glassy structure that gives you that perfect sound when you break it. When you insert it, make sure the tip *isn’t* touching the bottom of that heavy pot—that pocket of sugar will get way hotter way faster and give you a false reading, which is a recipe disaster!
If you hit 305°F, you’re flirting with burning, and you’ll start smelling that acrid, bitter scent, so pull it off the heat right around 298°F and assume it will climb the last couple of degrees as you stir in the goodies. That’s the trick to being a pro candy maker; you anticipate the heat trajectory!
Ingredients for Your Old Fashioned Peanut Brittle Recipe
When you make old fashioned candy like this, the quality of the simple ingredients really shines through. Don’t try to sneak margarine in here; we need real equipment and real components to get that perfect, buttery flavor! I gather everything before I even turn the stove on because once we hit that hard-crack stage, there’s no time to hunt for the vanilla extract.
You absolutely must use a large, heavy-bottomed saucepan. If your pan is thin, the sugar will scorch on the bottom before the mixture even gets close to 300 degrees, and that’s a sad way to ruin a perfectly good batch of sugar. Also, since we need the best flavor for gifting, using unsalted butter and salt gives us control over the final sweet and salty balance.
Here’s what you need for about a pound of the best crunchy confection you’ll ever eat:
- 2 cups granulated sugar
- 1 cup light corn syrup (this keeps it smooth, don’t skip it!)
- 1 cup water
- 2 cups unsalted, shelled peanuts (a nice chunky roast works best!)
- 2 tablespoons unsalted butter
- 1 teaspoon baking soda (this is our secret to aeration!)
- 1 teaspoon vanilla extract
- 1/2 teaspoon salt
If you want to start exploring other recipes using similar foundational candy techniques, you have to try my Kahlua Fudge—it uses a low-and-slow method, but the quality of the final product is just as satisfying!
Step-by-Step Instructions for Your Peanut Brittle Recipe
Okay, buckle up, because this is the moment where we turn simple syrup into actual, honest-to-goodness, snap-tastic candy! Remember, since you’re working with boiling sugar here, safety is key. Keep kids and pets far away, and don’t touch anything until it’s totally cool. This entire brittle recipe making guide hinges on quick action once we hit that magic temperature, so have your butter, vanilla, salt, *and* that baking soda standing right next to the stove! Once you see the sugar foam up from the soda, you have maybe thirty seconds before it sets hard!
Preparing the Pan and Initial Boil
First things first: grab that big baking sheet—your canvas for deliciousness! You need to grease it really well, or you can line it with parchment paper. Honestly, parchment paper seems easier to me; less scrubbing later! That’s Step 1 done. Now, into your heavy, 3-quart saucepan goes the sugar, the corn syrup, and the water. Place it over medium heat. You want to stir *just* until those sugar granules dissolve. Once you start seeing bubbles, stop stirring!
This is when we install the thermometer. Clip it right onto the side so the tip is submerged safely in the liquid but definitely not touching the bottom of the pan. If the tip rests on the bottom, it’ll read hotter than the actual syrup, and you’ll think you’re there when you’re not, leading to that sticky nightmare! Heat it up, resist the urge to stir, and let it bubble happily away until it hits 250°F. That’s the soft-ball stage; we’re not there yet!
Reaching Hard Crack Stage in This Peanut Brittle Recipe
Once we hit 250°F, it’s time to stir in your 2 cups of peanuts. Now you stir frequently—and I mean *frequently*—to make sure those peanuts cook evenly and don’t just burn in one spot on the bottom of the pan. Keep monitoring that thermometer, and crank the heat up just a bit to medium-high if you need to speed things up, but watch it like a hawk.
The real action starts when you see the reading climb past 290°F. This is where everything happens fast! We are aiming for that 300°F hard-crack stage. When that thermometer finally nudges 300°F, yank the pan off the heat immediately! Do not wait a second! If you let it sit on the burner even for a moment after hitting 300°F, it just gets darker and tastes funky. Remember, the heat trapped in the syrup means it will keep climbing a tiny bit after you take it off the fire, which is perfect.
The Foaming Reaction: Making Your Peanut Brittle Recipe Light and Airy
Okay, fast hands now! While the mixture is still sizzling hot off the stove, quickly stir in your butter, vanilla extract, and salt. Just mix until those are melted and combined—maybe three or four quick stirs. NOW, take your teaspoon of baking soda and just sprinkle it right over the top!
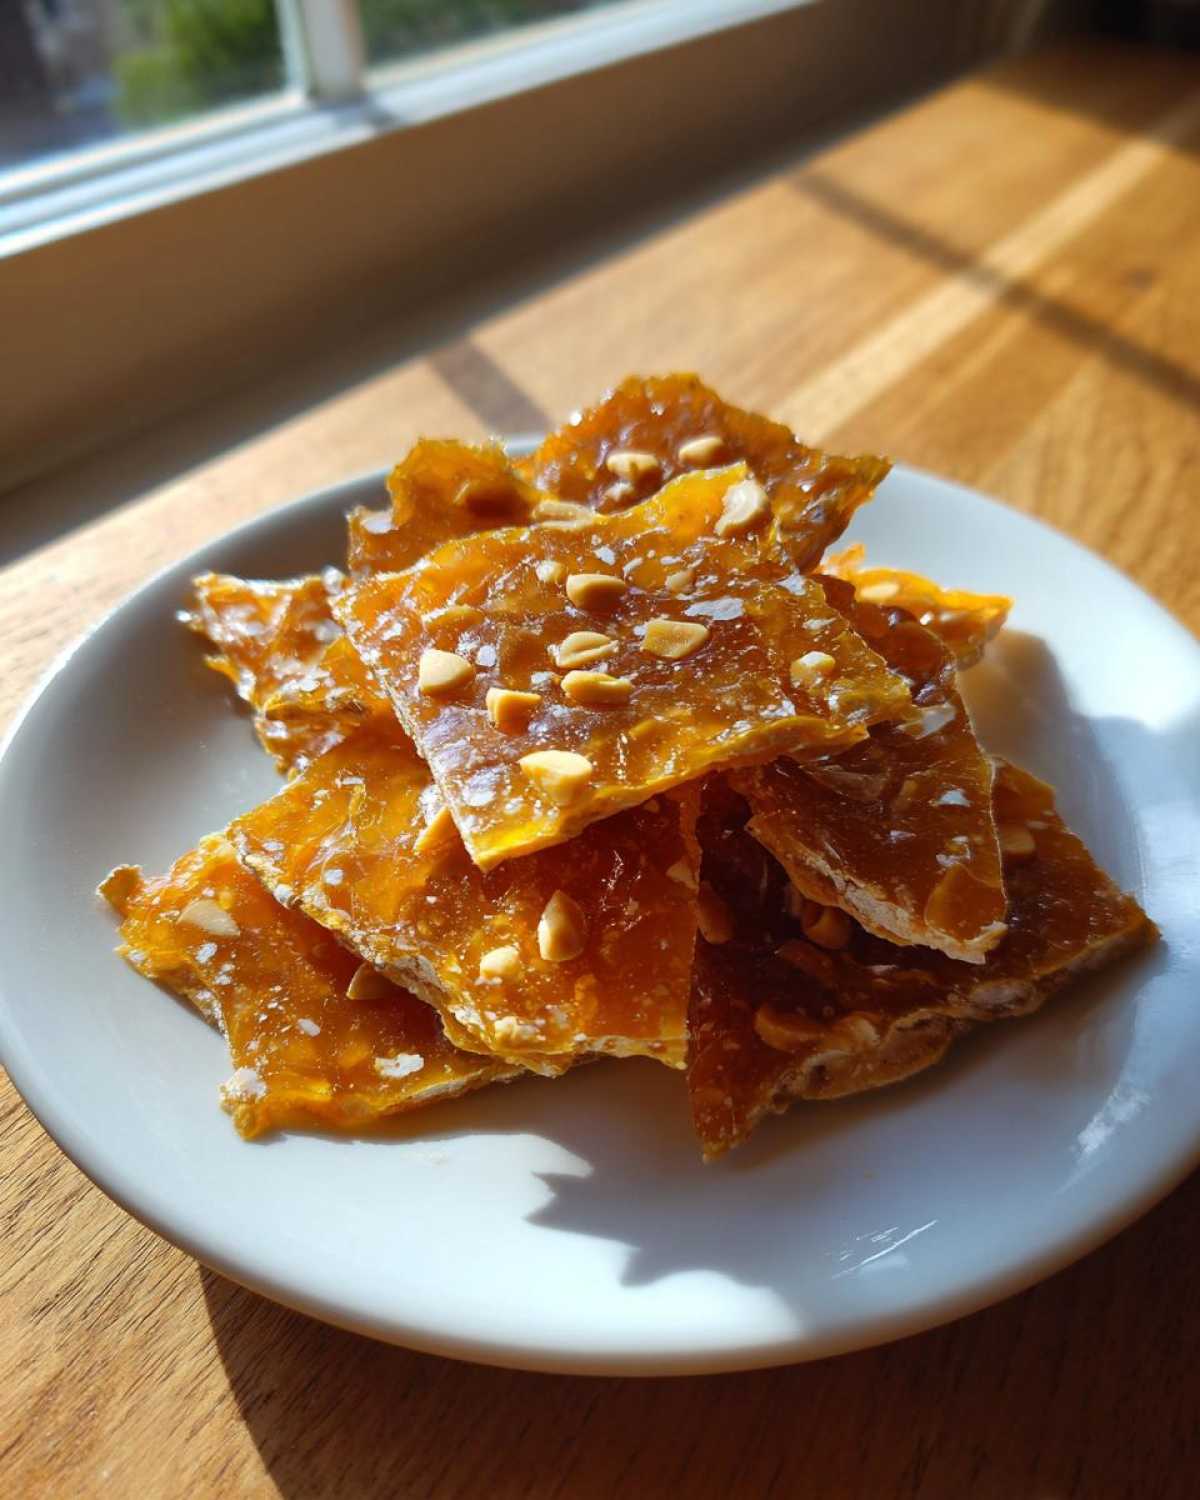
This part is pure chemistry and is how we get that fabulous light and airy brittle texture! The baking soda reacts violently with the hot sugar syrup, creating carbon dioxide bubbles that puff the whole thing up instantly. Stir super rapidly—like, five seconds max—just enough to work the soda throughout the mixture until it’s all foamy and light tan. Don’t overmix, or you’ll crush those beautiful air bubbles we just made! Immediately dump the entire foamy mess onto your prepped sheet pan. Do NOT try to spread it with a spatula—just let it flow into whatever shape it wants! Let it cool completely without touching it, and in about half an hour, you’ll have the crunchiest candy ever!
 If you’re looking for another super speedy stovetop confection, you absolutely have to try my guide on easy microwave caramels next week!
Tips for Success When Making This Peanut Brittle Recipe
Listen, candy making can feel intimidating, especially when you’re going for that perfect snap, but this peanut brittle recipe truly makes it accessible even for a beginner candy recipe seeker. The key is respecting the process and knowing a couple of tricks I learned the hard way.
First up: that silly thermometer! The absolute most important tool we have is the candy thermometer, and I can’t stress this enough—never skip using it. If you try to estimate when you hit 300 degrees, trust me, you’ll end up with sticky disaster goo. My best little tip for cleanup? As soon as you pull that thermometer out of the pan, before the sugar hardens on it, stick the tip into a mug of very hot water. It wipes clean instantly! If you wait even five minutes, you’ll be scraping rock-hard sugar off of it for ages.
Another huge thing to remember is the humidity. Sugar is a total drama queen when it comes to moisture in the air! If it’s pouring rain outside or just generally super damp in your kitchen, the boiling syrup won’t evaporate the water as quickly or efficiently. This can absolutely lead to that slightly sticky, less-than-perfect brittle, no matter how perfectly you hit 300°F. If you have to, schedule your brittle making for a dry day. If you can’t, just know you might need to leave it on the counter an extra 15 minutes to set up fully.
Finally, remember that lightning-fast action when you add the baking soda. That reaction is what gives you those lovely air pockets that make the brittle shatter instead of crumble. You want to stir just enough to incorporate it completely—like, five quick swirls—and then stop. Over-mixing at that last second crushes all the air out, and boom, back to chewy town you go!
If you want to practice rapid stovetop cooking before tackling this one, check out my super quick microwave caramels—they use a similar quick-set principle!
Storage and Gifting Your Homemade Brittle Recipe
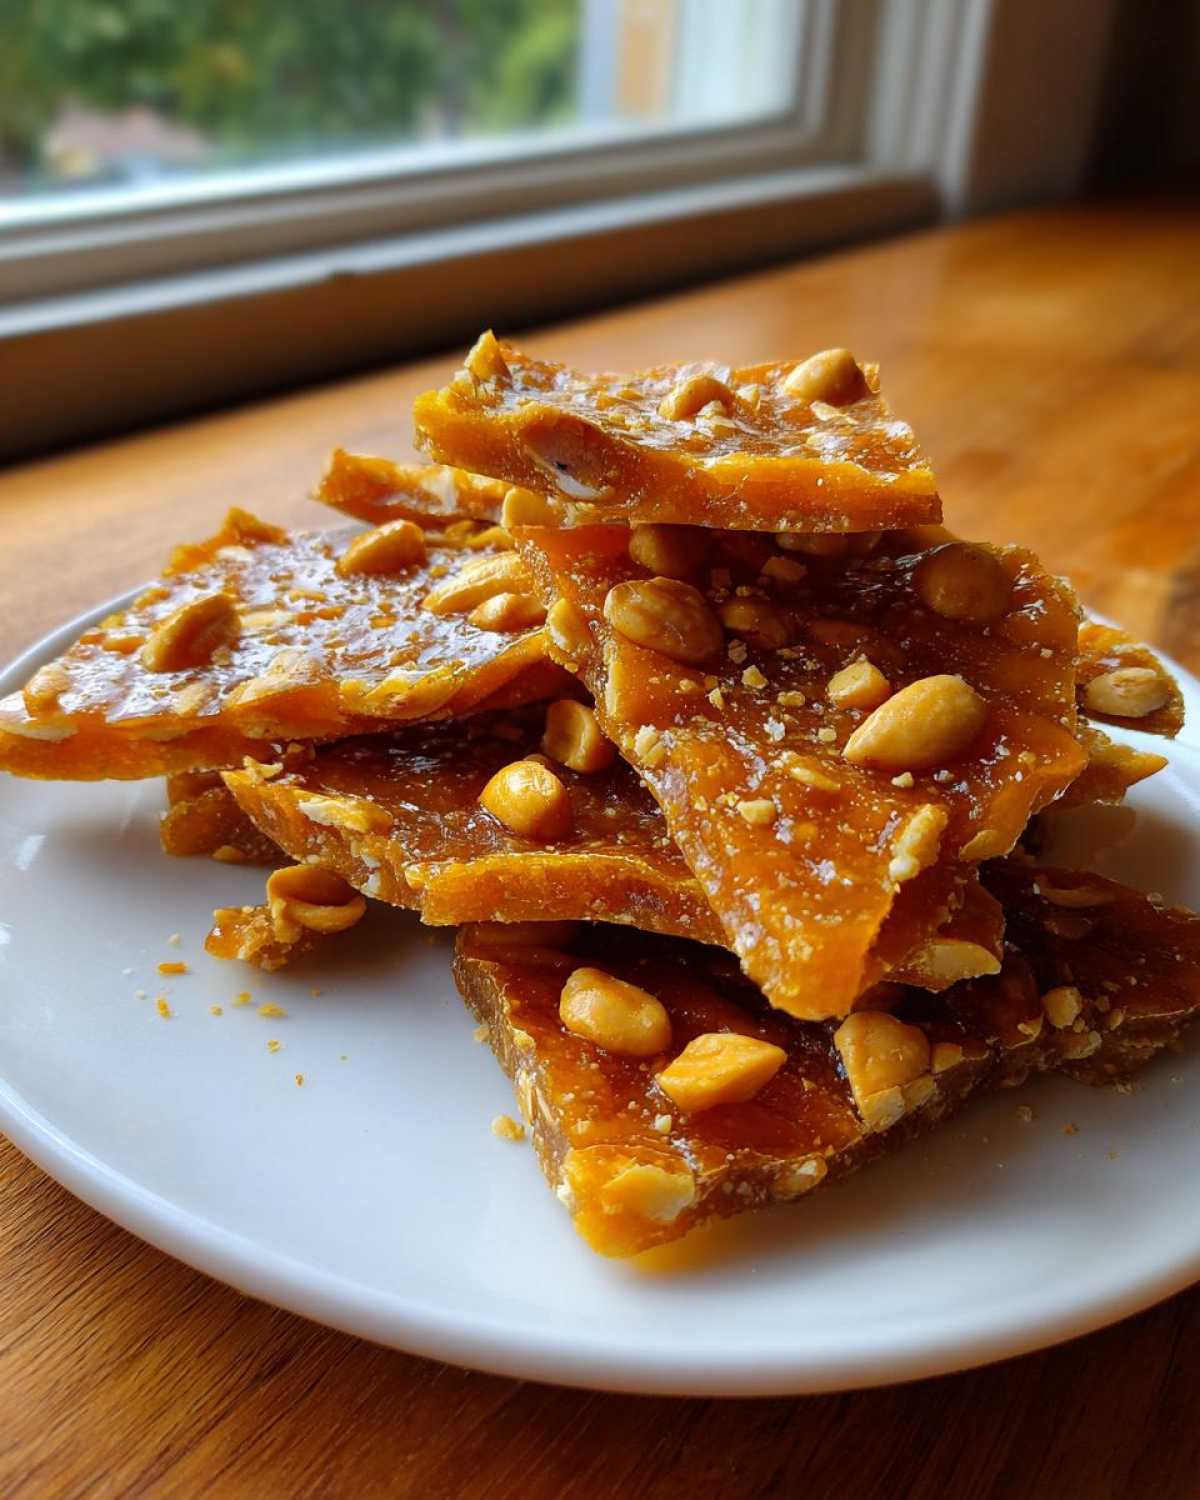
You’ve done it! You’ve achieved the snap! But now we have to keep it that way, right? Nobody wants to spend all that time achieving hard-crack perfection only to have it turn soft overnight. The main enemy here is moisture, so you have to lock that beautiful, buttery peanut brittle away from the air.
The absolute best thing you can do is let it cool completely—and I mean *completely*—then break it into pieces and immediately tuck it into a container with a truly airtight lid. If you have those little silica gel packets that come in everything, toss one in! Store the container in a cool, dry place. Seriously, do not try to refrigerate it; the condensation will ruin the crunch instantly.
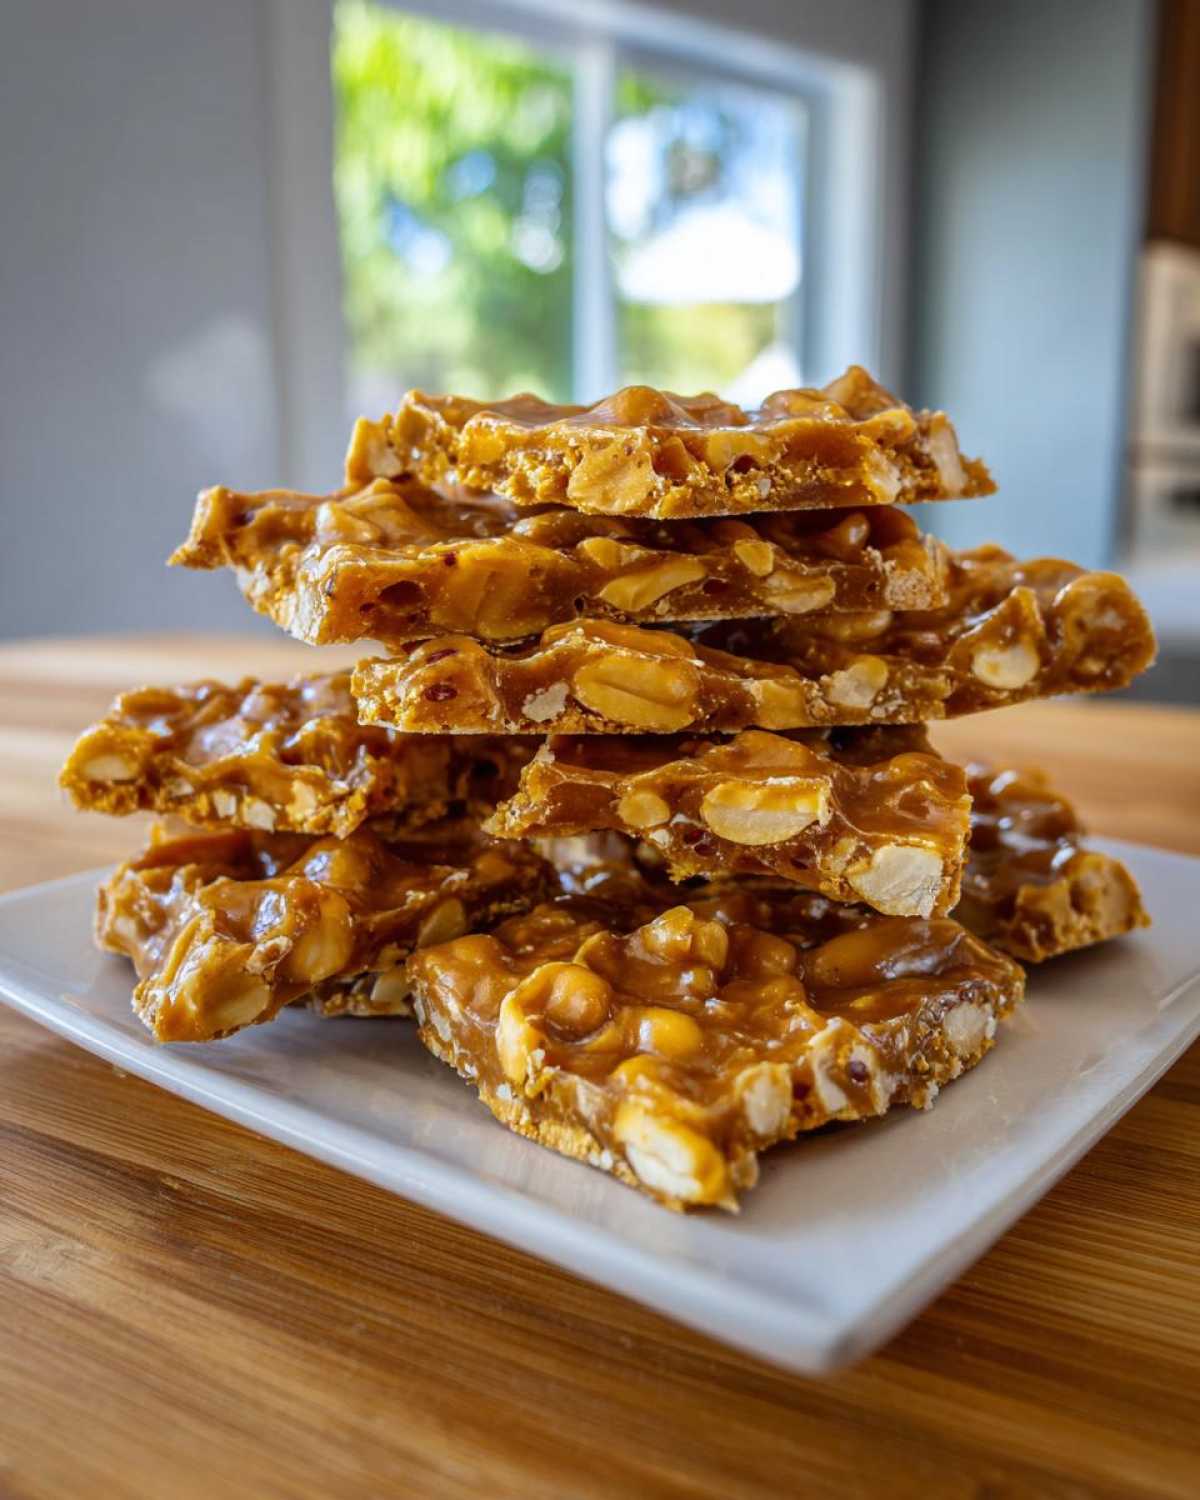 This makes it one of the best holiday candy recipes because it stores so well! If you’re planning on peanut brittle for gifting, wrap the airtight container snugly in some pretty cellophane or tuck the pieces into little cellophane bags tied with a festive ribbon. It looks so gorgeous, and everyone will think you bought it from a fancy candy shop. If you’re looking for another great shareable treat, check out my recipe for moist chocolate chip banana bread!
Variations for Your Classic Peanut Confection
While plain, perfectly crunchy peanut brittle is divine, sometimes you want to shake things up, especially if you’re making a big batch for the holidays and want to use up all the random nuts in the pantry. This base peanut brittle recipe is so solid that it works beautifully with almost any addition you throw at it. You’re creating that perfect base of caramelized sugar, so the flavor additions are just fun layering!
My favorite thing to do when I’m feeling a little spicy is to add a tiny kick right at the end. Seriously, just a *pinch* of cayenne pepper mixed in right with the baking soda makes this a spectacular sweet and salty brittle. It’s warm, unexpected, and people always ask what that secret flavor is!
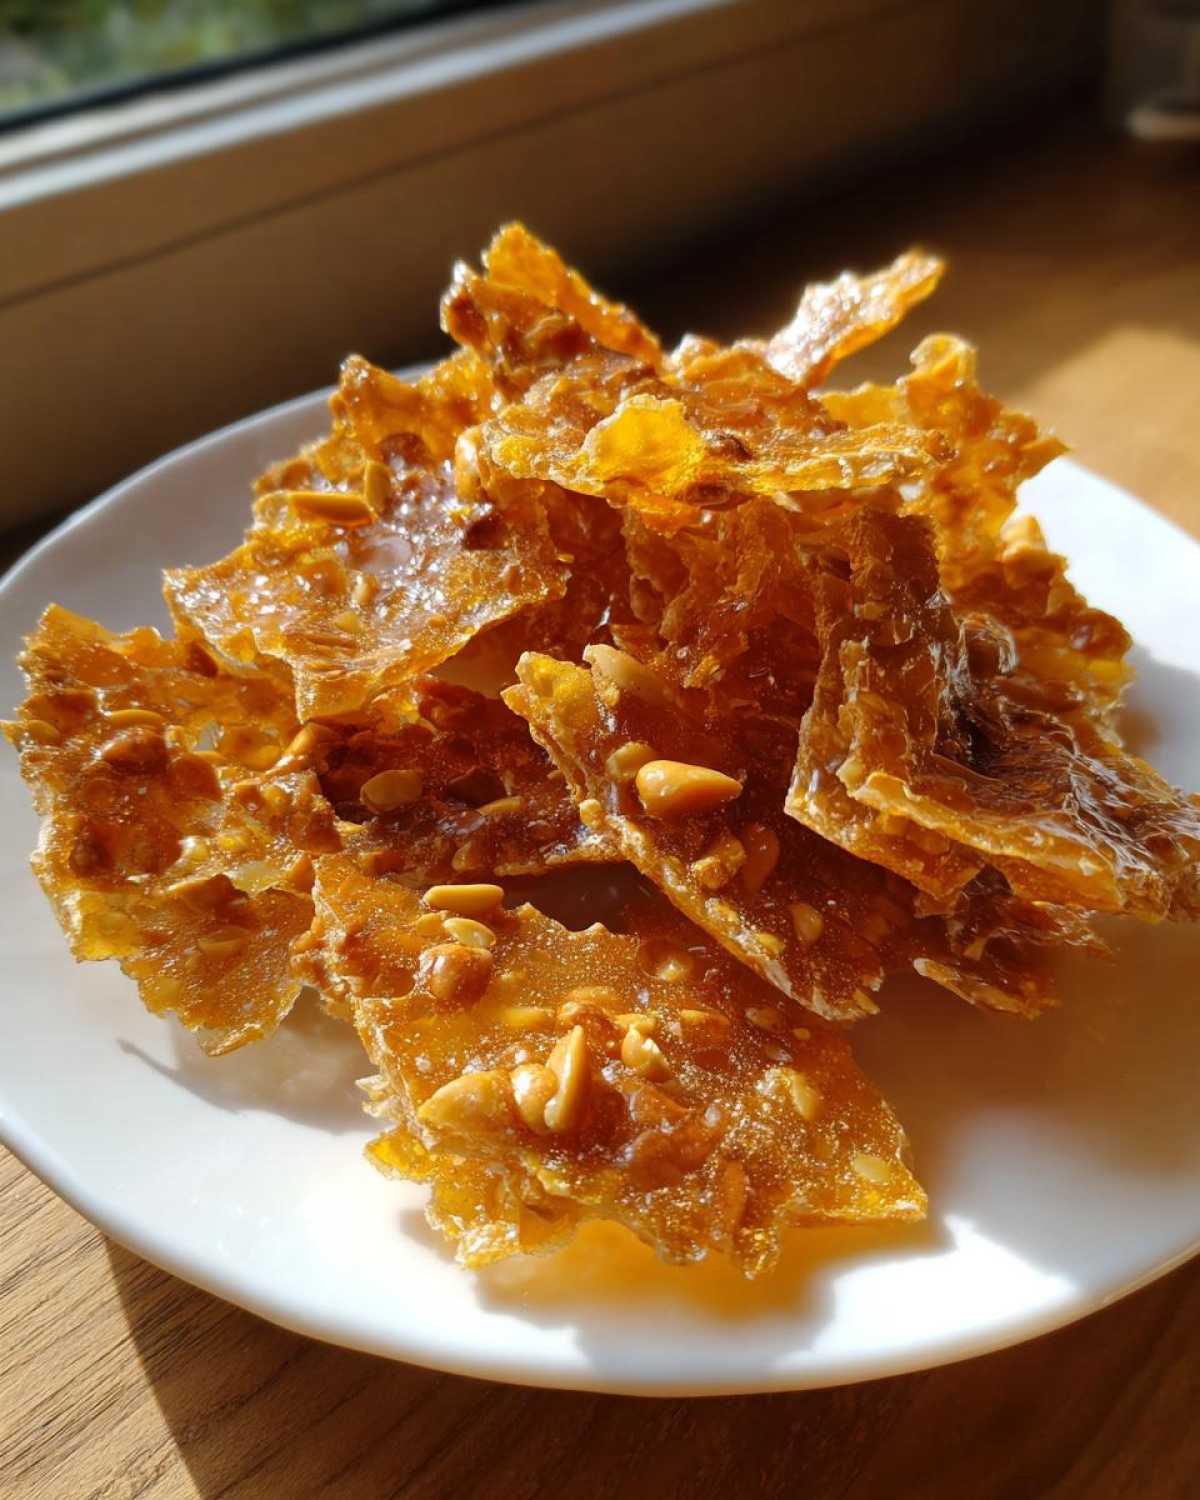 But nuts are the easiest way to change things up. I love swapping out half the peanuts for pecans or slivered almonds. Pecans give it this richer, almost buttery undertone that blends beautifully with the brown notes of the cooked sugar. If you use almonds, make sure they are slivered or in halves rather than whole, just so the thickness of the candy remains consistent when you pour it out.
For an even richer base flavor that leans toward chocolate-covered treats, you can stir in a teaspoon of unsweetened cocoa powder right along with the peanuts when you hit 250°F. It changes the color to a deep amber, and suddenly you have this almost mocha-like brittle—it’s fantastic!
If you’re looking for another fun, slightly different approach to a sweet treat, you’ve got to see my recipe for chocolate-covered strawberry yogurt clusters; they are so refreshing compared to this rich confection!
Frequently Asked Questions About This Peanut Brittle Recipe
If you’ve tried making this recipe and something went a little sideways—don’t worry! That’s just part of learning the magic of sugar. Nine times out of ten, texture issues are related to temperature or humidity when you are learning how to make hard crack candy. Here are the things I hear most often from folks making their first batch of homemade brittle!
Why did my peanut brittle turn out sticky instead of crunchy?
Oh, the sticky monster! I hate that for you. If your brittle is sticky, even after it cools, it means the sugar syrup didn’t cook long enough or hot enough to reach that 300°F hard-crack stage. It’s clinging because there is still too much moisture trapped in the sugar structure. You need to make sure you watch that thermometer closely next time and don’t take it off the heat until you see 300°F! Also, if you live somewhere really, really humid, the air moisture can interfere, so sometimes you just have to accept a *slightly* less brittle product when the weather is terrible.
Can I make this peanut brittle recipe without a candy thermometer?
Technically, yes, but honestly? I strongly advise against it if you want reliable results. When we’re making old fashioned candy like this, the difference between crunchy and chewy is maybe three degrees! If you absolutely must skip the thermometer, you can try the ice water test. Once you think it’s ready, drop a tiny bit of the syrup into ice water. If it forms threads that snap cleanly when you pull them, you’re good. If it turns into a gummy ball you can chew, keep cooking! But trust me, buying a good candy thermometer is the best $10 you’ll ever spend.
How do I get the light and airy texture in my brittle?
That beautiful puffiness that makes the candy so satisfying? That all happens in the last three seconds of the process! It’s all down to that baking soda. You have to add it last, right after you pull the pot off the fire, and stir as fast as you can for just a few seconds until the mixture foams up beautifully. That chemical reaction creates tons of tiny air pockets—that’s your key to light and airy brittle. If you mix too long or too slowly, you crush those bubbles, and it just sets up dense instead of airy.
If you want to see another great, fast recipe, check out my guide on making no-bake chocolate peanut butter cups!
Estimated Nutrition for This Buttery Peanut Brittle Recipe
Now, I hate to rain on the parade of pure, sugary joy, but since this is a truly buttery peanut brittle recipe, we should probably look at what we are dealing with nutritionally—just for fun, though! Seriously, treat this as rough guidance only. I’m not a dietitian, and frankly, when I’m making this nostalgic candy for the holidays, I’m more concerned with how fast it snaps than how much fat is in it! But for those of you keeping track of your macros or just curious about the breakdown, here are the general estimations for a one-ounce serving, based on the ingredient list we used.
Remember, since this is a basic peanut brittle recipe centered on sugar and peanuts, the numbers reflect that! If you’re trying to make a lower-sugar version, you’ll definitely run into issues hitting that hard-crack stage, so I always encourage folks to enjoy this as a special treat rather than an everyday snack.
Here’s the general readout for one ounce:
- Serving Size: 1 ounce
- Calories: 150
- Fat: 8g (Saturated Fat: 2g, Trans Fat: 0g)
- Carbohydrates: 19g (Sugar: 18g, Fiber: 1g)
- Protein: 3g
- Sodium: 35mg
- Cholesterol: 5mg
If you’re looking for something a little lighter on the sweet side that still hits those nutty cravings, you might want to look at my thoughts on protein chia pudding mixing ratios. But when it comes to true, melt-in-your-mouth candy, this brittle can’t be beat!
Share Your Homemade Brittle Recipe Results
I truly hope you loved making this peanut brittle recipe as much as I do! I absolutely live to hear how your candy turned out. Did you get that perfect shatter? Did your kitchen smell like heaven while it was cooling on the counter?
Please, please, please leave me a rating below—five stars if it snapped just like you dreamed! And if you ran into trouble, don’t hide it! Tell me in the comments exactly what happened. Did your thermometer lie to you? Was your kitchen sticky? Knowing your honest feedback helps me refine my tips and helps other bakers learn faster. I read every single comment that comes through, and troubleshooting sticky sugar is one of my favorite (if slightly scary!) challenges.
If you took a picture of your beautiful, shimmering, snappy candy, I’d love to see it! If you decide to share it on social media, tag me so I can admire your handiwork. If you need anything else, you can always send me a quick message. Happy candy making, friends!
PrintPerfectly Crunchy, Old-Fashioned Peanut Brittle Recipe: Easy Steps for the Best Homemade Snap
Follow these simple steps to make classic, crunchy peanut brittle that snaps perfectly every time. This recipe focuses on correct temperature control for a non-chewy result.
- Prep Time: 10 min
- Cook Time: 30 min
- Total Time: 40 min
- Yield: About 1 pound
- Category: Dessert
- Method: Stovetop Cooking
- Cuisine: American
- Diet: Vegetarian
Ingredients
- 2 cups granulated sugar
- 1 cup light corn syrup
- 1 cup water
- 2 cups unsalted, shelled peanuts
- 2 tablespoons unsalted butter
- 1 teaspoon baking soda
- 1 teaspoon vanilla extract
- 1/2 teaspoon salt
Instructions
- Lightly grease a large baking sheet or line it with parchment paper. Set aside.
- Combine the sugar, corn syrup, and water in a heavy-bottomed, 3-quart saucepan. Stir gently over medium heat until the sugar dissolves.
- Insert a candy thermometer into the mixture, avoiding the bottom of the pan.
- Increase the heat to medium-high and boil the mixture without stirring until it reaches 250 degrees Fahrenheit (soft-ball stage). This takes about 15 to 20 minutes.
- Stir in the peanuts. Continue to cook, stirring frequently to prevent scorching, until the mixture reaches 300 degrees Fahrenheit (hard-crack stage). Watch the temperature closely after 290 degrees.
- Remove the saucepan immediately from the heat. Quickly stir in the butter, vanilla extract, and salt until combined.
- Immediately sprinkle the baking soda over the mixture and stir rapidly for about 5 seconds until the mixture foams up. Do not overmix.
- Pour the hot mixture onto the prepared baking sheet. Do not spread it; let it flow naturally.
- Let the brittle cool completely at room temperature for at least 30 minutes until hard.
- Once cool and hard, break the brittle into irregular pieces. Store in an airtight container.
Notes
- Use a candy thermometer; this is the most important tool for achieving the hard-crack stage (300F) needed for brittle that snaps.
- Do not stir the mixture while it is boiling until you add the peanuts, as stirring can cause crystallization, leading to grainy brittle.
- Work quickly after adding the baking soda, as this step creates the airy texture.
- If your kitchen is humid, the brittle may be slightly sticky; try making it on a dry day.
Nutrition
- Serving Size: 1 ounce
- Calories: 150
- Sugar: 18g
- Sodium: 35mg
- Fat: 8g
- Saturated Fat: 2g
- Unsaturated Fat: 6g
- Trans Fat: 0g
- Carbohydrates: 19g
- Fiber: 1g
- Protein: 3g
- Cholesterol: 5mg