

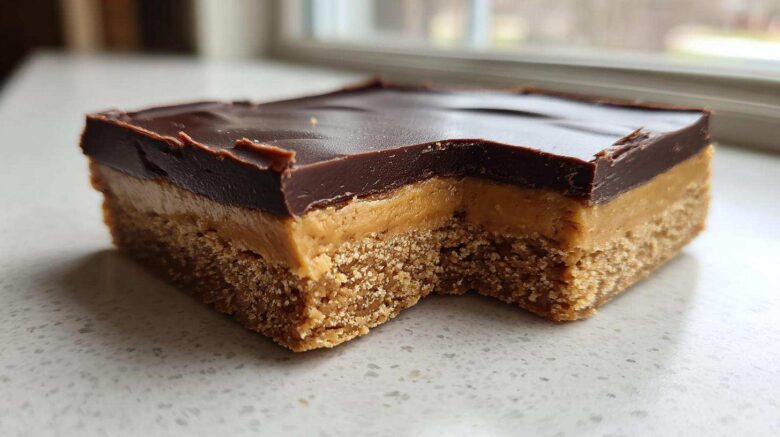
Do you ever crave something sweet right now?
I mean, truly fast, no oven involved?
Richard and I know that feeling well. Life moves quickly, even now.
That’s why I’m sharing these fantastic No Bake Peanut Butter Bars today.
They are my go-to quick dessert when a craving strikes hard.
This recipe delivers that satisfying, firm texture we always hope for.
It fits perfectly into our Delish Diarist story.
We collected flavors globally for years.
Now, bringing those simple joys back home is key.
This is more than just a recipe entry.
It is a memory of speed and sweet satisfaction.
You’ll spend mere minutes working.
Then, patience leads to a perfect square.
These bars are pure comfort food magic.
They require no complicated baking skills at all.
Let’s get started on this simple treat.
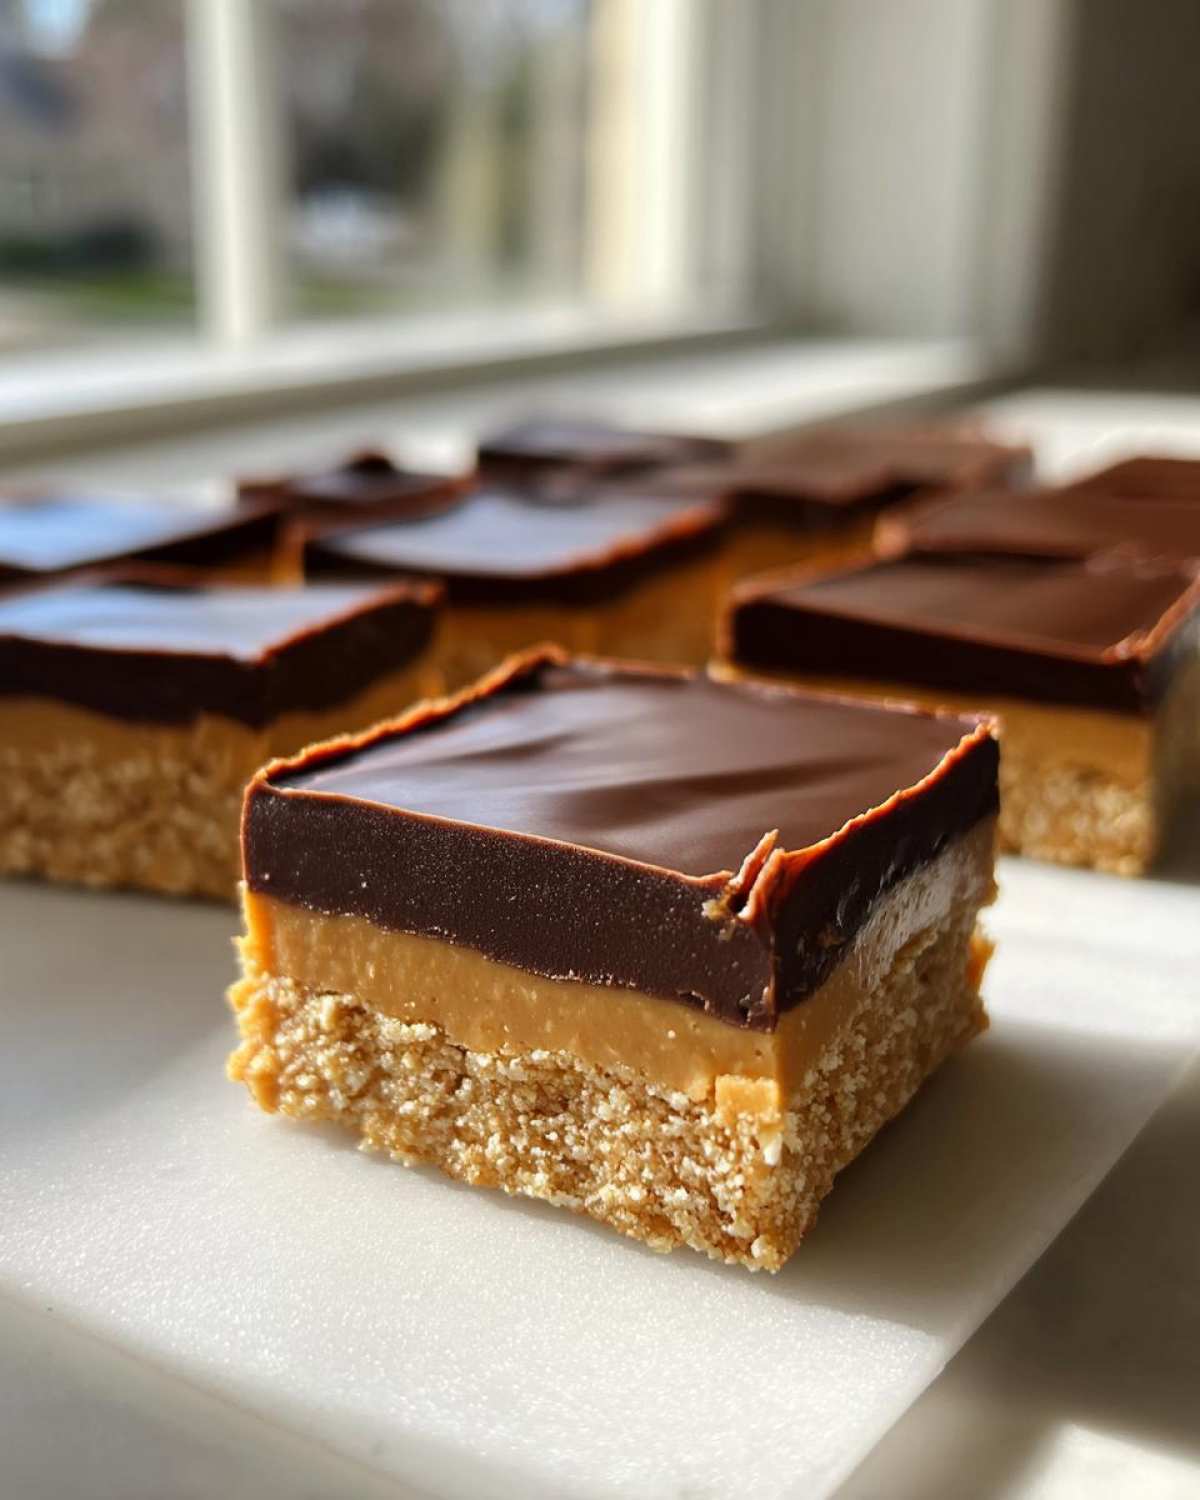
Why You’ll Love Our No Bake Peanut Butter Bars
When I first started making these, it was always about speed.
Richard would sometimes just appear in the kitchen.
He’d say, “Eleanor, I need something sweet, pronto!”
These bars always saved the day.
They truly hit the mark for a quick dessert.
Here’s what makes this recipe a keeper for us:
- Minimal active time in the kitchen.
- The final product sets up wonderfully solid.
- It tastes just like childhood nostalgia.
Quick Dessert Ready Fast
Prep time is only fifteen minutes, folks.
That’s right, fifteen minutes of actual work!
We skip the oven completely, which is great.
The two hours of chilling time flies by fast.
You can whip these up after dinner easily.
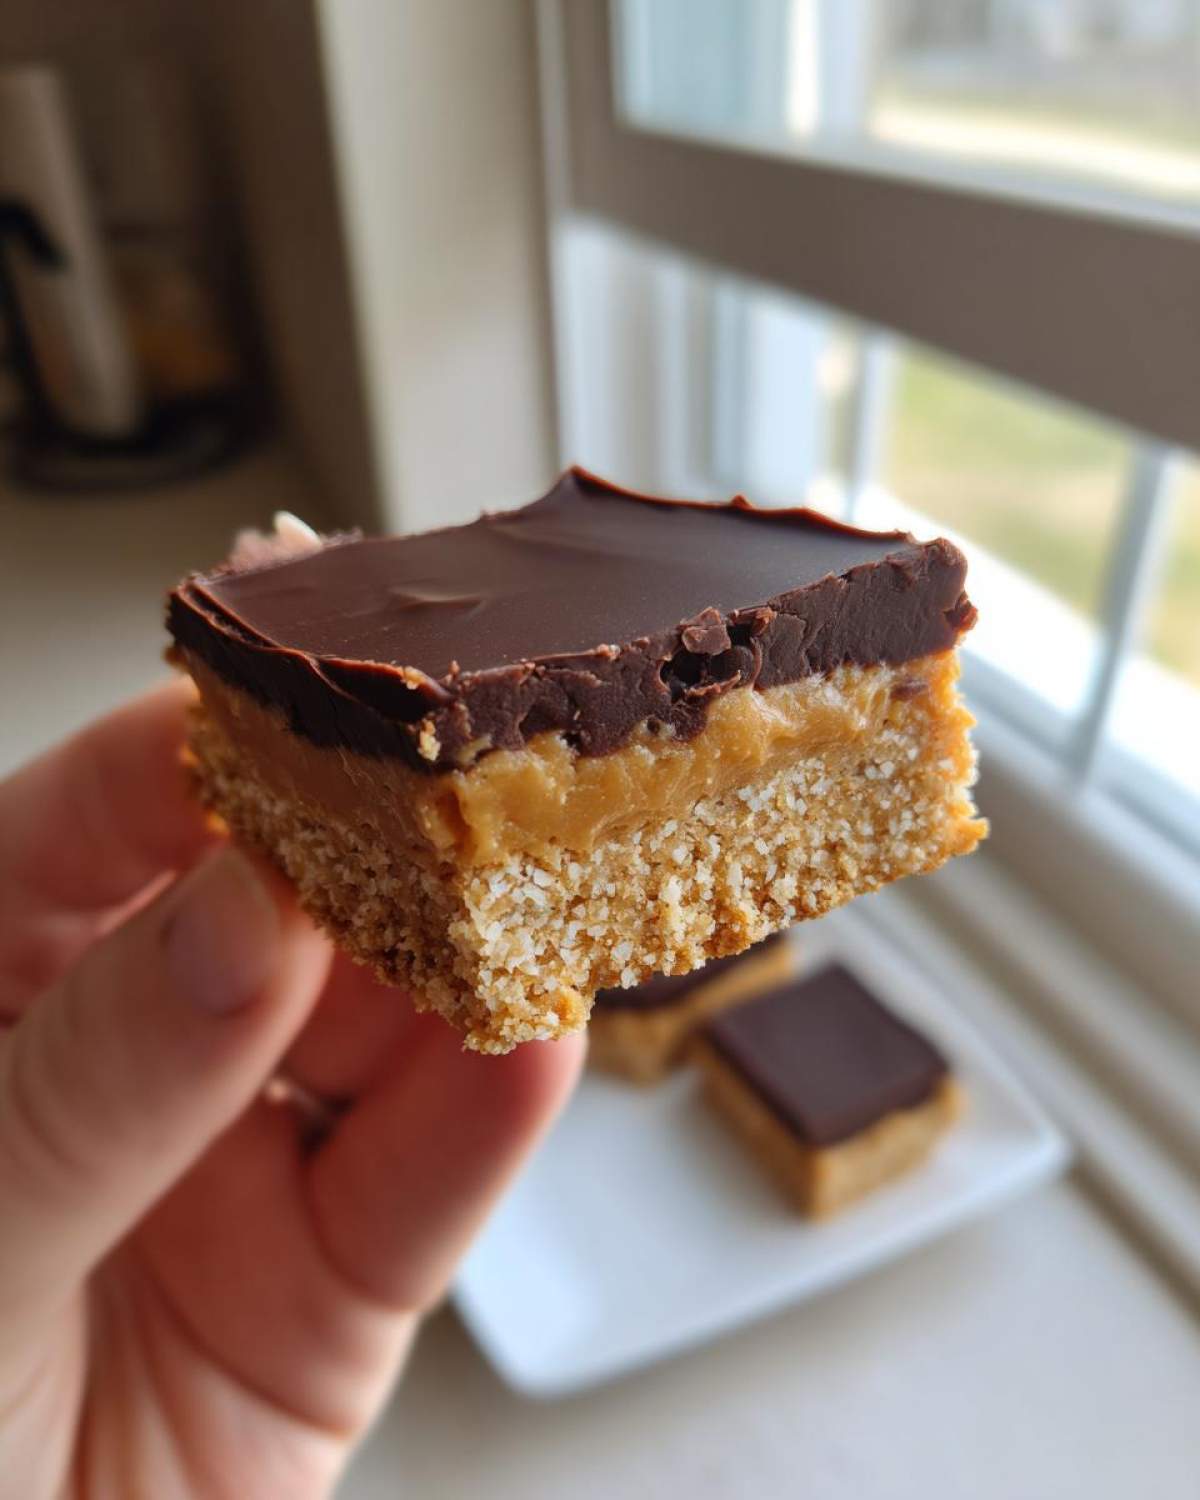
Achieving That Firm Texture
A soggy peanut butter square is a tragedy.
We aim for that satisfying, clean snap.
The ratios here are key to success.
The right amount of butter and sugar helps lock it down.
Press that base layer down hard, too!
Ingredients for Perfect No Bake Peanut Butter Bars
Gathering your components is simple here.
These few items make the best bars.
You only need five main things total.
These ingredients form our favorite No Bake Peanut Butter Bars.
Let’s look at what you need for layering.
Base Layer Components
You need one cup of butter, melted down first.
Combine that with two cups of graham cracker crumbs.
Make sure those crumbs are fully coated well.
Peanut Butter Filling Requirements
Next comes the filling magic.
Use one cup of creamy peanut butter.
Mix it with two cups of powdered sugar.
Beat this until it looks completely smooth.
Chocolate Topping Selection
For the top, grab one cup of chocolate chips.
Make sure they are semi-sweet, please.
These will melt down into a fine layer.
We melt these in short bursts later on.
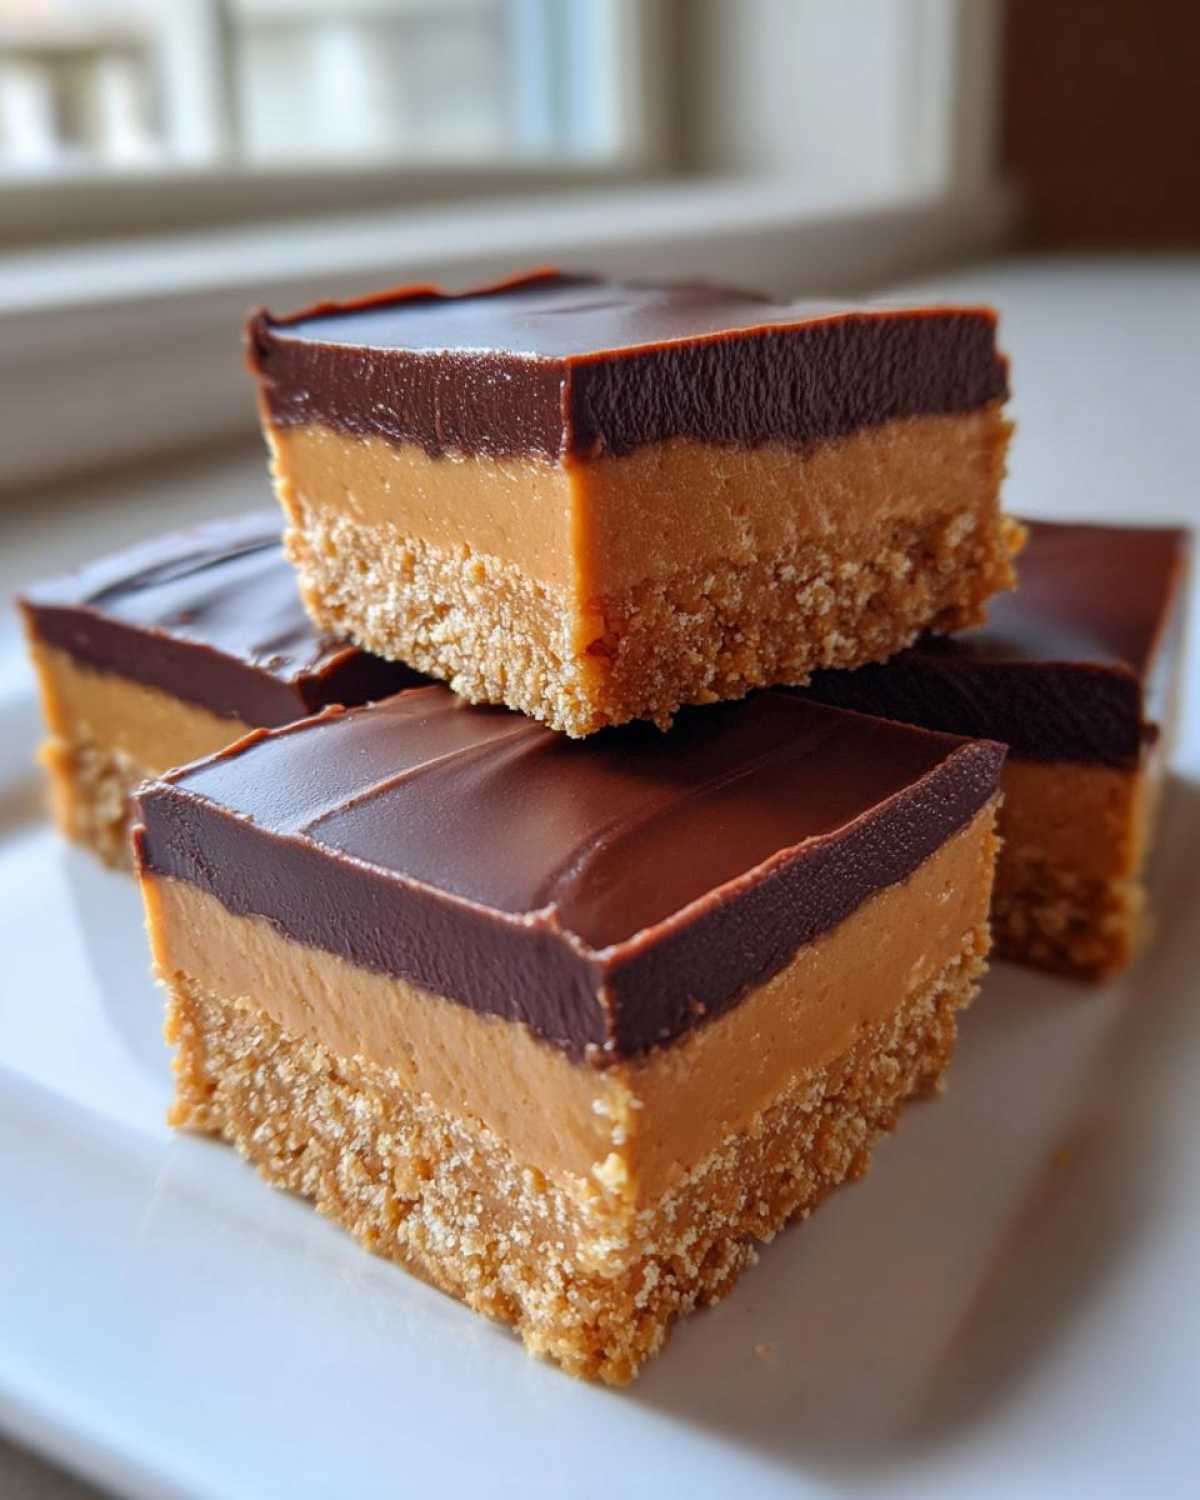
Equipment Needed for Your No Bake Peanut Butter Bars
You don’t need a lot of fancy gear here.
That’s part of the charm of a quick dessert.
I always keep these tools ready to go.
Having them handy makes the process smooth.
Here is the short list of what I grab:
- One 9×13 inch baking pan.
- Parchment paper is a must-have item.
- A large mixing bowl for the base.
- A separate bowl for the filling mix.
- A rubber spatula for spreading layers.
- A microwave-safe bowl for the chocolate.
Using parchment paper makes cleanup easy.
It also helps lift the firm bars out later.
Don’t skip lining that pan properly!
This foresight saves frustration later on.
Step-by-Step Instructions for No Bake Peanut Butter Bars
Now for the fun part, friends.
We turn simple ingredients into magic.
Follow these steps closely for success.
We want those perfectly firm No Bake Peanut Butter Bars.
Don’t rush the chilling, though.
Preparing the Pan and Base Layer
First, line your 9×13 inch pan well.
Use parchment paper and leave an overhang.
This overhang is your future handle, trust me.
Melt your cup of butter completely.
Mix that melted butter with the graham crumbs.
Press this mixture down very firmly into the pan bottom.
A solid base means a firm final bar.
Creating and Layering the Peanut Butter Filling
Grab a separate bowl for the next step.
Beat your powdered sugar and peanut butter together.
Keep mixing until the texture is totally smooth.
This filling needs to be even and lovely.
Spread this peanut butter layer out carefully.
Make sure it covers the crumb base completely.
Melting and Spreading the Chocolate Topping
Time for the glorious chocolate finish.
Melt your chocolate chips in short bursts.
Use thirty-second intervals in the microwave.
Stir well between each short heating time.
Pour the melted chocolate over the filling fast.
Spread it quickly before it tries to set up.
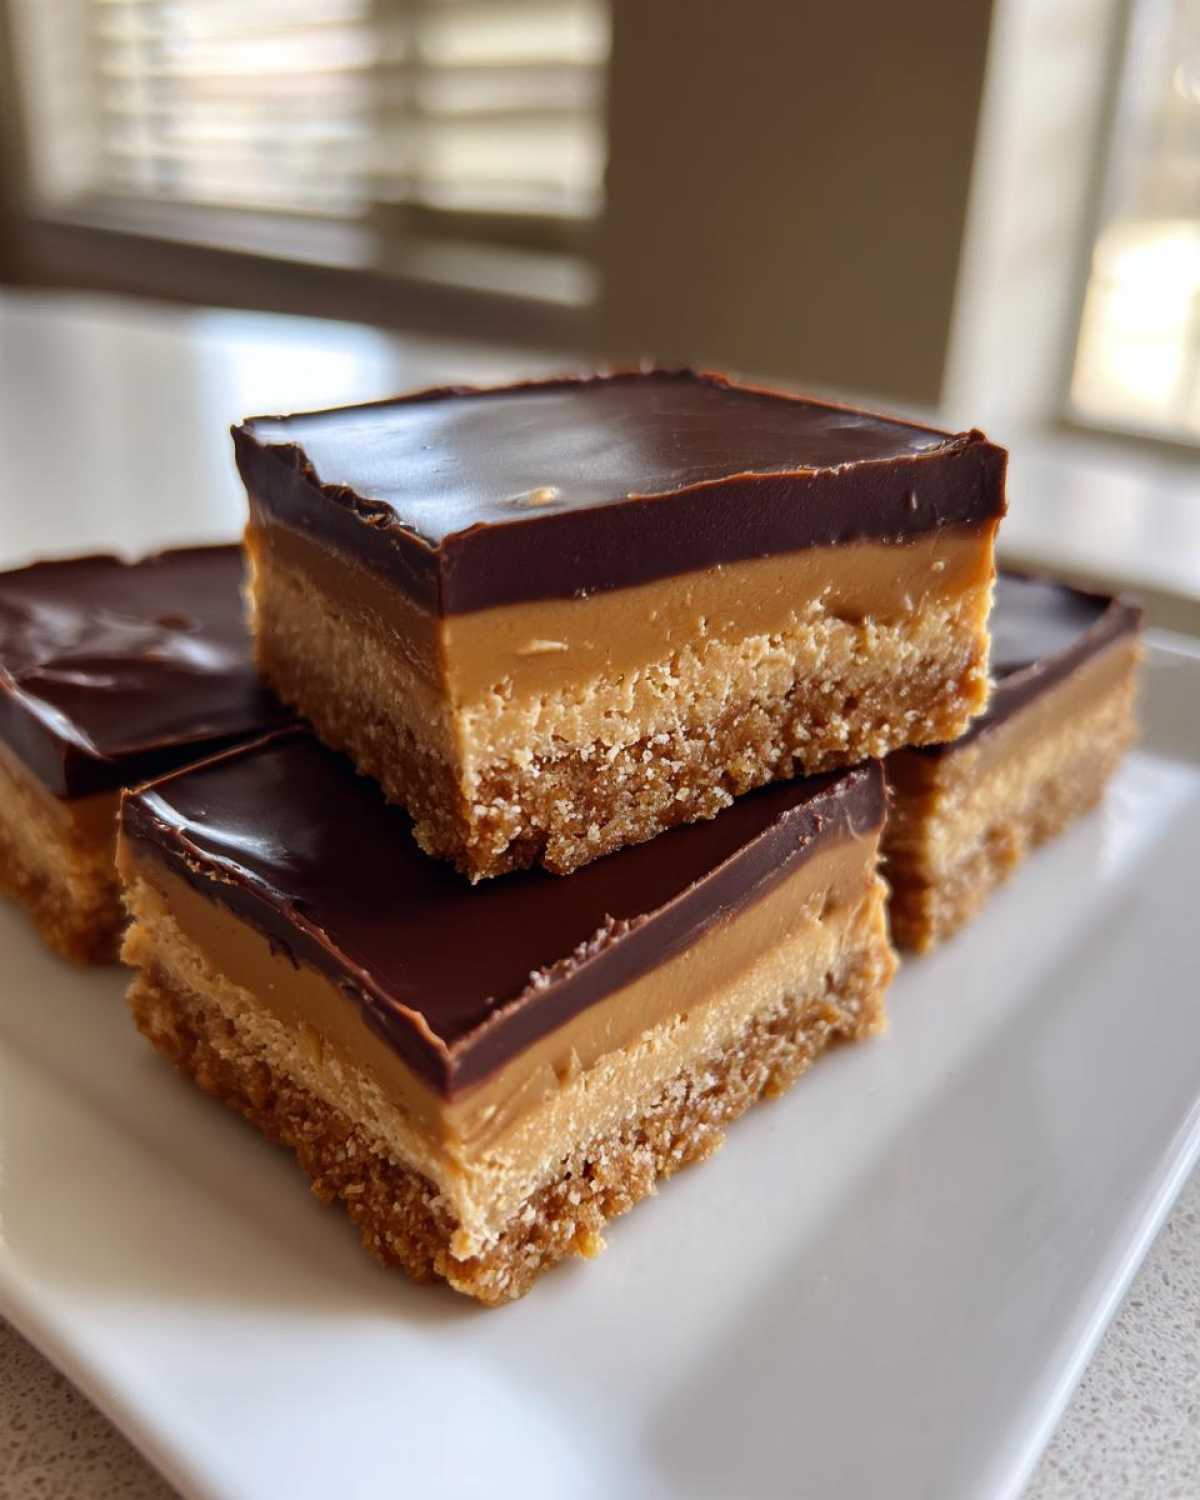
Chilling and Serving Your No Bake Peanut Butter Bars
This is where patience pays off big time.
Refrigerate the pan for two hours minimum.
Full chilling makes them wonderfully firm.
Use the parchment overhang to lift them out.
Cut them into nice, neat squares for serving.
Tips for Success with No Bake Peanut Butter Bars
I’ve made this recipe countless times now.
It’s my secret weapon for a quick dessert.
A few small tricks help guarantee perfection.
We want those beautiful, firm No Bake Peanut Butter Bars.
Follow my seasoned advice here for best results.
Don’t let small details trip you up!
Texture Variations Using Peanut Butter
Creamy peanut butter gives the smoothest filling.
That’s what I usually reach for first.
But sometimes, I like a little surprise texture.
Feel free to use crunchy peanut butter instead.
It adds a nice little bite to every square.
The structure stays firm either way you go.
The Importance of Thorough Chilling
This step cannot be rushed, truly.
If you cut them warm, they turn into mush.
Two hours is the bare minimum chilling time.
I often let mine sit for three hours, if I can wait.
A fully chilled bar maintains its shape so well.
This is the real trick for a satisfyingly firm texture.
Frequently Asked Questions About No Bake Peanut Butter Bars
I know you might have some questions pop up.
It is smart to ask before you start mixing.
We want this quick dessert to turn out great.
Richard always asks the best questions first.
Here are a few things folks often wonder about.
Can I make these No Bake Peanut Butter Bars ahead of time?
Oh yes, you absolutely can make them early.
They store beautifully in the refrigerator.
Keep them airtight for up to five days.
They stay wonderfully firm in the cold air.
This makes them perfect for potlucks or parties.
What is the secret to getting a truly firm texture?
The secret is twofold, honestly.
First, make sure your ingredient ratios are right.
Don’t skimp on the powdered sugar or butter.
Second, chilling is non-negotiable for firmness.
Chill them completely, for at least two hours.
A solid chill equals a perfect square every time.
Storing Your Delicious No Bake Peanut Butter Bars
Once these treats are cut, storage matters.
We want them to keep that lovely firm texture.
Keep them in an airtight container always.
The refrigerator is their happy place.
They stay fresh and delicious for about five days.
This makes prepping for company so easy.
Richard loves grabbing one straight from the cold.
They are just as good on day four.
Share Your Delish Diarist Moment
Well, that’s the end of this little entry.
I hope you enjoyed making these bars.
They bring Richard and me such joy.
This recipe is a piece of our heart.
Now, I want to hear from you, dear reader.
Did you try the recipe today?
Tell me how your quick dessert turned out.
Did you get that perfect firm texture?
Did you use creamy or crunchy peanut butter?
Don’t be shy, leave a comment below.
Share your thoughts or any kitchen adventures.
Richard loves reading everyone’s feedback.
We cherish this community we are building.
Happy tasting, and write your own food story soon!
Print5 superb No Bake Peanut Butter Bars secrets
Whip up these fantastic No Bake Peanut Butter Bars! They are quick to make and set up perfectly firm, giving you that satisfying bite you crave in a simple dessert.
- Prep Time: 15 minutes
- Cook Time: 0 minutes
- Total Time: 2 hours 15 minutes
- Yield: 24 bars
- Category: Dessert
- Method: No Bake
- Cuisine: American
- Diet: Vegetarian
Ingredients
- 1 cup butter, melted
- 2 cups graham cracker crumbs
- 2 cups powdered sugar
- 1 cup creamy peanut butter
- 1 cup semi-sweet chocolate chips
Instructions
- Line a 9×13 inch pan with parchment paper, leaving some overhang for easy removal.
- In a large bowl, mix the melted butter and graham cracker crumbs together until combined.
- Press the crumb mixture firmly and evenly into the bottom of the prepared pan.
- In a separate bowl, beat together the powdered sugar and peanut butter until smooth.
- Spread the peanut butter mixture evenly over the graham cracker layer.
- Melt the chocolate chips in a microwave-safe bowl in 30-second intervals, stirring until smooth.
- Pour the melted chocolate over the peanut butter layer. Spread it quickly to cover completely.
- Refrigerate the bars for at least 2 hours, or until completely firm.
- Use the parchment paper overhang to lift the bars from the pan. Cut into squares.
Notes
- You can use crunchy peanut butter if you prefer some texture variation.
- For the firmest bars, chill them thoroughly before cutting.
- This recipe is a wonderful way to capture a sweet memory quickly.
Nutrition
- Serving Size: 1 bar
- Calories: Approx. 220
- Sugar: Approx. 20g
- Sodium: Approx. 150mg
- Fat: Approx. 14g
- Saturated Fat: Approx. 6g
- Unsaturated Fat: Approx. 8g
- Trans Fat: Trace
- Carbohydrates: Approx. 22g
- Fiber: Approx. 1g
- Protein: Approx. 4g
- Cholesterol: Approx. 15mg