

Meet the Diarists: Our Kitchen Time Machine
Hello there! I’m Eleanor, and this is Richard, my husband.
Our kitchen used to be busy chaos. Now, it’s our time machine.
Richard remembers every flavor we ever tasted abroad. I try to recreate those tastes.
This blog is our delicious diary, chronicling those memories.
We want to share this journey with you, dear reader.
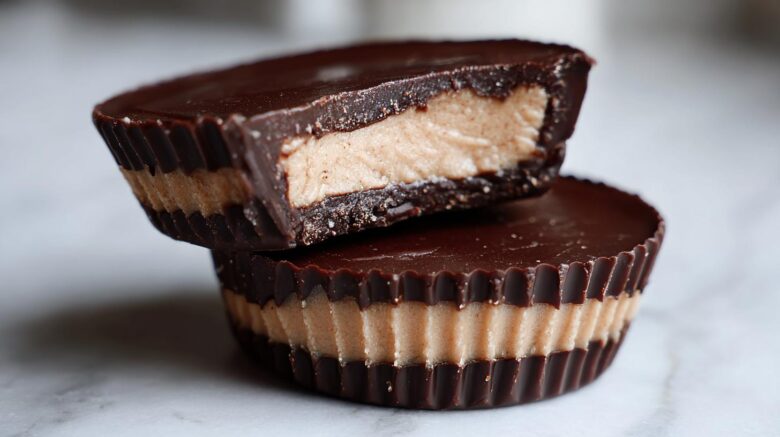
Making these No Bake Chocolate Peanut Butter Cups brings back simple joys.
Why You Will Love These No Bake Chocolate Peanut Butter Cups
Richard and I have made so many fancy desserts. Yet, this simple treat wins every time.
They are wonderfully easy to make, even for a beginner.
You get that classic flavor fast, with no oven fuss.
- Super quick preparation time.
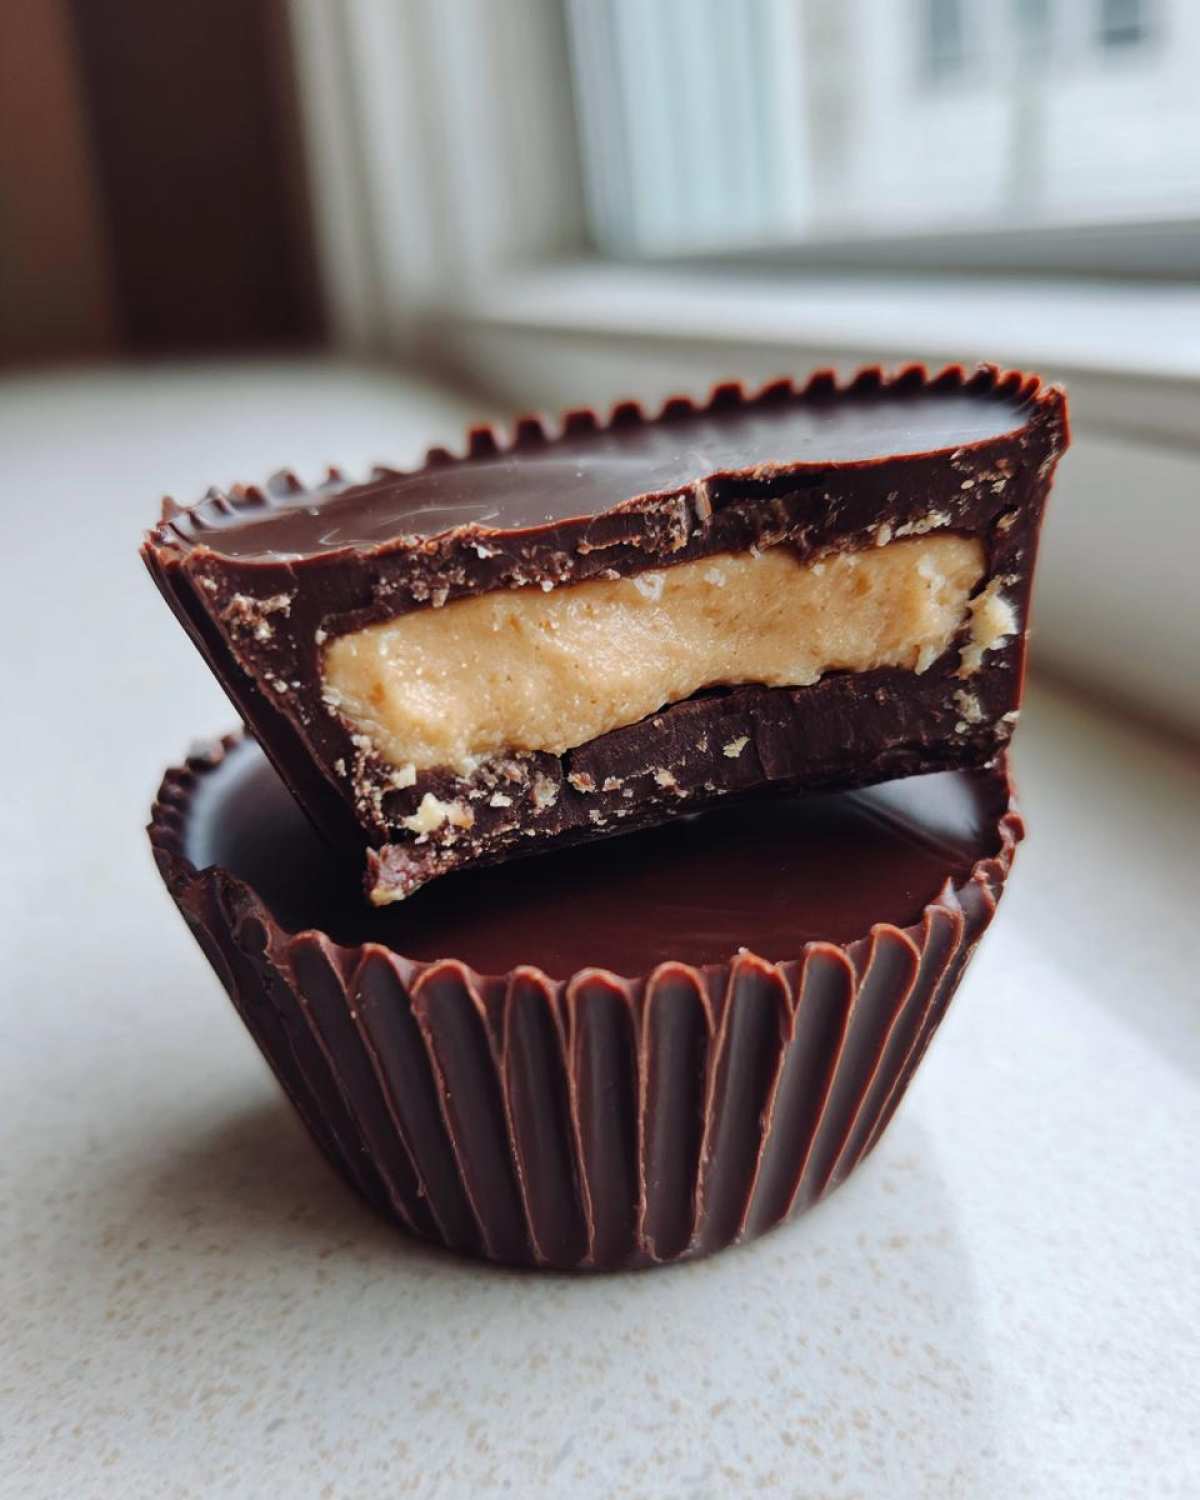
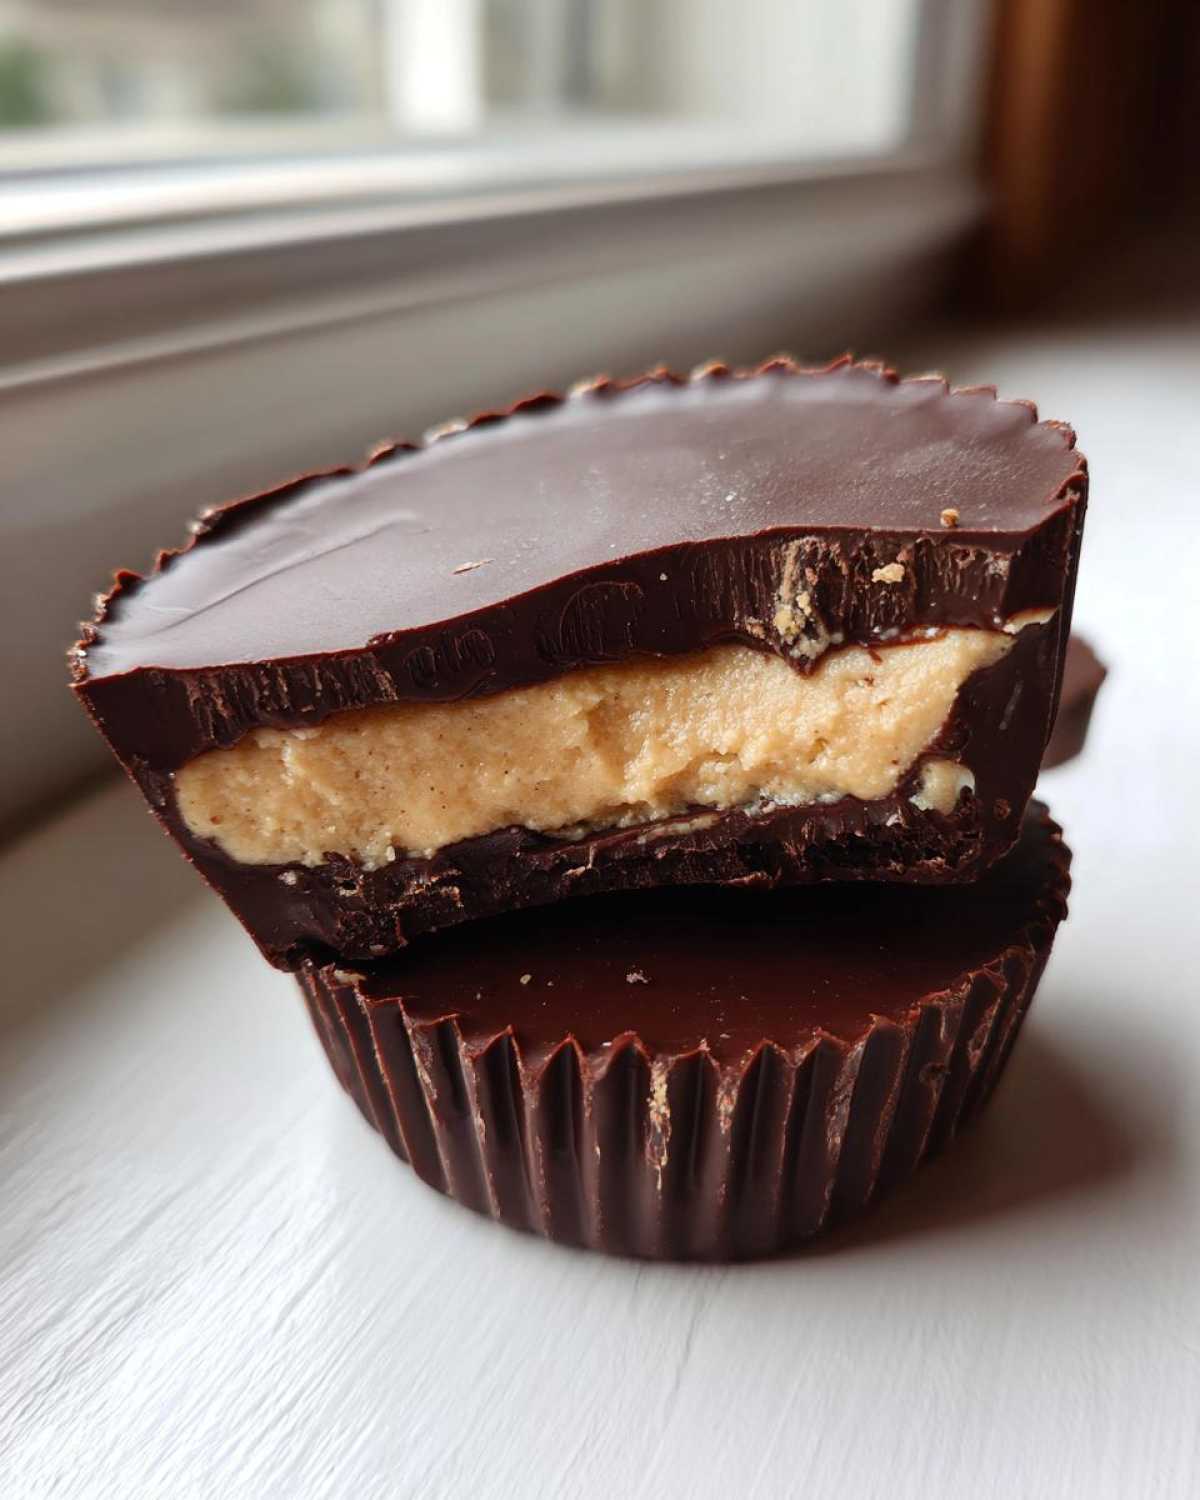
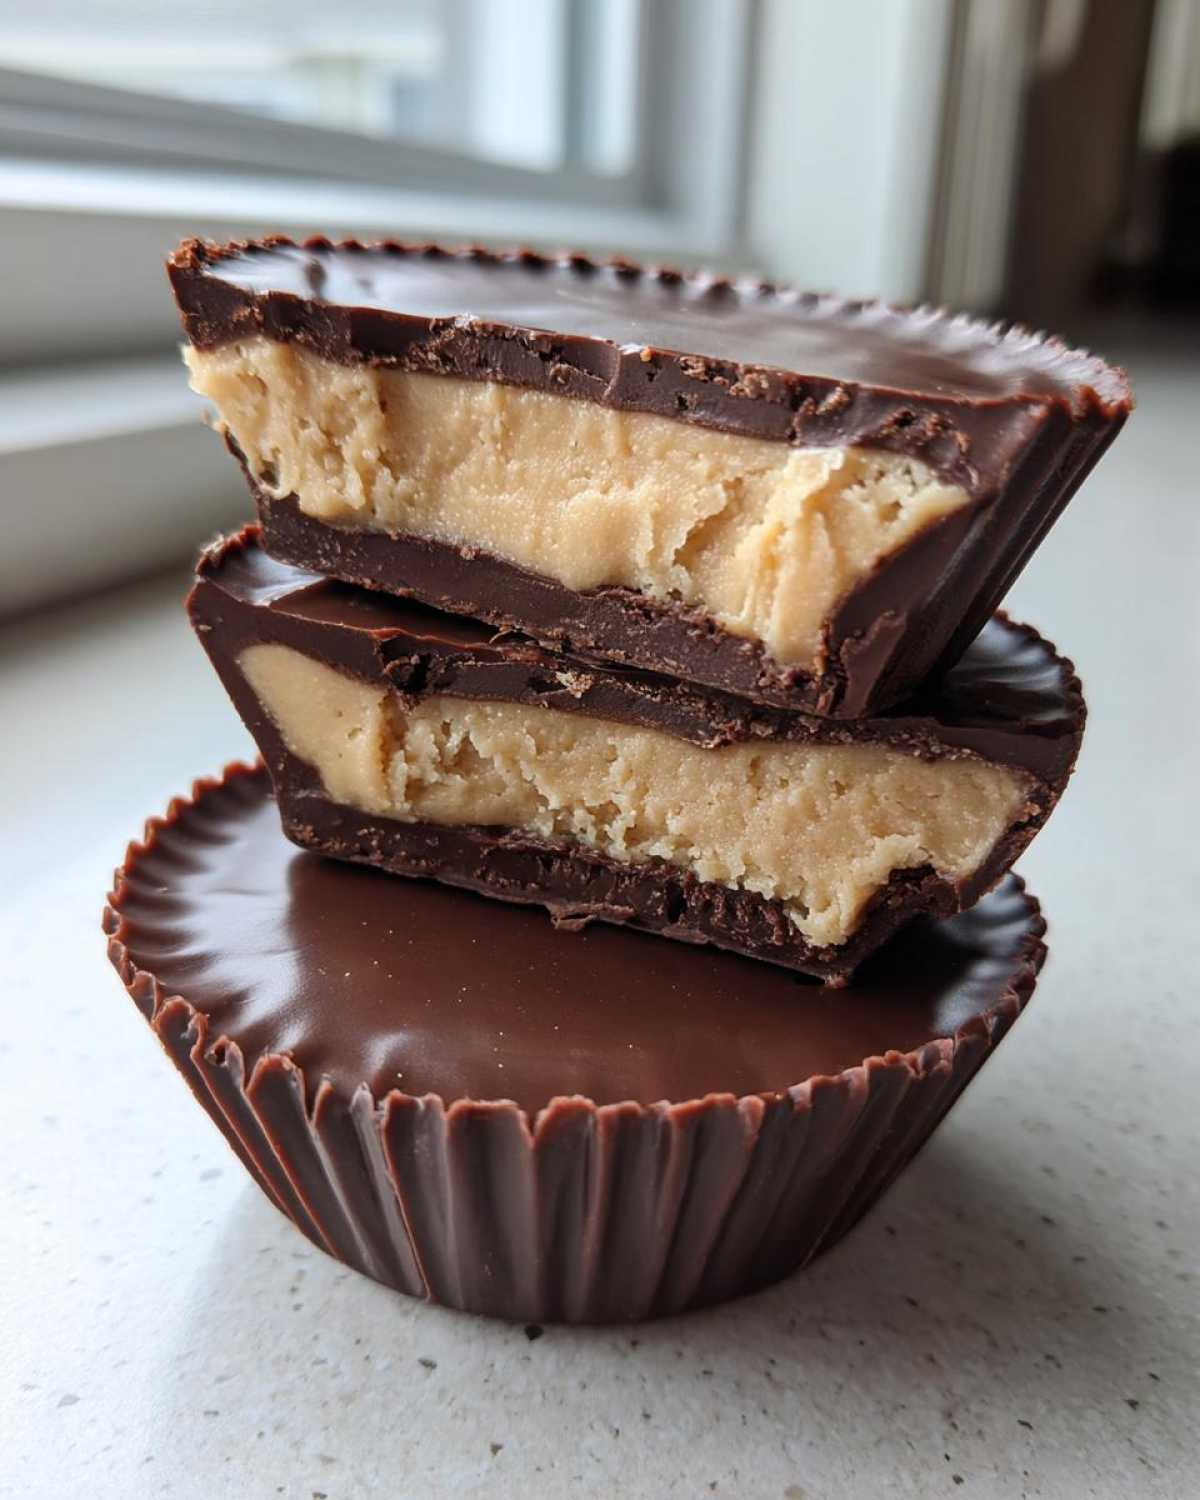
- They offer that satisfying, clean layer look.
- A true peanut butter dessert classic.
Quick Prep and Perfect Layers
Honestly, this recipe takes almost no effort.
We love how little time it takes to mix up the filling.
The key to that beautiful separation is just chilling properly.
You press the base, freeze it briefly, then top it.
It’s minimal work for maximum nostalgic payoff.
This homemade candy is pure comfort.
Gathering Ingredients for No Bake Chocolate Peanut Butter Cups
Getting started is simple with just a few things.
We always keep these staples stocked in our pantry.
Having everything ready makes the process smooth.
Here is exactly what you need for twelve perfect cups.
Peanut Butter Filling Components
- One cup of creamy peanut butter.
- Half cup of unsalted butter.
- Remember, the butter must be softened first.
- Two cups of powdered sugar.
- One teaspoon of vanilla extract for flavor.
Chocolate Topping Essentials
- One cup of semi-sweet chocolate chips.
- Two tablespoons of coconut oil.
- This oil helps our chocolate topping set fast.
Equipment Needed for Your No Bake Chocolate Peanut Butter Cups
You won’t need much gear for this recipe.
A muffin tin is essential for shaping these treats.
Grab a couple of mixing bowls too.
You’ll want a mixer for the filling base.
A microwave-safe bowl is needed for the chocolate topping.
Paper liners make cleanup a breeze for us.
Step-by-Step Guide to Perfect No Bake Chocolate Peanut Butter Cups
This is where the magic happens, friends.
Follow these steps closely for those clean layers.
We’re building this treat layer by layer, just like a good story.
Don’t rush the chilling parts; they matter a lot.
Preparing the Peanut Butter Base
First, line your mini muffin tin with paper liners.
Next, beat the peanut butter and softened butter together.
Mix them well until the texture is completely smooth.
Slowly add the powdered sugar until everything is combined.
Stir in the vanilla extract right at the end.
This mixture should feel creamy and just right.
Setting the First Layer for Clean Separation
Now, take about one tablespoon of that filling.
Press it firmly into the bottom of each liner.
Make sure the base layer is even across all cups.
This next step is crucial for that clean look.
Place the whole muffin tin in the freezer for fifteen minutes.
We need this base to get nice and firm.
Creating the Smooth Chocolate Topping
While that chills, work on the topping.
Combine your chocolate chips and coconut oil in a small bowl.
Microwave this mixture in thirty-second bursts.
Stir it thoroughly after every short interval.
Keep going until the chocolate is totally smooth and glossy.
This makes the best coating for our homemade candy.
Final Assembly and Setting the No Bake Chocolate Peanut Butter Cups
Take the tin out once the peanut butter is set.
Spoon just one teaspoon of melted chocolate over each base.
Try to keep the chocolate layer thin and even.
Return the tin to the freezer promptly after topping them.
Let them chill for at least thirty minutes minimum.
The chocolate must be completely firm before serving your No Bake Chocolate Peanut Butter Cups.
Tips for Achieving Professional No Bake Chocolate Peanut Butter Cups
Even simple recipes need a little insider knowledge.
Richard, with his eye for detail, always points out the little things.
These tips help us get that picture-perfect look every time.
We want your layers to look as clean as ours do.
A perfect No Bake Chocolate Peanut Butter Cup is truly satisfying.
It’s all about the texture contrast, really.
Dealing with Ingredient Texture
When mixing the filling, texture matters a lot.
We usually stick to creamy peanut butter here.
It presses down smoother for that flat base.
But if you love a bit of texture, go for crunchy!
Just know the crunchy bits will show through the chocolate.
It changes the mouthfeel of this peanut butter dessert.
Ensuring That Perfect Chocolate Snap
That lovely, crisp snap you get from the chocolate top?
That’s thanks to the coconut oil, believe it or not.
It keeps the melted chocolate from getting too soft later.
When it chills, the oil helps it set firm quickly.
Don’t skip it if you want that satisfying break.
It makes this homemade candy feel so professional.
Frequently Asked Questions About No Bake Chocolate Peanut Butter Cups
We always get questions about storing these beauties.
They are so tempting to eat right away.
Here are some common things folks ask us.
We want your experience making this peanut butter dessert to be great.
Let’s tackle a couple of those common worries.
It helps keep this homemade candy fresh for longer.
Can I Make These No Bake Chocolate Peanut Butter Cups Ahead of Time?
Oh yes, you absolutely can make them early.
I often prepare a big batch for gatherings.
Store them in an airtight container in the refrigerator.
They stay perfectly good for about one week there.
For longer storage, the freezer works wonders.
They freeze beautifully for up to three months.
What If I Do Not Have Coconut Oil for My Homemade Candy?
That’s a fair question, as coconut oil is specific.
If you lack it, you can use vegetable shortening instead.
Shortening provides a similar fat component.
It helps the chocolate set up nicely when chilled.
The final texture might be slightly softer, though.
It won’t have that super sharp snap we love.
Storing Your Delicious No Bake Chocolate Peanut Butter Cups
Once these treats are set, storage is easy.
We keep ours in the fridge most of the time.
Use an airtight container to keep them fresh.
This keeps the peanut butter filling firm.
They stay great in the refrigerator for one week.
Freezing is also a great option for longer keeping.
Sharing Your Delish Diarist Peanut Butter Dessert
We poured our memories into this recipe for you.
Now it’s your turn to make some memories.
Try these No Bake Chocolate Peanut Butter Cups today.
Let us know how well your layers turned out.
Please share your thoughts on our little dessert.
We love hearing from our fellow kitchen travelers!
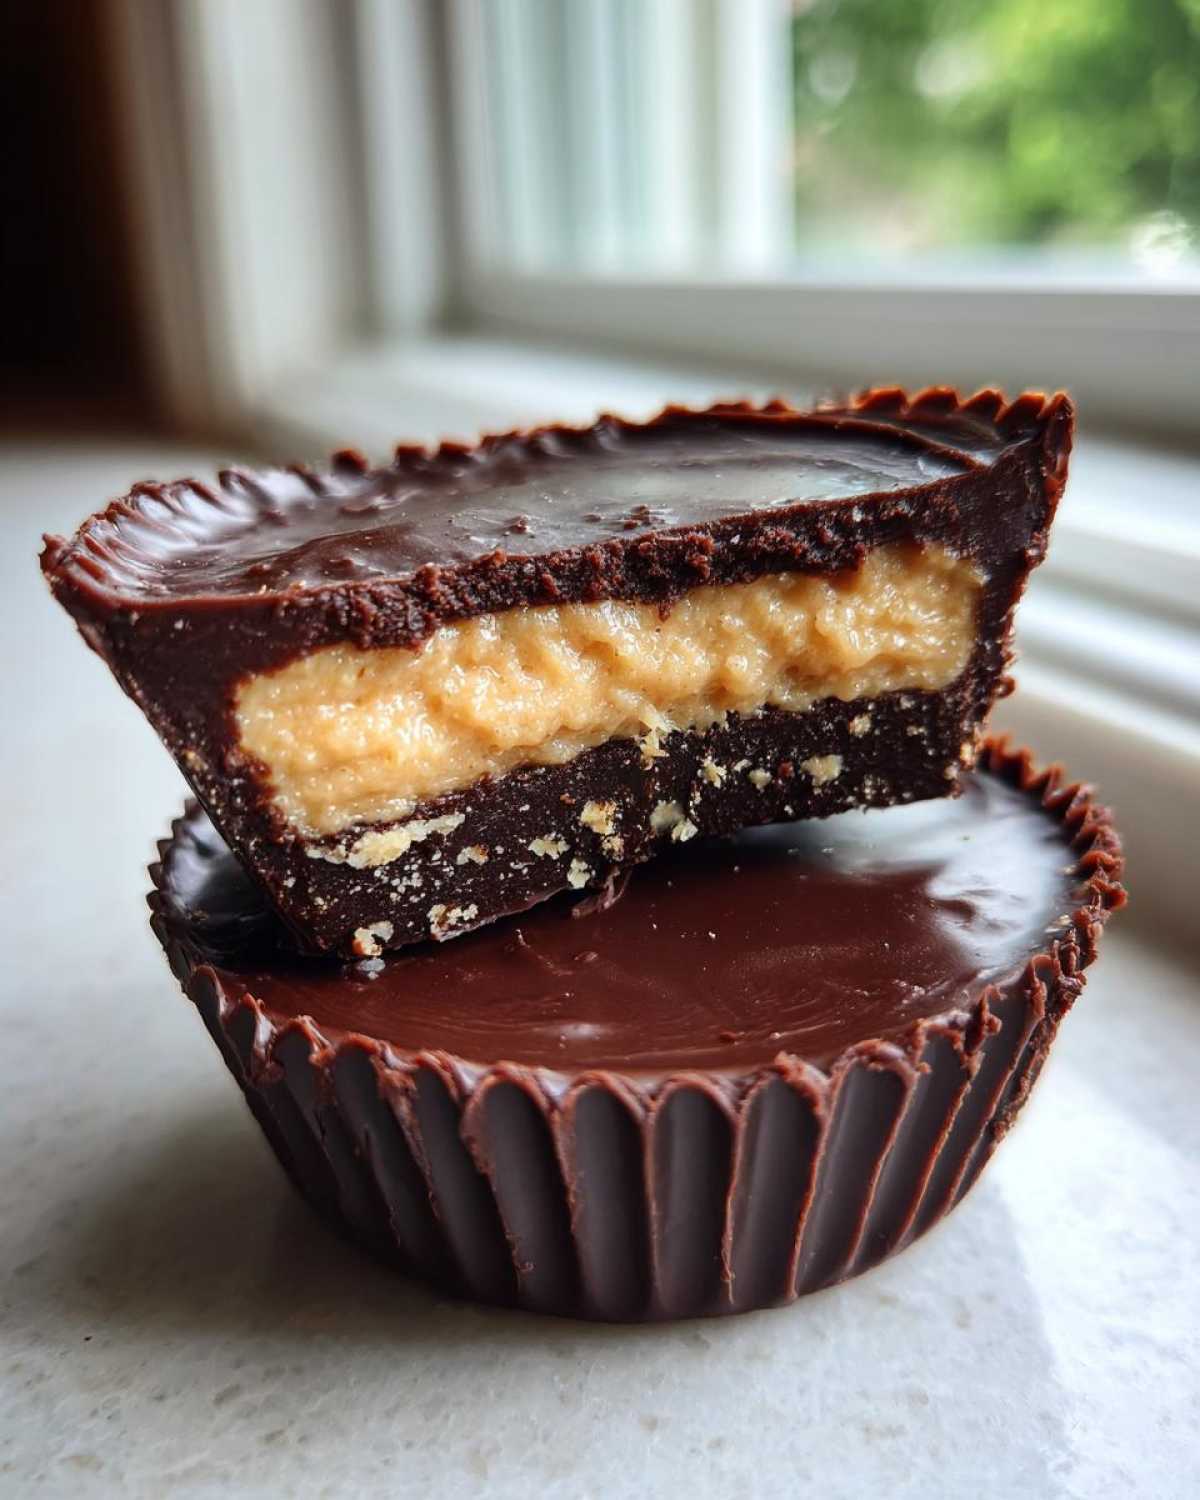
7 Stunning No Bake Chocolate Peanut Butter Cups Layers
Make these easy, no-bake chocolate peanut butter cups at home. You will love the clean layers and rich flavor of this classic treat.
- Prep Time: 20 minutes
- Cook Time: 5 minutes
- Total Time: 50 minutes
- Yield: 12 cups
- Category: Dessert
- Method: No Bake
- Cuisine: American
- Diet: Vegetarian
Ingredients
- 1 cup creamy peanut butter
- 1/2 cup unsalted butter, softened
- 2 cups powdered sugar
- 1 teaspoon vanilla extract
- 1 cup semi-sweet chocolate chips
- 2 tablespoons coconut oil
Instructions
- Line a mini muffin tin with paper liners.
- In a medium bowl, beat together the peanut butter and softened butter until smooth.
- Gradually beat in the powdered sugar until fully combined.
- Stir in the vanilla extract.
- Press about one tablespoon of the peanut butter mixture into the bottom of each liner, creating an even base.
- Place the muffin tin in the freezer for 15 minutes to firm up the base.
- In a small microwave-safe bowl, combine the chocolate chips and coconut oil.
- Microwave in 30-second intervals, stirring well after each, until the chocolate is smooth and melted.
- Spoon about one teaspoon of melted chocolate over the chilled peanut butter layer in each cup.
- Return the tin to the freezer for at least 30 minutes, or until the chocolate is completely set.
- Remove the liners before serving your homemade cups.
Notes
- For a cleaner layer, press the peanut butter mixture firmly into the liner before chilling.
- You can substitute smooth peanut butter with crunchy if you prefer texture.
- Coconut oil helps the chocolate topping set quickly and gives it a nice snap.
Nutrition
- Serving Size: 1 cup
- Calories: 250
- Sugar: 20g
- Sodium: 80mg
- Fat: 18g
- Saturated Fat: 7g
- Unsaturated Fat: 11g
- Trans Fat: 0g
- Carbohydrates: 22g
- Fiber: 1g
- Protein: 6g
- Cholesterol: 8mg