

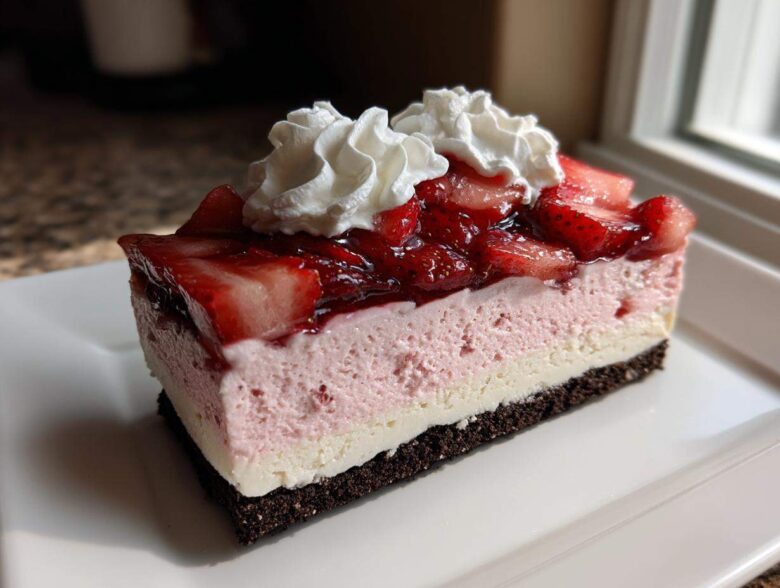
Oh my gosh, I have the BEST news for you if you’re craving something rich, dreamy, and absolutely packed with flavor but the thought of turning on the oven makes you sweat! Seriously, sometimes you just need that creamy, decadent fix without the heat. That’s where this recipe swoops in to save the day. We are diving deep into making the ultimate No-Bake Strawberry Chocolate Cheesecake Slice. I spent ages tweaking this because getting that perfect, clean slice without any baking structure is tough! Trust me when I say the chilling time is the most important ingredient here; get that right, and you’ve got dessert heaven.
After what felt like a hundred attempts on hot summer days, I finally perfected the ratios so the layers stay distinct and firm. It’s the perfect combination: chocolatey crust, creamy chocolate filling, and that bright, fresh hit of strawberry puree swirled right through. Forget complicated baking techniques; this one is all about patience in the fridge!
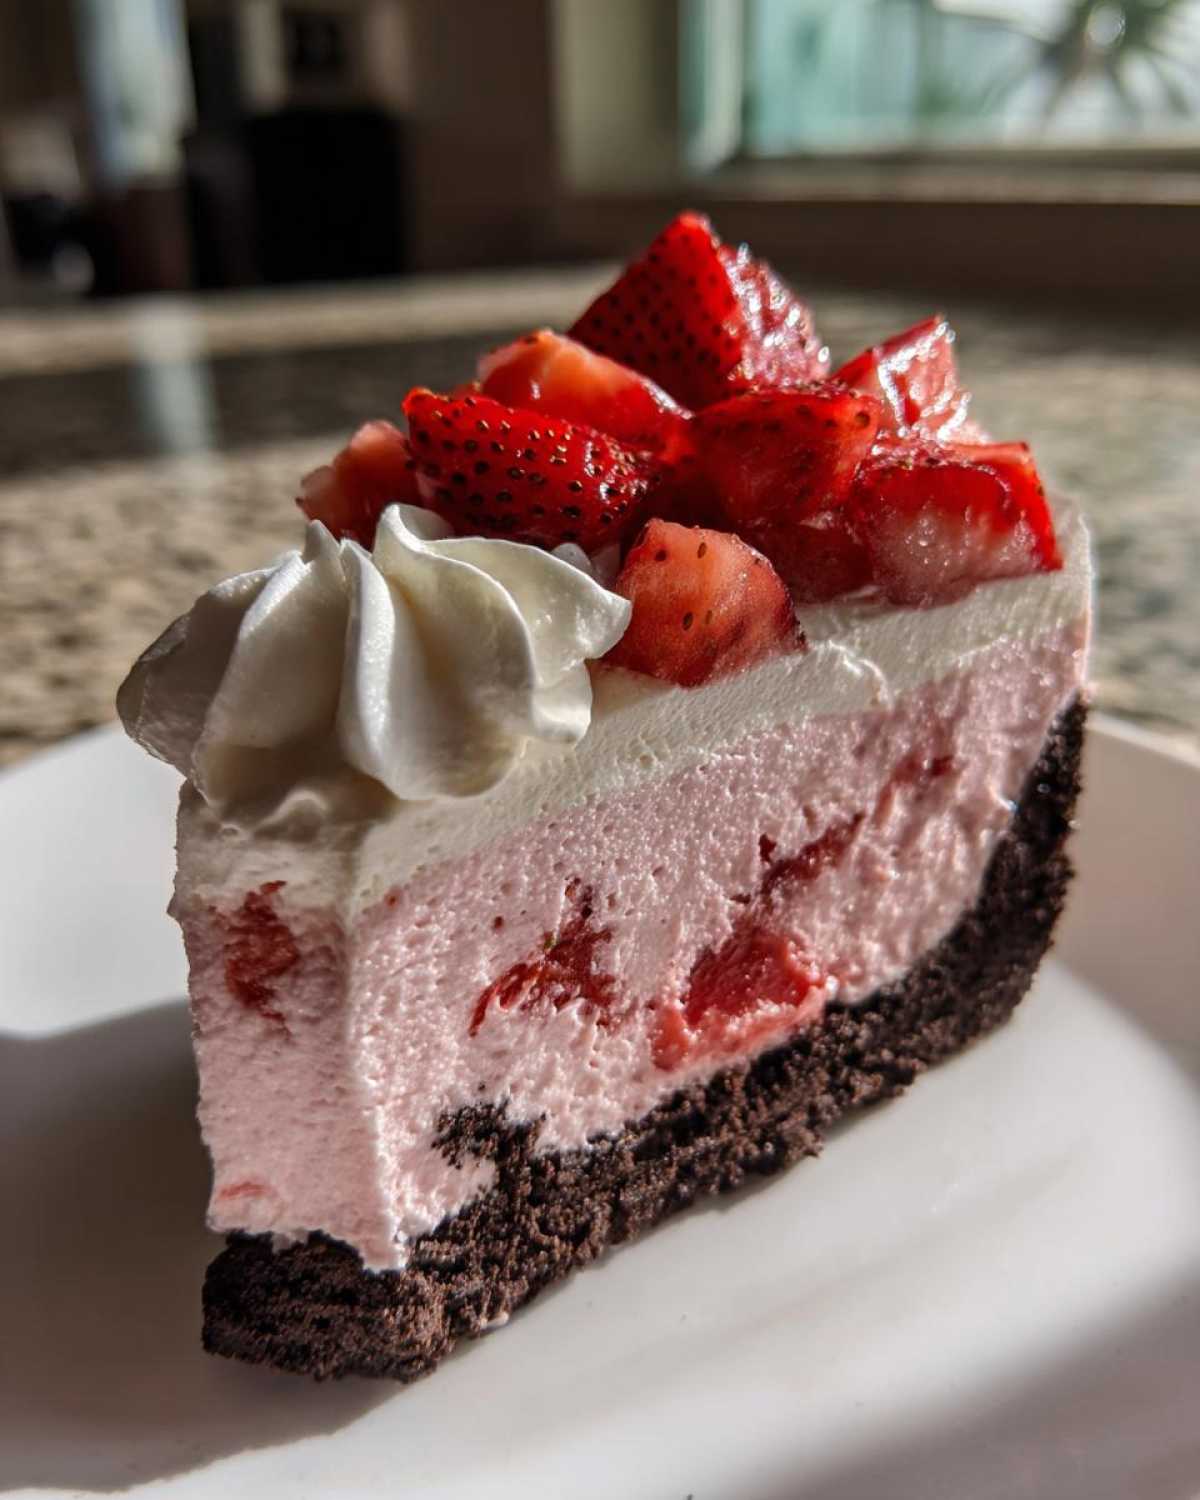
If you’re looking for an easy way to slice up a beautiful dessert so everyone gets a perfect square, make sure you check out my guide on how to neatly cut creamy treats, like my trick for my no-bake Nutella pie – it works wonders here too!
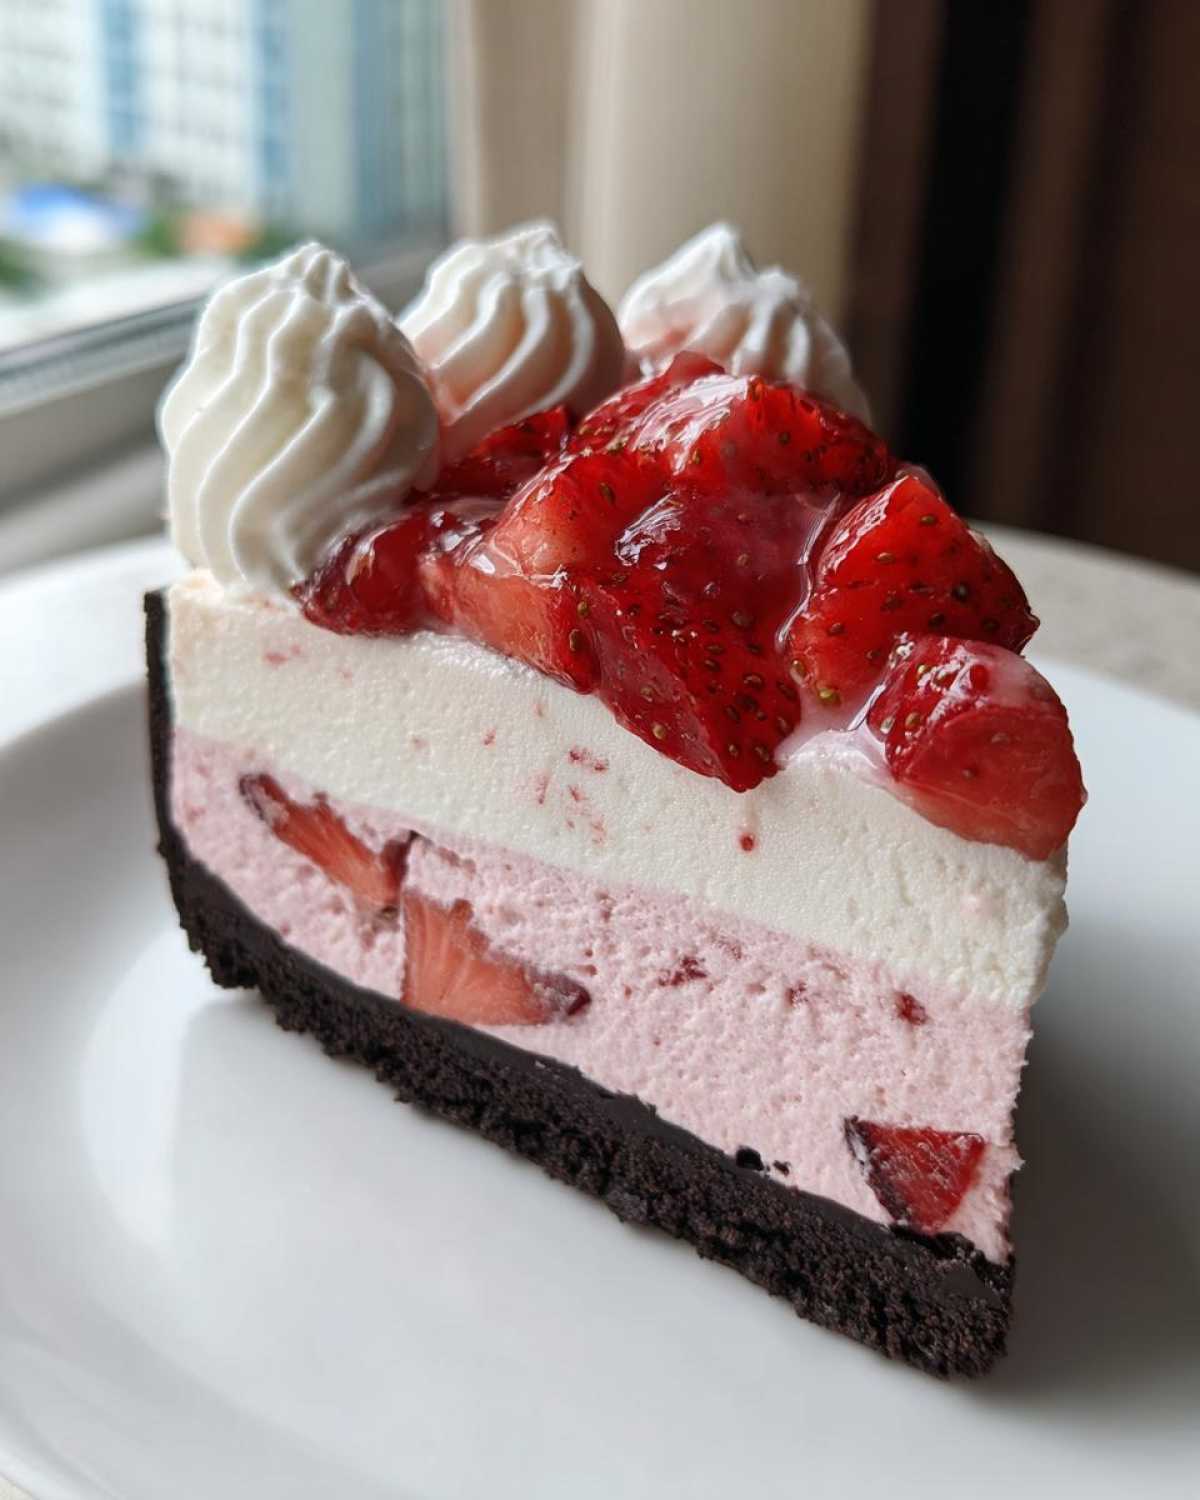
Why You Need This No-Bake Strawberry Chocolate Cheesecake Slice
Honestly, why *wouldn’t* you need this recipe? It checks every single box when that craving hits hard. It’s totally hands-off once you mix it up. If you need a summer crowd-pleaser or just a rich bite after dinner without turning on the stove, this is your answer.
- Zero oven time required—just pure, cool, creamy perfection.
- The flavor combo of dark chocolate and sweet strawberry is ridiculously good.
- It holds its shape beautifully, meaning this No-Bake Strawberry Chocolate Cheesecake Slice is perfect for parties.
- It uses cream cheese, obviously, so it’s ultra-rich but somehow still light!
You absolutely have to try my other no-bake cheesecake sometime too, but this strawberry chocolate pairing is something special!
Gathering Ingredients for Your No-Bake Strawberry Chocolate Cheesecake Slice
Okay, ingredient gathering time! Because we aren’t applying heat, the quality and consistency of these refrigerated components matter so much. Seriously, if you raid your pantry and don’t have the right stuff, this won’t set up right, and we will end up with soup instead of perfect slices. Don’t panic! Just follow my list, especially regarding the cream cheese—it *has* to be softened completely, or you’ll have lumps that make slicing very sad.
We are breaking this down into three parts: the base, the chocolate middle, and the bright strawberry finish. If you want a truly amazing crust, use good quality chocolate wafers. If you can’t find those, check out my tips for hacking together a great crust base in my no-bake eclair recipe—the principle is the same!
For the Chocolate Crust
- 1 1/2 cups chocolate wafer cookie crumbs (Don’t skimp here!)
- 6 tablespoons unsalted butter, melted (Melted properly, not scorched!)
For the Chocolate Cheesecake Filling
- 16 ounces cream cheese, softened (Yes, two standard blocks, softened on the counter first!)
- 1 cup powdered sugar
- 1 teaspoon vanilla extract
- 1/4 cup heavy cream
For the Strawberry Swirl Layer and Topping
- 8 ounces cream cheese, softened (This is the second block—have them all out warming up!)
- 1/2 cup strawberry puree (I just blend up super ripe strawberries until smooth)
- 1/4 cup powdered sugar (for the strawberry side)
- 1 teaspoon lemon juice (Just a tiny bit to make the strawberry flavor zing!)
- 1 cup heavy cream, whipped (For that fluffy cloud you put on top later)
- 1 cup fresh strawberries, sliced (For decoration, because presentation matters!)
Step-by-Step Instructions: Creating the Perfect No-Bake Strawberry Chocolate Cheesecake Slice
Alright, time to get our hands a little messy! This process is straightforward, but pacing is everything, especially when you aren’t baking anything. We need those layers to firm up nicely before the next one goes on top. If you want to see how I handle super quick chilled desserts, my method for no-bake chocolate clusters uses a similar freezing trick for fast structure!
Preparing and Chilling the Chocolate Base
Grab that 8×8 inch pan—make sure you line it with parchment paper first, allowing an overhang on two sides. That overhang is your handle later; don’t skip it! Mix your chocolate wafer crumbs and the melted butter together until it looks like wet sand. Press that mixture *firmly* into the bottom of your prepared pan. You need serious pressure here; use the bottom of a flat glass to really pack it down. Pop that base into the fridge for just 15 minutes while you whip up the first layer.
Assembling the Chocolate Cheesecake Layer
Now for the main event! In your big mixing bowl, beat that 16 ounces of softened cream cheese until it’s utterly, completely smooth—zero lumps allowed! Slowly mix in the cup of powdered sugar, vanilla, and the 1/4 cup of heavy cream. You want this mixture light and airy, but thick enough that it doesn’t run everywhere. Gently scrape this gorgeous chocolate layer right over your chilled crust. Smooth the top nicely, and back into the fridge it goes!
Incorporating the Strawberry Swirl Element
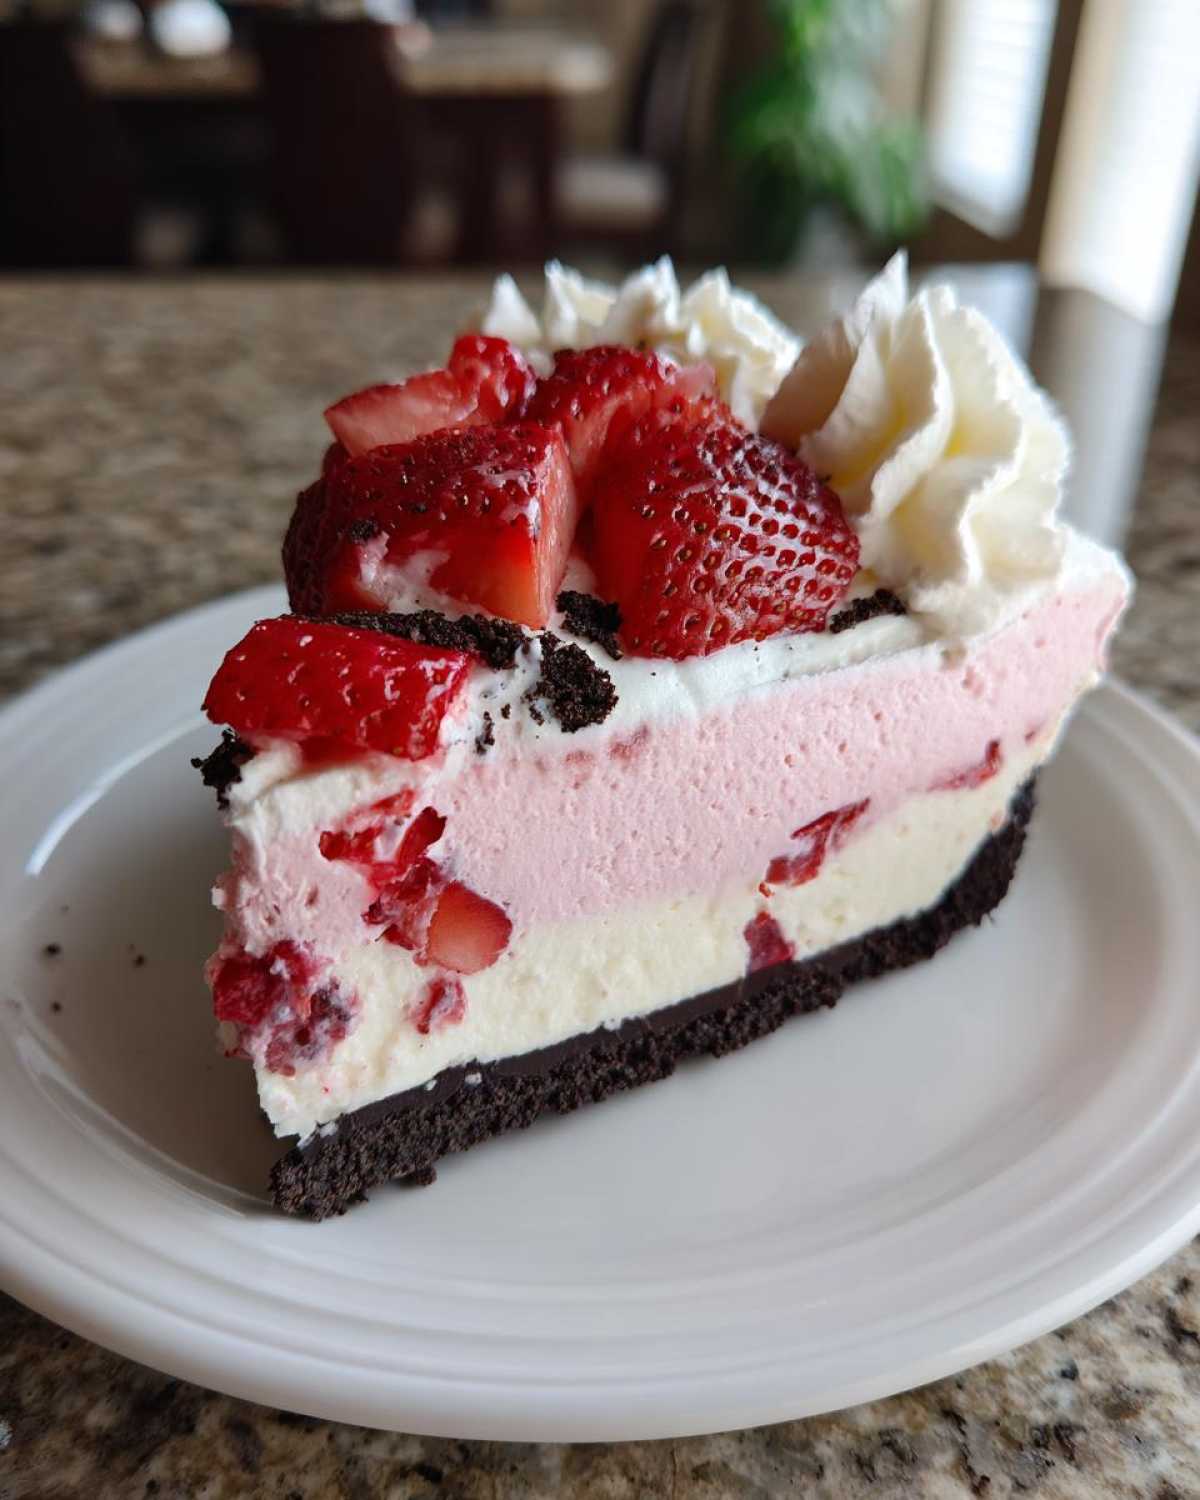
In a separate bowl, we’re whipping up the sweet strawberry layer. Beat the second 8 ounces of cream cheese until smooth, then add the 1/4 cup powdered sugar and that zingy lemon juice. Fold in your ½ cup of bright strawberry puree. Remember, we want a swirl, not a muddy mess! Spoon dollops of this strawberry mix over the chocolate layer. If you want that marbled effect everyone coos over, just take a butter knife and gently drag it through the layers once or twice. Don’t overdo it!
The Critical Setting Phase for Your No-Bake Strawberry Chocolate Cheesecake Slice
This is the hard part: waiting. The cheesecake needs serious chill time to become the perfect sliceable bar we’re aiming for. I’m telling you now, you must chill this for a minimum of 6 hours, but honestly, if you can leave it overnight, it will be rock solid and cut like butter. Plan ahead, because a fast chill won’t give you the beautiful structure required for a perfect No-Bake Strawberry Chocolate Cheesecake Slice.
Expert Tips for the Best No-Bake Strawberry Chocolate Cheesecake Slice Results
Okay, we’ve mixed, we’ve layered, and now we wait. But while it’s setting up, let me give you the cheat codes I learned through trial and very sticky error. These little things will take your bars from “pretty good” to “OMG, are you sure this isn’t baked?” territory.
First things first: room temperature cream cheese. I harped on it before, but it bears repeating. If your cream cheese is cold, it will fight the sugar, and you get tiny, annoying little cheese pebbles in your filling. Nobody wants that surprise!
Also, when you’re layering up that strawberry puree over the chocolate filling, use room temperature pureed strawberries if you possibly can. If the puree is ice cold from the fridge, it cools the chocolate layer down too fast, and your swirl attempt turns into two distinct slabs instead of a pretty marble! A gentle mix is key.
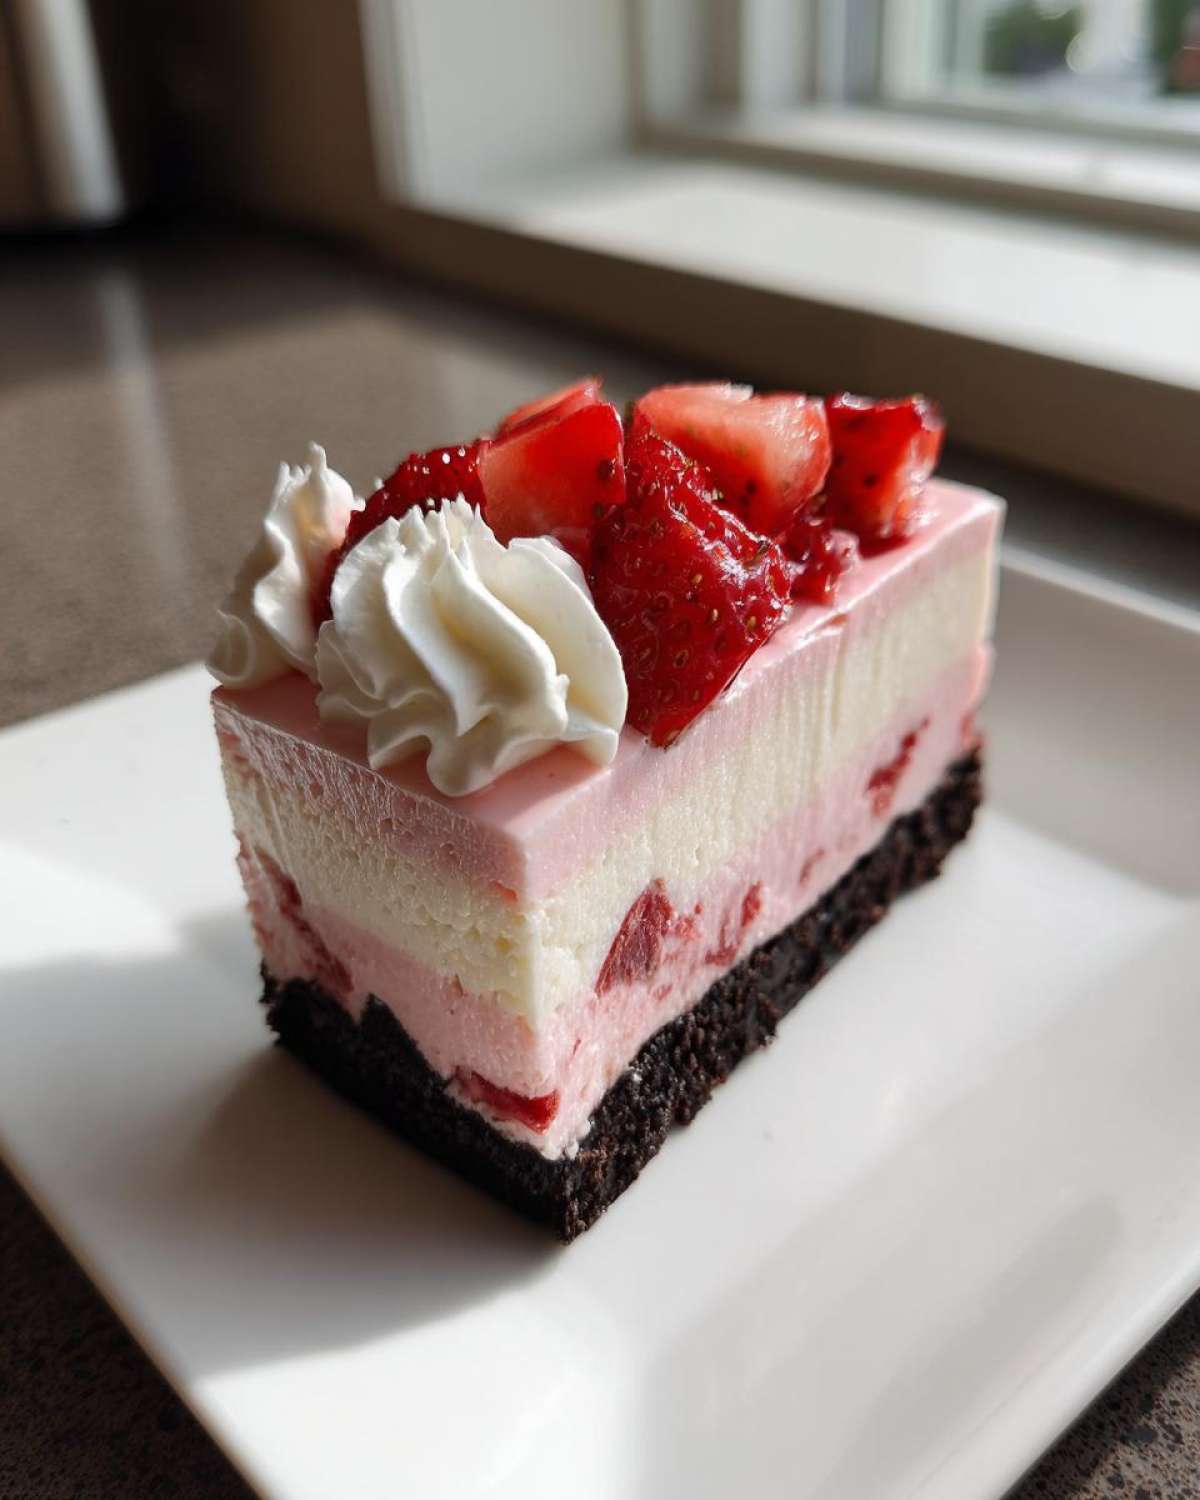
And here is the tip I swear by for an incredible presentation: clean slices. Once it’s totally firm, take your sharpest knife and run it under really hot tap water for about 30 seconds. Wipe it completely dry with a paper towel—heat and dryness are crucial here. Slice through the dessert quickly, then wipe the knife clean and reheat it for the next cut. This melts the fat slightly as you go, leaving you with those stunning, sharp edges! It’s the same trick professional pastry chefs use, and it totally works for these no-bake chocolate treats.
Finally, when you’re adding those fresh strawberry slices on top, do it right before serving. If you add them too early, the moisture starts making them look a little sad against the white topping. Freshness equals wow factor!
Storage and Reheating Instructions for Your Refrigerated Strawberry Chocolate Treat
Since this beauty never saw an oven, we treat it totally differently than a baked dessert. The good news? It keeps wonderfully! This is fantastic for making ahead, which is why I love calling these my go-to refrigerated strawberry chocolate treat for parties. No last-minute baking stress!
The best way to store these bars is right in that 8×8 pan, covered tightly with plastic wrap, making sure the wrap isn’t touching the delicate strawberry topping. In the fridge, they will keep their creamy texture beautifully for four to five days. I’ve even pushed it to six days, and it was still delicious, though maybe just a *tiny* bit softer.
Now, if you make this ahead of time—and I highly suggest you do—or if you have leftovers you just can’t eat right away, the freezer is your friend! Wrap individual slices tightly in plastic wrap, then throw them into a freezer-safe container or bag. They freeze like a dream. I’ve kept them frozen for up to a month, and honestly, the texture holds up amazingly well.
How do you serve them when they come straight out of the deep freeze? Ah, that’s where the “reheating” part comes into play—except we aren’t heating them, we are thawing them gently! Take a frozen slice out and let it sit on the counter for about 30 to 45 minutes. It should come to a perfect, slightly firm, sliceable texture. If you use the fridge method, aim for about an hour on the counter to take the chill off before you add the fresh cream and strawberry garnish. Seriously, the chilling part is the longest effort for this entire recipe!
It’s so much easier to manage than trying to reheat something baked, which just dries out, right? Pop over to my guide on keeping these treats fresh for longer if you need more storage details—I talk all about how to handle moisture down there!
Variations on the No-Bake Strawberry Chocolate Cheesecake Slice
One of the best things about a no-bake dessert is how forgiving it is, even when you’re just experimenting in the kitchen! While I truly believe my original layered No-Bake Strawberry Chocolate Cheesecake Slice reigns supreme, sometimes you need to switch things up based on what you have or what mood you’re in. Don’t mess with that essential chill time, though—that’s non-negotiable!
Here are a couple of easy ways I shake things up now and then without ever having to touch the oven. I always try to keep the spirit of the chocolate, strawberry, and cream cheese, but we can certainly play with the texture carriers!
Crust Swap: Hello, Graham Cracker Base!
If you’re out of chocolate wafers or just want a slightly less intense chocolate flavor right at the bottom, you can swap that crust out in a snap. Use about 1 3/4 cups of plain graham cracker crumbs instead of the chocolate. You might need to bump your melted butter up just slightly—maybe to 7 tablespoons instead of 6—to ensure it holds together perfectly well. The graham cracker gives you a nuttier, more traditional cheesecake bite, and it lets that strawberry swirl really sing!
If you enjoy layered desserts but want something lighter than a full cheesecake, you might want to look at how I stabilize my cream for my strawberry shortcake cups. It’s a fantastic, lighter alternative to the heavy cream cheese base!
Topping Swap: Ganache Drizzle Instead of Whipped Cream
If you want to lean *hard* into that deep chocolate profile, ditch the plain whipped cream topping entirely. Instead, make a quick, thin chocolate ganache. It’s ridiculously easy! You just need about 1/2 cup of semi-sweet chocolate chips and 1/4 cup of heavy cream. Heat the heavy cream until it’s just simmering, pour it over the chocolate chips, let it sit for five minutes, then whisk it until smooth and glossy. Let that cool down just a bit so it’s pourable, but not hot enough to melt your cheesecake.
Drizzle that ganache artfully over the top layer of the strawberry section before you put the fresh strawberry slices on. It adds a beautiful sheen and deepens the chocolate experience dramatically. It makes the entire bar feel way more luxurious.
Texture Play: Frozen Strawberry Chocolate Dessert Bars
Okay, this variation is for when you are really short on time or when it is scorching hot outside! Instead of setting this in the fridge for 6 hours, you can commit to freezing it for about 3 to 4 hours until it’s solid but not rock hard—think of those frosty ice cream cakes. When you cut these, they freeze beautifully cold, making them an amazing frozen strawberry chocolate dessert!
The only caveat here is texture when eating. It won’t have that signature soft, melt-in-your-mouth cream cheese give; it will be firmer, almost like ice cream. If you plan to serve it frozen, let it sit out maybe 5 minutes before slicing with a hot knife, just like my best tips suggest for clean cutting!
Frequently Asked Questions About This Easy No Bake Cheesecake Slices Recipe
I get so many messages about this recipe—you all love these easy no bake cheesecake slices as much as I do! It’s totally normal to have a few questions when you’re navigating the world of no-bake desserts, especially when you’re trying to get that perfect layered look. Here are the trickiest spots readers run into:
Can I use a different cookie for the crust in this No Bake Strawberry Chocolate Cheesecake Slice?
Oh, absolutely! We love substitutions in my kitchen! If you run out of chocolate wafers, you have a couple of great options. The easiest swap is sticking with classic graham crackers—you’ll need about 1 and 3/4 cups of those crumbs, and you might want to add an extra tablespoon of melted butter just to make sure it binds perfectly since graham crackers can be a little drier than the chocolate kind. Also, if you have Oreos, skip the scraping step and use the whole cookie, cream and all! That will give you a richer, darker crust, almost like a double chocolate experience!
How do I ensure my layers stay separate and don’t blend too much?
This is the make-or-break moment for achieving those beautiful, distinct layers in your Cream Cheese Strawberry Chocolate Slices! Temperature control is your best friend here. After you press down that chocolate crust, you chill it for 15 minutes, right? That just firms it up a little. The crucial thing is the layer *on top* of that crust—the main chocolate filling. It needs to be firm enough so that when you scoop the lighter strawberry layer on top, the strawberry mix doesn’t just immediately melt down and disappear into the chocolate layer underneath.
After you spread the chocolate layer, pop the whole thing back into the fridge for at least 30 minutes—longer is better! You want the top of that chocolate layer to feel cool and tacky, not wet. When you dollop that strawberry mixture on top of that chilled surface, they’ll sit nicely on top of each other. If you see them starting to merge too quickly, just slide the whole pan back into the fridge for 15 more minutes before you get to the pretty swirling step!
If you want more ideas on making ahead or chilling times for other great recipes, check out the deep dive I did on my other no-bake cheesecake slices!
Nutritional Estimates for Your Cream Cheese Strawberry Chocolate Slices
Now, look, I’m a baker, not a nutritionist, so take this information with a giant grain of salt—or maybe a tiny sprinkle of sugar! These estimates are based on the ingredients listed, assuming standard brand measurements, and they are just a general guideline. Because we aren’t baking, we aren’t losing any mass to evaporation, so the calorie count stays pretty true to the sum of the parts, but remember, every brand is a little different!
These delicious Cream Cheese Strawberry Chocolate Slices are definitely a rich treat, loaded with the goodness of that cream cheese filling. If you want to see how you can make lighter desserts without sacrificing texture, I wrote a whole piece on balancing liquids when using chia seeds for pudding—it shows how you can cut down on the dairy fat if needed!
Here’s what I’m estimating for one perfect slice (based on 16 slices total):
- Serving Size: 1 slice
- Calories: 350
- Sugar: 25g
- Sodium: 180mg
- Fat: 25g
- Saturated Fat: 15g
- Carbohydrates: 30g
- Protein: 5g
It’s important to know that these numbers don’t account for any extra melted chocolate you might drizzle on top or any extra fresh strawberries you might stack on your plate! Enjoy that rich flavor, knowing exactly what you’re getting into. Just an occasional treat, but totally worth every creamy, chilled minute!
Share Your No-Bake Strawberry Chocolate Cheesecake Slice Creations
Whew! We made it through the mixing, the layering, and the agonizing wait for the chill time. Now comes the best part: enjoying your incredible dessert and letting me know how it went!
I put my heart and soul into making this the most reliable No-Bake Strawberry Chocolate Cheesecake Slice recipe out there, but every kitchen is a little different, and I absolutely love hearing how you customized it! Did you try the ganache drizzle? Did you swirl the layers until they looked like modern art? Don’t keep it a secret!
Please, please, please leave me a rating below—those little stars are super helpful for other bakers looking for a dependable summer treat. And if you have a minute, pop into the comments section and tell me what you thought of the texture once you finally cut into those firm bars. Did they slice cleanly? Be honest!
If you took a picture because you know how gorgeous these layered bars look (and let’s be real, you did!), I would be thrilled if you shared it. Tag me on social media! You can always find my latest kitchen shenanigans and baking adventures over on the main blog page. It means the world to me when I see your creations popping up. Happy slicing!
PrintNo-Bake Strawberry Chocolate Cheesecake Slices
Prepare rich, layered cheesecake slices featuring a chocolate base, a creamy filling, and a fresh strawberry topping, all without using an oven.
- Prep Time: 30 min
- Cook Time: 0 min
- Total Time: 6 hours 30 min
- Yield: 16 slices
- Category: Dessert
- Method: Refrigeration
- Cuisine: American
- Diet: Vegetarian
Ingredients
- 1 1/2 cups chocolate wafer cookie crumbs
- 6 tablespoons unsalted butter, melted
- 16 ounces cream cheese, softened
- 1 cup powdered sugar
- 1 teaspoon vanilla extract
- 1/4 cup heavy cream
- 8 ounces cream cheese, softened (for strawberry layer)
- 1/2 cup strawberry puree (from fresh or thawed strawberries)
- 1/4 cup powdered sugar (for strawberry layer)
- 1 teaspoon lemon juice
- 1 cup heavy cream, whipped (for topping)
- 1 cup fresh strawberries, sliced (for garnish)
Instructions
- Prepare the crust: Mix chocolate wafer crumbs and melted butter until combined. Press the mixture firmly into the bottom of an 8×8 inch baking pan lined with parchment paper, leaving an overhang for easy removal. Chill for 15 minutes.
- Make the chocolate layer: Beat 16 ounces of softened cream cheese, 1 cup powdered sugar, vanilla extract, and 1/4 cup heavy cream until smooth. Spread this mixture evenly over the chilled chocolate crust. Return the pan to the refrigerator.
- Make the strawberry layer: In a separate bowl, beat the remaining 8 ounces of softened cream cheese, 1/4 cup powdered sugar, and lemon juice until smooth. Gently fold in the strawberry puree until just combined.
- Layer the strawberry mixture over the chocolate layer. Use a knife or skewer to gently swirl the layers together slightly for a marbled effect, if desired.
- Chill the cheesecake for at least 6 hours, or preferably overnight, until completely firm.
- Before serving, remove the cheesecake from the pan using the parchment paper overhang. Cut into 12 or 16 even slices.
- Top each slice with a dollop of whipped cream and a few slices of fresh strawberries.
Notes
- Use high-quality chocolate wafers for the best crust flavor.
- Ensure all cream cheese is fully softened to prevent lumps in the filling.
- For easier slicing, run a sharp knife under hot water and dry it between cuts.
Nutrition
- Serving Size: 1 slice
- Calories: 350
- Sugar: 25
- Sodium: 180
- Fat: 25
- Saturated Fat: 15
- Unsaturated Fat: 10
- Trans Fat: 0
- Carbohydrates: 30
- Fiber: 1
- Protein: 5
- Cholesterol: 75