

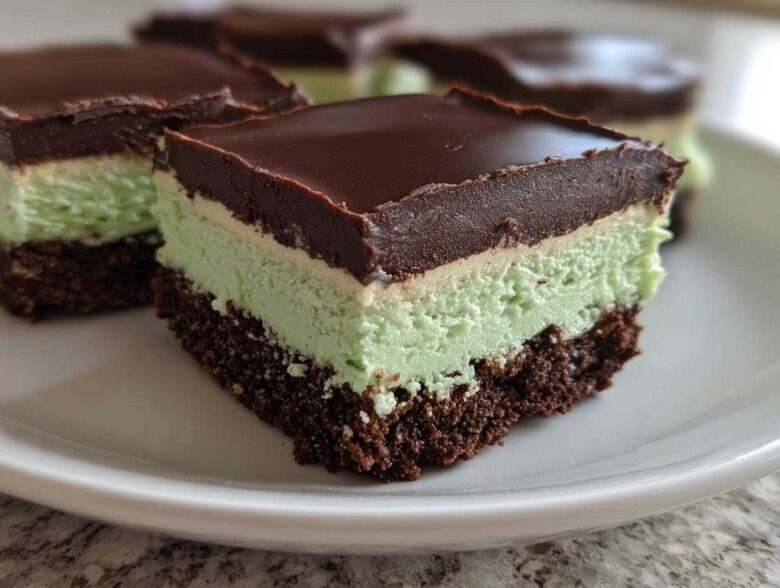
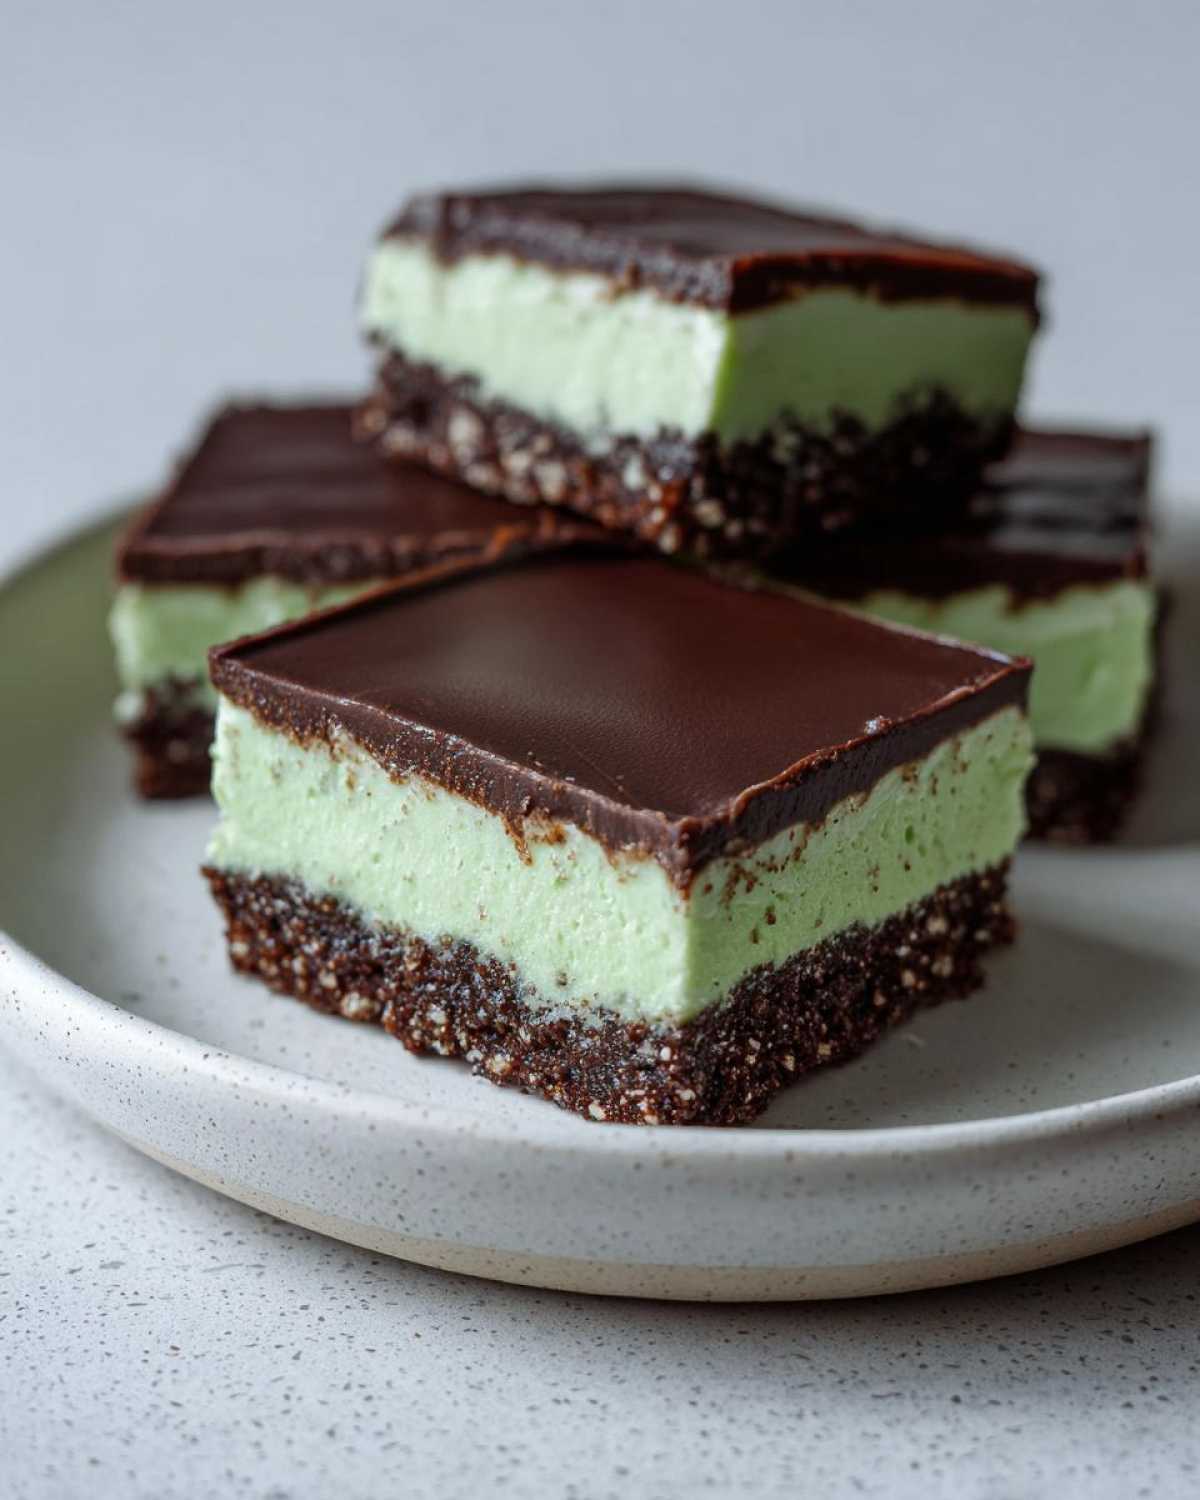
Oh, you know those days when you are craving something unbelievably decadent—rich, cool, and minty—but the thought of turning on the oven makes you sweat? I totally get it! That’s why I guard this recipe for my No-Bake Chocolate Mint Icebox Bars with my life. Seriously, these are the ultimate zero-oven-time treat. They layer that perfect crunch, the brightest mint cream, and a thick blanket of chocolate fudge. I’m telling you, they are so simple, but they look like you spent hours fussing over them. I’ve been making this version for years when I need a quick, show-stopping dessert, especially around the holidays!
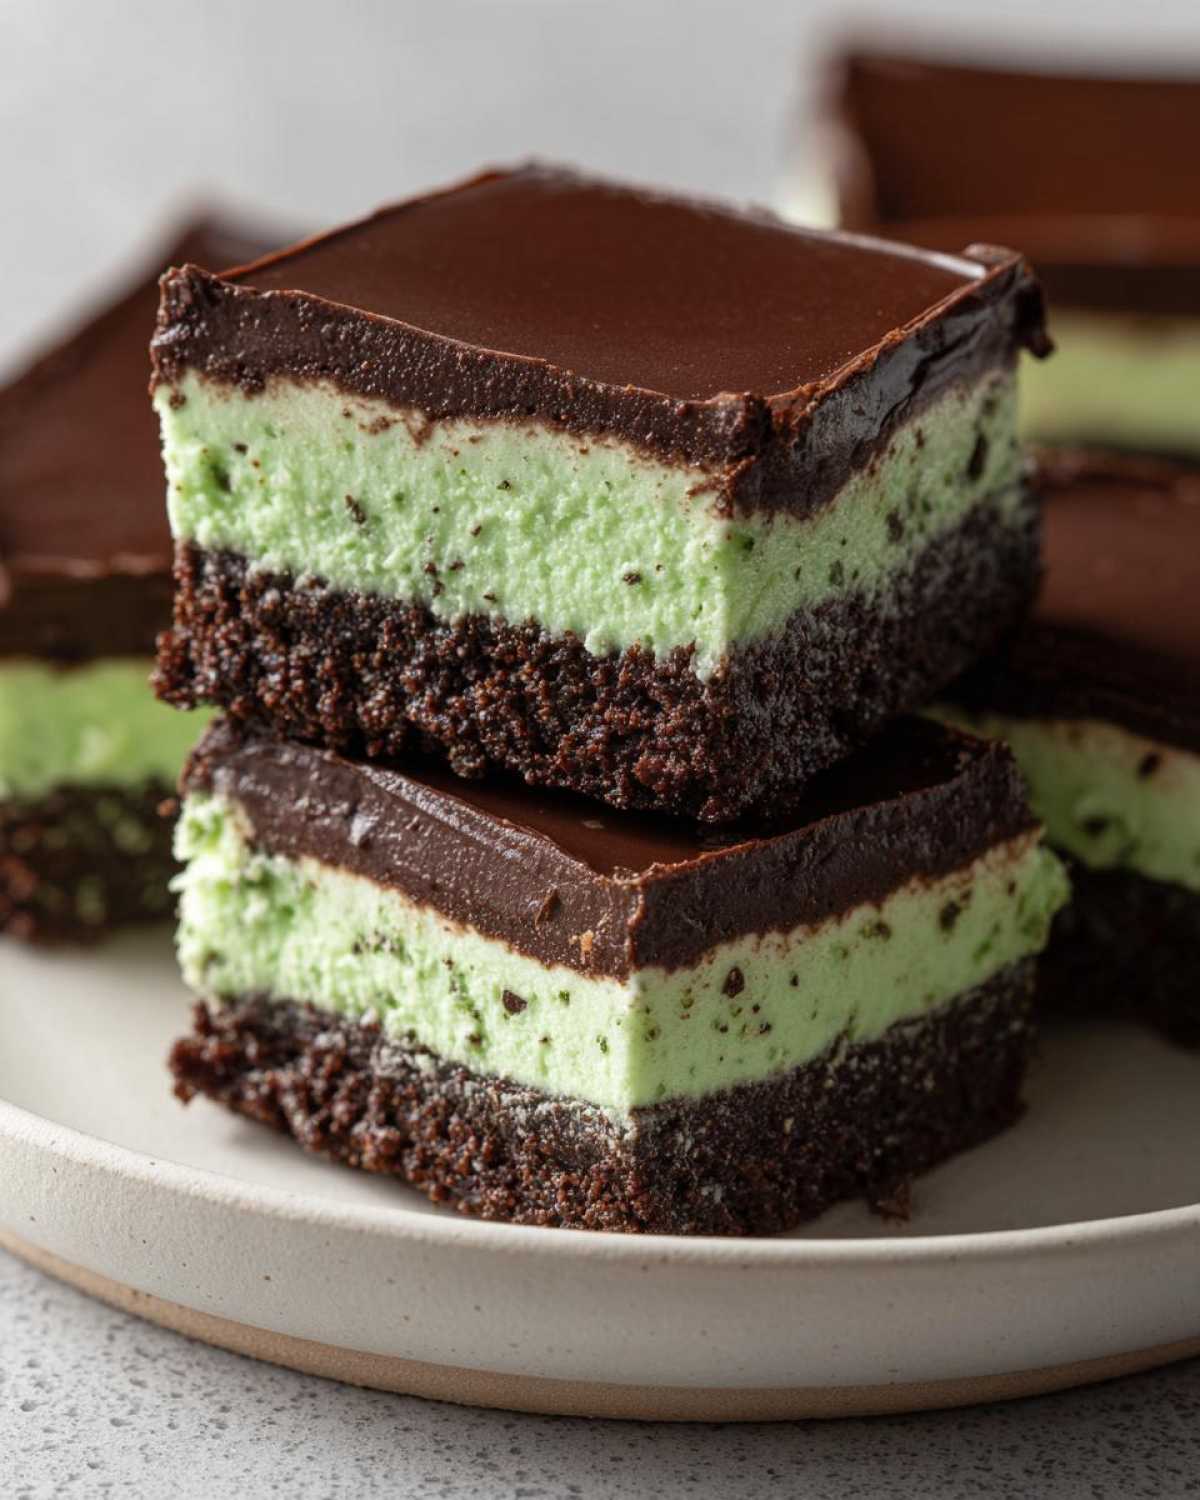
Forget complicated steps! We’re achieving pure dessert magic right in the fridge. If you’re looking for quick chocolate mint slices that deliver serious flavor without the heat, you are absolutely in the right spot. I’ve made them for neighbors, family events, and just for my own sanity after a long Tuesday. The secret is keeping everything perfectly chilled, which keeps those layers nice and distinct. When you pull that pan out, just make sure you’ve lined it well, because trust me, you want every single beautiful layer intact.
If you really want to see how I get those perfect layers to lift out without sticking—which is honestly the biggest drama in icebox desserts—check out my method for easy no bake refrigerator desserts. It works like a charm here too!
Why You Should Make These No-Bake Chocolate Mint Icebox Bars Today
Why wait? These bars are my go-to solution when time is short but the desire for something divine is huge. They truly shine as one of the best easy no bake refrigerator desserts you’ll ever try. Seriously, look at what you get:
- Absolutely zero oven time required—perfect for summer days!
- The flavor combination of deep chocolate and bright mint is just unbeatable.
- They hold their shape perfectly, making them ideal for parties or meal prep.
- They are totally make-ahead friendly; chill them the night before!
Need more inspiration for chilled sweets? You have to check out my recipe for the no-bake Oreo cheesecake—it’s another winner when you don’t want to turn on the heat!
Gathering Ingredients for Your No-Bake Chocolate Mint Icebox Bars
Okay, let’s get real about the ingredients. The beauty of these bars is that you probably have most of this stuff lurking in your pantry already! The absolute key here is preparation. Everything needs to be ready to go, especially since we aren’t waiting for anything to bake. Remember, soft cream cheese and that *ice-cold* heavy whipping cream are non-negotiable for the best texture!
If you love making no-bake treats that set up beautifully, you have to try my no-bake Biscoff cheesecake next, too. The ingredient roles are key in both!
For the Graham Cracker Crust
- 1 1/2 cups graham cracker crumbs
- 1/4 cup granulated sugar
- 6 tablespoons unsalted butter, melted (make sure this is fully melted!)
For the Creamy Mint Layer
- 8 ounces cream cheese, softened (I mean, really, truly softened. Leave it out for at least an hour!)
- 1 cup powdered sugar
- 1 teaspoon vanilla extract
- 1/2 teaspoon peppermint extract (Watch out! If you use mint extract, use way less—it’s much stronger!)
- 2 drops green food coloring (optional, but it makes them look so festive!)
- 1 cup heavy whipping cream, cold (Must be cold for whipping!)
For the Rich Chocolate Topping
- 1 cup semi-sweet chocolate chips
- 1/2 cup heavy whipping cream (This measurement is just for the ganache, separate from the filling cream!)
Step-by-Step Assembly of No-Bake Chocolate Mint Icebox Bars
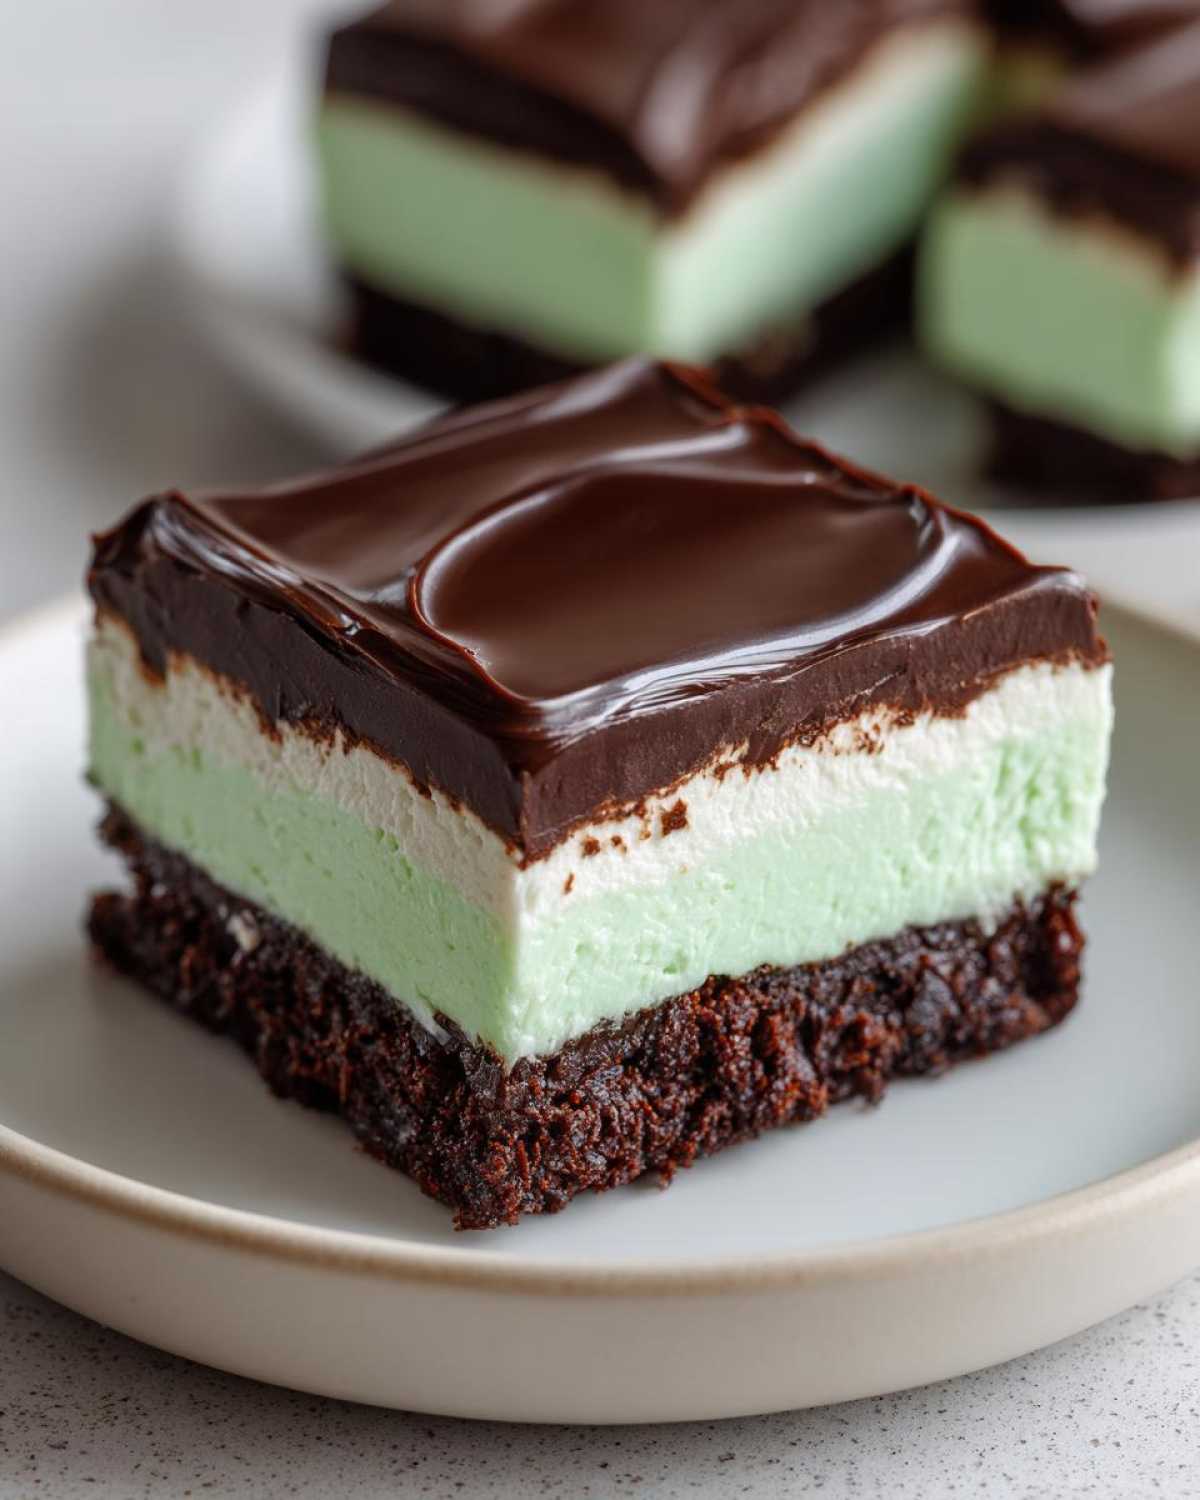
Now for the fun part! This is where we stop prepping and start building our tower of deliciousness. Don’t rush the chilling steps—that’s how these bars get their firm, perfect structure. Following these steps will ensure you get that gorgeous, distinct layering that makes these no-bake chocolate mint icebox bars so impressive.
If you want some more inspiration on layered desserts that look fancy but aren’t, take a look at my guide for the no-bake chocolate eclair dessert—it uses similar layering logic!
Creating and Chilling the Crust Base
First up, the foundation! Grab your 8×8 inch pan and make sure you’ve lined it with parchment paper with an overhang. That overhang is your handle later, trust me. In a bowl, mix those graham cracker crumbs and the granulated sugar. Drizzle in the melted butter and stir it all together until it looks like slightly damp sand. Now, press it firmly into the bottom of that prepared pan. I use the flat bottom of a measuring cup to really compact it down. If this layer isn’t pressed tight, it crumbles when you try to cut it later. Pop this into the fridge for at least 15 minutes while we whip up the next layer.
Whipping Up the Creamy Mint Layer
Time for the star of the show! Make sure your cream cheese is soft—if it fights you, it’s not ready. Beat that cream cheese until it’s totally smooth, then slowly mix in the powdered sugar, vanilla, and that strong peppermint extract. A couple of drops of green food coloring makes it pop, but skip it if you don’t care for the color. The crucial part comes next: In a *separate* bowl, beat that cold heavy whipping cream until you get stiff peaks. You need to fold that whipped cream gently into the cream cheese mixture. Fold, don’t stir! We want to keep all that air we just beat in there so we get those fantastic, light, creamy mint dessert bars.
Spread this mint cloud evenly over your chilled crust. Back into the fridge it goes while we make the chocolate lid!
Finishing the No-Bake Chocolate Mint Icebox Bars with Chocolate Ganache
The topping is simple goodness. Put your chocolate chips in a heatproof bowl. Heat up the 1/2 cup of heavy whipping cream in a tiny saucepan until it’s just starting to simmer around the edges—don’t let it boil furiously! Pour that hot cream right over the chips and leave it alone for five solid minutes. Don’t touch it! After five minutes, whisk it gently until it’s glossy and totally smooth. That’s your ganache. Pour this rich chocolate right over the mint layer and take care smoothing it out evenly. It will look gorgeous!
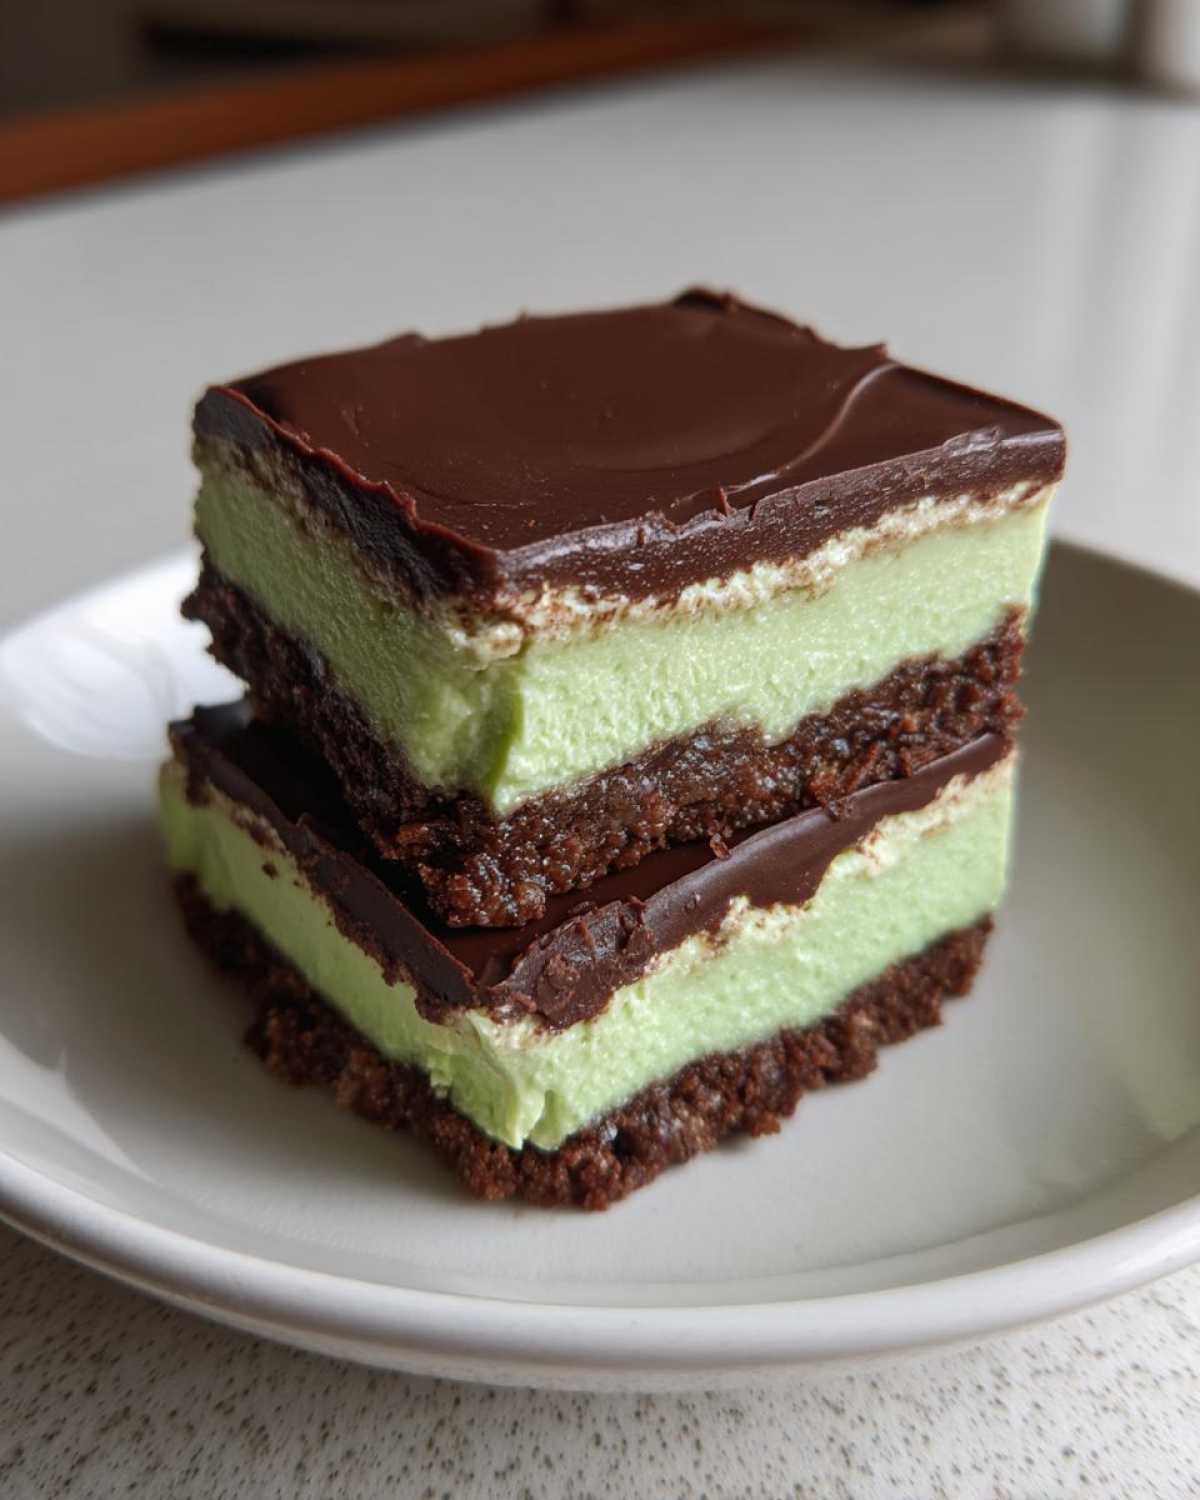
The final step—and don’t skip this—is chilling. These bars need a minimum of 4 hours, but honestly, if you can wait until the next day, the cuts will be cleaner and the whole dessert will be firmer. That long chill time is what transforms these separate layers into one perfect confection.
Expert Tips for Perfect No-Bake Chocolate Mint Icebox Bars
Listen, making these amazing rich mint chocolate squares recipe requires a little finesse, even though it’s no-bake! These aren’t cookies that just cool off; they rely on cold to set up right. I’ve learned a few tricks over the years to make sure you get that perfect slice every single time. Taking an extra minute on these steps makes all the difference when serving.
Achieving Clean Slices on Your Layered Mint Chocolate Confection
This is the make-or-break moment! If you try to slice them straight from the fridge after only 4 hours, you’re going to get smushed mint filling, guaranteed. First, chill them for at least 6 hours, but overnight is even better for structure. Then, here’s the trick: heat up a big chef’s knife under very hot running water. Wipe it dry quickly with a towel and then slice down firmly. Wipe the knife clean between *every single cut*. The hot blade melts the layers just enough to glide right through without tearing.
Ingredient Swaps for Your No-Bake Chocolate Mint Icebox Bars
Don’t have graham crackers? No problem! As my notes mentioned, using chocolate wafer crumbs instead of graham crackers makes a fantastic, richer crust base. If you don’t have peppermint extract, you can try using a different extract like almond or even maple temporarily, but you’ll lose that classic cool flavor, so I highly recommend sticking to mint! Also, if you find your chocolate topping is too sticky after chilling, next time try adding just a tiny splash of softened coconut oil to your melted chips—it helps keep them a little softer to cut while still setting up firm. For more no-bake inspiration that sets up beautifully, have a peek at my guide for no-bake chocolate cornflake bars!
Storage and Make-Ahead Advice for Your No-Bake Mint Squares Recipe
Good news! These are truly the best make ahead chilled chocolate desserts because they actually taste better the next day. The chilling time doesn’t just set the structure; it lets those mint and chocolate flavors really get to know each other. I always plan to make these the day before I need them.
When it comes to storage, air is the enemy, especially for that creamy layer. You need to cover them really well. I always double-layer mine with plastic wrap—plastic wrap directly against the chocolate topping, and then another layer of aluminum foil over the whole pan. This keeps them fresh without squishing the top layer.
In the refrigerator, these no-bake mint squares recipe gems last beautifully for up to five days. If you need them to last longer, freezing is totally doable! Wrap the entire pan, or better yet, pre-slice them and stack pieces between sheets of parchment paper before wrapping tightly. They freeze well for about two months. When you are ready, just thaw them overnight in the fridge!
If you’re looking for other long-lasting, make-ahead treats, you’ve got to check out my super simple no-bake chocolate peanut butter cups—they’re perfect for batch prepping!
Serving Suggestions for Simple Layered Icebox Desserts
Once you’ve successfully sliced your perfectly chilled bars—and believe me, that’s an accomplishment worth celebrating—the presentation is the last little flourish! Since these simple layered icebox desserts are so rich on their own, you don’t need much fuss, but the right pairing just elevates the whole experience.
For a cozy winter treat, nothing beats the cool mint cutting through a mug of classic hot cocoa. Seriously, dip the corner of one bar right into the foam—it’s heavenly! If you’re serving these after a big dinner, keep it simple with a strong cup of black coffee. The bitterness of the coffee really makes the sweetness of the mint and chocolate pop in your mouth.
In the warmer months, I love brightening things up. Just a small handful of fresh raspberries or even a few thin slices of kiwi served right next to the square adds a lovely, tart contrast. It looks so pretty on the plate, too! When you’re done with these minty delights, don’t forget to check out my recipe for moist chocolate chip banana bread—it’s great warm or cold!
Frequently Asked Questions About No-Bake Chocolate Mint Icebox Bars
It’s totally normal to have questions when you’re relying on chilling power instead of oven heat! These No-Bake Chocolate Mint Icebox Bars are straightforward, but I’ve gathered the top things people ask me about to make sure your experience is flawless. If you need more last-minute ideas after reading these, check out my favorite last minute no bake dessert ideas!
Can I skip the food coloring in the mint layer?
Please, yes! The green color is purely aesthetic, just there because mint chocolate usually implies that pretty pale green, right? If you skip it, you absolutely won’t change the taste, texture, or performance of the bars. You’ll just have a slightly off-white layer between your dark brown crust and dark chocolate top. It’s still delicious!
How long do I absolutely need to chill these No Oven Required Chocolate Treats?
This is super important because these are no oven required chocolate treats and chilling is doing all the work! You must chill them for a minimum of 4 hours. That’s the bare minimum required for the cream cheese and whipped cream to firm up enough so you can get a shape. However, if you ask me, the slices are worlds better if you let them chill overnight. If you let them get completely solid overnight, you’ll get those gorgeous, clean cuts we talked about earlier.
Can I use Oreos instead of graham crackers for the crust?
Oh, that’s a fun twist! Yes, you absolutely can swap out the graham cracker crumbs for finely crushed Oreo cookies—just remove the filling if you want a less sweet base, or leave it in for extra decadent flavor! If you use Oreos, you might notice you need slightly less butter since the cookie filling already has fat in it. Start with the recipe amount, then if the crumb mixture seems too loose, add just a tiny bit more melted butter, tablespoon by tablespoon, until it holds together when you squeeze it.
Nutritional Estimates for Creamy Mint Dessert Bars
Now, I always tell my friends that when you are making something this incredibly delicious, you shouldn’t worry too much about hitting the full nutrition facts sheet, right? But if you are tracking things, here’s a rough idea of what you’re looking at for one of these gorgeous bars. Remember, since these are creamy mint dessert bars held together by butter and cream, they are definitely a treat!
These estimates are based on cutting the final pan into 16 squares using standard, full-fat ingredients listed in the recipe. If you use low-fat cream cheese or switch out the sugar, things will look different! This breakdown should only be used as a general guide before you dive into that high-protein chia pudding guide I shared earlier for a lighter snack later in the week!
- Serving Size: 1 bar
- Calories: 280
- Sugar: 25g
- Sodium: 110mg
- Fat: 18g
- Saturated Fat: 11g
- Trans Fat: 0g
- Carbohydrates: 28g
- Fiber: 1g
- Protein: 4g
- Cholesterol: 45mg
Just keep in mind that this is an estimate! The actual values can shift depending on the exact brands of chocolate chips or graham crackers you decide to use. Enjoy every rich, cool bite!
Share Your Experience Making These No-Bake Chocolate Mint Icebox Bars
I have shared all my secrets, and now it’s your turn! I absolutely love hearing from you guys when you whip up one of these no-bake treasures. Did they become an instant hit at your house? Did you manage to get a clean slice on the first try?
When you finish making your layers and have those perfect layered mint chocolate confection squares ready to eat, hop down to the comments below. Give the recipe a star rating so other bakers know what you thought! And seriously, if you snapped a picture of those gorgeous layers, tag me on social media! I want to see your beautiful icebox desserts glowing in the fridge!
If you’ve got any lingering questions about getting the crust just right, or if you found a brilliant substitution, don’t hesitate to ask. Let’s keep this community conversation going! And hey, if you’re already planning your next quick fix, you can always browse my full collection of recipes right here: my full blog archive!
PrintNo-Bake Chocolate Mint Icebox Bars
Make these simple, layered chocolate and mint bars without using your oven. They feature a crisp crust, a creamy mint filling, and a rich chocolate topping.
- Prep Time: 25 min
- Cook Time: 0 min
- Total Time: 4 hr 25 min
- Yield: 16 bars
- Category: Dessert
- Method: Chilling
- Cuisine: American
- Diet: Vegetarian
Ingredients
- 1 1/2 cups graham cracker crumbs
- 1/4 cup granulated sugar
- 6 tablespoons unsalted butter, melted
- 8 ounces cream cheese, softened
- 1 cup powdered sugar
- 1 teaspoon vanilla extract
- 1/2 teaspoon peppermint extract
- 2 drops green food coloring (optional)
- 1 cup heavy whipping cream, cold
- 1 cup semi-sweet chocolate chips
- 1/2 cup heavy whipping cream (for topping)
Instructions
- Prepare the crust: Mix graham cracker crumbs, 1/4 cup granulated sugar, and melted butter in a bowl. Press the mixture firmly into the bottom of an 8×8 inch baking pan lined with parchment paper, leaving an overhang for easy removal. Chill the crust for 15 minutes.
- Make the mint layer: In a large bowl, beat the softened cream cheese until smooth. Gradually add 1 cup powdered sugar, vanilla extract, and peppermint extract. Mix until combined.
- In a separate bowl, whip 1 cup of cold heavy whipping cream until stiff peaks form. Gently fold the whipped cream into the cream cheese mixture. Add green food coloring if desired. Spread the mint filling evenly over the chilled crust. Return the pan to the refrigerator.
- Prepare the chocolate topping: Place chocolate chips in a heatproof bowl. Heat 1/2 cup heavy whipping cream in a small saucepan until it just begins to simmer. Pour the hot cream over the chocolate chips. Let stand for 5 minutes, then whisk until smooth and glossy.
- Pour the chocolate topping over the mint layer. Spread evenly.
- Chill the bars for at least 4 hours, or until firm enough to slice. Use the parchment paper overhang to lift the bars out of the pan before cutting into squares.
Notes
- For a firmer crust, use chocolate wafer crumbs instead of graham crackers.
- If you do not have peppermint extract, you can substitute with 1/4 teaspoon of mint extract, but taste first as it can be stronger.
- Store leftovers tightly covered in the refrigerator for up to 5 days.
Nutrition
- Serving Size: 1 bar
- Calories: 280
- Sugar: 25
- Sodium: 110
- Fat: 18
- Saturated Fat: 11
- Unsaturated Fat: 7
- Trans Fat: 0
- Carbohydrates: 28
- Fiber: 1
- Protein: 4
- Cholesterol: 45