

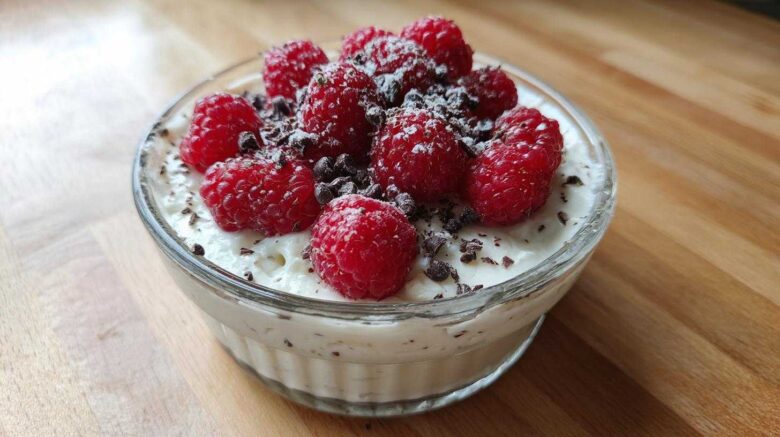
When I think about dessert, I want comfort. I don’t want standing over a hot oven, ever. That’s why these High Protein Cheesecake Cups became an instant favorite here in our kitchen. Richard and I have spent decades collecting flavors globally. We learned so much about simple, pure tastes. Now, in this quiet chapter, I focus on making those treats fit our current needs. For forty years, I’ve perfected recipes. This no-bake approach keeps the richness you crave. Yet, it stays light and protein-packed. You get that creamy cheesecake feeling. It’s truly easy, friends. Let me show you how simple this healthy dessert is to make.
Why You’ll Love These High Protein Cheesecake Cups
I know you crave dessert sometimes. You want something good for you. These cups deliver just that, honestly. They fit right into a busy life. They are truly special, you know.
- No oven needed means less heat.
- Prep takes just ten minutes total time.
- They feel rich but stay surprisingly light.
Quick Assembly for Busy Days
Richard loves how fast these come together now. We only need ten minutes to mix everything up. You mix, you chill, and that’s the whole process. It’s perfect for weeknights.
A Healthy Dessert Solution
This recipe packs a serious protein punch. We keep the fat very low here too. It’s a wonderful low fat dessert option. You feel satisfied without the guilt, trust me.
Assembling Your High Protein Cheesecake Cups
Getting these treats ready is so straightforward. You won’t need fancy gadgets for this no bake dessert. I love that part most. We are building layers of flavor. We are ready for the magic to happen now.
Making these High Protein Cheesecake Cups requires minimal fuss. That’s the beauty of a no bake recipe. Grab your mixing bowl first. Then gather your small serving dishes. It comes together faster than you think.
Essential Equipment for High Protein Cheesecake Cups
You don’t need much gear. This keeps cleanup light, which I always appreciate.
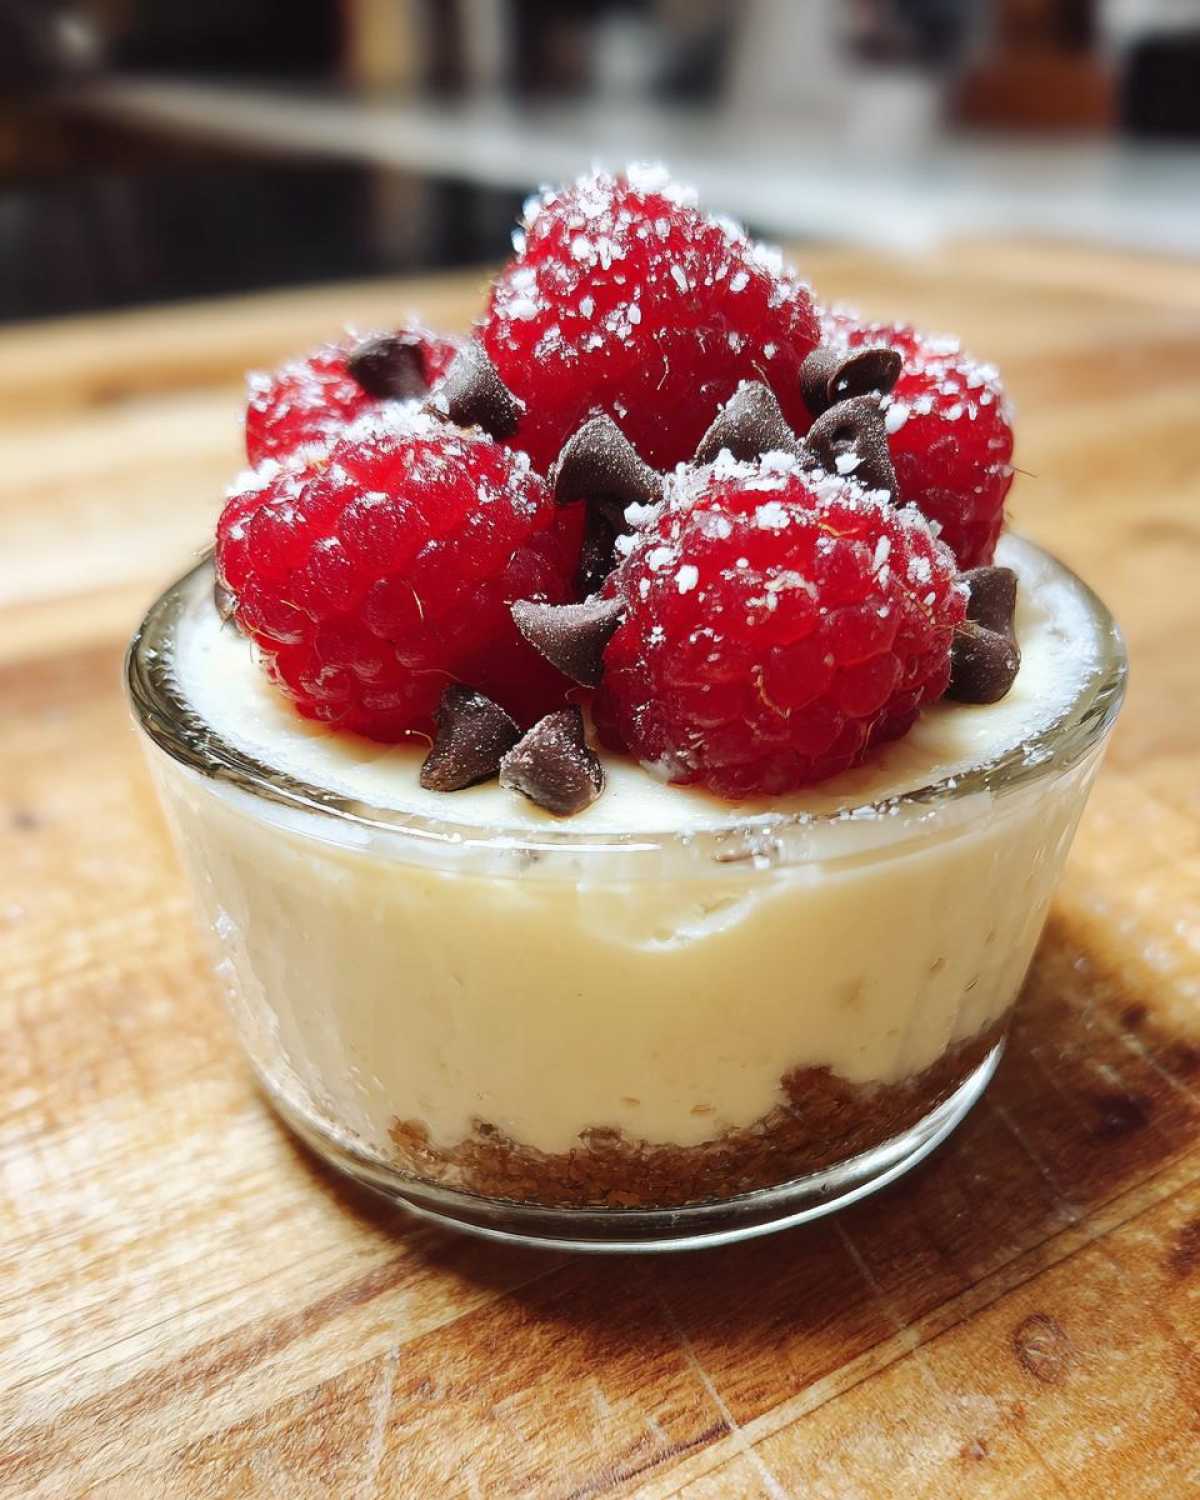
- A medium mixing bowl for combining.
- A hand mixer or a sturdy whisk.
- Four small ramekins or dessert cups.
- Plastic wrap for covering them up.
Ingredient Clarity for High Protein Cheesecake Cups
The ingredients are simple heroes here. Use plain, non-fat Greek yogurt. Low fat cottage cheese is key for texture. We need vanilla or unflavored protein powder. Sweetener choice is yours. Try erythritol or stevia for a sugar-free base. Don’t forget that bright lemon zest! For more information on sugar substitutes, check out resources from organizations like the Mayo Clinic on sugar alternatives.
Step-by-Step Instructions for High Protein Cheesecake Cups
Now we move to the fun part. This is where the ingredients become something amazing. Remember, we are making these High Protein Cheesecake Cups without any oven time. It is pure bliss.
Follow these simple steps closely. You will get perfect results every time. I promise this process is very forgiving.
Blending for Maximum Creaminess
Start by adding everything into your bowl. That means the yogurt and the cottage cheese go first. Then toss in your protein powder and sweetener. Add the vanilla extract and lemon components. A tiny pinch of salt sharpens the flavor.
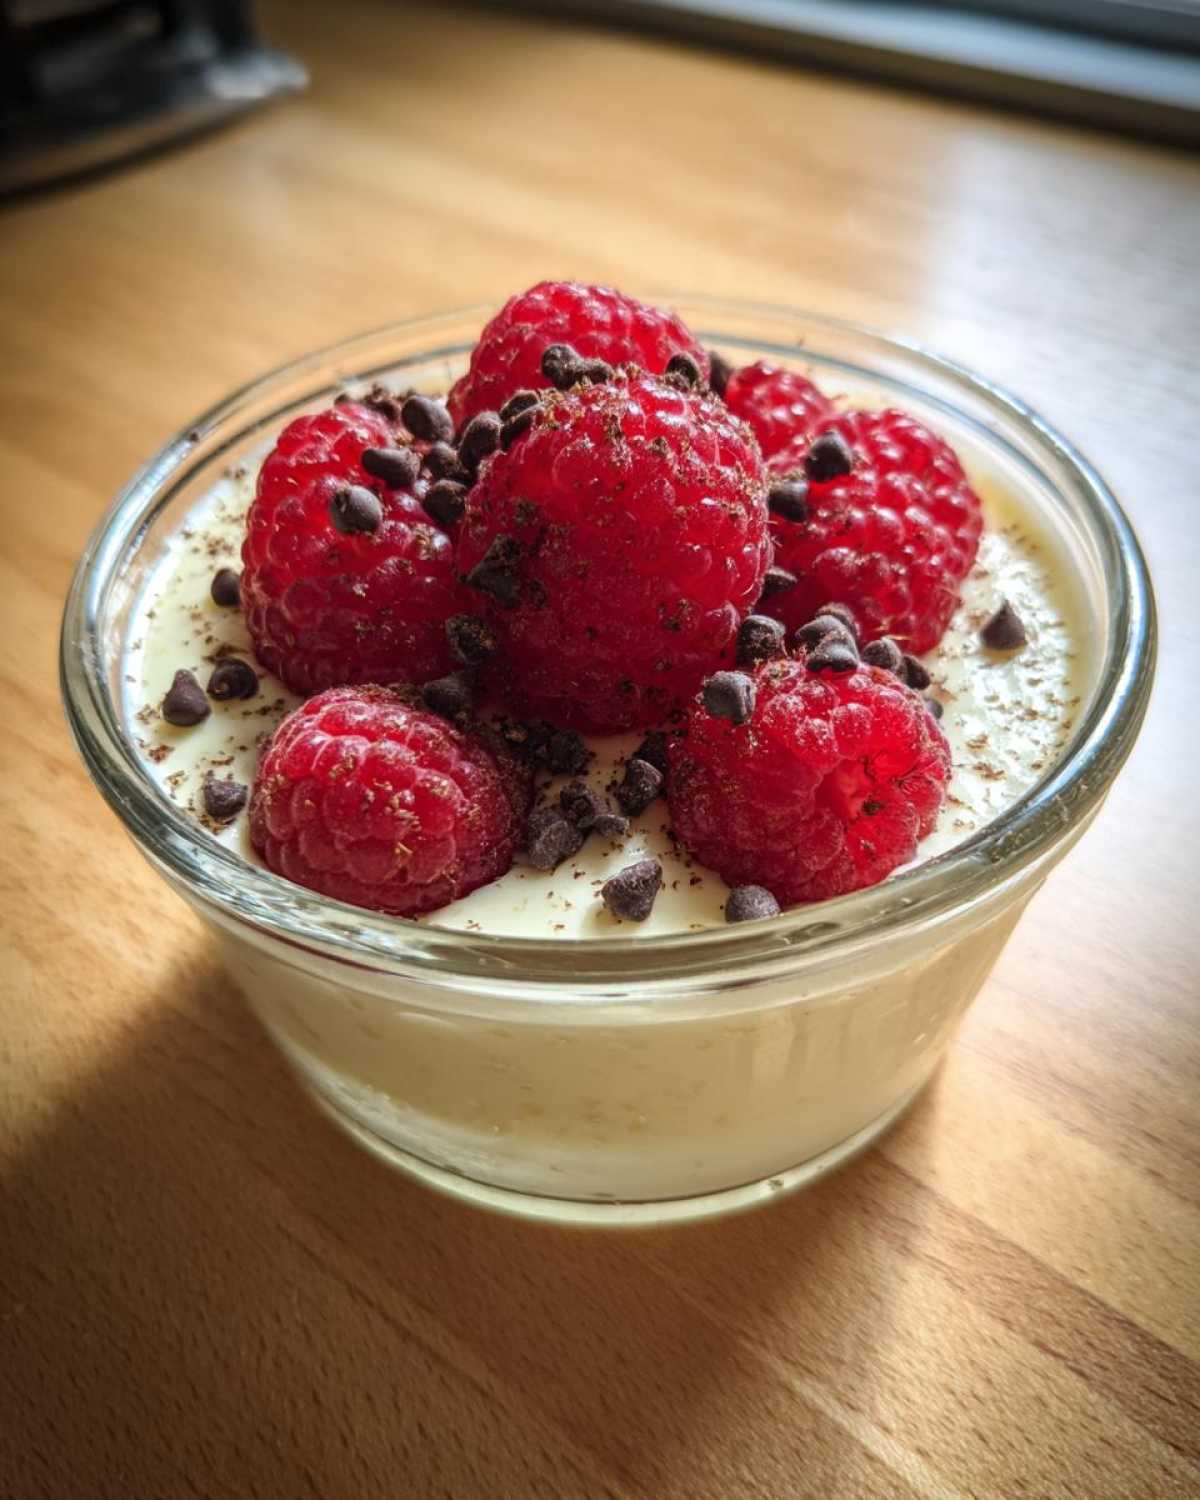
This next part matters a lot. Use that hand mixer or whisk vigorously. Blend until the mixture is totally smooth. I mean absolutely no lumps remain at all. Lumps ruin the cheesecake experience for me. Keep mixing until it looks like silk.
Chilling and Setting the High Protein Cheesecake Cups
Once it’s creamy, we portion it out. Divide that lovely mixture evenly. Pour it right into your four small ramekins. They should look like little dessert dreams already.
Cover each cup tightly with plastic wrap. This keeps any fridge smells out. Now comes the hardest part, waiting! Place the cups in the refrigerator. They need a minimum of four hours to set up firm. This chilling time is non-negotiable for structure.
When they are firm, they are ready for toppings. You have created beautiful High Protein Cheesecake Cups. Enjoy that moment of success!
Flavor Adjustments and Ingredient Notes
I love hearing how you customize things. Food should always reflect your taste. These High Protein Cheesecake Cups are wonderfully adaptable, you know.
If you aren’t a big lemon fan, try this swap. Use almond extract instead of the citrus. Just use about a quarter teaspoon. That gives a lovely, nutty profile instead. It changes the whole experience.
Sweetness levels are personal, right? Always taste your batter first. Adjust your sweetener amount as needed before chilling. That’s my biggest tip for any recipe.
Remember, this is a meal prep dream. You can easily double this recipe. Store extras in the fridge. These healthy cheesecake portions are ready when you need them most.
Tips for Perfect High Protein Cheesecake Cups
I learned long ago that small steps matter most. These tips make your cups restaurant quality. They really do.
Since these are no bake, texture is everything. Make sure your cottage cheese is fully blended. Smoothness equals elegance here. Don’t rush that blending time at all.
I often make double batches now. Richard loves having ready-made snacks. Preparing these ahead saves so much time later. It’s great for busy weeks.
Chill time is crucial for these High Protein Cheesecake Cups. Don’t cheat the four hours. A soft cup is a sad cup, I always say.
Serving Suggestions for This Healthy Cheesecake
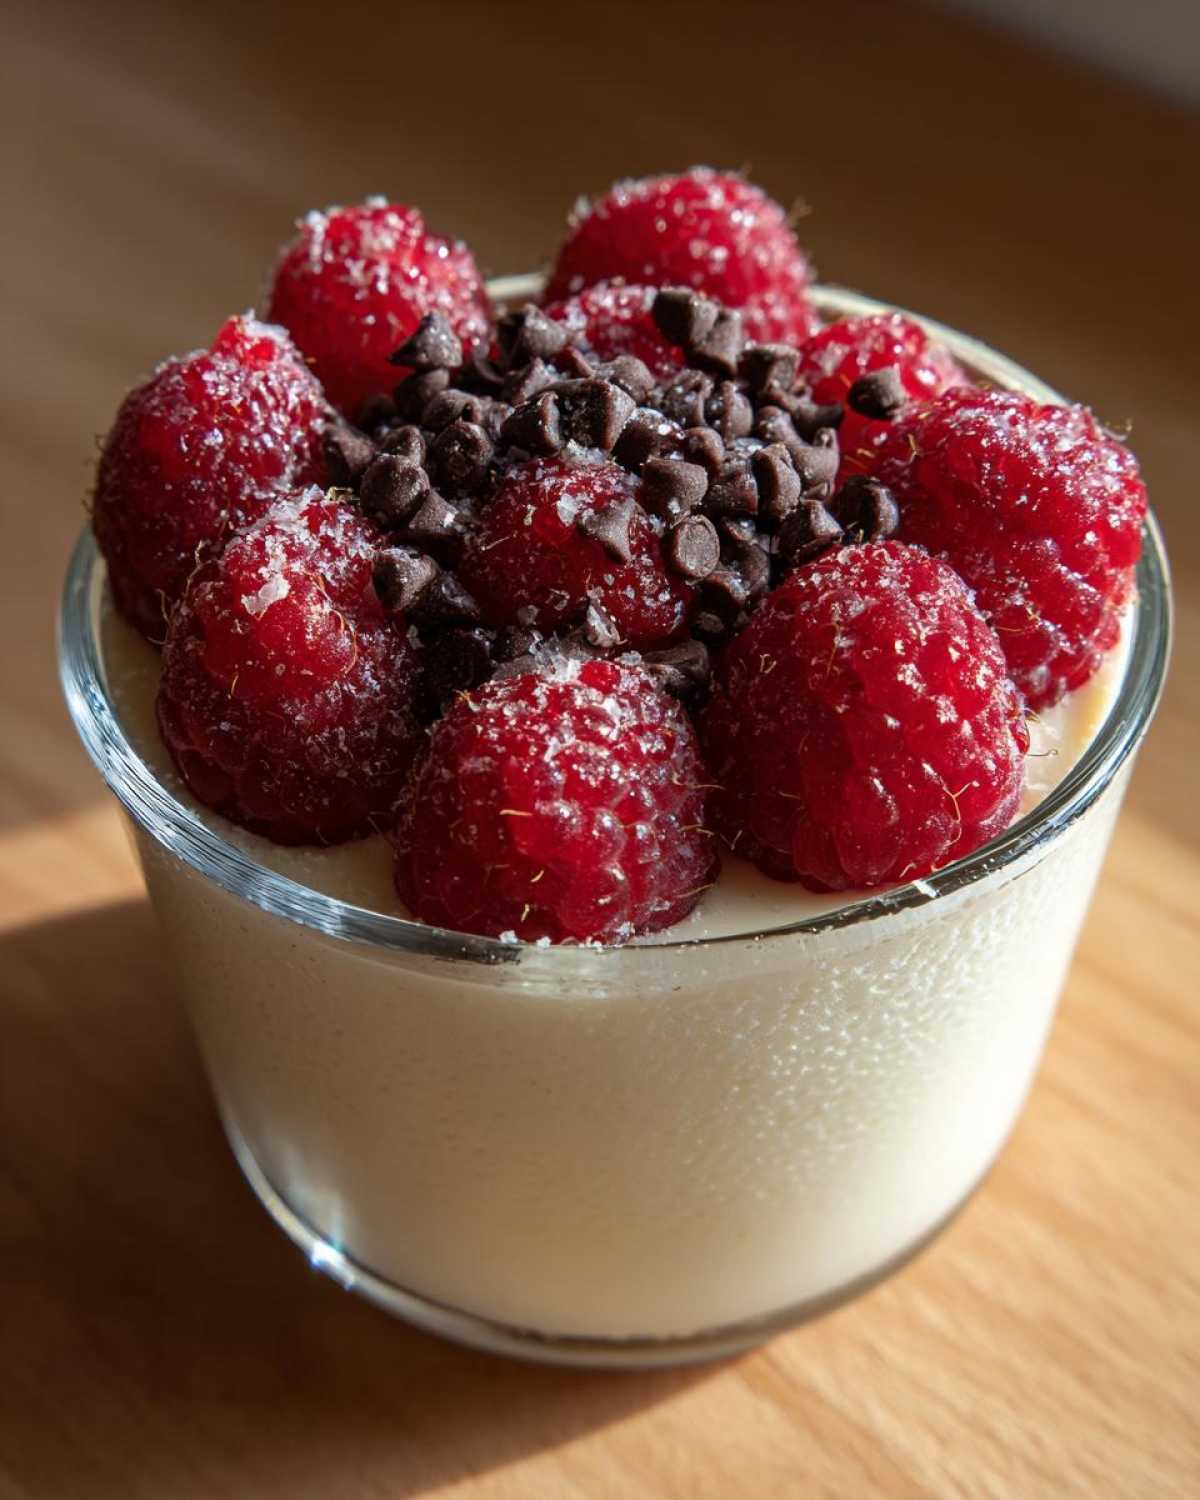
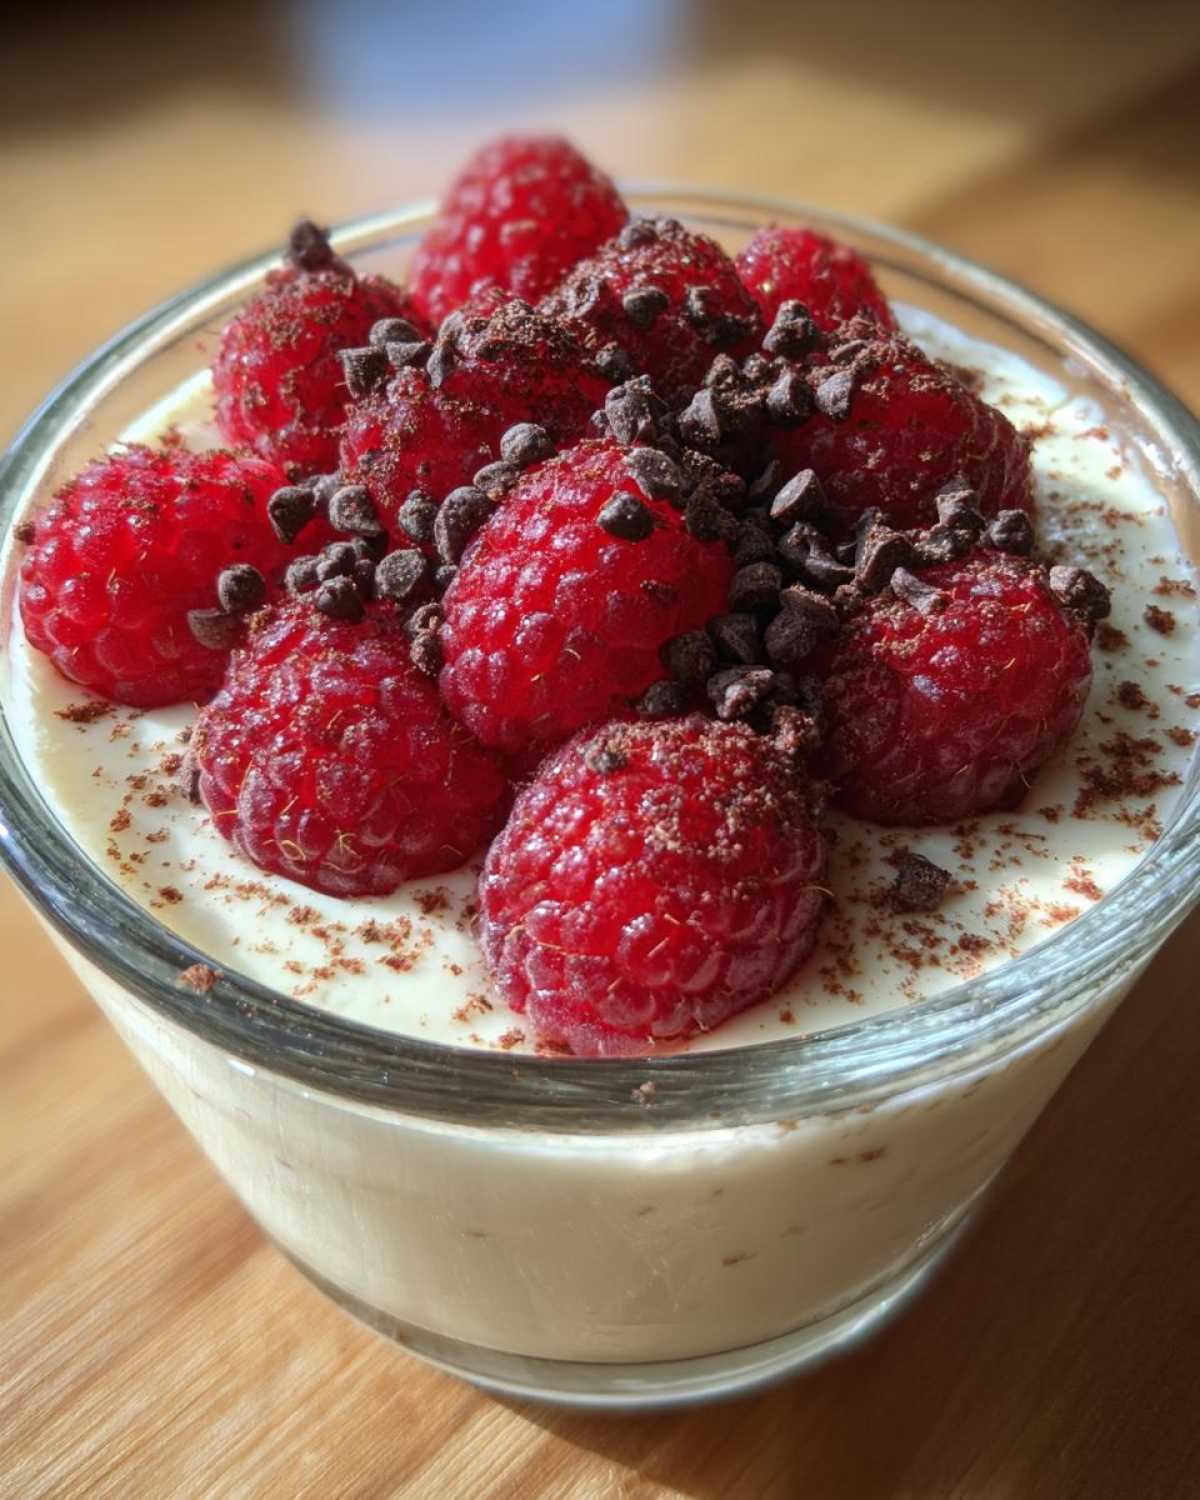
The base is ready now. It is time for the finishing touches. Toppings make this healthy cheesecake special. Fresh berries look so pretty on top. Think raspberries or sliced strawberries.
If you like a little chocolate flavor, try this. Use a sprinkle of sugar-free chocolate chips. They melt just slightly against the cool cup. Presentation matters, even for a simple treat.
Serve them straight from the fridge. They hold their shape perfectly then. Enjoy this creamy, guilt-free indulgence!
Storing Your High Protein Cheesecake Cups
Storing these treats is simple, thankfully. Keep your High Protein Cheesecake Cups covered tightly. Refrigeration is the only place they should live. They stay fresh for up to five days this way. That makes meal prepping easy.
Do not try to warm these up, please. They are best served cold straight from the fridge. The texture is perfect when chilled. Enjoying them cool is part of the appeal.
Frequently Asked Questions About High Protein Cheesecake Cups
I get so many questions about these simple cups. People want to know the secrets. Here are a few things readers often ask me.
Can I freeze these High Protein Cheesecake Cups?
Yes, you absolutely can freeze them. This is a great tip for longer storage. Make sure they are well covered first. Use plastic wrap and then foil. They keep well for about a month frozen. Thaw them overnight in the fridge first.
Are these truly a low fat dessert option?
They really are! We use non-fat Greek yogurt and low fat cottage cheese. This keeps the fat content very low. That makes them a smart choice for mindful eating. They fit right into a lighter plan.
What if I don’t have protein powder?
If you skip the protein powder, it changes things. It becomes more like a traditional mousse. You might need a little more thickener. Try adding one extra tablespoon of cottage cheese. It helps keep that nice dense texture for this no bake dessert.
How can I make these vegan?
Making them vegan requires swaps. Use a thick vegan yogurt alternative. Cashew or coconut based work well. Use a plant-based protein powder too. They still set up nicely when chilled.
Sharing Your Delish Diarist Discovery
I hope you loved making these cups.
Did they bring back sweet memories for you?
Tell Richard and me what you thought below. You can see more of our culinary adventures on the Delish Diarist Blog.
Rate your experience when you can.
We love hearing from fellow cooks!
PrintAmazing 10 No Bake High Protein Cheesecake Cups
Enjoy these simple, no-bake High Protein Cheesecake Cups. They capture the rich flavor of cheesecake while keeping things light and easy for a healthy dessert.
- Prep Time: 10 minutes
- Cook Time: 0 minutes
- Total Time: 4 hours 10 minutes
- Yield: 4 servings
- Category: Dessert
- Method: No Bake
- Cuisine: American
- Diet: Low Fat
Ingredients
- 1 cup Greek yogurt, plain, non-fat
- 1/2 cup cottage cheese, low fat
- 1/4 cup protein powder, vanilla or unflavored
- 2 tablespoons sweetener (like erythritol or stevia)
- 1 teaspoon vanilla extract
- Zest of 1/2 lemon
- 1 tablespoon lemon juice
- Pinch of salt
- Optional Topping: Fresh berries or sugar-free chocolate chips
Instructions
- Combine the Greek yogurt, cottage cheese, protein powder, sweetener, vanilla extract, lemon zest, lemon juice, and salt in a medium bowl.
- Use a hand mixer or whisk to blend the ingredients until the mixture is completely smooth and creamy. Make sure there are no lumps.
- Divide the cheesecake mixture evenly into four small ramekins or dessert cups.
- Cover the cups with plastic wrap.
- Place the cups in the refrigerator and chill for at least 4 hours, or until firm.
- Before serving, top with your choice of fresh berries or sugar-free chocolate chips.
Notes
- This recipe is perfect for meal prepping your healthy desserts for the week.
- Adjust the sweetener to match your personal taste preference.
- Feel free to substitute the lemon zest and juice with 1/4 teaspoon of almond extract for a different flavor profile.
Nutrition
- Serving Size: 1 cup
- Calories: approx. 150
- Sugar: approx. 4g
- Sodium: approx. 150mg
- Fat: approx. 2g
- Saturated Fat: approx. 1g
- Unsaturated Fat: N/A
- Trans Fat: 0g
- Carbohydrates: approx. 10g
- Fiber: approx. 1g
- Protein: approx. 22g
- Cholesterol: approx. 10mg