

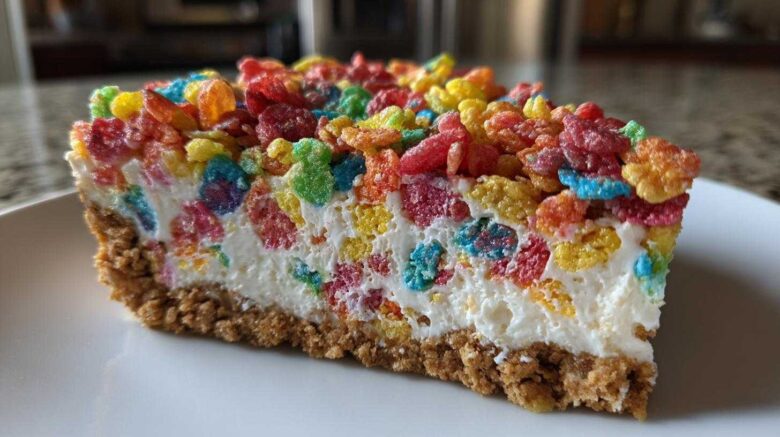
Welcome to Our Kitchen: Making the Fruity Pebbles No-Bake Cheesecake
Hello there! I’m Eleanor, and I’m so glad you stopped by.
Richard and I believe food tells the best stories. Today’s entry is pure, colorful joy. We’re talking about a recipe that needs zero oven time. It’s bright, it’s sweet, and it brings out the kid in everyone.
Making this Fruity Pebbles No-Bake Cheesecake is like capturing sunshine in a pan. It’s a perfect, easy dessert for any day.
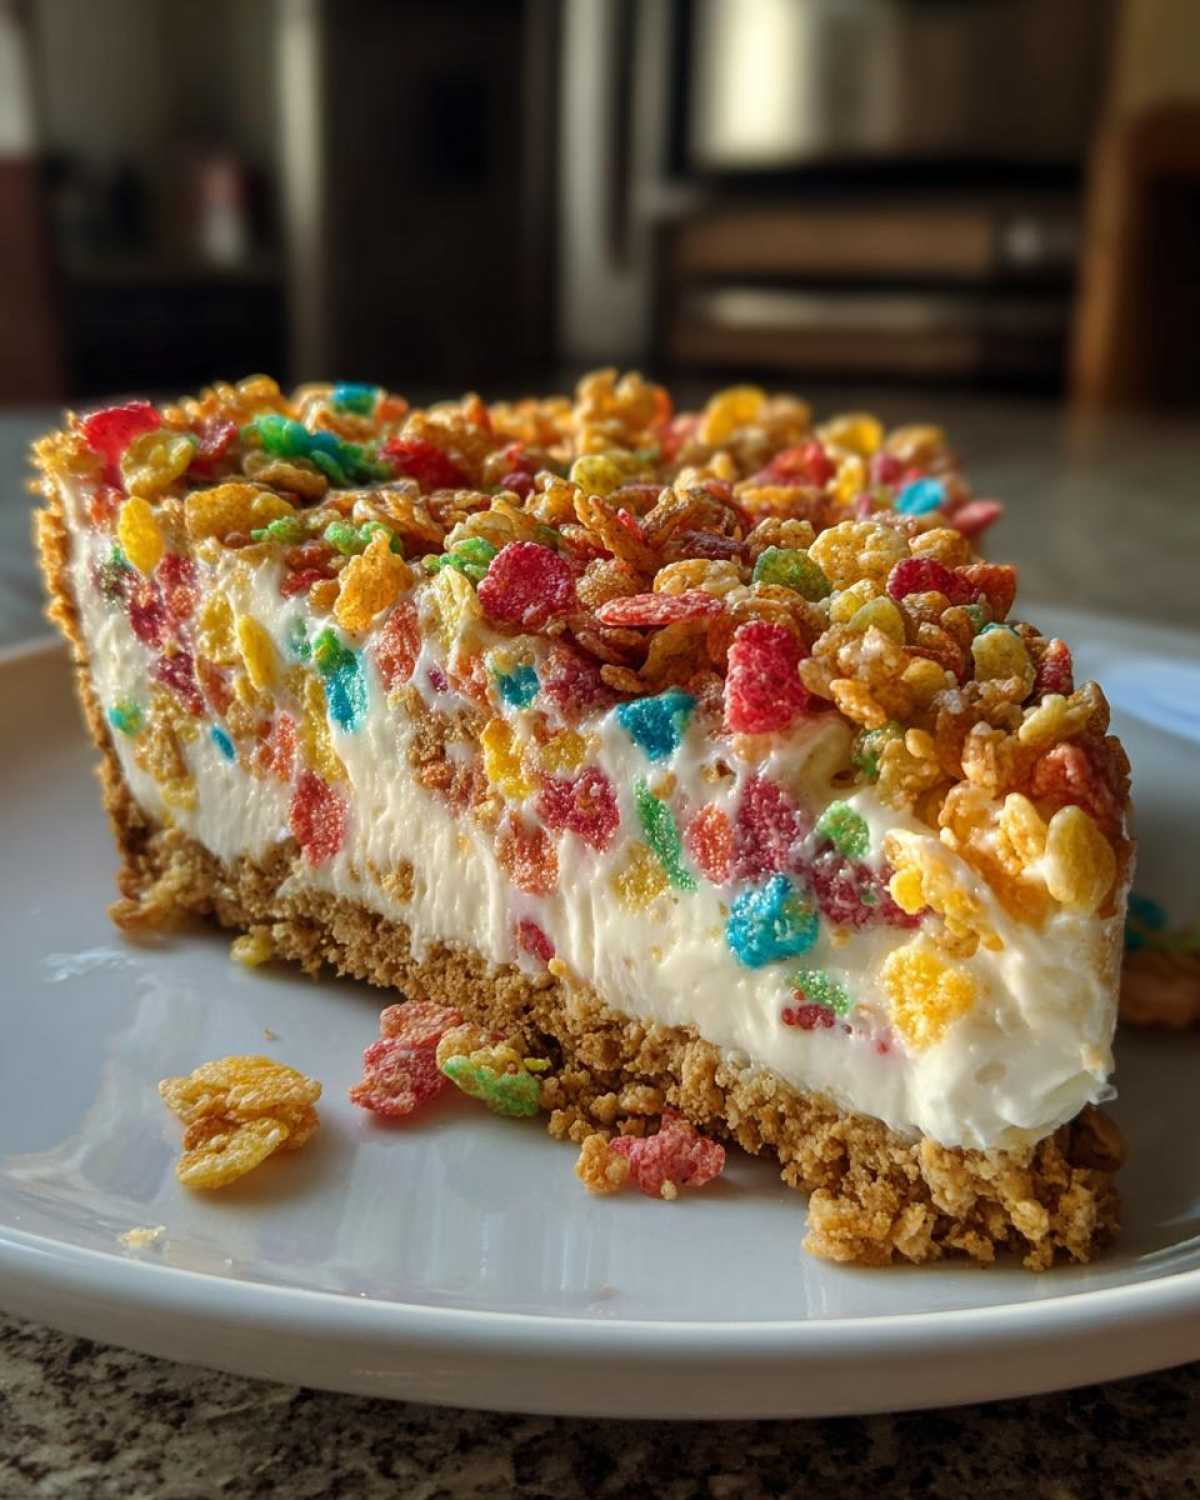
When we traveled, we collected tastes, not things. Now, back home, we recreate those happy feelings. This recipe is a memory maker.
It’s simple magic, really. Come see how easy it is to whip up this gorgeous treat.
Why You’ll Love This Fruity Pebbles No-Bake Cheesecake
This dessert is a real winner in our kitchen now. It checks all the boxes for a busy home cook. You need simple, tasty results fast.
Here is why this recipe has become a fast favorite:
Quick and Easy Dessert
You never have to turn on that hot oven. This dessert sets up beautifully in the fridge. It saves time and energy, which I love.
Kid-Friendly Fun
The colors alone bring smiles to faces. It’s a truly colorful dessert experience. Kids adore seeing the cereal mixed right in.
Minimal Ingredient Prep
The active work is so short. I only spend about twenty minutes preparing everything. Then the chilling does the rest of the work for us.
Equipment Needed for Your Fruity Pebbles No-Bake Cheesecake
Getting ready for this fun dessert is easy. You don’t need fancy gadgets for this one. Good tools make the process smoother, though.
You will need a few basics for this recipe.
- Mixing bowls (at least two).
- Electric mixer (handheld works fine).
- Measuring cups and spoons.
- A spatula for folding.
- Your chosen baking pan.
Pan Selection Guide
Choosing the right pan matters for serving. I often use an 8×8 inch square pan.
Remember to line it with parchment paper first. Leave a little overhang on the sides.
This overhang acts like little handles. It lets you lift the set cheesecake right out. A 9-inch springform pan also works well here.
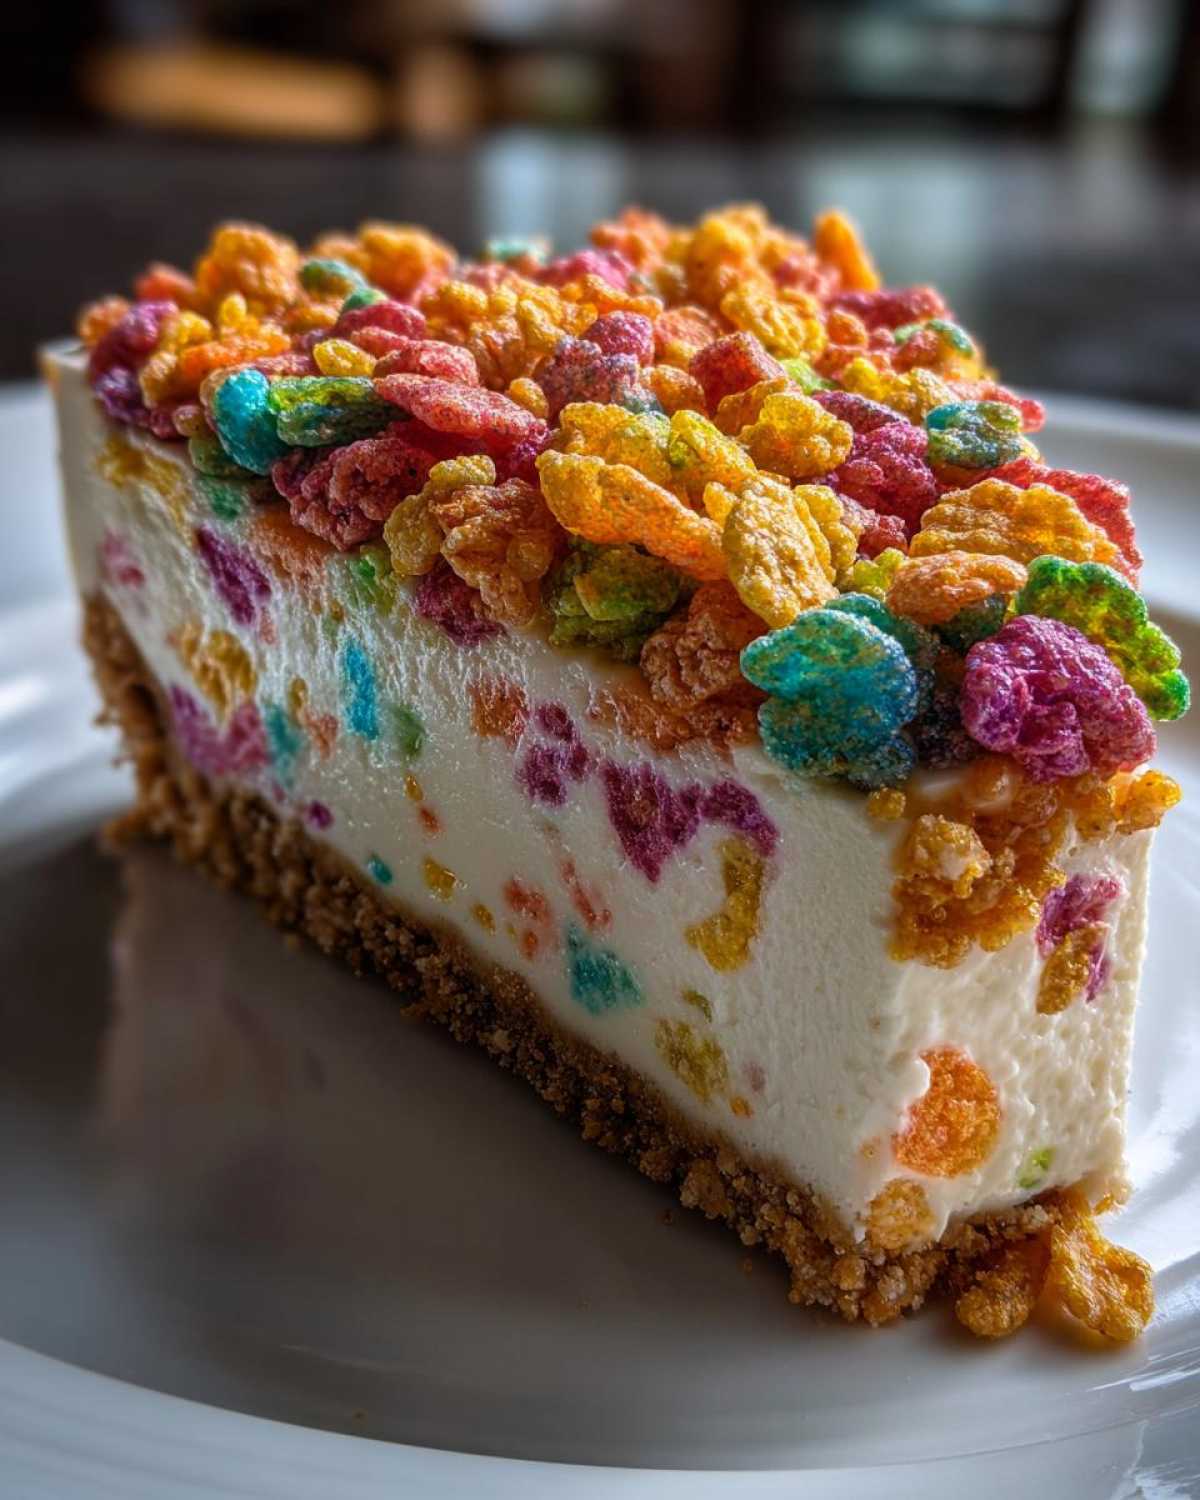
Gathering Ingredients for the Fruity Pebbles No-Bake Cheesecake
Let’s look at what you need for this bright treat. Getting your ingredients ready first helps a lot. Remember, precision matters here.
Here is the list for our sweet, no-bake dessert:
- Melted butter, just a quarter cup.
- Two cups of Fruity Pebbles, crushed finely for the base.
- Eight ounces of cream cheese, make sure it is soft.
- One cup of powdered sugar, not granulated, please.
- One teaspoon of vanilla extract for flavor depth.
- Heavy whipping cream, cold, one half cup needed.
- A final half cup of whole cereal for texture.
Having everything measured makes assembly feel fast.
Ingredient Notes and Swaps
For the best texture in your cheesecake, use full-fat cream cheese. Low-fat versions might not set up quite right.
The cream cheese must be truly softened. Room temperature cheese mixes much smoother. Cold cheese clumps up when mixed.
Keep that heavy whipping cream very cold. Cold cream whips up into those stiff peaks we need.
This recipe relies on the structure those fats provide. It’s the secret to a great no-bake dessert.
Step-by-Step Instructions for Your Fruity Pebbles No-Bake Cheesecake
Ready to build this colorful dream? Follow these steps closely. We are moving from simple crust to creamy filling fast. This is where the magic happens in your kitchen.
Preparing the Cereal Crust
First, let’s make that crunchy base. Mix your finely crushed cereal. Add the melted butter to it well.
Press this mixture firmly into your prepared pan bottom. Really pack it down tight and even.
Now, send that crust to the refrigerator. It needs to chill while we work on the filling. This chilling step sets the crust nicely.
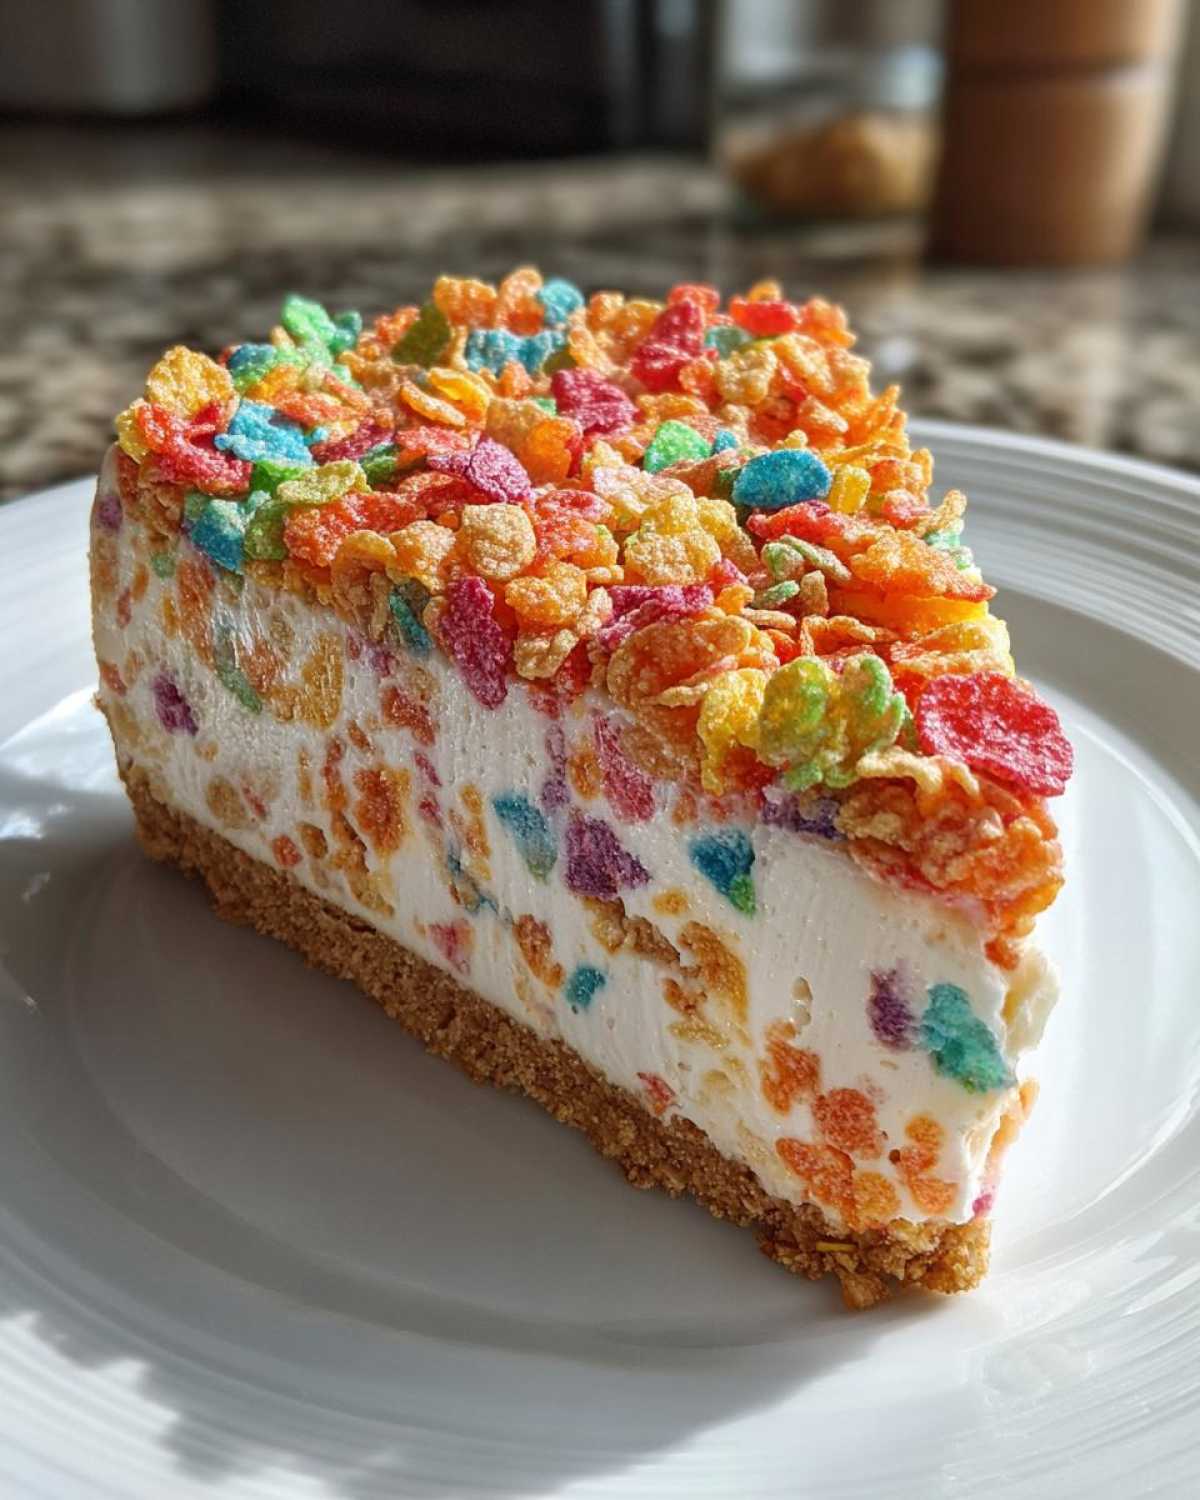
Creating the Creamy Filling Base
Grab your softened cream cheese next. Put it in a large mixing bowl for whipping.
Add the powdered sugar and the vanilla extract now. Beat these together until they look perfectly smooth.
I always check the sides of the bowl. Scrape them down to avoid any sugar lumps later on.
Folding in the Cream and Cereal
In a separate, very cold bowl, whip your heavy cream. Beat it until stiff peaks form nicely.
This step adds air, so be gentle now. Gently fold the whipped cream into the cream cheese mix. Don’t stir too hard, or you lose volume.
Once just combined, fold in that half cup of whole Fruity Pebbles cereal. This gives us lovely texture inside.
Setting and Finishing the Fruity Pebbles No-Bake Cheesecake
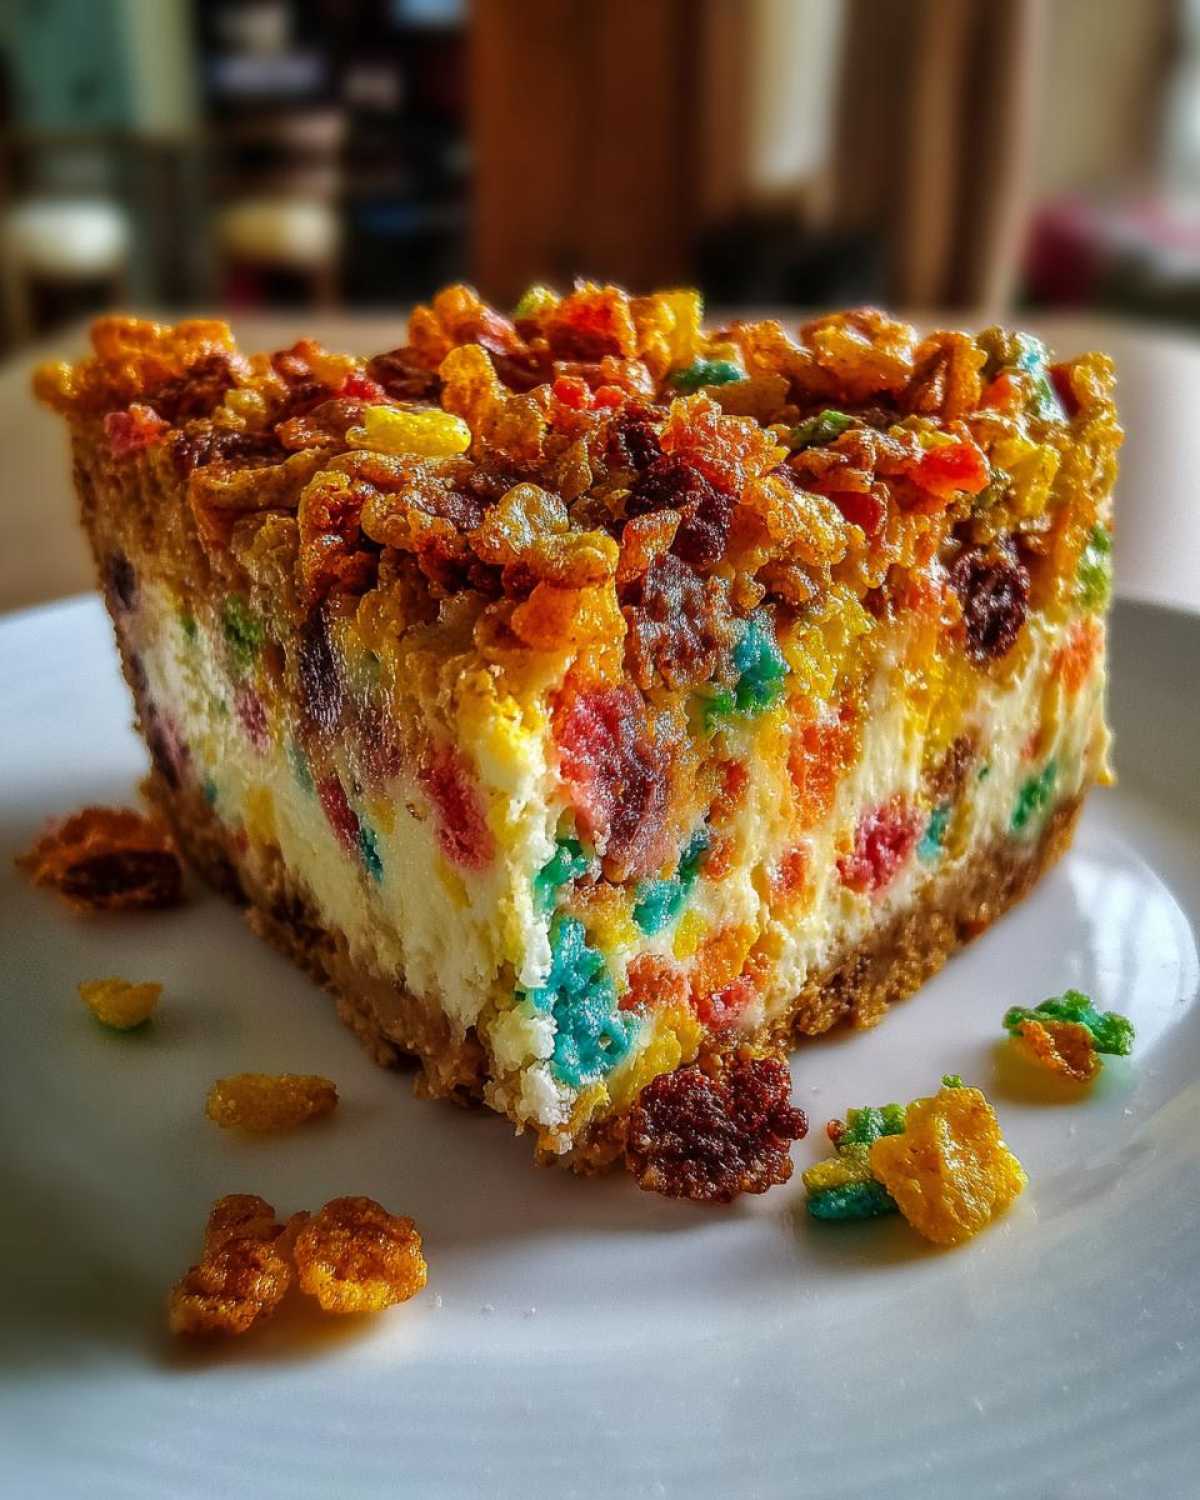
Now we assemble the layers. Spread the creamy filling over your chilled cereal crust. Make the top flat and even, please.
Sprinkle the rest of the whole cereal on top for decoration. It looks so pretty this way.
Cover the pan loosely with plastic wrap. The cheesecake needs time to firm up completely.
Refrigerate your dessert for a minimum of four hours. Longer chilling makes it even firmer for slicing.
Tips for Perfecting Your Fruity Pebbles No-Bake Cheesecake
Even simple recipes benefit from a few tricks. I’ve learned these tips over many attempts. They help guarantee success every time you make this dessert.
Follow these small details for the ultimate Fruity Pebbles No-Bake Cheesecake experience.
Achieving the Right Cereal Crush
For the crust, you need fine cereal dust. A food processor works best for this job. If you don’t have one, try this old trick.
Put the cereal in a sturdy, sealed plastic bag. Use a rolling pin to crush it evenly. You want fine crumbs, not dust.
Temperature Matters for Cream Cheese
This is crucial, truly. Your cream cheese must be fully softened. Cold cheese clumps up when mixed.
Let it sit out for at least an hour before starting. Softened cheese blends into a silky smooth base. Lumps ruin the creamy texture we want.
Common Questions About This No-Bake Dessert
Richard and I get asked about this colorful treat often. People want to know how to make it work best for them. Here are a few things we always tell folks.
It’s a flexible recipe, but some rules keep it perfect.
How long must the Fruity Pebbles No-Bake Cheesecake chill?
You must chill it for at least four hours. That is the minimum time needed. The cheesecake will slice cleanly then.
If you chill it overnight, the texture gets even better. It firms up beautifully without getting hard.
Can I substitute the heavy cream?
For the best structure, heavy cream is key. It whips up light and airy for us.
You could try using a stabilized whipped topping. But know that the texture will change slightly. It may not be as rich as this cereal cheesecake version.
Can I use a different cereal?
Oh, you certainly can experiment! Try Cinnamon Toast Crunch for a spicy twist. Or maybe use Cocoa Puffs for a chocolate base.
Just remember to crush the cereal for the crust. Keep the whole pieces for mixing in, though.
Storing Leftover Fruity Pebbles No-Bake Cheesecake
What if you have leftovers? Lucky you! This dessert keeps very well.
Cover your pan or slices tightly with plastic wrap. Store it in the refrigerator right away.
It stays fresh for up to four days this way. The texture stays creamy and bright.
I don’t recommend freezing this specific recipe. The texture of the cream filling changes when thawed.
Serve it cold straight from the fridge. Enjoy the colorful taste later!
Understanding the Nutrition of This Fruity Pebbles No-Bake Cheesecake
Richard always says, “We cook for joy, not for counting!”
Because we use different brands of cream cheese or butter, exact numbers are tricky.
Nutrition facts for this Fruity Pebbles No-Bake Cheesecake vary greatly.
We haven’t calculated precise values for every slice.
These estimates depend on your specific ingredients used. For general nutritional guidelines on desserts, you might consult a resource like the U.S. Department of Agriculture’s nutrition database.
Share Your Delish Diarist Entry
That’s the end of our recipe entry today!
I truly hope you loved making this treat. If you are looking for more fun recipes, check out our latest posts.
Did you try the recipe out?
Tell Richard and me about it below.
Leave a comment with your thoughts and rating.
We love hearing from fellow diarist cooks!
Print5 Epic Fruity Pebbles No-Bake Cheesecake Secrets
Create a fun, colorful, no-bake cheesecake using Fruity Pebbles cereal in both the crust and the creamy filling. This sweet dessert sets up easily without turning on your oven, making it perfect for a quick treat.
- Prep Time: 20 minutes
- Cook Time: 0 minutes
- Total Time: 4 hours 20 minutes
- Yield: 8 servings
- Category: Dessert
- Method: No-Bake
- Cuisine: American
- Diet: Vegetarian
Ingredients
- 1/4 cup unsalted butter, melted
- 2 cups Fruity Pebbles cereal, crushed finely
- 8 ounces cream cheese, softened
- 1 cup powdered sugar
- 1 teaspoon vanilla extract
- 1/2 cup heavy whipping cream, cold
- 1/2 cup Fruity Pebbles cereal, whole (for mixing in and topping)
Instructions
- Line an 8×8 inch pan or a 9-inch springform pan with parchment paper.
- In a medium bowl, mix the melted butter with the 2 cups of crushed Fruity Pebbles. Press this mixture firmly and evenly into the bottom of your prepared pan. Place the crust in the refrigerator to chill while you prepare the filling.
- In a large bowl, beat the softened cream cheese, powdered sugar, and vanilla extract until the mixture is smooth and creamy.
- In a separate, chilled bowl, whip the cold heavy whipping cream until stiff peaks form.
- Gently fold the whipped cream into the cream cheese mixture until just combined. Be careful not to deflate the cream.
- Fold in 1/2 cup of the whole Fruity Pebbles cereal into the cheesecake filling.
- Spread the filling evenly over the chilled crust.
- Sprinkle the remaining whole Fruity Pebbles cereal over the top for decoration.
- Cover the pan loosely with plastic wrap and refrigerate for at least 4 hours, or until firm.
- Slice and serve your colorful cheesecake.
Notes
- If you do not have a springform pan, use an 8×8 inch square pan and line it with parchment paper, leaving an overhang to lift the set cheesecake out easily.
- Crush the cereal finely for the crust using a food processor or by placing it in a sealed bag and rolling over it with a rolling pin.
- For the best flavor and texture, use full-fat cream cheese.
- You can use additional cereal for topping or mix it directly into the filling as directed.
Nutrition
- Serving Size: 1 slice
- Calories: 350
- Sugar: 30g
- Sodium: 150mg
- Fat: 20g
- Saturated Fat: 12g
- Unsaturated Fat: 8g
- Trans Fat: 0g
- Carbohydrates: 40g
- Fiber: 1g
- Protein: 4g
- Cholesterol: 60mg