

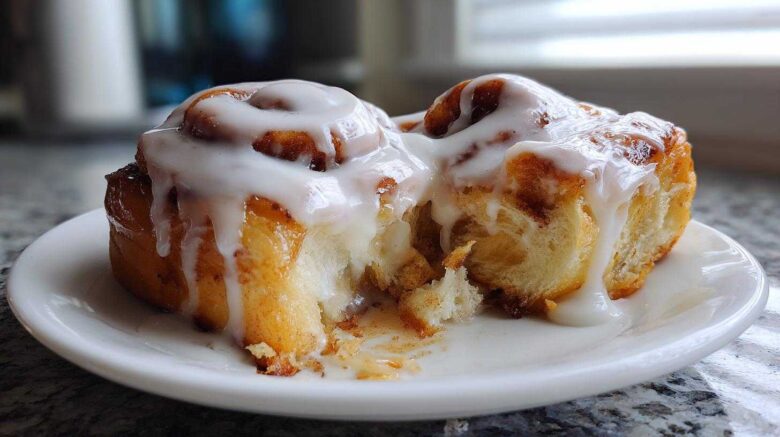
Our kitchen has always been our favorite spot.
It’s where life happened, loud and messy. For forty years, we cooked for our kids. Richard and I, Eleanor, are finally slowing down. Now, this room is our time machine. We travel through taste memories daily. We’re sharing our diary of delicious moments. This recipe for Homemade Cinnamon Rolls is one of our best entries yet. We chased that perfect bakery swirl for years. You deserve this comforting treat now. Get ready to bake this sweet memory.
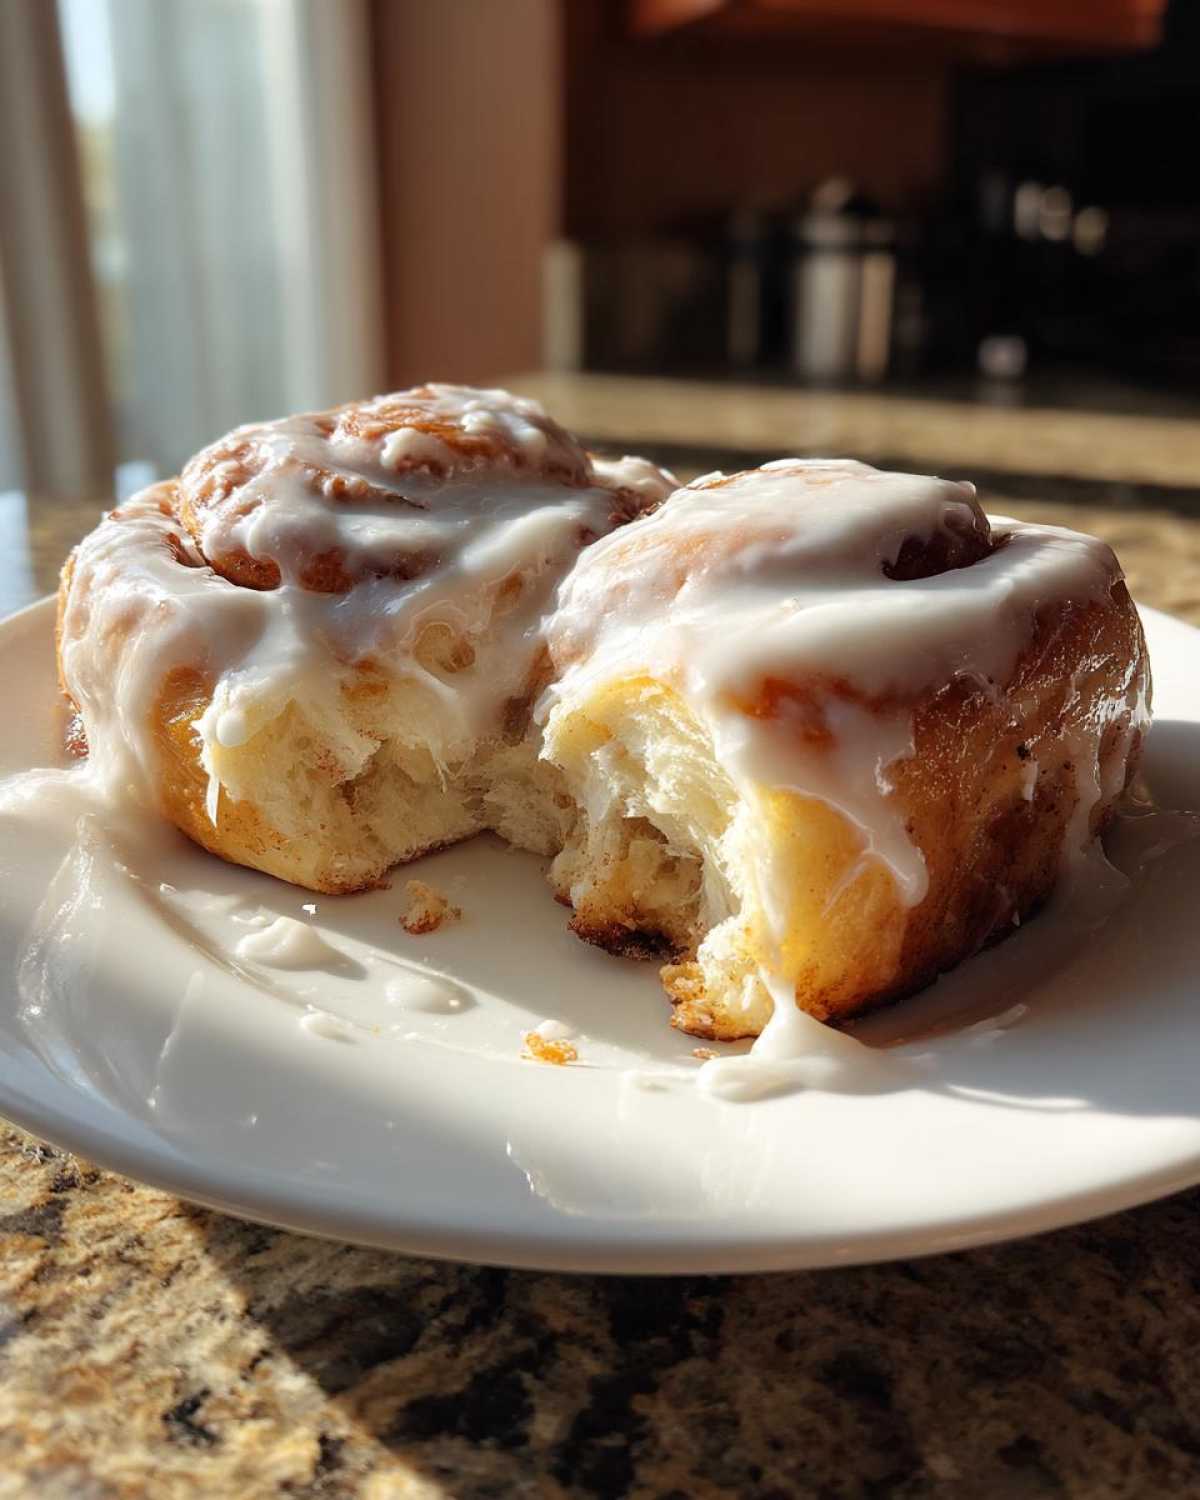
Our Journey to Perfect Homemade Cinnamon Rolls
Richard’s palate is sharp, truly. He remembers every flavor detail. From a small stall in Marrakesh to a tiny trattoria in Rome, we tasted everything. We collected flavors like others collect stamps. Bringing those tastes home was the real adventure. We wanted our Homemade Cinnamon Rolls to taste like a vacation morning.
This recipe isn’t just flour and sugar. It’s decades of learning. We tested dough hydration again and again. We adjusted the cinnamon ratio until Richard nodded. That’s how you know it’s right. I promise, these rolls are soft. They are incredibly gooey, just like we remember. We’ve done the hard work for you. Now, you just get the delicious reward.
Why You Will Love Eleanor and Richard’s Homemade Cinnamon Rolls
We poured our hearts into this recipe. You don’t need a bakery background to nail this. These rolls deliver pure comfort. They capture that special weekend morning feeling. Get ready for soft, sweet perfection. You’ll be amazed at the results.
- They bake up incredibly soft.
- Expect that signature gooey texture.
- Achieve true bakery quality easily.
- The icing sets up perfectly every time.
Key Features for Your Best Bake
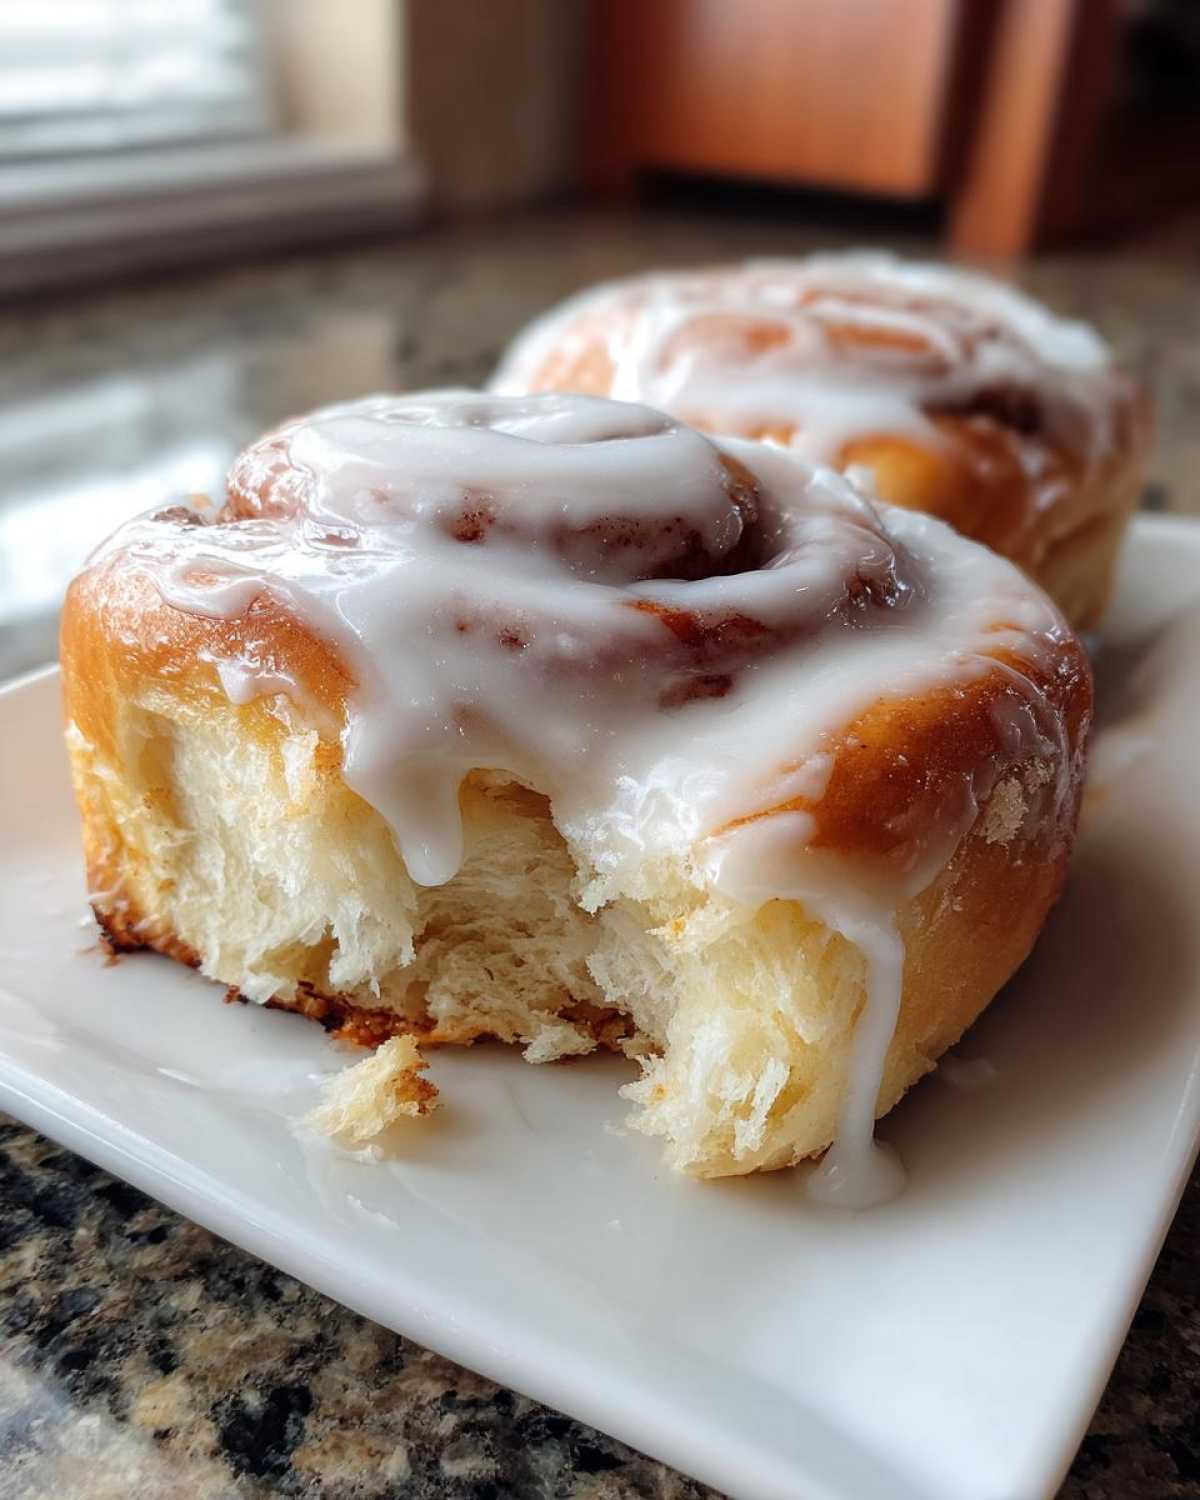
We focused on three main things. First, the dough must be truly fluffy. Second, the filling needs to be richly spiced. Third, the icing must be sweet and smooth. That vanilla note really makes it sing. Follow our steps closely. You’ll get that perfect pull apart.
Equipment Needed for Baking Homemade Cinnamon Rolls
Gathering your tools first makes baking much calmer. I learned this the hard way!
When you tackle Homemade Cinnamon Rolls, having the right gear matters. It keeps the process flowing smoothly. No frantic searching midway through kneading, please!
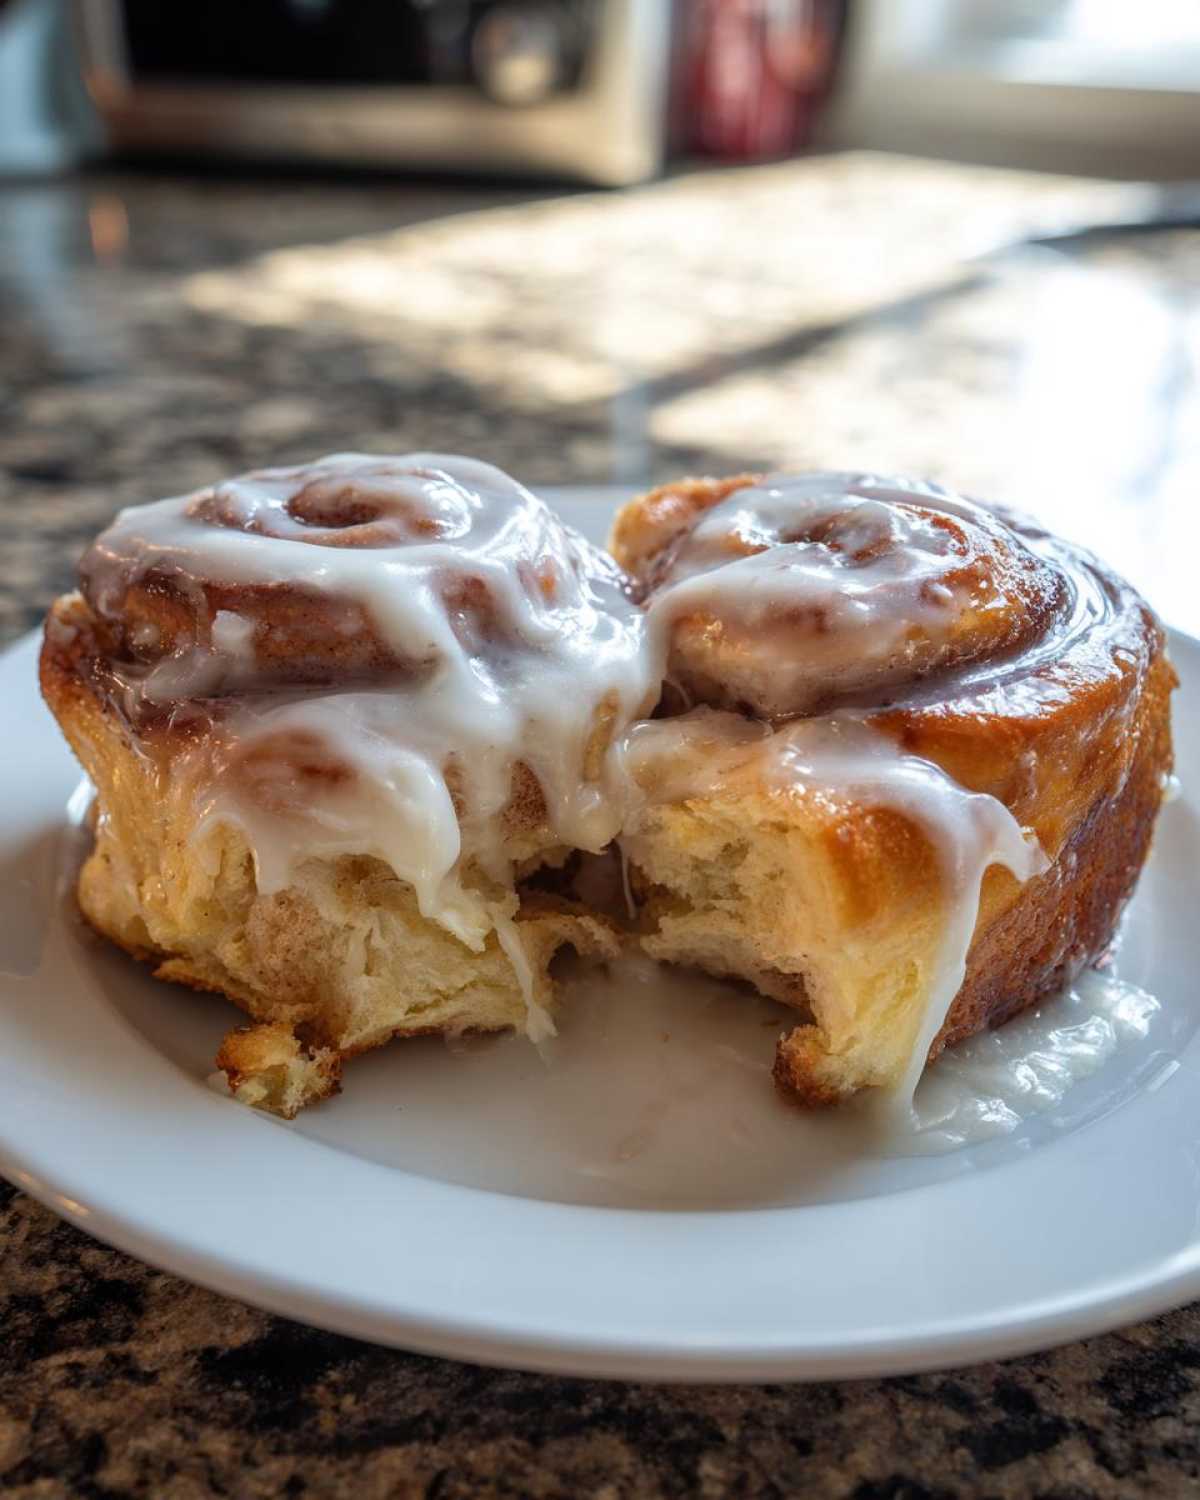
Essential Baking Tools
You don’t need fancy gadgets for this recipe. Just good basics will do. Here is what we always pull out:
- A large mixing bowl or stand mixer. A dough hook helps a lot here.
- A sturdy rolling pin for even dough thickness.
- Measuring cups and spoons, obviously. Accuracy counts in baking.
- A 9×13 inch baking dish. Grease this well before assembly.
- Plastic wrap for covering the dough during rising times.
- A sharp knife or unflavored dental floss for slicing the log neatly. Floss gives cleaner edges, honestly.
Make sure your baking dish is ready to go. A little butter or baking spray prevents sticking.
Gathering Ingredients for Your Homemade Cinnamon Rolls
Now we talk about the stars of the show. Good ingredients make great rolls. Don’t rush this part, please. We need precise measures here. These components build our wonderful flavor.
Richard insists on room temperature eggs. He says they mix better. They help the dough structure, too. Trust me on this small detail. It really does make a difference in the final bake.
Dough Ingredients
This list builds our soft, pillowy base. Remember to warm the milk gently first.
- One cup whole milk, warmed just right.
- Two and one-quarter teaspoons active dry yeast.
- A half cup of granulated sugar for sweetness.
- Two large eggs, remember, room temperature please.
- A half cup of unsalted butter, melted down.
- Four cups all-purpose flour, plus extra for dusting surfaces.
- One teaspoon of salt balances the flavor.
Let that yeast bloom for five full minutes. That foam confirms it’s alive and ready to work its magic.
Filling Ingredients
This is where the sweet, spicy goodness comes from. Measure carefully here.
- One cup packed light brown sugar. Get that light kind, it melts better.
- Two tablespoons ground cinnamon, fragrant and fresh.
- A half cup unsalted butter, completely softened. Soft means spreadable, not melted!
Mixing the sugar and cinnamon first is key. It ensures even distribution later on.
Icing Ingredients
This final touch makes them bakery style. It adds that essential gooey factor.
- One cup powdered sugar, sifted if it’s clumpy.
- Two tablespoons of milk for thinning it out.
- A half teaspoon of vanilla extract for depth.
If you want a tangier flavor, Eleanor suggests this. Swap the milk for a splash of heavy cream. It adds richness too, which I love.
Step-by-Step Instructions for Soft Cinnamon Rolls
Let’s get baking now! Follow these steps closely. They guide you to amazing Homemade Cinnamon Rolls. I’ll walk you through every stage. Remember, baking is a dance. Don’t rush the rising times.
Making and Proofing the Dough
First, warm that milk until it’s just lukewarm. Sprinkle your yeast right on top. Let it sit for five minutes. You need to see foam appearing there. That foam means your yeast is happy.
Next, combine the yeast mix, sugar, eggs, and melted butter. Mix everything well together. Now, slowly add the flour and salt into that bowl. Mix until a soft dough starts to form nicely.
Knead the dough for about eight minutes. Use your hands or a dough hook. It should feel smooth and elastic when done. Place the dough in an oiled bowl. Turn it to coat completely.
Cover the bowl tightly with plastic wrap. Set it somewhere warm to rise. Let it sit for one to one and a half hours. Wait until the dough has doubled in size. Patience brings fluffiness.
Preparing the Filling and Rolling the Log
While the dough rests, prepare your filling. Mix the brown sugar and cinnamon well. Set this sweet, spicy mix aside for later use. We need that butter softened before we start rolling.
Gently punch down the risen dough when it’s ready. Turn it out onto a floured surface. Roll the dough carefully into a large rectangle. Try for about 12 inches by 18 inches exactly.
Spread the softened butter evenly across the dough surface. Cover every inch with butter. Then, sprinkle that cinnamon-sugar mixture right over the butter. Make sure it’s covered fully.
Starting on the long edge, roll the dough tightly into a log. Pinch the final seam closed securely. This stops the filling from escaping later. Now, slice the log into twelve equal pieces. About an inch and a half thick works best. I prefer using unflavored dental floss for these cuts. It gives you cleaner edges.
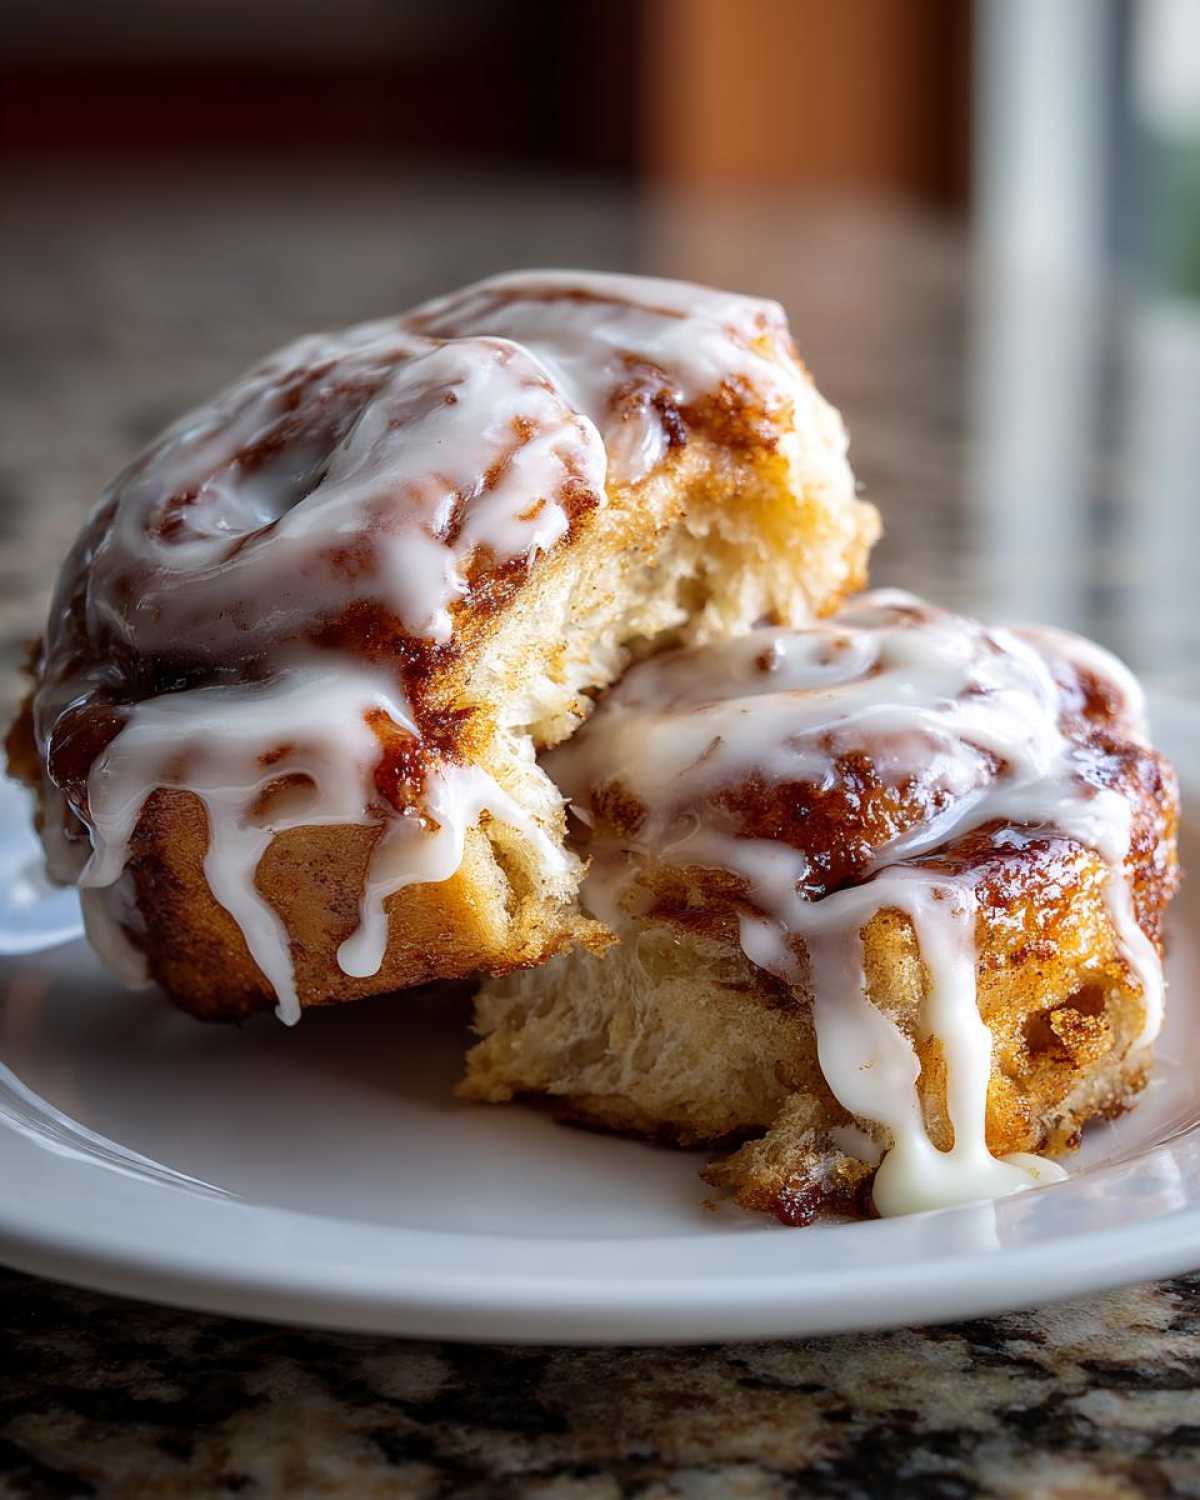
Second Rise and Baking the Homemade Cinnamon Rolls
Place your cut rolls into the greased 9×13 dish. Put them cut-side up in the pan. Cover the dish loosely again. Let them rise in a warm spot now. This second rise takes 30 to 45 minutes. They should look very puffy.
Preheat your oven to 375 degrees F (190 degrees C). This is important for a good bake. Bake the rolls for 20 to 25 minutes. Watch them until they turn golden brown on top. Don’t overbake them, please!
Creating and Applying the Gooey Icing
While the rolls cool slightly, make that simple icing. Whisk the powdered sugar, milk, and vanilla extract together. Whisk until the mixture is totally smooth. You want zero lumps there.
Drizzle this sweet glaze over your warm rolls. Applying it while they are warm seals in the moisture. This creates that famous gooey texture we love so much. Serve them right away for the best experience!
Tips for Success with Homemade Cinnamon Rolls
Baking is about learning from experience. We’ve made many batches of these rolls. Here are a few secrets we learned. These tips help avoid common pitfalls. They guide you toward true bakery style success.
Don’t be tempted to skip the rising times. Yeast needs time to build those beautiful air pockets. That is where the fluffiness comes from. We want tender, not tough, rolls, right?
Achieving Maximum Fluffiness
The dough handling is everything here. Be gentle when you roll it out. Over-flouring the surface dries the dough out fast. This prevents that soft texture you want.
When kneading, aim for smooth and elastic dough. If it feels sticky, add flour just a tiny bit at a time. Don’t dump it all in at once. A warm spot for rising is crucial. A slightly warm oven with the light on works great for us.
When you slice the log, use a sharp tool. Floss works wonders for clean cuts. Squishing the rolls de-flates them slightly. Less air means less fluff later on. Handle the cut rolls gently when placing them in the pan.
Frequently Asked Questions About Your Sweet Rolls
I always get questions after sharing a recipe. It means people are eager to bake! Here are a few things readers ask about making Homemade Cinnamon Rolls.
We want your baking experience to be simple and rewarding. Don’t stress over perfection. Just have fun with the process!
Can I Make the Dough Ahead of Time
Yes, you absolutely can make the dough ahead. This is great for weekend brunch planning. After kneading, coat the dough in oil. Place it in a covered bowl. Put it in the refrigerator overnight. This slow, cold rise builds great flavor. Take it out two hours before you plan to roll it. Let it warm up slightly first.
How Do I Get Perfectly Even Homemade Cinnamon Rolls
Evenness is all in the cutting step. The key is using a very sharp, thin tool. I mentioned using unflavored dental floss. It works like a charm for clean slices. Wrap the floss under the log. Cross the ends above the log. Pull down firmly and smoothly.
This prevents the dough from squashing. Squishing removes the air pockets. Those pockets are what make the rolls fluffy. A dull knife drags and tears the dough structure. Aim for 1.5-inch thick slices.
Storing and Reheating Your Bakery Style Cinnamon Rolls
These rolls are best eaten fresh, right out of the oven. I know, we all wish we could eat them all at once! But leftovers happen. Storing them correctly keeps them tasting almost bakery fresh.
Cover the cooled rolls tightly with plastic wrap. Then, place them in an airtight container. They stay great at room temperature for about two days. Don’t put them in the fridge too soon. Cold air dries them out quickly.
If you need longer storage, freeze them instead. Wrap individual rolls tightly in plastic wrap first. Then, place them in a freezer-safe bag. They last well for up to three months this way.
Reheating is simple. It brings back that soft, gooey texture we love. For one or two rolls, microwave them briefly. About 15 to 20 seconds usually does the trick. This warms them through perfectly.
For a larger batch, use the oven. Wrap the rolls loosely in foil. Heat them at 350 degrees F (175 degrees C). Warm them for about 10 minutes. This gentle heat restores the softness beautifully. Don’t forget extra icing if you have it!
Nutritional Information Estimate
We always want to give you the full picture. Remember that these numbers are just estimates. We used standard ingredient databases for this calculation. Your actual results may vary slightly. This is especially true based on how much icing you drizzle on top!
Making Homemade Cinnamon Rolls is a treat. Enjoy them as part of a balanced breakfast or brunch. Knowing the basics helps planning your day. Here is what we found per serving. If you are looking for other breakfast ideas, check out our breakfast category.
Estimated Values Per Serving
We calculated these figures for one roll, yielding twelve servings total.
- Serving Size: 1 roll
- Calories: 450
- Sugar: 40g
- Fat: 22g
- Saturated Fat: 13g
- Trans Fat: 0.5g
- Carbohydrates: 58g
- Protein: 8g
- Sodium: 300mg
We try to keep things simple here. These rolls are rich, as expected. They contain a good amount of energy for your morning!
Share Your Experience Baking With Us
Well, that’s our diary entry for these wonderful rolls. We truly hope you loved making them. Sharing our memories is the best part of this journey. Now, it’s your turn to write a little bit.
Did these rolls take you back to a favorite morning? Did Richard approve of the cinnamon level? Tell us everything, please. Your feedback means the world to us both.
We love seeing your results. Did you try Eleanor’s cream substitution in the icing? Let us know how that turned out for you. Don’t be shy about sharing your photos. For more baking adventures, feel free to browse our full recipe blog.
Drop a rating below if you enjoyed this recipe. Leave a comment with your thoughts. We read every single one carefully. Happy baking, friends. We hope to see you again soon in our kitchen diary. If you are interested in other sweet treats, you might enjoy our recipe for Giant Skillet Cinnamon Rolls.
PrintAmazing Homemade Cinnamon Rolls: 1 Incredible Recipe

Make soft, gooey homemade cinnamon rolls that taste just like your favorite bakery treat. Follow Eleanor and Richard’s steps to recreate this sweet memory in your own kitchen. These rolls are perfect for a special breakfast or brunch.
- Prep Time: 45 minutes
- Cook Time: 25 minutes
- Total Time: 2 hours 50 minutes
- Yield: 12 rolls
- Category: Breakfast/Dessert
- Method: Baking
- Cuisine: American
- Diet: Vegetarian
Ingredients
- For the Dough: 1 cup whole milk, warmed; 2 1/4 teaspoons active dry yeast; 1/2 cup granulated sugar; 2 large eggs, room temperature; 1/2 cup unsalted butter, melted; 4 cups all-purpose flour, plus more for dusting; 1 teaspoon salt.
- For the Filling: 1 cup packed light brown sugar; 2 tablespoons ground cinnamon; 1/2 cup unsalted butter, softened.
- For the Icing: 1 cup powdered sugar; 2 tablespoons milk; 1/2 teaspoon vanilla extract.
Instructions
- Warm the milk until it is lukewarm. Sprinkle the yeast over the milk and let it sit for 5 minutes until foamy.
- In a large bowl or stand mixer, combine the yeast mixture, granulated sugar, eggs, and melted butter. Mix well.
- Gradually add the flour and salt. Mix until a soft dough forms. Knead the dough by hand or with a dough hook for about 8 minutes until smooth and elastic.
- Place the dough in a lightly oiled bowl, turning to coat. Cover the bowl with plastic wrap and let it rise in a warm spot for 1 to 1.5 hours, or until doubled in size.
- While the dough rises, prepare the filling. In a small bowl, mix the brown sugar and cinnamon together. Set aside.
- Gently punch down the risen dough. Turn it out onto a lightly floured surface. Roll the dough into a large rectangle, about 12 inches by 18 inches.
- Spread the softened butter evenly over the entire surface of the dough rectangle. Sprinkle the cinnamon-sugar mixture over the butter, covering it completely.
- Starting on the long side, tightly roll the dough into a log. Pinch the seam closed.
- Using a sharp knife or unflavored dental floss, cut the log into 12 equal rolls, about 1.5 inches thick.
- Place the rolls cut-side up in a greased 9×13 inch baking dish. Cover the dish loosely with plastic wrap. Let the rolls rise again in a warm place for 30 to 45 minutes, or until puffy.
- Preheat your oven to 375 degrees F (190 degrees C).
- Bake the rolls for 20 to 25 minutes, or until they are golden brown on top.
- While the rolls cool slightly, whisk together the powdered sugar, milk, and vanilla extract until smooth to make the icing.
- Drizzle the icing over the warm rolls before serving. Enjoy the memory!
Notes
- Richard uses room temperature eggs for better dough structure.
- If you want tangier rolls, Eleanor suggests adding 1 teaspoon of lemon zest to the filling mixture.
- For extra flavor in the icing, substitute a splash of cream for the milk.
Nutrition
- Serving Size: 1 roll
- Calories: 450
- Sugar: 40g
- Sodium: 300mg
- Fat: 22g
- Saturated Fat: 13g
- Unsaturated Fat: 9g
- Trans Fat: 0.5g
- Carbohydrates: 58g
- Fiber: 2g
- Protein: 8g
- Cholesterol: 70mg