

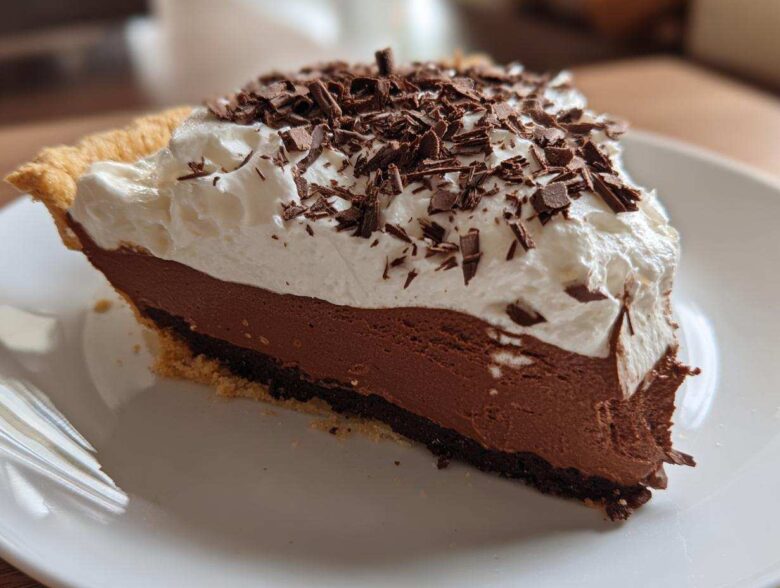
Okay, let’s talk about true decadence. When I want a dessert that stops conversation and makes people ask for the recipe immediately, I quit messing around with simple brownies and go straight for the king: the **French silk pie**. It’s rich, it’s dramatic, and honestly, it’s the ultimate chocolate showstopper for any holiday gathering. I know what you’re thinking—raw eggs, right? Nope! Not in my kitchen. I’ve perfected the gentle tempering method here, which makes this filling unbelievably silky smooth, like homemade chocolate mousse in a crust. Seriously, learning this little trick turned my pie anxiety into total confidence. You should definitely check out my no-bake chocolate eclair dessert if you ever need a quick fix, but for the real deal, this pie is pure magic!
Why This is the Best French Silk Pie Recipe You Will Ever Make
I’ve tried a ton of creamy pies over the years, trust me, and this specific method for making a French silk pie stands head and shoulders above the rest. My goal is always that perfect, melt-in-your-mouth texture, and that’s exactly what you get here. I spent ages figuring out the right balance so you don’t end up with grainy chocolate or a runny center.
- This recipe uses a slightly higher egg-to-butter ratio that makes the filling incredibly structured yet unbelievably light.
- It’s a showstopper chocolate dessert that actually delivers on its promise of being silky smooth from edge to edge.
- The gentle egg tempering means you get that rich, authentic mouthfeel safely, without any worries!
Achieving Truly Silky Smooth French Silk Pie Filling
The secret sauce, if you can call gently heating the yolks ‘sauce,’ is the tempering step. When you drizzle warm water into the yolks while whisking like crazy, you’re basically pasteurizing them ever so slightly before they hit the sugar and butter. This simple act stops the yolks from scrambling in the heat of the melted chocolate, which is what causes graininess. It’s a small step that makes this pie superior to just dumping everything in a bowl. I promise, you won’t even taste the effort!
A Decadent Chocolate Dessert Perfect for Holidays
This isn’t an every-Tuesday kind of pie. This is your Thanksgiving finale or your Christmas Eve showstopper. It’s so intensely rich that a small slice feels incredibly luxurious. I often make it a day ahead, and the way the flavors deepen overnight just makes it even better. It requires a little patience for the chill time, but it’s low effort while it’s setting up. You can find my thoughts on the best cherry pie when I want something fruitier, but when I crave chocolate, it’s always this one!
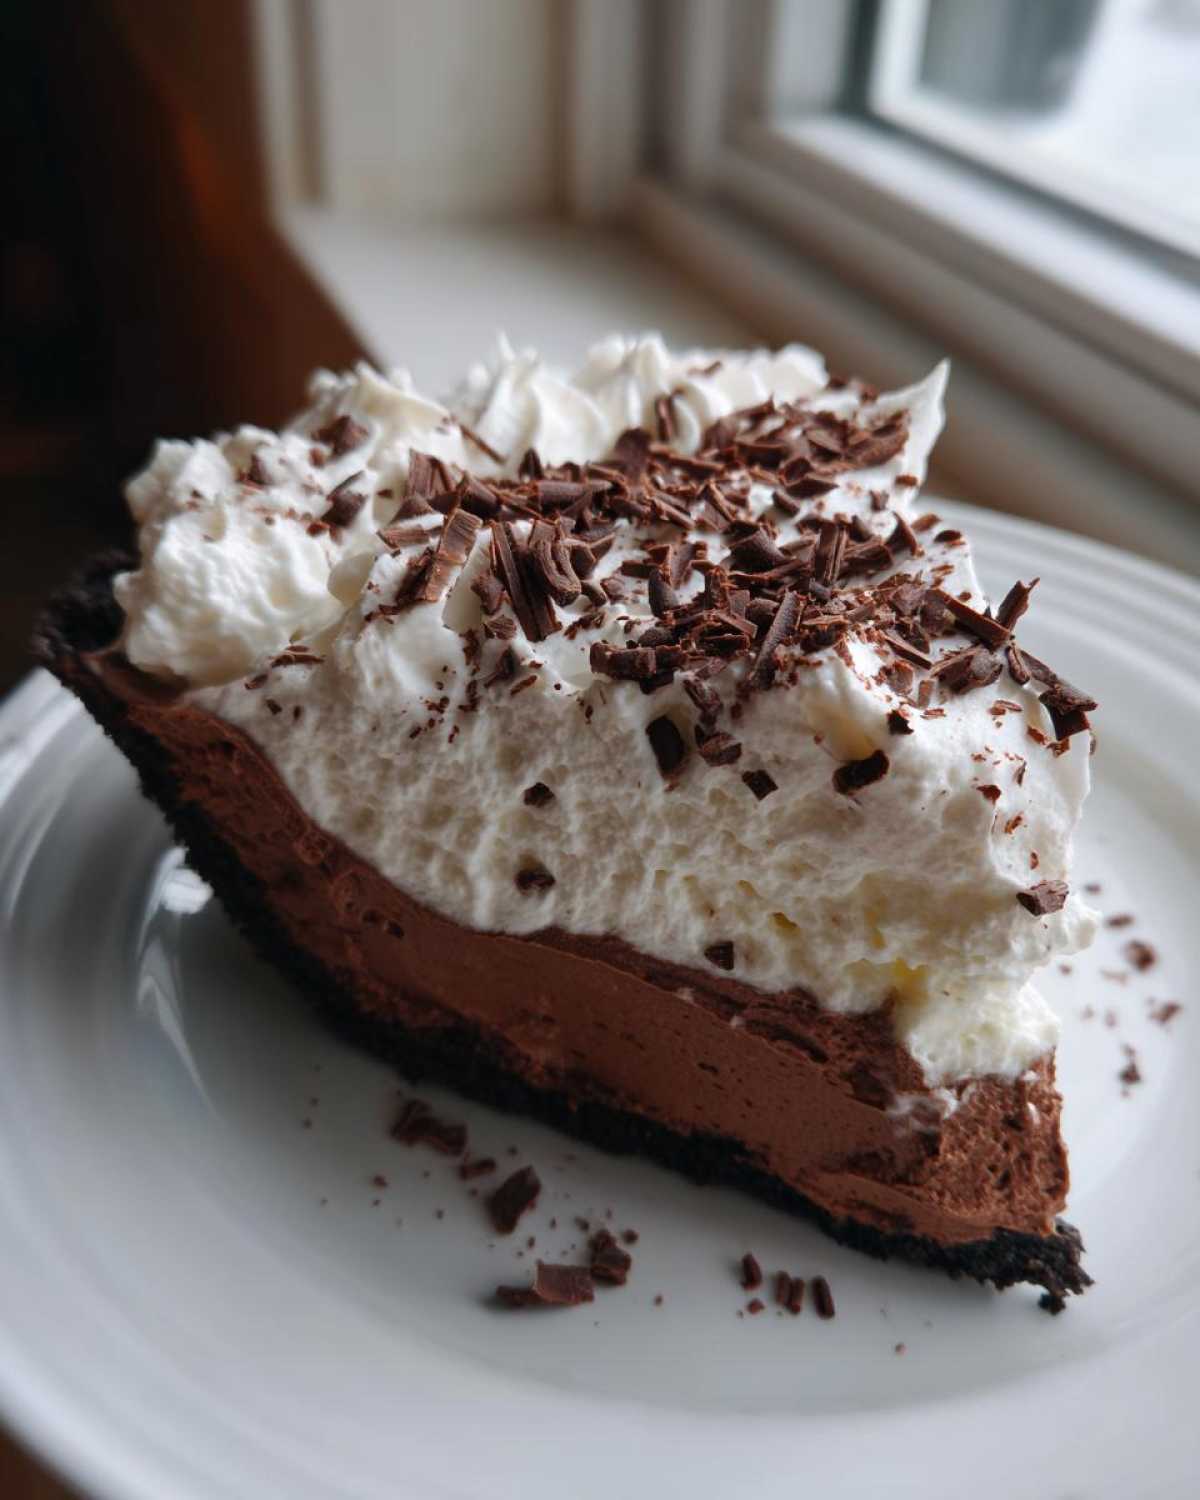
Ingredients for Your Ultimate French Silk Pie
Okay, listing the ingredients for this masterpiece is slightly anti-climactic because it’s mostly chocolate, butter, and sugar—the holy trinity! But precision matters here, so make sure you have everything ready before you start mixing. We need quality ingredients because the filling is so pure; there’s nothing to hide behind! It’s straightforward, but trust me, every component plays a huge role in achieving that famous texture.
Here’s what you need for that decadent filling and the base:
- 1 (9 inch) unbaked flaky pie crust (Blind baked and cooled is essential!)
- 1 cup (2 sticks) unsalted butter, softened just right
- 1 1/2 cups granulated sugar
- 4 large egg yolks (These are the key to richness)
- 1 teaspoon vanilla extract
- 1/2 teaspoon almond extract (Don’t skip this; it wakes up the chocolate!)
- 4 ounces unsweetened chocolate, melted and cooled slightly
- 1/2 cup boiling water
- 1 cup heavy whipping cream (For the cloud on top!)
- Chocolate shavings, for garnish (Because presentation matters!)
Crust Options for Your French Silk Pie
While my preference leans toward a classic, flaky crust—the way my grandmother used to make pie shells—you have options, especially if you’re in a hurry or just love cookies! If you want the classic, you absolutely must blind bake that shell until it’s pale gold and cool it completely before filling it. A warm crust means a melty pie, and we are fighting for structure here!
However, if you’re leaning towards an easy silk pie dessert, you can pivot right into a cookie crust pie recipe. Just take about one and a half cups of finely crushed Oreos—yes, the whole cookie, cream filling and all—mix it with a quarter cup of melted butter, press it firmly into your pie plate, and chill it until it sets up. It’s a wonderful contrast to the light, airy filling!
I’ve got a fantastic recipe for a moist chocolate chip banana bread if your baking mood suddenly changes, but stick with the pie today!
How to Prepare the Foolproof French Silk Pie Instructions
Alright, deep breaths! This is where the magic happens, and I promise it’s not as scary as it sounds. We’re building layers of texture here, so pay attention to the timing, especially when it comes to cooling that chocolate. If your melted chocolate is too hot when you add it near the end, oh boy, you might upset the butter emulsion, and we’ll get separation. We want smooth, glossy perfection, not a broken mess!
Step-by-Step: Creating the Silky Smooth Pie Filling
First things first: make sure that pie crust you baked is stone cold. Seriously, let it cool completely! Now, grab your mixer. Cream that room-temperature butter and sugar until it looks light, almost fluffy—like pale, sweet clouds. This takes a few good minutes.
The next part is the tempering, so stay with me! Whisk those four egg yolks like your life depends on it in a separate bowl. Then, SLOWLY drizzle in about a quarter cup of your boiling water—a tiny stream while you whisk constantly. That’s it! You’ve gently warmed them up so they won’t scramble. Add that tempered mix into the butter mixture and beat well. Now fold in your vanilla and that little bit of almond extract. Finally, pour in the melted (but slightly cooled!) unsweetened chocolate and the rest of that boiling water. Beat it until it looks incredibly dark and super shiny. If it looks a little too loose at this point, don’t panic; the chilling fixes everything!
Chilling and Topping the Creamy Silk Pie Recipe
Pour that beautiful mixture right into your cooled pie shell. Smooth the top with an offset spatula—you want it nice and even for when the cream goes on later. Now, this is the most important non-mixing step: the chill time! You *must* refrigerate this for a minimum of four hours. I usually let mine go overnight because I’m impatient, but four hours is the minimum to ensure that rich chocolate pie sets up firm enough for a clean slice.
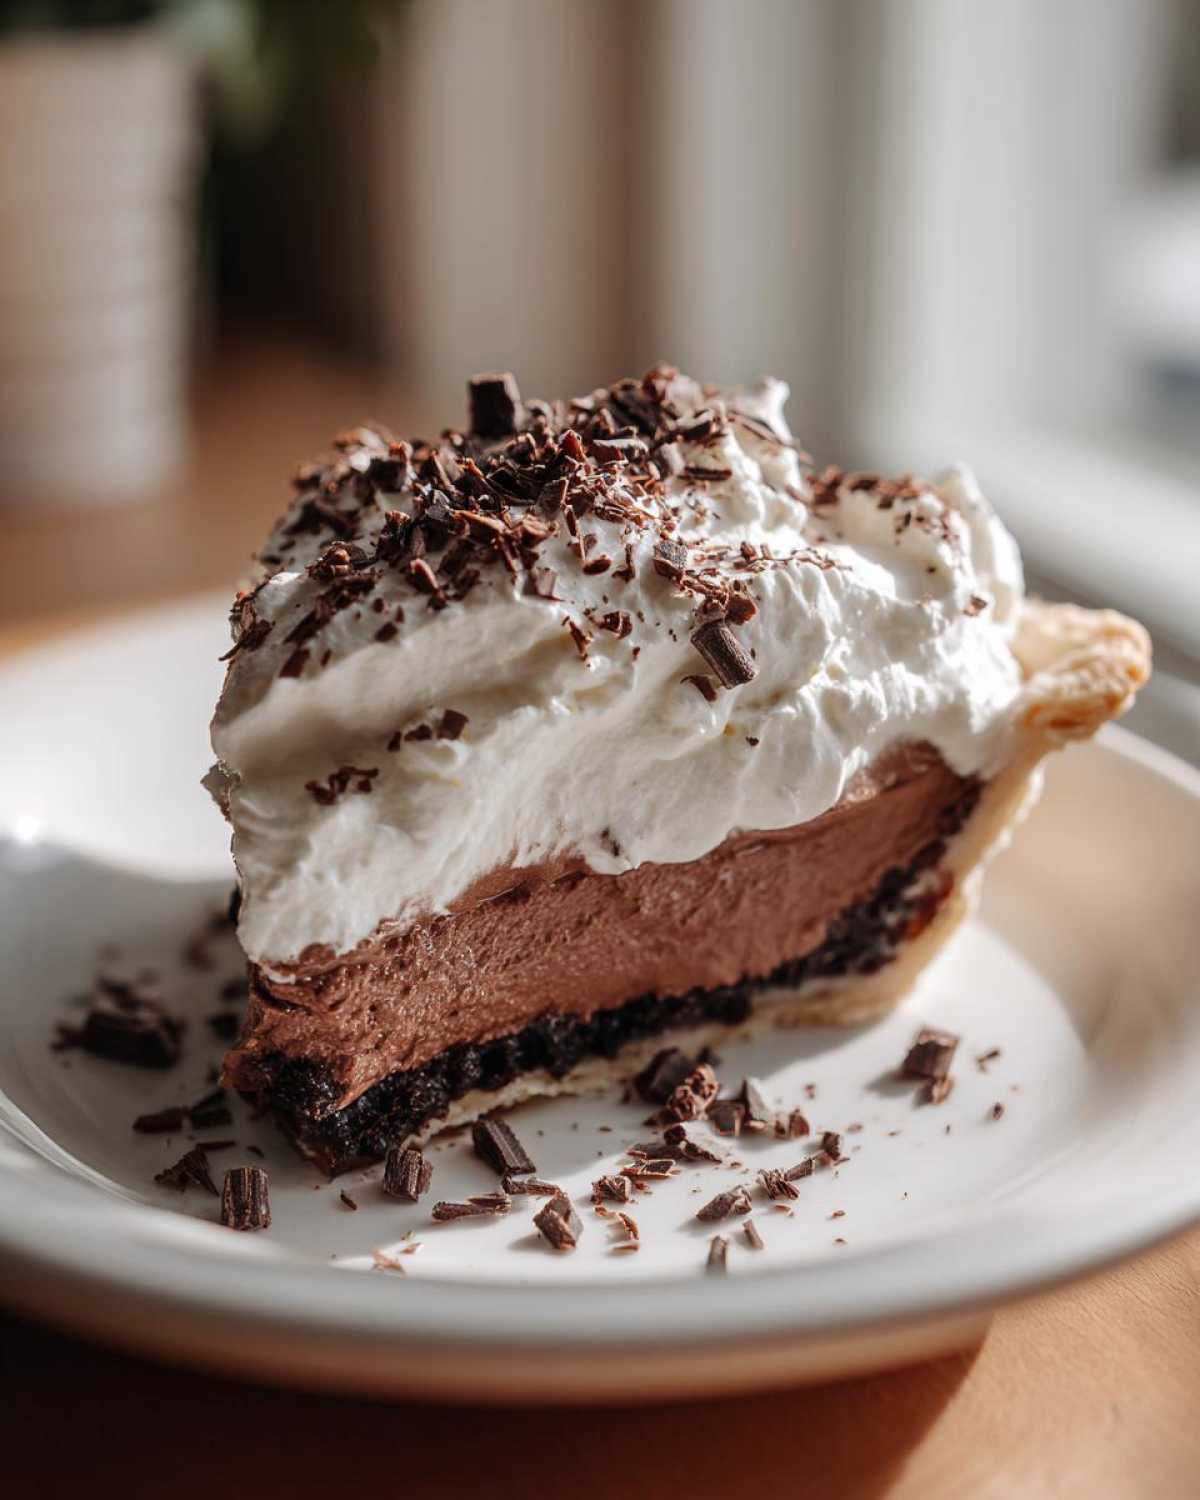
Once it’s perfectly chilled, it’s time for the grand finale: the chocolate pie with whipped cream topping. Whip your heavy cream until those stiff peaks are holding strong. Swoop it gently over the top—I like a rustic swirl rather than piping it perfectly, honestly—and then shower it with chocolate shavings. Go easy on the shavings at first, you can always add more!
If you’re looking for more interesting no-bake ideas, you have to check out my no-bake Nutella pie post; it slices like a dream too!
Ingredient Notes and Substitutions for French Silk Pie
Listen, ingredients are the whole game in a French silk pie. Since the filling is so simple and intense, you can’t cheat it! That’s why I want to elaborate on those substitutions Chef Dad threw into the notes, especially if you are serving someone who can’t have eggs or just prefers a dessert that skips the oven entirely. It’s all about making sure you get that creamy texture regardless of how you tweak it!
First, let’s talk butter temperature. You need it softened, but not melted! If it’s too warm, it starts melting the sugar when you cream it, and you lose those essential air bubbles that give the filling its lift. I usually leave mine out on the counter for about an hour before I start, and it should yield just a little when pressed gently. If you accidentally melt it, pop it in the fridge for 15 minutes to firm up before creaming.
Next up is the chocolate. This is crucial! You melt the unsweetened chocolate, but you must let it cool down—not quite frozen, but definitely not hot—before adding it to the butter mixture. If it’s too warm, it melts all the fat you just whipped into the base, and the whole thing collapses into a puddle. I usually spread my melted chocolate out on a plate for about 10 minutes just to get the heat out of it before adding it in.
Now, for the big swap if you need a no bake french silk pie alternative. If you cannot or do not want to temper eggs, this next idea is fantastic! You replace the egg yolks entirely with 8 ounces of softened cream cheese mixed with about half a cup of powdered sugar. It gives the filling a slightly denser, tangier profile—more like a chilled cheesecake structure, honestly—but it’s still decadent! You’ll also use semi-sweet chocolate chips instead of the unsweetened block and melt those down, using the same process of letting them cool slightly before adding them in. It’s a lifesaver substitution, and honestly, it holds up beautifully when chilled. You can find a similar non-bake philosophy in my no-bake Biscoff cheesecake recipe if you want to see how that technique works!
Tips for the Most Velvety Chocolate Pie Success
Okay, we’ve covered the tempering, but let’s talk extra credit for that flawless presentation. Success with a velvety chocolate pie is all about the supporting roles—namely, the crust and the garnish!
First rule: patience with the crust chill. I cannot stress this enough: your blind-baked crust needs to be completely cool, almost cold, before that beautiful chocolate filling touches it. If you rush that cooling step, the bottom layer of the filling will start melting instantly, and you’ll end up with that sad, mushy layer where the crust meets the filling. Don’t do it to yourself!
For the garnish, forget those sad little sprinkles. You need gorgeous chocolate shavings! The best trick I’ve learned is to take a nice, big, room-temperature bar of good quality dark chocolate—the firmer it is, the better—and use a vegetable peeler to shave long ribbons right over the pie. For smaller, fluffier bits, run a vegetable peeler deeply down the side of a cold block of chocolate. It creates these perfect, feathery curls that just melt in your mouth along with the pie. It’s so much easier than grating, I promise. If you love chocolate treats, you absolutely have to try my classic chocolate chip cookies next!
Serving Suggestions for Your Rich Chocolate Pie
Now that you’ve created this magnificent, deep, and rich chocolate pie, how do you serve it up like the culinary genius you are? Remember, this is a showstopper dessert, so we want the presentation to match the effort you put into getting that truly silky filling!
Because the filling is so intense and chocolatey, you want accompaniments that either cut through the richness or amplify the dessert notes. I love serving slices with a very tart fruit component. A drizzle of fresh raspberry sauce—just raspberries cooked down quickly with a little sugar and lemon juice—is utterly divine. The slight acidity just sings against the deep cocoa flavor. If you’re not a fan of berries, a simple, very fresh mint sprig adds a beautiful pop of color and a lovely, subtle aroma.
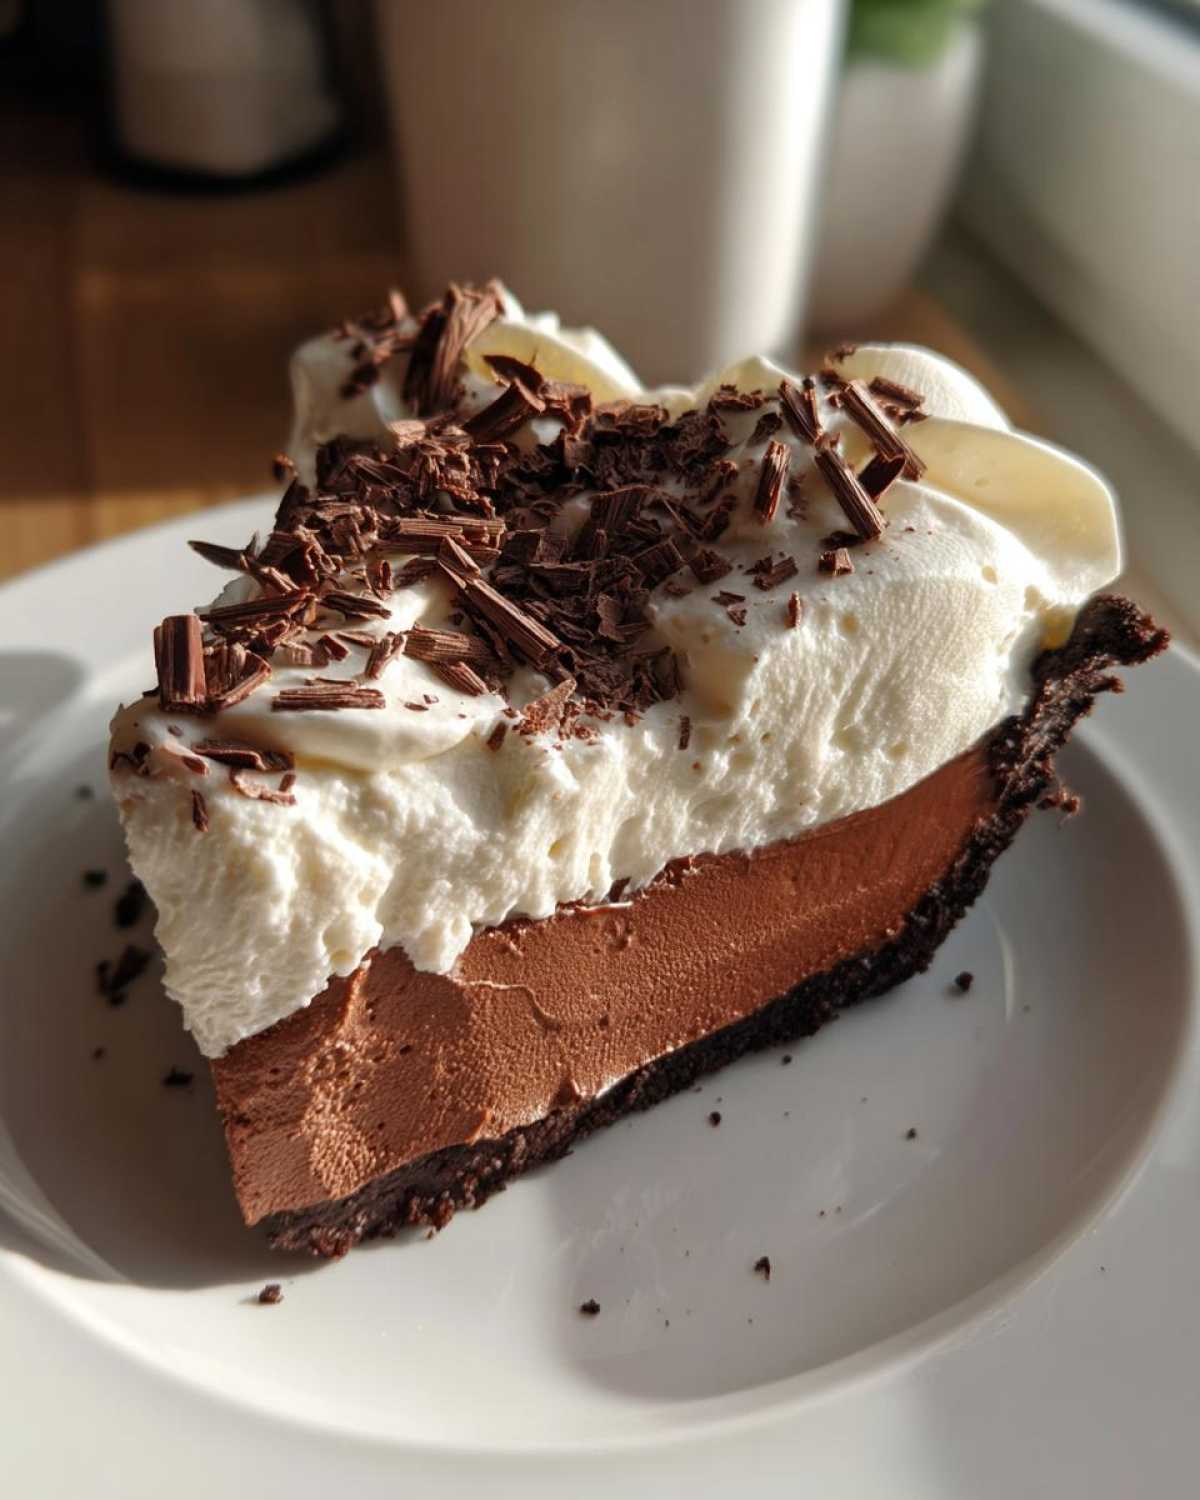
For the brave, a small dollop of unsweetened whipped cream alongside the slice is perfect, but since we already topped the whole thing, I usually go for beverages instead. This pie pairs beautifully with a strong, hot cup of black coffee or an espresso. The bitterness balances the sugar and fat perfectly. If you are serving this during the holidays, a small glass of Chambord or a dark, fruity red wine acts as a wonderful digestive pairing.
When plating individual slices, don’t just plop it onto the plate! Use a long, thin, hot knife (run it under hot water and dry it quickly) to cut the slices so the edges stay clean. Then, right before serving, sprinkle just a tiny bit more cocoa powder or a few extra chocolate shavings right onto the plate next to the slice. It frames the piece beautifully! It’s those little touches that take it from a great homemade pie to something straight out of a fancy bakery window. Speaking of fresh and delicious, you should take a look at my homemade guacamole recipe next time you need something savory!
Storage and Reheating Instructions for French Silk Pie
This beautiful pie is definitely best made fresh, but the good news is that the chilling process actually makes it better for the first day or two! Because that gorgeous, silky smooth pie filling has all that butter and chocolate, it hangs onto its structure really well in the fridge. You absolutely want to serve this pie cold. Think of it like a glorious chocolate cheesecake that happens to be lighter—it needs that chill to hold its shape when you slice it.
When you’re ready to store leftovers—if you actually have any, lucky you!—you need to protect that delicate whipped cream topping first. Don’t cover the whole pie directly with plastic wrap because the condensation will turn your fluffy topping soggy and sad. The trick is to use toothpicks! Stick about four or five toothpicks straight up into the filling around the edge of the pie, creating little tent poles. Then, lightly drape a sheet of plastic wrap over those poles so it floats above the whipped cream.
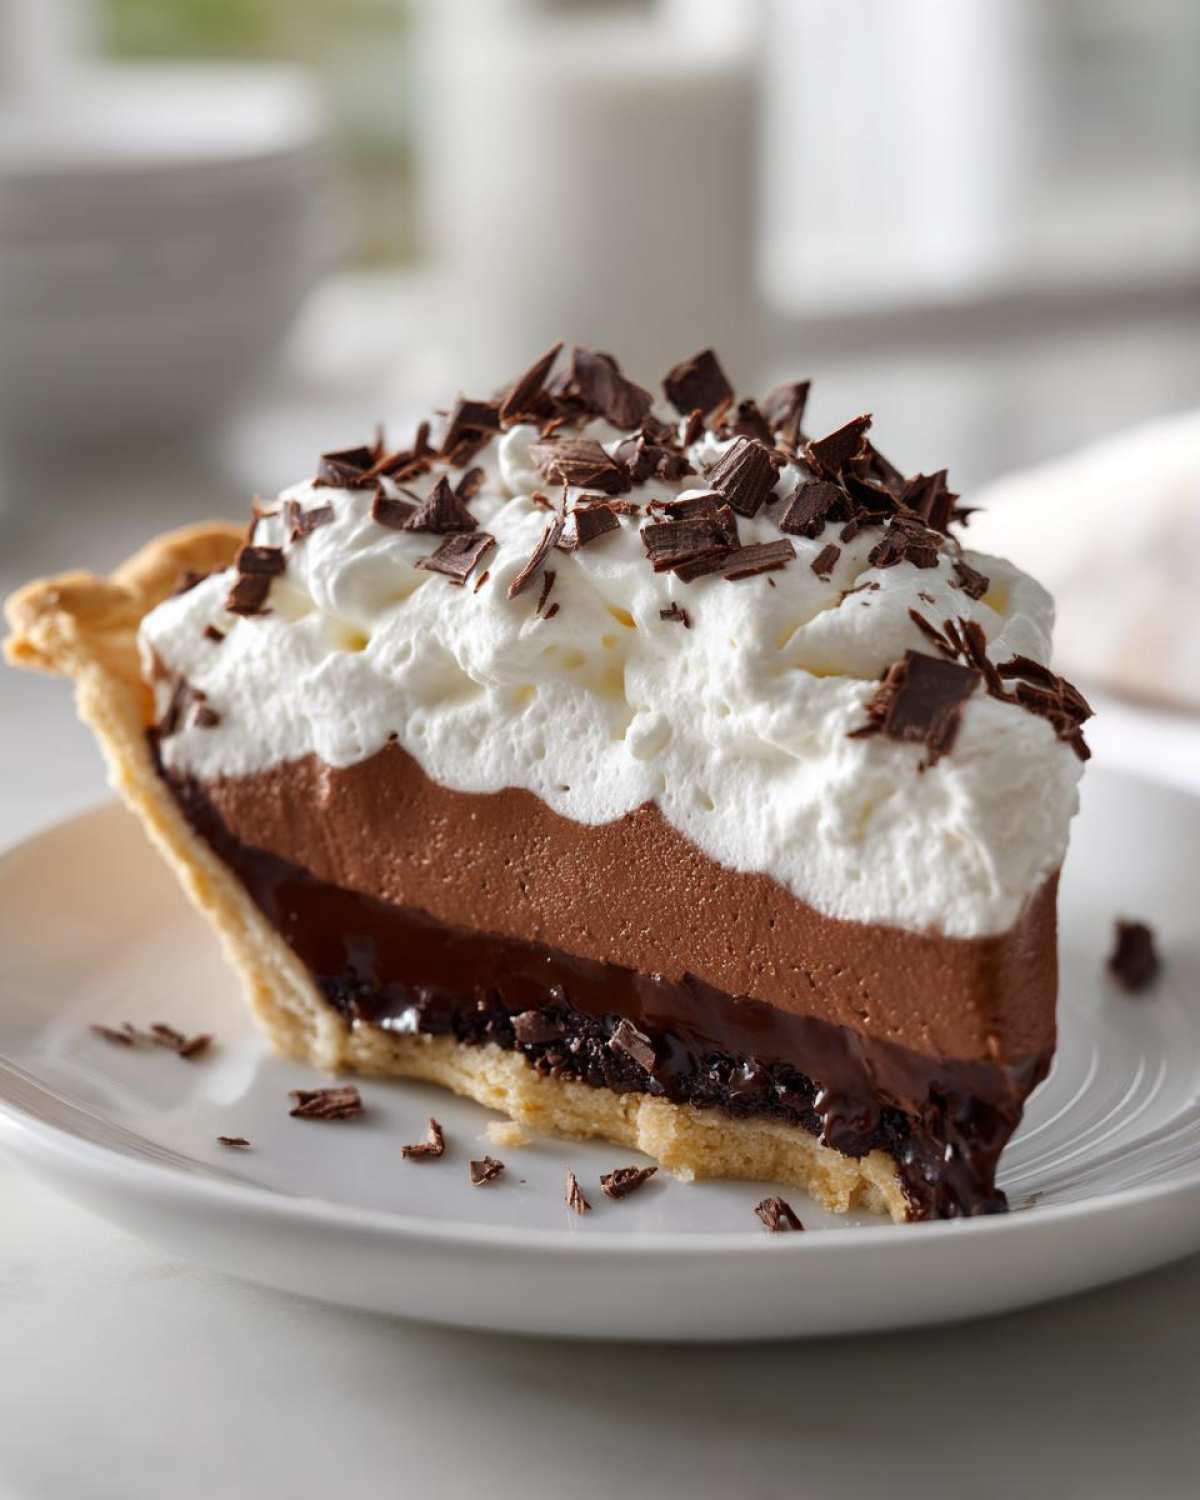
You can keep the pie, covered loosely like this, in the refrigerator for up to four days. I’ve found that Day 2 is actually the absolute peak for flavor and texture, that’s when those vanilla and almond notes really marry the chocolate! Now, please, do not try to freeze this or reheat it. Freezing will totally ruin that lovely whipped texture, and reheating, well, it’ll turn into a bowl of chocolate soup, which is delicious on its own, but definitely not what you want from a proper French silk pie. If you are looking for long-term storage ideas, you should really look at my notes on the perfect protein chia pudding consistency—that stuff freezes like a dream!
Frequently Asked Questions About Making French Silk Pie
I know sometimes you just need a quick answer before grabbing your whisk, so here are the things I get asked most often about this amazing, rich chocolate dessert. I always want you to feel confident walking into this recipe, even if you’re a total beginner!
Can I make a French Silk Pie without eggs?
That’s a huge yes, and I’ve got you covered! As I mentioned when we talked substitutions, you can definitely skip the eggs if you prefer a fully no-bake approach. For the best results as a no bake french silk pie alternative, you swap those yolks out for 8 ounces of softened cream cheese mixed with about half a cup of powdered sugar. It changes the flavor profile just a smidge—it gets a bit tangier, almost like a chilled tart—but it still sets up beautifully firm and tastes incredible. It’s a great hack for when you don’t have fresh eggs!
How long does the creamy silk pie recipe need to chill?
This takes patience, but trust me, it’s worth the wait. For the filling to properly set up enough so that you can get a clean slice without everything sliding out—you need a minimum of four hours of refrigeration time. That allows the butter and the chocolate to fully firm back up around the structure we created with the sugar and the tempered yolks. However, if you can manage it, chilling the pie overnight is truly the gold standard for the absolute best texture!
If you’re looking for other recipes that require a bit less commitment after mixing, you might enjoy my tips on freezing leftovers from my onion boil foil packets—those are great for grab-and-go meals!
Estimated Nutritional Data for This Classic French Dessert
I always include this section for those of you who like to keep track! Now, since we are dealing with a homemade dessert packed with butter, cream, and lots of rich chocolate, these numbers are going to look pretty indulgent—and they should! This is a decadent chocolate dessert, meant to be enjoyed in smaller portions.
Please remember that these figures are just estimates. The final count can change wildly depending on the exact brand of unsweetened chocolate you use, whether you swap in a store-bought crust, or if you use real sugar versus a sugar substitute for the topping. I base these calculations on the exact recipe ingredients provided, assuming a standard 9-inch flaky crust.
Here is the breakdown per slice (this recipe yields 8 generous servings):
- Serving Size: 1 slice
- Calories: 450
- Fat: 32g
- Saturated Fat: 18g
- Cholesterol: 120mg
- Sodium: 150mg
- Carbohydrates: 38g
- Sugar: 35g
- Protein: 6g
- Fiber: 3g
See? Plenty of sugar and fat to make this the ultimate treat! A slice of this French silk pie is definitely where you want to apply that little bit of restraint we talked about earlier. It’s best enjoyed with a cup of strong black coffee to balance the sweetness. If you’re looking for something equally satisfying but a bit more nutrition-focused for breakfast, you should check out these moist, high-protein egg muffins on my site!
PrintThe Ultimate Foolproof French Silk Pie

Make a rich, creamy, and deeply chocolatey French Silk Pie using a safe, tempered egg method for a truly silky smooth texture.
- Prep Time: 30 min
- Cook Time: 15 min
- Total Time: 4 hours 45 min
- Yield: 8 servings
- Category: Dessert
- Method: Chilling
- Cuisine: American
- Diet: Vegetarian
Ingredients
- 1 (9 inch) unbaked flaky pie crust
- 1 cup (2 sticks) unsalted butter, softened
- 1 1/2 cups granulated sugar
- 4 large egg yolks
- 1 teaspoon vanilla extract
- 1/2 teaspoon almond extract
- 4 ounces unsweetened chocolate, melted and cooled slightly
- 1/2 cup boiling water
- 1 cup heavy whipping cream
- Chocolate shavings, for garnish
Instructions
- Prepare the pie crust according to your favorite recipe or use a store-bought crust. Bake the crust until lightly golden brown (blind bake). Let the crust cool completely.
- In a large bowl, beat the softened butter and granulated sugar together with an electric mixer until light and fluffy, about 3 minutes.
- In a separate small, heatproof bowl, whisk the egg yolks. Slowly drizzle about 1/4 cup of the boiling water into the yolks while whisking constantly to temper them. This gently cooks the yolks.
- Add the tempered yolk mixture to the butter and sugar mixture. Beat until well combined.
- Beat in the vanilla extract and almond extract.
- Pour the melted and slightly cooled unsweetened chocolate into the mixture. Beat until smooth.
- Slowly beat in the remaining 1/4 cup of boiling water until the filling is smooth and glossy.
- Pour the chocolate filling into the cooled, pre-baked pie crust. Smooth the top with a spatula.
- Chill the pie in the refrigerator for at least 4 hours, or until the filling is firm.
- Just before serving, whip the heavy whipping cream until stiff peaks form. Spread or pipe the whipped cream over the chilled pie.
- Garnish the top with chocolate shavings. Slice and serve cold.
Notes
- For a cookie crust alternative, press 1 1/2 cups of finely crushed Oreo cookies mixed with 1/4 cup melted butter into the pie plate and chill instead of baking.
- If you prefer a no-bake version, substitute the egg yolks with 8 ounces of softened cream cheese mixed with 1/2 cup powdered sugar, and use 1 cup of melted semi-sweet chocolate chips instead of unsweetened chocolate.
- Ensure the melted chocolate is not hot when added to the butter mixture, or it may cause the butter to separate.
Nutrition
- Serving Size: 1 slice
- Calories: 450
- Sugar: 35g
- Sodium: 150mg
- Fat: 32g
- Saturated Fat: 18g
- Unsaturated Fat: 14g
- Trans Fat: 0.5g
- Carbohydrates: 38g
- Fiber: 3g
- Protein: 6g
- Cholesterol: 120mg