

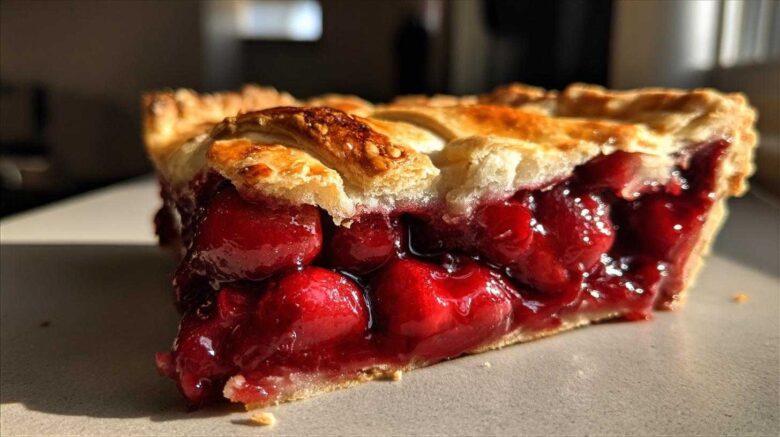
Baking Memories: Discovering the Best Cherry Pie
Welcome to our kitchen diary. Today we share something truly special. This recipe creates the Best Cherry Pie imaginable. Richard and I baked this pie for years. It marks our happiest family celebrations.
We promise you a perfectly flaky crust. The filling bursts with bright, tart-sweet cherry flavor. It is simple baking magic. This pie reminds us of sunny summer afternoons. Let’s make this classic fruit pie together.
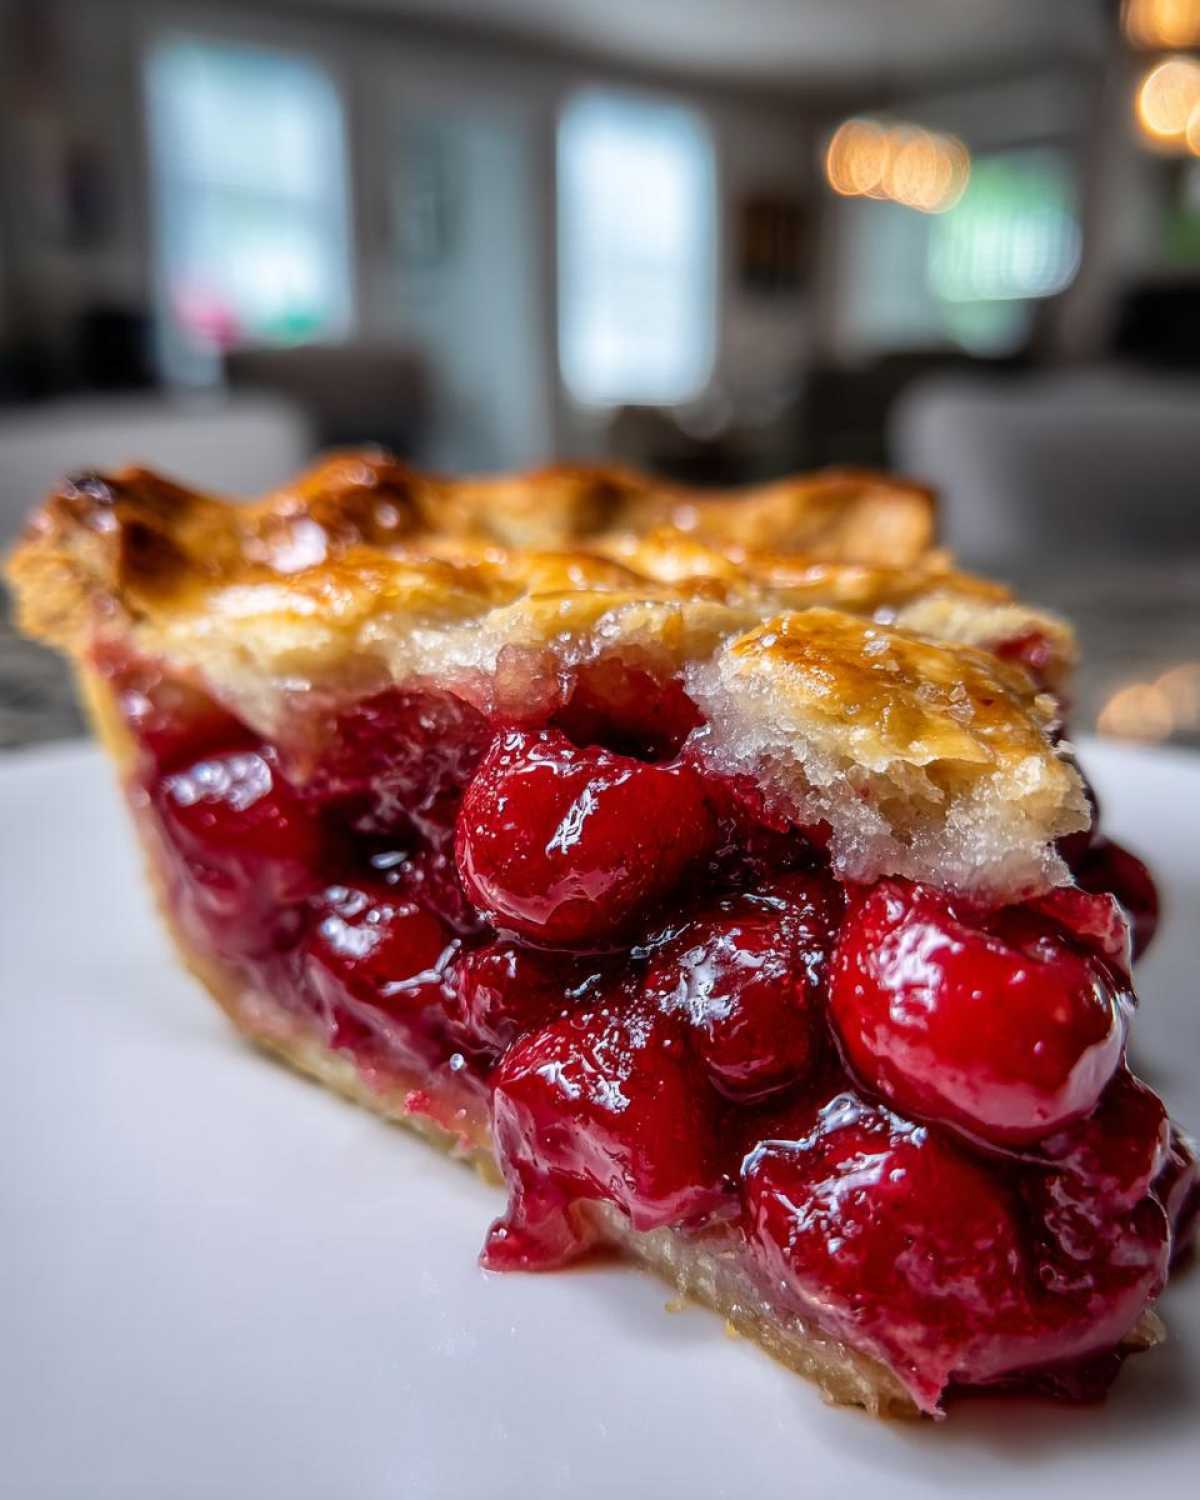
Our Journey to the Best Cherry Pie
We traveled the world collecting tastes. Richard remembers every single spice note. We loved meals from Paris to Florence. Yet, something was missing back home. We needed that perfect American classic dessert.
It took many tries, honestly. We chased that ideal texture. We wanted the crust to shatter just right. That quest finally led us here. This recipe captures that feeling of home. It’s our very best work.
Baking this pie brings us such joy. We hope it does the same for you. You are going to love the results.
Equipment Needed for Your Best Cherry Pie
Before diving in, let’s gather our tools. Having everything ready helps things run smoothly. Good equipment makes baking easier. It builds confidence, too.
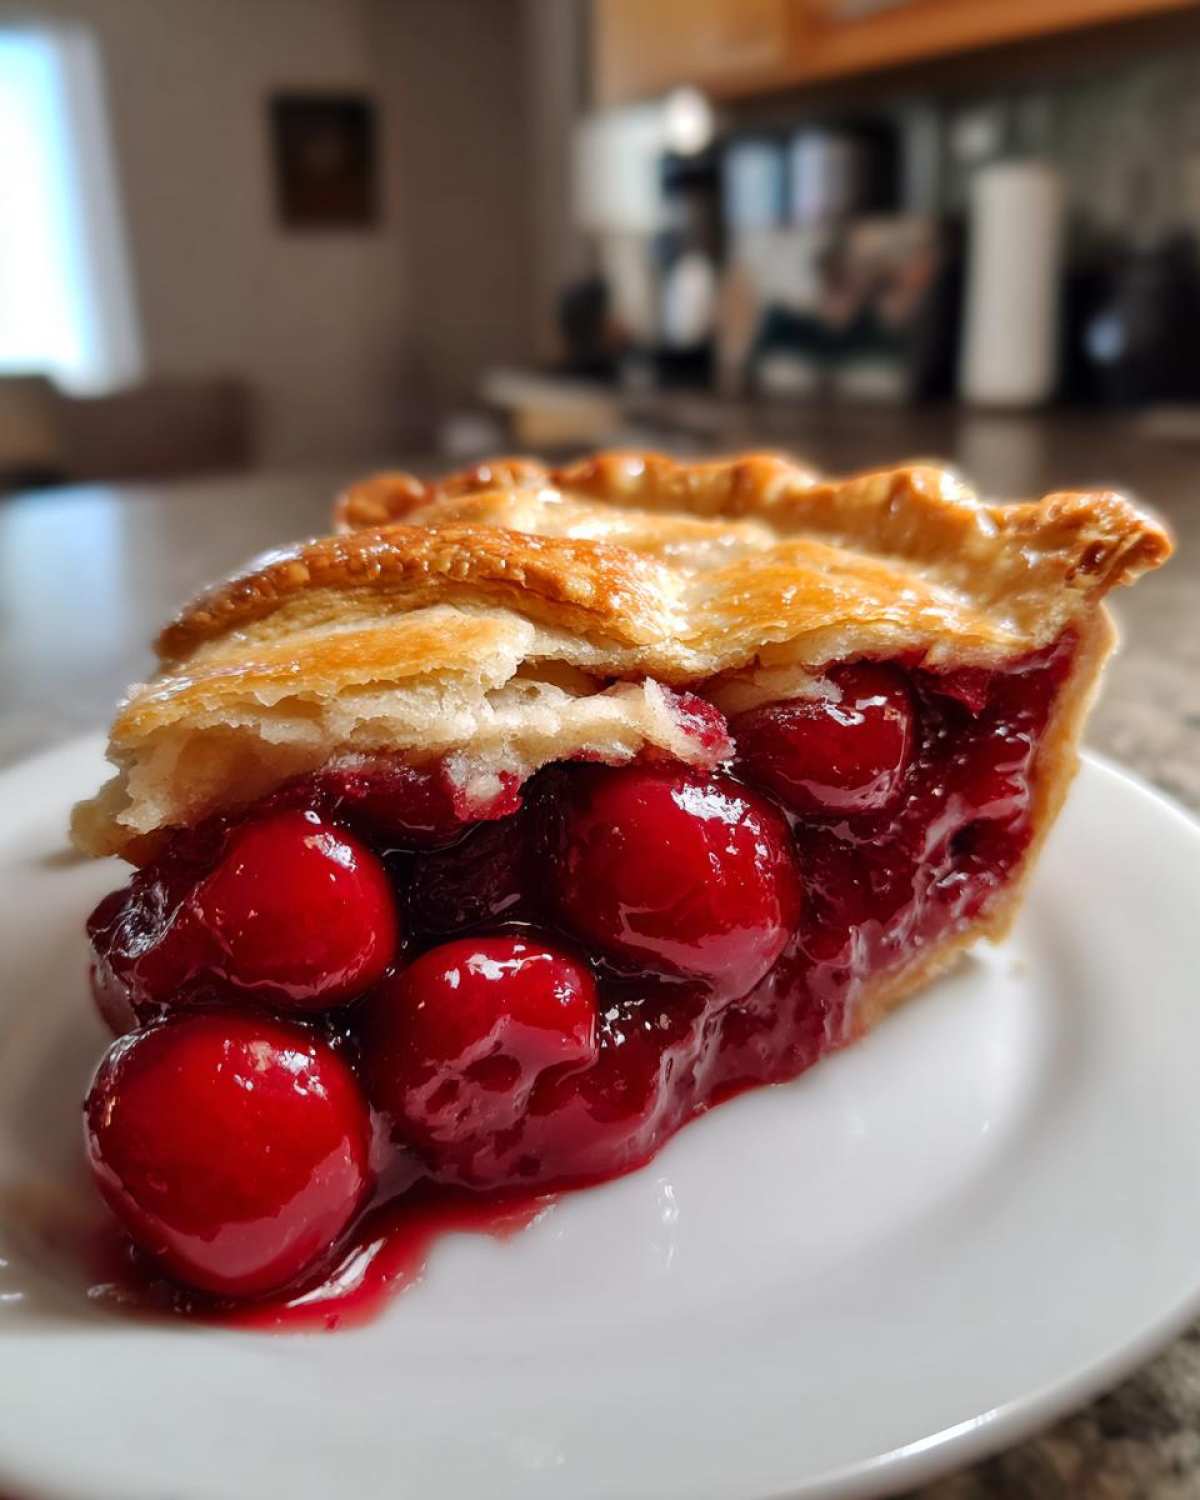
Essential Baking Tools
- Large mixing bowls.
- A pastry blender or your hands.
- Plastic wrap for chilling dough.
- A standard 9-inch pie plate.
- A rolling pin, of course.
- A sharp knife or pizza cutter.
Ingredients for the Best Cherry Pie Crust
The crust is the foundation of our Best Cherry Pie. Seriously, this is where the magic starts. Richard always says a great pie needs a flaky crust.
We need simple things here. All-purpose flour comes first. Then salt for flavor balance. The secret weapon is cold butter. Use two full sticks.
Flaky Pastry Components
Keep everything icy cold. That is the number one rule. The butter must be cubed small. Ice water binds the flour gently. Mix it just until it holds shape. Overworking dough makes it tough. We want tender layers.
These few ingredients create pure pastry bliss.
Components for the Tart Cherry Filling
Now for the heart of the pie. We need lots of cherries here. Six cups should fill your 9-inch plate nicely. Fresh or frozen works great.
Sugar balances the tartness perfectly. Taste your cherries first, always. Add more sugar if they bite back too hard. Cornstarch is our setting agent.
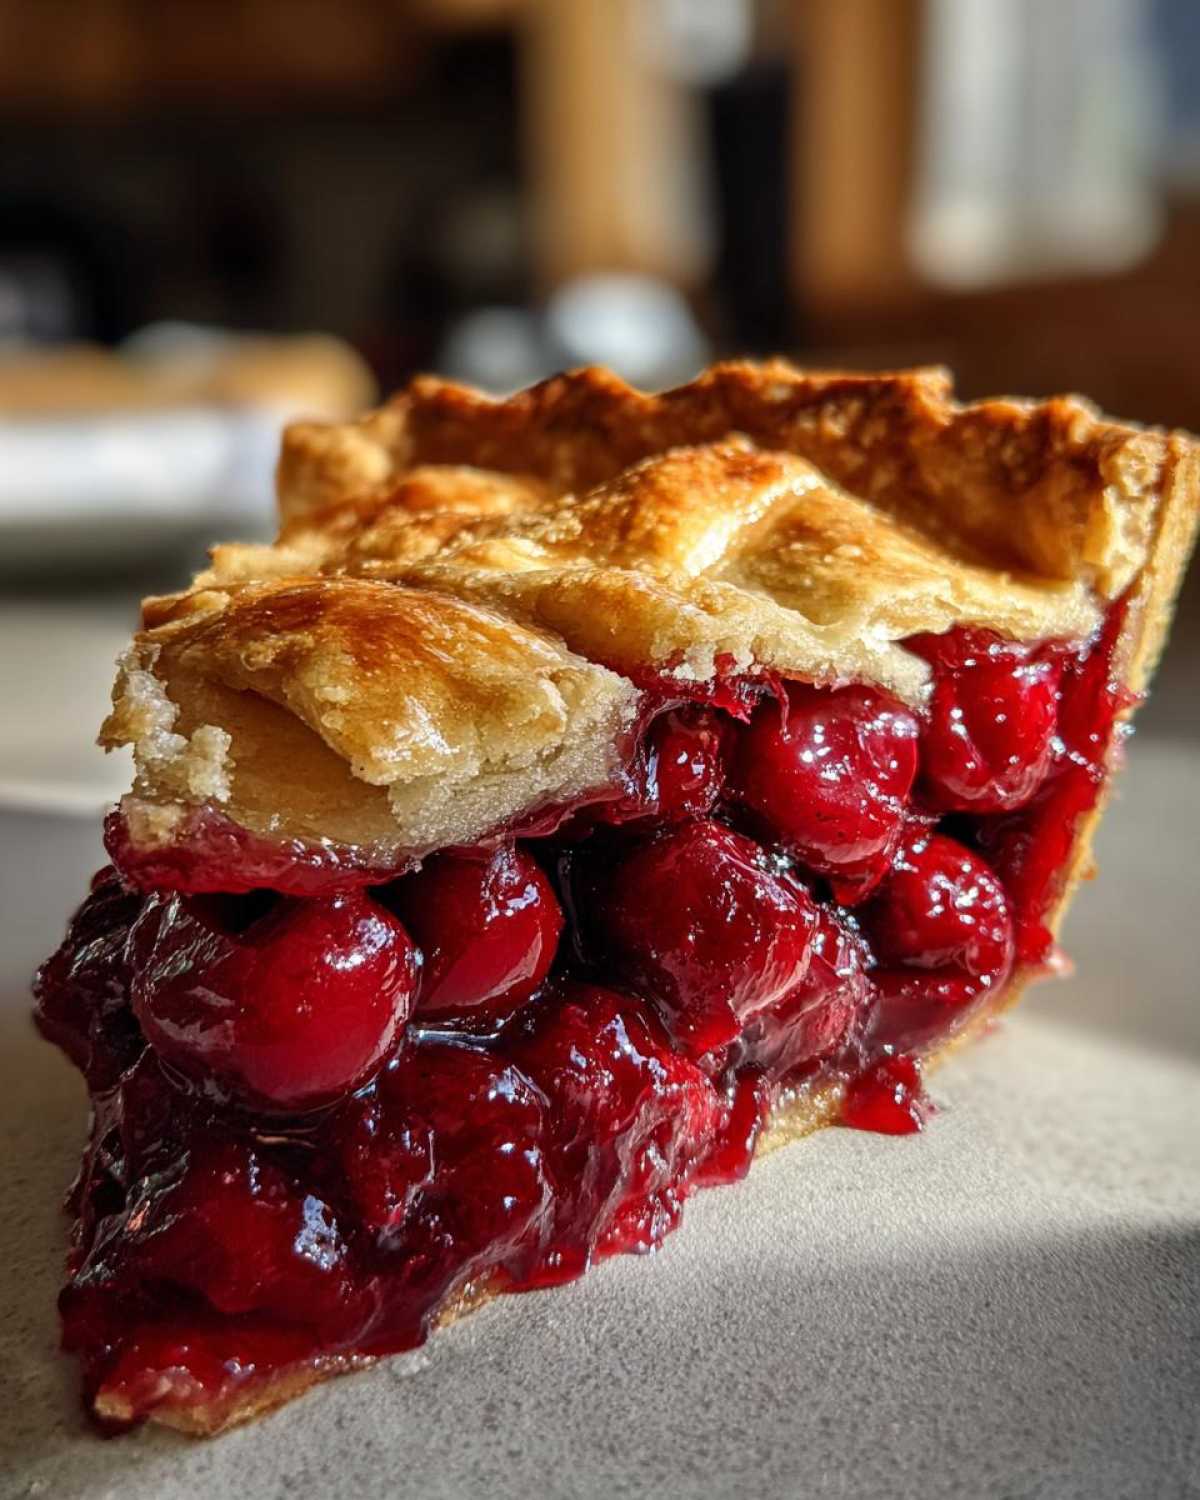
Achieving the Perfect Tart-Sweet Balance
Combine cherries, sugar, and cornstarch gently. Lemon juice brightens the fruit flavor. A touch of almond extract adds depth. Do not skip the almond extract! It marries beautifully with cherry.
If using frozen cherries, leave the juice in. That liquid holds so much flavor.
Step-by-Step Instructions for the Best Cherry Pie
We’re ready to bake our masterpiece now. Follow these steps closely. You’ll create a stunning, flavorful pie. This process is rewarding, I promise you that.
Preparing and Chilling the Flaky Crust Dough
Whisk your flour and salt together first. Next, cut in that cold butter. Use your fingers or a pastry blender. Aim for coarse crumbs. You need pea-sized butter chunks left.
Add the ice water slowly now. Mix until the dough just clumps. Stop mixing right then. Overmixing ruins the flakiness we seek. Divide the dough in two equal disks. Wrap them tightly in plastic wrap. Chill them for at least one hour. Patience here pays off later.
Mixing the Juicy Cherry Filling
In a separate bowl, combine your cherries. Add the sugar, cornstarch, and lemon juice. Mix everything very carefully. You want the cherries coated well. If they are frozen, leave all the liquid.
Stir in that almond extract last. Set this bowl aside while you roll the dough. Let those flavors mingle a bit.
Assembling and Finishing the Best Cherry Pie
Lightly flour your surface now. Roll out one dough disk to a 12-inch circle. Carefully put this into your pie plate. Trim the edges, leaving one inch hanging over. Pour all that juicy filling inside.
Roll out the second disk of dough. You can cut strips now for a lattice top. Or, place the whole circle over the filling. If using a full top, cut vents. Slits let steam escape safely. Crimp the edges tightly to seal everything up. Brush with the beaten egg wash. Sprinkle with coarse sugar for sparkle.
Baking and Cooling the Homemade Cherry Pie
Preheat your oven to 400 degrees Fahrenheit. Put the pie on a baking sheet first. This catches any bubbly drips. Bake it for 20 minutes at this high heat. That blast of heat sets the bottom crust.
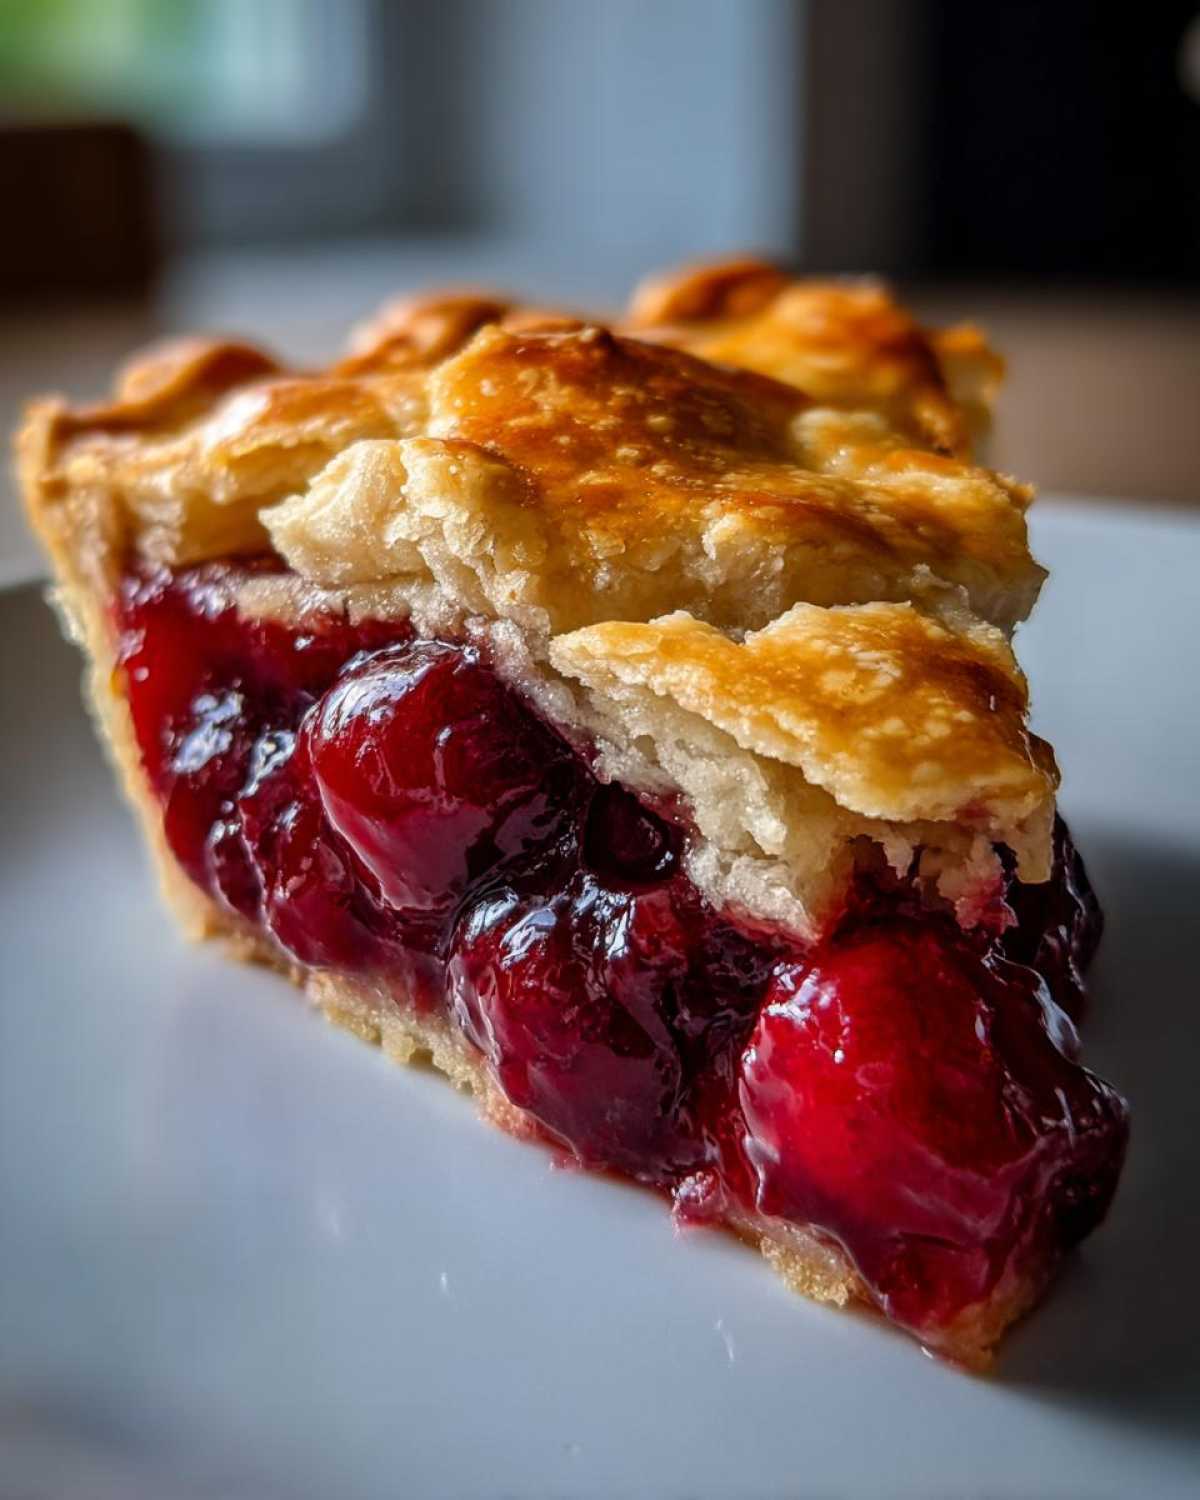
Then, lower the heat to 375 degrees. Bake for 35 to 45 more minutes. Look for golden brown crusts. The filling must bubble thick. Cover the edges with foil if they darken too fast. Here’s the hardest part, friends. Let it cool completely. Three to four hours is needed. This lets the filling set up firm. Slice it too soon, and it’ll run everywhere!
Tips for the Best Cherry Pie Success
Baking a perfect pie takes practice, truly. Don’t worry about small mistakes. Richard and I learned through trial and error. We want to share our best shortcuts. These tips help avoid common baking woes.
A runny filling is the worst feeling. Soggy bottoms are just as sad. Follow these pointers for a beautiful result.
Secrets for a Truly Flaky Crust
Remember that cold butter rule above. Keep your pastry dough cold always. If the dough feels warm, chill it again. This prevents gluten development. Cold fat creates steam pockets. Steam means lovely, light layers.
Also, use a metal or glass pie dish. They conduct heat better. This helps prevent that dreaded soggy bottom crust. For more general baking science, check out resources on pie crust science.
Richard’s Flavor Enhancement Suggestion
Richard often tinkers with the filling flavor. He thinks vanilla is nice. But he found something better for cherry. Try adding a tiny bit more almond extract. We use one full teaspoon in the recipe.
If you want a deeper taste, add half a teaspoon of good vanilla extract. This deepens the fruit notes. It makes the flavor richer. Trust his palate on this one detail.
Serving Suggestions for Your Classic Fruit Pie
The moment of truth is here! Slice this beautiful pie warm or at room temperature. It tastes like a summer afternoon memory. That bright cherry flavor shines through.
We love a scoop of vanilla bean ice cream. The cold cream melts nicely. A dollop of fresh whipped cream works too. Enjoy every single bite slowly.
Storing Leftovers of the Best Cherry Pie
What about the leftover slices? Don’t fret about saving them. Cover the pie loosely with plastic wrap. Room temperature works for one day. After that, refrigeration is best.
Keep it in the fridge for up to three days. Reheat gently in a moderate oven. A low temperature works wonders for warming it up. Enjoy that slice again soon!
Frequently Asked Questions About Your Best Cherry Pie
We get many questions about baking. Sharing our experiences helps everyone. Here are a few common things readers ask us. We want your pie to be perfect.
These answers build upon our baking knowledge. We hope this helps your next attempt.
Can I Use Canned Cherries Instead of Fresh or Frozen?
You can try canned cherries. However, they are often too sweet. Canned cherries are usually packed in syrup. This changes the recipe balance. We strongly prefer fresh or frozen fruit. They give you that true tart flavor.
Why Is My Cherry Pie Filling Runny?
A runny filling usually means underbaking. Or, you didn’t cool it long enough. The cornstarch needs time to set fully. Make sure the filling bubbles thickly before removing it. Then, let it cool for four hours minimum. That cooling time is non-negotiable for a great slice.
How Long Does the Best Cherry Pie Keep?
This homemade cherry pie keeps well. Store it loosely covered at room temperature. It lasts about one day safely there. For longer storage, use the refrigerator. It stays good in the fridge for three days total. Enjoy it within that time frame.
Estimated Nutritional Data for a Serving of This Classic Fruit Pie
Now, let’s talk fuel. We aren’t nutritionists, truly. Richard and I focus on flavor first. This pie is a treat, not an everyday meal. So, these numbers are helpful estimates only.
We used the listed ingredients for this calculation. Your exact amounts might vary slightly. Remember that homemade baking varies a bit.
- Serving Size: About 1 slice.
- Calories: Estimate is around 450-500 calories per slice.
- Fat: Expect moderate fat content from the butter in the crust.
- Carbohydrates: This includes natural sugars from the fruit and added sugar.
- Protein: A modest amount from the flour and egg wash.
This rich dessert is best enjoyed mindfully. Savoring each bite is the real goal here. It’s a memory served on a plate!
Share Your Experience Baking This Best Cherry Pie
We poured our hearts into this recipe. Now, it’s your turn in the kitchen!
Did you try making this classic fruit pie? I’d love to hear all about it. Tell us how the flaky crust turned out for you. Did you choose the lattice or a full top?
Was the tart cherry filling perfectly balanced? Your feedback helps our little diary grow. We learn so much from your successes.
Please leave a rating for this recipe below. Share any special tips you discovered. We read every single note you send us. Happy baking, friends!
PrintBest Cherry Pie: Richard’s 1 Flawless Recipe

Richard and I want to share our cherished recipe for the Best Cherry Pie. You will bake a beautiful, classic fruit pie with a perfectly flaky crust and a filling bursting with bright, tart-sweet cherry flavor. This recipe brings back memories of sunny afternoons.
- Prep Time: 45 minutes
- Cook Time: 1 hour 5 minutes
- Total Time: 5 hours 50 minutes
- Yield: 8 servings
- Category: Dessert
- Method: Baking
- Cuisine: American
- Diet: Vegetarian
Ingredients
- 2 1/2 cups all-purpose flour
- 1 teaspoon salt
- 1 cup (2 sticks) cold unsalted butter, cubed
- 1/2 cup ice water, plus more if needed
- 6 cups fresh or frozen pitted sweet cherries (do not thaw if frozen)
- 3/4 cup granulated sugar (adjust based on cherry tartness)
- 1/4 cup cornstarch
- 1 tablespoon fresh lemon juice
- 1 teaspoon almond extract
- 1 large egg, beaten (for egg wash)
- 1 tablespoon coarse sugar (for topping)
Instructions
- Prepare the Crust: In a large bowl, whisk together the flour and salt. Cut in the cold butter using a pastry blender or your fingers until the mixture resembles coarse crumbs with some pea-sized pieces of butter remaining.
- Gradually add the ice water, one tablespoon at a time, mixing until the dough just comes together. Do not overmix.
- Divide the dough in half, flatten each half into a disk, wrap in plastic, and chill for at least 1 hour.
- Prepare the Filling: In a separate bowl, gently combine the cherries, granulated sugar, cornstarch, lemon juice, and almond extract. Set aside. If using frozen cherries, do not drain any liquid.
- Assemble the Pie: On a lightly floured surface, roll out one dough disk into a 12-inch circle. Carefully transfer it to a 9-inch pie plate. Trim the edges, leaving a 1-inch overhang.
- Pour the cherry filling into the crust.
- Roll out the second dough disk. You can cut strips for a lattice top or place the whole circle over the filling. If using a full top crust, cut several slits for steam to escape. Crimp the edges to seal.
- Brush the top crust with the beaten egg and sprinkle evenly with coarse sugar.
- Bake: Preheat your oven to 400°F (200°C). Place the pie on a baking sheet to catch drips.
- Bake for 20 minutes at 400°F. Then, reduce the oven temperature to 375°F (190°C) and continue baking for another 35 to 45 minutes, or until the crust is golden brown and the filling is bubbling thickly. If the edges brown too quickly, cover them loosely with foil.
- Cool: Let the pie cool completely on a wire rack for at least 3 to 4 hours before slicing. This allows the filling to set properly.
Notes
- For the flakiest crust, keep your butter and water very cold.
- If you want a deeper flavor, Richard suggests adding 1/2 teaspoon of vanilla extract to the filling.
- This pie is wonderful served slightly warm or at room temperature.
Nutrition
- Serving Size: 1 slice
- Calories: Estimate based on ingredients
- Sugar: Estimate based on ingredients
- Sodium: Estimate based on ingredients
- Fat: Estimate based on ingredients
- Saturated Fat: Estimate based on ingredients
- Unsaturated Fat: Estimate based on ingredients
- Trans Fat: Estimate based on ingredients
- Carbohydrates: Estimate based on ingredients
- Fiber: Estimate based on ingredients
- Protein: Estimate based on ingredients
- Cholesterol: Estimate based on ingredients