

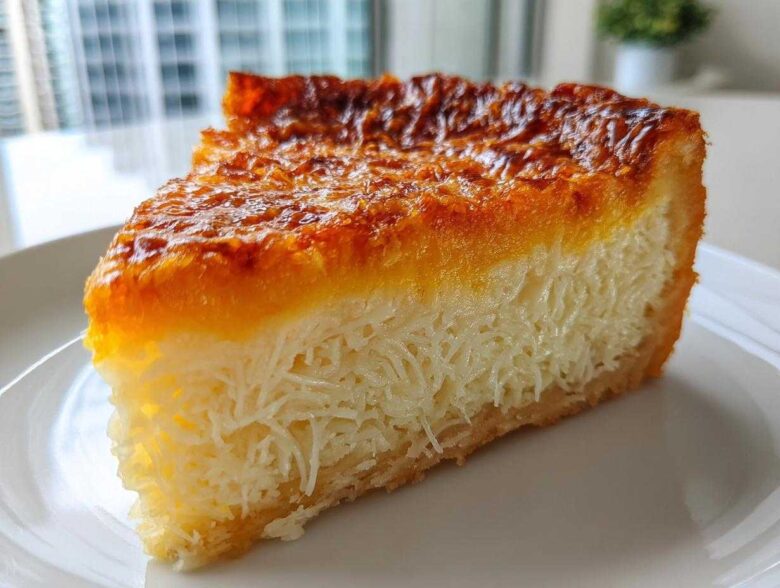
Oh my gosh, if you love tropical desserts that just melt in your mouth, you have to try my recipe for **cassava cake**! Seriously, this isn’t just some random sweet bread; this is proper, **Authentic Filipino Dessert** goodness. I’ve spent years messing around with old family notes—you know how it is with traditional Kakanin Recipes—trying to nail that impossible texture. Well, stop searching now, because I finally perfected it! This recipe gives you the most incredible, slightly dense, and perfectly **Chewy Cassava Cake** base. And the topping? It’s this rich, creamy blanket of coconut and savory cheese. Let me show you how simple this masterpiece is to put together!
Why This is the Best Filipino Cassava Cake Recipe
I know everyone claims to have the *Best Cassava Cake Recipe*, but trust me on this one! My method completely eliminates the sad, watery bottom layer that ruins so many attempts at this wonderful dessert. We’re aiming for rich flavor and that dreamy consistency that makes you close your eyes when you take a bite.
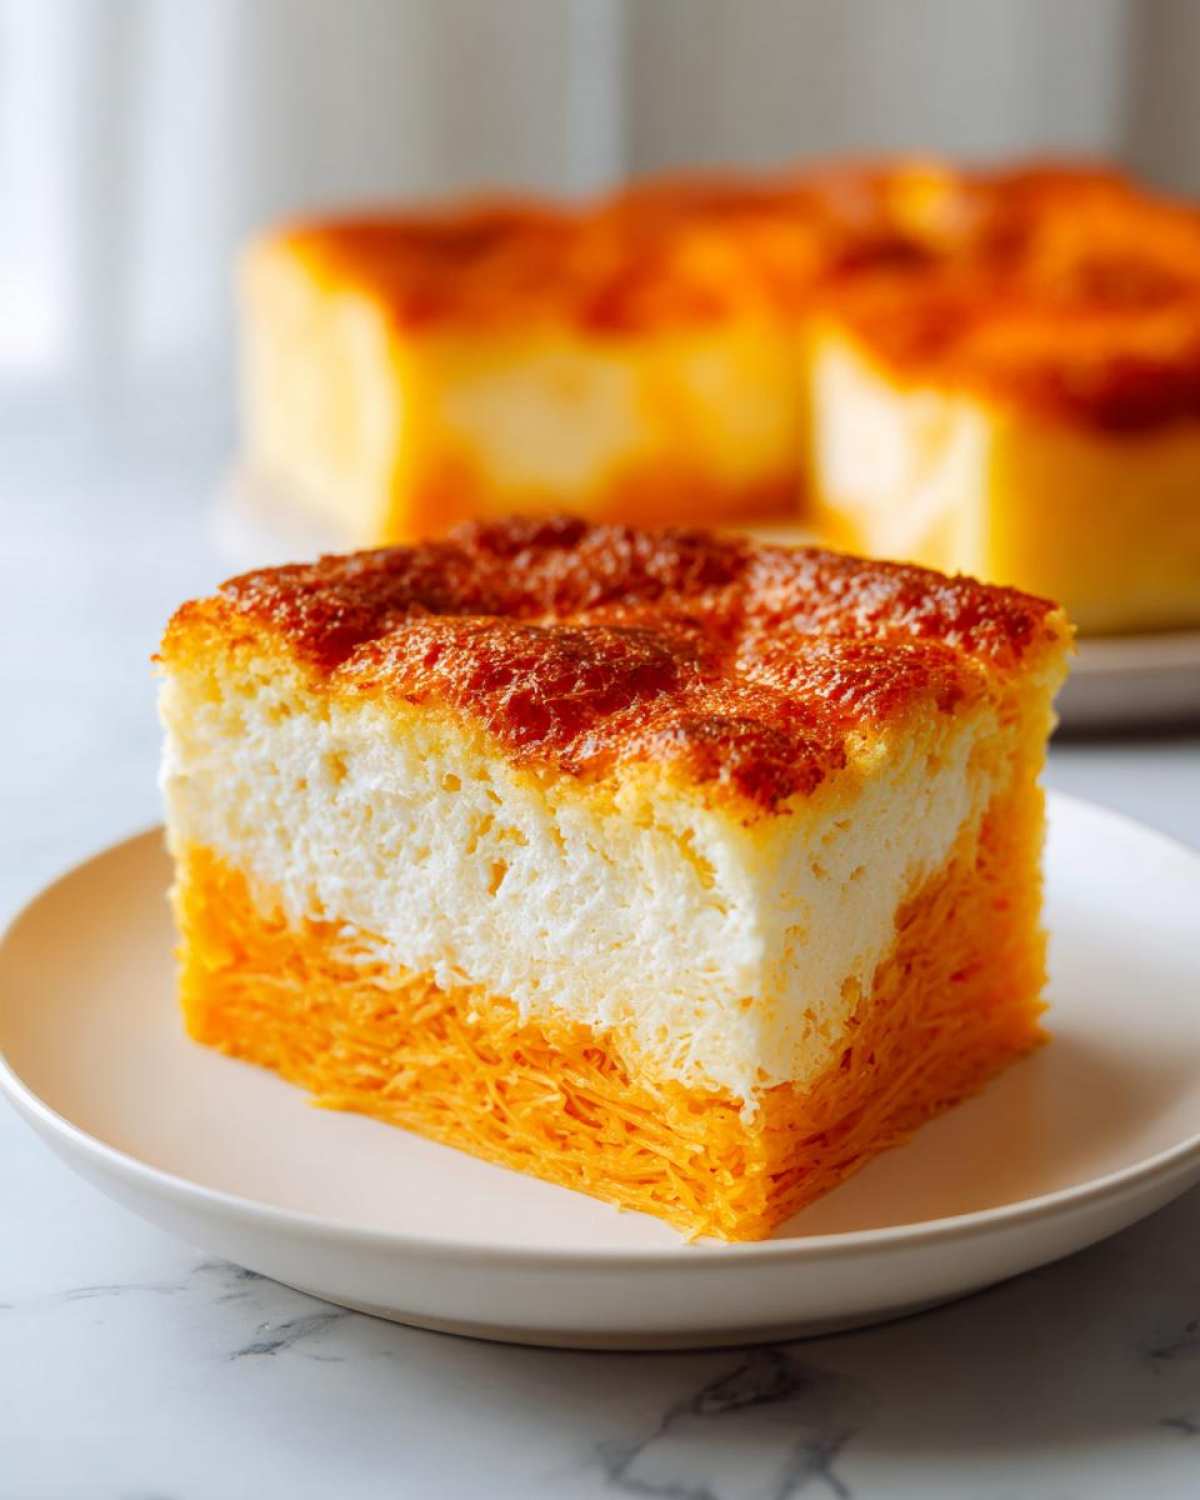
- The base comes out wonderfully soft, yet firm enough to hold its shape—that’s what you want in a great **cassava cake**!
- We achieve that stunning visual appeal with a topping that turns perfectly golden brown under the oven light.
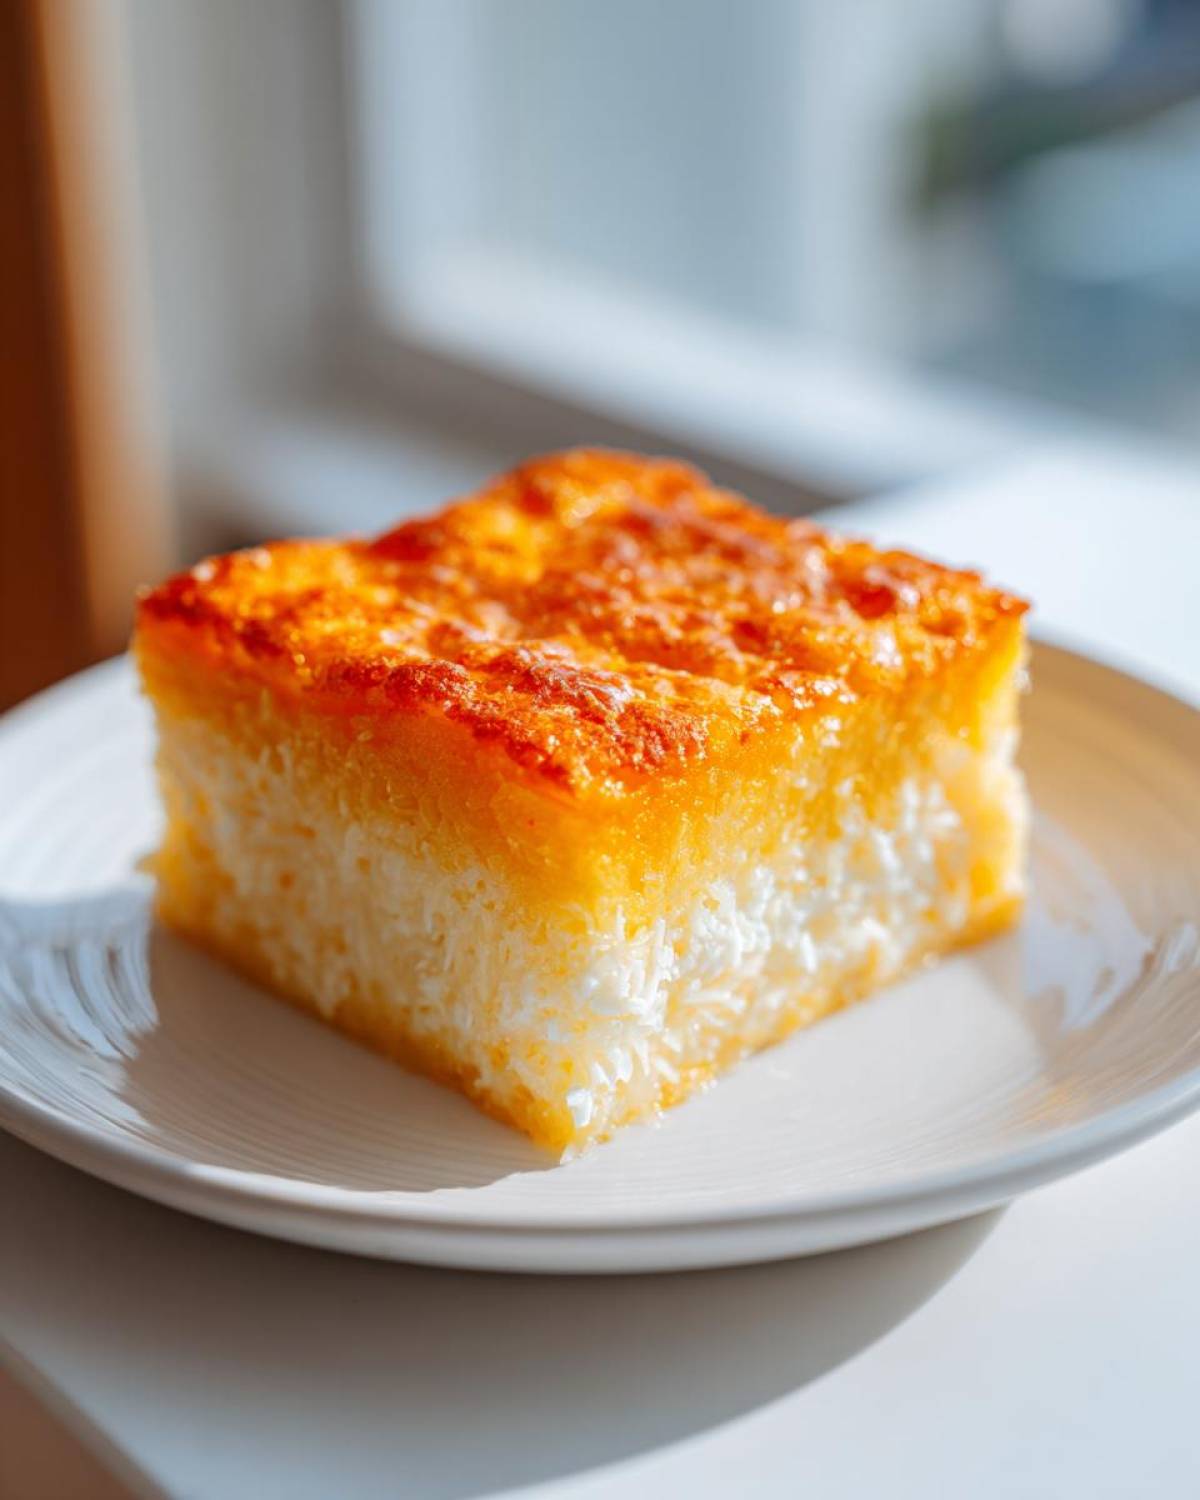
- The flavor combination of sweet coconut and a hint of salty cheese is absolutely addictive.
Achieving the Perfect Chewy Cassava Cake Texture
The number one rule for a perfectly **Chewy Cassava Cake** is how you handle the root itself. You have to squeeze out the excess liquid! If you skip that crucial step, you end up with soup instead of a sturdy base. It’s the careful draining that locks in the chewiness.
The Secret to the Creamy Cassava Cake with Coconut Milk Topping
Honestly, the custard topping is what elevates this from good to amazing. The richness from the **Cassava Cake with Coconut Milk** base pairs perfectly with the slightly salty, sweet custard we pour over it. That sharp cheddar cheese mixed into the custard is the element that makes this a truly **Authentic Filipino Dessert**!
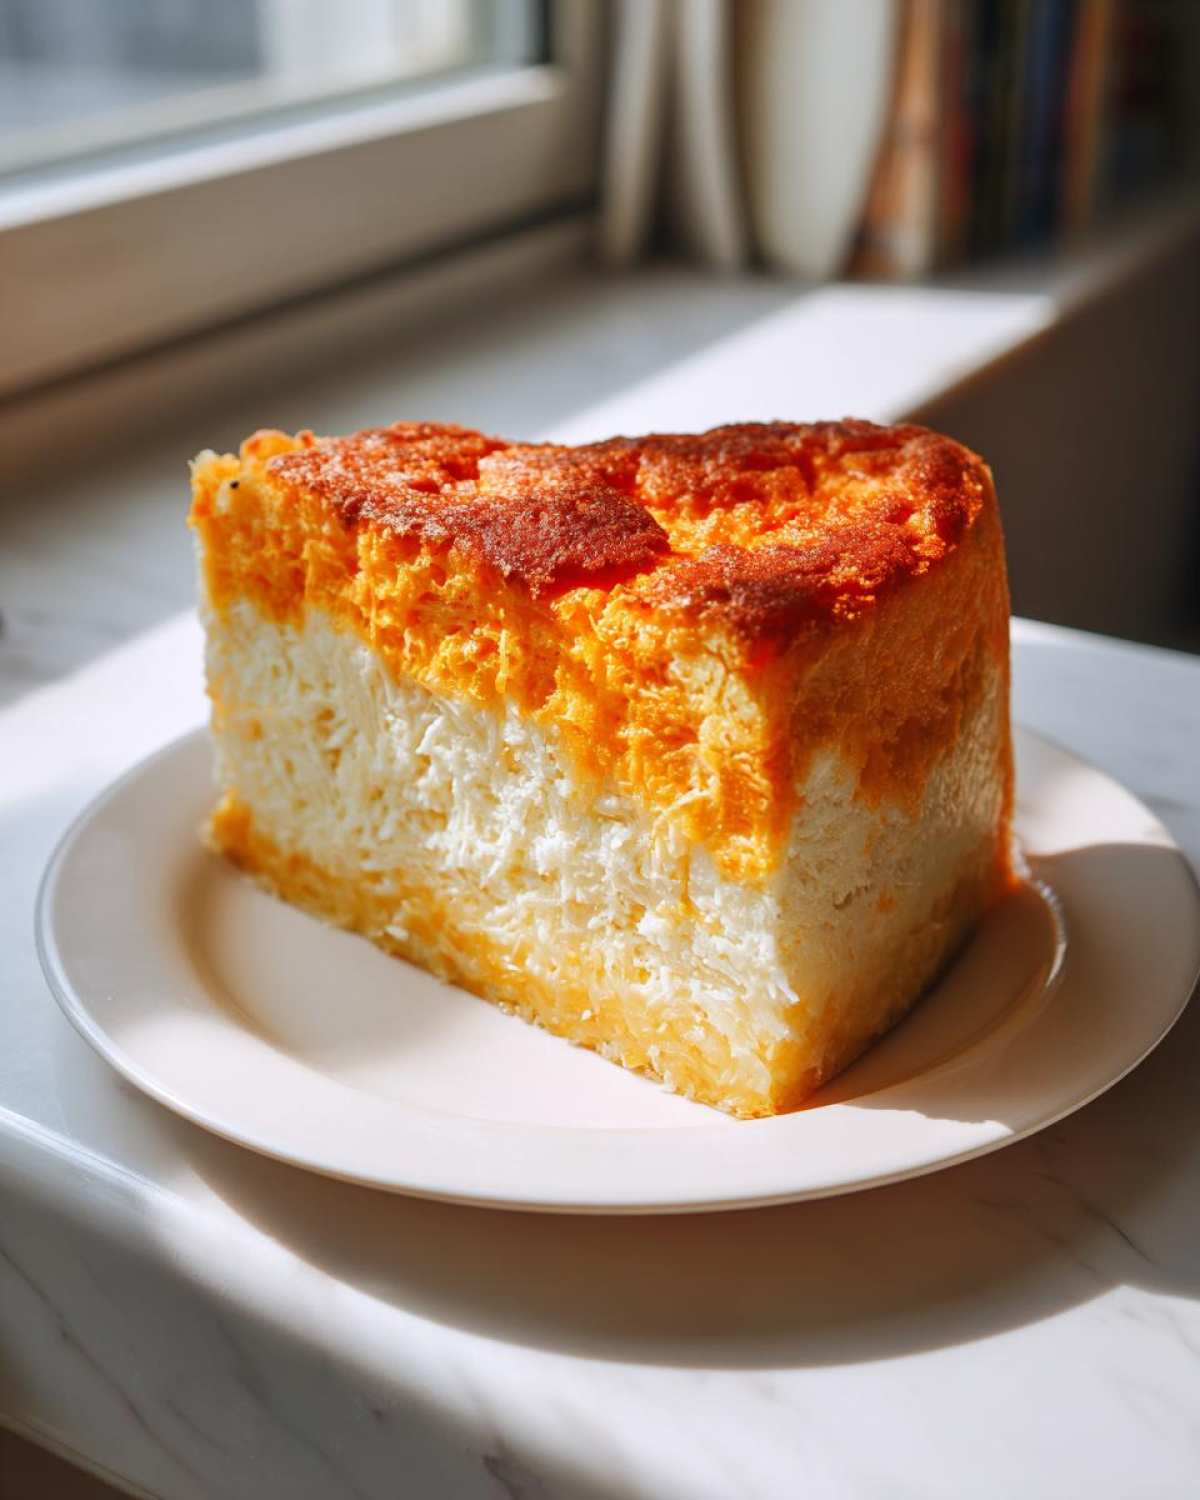
Ingredients for Your Authentic Filipino Cassava Cake
Okay, let’s talk supplies! Getting the ingredients right is half the battle when making this **Authentic Filipino Dessert**. Don’t worry if you can’t find fresh cassava; frozen works great as long as you squeeze the moisture out, which is super important! Gather everything together before you start mixing, because once you get going, time flies. I always keep my recipe notes handy for this part.
This list is broken down so you know exactly what goes into the sturdy bottom layer and what goes into that glorious topping for your **cassava cake**. For the base, we need that starchy foundation and lots of creamy coconut milk. For the topping, we are whipping up a rich custard that browns beautifully in the oven. I sourced the best ingredients possible for you, so grab your measuring cups!
For the Cassava Base
- 3 cups grated fresh or frozen cassava, thawed and squeezed dry (Seriously, squeeze it hard!)
- 1 (13.5 oz) can full-fat coconut milk
- 1 (14 oz) can sweetened condensed milk
- 1/2 cup granulated sugar
- 1/4 cup melted unsalted butter
- 2 large eggs, lightly beaten
- 1 teaspoon vanilla extract
- 1/2 cup shredded young coconut (optional, this adds a nice chewiness!)
- 1/4 cup Macapuno strings (optional, for that extra tropical flair, which I highly recommend!)
For the Coconut-Cheese Topping
- 1 (13.5 oz) can full-fat coconut milk
- 1/2 cup granulated sugar
- 2 large egg yolks
- 1/2 cup shredded sharp cheddar cheese, plus extra for sprinkling on top!
Step-by-Step Instructions for Easy Cassava Cake
Now that you have everything measured out, get ready for the actual fun part! Even though this is an **Authentic Filipino Dessert**, I promise you, the steps are so straightforward, it really earns the title of **Easy Cassava Cake**. We bake this in two stages, which keeps everything balanced and ensures you get that perfect top layer. Make sure your oven is hot before you start mixing the base; no one wants a cold oven heating up slowly! I’ve put together my best tips over at the blog if you’re curious about the science behind it!
Preparing the Cassava Cake Base and Initial Bake
First things first, you need to get that oven up to temperature—we’re setting it to 350°F (175°C). Grease and line your 8×8 inch pan, parchment paper is your best friend here for easy cleanup later. In your biggest bowl, gently mix the squeezed cassava with everything listed for the base: the coconut milk, condensed milk, sugar, eggs, butter, everything! Don’t overmix, just get it combined. Pour that sticky batter into your prepared pan and pop it in for the first round: 40 minutes. This sets the structure!
Creating the Rich Coconut Custard Topping for Cassava Cake
While that base is setting up, you make the topping! Grab a small saucepan—this needs supervision, so don’t wander off! Whisk together your second can of coconut milk, the sugar, and the egg yolks. Heat this over medium-low heat, and this is non-negotiable: you must stir constantly! We are thickening this into a custard, not making scrambled eggs! It takes about 5 to 7 minutes. As soon as it’s thickened slightly, take it off the heat right away—do not let it boil! Immediately stir in that shredded cheese until it melts into a smooth, gorgeous coat for your **cassava cake**.
Final Bake and Cooling for Moist Cassava Cake
Carefully pull out your semi-baked base and pour that creamy topping evenly over it. Sprinkle a tiny bit more cheese on top if you’re feeling sassy! Slide it back into the oven for another 15 to 20 minutes. You’re looking for that top layer to be beautifully set and golden brown.
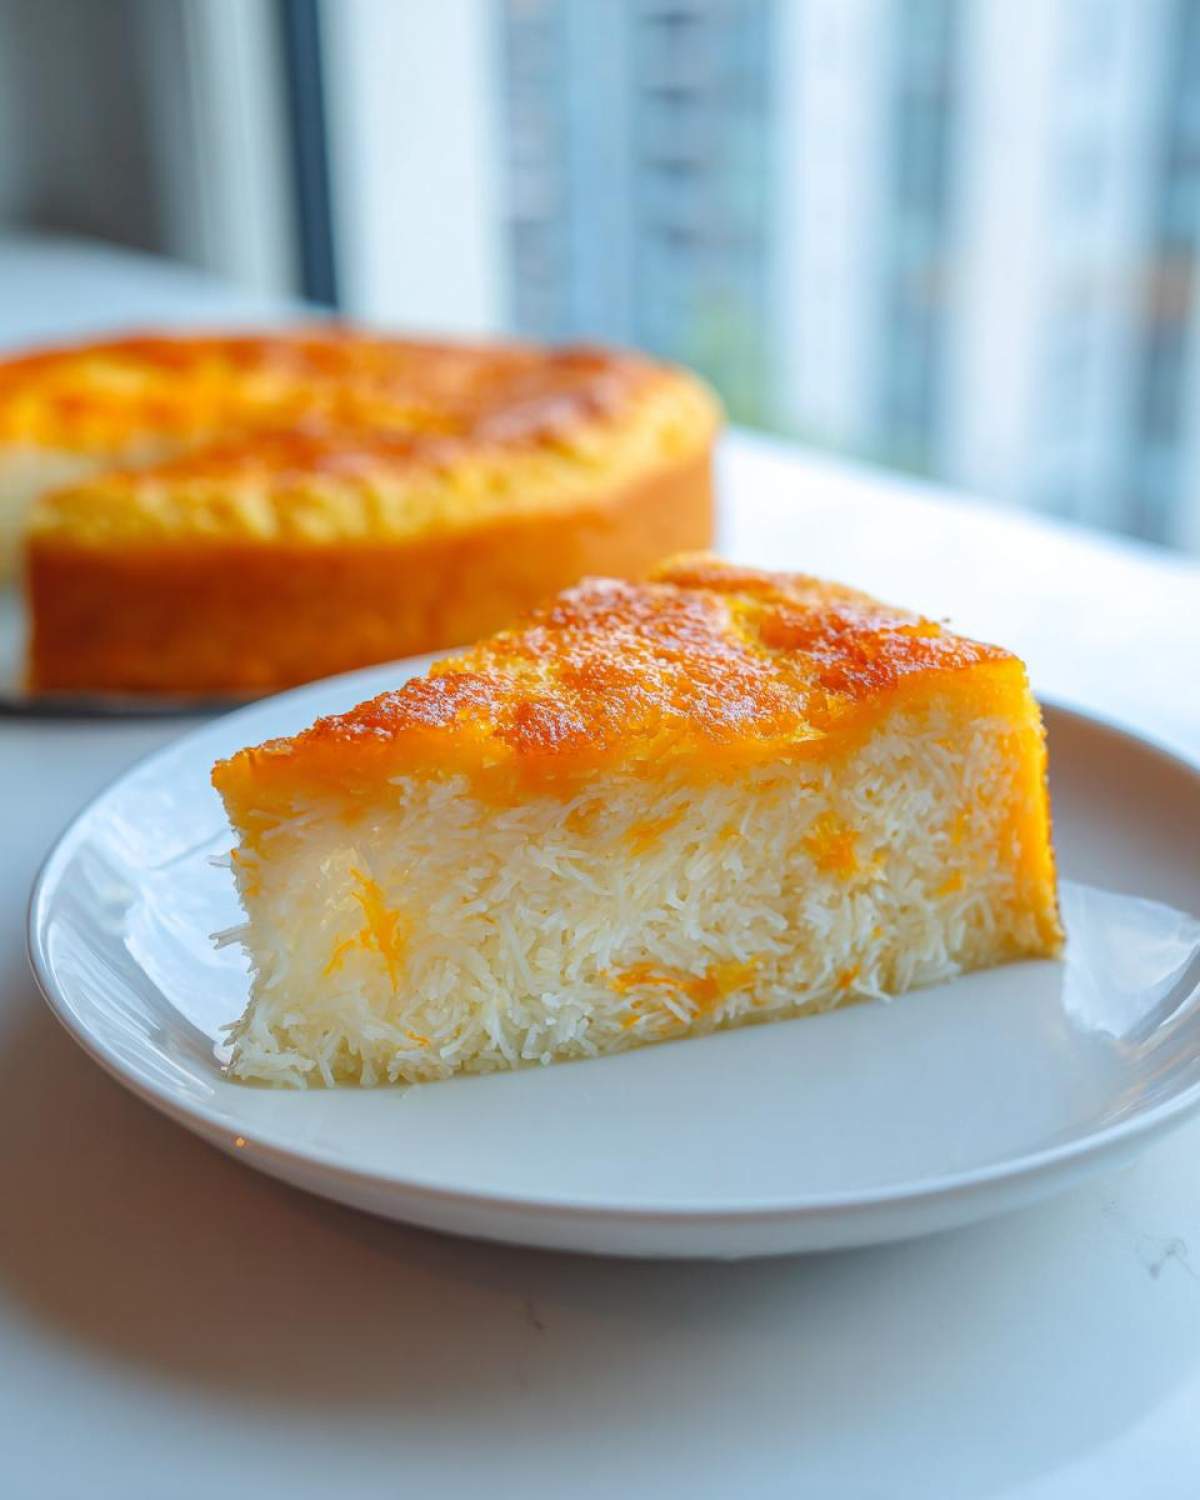
Then, and this is the hardest part, you must let the **Moist Cassava Cake** cool completely in the pan. Slicing it hot means it falls apart! Patience truly rewards you here.
Tips for the Best Cassava Cake Success
You’ve got the recipe down, but every great cook has their little tricks, right? I picked up these pointers over countless batches of **cassava cake**, and they really prevent those little baking headaches. Getting the texture spot-on is all about respecting the starch and knowing what to substitute when you’re in a pinch. If you follow my advice here, and maybe check out my contact page if you have urgent questions, you’ll be whipping up the **Best Cassava Cake Recipe** every single time!
Handling Frozen Cassava for Your Cassava Cake
If you use frozen cassava (and who hasn’t?), you absolutely must treat it like a wet sponge. Thaw it completely, put it in a clean kitchen towel or cheesecloth, and wring out every last drop of water you can manage. If you don’t squeeze it dry, that extra water has nowhere to go but into your batter, and it destroys the chance of getting that beautiful, **Chewy Cassava Cake** consistency we love so much. Don’t be shy about it!
Ingredient Swaps for Cassava Cake with Cheese Topping
Sometimes you realize you’re out of something essential, but that doesn’t mean you have to ditch dessert! For the topping, if you want something even richer than the second can of coconut milk, you can try swapping it out for evaporated milk. It makes the custard bake up beautifully thick, and it’s still a fantastic **Cassava Cake with Cheese Topping**. The cheese really loves that extra richness!
Variations: Making Cassava Cake with Macapuno
Now, if you really want to treat yourself and dive deep into that classic tropical flavor, you absolutely have to try adding Macapuno! Remember I listed those strings as optional for the base? Those are sweet coconut sport strands, and they bring the *best* texture to this **cassava cake**.
You just mix them right in with the grated cassava and the other base ingredients. It makes the whole thing taste like a party! If you have any burning *cassava cake* questions while you’re baking, feel free to reach out on my contact page!
If you can’t find Macapuno, which happens, don’t stress! You can use shredded young coconut mixed with a tiny splash of coconut jam. That adds a similar chewy sweetness that complements the custard topping so nicely. It’s all about layering those wonderful coconut flavors, making it one of the most festive **Filipino Baked Goods** you can make!
Storage and Reheating for Homemade Cassava Cake
Okay, here’s the slightly tough love part of baking this amazing **Homemade Cassava Cake**: you have to let it cool! If you try slicing it warm, that beautiful, dense texture turns mushy. Seriously, the overnight chill is when this **cassava cake** truly achieves its perfect chewiness. Trust me, the flavors settle and deepen after resting—it’s better the next day!
To store leftovers, just cover the pan or transfer the squares to an airtight container. Keep it in the fridge for up to four days. When you want a slice, I find it’s best served straight from the cold, but if you absolutely need it warm, zap a square for about 15 seconds. That should warm it up without drying out that amazing coconut layer.
Serving Suggestions for This Traditional Cassava Cake
So, you’ve waited patiently, and now your gorgeous **Traditional Cassava Cake** is cool! That waiting game is worth it, trust me. This dessert is so robust, it doesn’t need much fuss when you serve it as one of your favorite **Merienda Desserts**. I generally prefer it slightly chilled—it really firms up that gooey texture, making it easier to eat as a square.
If you want to jazz it up for company, a simple pairing works best because the cake flavor is already so complex. Try serving thin slices alongside fresh mango or maybe a scoop of vanilla bean ice cream if you are feeling extra decadent. Find more amazing snack ideas over at my snacks category!
Frequently Asked Questions About Cassava Cake
You know I get tons of messages asking the same few things when people try this recipe for the first time! It’s totally normal. Cassava cake is unique, and sometimes you need that quick reassurance that everything is going according to plan. If you have any other worries, feel free to send me a note through my contact page, but here are the big ones I hear all the time about this fantastic treat that makes wonderful **Merienda Desserts**.
Is Cassava Cake naturally Gluten Free?
Yes, absolutely! This is one of the best things about it, especially for anyone managing dietary restrictions. Since the main ingredient is grated cassava—which is a root vegetable—this is indeed a naturally **Gluten Free Dessert**. You don’t have to worry about adding any complicated, expensive flours; it’s naturally safe!
Can I make this a Quick Cassava Cake?
I totally get the rush, I really do! While this recipe is definitely an **Easy Cassava Cake** to mix up, I won’t lie to you—it won’t be done in 30 minutes total. That initial baking time for the base, plus the topping bake, and—this is crucial—the necessary cooling time are essential to get that signature chewy texture. It’s easier than some baking projects, but you do need patience for the best result!
What is the difference between Cassava Cake and Bibingka?
That’s a fun question! They often get confused since they are both *kakanin* staples. Traditional *Bibingka* is usually made with rice flour and often cooked over charcoal, giving it a unique smoky flavor and a spongier texture. My version leans toward a **Bibingka Cassava Cake** because that rich, creamy custard topping is so reminiscent of a *bibingka’s* topping, but our base here is completely different—it’s dense, chewy cassava, not rice!
Nutritional Snapshot of this Cassava Cake
Alright, let’s talk numbers for a second. Because this **cassava cake** is rich with coconut milk, condensed milk, and cheese, it definitely falls into the ‘treat yourself’ category! Please remember that this info is just an estimate based on the ingredients listed, and your exact values might shift depending on the brands you use or if you skip the optional Macapuno. You can find my full disclaimer on nutrition calculations right here.
When you cut this dense, **Moist Cassava Cake** into the 9 suggested squares, here is what you can generally expect per serving:
- Calories: Approximately 350
- Total Fat: About 20 grams
- Carbohydrates: Roughly 40 grams
- Protein: Around 6 grams
It’s a seriously satisfying portion, which is why one slice is usually perfect for an afternoon *merienda*!
PrintAuthentic Filipino Cassava Cake with Coconut-Cheese Topping
Make a moist, chewy Filipino Cassava Cake topped with a rich, slightly salty cheese custard layer.
- Prep Time: 20 min
- Cook Time: 60 min
- Total Time: 80 min
- Yield: 9 servings
- Category: Dessert
- Method: Baking
- Cuisine: Filipino
- Diet: Vegetarian
Ingredients
- 3 cups grated fresh or frozen cassava, thawed and drained
- 1 (13.5 oz) can full-fat coconut milk
- 1 (14 oz) can sweetened condensed milk
- 1/2 cup granulated sugar
- 1/4 cup melted unsalted butter
- 2 large eggs, lightly beaten
- 1 teaspoon vanilla extract
- 1/2 cup shredded young coconut (optional, for base)
- 1/4 cup Macapuno strings (optional, for base)
- For the Topping:
- 1 (13.5 oz) can full-fat coconut milk
- 1/2 cup granulated sugar
- 2 large egg yolks
- 1/2 cup shredded sharp cheddar cheese, plus extra for garnish
Instructions
- Preheat your oven to 350°F (175°C). Grease and line an 8×8 inch baking pan with parchment paper.
- In a large bowl, combine the grated cassava, 1 can of coconut milk, condensed milk, 1/2 cup sugar, melted butter, eggs, vanilla extract, and optional coconut/macapuno. Mix until just combined.
- Pour the base mixture into the prepared baking pan.
- Bake the base layer for 40 minutes, or until the edges are set.
- While the base bakes, prepare the topping. In a small saucepan, whisk together the second can of coconut milk, 1/2 cup sugar, and egg yolks.
- Cook over medium-low heat, stirring constantly, until the mixture thickens slightly, about 5 to 7 minutes. Do not boil.
- Remove the topping mixture from the heat and stir in the 1/2 cup of shredded cheese until melted and smooth.
- Carefully pour the topping evenly over the partially baked cassava base.
- Sprinkle a little extra cheese on top for garnish.
- Return the cake to the oven and bake for another 15 to 20 minutes, or until the topping is golden brown and set.
- Let the cake cool completely in the pan before slicing. This helps achieve a chewy texture.
- Serve at room temperature or slightly chilled.
Notes
- If using frozen cassava, make sure you squeeze out as much excess liquid as possible before mixing.
- For a richer topping, use evaporated milk instead of the second can of coconut milk.
- This cake tastes better the next day once the flavors have settled.
Nutrition
- Serving Size: 1 square
- Calories: 350
- Sugar: 35
- Sodium: 180
- Fat: 20
- Saturated Fat: 15
- Unsaturated Fat: 5
- Trans Fat: 0
- Carbohydrates: 40
- Fiber: 2
- Protein: 6
- Cholesterol: 45