

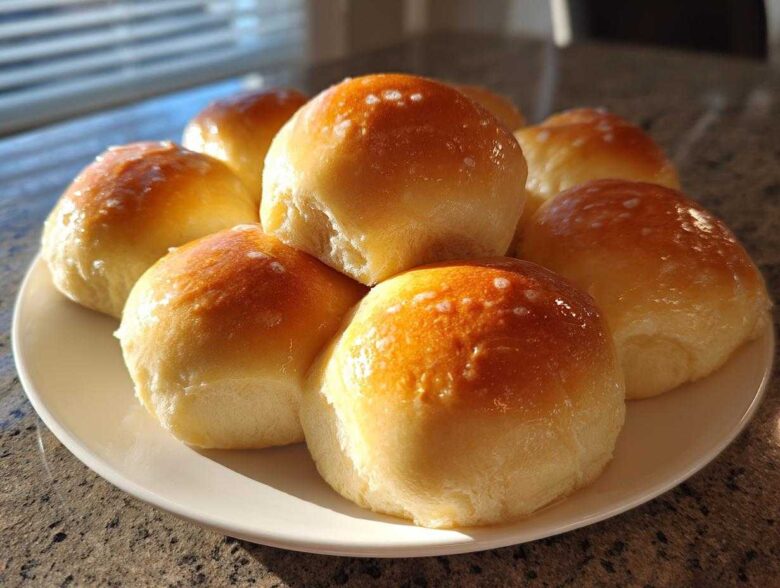
Oh, there is just nothing in this world that beats the smell of yeast rolls coming out of the oven, is there? Nothing! When Richard and I finally settled back home after all those years traveling, I needed anchors—things that reminded us of comfort and stability. And for me, that always meant fresh bread. Forget souvenirs; I collected flavors! These specific dinner rolls are that anchor, bottled up in dough. Forget anything you’ve ever bought frozen or from a plastic bag; we’re making what I now call the ultimate soft, fluffy, and buttery yeast rolls from scratch, right here in our kitchen. Richard says a meal isn’t truly finished unless one of these is sitting next to his plate, glistening with butter. You can read more about our journey and see other entries from our diary over at my main blog page.
Why These Soft Dinner Rolls Recipe Will Become Your Family Favorite
When you bake these from scratch, the difference is staggering! Seriously, you won’t look at store-bought options the same way again. This Soft Dinner Rolls Recipe creates the kind of comforting side dish every family gathers around.
- The texture is everything: unbelievably soft and proofed just right for that true Fluffy Homemade Bread feel.
- That rich, buttery flavor permeates every bite—that’s the secret you can taste.
- They make even the simplest weeknight supper feel like a special holiday gathering.
I know you’ll fall in love with them just like Richard does. Check out my flaky biscuit recipe sometime too!
Ingredients for the Best Homemade Rolls
To get that signature soft texture and rich flavor we’re aiming for, pay close attention to the condition of your dairy and eggs here. We want everything relaxed when it hits the yeast. Also, I cannot stress enough: use good quality butter! It makes up the body of that fantastic brushed topping, so don’t skimp.
You’ll need the following for about a dozen perfect buttery yeast rolls:
- 1 cup warm milk (aim for about 110°F—warm to the touch, but not hot enough to scald the yeast!)
- 2 1/4 teaspoons active dry yeast
- 1/4 cup granulated sugar
- 1 large egg, this one absolutely needs to be room temperature
- 1/4 cup unsalted butter, melted (for mixing into the dough)
- 1 teaspoon salt
- 3 1/2 cups all-purpose flour, plus more flour for dusting our surface
- 1/2 cup (that’s one full stick!) unsalted butter, melted (reserved specifically for brushing over the hot rolls—this is where the magic happens!)
See? Simple ingredients, but the technique we use next will take them from basic to best homemade rolls!
How to Prepare Soft and Fluffy Dinner Rolls
This is where we turn those simple ingredients into something truly special. Please, don’t rush the rising times! That’s the secret to those beautiful, cloud-like textures—we need patience to get those perfectly risen rolls. If you have trouble keeping your kitchen warm, try this trick: I put the bowl in the oven with just the light on. It works like a charm!
Activating the Yeast and Mixing the Dough for Dinner Rolls
First things first: wake up that yeast! Pour your warm milk into a big bowl and sprinkle the yeast right on top. After about five minutes, if it foams up beautifully, you know your yeast is happy and ready to go to work making magic. Then, we whisk in the sugar, your room-temperature egg—remember, cold eggs can shock the dough—that first measure of melted butter, and the salt.
Kneading and the First Rise for Fluffy Homemade Bread
Now we tackle the flour. Add it slowly, mixing until you get a messy, shaggy dough. Don’t add too much flour right away! Turn that shaggy mess out onto a lightly floured counter and get kneading. I knead everything for about 6 to 8 minutes. You want the dough to feel smooth and elastic—when you poke it gently, it should spring back slowly. Finally, place it in an oiled bowl, cover it up, and let it double in size in a warm spot. It’s going to take about an hour to an hour and a half for this first big nap.
Shaping and Second Rise for Perfectly Risen Rolls
Once it’s doubled, give it a good, gentle punch down—that releases the air—and then divide it. I use a kitchen scale sometimes to make sure they all bake evenly, but just eyeball them into 12 equal portions. Roll each piece tight into a smooth little ball. Place those balls into your greased pan, leaving a little space between each one because they are going to get friendly during this second rise! Let them puff up again for about 30 to 45 minutes. They should look noticeably puffy before going in the oven.
Baking and Brushing Your Buttery Yeast Rolls
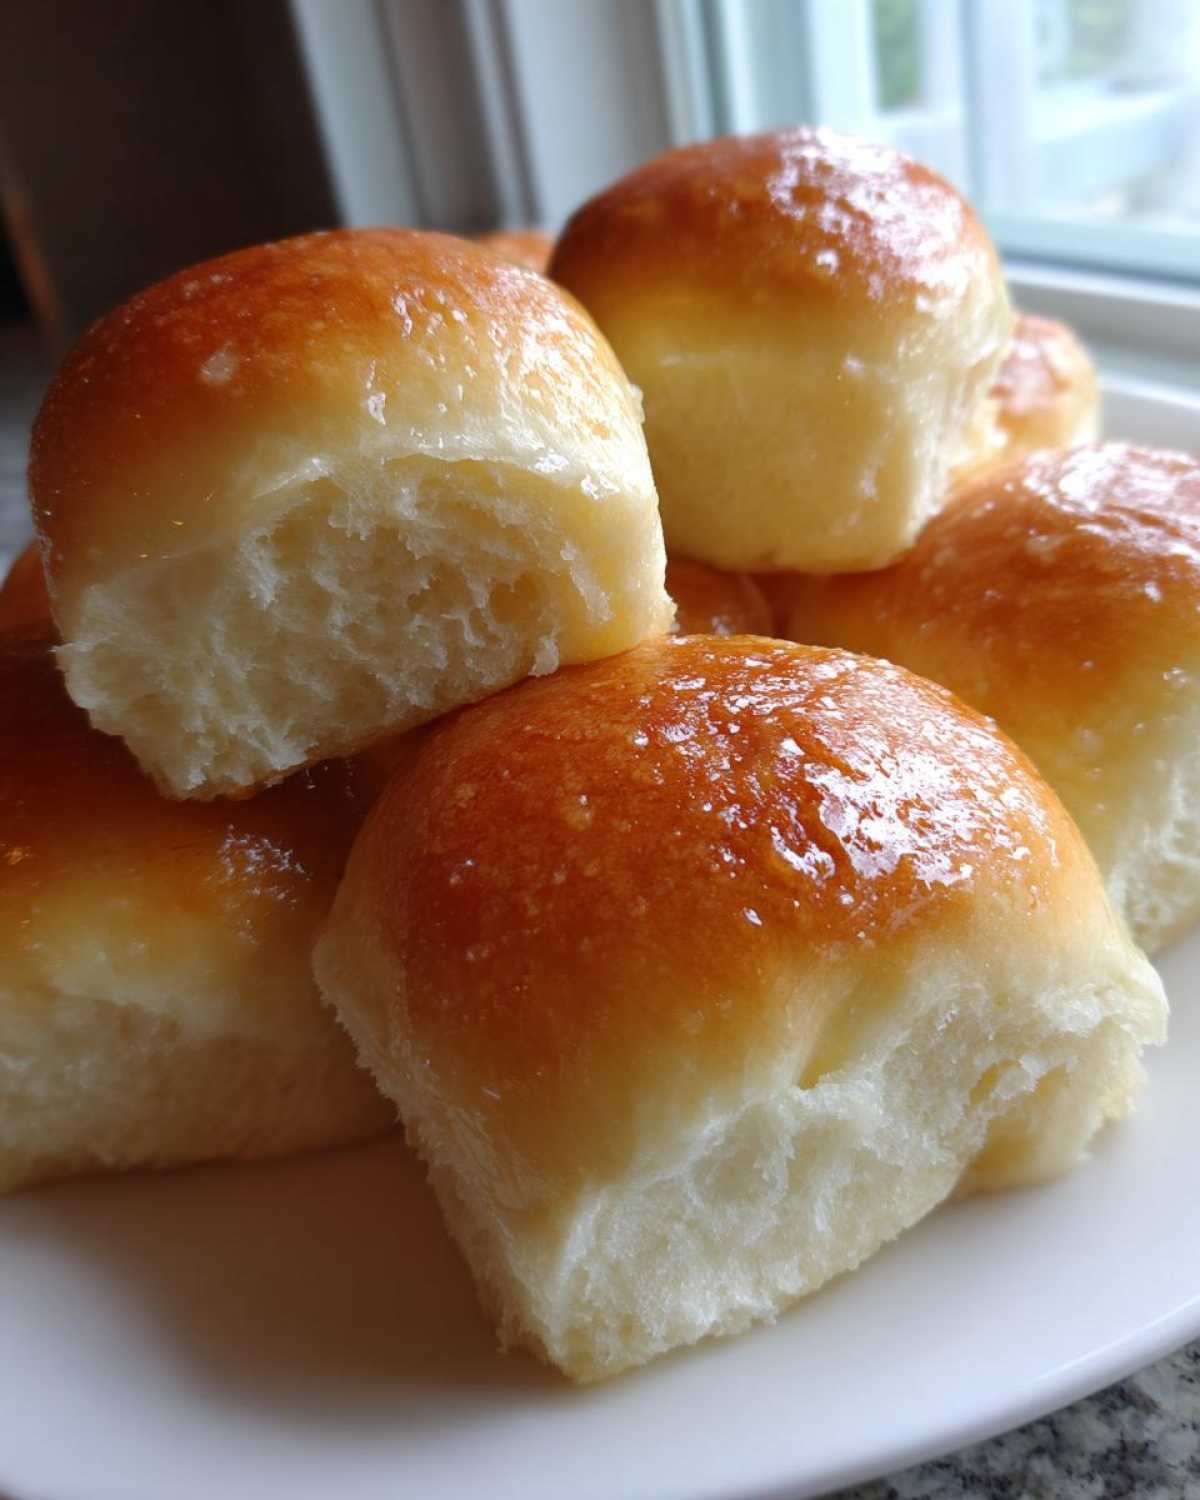
Preheat your oven to 375°F (190°C). Bake them for 15 to 18 minutes. You’re looking for a lovely golden brown on the tops. The absolute must-do step comes right when they exit the oven. Do not wait! Grab that reserved 1/2 cup of melted butter—and brush it over every single hot roll. That immediate butter bath locks in moisture and gives you those glorious, shiny, buttery yeast rolls!
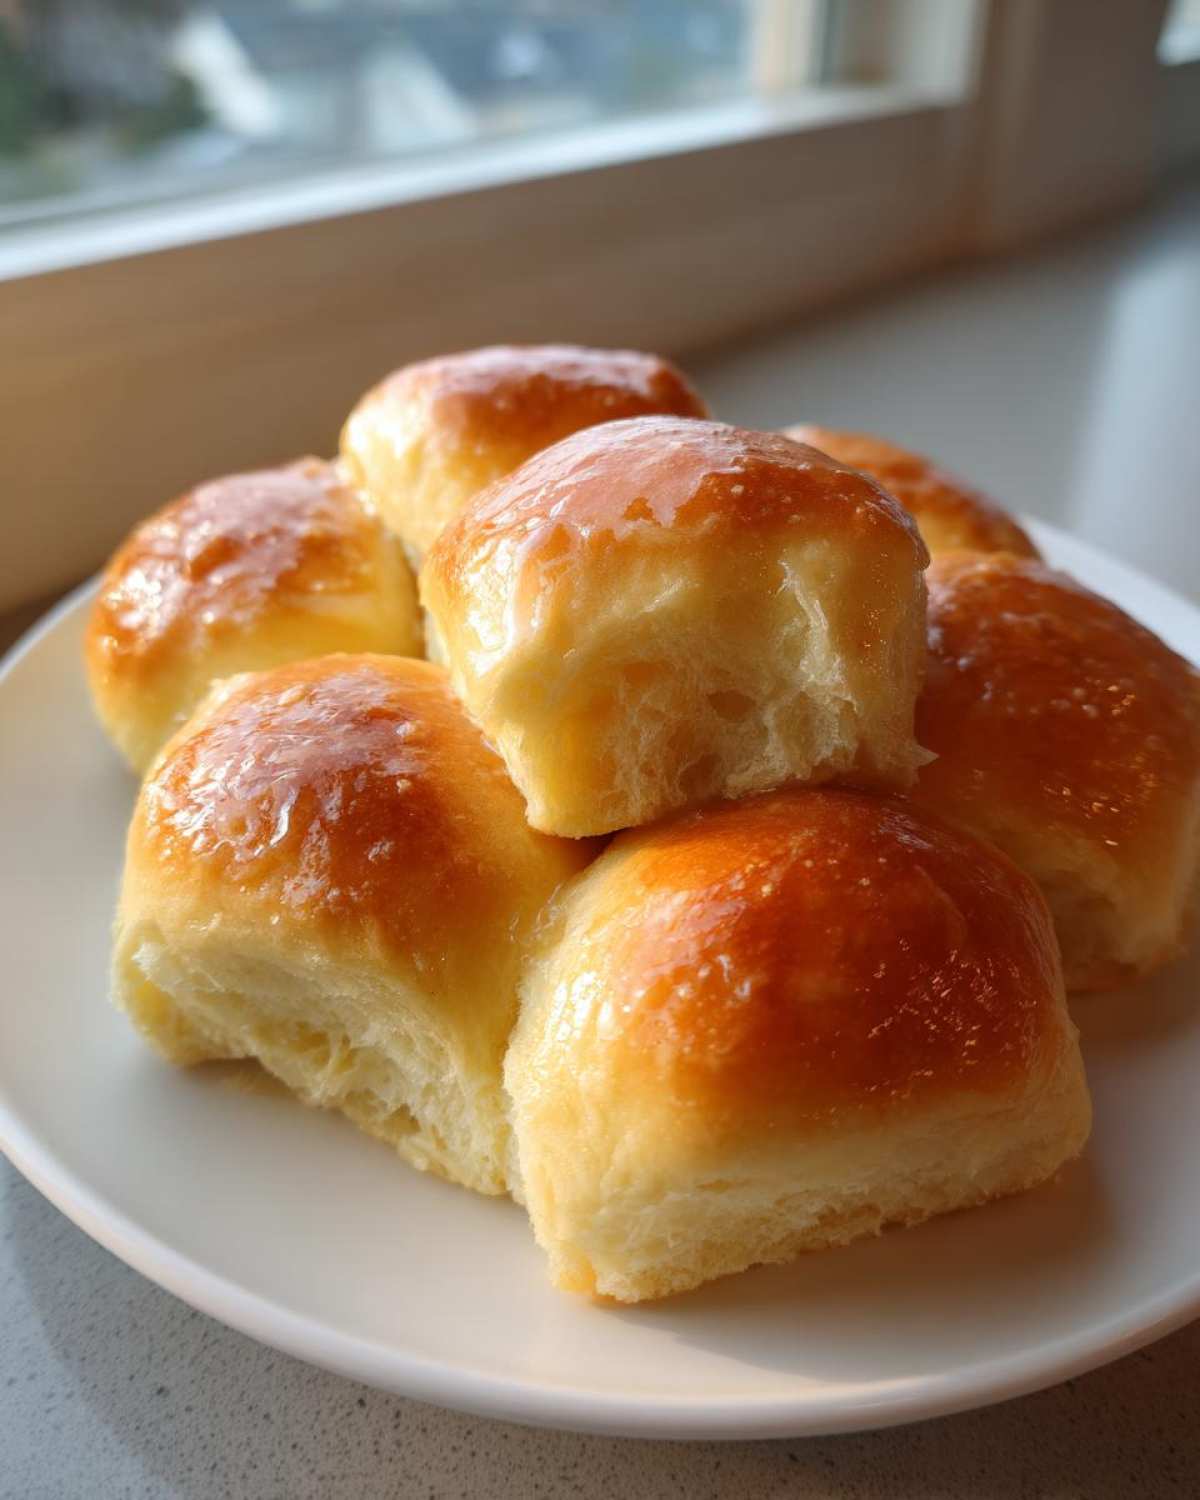
If you want some ideas for making these doughs into swirl patterns, check out my homemade cinnamon roll recipe next!
Tips for Success When Making Dinner Rolls
Baking bread, even simple dinner rolls, is always a bit of a conversation between you and the dough, isn’t it? Richard thinks I’m too critical, but getting these rolls to that perfect fluffy state takes a few pointers. Trust me on these tricks—they’re the results of many batches that weren’t quite light enough over the decades!
First, let’s talk temperature. Whenever a recipe calls for milk or eggs, make sure they are at room temperature! Cold ingredients can shock the yeast when you introduce them, and that slows down the whole rising process. If your yeast seems sluggish during that first foamy test, it’s a sign that your milk might have been too cool, or your egg was straight from the fridge. You want happy yeast making those best homemade rolls!
Another thing that leads to dense rolls is under-kneading or, well, occasionally over-kneading, though that’s less common. If you stop kneading too soon, the gluten network won’t form right, and the rolls will have no structure to hold that lovely trapped air. That’s why I look for that smooth, elastic feel—it means the dough is strong enough to support the fluff as it bakes. You need that strength if you want that fluffy homemade bread result!
If you find your kitchen is chilly, don’t just wait forever for the dough to rise. I sometimes cheat a little during winter. I’ll turn my oven light on, but keep the actual oven off, and place the covered bowl inside. It creates the perfect little cozy environment for that dough to double up beautifully, saving you precious time when you’re trying to get this side dish ready before company arrives. It’s a little trick I picked up when I was baking loaves while juggling young children!
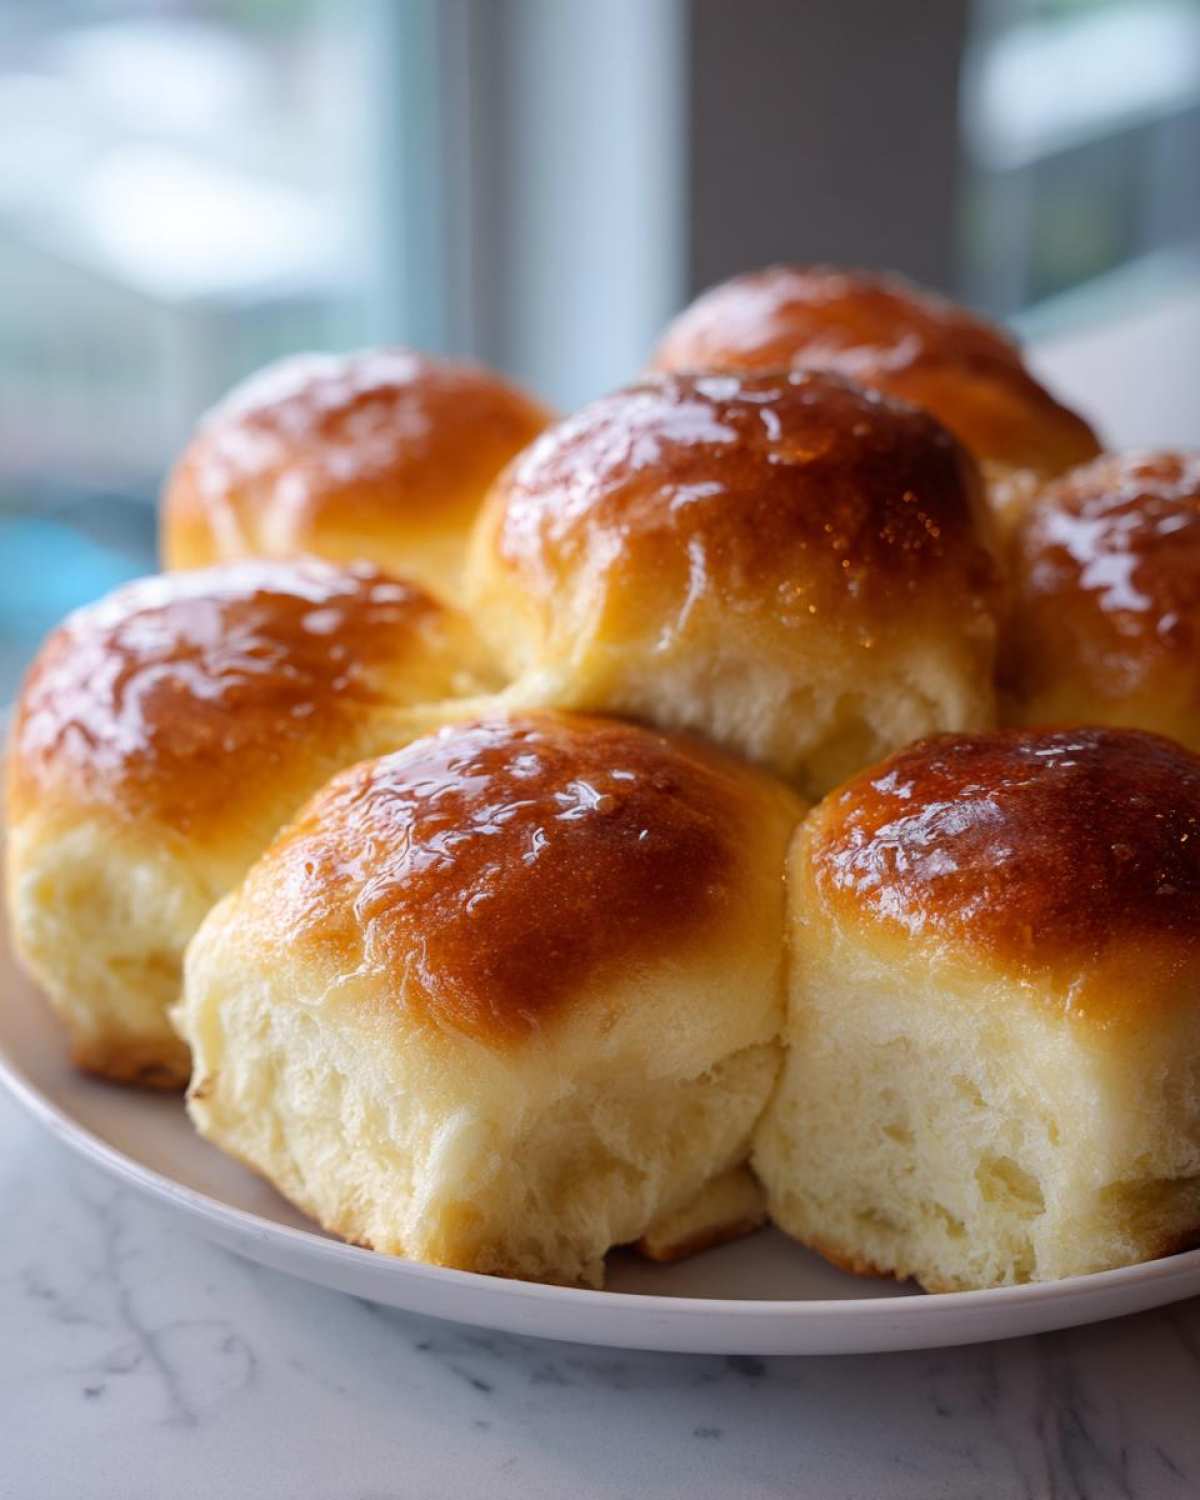
If you want to read about how I keep my banana bread incredibly moist—because technique for managing moisture is similar across different baked goods—you can check out my recipe here. It might give you an idea for keeping these rolls soft for days!
Dinner Roll Variations: From Sweet Dinner Rolls to Texas Roadhouse Style Rolls Copycat
Now, once you master the base recipe, the fun really begins! That basic buttery dough is a wonderful canvas for all sorts of fun twists. Richard is very traditional, but if I want to make something special for a Sunday supper, I’ll often switch things up. We’re talking about adding layers of flavor that make these dinner rolls memorable.
The biggest request I ever get—and I mean biggest—is how to make them taste like those famous restaurant rolls. We can totally nail that! To get that slight sweetness and that signature warmth, you’re going to lean into the finishing butter brush. For true Texas Roadhouse Style Rolls Copycat flavor, take half a cup of that melted butter you brushed on right after they came out of the oven, and whisk in one teaspoon of honey and just a tiny, tiny pinch of cinnamon before you brush it on. It caramelizes just enough on the hot top, and Richard goes absolutely wild for them.
If you prefer things purely on the sweeter side, you can make gorgeous Sweet Dinner Rolls, too. Just increase that initial sugar in the main dough from 1/4 cup up to 1/3 cup. Then, instead of just the melted butter topping, try making a thin vanilla glaze. Mix about a cup of powdered sugar with just enough milk or cream to make it pourable, maybe even a dash of vanilla extract. It sets up lovely and soft.
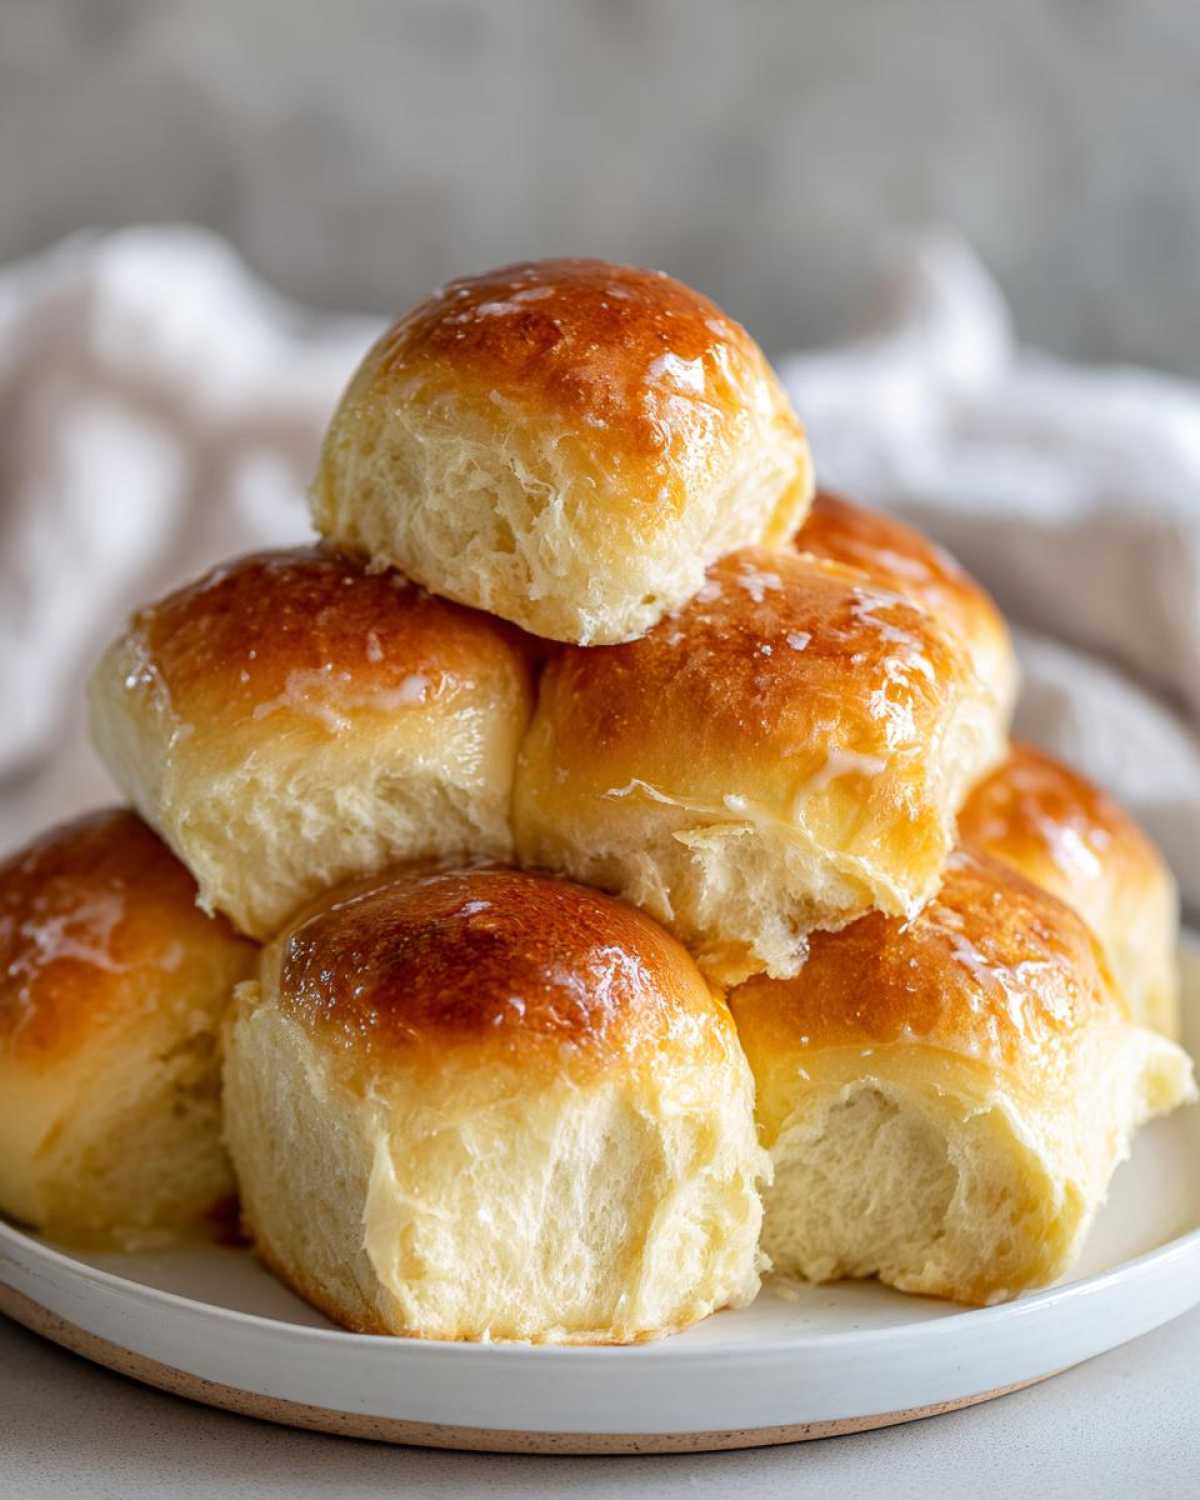
I also love adding garlic and herbs for savory rolls, but honestly, for a truly classic holiday side dish, those plain, buttery ones tossed with a tiny bit of honey always win out. If you’re making a glaze for a sweeter dish, maybe you’d like to try my recipe for a honey glaze sometime!
If you’re specifically trying to copycat that famous restaurant experience, I know others have great takes on it too; you can see a detailed popular version of that copycat roll over here, but the simple honey butter trick is my go-to for that perfect ending.
Make Ahead Dinner Rolls and Storage Instructions
I totally understand needing to prep ahead, especially when you’re hosting for the holidays or just trying to manage a busy weeknight schedule. Bless my heart, sometimes I just don’t have time for two full rises in one day! The good news is that these dinner rolls are fantastic candidates for making ahead, ensuring you still get that fresh-baked taste without all the last-minute hustle.
If you want to get the dough ready the day before, you can absolutely do that! After you’ve finished kneading and shaped the dough into those little balls—right before that second rise—place them tightly covered into your baking pan. Then, you need to tuck them into the refrigerator. They will happily chill out there for up to 24 hours. Having make ahead dinner rolls ready means you just let them sit on the counter while the oven preheats to start their second rise, which usually takes about an hour, maybe a tiny bit longer since they were cold.
If you bake them straight from the fridge, don’t panic! They will still bake up beautifully, but you need to give them a little extra baking time—I usually add about 5 to 10 minutes to the standard baking time because they start out so much colder. Don’t forget to brush them with that glorious melted butter right as they finish baking!
What about leftovers? Because these are so rich and buttery, they stay wonderfully moist. Store the cooled rolls tightly covered at room temperature for about three days—I use foil and then plastic wrap to really trap that softness in. If they are a bit stiff the next day—which only happens if you didn’t brush enough butter on them, oops!—just pop one or two in the microwave for about 10 seconds. That little burst of warmth brings back that heavenly, soft homemade roll texture instantly. You can find more of my advice on making bread ahead right over on my dedicated post about make ahead dinner rolls!
Serving Suggestions for Your Dinner Rolls
Honestly, half the joy of baking a whole batch of these soft rolls is figuring out what incredible meal they get to accompany! These aren’t just something you set on the table; they are an integral part of the entire comfort experience. Richard likes to tell me they are better than the main course sometimes, but I just smile—he says that because they are so wonderfully buttery.
When I think about serving these, I always think about a big, cozy spread. For Thanksgiving, naturally, they are the mandatory vehicle for soaking up turkey gravy. But I also think about pairing them with something that has a nice, deep flavor to contrast that slight sweetness in the dough. They are absolutely divine alongside a hearty, slow-cooked main dish.
Here are some of my favorite ways to enjoy these comfort food baking favorites:
- With hearty soups: These rolls are practically begging to be dipped into a big bowl of creamy potato soup or even a deep, rich beef stew. They hold up beautifully without getting totally soggy. You can dip these rolls right into my New England Clam Chowder recipe—it’s the perfect salty, savory counterpoint!
- The post-roast scrape: After a roast chicken or pot roast, once the meat is gone, you need a roll to wipe up all those magnificent pan juices. It’s the best part! Just tear the roll open and press it into the remnants.
- As a sweet treat: If you leave the honey butter off during the bake and just use plain butter, they transform beautifully as a dessert! Serve them warm with a little dollop of homemade jam, or slice them in half and spread them with apple butter.
The cardinal rule, though, regardless of what you’re serving them with, is temperature. They must be served warm! If they’ve cooled down, just pile them in a basket and wrap them loosely in foil, then pop them in a 300°F oven for about five minutes. They’ll come out just as soft and fluffy as when they first came out of the oven, ready for one final brush of melted butter right before serving!
Frequently Asked Questions About Dinner Rolls
Richard insists I write down the answers to the questions he asks every single time I make a batch of these dinner rolls. It seems like every baker runs into the same little sticking points when trying to achieve perfection, so I thought I’d put the most common ones right here for you. Hopefully, this saves you some stress and makes sure you get that perfect, soft texture!
Can I use instant yeast instead of active dry yeast in this dinner rolls recipe?
Oh, that’s a great question for when you’re short on time! Yes, you absolutely can swap instant yeast for the active dry yeast in this recipe. The main difference is that instant yeast doesn’t need that initial warming-up period in the milk with the sugar; it can go straight into the dry ingredients. So, if you use instant yeast, skip Step 1 where you let it foam! Just whisk the instant yeast right in with the flour, salt, and sugar, and then proceed with adding the liquids as written in Step 2. It will save you about 10 minutes, making these even closer to Quick Dinner Rolls!
How can I ensure my homemade rolls are extra fluffy?
This is the secret weapon for achieving that Fluffy Homemade Bread look and feel! It all comes down to structure and patience. First, you must dedicate those full 6 to 8 minutes to kneading. You need to develop a strong, elastic gluten network in the dough so it can hold onto all the gas the yeast creates. If you stop too early, the dough collapses under its own weight. Second, don’t be tempted to rush the second rise! That second rise, the one after you’ve shaped the little balls, is crucial for that final, airy puff. If you see my recipe for creamy chicken gnocchi, you know I love speed, but with bread, you have to let it work!
Nutritional Estimates for Classic Buttery Dinner Rolls
Now, I know some of you are keeping track of every little thing that crosses your plate, and I certainly don’t want to leave you hanging just because we’re talking about glorious, buttery comfort food! Richard and I have always believed strongly in enjoying what we eat, but we also like to have a general idea of what we’re consuming, especially when baking something this rich.
What I’ve listed below is the general estimate for one of these magnificent buttery yeast rolls, based on the ingredients we used in the batch for this post. Please remember these are only ballpark figures! If you use a different brand of milk or butter, or if you decide to go heavy on that honey topping for a copycat variation, those numbers are going to shift slightly. This just gives you a baseline for our classic recipe.
- Serving Size: 1 roll
- Calories: 220
- Fat: 10g (about 6g saturated fat)
- Carbohydrates: 30g
- Sugar: 5g
- Protein: 5g
- Cholesterol: 30mg
- Sodium: 250mg
If you’re looking for ways to make highly nutritious breakfasts that still feel indulgent, you should take a peek at my recipe for moist high-protein egg muffins. They are wonderfully filling without the carb count of a big bread roll, though they certainly don’t taste like these soft dinner rolls!
Ultimately, these are a holiday staple and a special treat, so enjoy them! That little bit of butter and sugar is what makes them taste like home.
PrintThe Ultimate Soft and Fluffy Homemade Dinner Rolls (Classic Buttery Recipe)

You can bake incredibly soft, fluffy, and buttery dinner rolls from scratch. These homemade yeast rolls taste much better than store-bought options and are perfect for any family meal or holiday gathering.
- Prep Time: 20 min
- Cook Time: 18 min
- Total Time: 1 hour 58 min
- Yield: 12 servings
- Category: Side Dish
- Method: Baking
- Cuisine: American
- Diet: Vegetarian
Ingredients
- 1 cup warm milk (about 110°F)
- 2 1/4 teaspoons active dry yeast
- 1/4 cup granulated sugar
- 1 large egg, room temperature
- 1/4 cup unsalted butter, melted
- 1 teaspoon salt
- 3 1/2 cups all-purpose flour, plus more for dusting
- 1/2 cup (1 stick) unsalted butter, melted (for brushing)
Instructions
- In a large bowl, combine the warm milk and yeast. Let it sit for 5 minutes until foamy. This shows your yeast is active.
- Whisk the sugar, egg, 1/4 cup melted butter, and salt into the yeast mixture until combined.
- Gradually add the flour, mixing until a shaggy dough forms.
- Turn the dough out onto a lightly floured surface. Knead for 6 to 8 minutes until the dough is smooth and elastic. It should feel soft.
- Place the dough in a lightly oiled bowl, turning to coat. Cover the bowl with plastic wrap or a clean kitchen towel. Let the dough rise in a warm spot for 1 to 1.5 hours, or until doubled in size. This is your first rise.
- Gently punch down the risen dough. Divide it into 12 equal pieces. Roll each piece into a smooth ball.
- Arrange the dough balls in a greased 9×13 inch baking pan, leaving a small space between each one for spreading.
- Cover the pan loosely and let the rolls rise again in a warm place for 30 to 45 minutes, or until puffy. This is your second rise.
- Preheat your oven to 375°F (190°C).
- Bake the rolls for 15 to 18 minutes, or until they are golden brown on top.
- Immediately brush the tops of the hot rolls generously with the remaining 1/2 cup of melted butter. Serve warm for the best soft, fluffy texture.
Notes
- For Texas Roadhouse Style Rolls copycat flavor, mix 1/2 cup of the melted butter topping with 1 teaspoon of honey and a pinch of cinnamon before brushing over the hot rolls.
- If you are short on time, you can use the ‘One Hour Dinner Rolls’ method by placing the dough in a slightly warmer spot (like a turned-off oven with the light on) to speed up the rising process.
- You can make these ahead; cover the unbaked rolls tightly and refrigerate for up to 24 hours. Add 5-10 minutes to the baking time if baking straight from the fridge.
Nutrition
- Serving Size: 1 roll
- Calories: 220
- Sugar: 5
- Sodium: 250
- Fat: 10
- Saturated Fat: 6
- Unsaturated Fat: 4
- Trans Fat: 0
- Carbohydrates: 30
- Fiber: 1
- Protein: 5
- Cholesterol: 30