

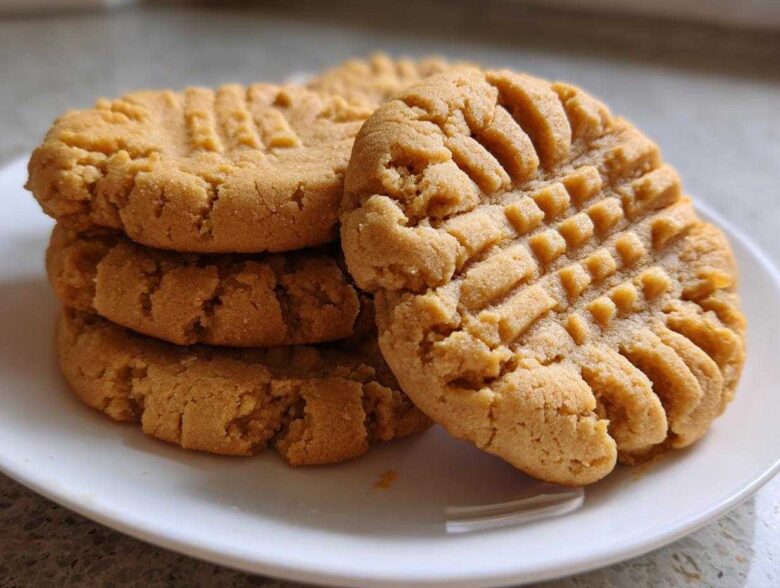
Oh, doesn’t walking into a room filled with the scent of warm peanut butter just instantly take you back? For Richard and me, nothing says ‘home’ quite like that classic aroma. We spent years chasing the dream batch of peanut butter cookies that weren’t too crumbly and weren’t too cakey. Richard finally cracked the code when we were home for good, trying to nail the taste sensation he remembered from a little bakery near his old office. These are the best peanut butter cookies because they nail that sweet spot: crispy edges that give way to the most wonderfully tender center imaginable. Every batch we make feels like opening a treasured memory.
Why These are the Best Peanut Butter Cookies You Will Ever Make
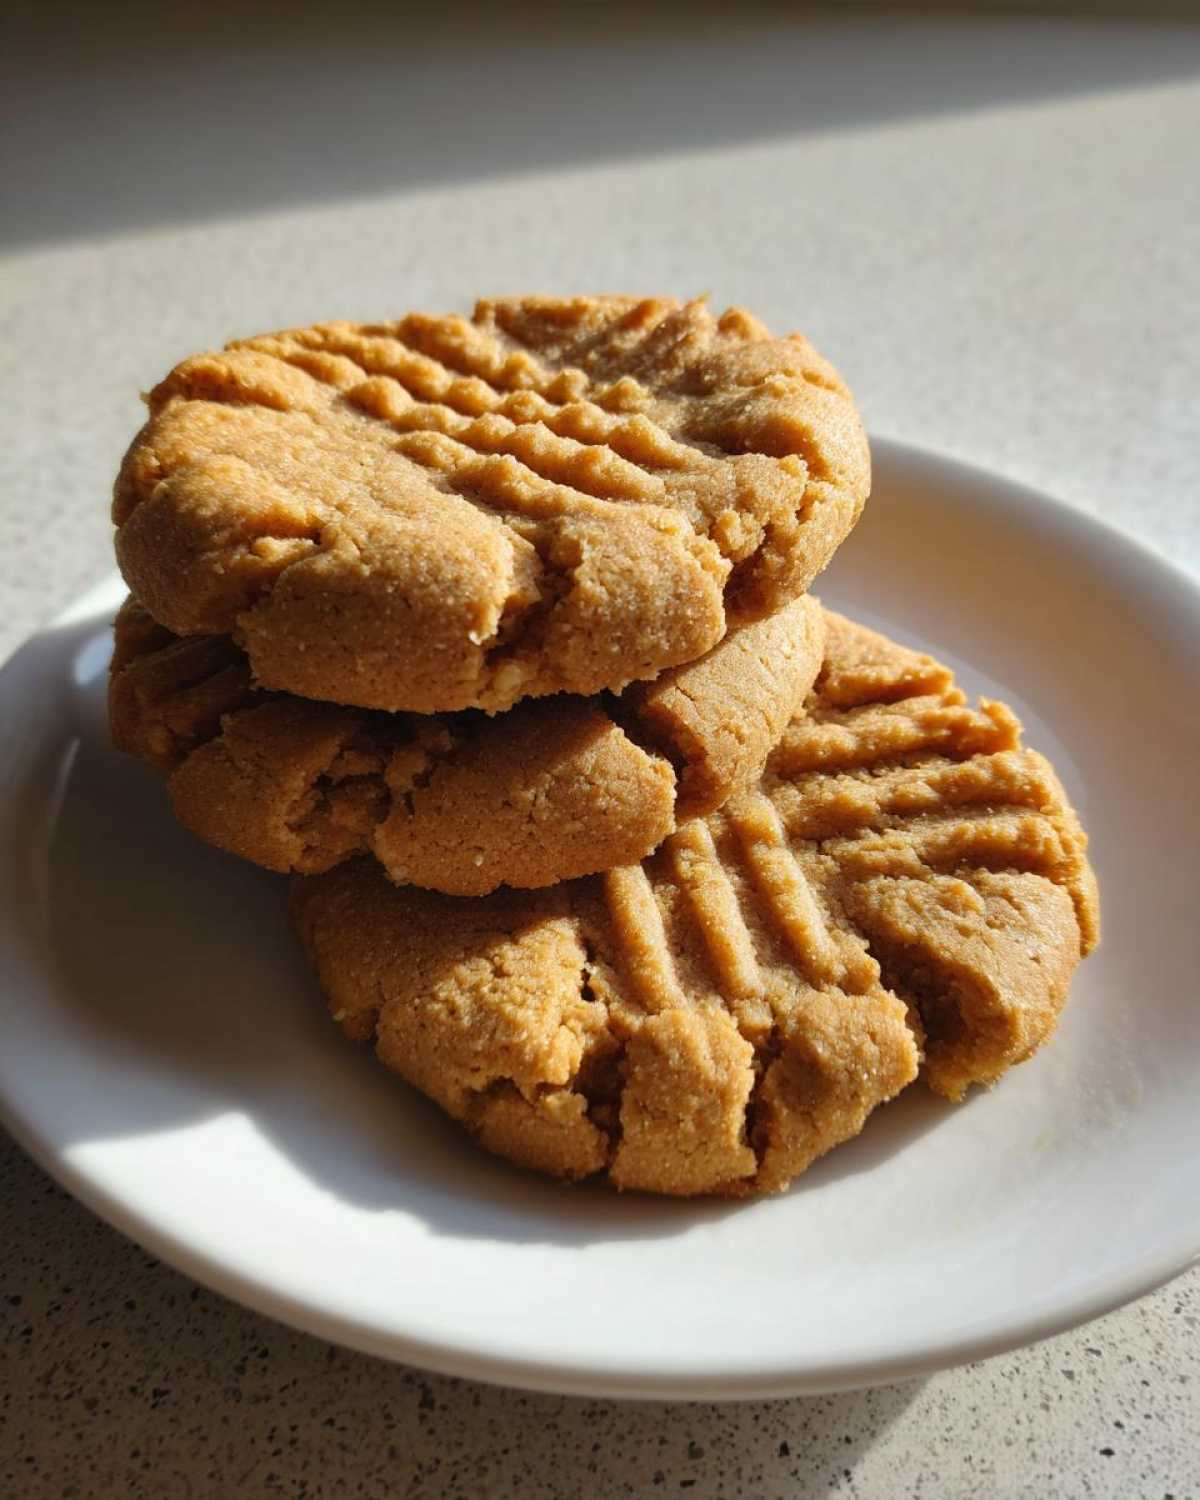
Honestly, these peanut butter cookies are everything you want in a nostalgic treat. We don’t believe in settling for less than perfect texture, and I think Richard finally achieved it right here. They are everything a classic cookie recipe should be, but better!
- That perfect snap right at the edge.
- A soft, yielding, buttery center when you bite in.
- The iconic crosshatch pattern that just begs you to grab one.
Achieving Crispy Tender Cookies Every Time
It really comes down to the sugar balance. We use both granulated and packed light brown sugar. That blend gives us the crispness we love on the outside, thanks to the granules, while the molasses in the brown sugar keeps the inside soft and rich. It’s simple science, but it works like magic!
Gathering Ingredients for Classic Peanut Butter Cookies
When we bake, especially for a classic cookie recipe like this, the quality and type of ingredients matter so much. These wonderful homemade peanut butter cookies will yield about three dozen—perfect for sharing (or, let’s be honest, perfect for keeping in an airtight container right by my coffee pot!). You need to be precise with your measurements here; baking is both an art and a science, right?
Here’s what you’ll need to pull out of your pantry to make this happen:
- One cup of unsalted butter, and trust me, it has to be softened completely. None of that hard, fridge-cold stuff!
- One full cup of creamy peanut butter.
- One cup of the white granulated sugar.
- One cup of light brown sugar—make sure it’s nice and packed into the cup so you don’t short yourself!
- Two large eggs.
- One teaspoon of vanilla extract—the good stuff, if you have it.
- One and three-quarter cups of all-purpose flour.
- One teaspoon of baking soda and a half teaspoon of baking powder.
- A half teaspoon of salt.
Ingredient Notes and Substitutions for Peanut Butter Baking
Richard is very particular about the peanut butter, so listen up! You absolutely must use a standard, smooth, creamy peanut butter. I’m talking about the kind that doesn’t need stirring—like Jif or Skippy. The natural, oily kind separates too much and throws off the texture we worked so hard to perfect for those crispy tender cookies.
Now, if you only have salted butter on hand? No sweat. Just leave out the half teaspoon of salt listed above. Since most peanut butters have salt anyway, your cookies won’t taste bland, I promise! It just means you don’t have to worry about measuring that extra pinch.
Richard’s Method for Perfect Peanut Butter Cookies
This is where the structure of our favorite peanut butter cookies gets built, step-by-step. Richard is very methodical here, and I’ve learned to trust his rhythm. If you’ve followed along on our blog, you know Richard is the memory keeper, and I’m the translator, but when it comes to baking, he follows the steps perfectly. Remember to preheat your oven to 350 degrees F (175 degrees C) and always line those baking sheets with parchment paper. Trying to scrape off stuck cookies is never a good start to a relaxing afternoon!
Once the pans are ready, move right into the mixing. We use our electric mixer for this part because, well, my hands are usually too busy prepping the next step!
Creaming the Fats and Sugars: The Foundation of Great Peanut Butter Cookies
We need the butter, peanut butter, and both sugars to become one unified, pale, and fluffy mixture. Richard insists this takes a full three minutes on medium speed. During those three minutes, I usually get the dry ingredients whisked together in the other bowl—it keeps me busy! That creaming stage incorporates the air that keeps these peanut butter cookies from being too dense. If you stop too early, they’ll be tough, trust me on this one.
After that’s perfect, beat in your eggs one by one—don’t just dump them in! A quick stir of vanilla follows, and then we slow things way down for the flour mixture. Head over to my latest entry if you want to see a picture of Richard looking sternly at the mixer to make sure I don’t overdo it!
Forming and Pressing the Classic Cookie Crosshatch
Now for the fun part that gives everyone instant nostalgia! Roll your dough into 1-inch balls. That’s about the size of a walnut, maybe a little bigger. Place them about two inches apart on that parchment-lined sheet. They need room to spread out into those lovely, flat discs.
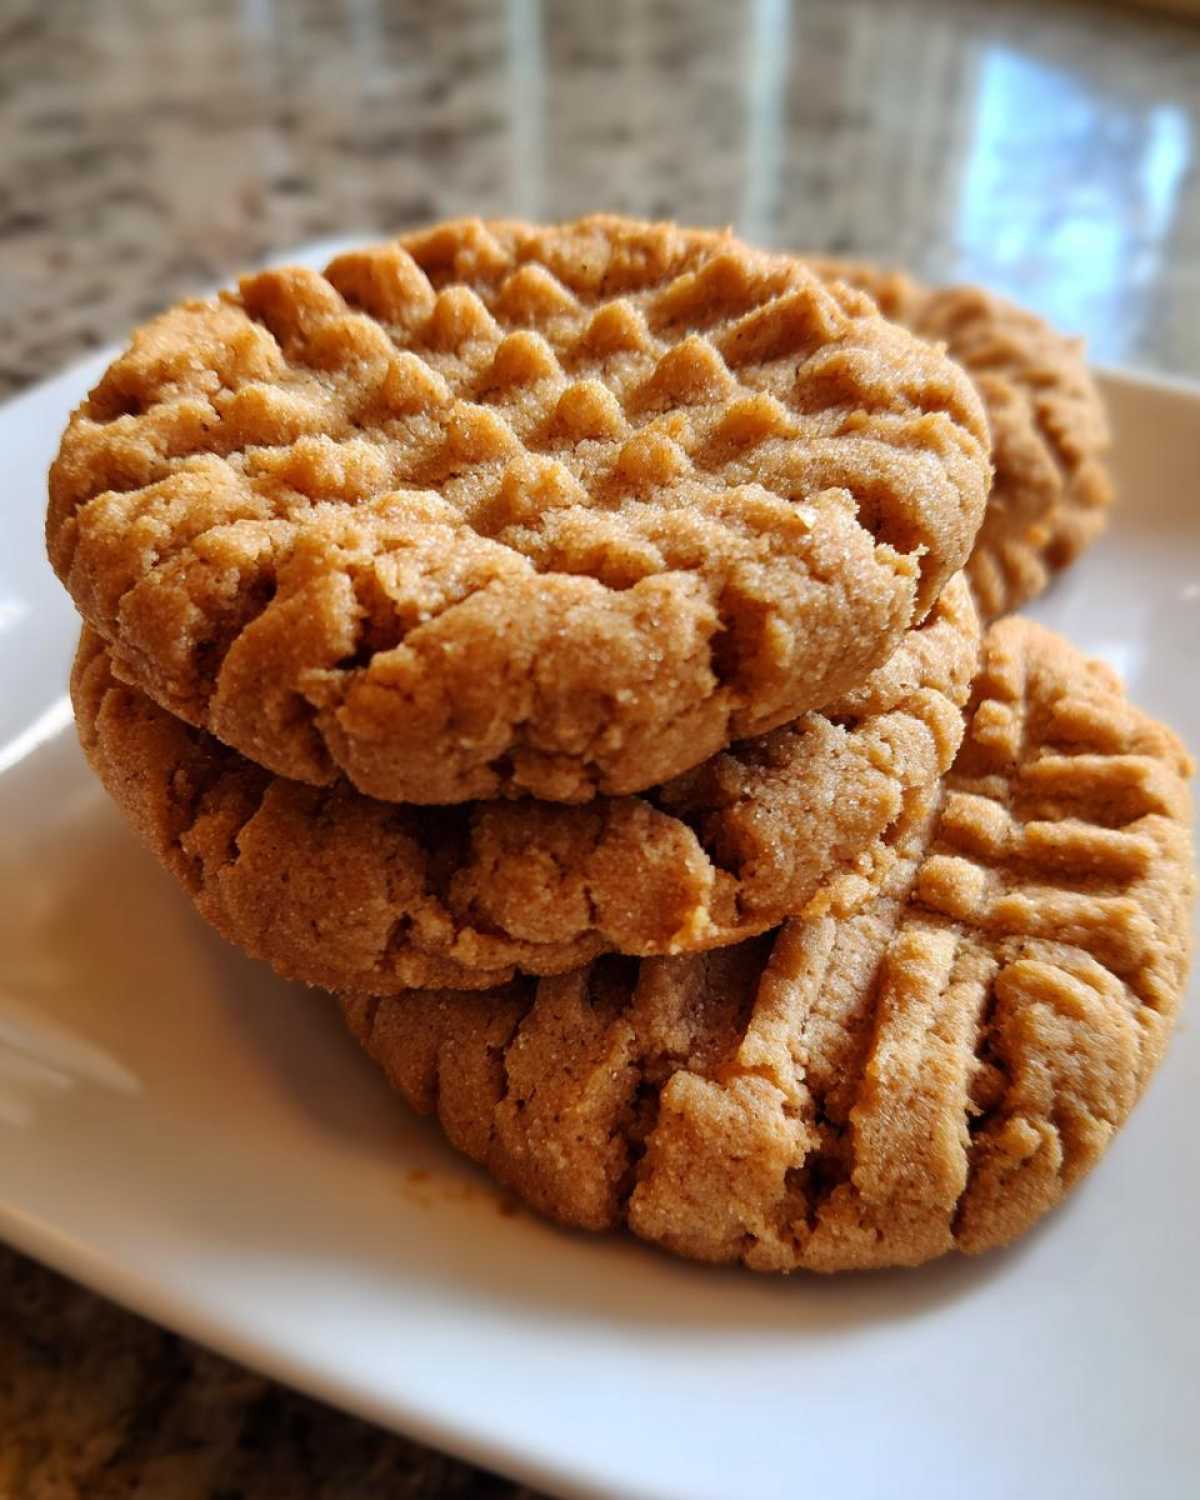
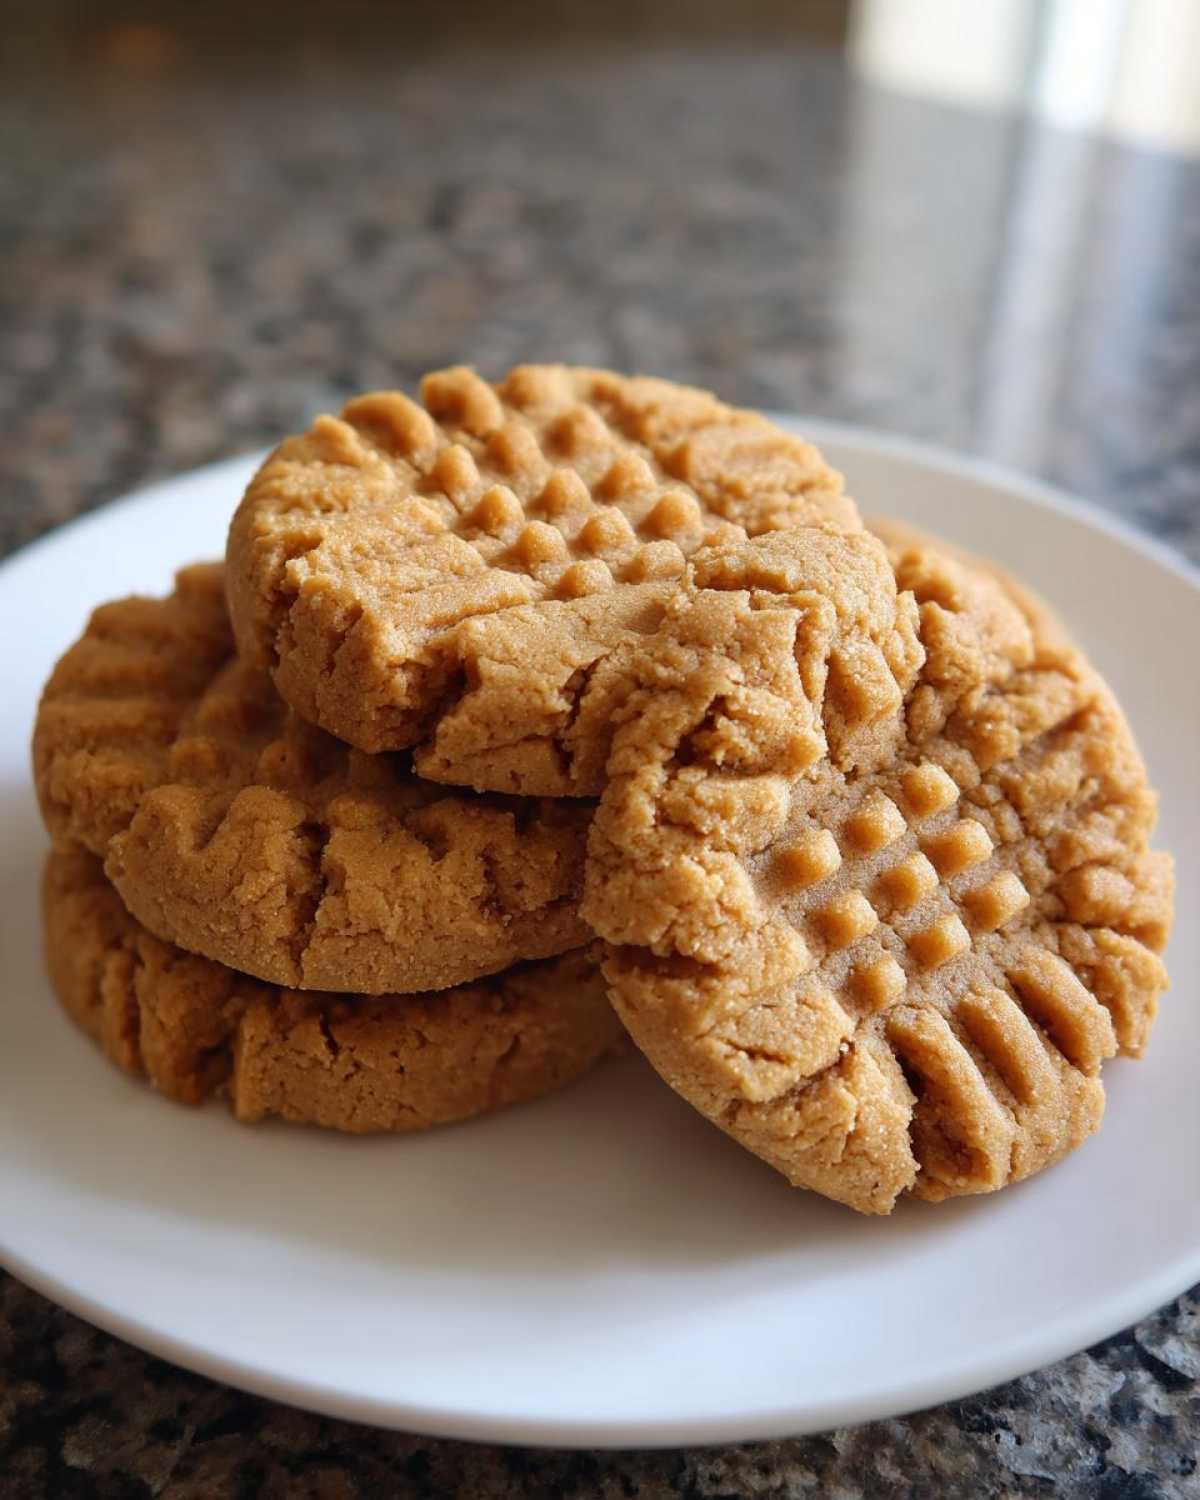
Grab your fork—this is critical for the classic peanut butter cookies look. First, press the fork down lightly until you feel resistance. Then, turn the fork 90 degrees and press again. That makes the signature crosshatch! Don’t press so hard that you smash them totally flat; you want the structure to hold that slight dome. If you’re pressing really hard, your dough might be too warm, so remember to chill it slightly if that happens!
Baking Time and Cooling for Crispy Tender Cookies
We are so close to tasting them! Don’t wander off now, because the baking and cooling steps are incredibly important if we want those perfect crispy tender cookies we’ve been dreaming about. We set the oven to 350 degrees F (175 degrees C). It’s the go-to temperature for so many traditional cookies, and it works here too.
Now, watch them closely through the oven door. You aren’t looking for them to turn dark brown! They only need about 10 to 12 minutes. The magic sign that they are ready is when the edges look lightly golden brown. Trust me, the centers will still look a little soft and puffy when you pull them out. That’s intentional! They look underdone, but they are not.
This next part is non-negotiable for texture. You have to let them set up on that hot baking sheet for a full 5 minutes. If you try to move them straight to a wire rack, they will collapse into sad, gooey puddles on your counter. That 5-minute rest lets the butter stabilize and firms up those delicate edges we worked so hard to create. After that slow wait, gently transfer them over to the rack to cool completely. Resist sampling one until they are just warm—it’s worth the patience!
Tips for Success with Homemade Peanut Butter Cookies
We’ve gone through the whole process now, but let me give you a few extra nuggets of wisdom Richard picked up over the years of trial and error to make sure your homemade peanut butter cookies are the absolute best they can be. Don’t skip this part if you want that bakery-quality flavor!
If your kitchen tends to run hot, or if you paused to answer the phone like I often do, the dough might feel a bit too soft before you roll it. If that happens, just pop the whole bowl into the fridge for about 30 minutes. Chilling the dough is a lifesaver because it stops the cookies from spreading out into flat pancakes in the oven. You want those high, slightly domed centers!
Here’s Richard’s biggest tip for avoiding dry cookies: when you measure the flour, don’t just scoop directly from the bag with your measuring cup. That packs it in far too tightly! Instead, spoon the flour lightly into your measuring cup, and then level off the top with a straight edge, like the back of a butter knife. Measuring flour correctly is the secret to not accidentally making dense, dry peanut butter cookies.
For more inspiration on nailing classic bakes, you might want to check out how we handle our famous chocolate chip wonders over on this classic chocolate chip cookie recipe page. Getting the basics right lets you move on to creating new memories!
Storage and Reheating Instructions for Classic Cookie Recipes
Once you’ve managed not to eat all thirty-six cookies in one afternoon (a feat I rarely manage!), you need to know how to keep them tasting fresh. The joy of these classic cookie recipes is that they hold up wonderfully without needing refrigeration, which I love because I can never seem to keep anything but butter cold!
To store your perfect peanut butter cookies, you need an airtight container. That’s the key word: airtight! Room temperature is totally fine for them. Make sure they are completely cooled down before you trap them in the container, otherwise, the steam will make them soggy fast. If you layer them, a small piece of wax paper or parchment paper between the layers keeps them from sticking together, which is handy if you stack them too high.
Now, let’s talk about day three or four when they might start feeling just a tad stale—this happens, even with Richard’s best peanut butter cookies! Don’t throw them out! You can usually refresh them right back to that fresh-from-the-oven goodness in about 30 seconds. Just pop one or two cookies onto a microwave-safe plate and heat them for about 10 to 15 seconds. They’ll get soft and melty again almost instantly.
If you baked a huge batch and want to keep some longer, freezing works easily too. Place them in a freezer bag—again, make sure they are completely cool—and they’ll keep their texture great for up to three months. When you want one, just leave it on the counter while you make your coffee, and it’ll be perfect.
Serving Suggestions for Traditional Cookies
Part of the joy of baking these beautiful, traditional cookies is planning the moment you’re going to eat them! Richard and I have our favorite ways to indulge when we’re having a quiet moment in the kitchen, reliving those memories we chronicled.
First and foremost, you absolutely cannot go wrong with a giant, ice-cold glass of milk. It’s the default pairing for a reason! The coldness cuts through the richness of the peanut butter perfectly, and the milk pulls every last crumb from your mouth. It just works. If you’re having a mid-afternoon coffee break, these cookies are sturdy enough that you don’t have to worry about them falling apart when you dunk them just a little bit—though I prefer to just take a bite before sipping!
But if you really want to elevate the experience, you have to pair them with chocolate. Peanut butter and chocolate are soulmates, aren’t they? Seeing how popular our moist chocolate chip banana bread is makes me think our readers agree! Try taking one of these peanut butter cookies and stacking it up against a perfect chocolate brownie. Or better yet, melt a little dark chocolate chip in the microwave and drizzle it right over the top after the cookies have cooled completely. It makes them look fancy for company, though we usually just eat them plain!
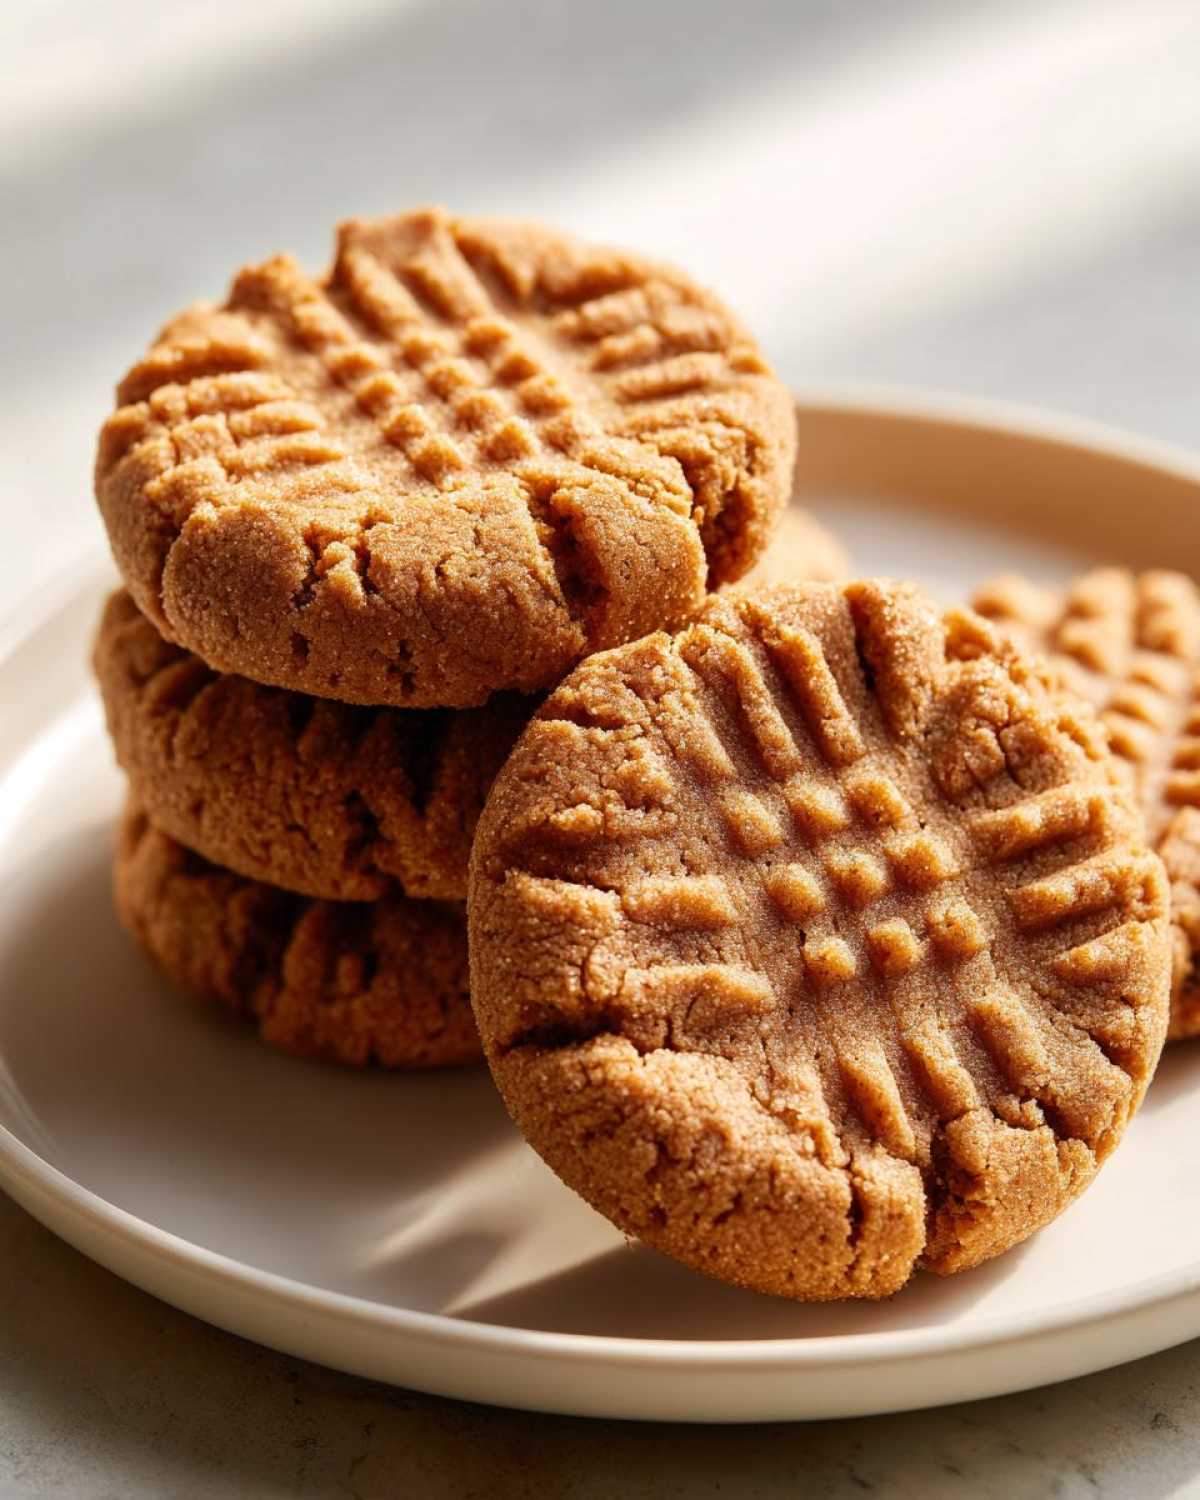
Honestly, once you master the basic ingredients and technique for these classic peanut butter cookies, the pairings are endless. They’re sturdy enough to be dessert, simple enough for an afternoon snack, and nostalgic enough to taste like pure comfort.
Frequently Asked Questions About Peanut Butter Cookies
It’s funny, even after making these classic peanut butter cookies for decades, people still have questions! Richard and I love hearing from you all, either through emails or comments. Baking is about practice, and sometimes you just need a little nugget of wisdom to get it perfect. Here are some of the most common things folks ask when they are whipping up a batch of these homemade peanut butter cookies.
Can I use natural peanut butter in this recipe?
Oh, I wish I could say yes, but Richard would shake his head vehemently if he heard me suggest it! As I mentioned in the ingredient notes, the key to achieving those crispy tender cookies textures is using a standard, well-blended creamy peanut butter. Natural peanut butters have too much oil that separates out during mixing and baking. That free oil makes the cookies spread way too much and they end up greasy instead of rich. Stick to the ones you have to stir, just for this specific recipe!
What is the best way to get the classic crosshatch pattern?
The crosshatch is what makes these instantly recognizable as classic peanut butter cookies! It’s also a practical step—it gently flattens the ball so it bakes evenly. To get it right, you need your dough balls rolled up nicely—about 1 inch, remember? Then, take your fork and press down firmly but gently once. Lift the fork, turn the cookie dough ball 90 degrees, and press down again in the opposite direction. The goal isn’t to flatten the cookie completely to the tray, but just to score it deeply. If you press too hard, remember back to my tip earlier: chill your dough slightly!
Another question we get a lot is whether you can skip the pattern altogether. You certainly can! If you skip the fork press, you’ll end up with a puffier, slightly softer, more domed cookie, which is still delicious, but it loses that signature look of our traditional cookies.
How long should these peanut butter cookies be baked?
This is where many people go wrong with peanut butter baking! We bake them at 350°F for only 10 to 12 minutes. You are looking for those edges to just start turning a light golden brown. If you wait until the centers look fully done, they will be hard as rocks once they cool down. Remember, they keep cooking for a few minutes on that hot baking sheet after they leave the oven. Trust the soft center when you pull them out; that’s your ticket to those tender cookies!
Sharing Your Delish Diarist Peanut Butter Cookies
Well, that’s it! We’ve poured forty years of kitchen memories right onto the page for you today. Richard and I genuinely hope these peanut butter cookies bring you as much joy as they bring us every time we roll them out. It feels a bit strange after all this time together, but baking for people we’ve never met is my favorite new adventure.
If you made these classic peanut butter cookies, please, please let us know how they turned out! Hearing from our readers is what keeps this diary page turning. Did Richard’s timing on the creaming step work for you? Did you get that gorgeous crosshatch pattern on your first try?
Finding the perfect homemade peanut butter cookies recipe is a big deal, so if you loved how crispy-tender they turned out, give the recipe a star rating! It helps other folks know they can trust this memory we’ve shared.
If you have any questions, or better yet, if you have a memory from your own kitchen you want to share—maybe from a road trip or a holiday gathering that these cookies remind you of—pop over to the contact page. We read every single message. Richard loves hearing about the results, and I love archiving the feedback.
Thank you so much for joining us in the kitchen today. Happy baking, and we’ll see you in the next entry!
With love from Eleanor & Richard.
PrintRichard’s Classic Crispy-Tender Peanut Butter Cookies
A beloved recipe for homemade peanut butter cookies that achieves the perfect balance of crispy edges and a soft center, featuring the classic crosshatch pattern.
- Prep Time: 15 min
- Cook Time: 12 min
- Total Time: 27 min
- Yield: About 3 dozen cookies
- Category: Dessert
- Method: Baking
- Cuisine: American
- Diet: Vegetarian
Ingredients
- 1 cup (2 sticks) unsalted butter, softened
- 1 cup creamy peanut butter
- 1 cup granulated sugar
- 1 cup packed light brown sugar
- 2 large eggs
- 1 teaspoon vanilla extract
- 1 3/4 cups all-purpose flour
- 1 teaspoon baking soda
- 1/2 teaspoon baking powder
- 1/2 teaspoon salt
Instructions
- Preheat your oven to 350 degrees F (175 degrees C). Line baking sheets with parchment paper.
- In a large bowl, cream together the softened butter, peanut butter, granulated sugar, and brown sugar until the mixture is light and fluffy. This takes about 3 minutes with an electric mixer.
- Beat in the eggs one at a time, then stir in the vanilla extract.
- In a separate medium bowl, whisk together the flour, baking soda, baking powder, and salt.
- Gradually add the dry ingredients to the wet ingredients, mixing on low speed until just combined. Do not overmix your cookie dough.
- Roll the dough into 1-inch balls and place them 2 inches apart on the prepared baking sheets.
- Use a fork to press down on each ball to create the classic crosshatch pattern, pressing once in one direction and then again perpendicular to the first press.
- Bake for 10 to 12 minutes, or until the edges are lightly golden brown. The centers will still look slightly soft.
- Let the cookies cool on the baking sheets for 5 minutes before transferring them to a wire rack to cool completely. This helps them set up properly.
Notes
- For the best flavor, use a standard creamy peanut butter, not the natural separation type.
- If you prefer a slightly chewier cookie, reduce the baking time by one minute.
- Chill the dough for 30 minutes before rolling if your kitchen is very warm; this helps prevent spreading.
Nutrition
- Serving Size: 1 cookie
- Calories: 180
- Sugar: 14
- Sodium: 110
- Fat: 10
- Saturated Fat: 4
- Unsaturated Fat: 6
- Trans Fat: 0
- Carbohydrates: 21
- Fiber: 1
- Protein: 4
- Cholesterol: 25