

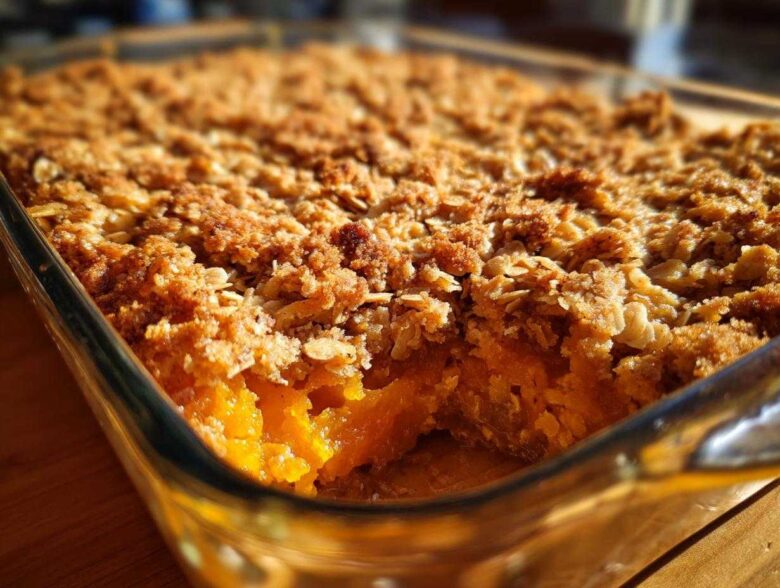
Oh my gosh, friends, is it just me, or does fall sneak up on us every single year? Suddenly, everyone is craving that warm pumpkin spice hug, but honestly, sometimes I just don’t have the patience for wrestling with a fussy pie crust. After years of trying to perfect my holiday spread, I realized what we really need is that creamy, spiced pumpkin filling taste, but easier. Trust me, after baking hundreds of seasonal treats, I knew I could crack the code for the absolute best, easiest pumpkin crisp you’ll ever meet. This recipe is my answer to those chilly evenings when you need comfort food ready fast. We skip the rolling pin chaos entirely, and what you get is pure, scoopable autumn magic. If you love pumpkin pie but hate pastry work, this is your new favorite tradition!
Because I’ve spent so many autumns in the kitchen, I’ve learned that the simplest recipes are often the keepers. I tweaked this batch until the filling was custardy and the topping gave the most unbelievable crunch—it’s truly better than pie, I promise! You’ll want to bookmark this one because it comes together in maybe fifteen minutes of actual work, and the payoff is huge. For all the details on how this simple dessert became my go-to, keep reading. By the way, if you need another quick spice fix while you wait, check out my pumpkin spice snickerdoodles; they are dangerously good!
Why This Easy Pumpkin Crisp Recipe is a Seasonal Favorite
When the weather turns cool, we all want those amazing autumn flavors, but we just don’t have hours to babysit a tricky dessert. That’s why I love this pumpkin crisp recipe so much. It delivers everything you want out of a holiday dessert without any stress. It’s all about maximum flavor with the minimum number of steps, which is my kind of Thanksgiving baking!
-
Quick Prep for Your Pumpkin Crisp
Seriously, grab an 8×8 dish and start whisking. With just about 15 minutes of hands-on time, you can get this thing into the oven. That’s half the time of fussing with a pie crust, making this the perfect quick fall baking solution for unexpected guests.
-
The Perfect Texture Contrast in Every Pumpkin Crisp Bite
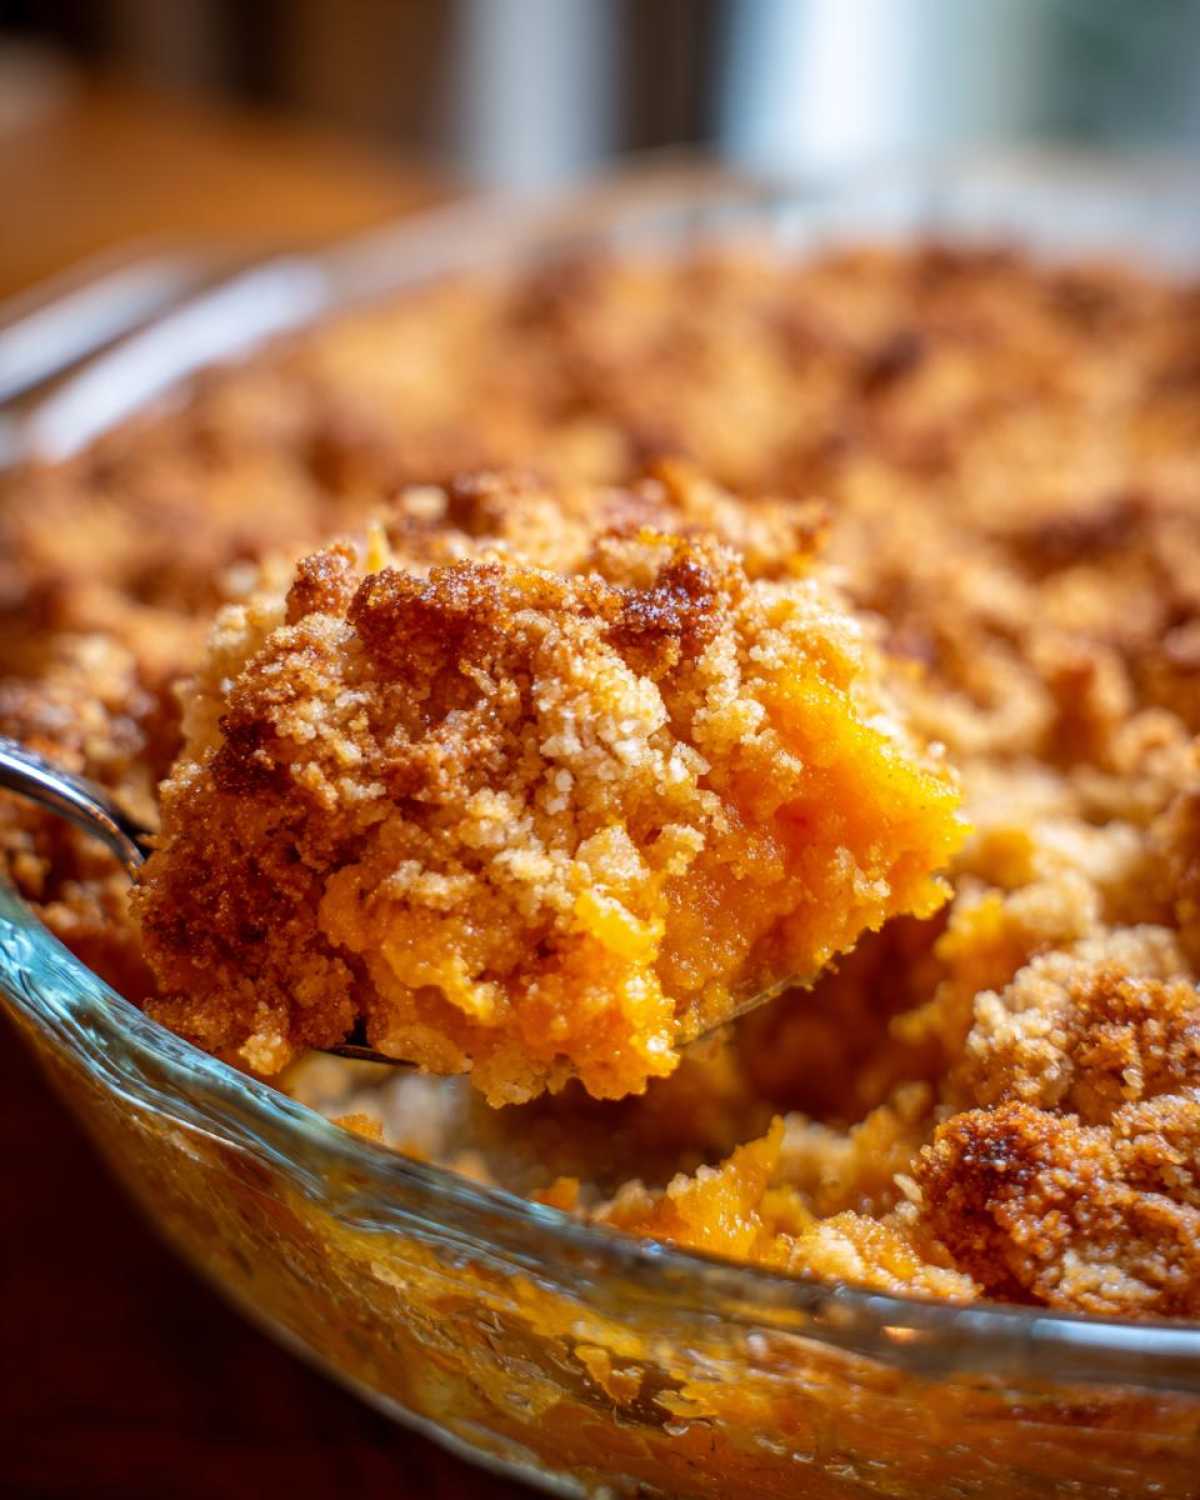
This is where the magic happens! You get that unbelievably creamy, spiced pumpkin filling hugging the bottom, perfectly balanced by that crunchy, buttery oat topping. It’s the texture dream everyone wants in a good crisp recipe.
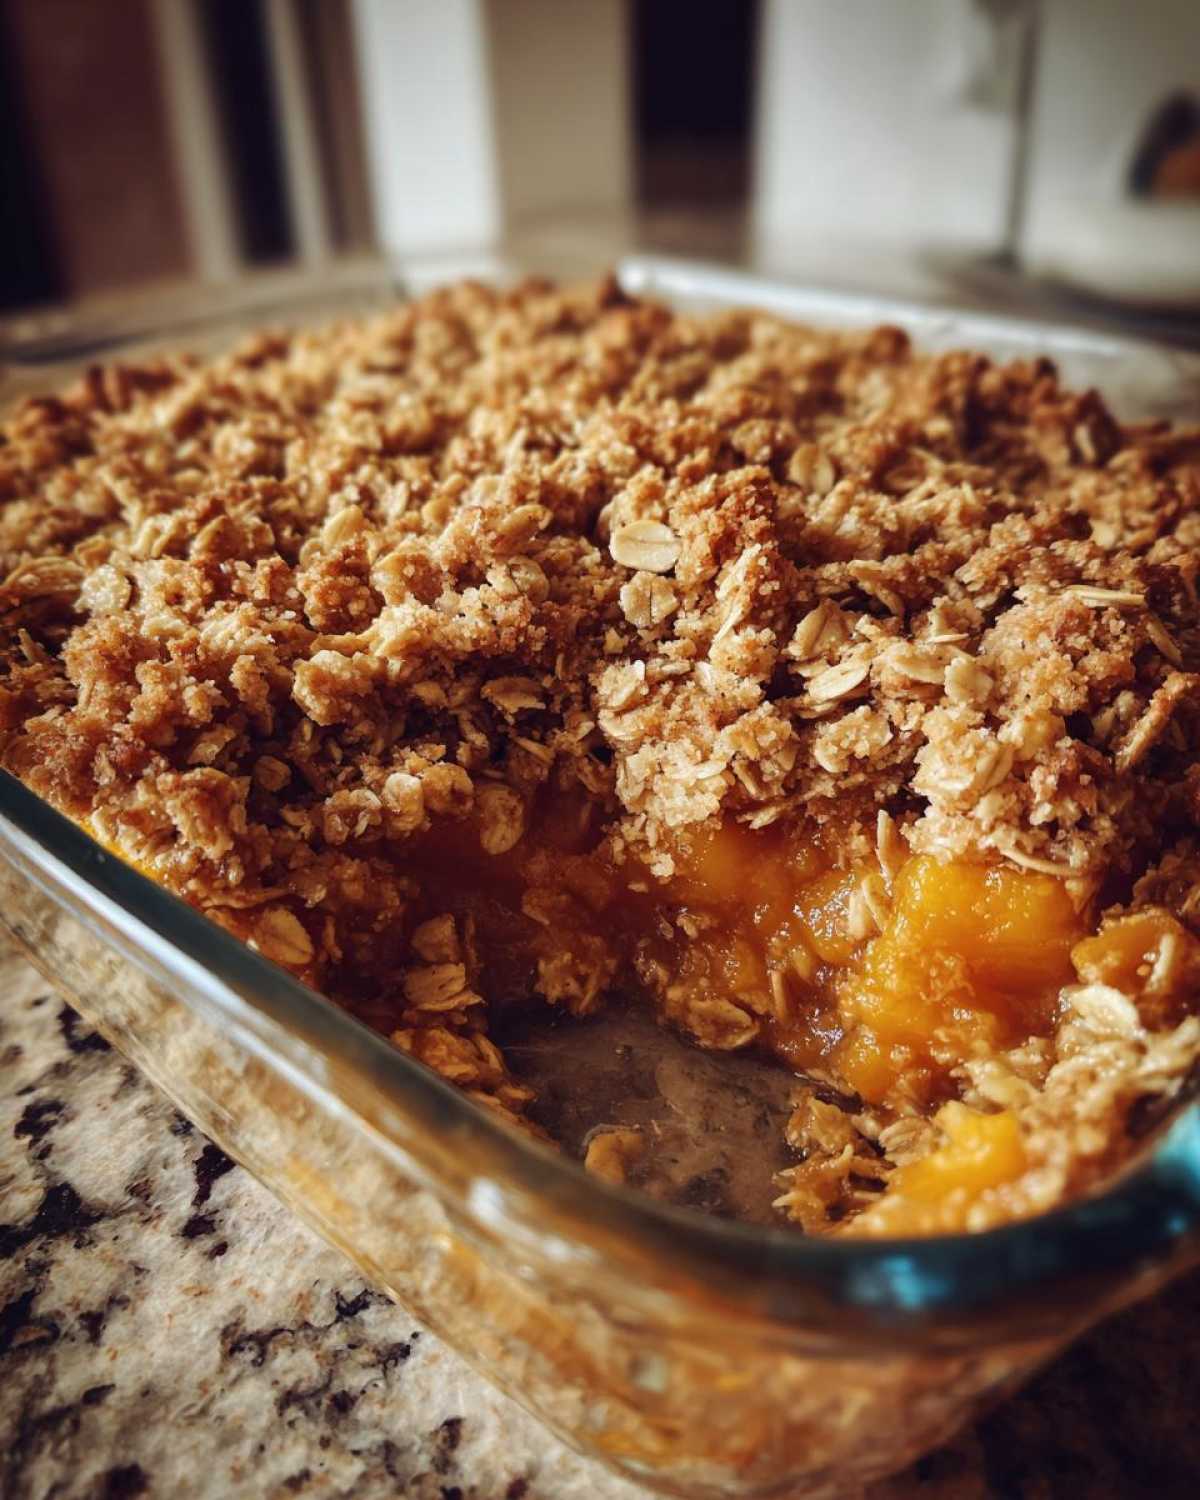
Gathering Ingredients for Your Best Pumpkin Crisp
Okay, for this pumpkin crisp recipe, we need amazing ingredients, but nothing complicated—that’s the whole point! We’re going for classic autumn flavors here. I always keep these things stocked once September hits, so I can whip this up instantly. We’re dividing everything into two easy groups: what goes on the bottom (the filling) and what makes that incredible crunch on top. If you need more pumpkin inspiration while you shop, swing over and check out my pumpkin spice latte muffins—they use a lot of the same cozy spices!
-
For the Creamy Spiced Pumpkin Filling
This part is like instant pumpkin pie filling, just smoother and built for a crisp!
- 1 (15 ounce) can pumpkin puree (Make absolutely sure it’s just the puree, not the pie mix!)
- 1 (14 ounce) can sweetened condensed milk
- 2 large eggs
- 1 teaspoon ground cinnamon (Don’t skimp!)
- 1/2 teaspoon ground nutmeg
- 1/4 teaspoon ground ginger
- 1/4 teaspoon salt
-
For the Buttery Oat Topping on Your Pumpkin Crisp
This buttery oat topping is what makes this dessert so irresistible and gives our pumpkin crisp that amazing texture contrast.
- 1 cup all-purpose flour
- 1/2 cup packed light brown sugar
- 1/2 cup rolled oats (Old-fashioned work best here)
- 1/2 cup (1 stick) cold unsalted butter, cut into small pieces (Keep it cold!)
How to Make Pumpkin Crisp Step-by-Step
Don’t let these steps scare you—it’s so easy, I promise! The real secret here is working quickly when assembling the topping so that butter stays cold. If you’ve mastered my easy apple crisp recipe, you’ll find this process is almost identical, just with warmer spices and a custard base! We break this down into three simple painting-by-numbers stages. You’ll have this pumpkin crisp in the oven before you even realize you’ve started baking.
-
Preparing the Dish and Filling for the Pumpkin Crisp
First things first: crank that oven up to 350 degrees F. Then, grab that 8×8 inch baking dish and give it a light greasing—a quick spray or dab of butter works perfectly. Now, for the filling, no electric mixer needed! Grab a medium bowl and whisk together your pumpkin puree, that lovely sweet condensed milk, the two eggs, and all those beautiful spices (cinnamon, nutmeg, ginger) plus the salt. Keep whisking until it looks totally smooth and pale orange. Pour that entire mixture right into your prepped dish. See? That’s the base of your pumpkin crisp ready to go in under five minutes!
-
Assembling the Buttery Oat Topping
Time to make the crunch! In a separate, smaller bowl, you’ll combine your flour and brown sugar first. Then comes the crucial part: the cold butter pieces! You need to “cut in” that butter. I use my fingers for this because I can feel when it’s right, but a pastry blender works great too. You keep working it in until the mixture looks like coarse crumbs—think pea-sized pieces. Don’t let your hands warm it up too much! Once it looks crumbly, mix in your rolled oats until they are just evenly distributed throughout the topping mixture.
-
Baking and Setting the Pumpkin Crisp
Take that gorgeous oat topping and sprinkle it evenly right over the pumpkin base. Make sure you get nice, thick patches everywhere; that’s where the best crunch comes from! Pop the dish into the oven, and let it bake for 40 to 45 minutes. You’ll know it’s done because the topping will be nutty and golden brown, and if you gently shake the pan, the middle won’t wobble wildly—it’ll be mostly set. The absolute hardest part: you MUST let the pumpkin crisp cool for at least 20 minutes once it comes out. This resting time lets that filling firm up properly so you can scoop that perfect creamy texture!
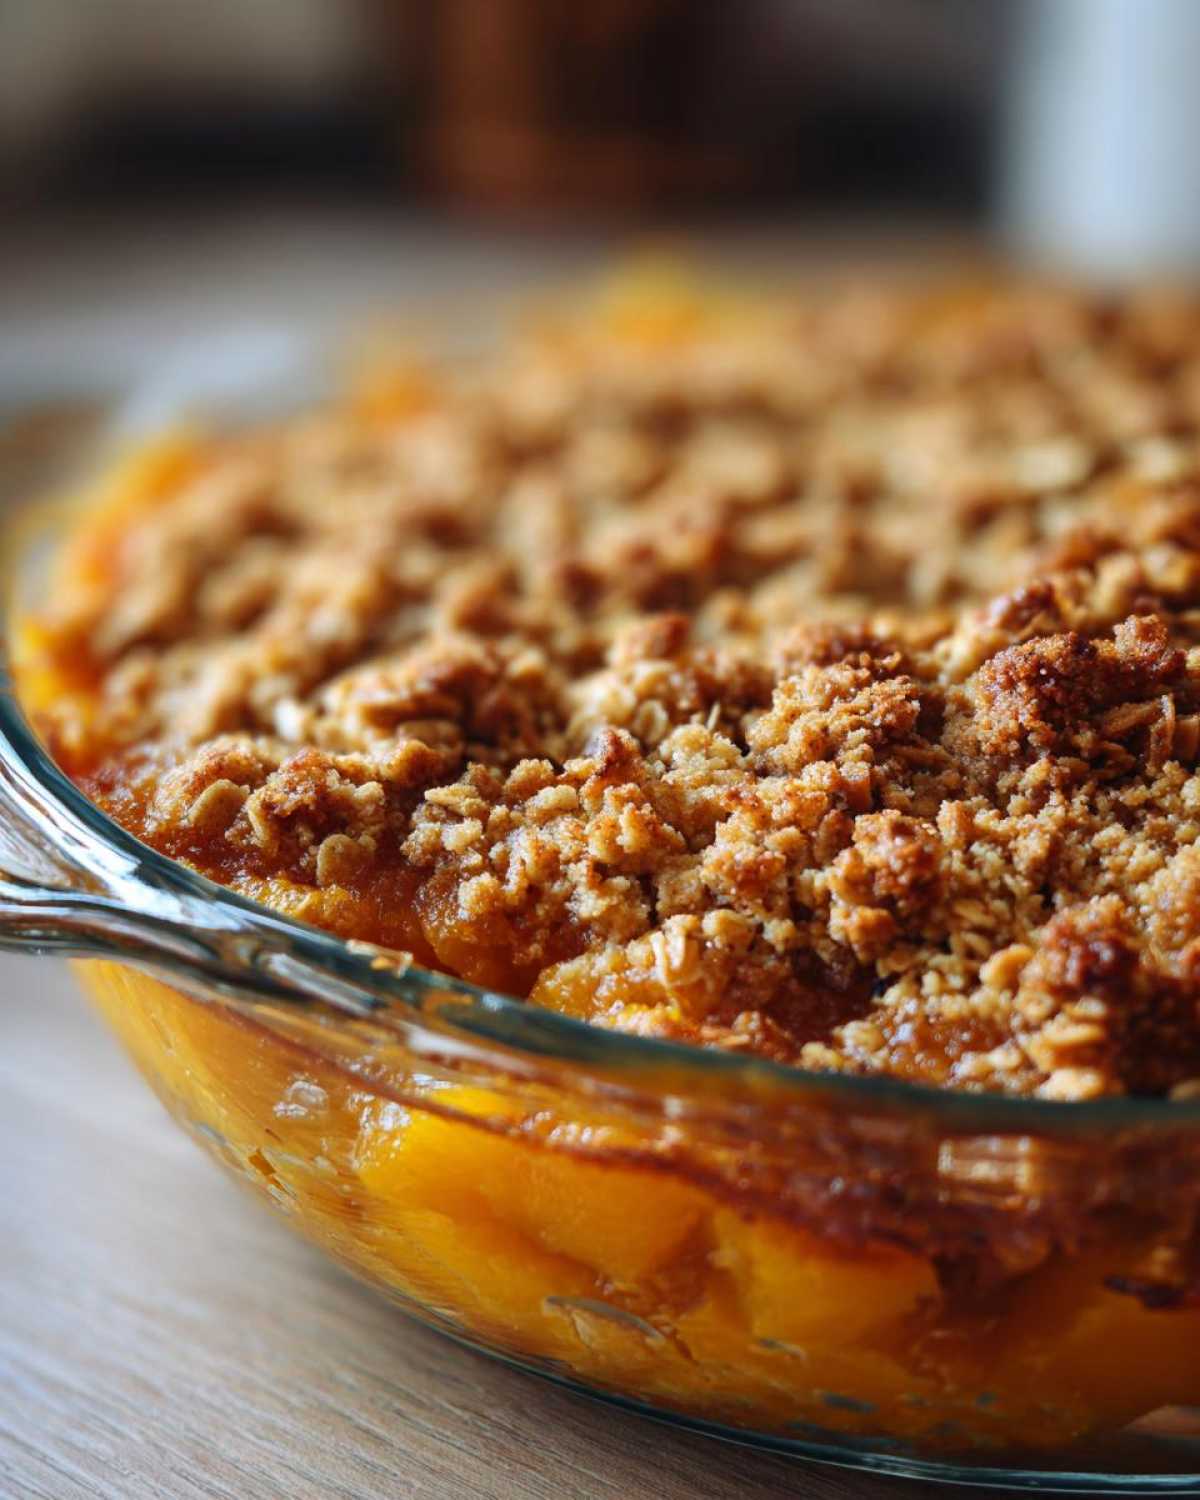
Tips for the Ultimate Pumpkin Crisp Success
I want your pumpkin crisp to be perfect every time you bake it, and over the years I’ve picked up a few little tricks that make all the difference. This is the kind of easy pumpkin crisp recipe you keep forever, so why not make it the best version possible? You don’t need a massive overhaul, just a couple of tweaks to suit your taste. If you’ve ever made my chocolate chip banana bread, you know I love to customize slightly for maximum flavor!
-
Adjusting Spice Levels in Your Spiced Pumpkin Filling
The recipe calls for a teaspoon of cinnamon, which gives you that classic, balanced warmth. But if you are a true spice fanatic—and who isn’t in the fall?—don’t be afraid to seriously up that ante! Try bumping the cinnamon up to 1 1/2 teaspoons. It deepens that spiced pumpkin filling beautifully and makes the aroma of your kitchen absolutely unbelievable.
-
Variations for the Pumpkin Crisp Topping
Everyone loves that buttery oat topping, and it gives great structure, but sometimes you want a different kind of crunch, right? If you’re feeling adventurous or just ran out of oats, swap them out! Chopped pecans or walnuts are fantastic substitutes. They toast up gorgeously in the oven and add a wonderful, nutty complexity to the whole affair. Just try to chop them roughly so you still get those satisfying little crunches scattered throughout the topping.
Serving Suggestions for Your Warm Pumpkin Crisp
Okay, a warm dessert demands a perfect companion, right? This is where that creamy spiced pumpkin filling really shines against something cool and tangy. Since this pumpkin crisp is so easy, it’s absolutely my go-to for any casual gathering or when the whole family descends for Thanksgiving dinner and we all need something amazing that isn’t pie. Seriously, sometimes folks ask for seconds of the crisp topping alone!
My number one, non-negotiable way to serve this is warm with a great big scoop of vanilla ice cream nestled right on top. The contrast between the hot, spiced pumpkin and the melting, cold creaminess? Heaven. It just melts right down into the buttery oat topping, creating its own little sauce. If you prefer a lighter touch, a big dollop of freshly whipped cream is just as dreamy. It keeps things light but still totally comforting, making it one of my favorite seasonal dessert favorites.
If you happen to be feeling extra fancy, or maybe if you just made my pumpkin spice cake last week and have some leftover frosting, you can use a tiny swirl of cream cheese frosting on top instead of plain whipped cream. It adds an extra layer of tang that complements the pumpkin beautifully. But honestly, even plain, this pumpkin crisp is an absolute winner. Don’t overthink it—just get a bowl, scoop generously, and enjoy that warm dessert moment!
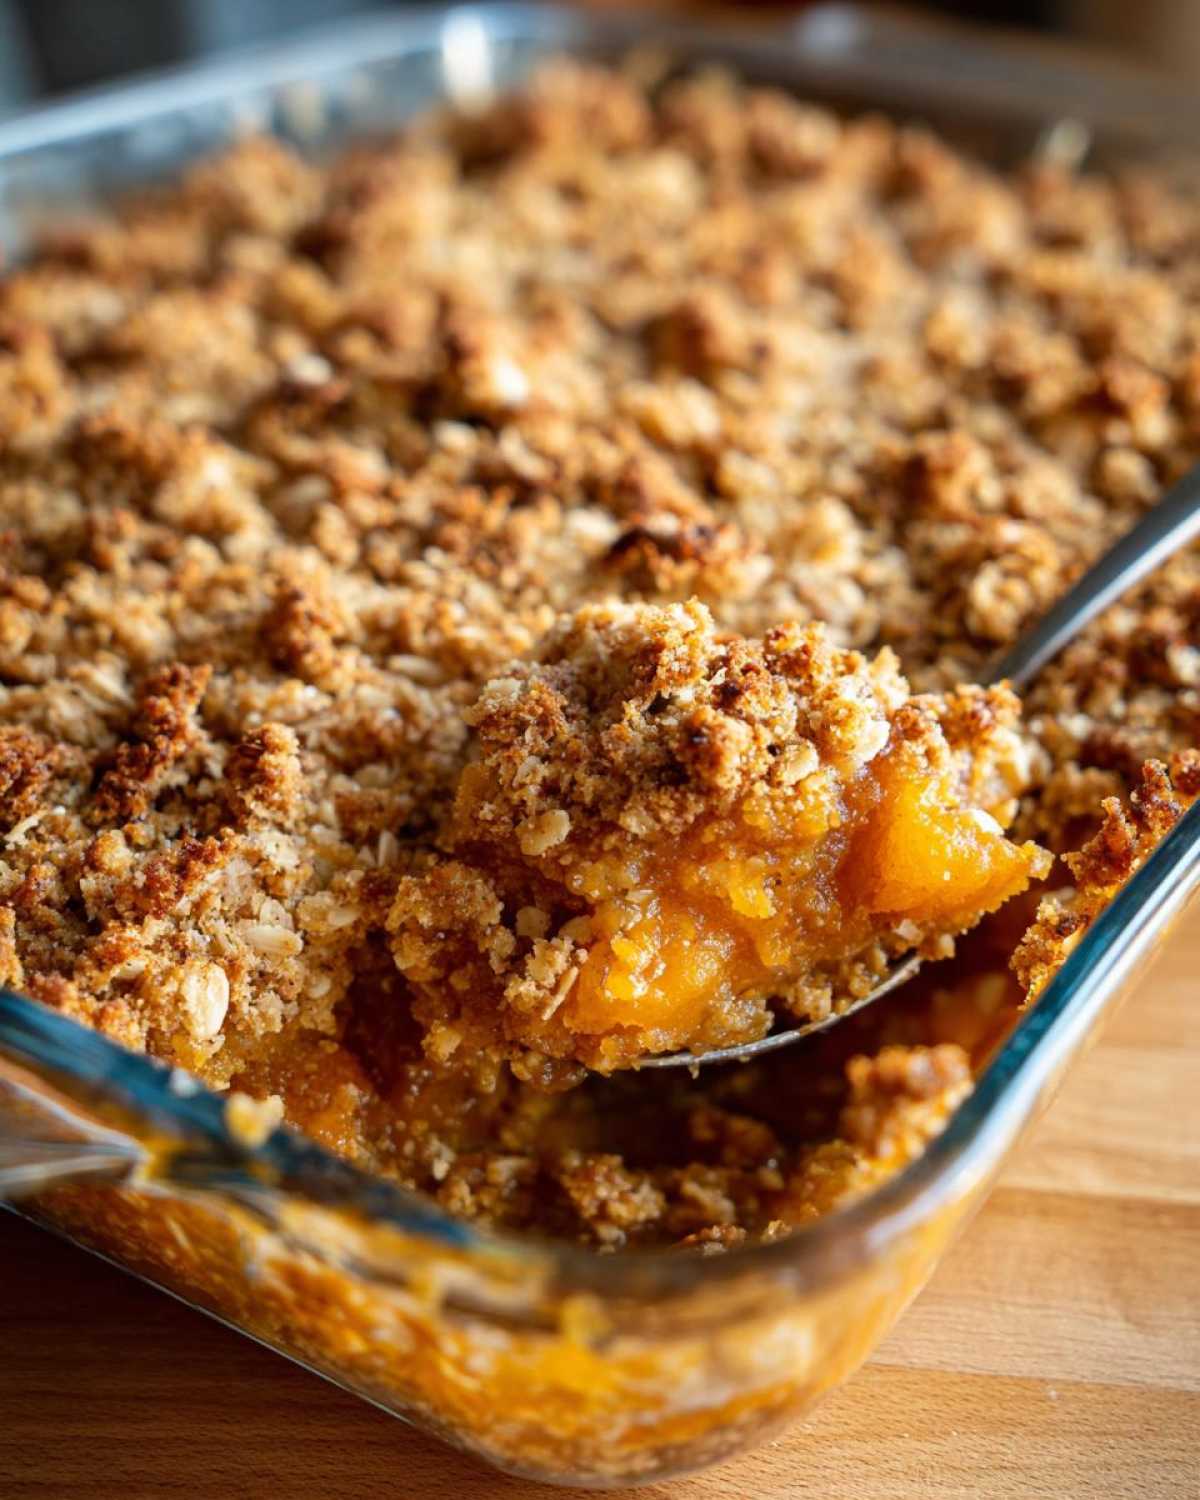
Storing Leftovers of Your Delicious Pumpkin Crisp
I’m always thrilled when I have leftovers of this pumpkin crisp because it means I get a second day of pure fall comfort! If you have any left—which honestly surprises me—you need to treat it right so that filling stays custardy and the topping stays crisp. Cover the baking dish tightly with plastic wrap or transfer individual servings to airtight containers. Because of the eggs and dairy in the filling, leftovers absolutely need to go into the fridge right away. Don’t leave this one sitting on the counter!
The next day, just scoop out what you want and reheat it gently. I find the microwave works okay for a quick single serving, but the texture of that yummy oat topping can get a little soft. If you want to bring back some of that crunch, pop your serving in a toaster oven or a small oven-safe ramekin for about five to seven minutes at 325 degrees F. It warms the filling through and crisps up the topping again beautifully. It’s almost as good as fresh—almost! For more baking longevity tips, you can check out how I store my classic chocolate chip cookies; the same covering principles apply!
Frequently Asked Questions About Pumpkin Crisp
I know you probably have a few quick questions bouncing around, so let’s tackle those lingering thoughts before you grab your whisk! It’s one of my favorite things about sharing these fall dessert recipes—hearing what you want to know! No question is too small, especially when we’re talking delicious autumn sweets.
-
Is this pumpkin crisp recipe difficult to make?
Absolutely not! That’s the whole selling point, honey! This is the easiest pumpkin crisp recipe you’ll find because it requires zero chilling time, no crust shaping, and you just mix the filling right in the dish. If you can whisk two things together, you can make this dessert—it’s that straightforward.
-
Can I make the pumpkin crisp topping ahead of time?
You sure can! I often do this the morning of a big family meal. Mix up the flour, sugar, oats, and butter until it’s crumbly, just like we did in the instructions, but keep it zipped up tight in the fridge. Don’t add it to the filling until you are ready to bake, though! If the topping sits on the wet filling too long, that butter starts to melt in, and you lose that beautiful contrast we worked so hard for.
-
How does this pumpkin crisp compare to pumpkin pie?
This is what I love to answer! This is perfect for anyone seeking out those amazing no-pie pumpkin dessert options. Think of it this way: you get the exact same rich, creamy, spiced pumpkin flavor profile as a pie filling, but instead of a delicate pastry, you get this hearty, crunchy, buttery oat lid over the top. It’s softer, simpler, and you don’t have to worry about a soggy bottom crust. It’s definitely one of my top better than pie desserts for Thanksgiving!
Estimated Nutritional Snapshot for Pumpkin Crisp
Now, I have to give you guys a huge disclaimer here, because I’m a baker, not a dietitian! These numbers are based on the standard ingredient amounts listed, using typical pantry staples, and they can totally shift depending on whether you use full-fat, light, or if you decide to use pecans instead of oats on top. I calculated these for completeness, but honestly, when there’s pumpkin and cinnamon involved in a comfort food dessert, I try not to dwell too much on the numbers!
This snapshot is for one standard serving (about 1/6th of the 8×8 dish). Even with the sweetened condensed milk, it’s a pretty rich treat. If you want to see how to boost the protein in other seasonal breakfasts, check out my guide on protein chia pudding ratios!
- Serving Size: 1 serving
- Calories: 380
- Total Fat: 19 grams (Watch that butter go!)
- Saturated Fat: 11 grams
- Carbohydrates: 48 grams
- Sugar: 35 grams (That’s where the sweetness lives!)
- Protein: 7 grams
- Cholesterol: 65 mg
- Sodium: 250 mg
Remember, it’s all about balance, and this pumpkin crisp is worth every single bite, especially when paired with that ice cream we talked about earlier!
Share Your Experience Making This Pumpkin Crisp
Now that you have the secret to the easiest, creamiest pumpkin crisp ever, I just need to know one thing: Did you love it as much as my family does? Baking is always better when we share the results, you know?
I put years into perfecting this recipe because I wanted a holiday option that felt special but didn’t require me to stress over a dinner roll schedule. Please, if you make this for your next gathering, do me a favor! Head down to the comments section below and let me know what you thought. I read every single one of your notes—it helps me know what you all want to see next on the blog. Did you add pecans? Did you serve it à la mode? Tell me everything!
And if you snap a picture of your beautiful, golden-brown pumpkin crisp—especially if it’s steaming hot right out of the oven with melting vanilla ice cream on top—tag me on social media! Nothing makes me happier than seeing my recipes bring cozy autumn vibes to your kitchen. You can find me over at the main site blog posting all the latest adventures. Happy baking, friends, and enjoy every comforting spoonful of this fantastic fall dessert recipe!
PrintEasy Pumpkin Crisp with Buttery Oat Crumble
Make this simple pumpkin crisp for a comforting fall dessert. It features a creamy, spiced pumpkin filling topped with a buttery, crunchy oat crumble. It is a quick alternative to pumpkin pie.
- Prep Time: 15 min
- Cook Time: 45 min
- Total Time: 60 min
- Yield: 6 servings
- Category: Dessert
- Method: Baking
- Cuisine: American
- Diet: Vegetarian
Ingredients
- 1 (15 ounce) can pumpkin puree
- 1 (14 ounce) can sweetened condensed milk
- 2 large eggs
- 1 teaspoon ground cinnamon
- 1/2 teaspoon ground nutmeg
- 1/4 teaspoon ground ginger
- 1/4 teaspoon salt
- 1 cup all-purpose flour
- 1/2 cup packed light brown sugar
- 1/2 cup rolled oats
- 1/2 cup (1 stick) cold unsalted butter, cut into small pieces
Instructions
- Preheat your oven to 350 degrees F. Lightly grease an 8×8 inch baking dish.
- In a medium bowl, whisk together the pumpkin puree, sweetened condensed milk, eggs, cinnamon, nutmeg, ginger, and salt until smooth.
- Pour the pumpkin mixture evenly into the prepared baking dish.
- In a separate small bowl, combine the flour and brown sugar for the topping.
- Cut in the cold butter using a pastry blender or your fingers until the mixture resembles coarse crumbs.
- Stir in the rolled oats until they are evenly distributed in the crumb mixture.
- Sprinkle the oat topping evenly over the pumpkin filling.
- Bake for 40 to 45 minutes, or until the topping is golden brown and the filling is set.
- Let the crisp cool for at least 20 minutes before serving.
Notes
- Serve warm with a scoop of vanilla ice cream or a dollop of whipped cream.
- For a stronger spice flavor, increase the cinnamon to 1 1/2 teaspoons.
- You can substitute pecans or walnuts for the oats in the topping for a nuttier crunch.
Nutrition
- Serving Size: 1 serving
- Calories: 380
- Sugar: 35
- Sodium: 250
- Fat: 19
- Saturated Fat: 11
- Unsaturated Fat: 8
- Trans Fat: 0
- Carbohydrates: 48
- Fiber: 2
- Protein: 7
- Cholesterol: 65