

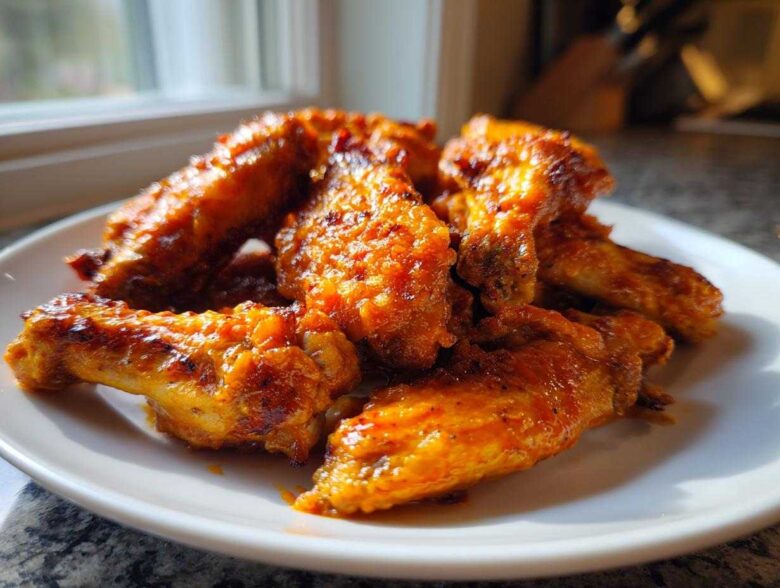
Oh my gosh, are you having one of those days where only perfectly sauced, unbelievably crispy buffalo wings will fix everything? I totally get it. For years, I wrestled with soggy baking sheets and oily deep-fried disasters trying to get that authentic bar flavor at home. That ends today! Trust me when I say I tried every trick out there, and I finally nailed it.
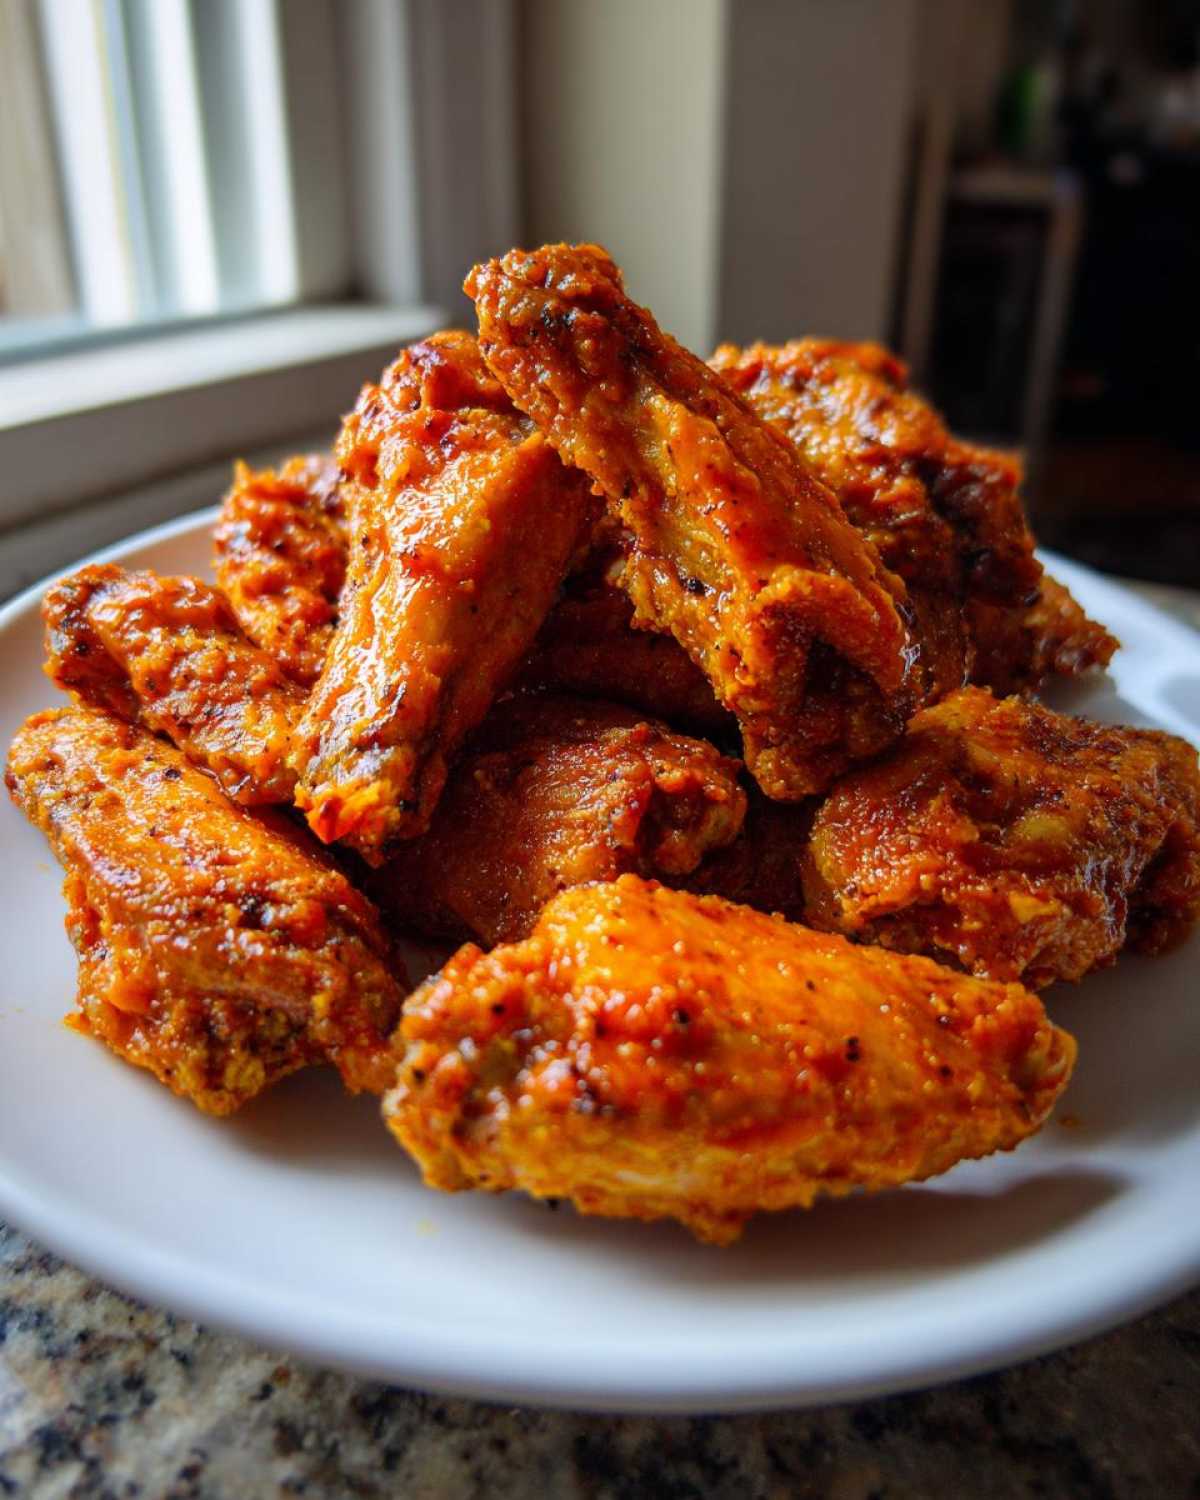
This buffalo wings recipe isn’t just good; it’s the ultimate game-changer because we are getting intensely crispy skin in the oven—no giant vat of oil required. We’re talking real restaurant-style texture from a simple baking sheet. If you’re looking for the best oven baked wings, you’ve found your people!
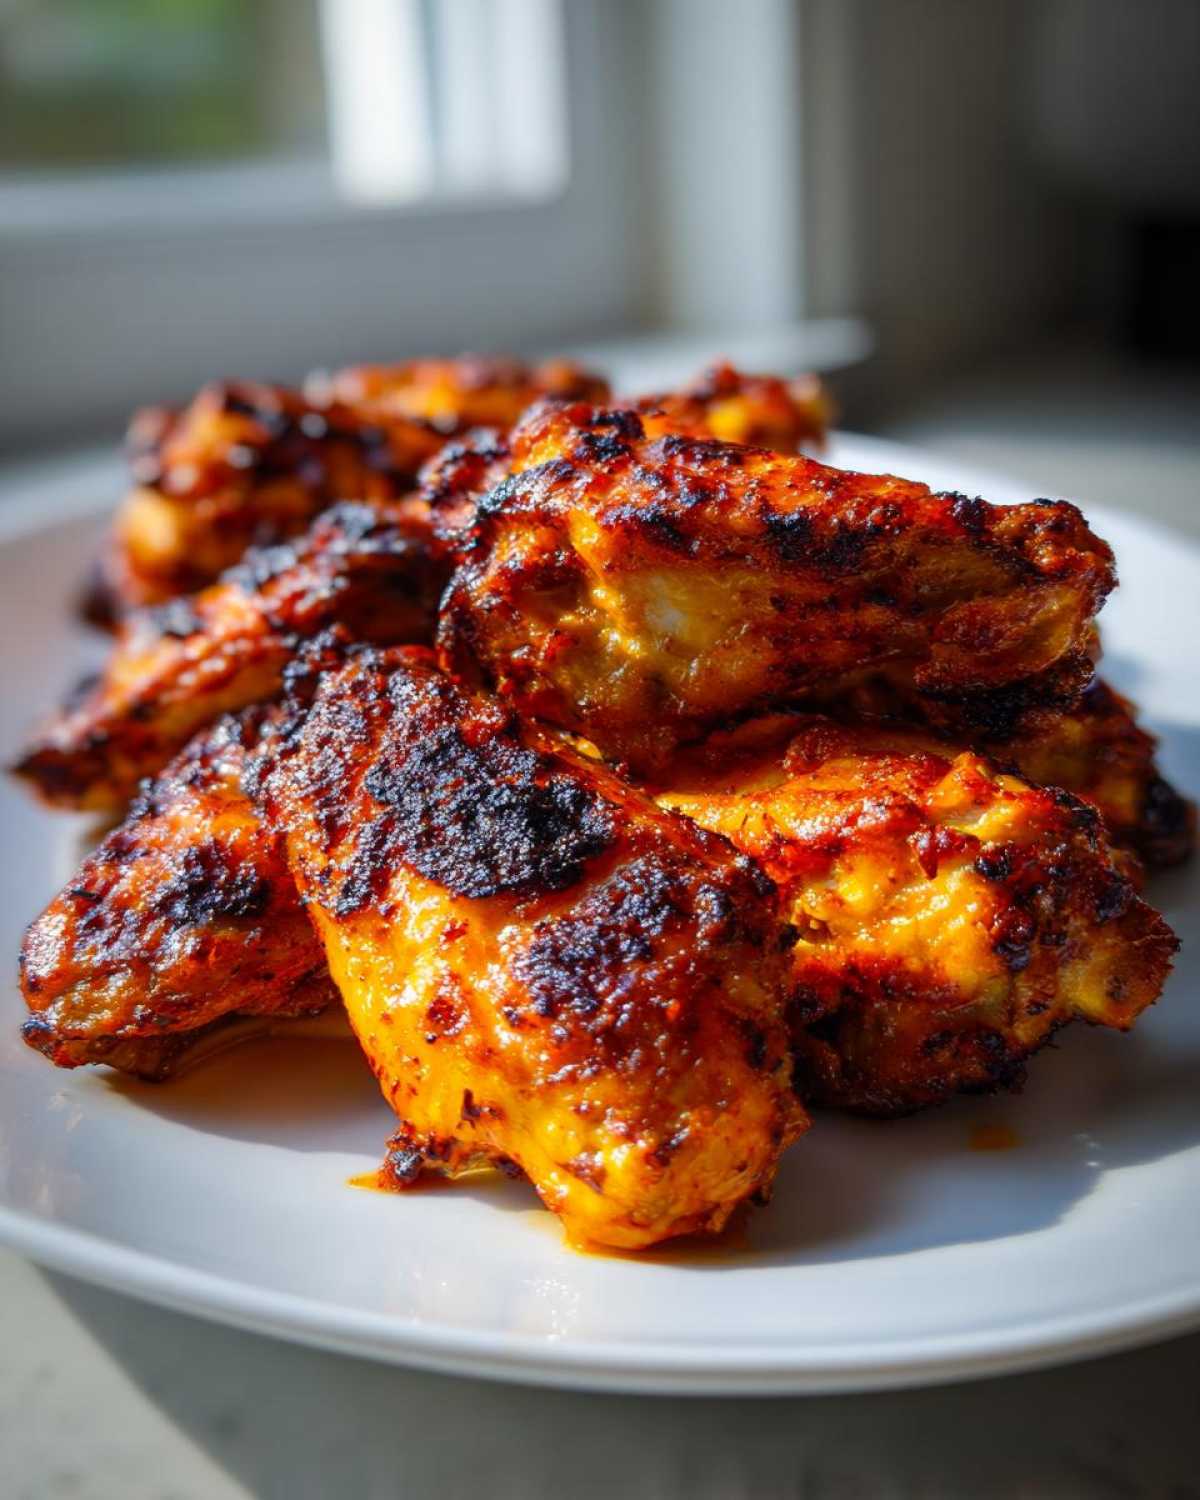
Why This is the Ultimate buffalo wings recipe for Crispy Skin
You’re probably wondering how we get that gorgeous, shatteringly crisp skin without dunking these guys into hot oil. It’s all down to science—my favorite kind of kitchen science! The secret isn’t in the sauce; it’s in prepping the wings so they dry out just right in the heat. This technique is the key to mastering how to make crispy skin chicken wings at home.
We skip the messy deep fryer entirely! Two things make the difference:
- Baking Powder Usage: This is absolutely non-negotiable. It raises the pH level on the skin, helping it brown beautifully and crisp up like a dream. Don’t skip this, seriously!
- The Wire Rack: We elevate the wings so the heat can circulate all the way around them. This prevents them from sitting in their own juices—which is the enemy of crispiness.
Essential Equipment for Perfect Oven Baked Wings No Fry
You don’t need fancy gadgets for this, just a few standard items. Make sure they are clean and ready to go before you start tossing the wings!
- A sturdy baking sheet.
- Aluminum foil to line it (makes cleanup nearly non-existent).
- A wire rack that fits snugly inside your sheet pan.
Ingredients for Our Crispy buffalo wings recipe
Okay, getting the ingredients together is the easy part, but pay close attention to a few details here! I promise, if you use exactly what I list, your wings are going to turn out exactly how they should—super crispy before they even hit the sauce.
We’re only talking about a handful of things, but quality matters here, especially with the butter and the baking powder.
- 3 lbs chicken wings (Make sure you get a mix of flats and drumettes—that’s the only way to satisfy everyone!)
- 1 tablespoon baking powder (It absolutely has to be aluminum-free. It does something magic to the skin, but the other kind is weird!)
- 1 teaspoon salt
- 1/2 teaspoon black pepper
- 1/2 cup unsalted butter (Please, please use real butter. It’s what makes the sauce silky.)
- 1/2 cup Frank’s RedHot Original Cayenne Pepper Sauce (I’ve tried others, but Frank’s is the classic flavor you want for this buffalo wings recipe.)
- 1 teaspoon white vinegar (This just bumps up that vinegary tang that Buffalo style needs.)
- 1/2 teaspoon Worcestershire sauce (Adds a little depth the sauce otherwise lacks, you won’t even notice it’s there, but the flavor misses it if it’s gone!)
Step-by-Step Instructions for the buffalo wings recipe
Now for the method! Since these are baked wings, we need to give them a little extra loving care upfront to ensure they get that deep crunch without frying. This entire process walks you through achieving great oven baked wings no fry results. Set your timer and follow these steps closely, and you won’t be disappointed!
Preparing the Wings for Maximum Crispiness
This is where all the magic happens before they even see the oven heat. Seriously, do not rush the drying part—it’s the number one way to guarantee a great bake.
- First thing first: Crank that oven up to 425°F (220°C). While it’s heating up, line a big baking sheet with foil and pop your wire rack right on top.
- Grab a giant wad of paper towels and pat every single wing piece bone-dry. I mean, really dry! If there’s any moisture left clinging to them, the skin will steam instead of crisping up.
- In a big mixing bowl, toss those dry wings with the baking powder, salt, and pepper. Get them coated evenly. They might look weirdly dusty, but trust the process!
- Arrange the wings on that wire rack. Please try to give them some space. If they are touching, they will steam together, and we want them individual and crispy all over.
Baking and Flipping Timing for buffalo wings recipe
The timing here is a two-stage approach. You want them to cook through and start rendering fat first, then you finish them with the flip to get that deep golden color.
- Bake them exactly like this for 25 minutes straight. Go look away for a bit!
- When the timer goes off, carefully pull the tray out. Use tongs to flip every single wing over.
- Send them back into the hot oven for another 20 to 25 minutes. You are looking for them to be super brown and feel really solid and crisp when you gently poke them. They should sound hollow when tapped!
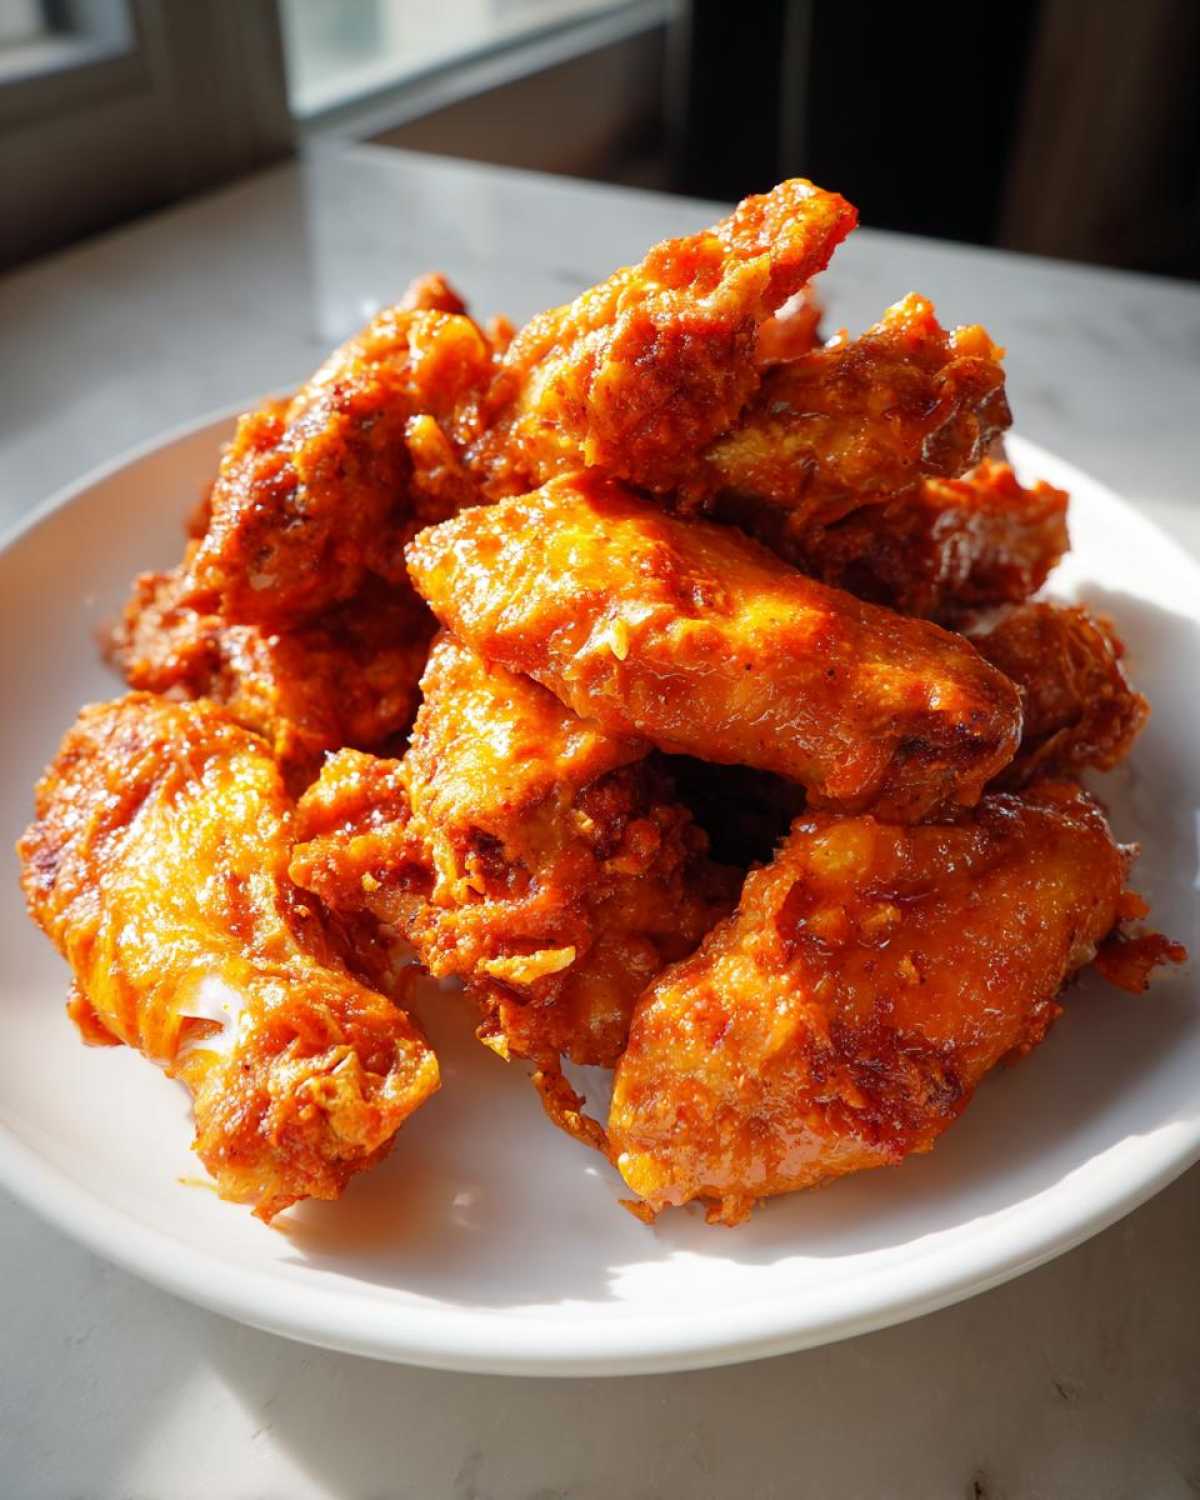
Making the Best Homemade Buffalo Sauce for your buffalo wings recipe
While those wings are busy getting perfectly crackly in the oven, we turn our attention to the star of the show—the coating! Making your own sauce is non-negotiable if you want that perfect, vibrant tang that you just can’t get from a bottle that’s been sitting in the cupboard for months.
This is how you whip up the Best Homemade Buffalo Sauce imaginable. It’s so simple; I feel a little silly calling it a recipe, but the result is pure gold.
Grab a small saucepan—nothing fancy is needed here. We are going low and slow to make sure that butter melts beautifully and incorporates smoothly with the hot sauce.
- Set your saucepan over the absolute lowest heat setting you have. You just want gentle warmth.
- Drop in your 1/2 cup of unsalted butter. Let it melt slowly until it’s completely liquid and clear. Don’t let it brown or sizzle!
- Take the pan *off* the heat entirely. This is important; you don’t want to cook off the vinegar or boil the hot sauce.
- Now, whisk in your 1/2 cup of Frank’s RedHot, the teaspoon of white vinegar, and that little dash of Worcestershire sauce. Whisk until it looks completely unified and shiny. If you’ve done it right, it looks like liquid fire!
Keep that sauce warm right next to the oven while the wings finish up. You want the wings piping hot when they meet the sauce for the best possible coating!
Finishing and Tossing Your Restaurant Style Wings at Home
The moment of truth! Your wings should be coming out of the oven right about now, smelling incredible and looking wonderfully crisp. Now, we transition from crispy oven-baked perfection to saucy, tangy goodness. Resist the urge to just pour the sauce over them right on the baking sheet, okay? That’s how you lose that hard-earned crispiness!
If you want to nail that authentic coating, the tossing technique matters just as much as the sauce itself. I highly recommend grabbing the biggest, cleanest bowl you own for this part.
Here’s the routine:
- As soon as those wings are hot out of the oven, transfer them straight into that big bowl.
- Pour all your beautiful, warm homemade buffalo sauce over the top.
- Now, grab a big spatula and gently toss everything. You need to be firm enough to get sauce on every nook and cranny, but gentle enough not to knock off that amazing crust we worked so hard to build. A quick 30 seconds of serious tossing usually does the trick!
Pro tip—and this comes from watching way too many Super Bowl parties—is to slightly under-sauce them if you are serving them buffet style. Why? Because nobody likes a soggy wing sitting out for an hour. You can always put the extra sauce in a small ramekin on the side for anyone who likes their Party Appetizer Chicken Wings extra sloppy!
Serve them immediately! We’re talking fresh from the bowl to the platter, because these buffalo wings recipe gems are best enjoyed piping hot and fresh.
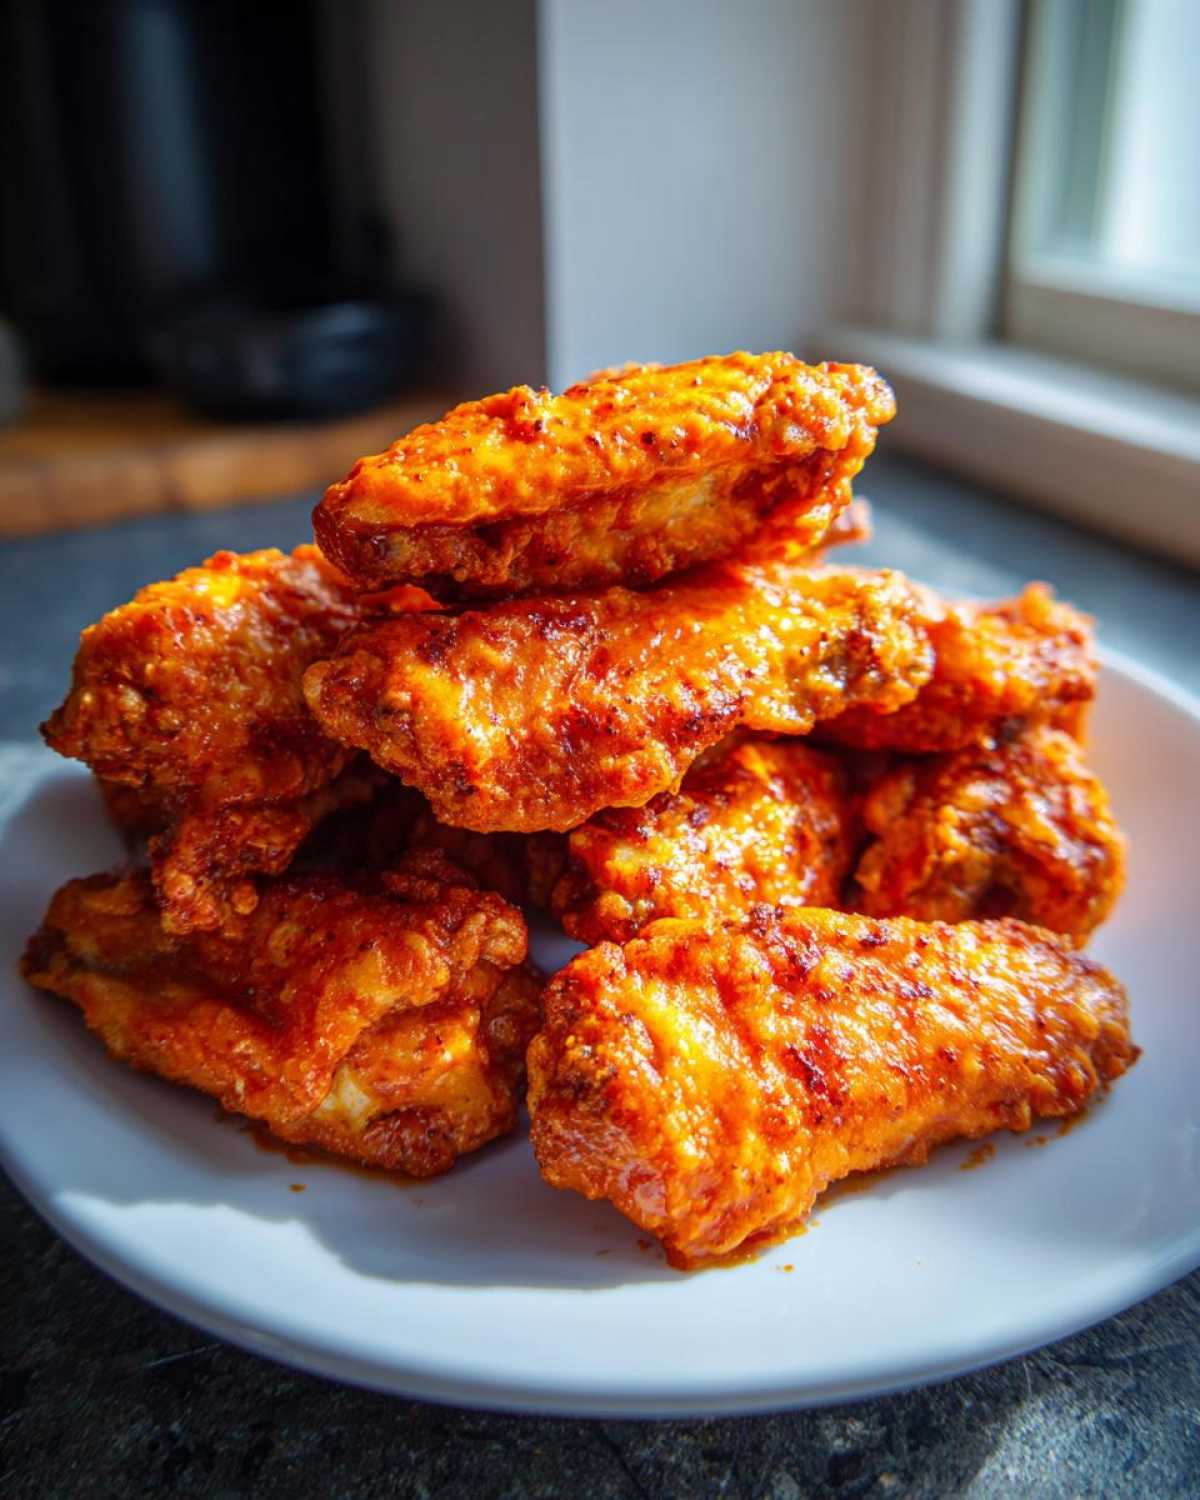
Tips for the Perfect Game Day Chicken Wings
We’ve done the hard work—the crisping is done, the sauce is glorious, and now we just need to make sure these Game Day Chicken Wings survive the trip from the kitchen to the couch in peak condition! Getting that high-level crispiness is really all about what we did before they ever saw the oven. Remember how I stressed the baking powder? That powder doesn’t just help them crisp; it actually keeps the skin drier, which means they hold up way better under the sauce. That simple step is why these wings beat every other baked recipe out there!
Beyond the prep, serving them right makes all the difference. You absolutely must have cooling partners ready on the platter. Grab your favorite creamy dips!
- Blue Cheese Dip: This is the OG choice. The sharp, pungent flavor cuts right through the rich butter and spicy heat of the sauce. Don’t skimp on the chunky bits of blue cheese!
- Ranch Dressing: If your crowd prefers something a little milder, a thick, homemade ranch dip works wonders for cooling down the spicy flames.
And for those days when you are seriously short on time, I always have my air fryer plugged in and ready. It’s amazing how fast hot air can cook wings!
Alternative Cooking Method: Spicy Air Fryer Wings
If you’re making a smaller batch or just really prefer that almost-fried texture, the air fryer is your superhero. You follow the exact same prep steps—the patting dry and the baking powder toss are even more crucial here because air fryers cook so fast!
Instead of the 50-minute oven time, you’re looking at a much quicker blast of heat. Set that air fryer to 380°F (195°C) and cook them for a total of about 20 minutes. Make sure you open the drawer halfway through and flip every wing over. This ensures even cooking. If you’re using them in place of oven wings, toss them immediately in the hot sauce afterward. It seriously takes just minutes, and they come out incredibly crunchy. Perfect for when you need Game Day Appetizers fast!
Frequently Asked Questions about this buffalo wings recipe
Whenever I post this buffalo wings recipe anywhere, I get so many questions because everyone wants that perfect crispy texture! I’ve pulled together the most common things people ask me, so hopefully, you won’t have any issues getting restaurant-quality wings tonight.
Can I make this a Boneless Buffalo Wings Recipe?
Yes, you absolutely can switch this up to a Boneless Buffalo Wings Recipe! The method is nearly identical, but boneless chicken tends to cook faster and the coating can sometimes slip off more easily if you aren’t careful.
The biggest change is the slicing. Cut your boneless chicken breast (or pre-purchased nuggets) into bite-sized pieces, maybe about 1-inch squares. Make sure you pat them very, very dry before tossing them in the baking powder mix. Because they don’t have skin, they won’t get that deep golden brown the same way, so watch them closely! You might only need about 18–20 minutes in the oven at 425°F before they are cooked through. Toss them gently in the sauce just like the bone-in wings.
What is the best way to store leftover Tangy Hot Wings?
Ugh, leftovers. Nothing ruins a great wing faster than letting it sit in the fridge overnight, right? The sauce and the steam are total enemies of crunch. If you have leftovers, the absolute best thing you can do is store the wings and the sauce *separately*. That way, the sauce doesn’t soak into the skin while they chill.
When you are ready to eat them the next day, do NOT reach for the microwave, or you’ll get rubbery wings! You need to reheat them using dry heat to shock the skin back into crispness. The air fryer is fantastic for this—just a few minutes at 375°F will usually crisp them up amazingly. If you don’t have one, pop them back on that wire rack over a baking sheet in a 400°F oven for about 8 minutes. It’s worth the extra step, trust me!
If you’re looking for great recipes for dips that go perfectly with leftovers, I have a great recipe for an amazing homemade dipping sauce that works great as a side for leftover wings!
Storage and Reheating Instructions for Crispy Buffalo Wings Recipe
Look, it’s rare to have leftovers of these buffalo wings recipe gems, but if you do, we need to treat them right! If you must store them, keep the wings in a good airtight container—not a zip-top bag, because those trap too much moisture. The goal is to stop them from getting soggy in the fridge, so don’t sauce them until serving time, if possible.
When it’s time for round two, please, for the love of crispy skin, skip the microwave! That’s a one-way ticket to sad, chewy texture. You absolutely have to reheat them using dry heat. The oven or the air fryer will bring them back to life beautifully, crisping that skin all over again. It only takes a few minutes, and it’s totally worth it!
Nutritional Estimate for This Party Appetizer Chicken Wings
Now, I know some of you are tracking macros or just curious about what’s in these crispy, saucy treats. Because we are baking these wings and not deep-frying them, they are actually quite a bit lighter than what you get at a bar! Remember, this is just a general estimate because what kind of chicken you buy and exactly how much sauce sneaks onto the plate can change things wildly.
If you want to read up more on how we calculate these things, you can always check out my general nutritional disclaimer page here. But generally speaking, for about 6 wings (a reasonable serving size for such a tasty Party Appetizer Chicken Wings!), here is what we are looking at based on the recipe above:
- Serving Size: 6 wings
- Calories: 350
- Fat: 25g (Most of this is the butter in the sauce!)
- Protein: 28g (That’s the good stuff!)
- Carbohydrates: 2g
- Sugar: 1g
- Sodium: 650mg
See? Pretty respectable for such an iconic Game Day food! You’re getting tons of protein without a ton of carbs, and definitely skipping on the heavy frying oils. Enjoy them guilt-free!
PrintUltimate Crispy Baked Buffalo Wings Recipe
Make crispy, tangy Buffalo wings in your oven without deep frying. This recipe includes instructions for the wings and a classic homemade buffalo sauce.
- Prep Time: 15 min
- Cook Time: 50 min
- Total Time: 65 min
- Yield: 4 servings
- Category: Appetizer
- Method: Baking
- Cuisine: American
- Diet: Low Fat
Ingredients
- 3 lbs chicken wings (flats and drumettes)
- 1 tablespoon baking powder (aluminum-free)
- 1 teaspoon salt
- 1/2 teaspoon black pepper
- 1/2 cup unsalted butter
- 1/2 cup Frank’s RedHot Original Cayenne Pepper Sauce
- 1 teaspoon white vinegar
- 1/2 teaspoon Worcestershire sauce
Instructions
- Preheat your oven to 425°F (220°C). Line a large baking sheet with foil and place a wire rack on top of the foil.
- Pat the chicken wings completely dry using paper towels. This step is crucial for crispiness.
- In a large bowl, toss the dried wings with baking powder, salt, and pepper until evenly coated.
- Arrange the wings in a single layer on the wire rack. Do not overcrowd the pan.
- Bake for 25 minutes. Flip the wings over.
- Continue baking for another 20 to 25 minutes, or until the skin is deeply golden brown and very crisp.
- While the wings finish baking, prepare the sauce. In a small saucepan over low heat, melt the butter.
- Remove the butter from the heat and whisk in the hot sauce, vinegar, and Worcestershire sauce until fully combined. Keep warm.
- Transfer the hot, crispy wings to a large, clean bowl.
- Pour the buffalo sauce over the wings and toss gently until every piece is coated.
- Serve immediately with blue cheese or ranch dressing.
Notes
- Using baking powder (not baking soda) helps dry out the skin surface, leading to a crispier result when baking.
- For extra heat, add a pinch of cayenne pepper to the sauce mixture.
- If you prefer air frying, cook at 380°F (195°C) for 20 minutes, flipping halfway.
Nutrition
- Serving Size: 6 wings
- Calories: 350
- Sugar: 1
- Sodium: 650
- Fat: 25
- Saturated Fat: 10
- Unsaturated Fat: 15
- Trans Fat: 0
- Carbohydrates: 2
- Fiber: 0
- Protein: 28
- Cholesterol: 110