

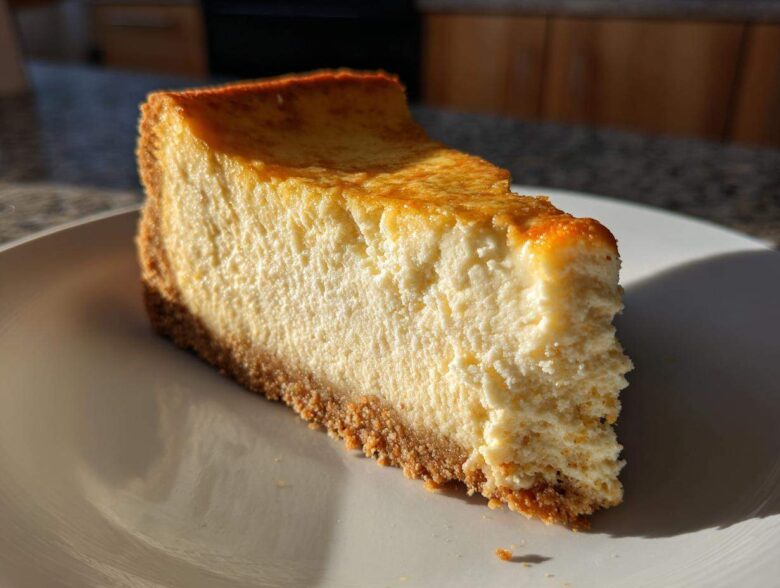
Oh, my dears, if there’s one thing Richard and I learned traveling the world, it’s that you can’t just skip dessert! But when you’re focusing on macros and keeping things lighter, sometimes those buttery, rich cravings feel impossible to tame. Fear not! I’ve spent years translating our favorite indulgences into something we can enjoy guilt-free, and today I finally get to share the absolute masterpiece: our Ultimate Healthy Baked Protein Cheesecake.
This isn’t just a little treat; this is substantial! We’re clocking in at a whopping 35 grams of protein per slice, which frankly still surprises me sometimes. This baked protein cheesecake stands up as a true dessert, not some sad fitness substitute. It’s macro friendly, naturally gluten-free thanks to the clever crust, and tastes like pure happiness. If you’re looking to balance those fitness goals with a truly satisfying protein snax, pull up a chair, because we’re about to bake something legendary.
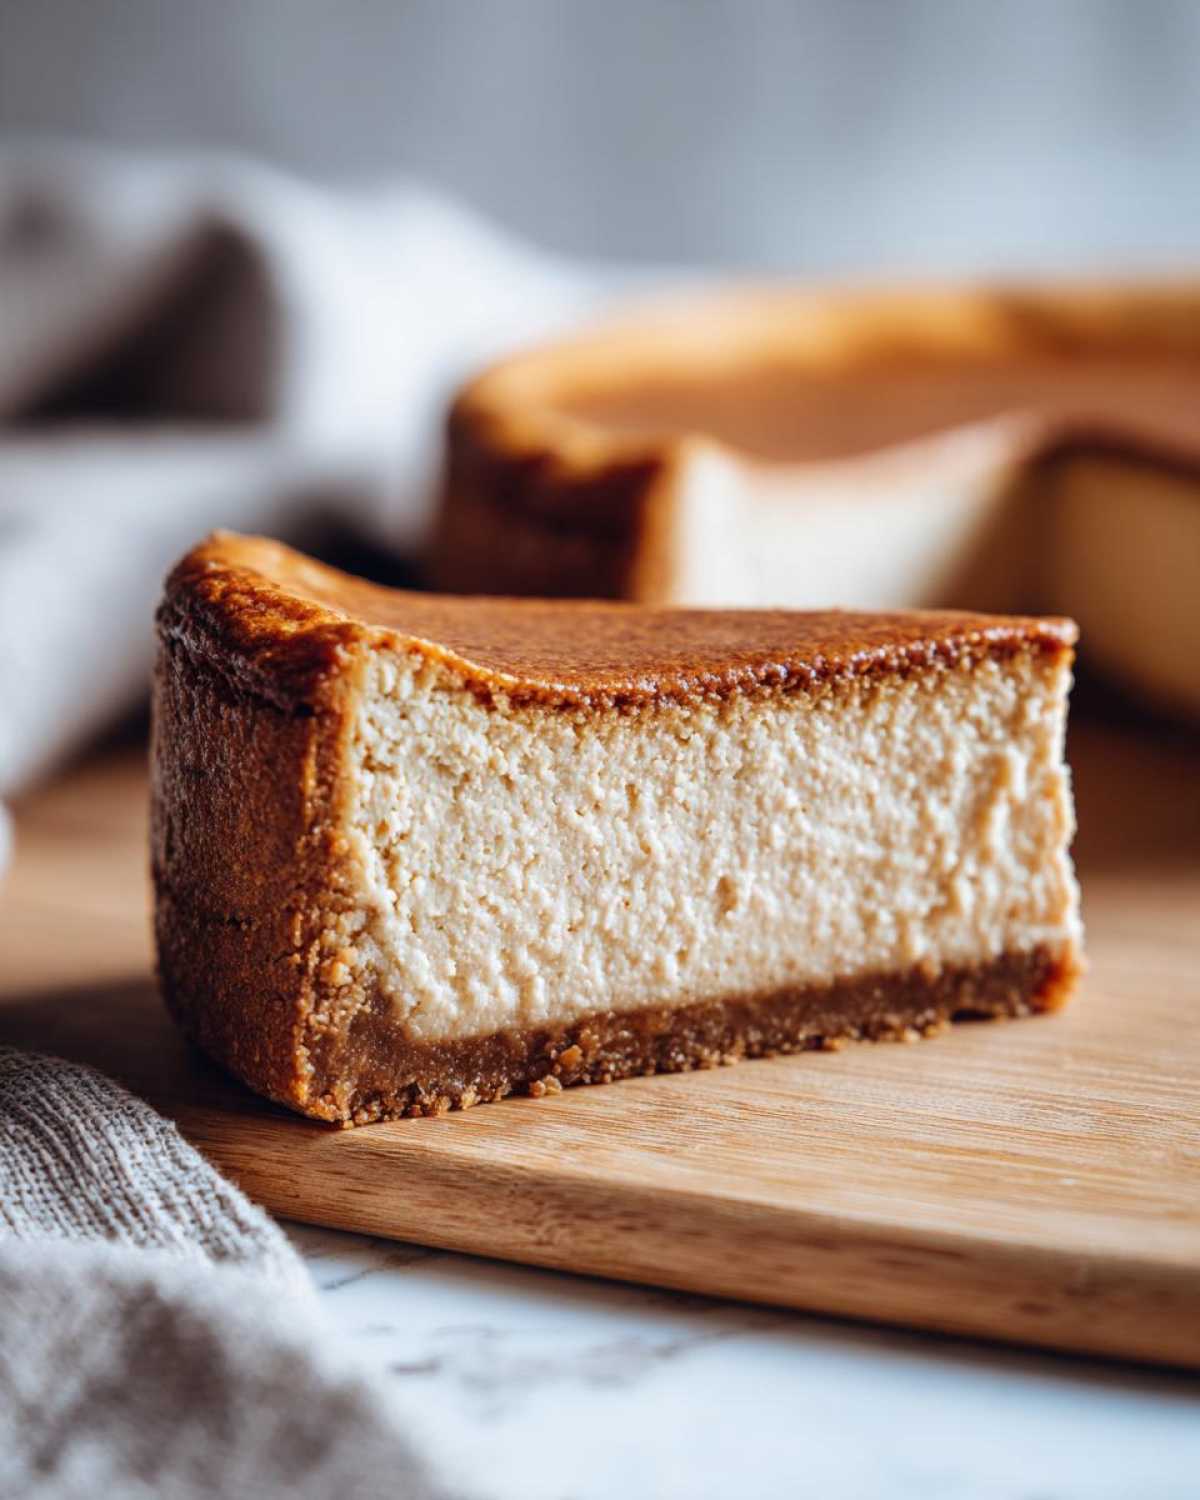
Why This Baked Protein Cheesecake is Your New Favorite Healthy Cheesecake Dessert
Richard is always reminding me that a healthy dessert has to actually taste indulgent, or what’s the point, right? This recipe is the answer to that old culinary puzzle. It’s one of those glorious treats that feels like a vacation but actually supports your daily movement goals. It’s fantastic for meal prep too!
- It’s a true Macro Friendly Cheesecake without tasting like one.
- It pairs beautifully with other recent favorites, like my high protein egg muffins for breakfast!
- You don’t need special equipment; if you can blend something, you can nail this. We’ve got a great tip coming up for getting rid of those pesky lumps, similar to how I get my cottage cheese scrambled eggs perfectly smooth.
Incredible Protein Content for Your Goals
Let’s talk numbers because they are impressive! Every slice delivers about 35 grams of pure protein power. That’s enough to keep you feeling wonderfully satisfied for hours after dessert. When I want a truly satisfying protein snax that keeps me on track, this is what I turn to. It makes hitting those daily targets so sneaky and delightful!
The Secret to a Creamy Protein Cheesecake Texture
The true magic—and part of why this is a must-try healthy cheesecake dessert—is what we substitute for all that heavy cream cheese. We rely heavily on well-blended cottage cheese and just a touch of Greek yogurt. That combination delivers that thick, rich mouthfeel we expect from classic cheesecake, but we get way more protein and less saturated fat. It’s brilliant!
Gathering Ingredients for Your Protein Cheesecake
Now that we know this macro friendly cheesecake is going to be amazing, we need to assemble our troops! Getting your ingredients ready, or mise en place as Richard calls it, is half the battle, especially when we need that cottage cheese perfectly prepared. This recipe is wonderfully straightforward once you have your list ready. Having all this high protein goodness on hand just feels right for a truly satisfying treat.
Crust Components
Don’t worry, this crust is completely gluten free cheesecake friendly! We skip the sugary graham crackers and go right for almond flour. You’ll need:
- 1 cup almond flour
- 1/4 cup erythritol or preferred sweetener
- 4 tablespoons melted coconut oil
Filling Ingredients for the Baked Protein Cheesecake
This is where the magic happens, folks! The key to this whole recipe, truly the biggest tip for success, is step one for the filling: the cottage cheese must be utterly drained. I mean, squeeze the moisture out of it! If you skip that draining step, your beautiful cheesecake won’t set properly, and we don’t want that gummy texture. For the actual filling, gather these items:
- 16 ounces low-fat cottage cheese, drained well
- 8 ounces light cream cheese, softened
- 1/2 cup vanilla whey protein powder
- 1/2 cup plain non-fat Greek yogurt
- 1/2 cup erythritol or preferred sweetener
- 2 large eggs
- 1 teaspoon vanilla extract
- Pinch of salt
If you want to check out another one of my easy, smooth protein recipes while you’re gathering things, my smooth chocolate pudding uses a very similar technique to get that velvety feel!
Step-by-Step Instructions for the Baked Protein Cheesecake
The baking process for this healthy cheesecake dessert might seem like a lot of steps, but honestly, once the blender is running, it flies by! The most important thing here is patience, especially during the cooling phase. Richard is so insistent on this next point—it prevents those sad, cracked tops we all hate to see on a cheesecake. We never want our beautiful dessert with high protein content to look like a dried riverbed! If you want a truly dense and creamy result, check out how we handle slow baking for our classic New York Cheesecake for inspiration.
Prepping the Crust and Oven
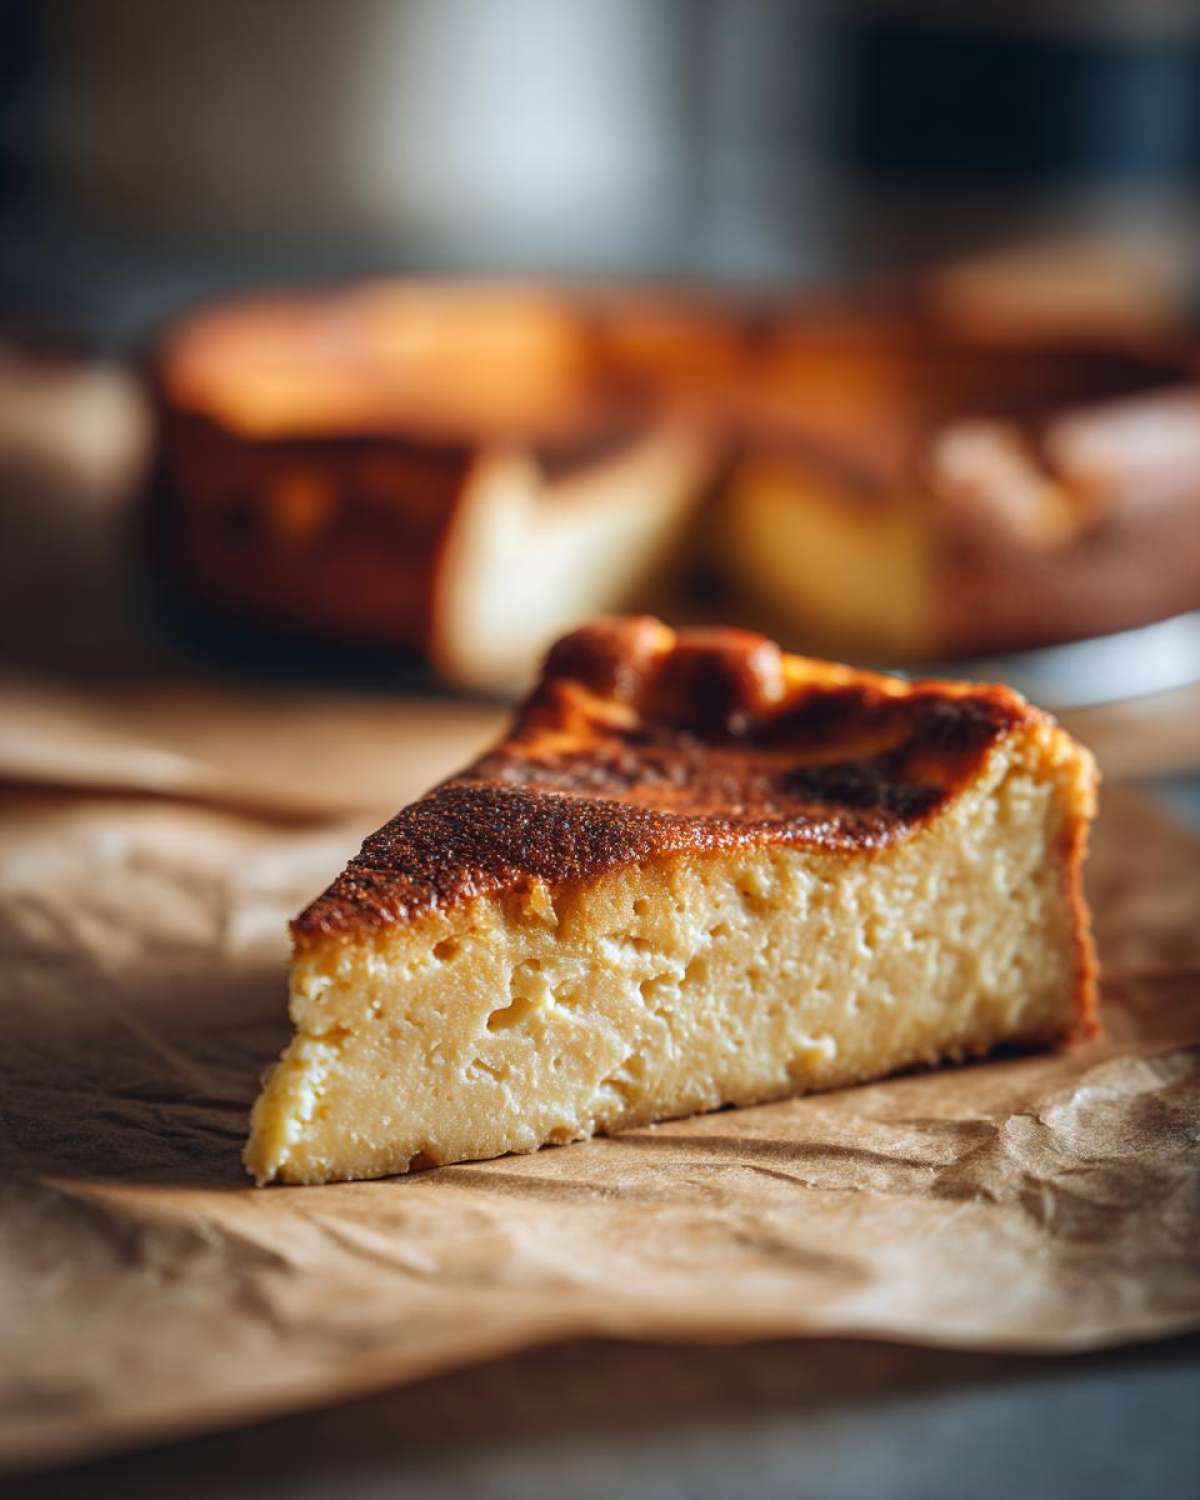
First things first, let’s get the oven warm—we need it at 325°F (160°C). While that heats up, mix your crust ingredients until they look like damp sand. Press that mixture firmly into the bottom of a lightly greased 7-inch springform pan. Blind bake this crust for just 8 minutes. This sets it up nicely so it doesn’t get soggy under the filling. Once it’s done, pull it out and let it cool while we focus on the main event.
Achieving the Perfect Creamy Protein Dessert Filling
This is the critical moment for texture! Take that well-drained cottage cheese—and I mean really well-drained—and send it into your food processor first. Blend it until it’s looking silkier than a satin ribbon. Then, add the rest of your filling ingredients: the cream cheese, your vanilla protein powder, the yogurt, sweetener, eggs, and vanilla. You need to scrape the sides down a few times to make sure everything gets incorporated. Blend it until it looks like a completely smooth, luscious batter. No lumps allowed!
Baking and Cooling the Protein Cheesecake
Pour that beautiful batter right over your warm crust. It needs about 45 to 55 minutes in the oven. You’re looking for the edges to be set, but don’t let the center get stiff—it should still have a slight jiggle, like a cute, firm jelly. Now for Richard’s secret survival tip: When the time is up, turn the oven OFF. Crack the door open just a tiny bit and let the cheesecake sit in that warm, residual heat for a full hour. Trust me, this gentle cooldown stops the cake from collapsing or cracking as it adjusts to room temp. After that hour, whisk it out onto a rack to finish cooling before it heads to the fridge!
Tips for Success with Your Cottage Cheese Cheesecake Recipe
Now, Richard always says that a recipe is just a suggestion until you taste it, but for this cottage cheese cheesecake recipe, I have a few non-negotiables that ensure your result is the most wonderful, creamy protein dessert imaginable. The biggest secret, written right on my original card, is about that cottage cheese.
You absolutely must drain the liquid thoroughly. I mean it! Before it even thinks about hitting the food processor, lay it between a few layers of paper towels and gently press out any excess water. That step guarantees you don’t end up with a watery filling. If you’re in a real rush, you can skip the baking entirely and turn this into a wonderfully satisfying no-bake protein cheesecake! If you go that route, just know it needs a minimum of 8 hours in the fridge to firm up like it should.
Also, if you happen to not like vanilla protein powder, don’t fret! You can swap it out for unflavored powder, but then I suggest adding a full tablespoon of lemon juice to the filling. That little bit of acid brightens everything up beautifully, much like the citrus notes in my no-bake Biscoff cheesecake.
Making Ahead and Storing Your Dessert with High Protein Content
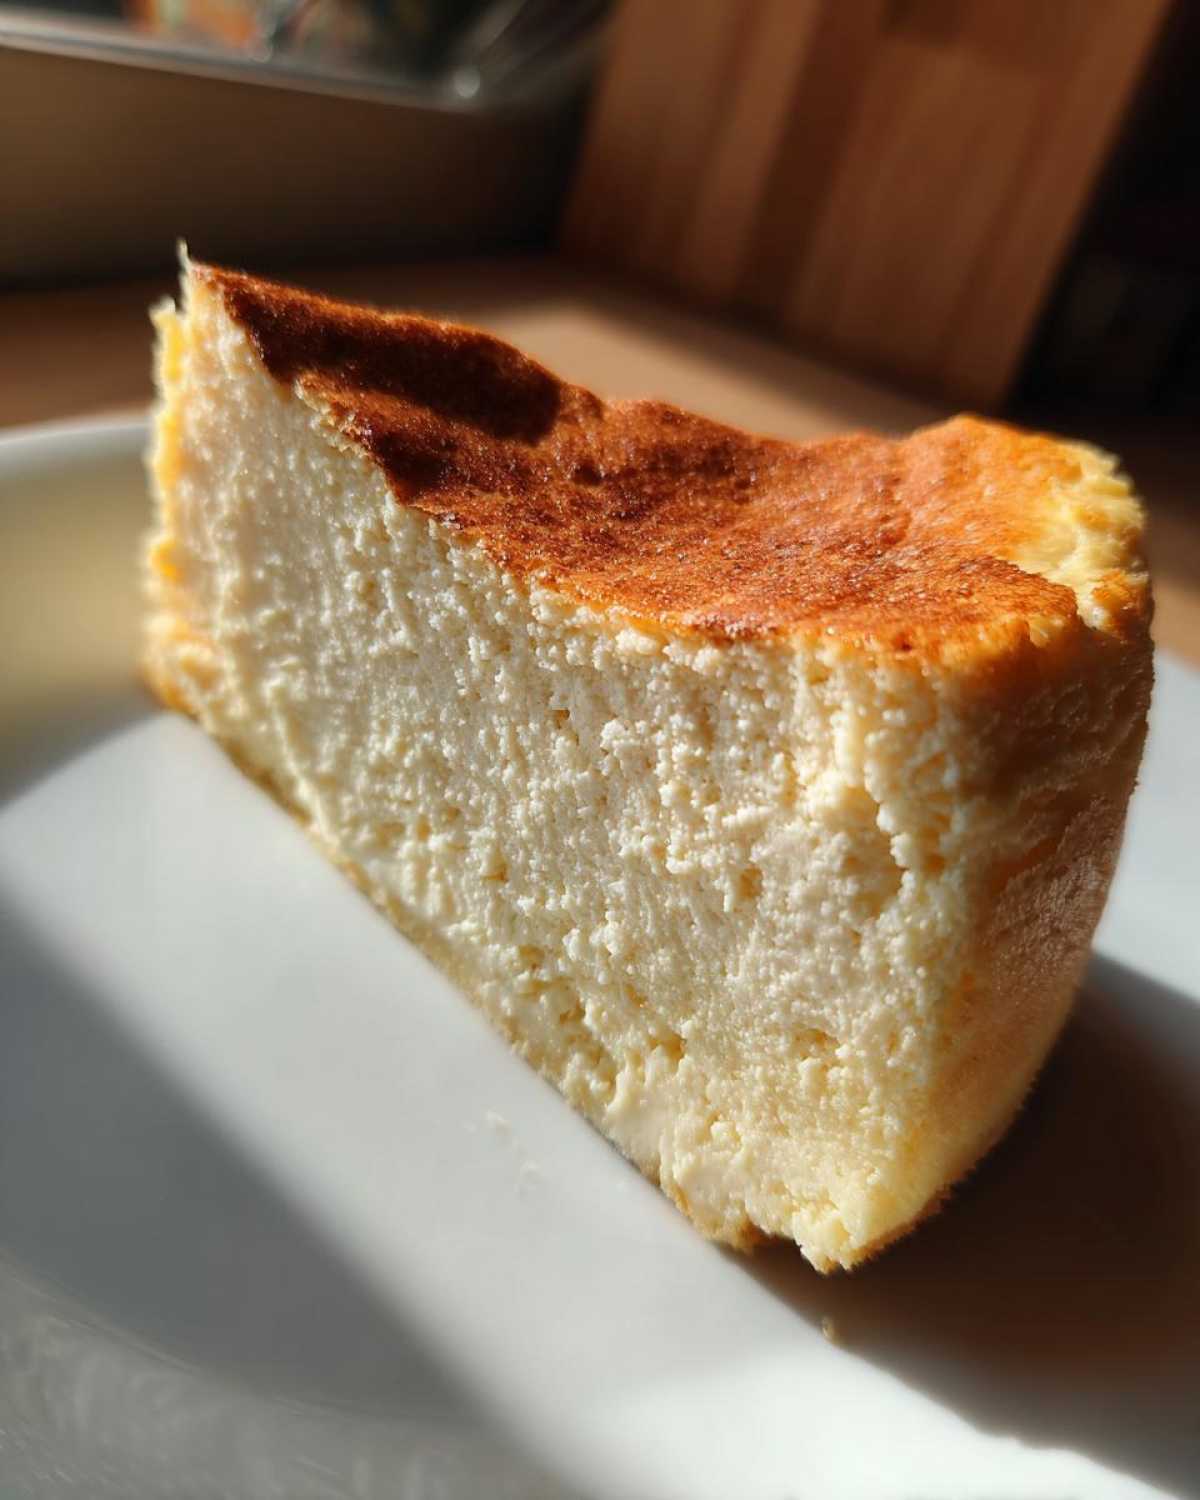
Oh, this is the best part about a truly well-made baked protein cheesecake—it tastes even better the next day! Richard and I learned long ago that desserts relying on cheese or cream improve significantly after they’ve had time to rest and let those flavors really marry together.
Because this recipe is so fantastic for keeping things on track, it becomes a real lifesaver for protein dessert meal prep. You can whip this up on a Sunday, and you have a satisfying, high-protein treat ready for the week. But setting it up takes a little know-how!
You simply cannot rush the setting phase. After you take the cake out of the oven and let it cool on the counter completely, you must cover it gently. Then, it needs to go straight into the refrigerator. You need a minimum of six hours, but honestly, if you can wait overnight—do it! That overnight chill time is what transforms the texture from slightly soft into that dense, velvety slice. You’ll find the texture after chilling is absolutely perfect for that protein chia pudding level of firmness, just in cheesecake form.
When you store the baked cheesecake, keep it covered in the springform pan or transfer it to an airtight container. It lasts beautifully in the fridge for about five days, which means you’ve got a delicious, macro friendly cheesecake ready whenever that sweet craving hits! If you’re short on time and wish you could make something similar in a jar, you might want to check out how others create those handy high protein cheesecake jars—they are brilliant for grab-and-go!
Serving Suggestions for This Light Cheesecake Recipe
Even though this protein cheesecake is pretty perfect just on its own—seriously, 35 grams of protein!—sometimes a little garnish makes everything feel more celebratory. Richard likes to treat it like a blank canvas. Since we worked so hard to keep the base sugar-free and light, we want to make sure our toppings aren’t bringing back all the guilt, right?
For this wonderfully light cheesecake recipe, I stick to toppings that enhance that natural vanilla and dairy tang. Fresh berries are always my first choice. They add a pop of color and just the right amount of natural sweetness. Think sliced strawberries or a handful of plump blueberries.
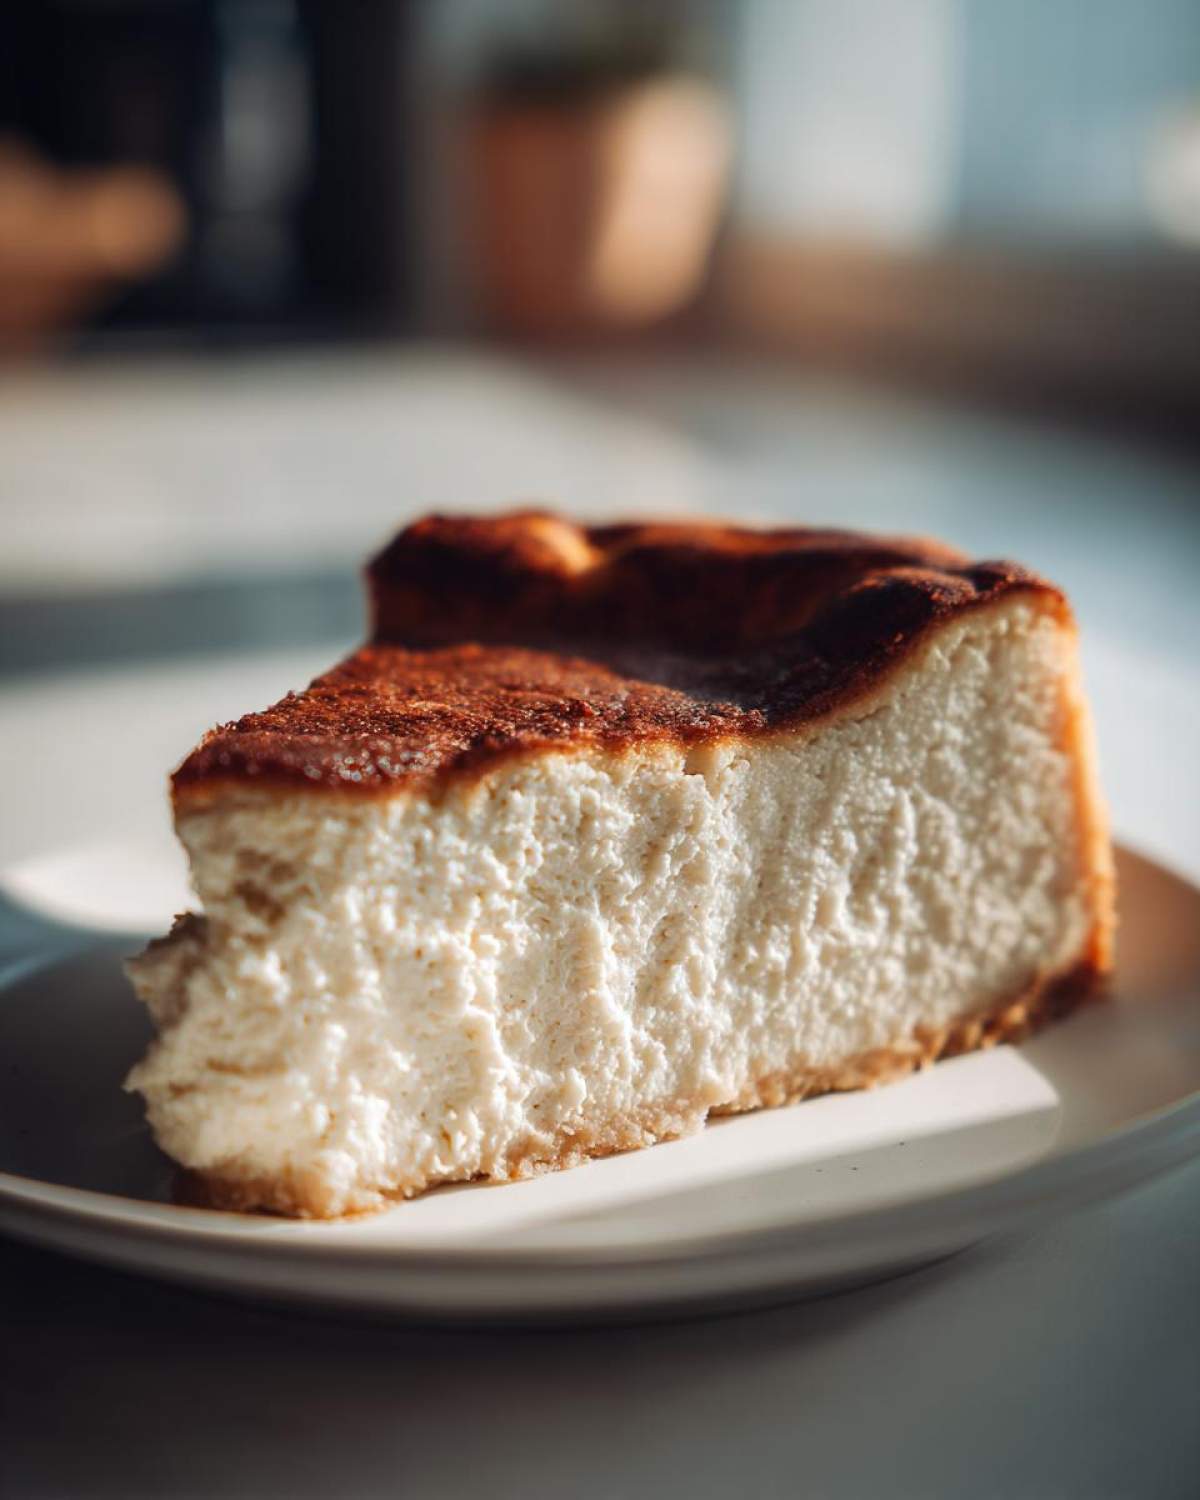
If you are looking for a little extra drizzle for that finished look, skip the heavy caramel sauces. Instead, a very light drizzle of a quality sugar-free maple syrup works wonders. It gives you that sweet pull without the sugar spike. Or, if you want something a bit richer that pairs well with the texture, you can make an easy, stabilized topping. I use a very small amount of Greek yogurt mixed with a dash of vanilla and a touch of sweetener, which you can see how I stabilize for my strawberry shortcake cups if you want a slightly thicker dollop. It transforms this into a truly stunning guilt free cheesecake treat!
Frequently Asked Questions About Protein Cheesecake
It’s always lovely seeing what questions pop up when you are all trying to recreate my recipes! Richard jokes that the comments section is my new favorite mystery novel. I’ve gathered a few of the most common things folks ask about this satisfying dessert with high protein content. I hope these clear things up so you can bake with confidence!
Can I make this a No Bake Protein Cheesecake?
Oh, yes, you absolutely can skip the oven and make this an easy no bake protein cheesecake! The process is similar to how I make my no-bake cups. You just skip the crust baking, combine all the filling ingredients, blend until perfectly smooth, and then pour it all into your prepared pan. The trade-off is patience: instead of 50 minutes baking, you need to chill it for a minimum of 8 hours, but truly, overnight is best for that perfect dense texture!
What sweetener works best for a Sugar Free Protein Dessert?
In this main recipe, I swear by erythritol. It measures cup-for-cup almost like sugar and bakes reliably well without adding any weird aftertaste, which is vital for a sugar free protein dessert. However, if you prefer something else, you can certainly substitute it with a monk fruit/erythritol blend. Just make sure you are using a granular sweetener designed for baking, not just the liquid drops, unless you adjust the other liquids in the recipe!
How do I ensure my High Protein Cheesecake Recipe is truly gluten-free?
That’s an important consideration, and I’m happy to confirm this high protein cheesecake recipe is naturally gluten-free! The crust uses almond flour exclusively, which is my favorite substitute here. Just remember, when you’re baking for sensitivities, you always want to double-check your protein powder container to make sure it was processed in a dedicated gluten-free facility, just to be perfectly safe. That’s one of those little details Richard reminds me about when we are documenting our kitchen notes!
If any other questions pop up while you’re baking, don’t hesitate to leave a comment below, or maybe brush up on the custard ratios I use for my protein French toast—sometimes tips cross over!
Nutritional Estimate for This Low Calorie Cheesecake
Now, I know we’ve been focusing on flavor and texture, but just look at how this low calorie cheesecake stacks up nutritionally! Isn’t that just wonderful? Richard had me write down all the counts because when you’re eating something this delicious, it’s nice to know exactly what you’re fueling your body with.
Please remember, because we all use slightly different brands of protein powder or low-fat cheese, these numbers are a close estimate based on the exact ingredients listed above. If you adjust the sweeteners or protein type, the final tally might shift just a bit. But for tracking your goals, this gives you a fantastic baseline for a truly macro friendly cheesecake slice!
This is what we are looking at per serving (which is one generous slice, yielding 8 servings total):
- Calories: 245
- Protein: 35g (Can you believe that? 35g!)
- Sugar: 4g
- Fat: 12g
- Carbohydrates: 12g
- Fiber: 2g
See? It’s a powerhouse! You get all that creamy satisfaction, a huge protein hit to keep you full, and the sugars are naturally low. It’s the perfect guilt free cheesecake treat to enjoy after a good day. If you enjoyed reviewing these numbers, you might also appreciate the careful nutritional breakdown I did for my moist high protein egg muffins—they are meal prep heroes!
Share Your Protein Cheesecake Creations
Well, there you have it, my friends! We have traveled all the way from moist batter to perfectly chilled perfection. Now that you’ve made this Ultimate Healthy Baked Protein Cheesecake, I absolutely insist you tell me all about it!
This kitchen diary we keep here at Delish Diarist is truly a shared space. Richard and I love hearing from you all—it helps us know which memories we are successfully bringing back to life for you. Did you manage to get that perfect smooth filling? Did you manage to wait the full overnight chill time? (I rarely do, if I’m being honest!)
Please, drop a rating down below—five stars if it transported you straight back to a creamy, satisfying moment! And if you snapped a lovely photo of your finished, gorgeous slice, share it on social media and tag us. It warms my heart to see our little slice of kitchen memory come to life in your homes.
If you’re already brainstorming your next batch of healthful treats, perhaps you’ll enjoy exploring more of my recipes over at the main blog page. And if you experimented with making individual ones in jars, I’d love to see how those turned out, similar to this lovely concept for protein cheesecake jars! Happy baking, dear ones!
PrintUltimate Healthy Baked Protein Cheesecake (35g Protein Per Slice)
You asked for a healthy cheesecake that tastes indulgent. This baked protein cheesecake uses cottage cheese and Greek yogurt to deliver a creamy texture and packs over 35 grams of protein per serving. It is a macro friendly cheesecake perfect for your fitness goals.
- Prep Time: 20 min
- Cook Time: 50 min
- Total Time: 70 min
- Yield: 8 servings
- Category: Dessert
- Method: Baking
- Cuisine: American
- Diet: Low Fat
Ingredients
- 1 cup almond flour
- 1/4 cup erythritol or preferred sweetener
- 4 tablespoons melted coconut oil
- 16 ounces low-fat cottage cheese, drained well
- 8 ounces light cream cheese, softened
- 1/2 cup vanilla whey protein powder
- 1/2 cup plain non-fat Greek yogurt
- 1/2 cup erythritol or preferred sweetener
- 2 large eggs
- 1 teaspoon vanilla extract
- Pinch of salt
Instructions
- Preheat your oven to 325°F (160°C). Lightly grease a 7-inch springform pan or line it with parchment paper.
- Prepare the crust: In a bowl, mix the almond flour, 1/4 cup sweetener, and melted coconut oil until combined. Press this mixture firmly into the bottom of the prepared pan. Bake the crust for 8 minutes, then remove it from the oven.
- Prepare the filling: In a food processor, blend the drained cottage cheese until completely smooth. You want no lumps remaining.
- Add the light cream cheese, protein powder, Greek yogurt, 1/2 cup sweetener, eggs, vanilla extract, and salt to the food processor. Blend until the mixture is perfectly smooth and creamy. Scrape down the sides as needed.
- Pour the filling over the pre-baked crust in the springform pan.
- Bake for 45 to 55 minutes. The edges should look set, but the center should still have a slight wobble.
- Turn off the oven, crack the door open slightly, and let the cheesecake cool inside the oven for 1 hour. This prevents cracking.
- Remove the cheesecake from the oven and let it cool completely on a wire rack.
- Cover the cheesecake and refrigerate for at least 6 hours, or preferably overnight, before slicing and serving.
Notes
- For the smoothest texture, make sure your cottage cheese is very well-drained before blending. You can press it between paper towels to remove excess liquid.
- If you prefer a no-bake version, chill the filling mixture for at least 8 hours without baking.
- You can substitute vanilla protein powder with unflavored protein powder and add 1 tablespoon of lemon juice for a slight tang.
- This recipe makes a satisfying protein dessert perfect for meal prep.
Nutrition
- Serving Size: 1 slice
- Calories: 245
- Sugar: 4
- Sodium: 280
- Fat: 12
- Saturated Fat: 6
- Unsaturated Fat: 6
- Trans Fat: 0
- Carbohydrates: 12
- Fiber: 2
- Protein: 35
- Cholesterol: 65