

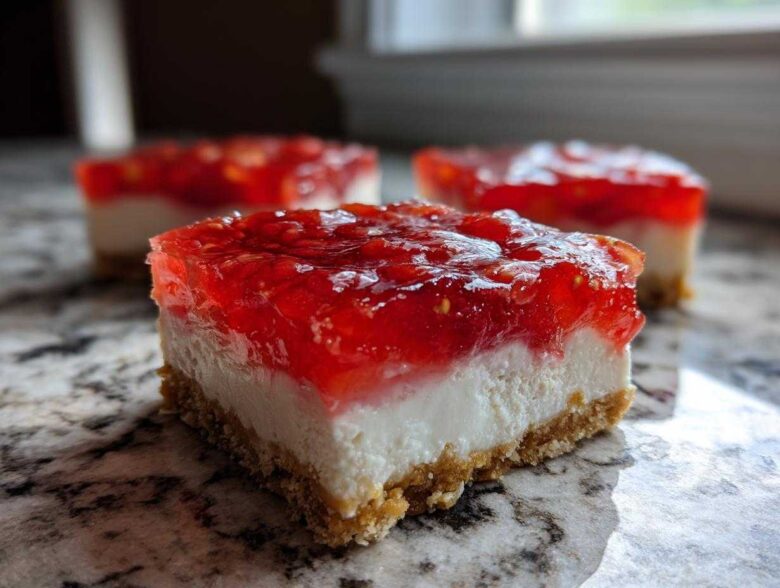
Oh my gosh, if you are looking for the absolute *easiest* dessert to bring to a summer cookout or a friend’s party, stop looking right now! These homemade No-Bake Strawberry Pretzel Dessert Bars are truly legendary in my family. They hit all the right notes, trust me: you get that perfect salty crunch from the pretzel base, followed by a cloud of sweet, creamy filling, and then the bright, jiggly burst of sweet strawberry on top. It’s the ultimate sweet and salty bars experience, and the best part? My oven doesn’t even need to get warm!
I swear, every time I make a batch, they vanish instantly. I mean, who doesn’t love a chilled strawberry dessert that pulls apart into perfect, portable squares? This recipe is such a time-saver when I’m busy, but it tastes like I spent all day perfecting those layers. I’ve been taking these to gatherings since I learned how to crush pretzels, and they always bring back memories of huge childhood gatherings where everyone crowded around the cooler for the next square. If you want the full rundown on this amazing recipe, check out the details right here!
Ready to dive into making the best Layered Strawberry Dessert you’ve ever tasted? Let’s get this simple, quick strawberry dessert recipe ready!
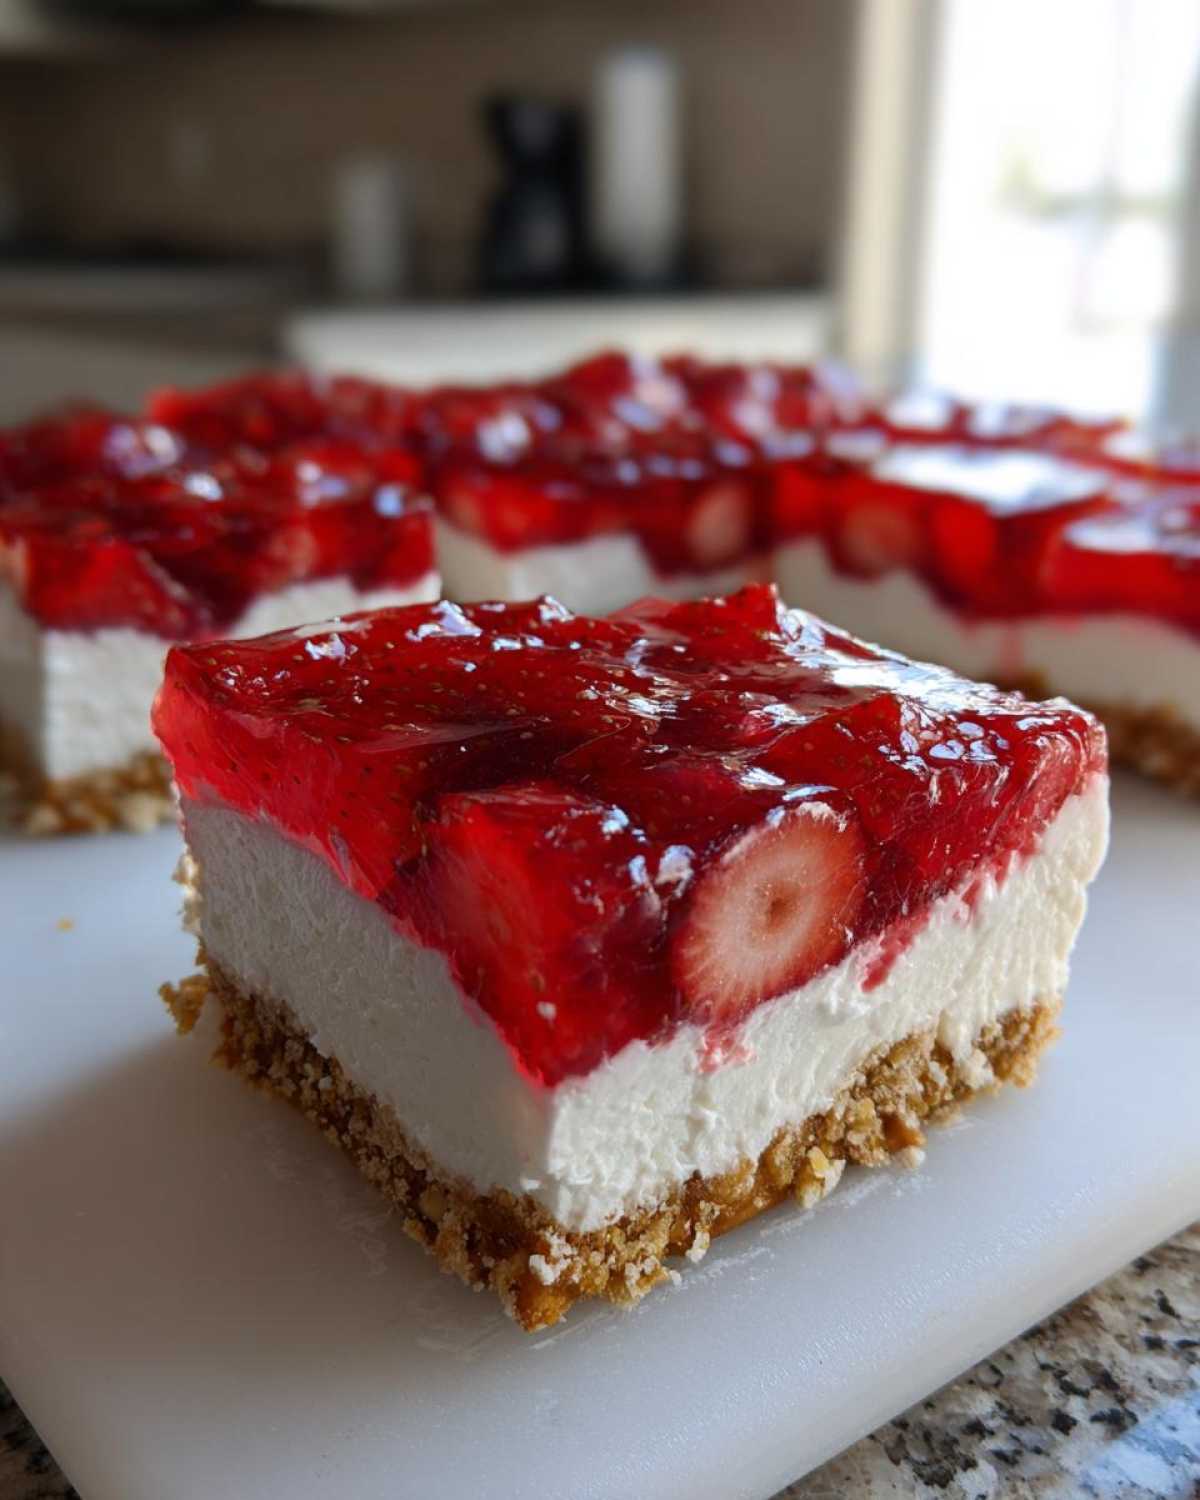
Why You Will Love These No-Bake Strawberry Pretzel Dessert Bars
Honestly, these bars are my go-to for almost every single reason you could think of. They’re just so convenient!
- Zero Heating Required! Forget turning on the oven, especially when it’s already scorching outside.
- They are the perfect Summer Dessert Bars because they must be chilled to set up beautifully.
- The texture is incredible—that salty crush under the sweet cream is just heavenly.
- They slice up so neatly into squares, making them ideal for tossing into a container for any potluck!
Gathering Ingredients for Your Layered Strawberry Dessert
Okay, setting up for these No-Bake Strawberry Pretzel Dessert Bars is so satisfying because it’s all about layers, and you probably have most of this stuff already! The key to getting that perfect texture is making sure your ingredients are exactly how I list them—no winging it here, especially with the cream cheese!
When you’re looking at my ingredient list, you’ll see we are building this bar in three distinct stages. Think of it like building a tiny, delicious, cold cake. Since we aren’t using the oven, every component has to be perfect before it meets the next layer. It’s really simple, but precision with the temperature and texture of these items is what separates a good batch from a showstopper. If you’re looking for other simple creamy treats, you might want to check out my guide for No-Bake Biscoff Cheesecake!
For the Salty Pretzel Crust
This is the foundation, so it needs to be strong! Remember, for the best No-Bake Strawberry Pretzel Dessert Bars base, you need those pretzels *finely* crushed. I mean dust, not chunks—use a food processor or just put ’em in a Ziploc bag and pound away with a rolling pin!
- 1 1/2 cups crushed pretzels
- 1/2 cup unsalted butter, melted (don’t substitute this!)
- 1/4 cup granulated sugar
For the Cream Cheese Filling
This creamy layer is essential for balancing out the saltiness. The absolute number one rule here is that your cream cheese needs to feel soft, like room temperature room temperature. If it’s cold, you’ll end up with tiny cream cheese lumps, and nobody wants that!
- 8 ounces cream cheese, softened
- 1 cup powdered sugar
- 1 cup frozen whipped topping, thawed (make sure it’s fully thawed but still cold)
For the Strawberry Gelatin Topping
This is where the magic happens for a genuinely great Layered Strawberry Dessert. I usually grab frozen sliced strawberries because they are already easy to work with, and they thaw perfectly while the gelatin is cooling down, which saves me so much time! We can discuss swapping flavors later, but for now, stick with the strawberry packet.
- 1 package (3 ounces) strawberry flavored gelatin (Jell-O works great)
- 1 cup boiling water
- 1 cup cold water
- 1 cup frozen sliced strawberries, thawed
Step-by-Step Instructions for Easy Pretzel Dessert Bars
Alright, people, this is where the assembly starts! Since we aren’t baking, the next few steps are all about timing and making sure your layers are distinct and firm. If you follow this sequence for your Easy Pretzel Dessert Bars, you’ll get that perfect crunch-and-cream harmony. We are moving fast, so have your mixing bowls ready! If you are looking for other layered, no-bake fun, you should peek at my guide for no-bake peanut butter bars—they are just as straightforward!
Preparing and Chilling the Pretzel Crust
First up, the base for our No-Bake Strawberry Pretzel Dessert Bars. In a good-sized bowl, mix your crushed pretzels with the melted butter and the granulated sugar until everything looks evenly coated, like damp sand. Now for the most important part of the crust: layering it into your 9×13 dish! You need to press this down *really* hard. I mean, use the bottom of a measuring cup or a flat glass to compact it as firmly as possible. This pressure prevents crumbling later! Once it’s packed tight, slide it into the fridge for a good 30 minutes to firm up while you tackle the next layer.
Creating the Cream Cheese Pretzel Dessert Layer
While that crust is chilling out, grab your stand mixer or an electric hand mixer—though you can do this by hand if you’re feeling strong! Beat the softened cream cheese and the powdered sugar until it’s completely smooth and creamy. Seriously, check for any lumps! Once you’re satisfied, gently fold in your thawed whipped topping using a spatula. Don’t overmix this step, or you’ll deflate all that airy fluffiness! Spread this gorgeous, thick filling evenly over your chilled pretzel crust. Back into the fridge she goes while we handle the Jell-O.
Setting the Strawberry Topping for No Oven Required Dessert
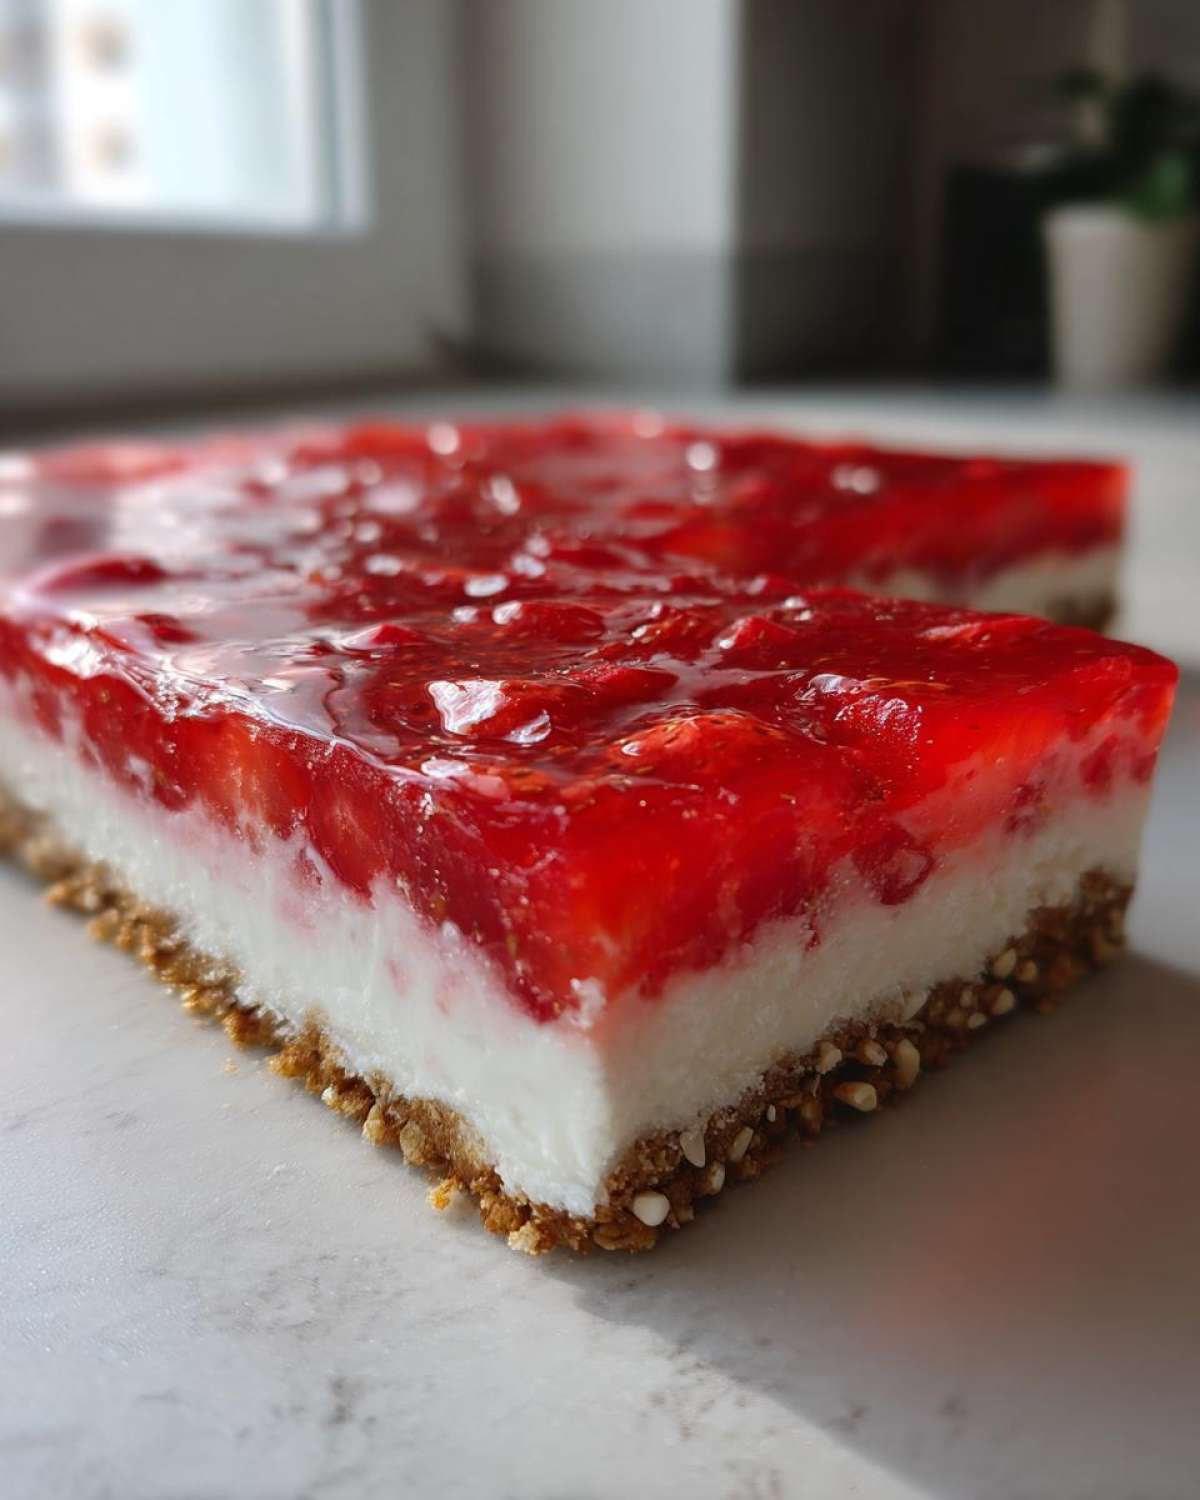
This is where people sometimes mess up, so listen close! You need to dissolve your strawberry gelatin completely in the cup of boiling water—stir it for a full two minutes until zero grains remain. Then, stir in the cold water. Now, here’s the tip: you cannot pour this directly over the cream cheese layer, or it will melt it into a soupy mess! You need to let this mixture cool at room temperature for about 15 to 20 minutes, stirring every few minutes. It should look slightly thickened, maybe like thick syrup, but still pourable. Once it hits that stage, gently fold in your thawed sliced strawberries and then spoon this mixture carefully over your cream filling layer. Distribute it gently so you don’t dig into the white layer beneath!
Final Chill Time for Perfect No-Bake Strawberry Pretzel Dessert Bars
The hardest part of this whole process is waiting! We need these Chilled Strawberry Dessert bars to be rock solid. Cover the pan loosely with plastic wrap and pop it into the refrigerator. You need a minimum of 4 hours, but honestly, overnight is always better for the firmest, cleanest-cutting squares. Don’t try to slice them early, or you’ll end up with a mushy disaster!
Tips for Success Making No-Bake Strawberry Pretzel Dessert Bars
Even though these are incredibly easy, there are just a few little tricks I’ve learned over the years to guarantee they come out absolutely perfect every single time. You want those clean slices, right? You want that crust to stay put? Me too! So, here are my absolute must-dos for making the very best Easy Pretzel Dessert Bars.
First, let’s talk pretzels again. If your crust seems crumbly or just won’t stick together, it’s usually because the pretzels weren’t crushed finely enough. You want almost a powder mixed with those fat crumbles. Think of it like wet sand on the beach—it packs down hard. Use the back of a heavy mug to really compress that crust layer when you press it into the pan after mixing it with the butter and sugar.
My big personal tip, especially if you make these often, involves keeping things cold. When you fold the whipped topping into the cream cheese mixture, you need that topping to be cold but still foldable. If it sits out too long while you’re beating the cream cheese, you lose some of that lovely volume, and the middle layer ends up a little too dense. Keep the cream cheese mixture in the fridge while you prepare the Jell-O layers!
And here’s a life-saver for presentation: cutting the bars. To get those beautiful, clean squares, don’t use your everyday knife first. Once the bars are completely set (after that four-hour minimum chill!), run a long, thin knife under hot water for about ten seconds. Wipe it completely dry, and then make your first cut. Rinse, dry, cut again. This hot, clean blade glides right through the gelatin and cream layers without dragging or tearing. It makes all the difference when you’re serving up these Sweet and Salty Bars!
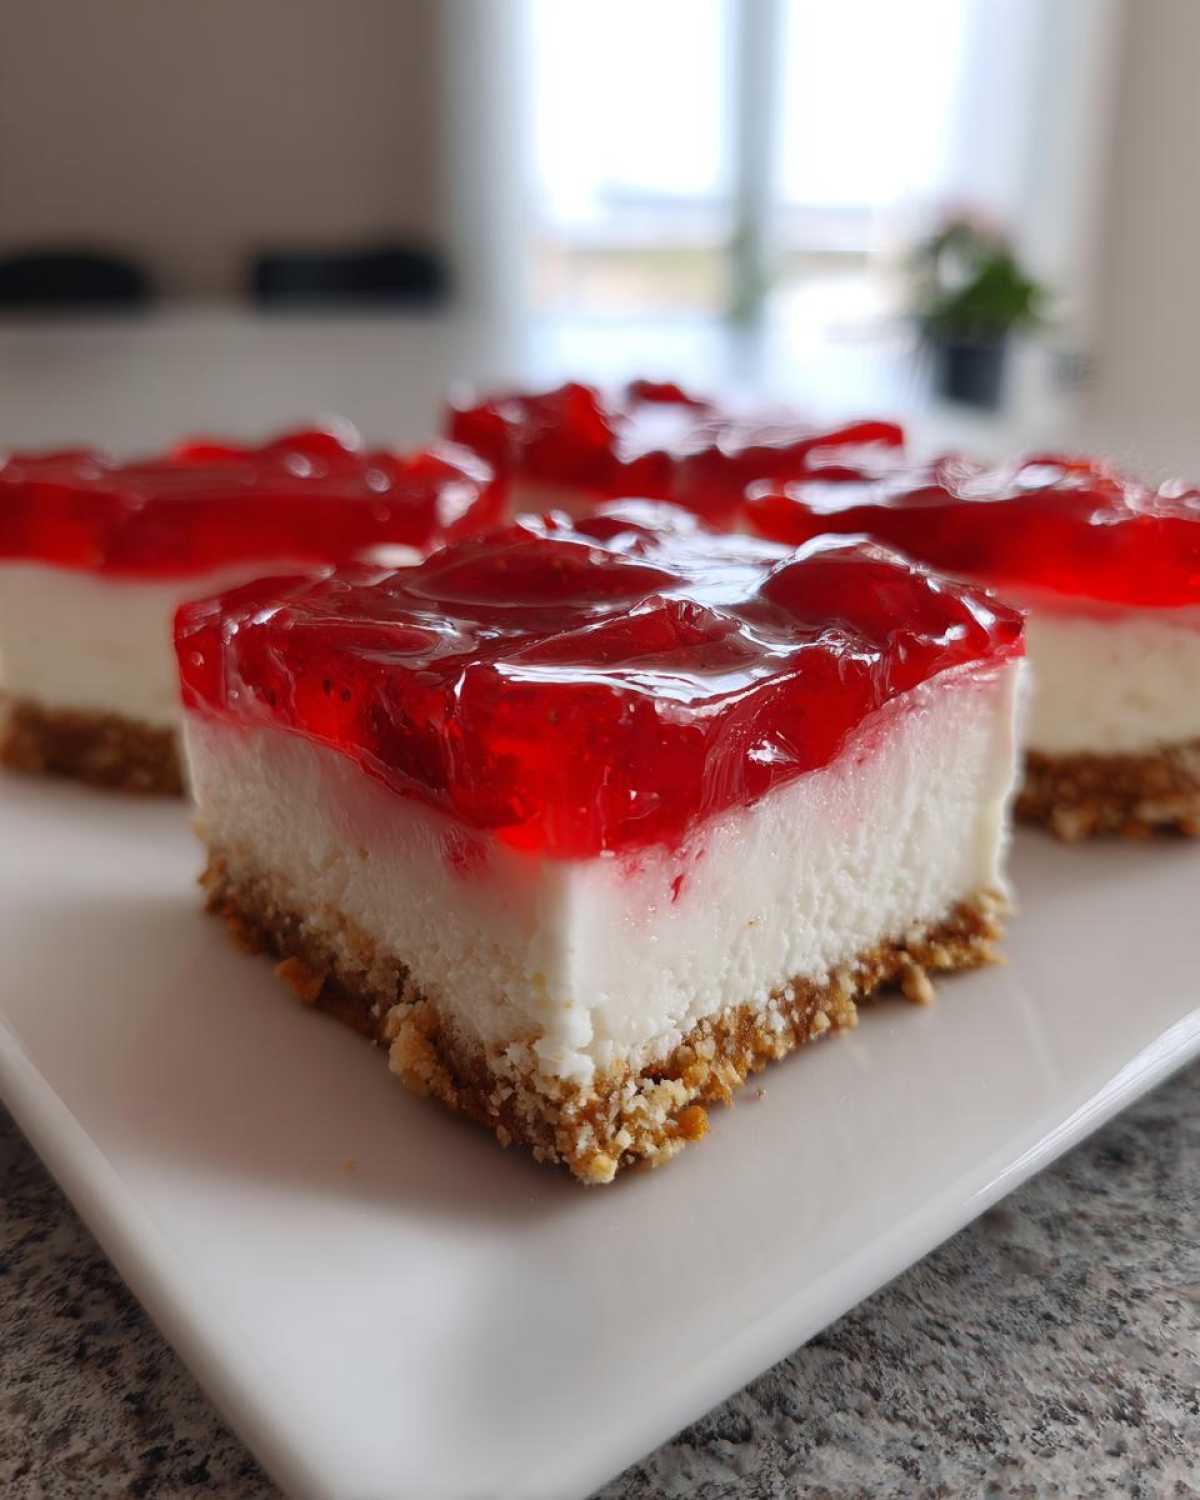
Finally, remember that step where the gelatin has to cool down? That’s non-negotiable! You are aiming for a mixture that’s slightly thickened—maybe the consistency of unset egg whites. If it’s too hot, the heat transfers right through the cold cream layer and melts it. If it’s too cold, you get chunks of semi-set Jell-O in your lovely fruit layer. I actually trust the smell and slight stickiness more than the clock, but that 15 to 20 minutes usually does the trick. If you haven’t tried a no-bake treat like this before, you absolutely need to see how simple it is. For more chilly treats, take a peek at my guide for my no-bake strawberry cheesecake cups—they are single-serving perfection!
Ingredient Notes and Substitutions for Cream Cheese Pretzel Dessert
I know sometimes you’re staring at your pantry thinking, “I really want to make those Cream Cheese Pretzel Dessert bars, but I’m missing that one thing!” Don’t panic! While I always champion sticking to the original recipe for the very best results, these bars are surprisingly forgiving if you need to make a quick swap. Just remember, the crust is the area where substitutions can sometimes sabotage that perfect salty crunch.
Let’s talk about the pretzels first. The recipe calls for crushed pretzels, and generally, the standard, thin, salted pretzels work like a charm because they give you a nice, uniform crumb when crushed. If you happen to only have the thick pretzel rods, you should definitely crush those down even finer than usual! Because rods are denser, if you leave chunks, your crust might end up a bit too chunky or unevenly compacted. Another thing to watch for is saltiness; make sure you don’t use unsalted pretzels unless you’re planning to add an extra pinch of salt to the crust mix, because that salty hit is vital!
Now for the fun part: flavor swaps! The strawberry gelatin layer is really flexible. If you don’t have strawberry on hand, you can absolutely substitute it with raspberry or even that classic cherry flavor. They all work beautifully with the cream cheese layer and the salty base. Just follow the same dissolving and cooling instructions. If you want to get really wild, I sometimes use lime gelatin with crushed pineapple added to the top layer—it’s unexpected and delicious! If you’re in the mood for another rich, creamy, no-bake treat that relies on pantry staples, you have to try my recipe for No-Bake Chocolate Eclair Dessert!
Regarding the whipped topping? Please use the real, frozen kind, thawed. Don’t try to make a homemade whipped cream substitute here, because it just won’t hold up to the weight of the gelatin layer when it starts to set. The stability of the frozen topping is what prevents the middle layer from sinking or weeping later on. It might seem like a small detail, but trust me, that airy structure is crucial for beautiful, sliceable No-Bake Strawberry Pretzel Dessert Bars!
Serving Suggestions for Your Sweet and Salty Bars
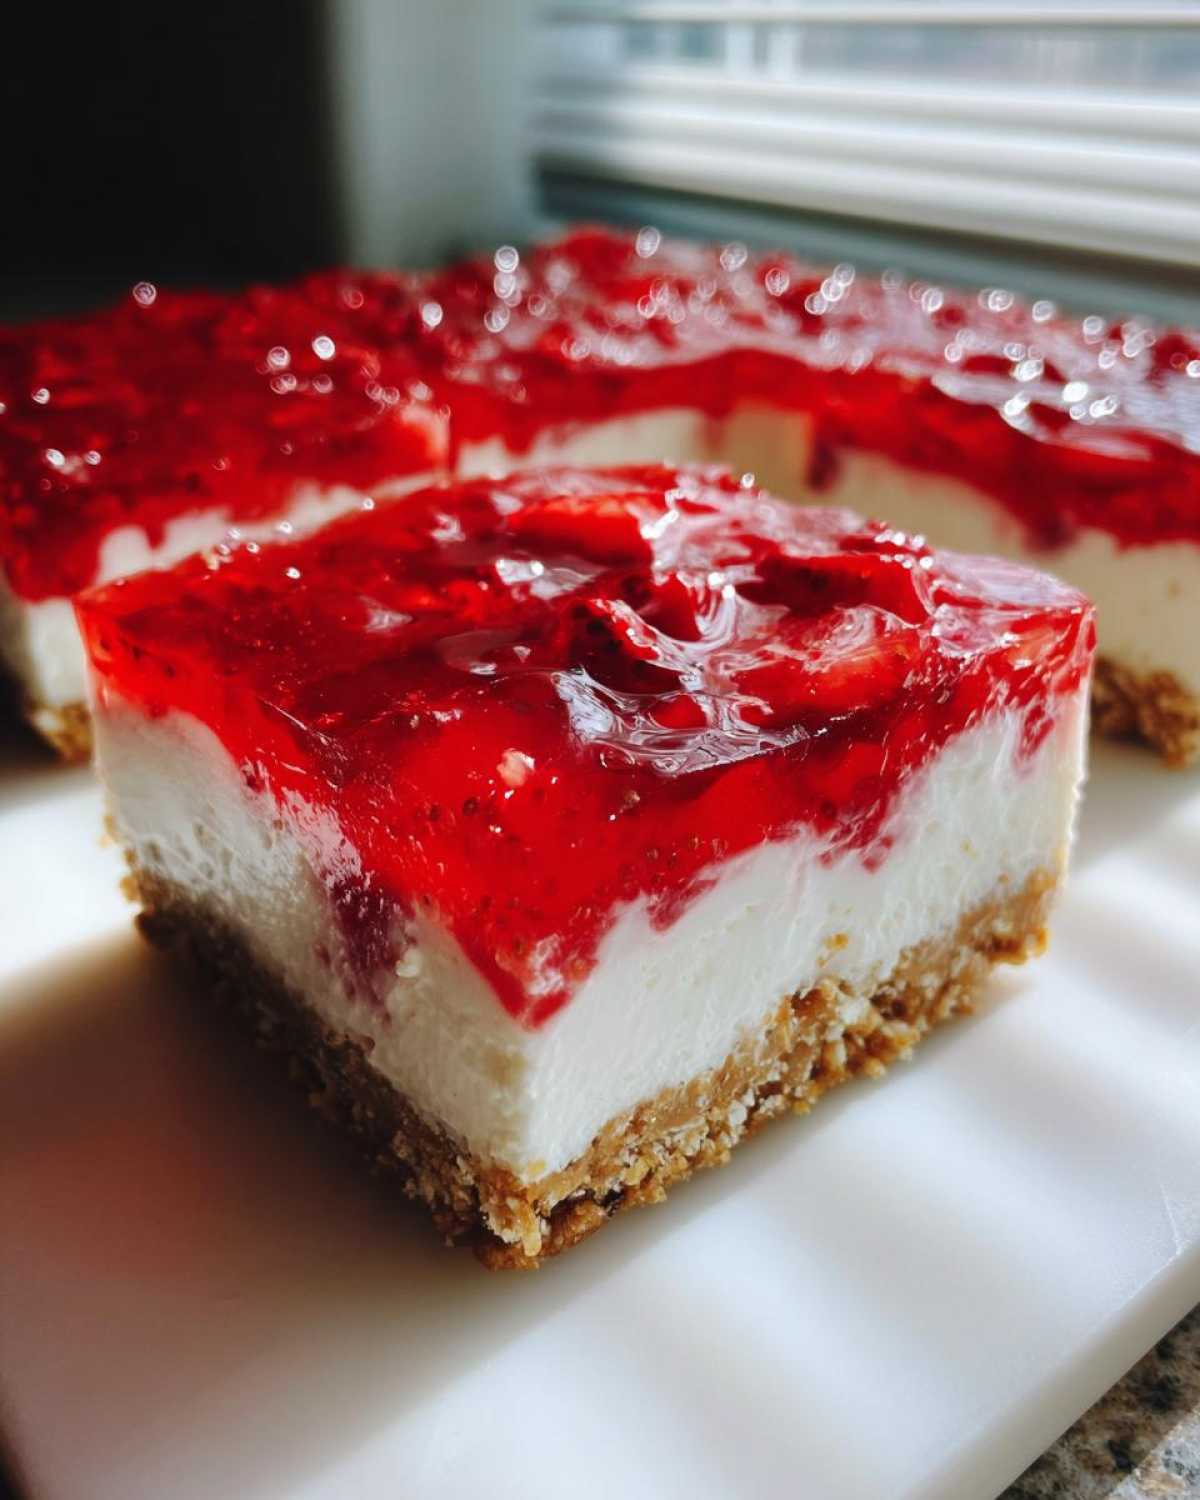
Okay, you finally waited the four hours (or preferably overnight!), and now you have the most gorgeous, jiggly, sweet and salty bars sitting in your fridge. The big question now is how to serve these beauties up without making a mess!
As I mentioned earlier when talking about the chilling time, presentation is all about the cut. This recipe leads itself perfectly to being an Easy Party Dessert because you can grab one square at a time without needing a spoon or plate if you’re careful. But to get those professional-looking edges, you absolutely need the hot knife trick. I like to keep a tall glass of hot water nearby while I’m slicing. Dip that knife in, wipe it totally dry—and I mean *totally* dry—then slice through one bar. Rinse, dry, and repeat for the next cut line. It melts just enough of that gelatin and cream mixture to glide through cleanly!
These Sweet and Salty Bars are perfect for any potluck, picnic, or barbecue. Because they have that Jell-O layer, they hold up well sitting out on a platter for a little while, but they are definitely best served cold! Keep the main dish chilled until just before you need to slice and serve them.
If you’re looking for more incredibly simple and crowd-pleasing recipes perfect for bringing along to neighborhood gatherings, you must check out my complete list of easy party dessert ideas! Honestly, these bars outshine any complicated cupcakes I’ve ever brought, simply because they offer such a fantastic combination of textures in one easy square.
Storage and Make Ahead Strawberry Treat Tips
One of my favorite things about these No-Bake Strawberry Pretzel Dessert Bars is that you can totally get ahead of the game when you’re planning a party! They are one of those magic Make Ahead Strawberry Treats that actually taste *better* the next day once everything has really settled in the fridge. It lets the salty pretzel crust soak up just a tiny bit of moisture from the filling, which is exactly what I like!
For storage, you absolutely must keep these bars covered and cold. If you don’t cover them, the cream cheese layer seems to grab every single unwelcome smell from your refrigerator—nobody wants a hint of last night’s garlic bread on their dessert! Cover the 9×13 dish tightly with plastic wrap or use an airtight container lid. They keep beautifully in the fridge for up to two days. Anything longer than that, and the pretzel crust starts to get a little too soft for my liking, even though the gelatin topping will hold up just fine.
Now, let’s talk about the big freeze—can you freeze these? My honest answer is: I wouldn’t recommend it if you have any choice in the matter. While the gelatin layer might survive, that lovely, airy cream cheese filling doesn’t thaw well. It tends to separate and get a grainy or weeping texture once it warms up. You end up with soggy crust and weeping cream, which totally ruins the point of perfect Chilled Strawberry Dessert bars!
So, for the best results, plan to assemble these the night before you need them, or at the very latest, about 8 hours ahead. That gives you plenty of time for that crucial chilling process to set the Jell-O perfectly. If you’re looking for other make-ahead marvels that keep well in the fridge, you really should check out my tips over on my post about make ahead strawberry treat ideas! Trust me, prepping these a day out saves so much stress on party day.
Frequently Asked Questions About No Bake Strawberry Dessert
I get so many messages about these No-Bake Strawberry Pretzel Dessert Bars, especially from people trying them for the first time! That’s great, because it means people are excited to make them for gatherings! Here are the top things readers always ask me when planning this No Bake Strawberry Dessert.
Can I use fresh strawberries instead of frozen in these Layered Strawberry Dessert bars?
You certainly can! I love using frozen slices because they are already mostly thawed when I mix them into the cooling gelatin, which saves time. If you use fresh strawberries, you need to slice them really, really thin—think about the thickness of a quarter. Make sure you pat them dry once you slice them too, because fresh fruit releases a lot more water than the frozen kind, and we don’t want that excess liquid making our lovely gelatin layer thin out!
What is the best way to ensure a firm crust for my Easy Pretzel Dessert Bars?
This is all about compression, friend! A crumbly crust means you probably skipped the firm pressing step. You need to mix the crushed pretzels with melted butter until it feels like dense, wet sand. Then, use the back of a sturdy measuring cup to press it *hard* into your pan bottom. The key is pressing it while the butter is still warm and pliable so that when it chills for that 30 minutes, it sets like concrete! A solid crust is what makes these the best Easy Pretzel Dessert Bars!
Is this recipe suitable for a large potluck event?
Oh, absolutely! These are basically the champions of the potluck world. They transport beautifully because they are served cold and firm, and you get so many servings out of one pan. If you’re heading to a big event, just make sure you use a good quality, tight-fitting lid on your 9×13 dish. These are fantastic Potluck Strawberry Bars because no one ever expects such a stunning, layered dessert to be this easy to make!
If you have any other burning questions while you’re making these delicious Layered Strawberry Dessert treats, feel free to head over to my general guide on no-bake strawberry desserts—chances are, someone else asked it there, too!
Nutritional Estimates for Your Chilled Strawberry Dessert
Now, I always tell people that if you’re making something this delicious for a party or a gathering, you probably aren’t counting every single calorie—but I know some of you are curious! So, here is a general breakdown of what you can expect from one of these fantastic Chilled Strawberry Dessert bars. Remember, because this is a home recipe, these numbers are just estimates based on the standard ingredients and slicing into 16 even pieces.
I used my best judgment and a handy calculator, but you know how it is with baking—the exact amount of butter you use or which brand of whipped topping you grab means the numbers can shift slightly. Think of this as a solid ballpark figure for your planning!
- Serving Size: 1 bar
- Calories: About 210
- Total Fat: Roughly 12 grams
- Carbohydrates: Around 24 grams
- Protein: About 3 grams
You’ll notice the sodium is pretty low, which is great because we rely on the pretzels for the saltiness, not an added box of salt! Even with the cream cheese and the sugar, these No-Bake Strawberry Pretzel Dessert Bars are surprisingly reasonable for a layered treat. They’re definitely a crowd-pleaser that won’t break the calorie bank if you stick to just one square!
If you’re trying to pump up the protein in your overall diet, perhaps looking at alternatives to the cream cheese layer for future recipes, you might find my discussion on protein chia pudding ratios interesting, but for this classic, rich dessert, we stick to the good old cream cheese!
PrintNo-Bake Strawberry Pretzel Dessert Bars
Make these easy, layered dessert bars featuring a salty pretzel crust, a creamy filling, and a sweet strawberry topping. This recipe requires no oven.
- Prep Time: 25 min
- Cook Time: 0 min
- Total Time: 4 hr 25 min
- Yield: 16 servings
- Category: Dessert
- Method: Chilling
- Cuisine: American
- Diet: Vegetarian
Ingredients
- 1 1/2 cups crushed pretzels
- 1/2 cup unsalted butter, melted
- 1/4 cup granulated sugar
- 8 ounces cream cheese, softened
- 1 cup powdered sugar
- 1 cup frozen whipped topping, thawed
- 1 package (3 ounces) strawberry flavored gelatin
- 1 cup boiling water
- 1 cup cold water
- 1 cup frozen sliced strawberries, thawed
Instructions
- Combine crushed pretzels, melted butter, and 1/4 cup granulated sugar in a bowl. Press the mixture firmly into the bottom of a 9×13 inch baking dish. Chill the crust for 30 minutes.
- In a separate bowl, beat the softened cream cheese and powdered sugar until smooth. Gently fold in the thawed whipped topping. Spread this cream cheese mixture evenly over the chilled pretzel crust. Return the dish to the refrigerator while you prepare the topping.
- In a medium bowl, dissolve the strawberry gelatin in 1 cup of boiling water. Stir for 2 minutes until completely dissolved. Add 1 cup of cold water and stir well.
- Allow the gelatin mixture to cool at room temperature for about 15 to 20 minutes, stirring occasionally, until it thickens slightly but is not set.
- Gently fold the thawed sliced strawberries into the slightly thickened gelatin mixture. Spoon this strawberry layer carefully over the cream cheese layer.
- Refrigerate the bars for at least 4 hours, or until the gelatin is fully set. Cut into squares before serving.
Notes
- Use finely crushed pretzels for a more compact crust.
- Make sure the gelatin mixture cools enough before adding it to the cream cheese layer, or it will melt the filling.
- You can substitute the strawberry gelatin with raspberry or cherry flavor.
Nutrition
- Serving Size: 1 bar
- Calories: 210
- Sugar: 20
- Sodium: 180
- Fat: 12
- Saturated Fat: 7
- Unsaturated Fat: 5
- Trans Fat: 0
- Carbohydrates: 24
- Fiber: 0
- Protein: 3
- Cholesterol: 35