

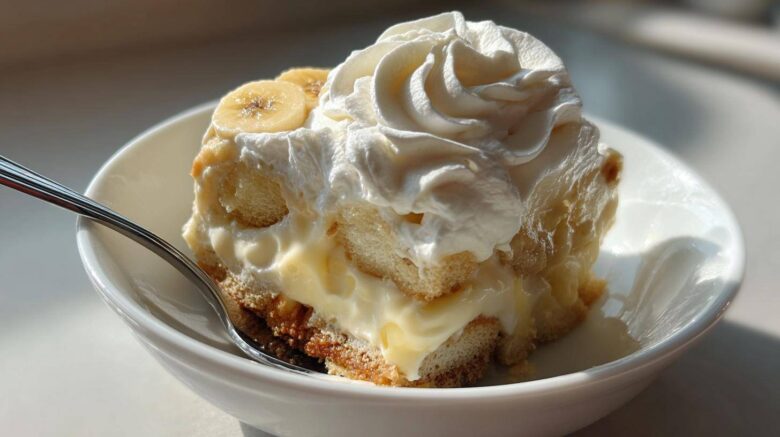
Why This Classic Banana Pudding Recipe Tastes Like Home
There is just something about a spoonful of true Southern dessert. It feels like a warm hug, you know?
This particular Banana Pudding recipe means so much to me. It’s pure comfort food.
For Richard and me, it brings back memories of quick family desserts. We needed something simple yet special after big meals.
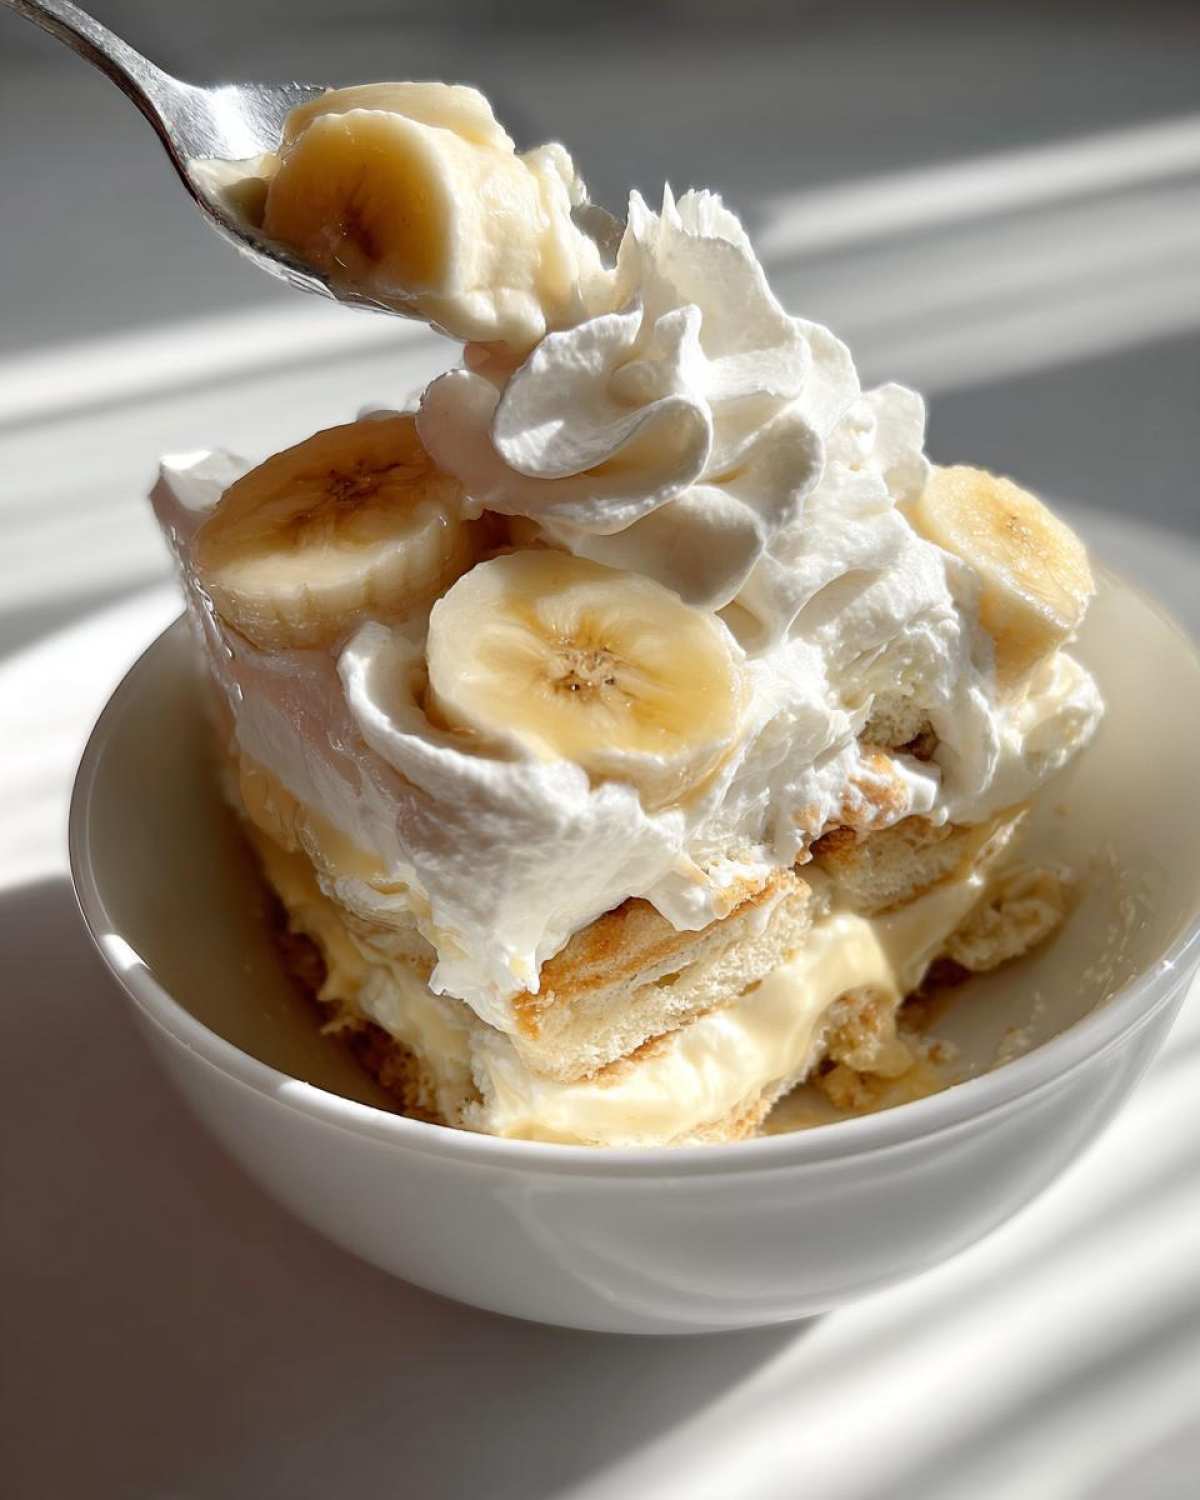
This layered beauty always delivered that feeling. The way the soft bananas meet sweet vanilla pudding is magic.
Every layer matters here. The structure creates that perfect, melt-in-your-mouth bite we search for.
It’s the taste of home, bottled up in a glass dish.
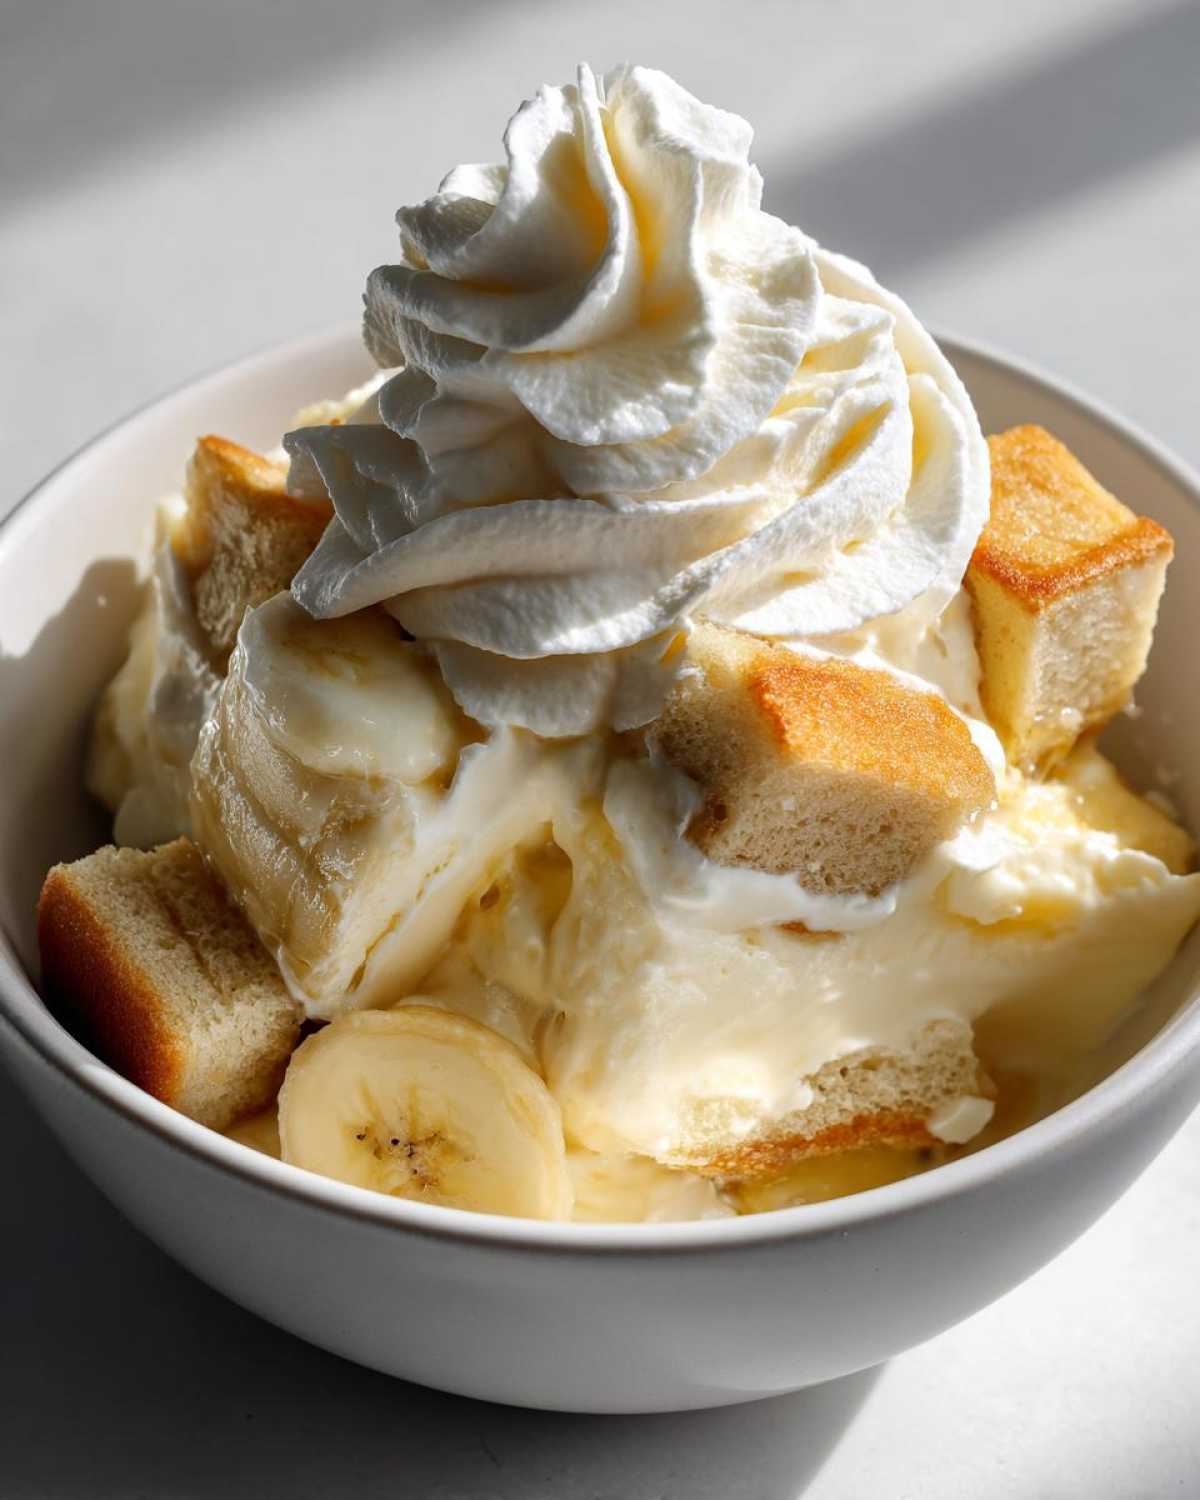
The Essential Components for Perfect Banana Pudding
Getting this classic treat right starts with quality parts. Don’t rush gathering these simple items.
We only use basic pantry staples here. That’s the beauty of this dessert.
It’s a no-bake wonder we all can manage easily.
Ingredients for Your Banana Pudding
- 1 (5 ounce) box instant vanilla pudding mix
- 3 cups cold milk
- 1 (8 ounce) container frozen whipped topping, thawed
- 1 teaspoon vanilla extract
- 4 large ripe bananas, sliced
- 1 (11 ounce) box vanilla wafer cookies
Notes on Ingredient Selection for Banana Pudding
Choosing the right banana is key for good Banana Pudding.
I always look for bananas that are ripe but still firm. Mushy bananas turn to soup.
If you prefer less processed flavor, make your own whipped cream. It’s heavenly!
Using the frozen topping is fast, of course. It thaws quickly for assembly.
Remember, the cookies must be the classic vanilla wafer type for true flavor.
Equipment Needed for Assembly
You don’t need fancy gadgets for this dessert. That’s another reason I love it so much.
Simple kitchen tools get the job done beautifully here.
Gathering your supplies first makes the layering process smooth.
Setting Up Your Assembly Station
First, grab a very large mixing bowl. This holds everything easily.
You need a whisk for the initial pudding step. Don’t skip that whisking time!
Next, decide on your serving vessel. A clear glass dish shows off the layers.
It really makes the final presentation pop on the table.
Have a rubber spatula ready too. Use it for gentle folding later on.
And of course, a sharp knife for slicing those bananas evenly.
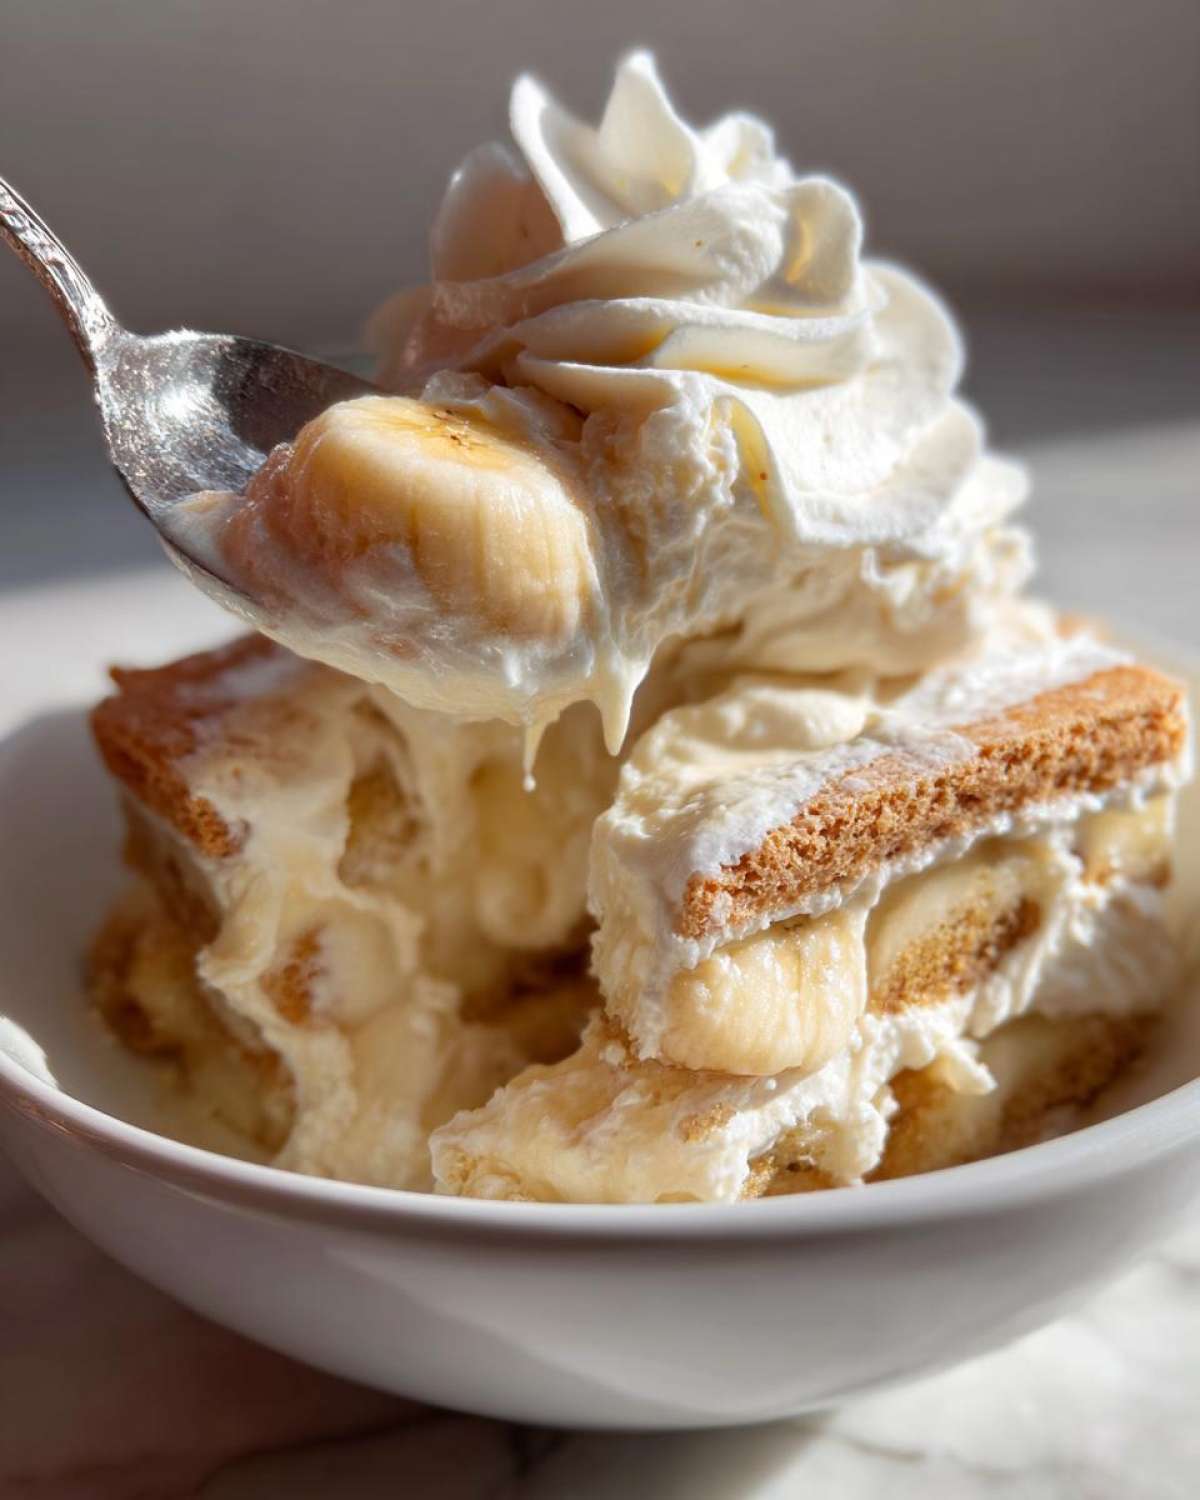
Crafting the Creamy Base for Your Banana Pudding
Now we make the heart of this dessert. The creamy vanilla pudding is everything.
This step is quick, but attention pays off big time here.
We want a smooth, luscious base for our Banana Pudding.
Don’t worry; this part is mostly hands-off waiting.
Mixing the Vanilla Pudding
Take that instant pudding mix and the cold milk. Whisk them hard.
Whisk for a full two minutes, no less, I promise.
You’ll see it start to thicken up nicely right away.
Let that mixture stand alone for five minutes after whisking.
This resting time lets the pudding set up properly.
Folding in the Light Topping
Now for the airy texture we crave in this dessert.
Gently fold in the thawed whipped topping and vanilla extract.
Use a big spatula for this part. Be very gentle!
You want to keep all that lovely air in the topping.
Stop folding when it’s just barely combined. Don’t overmix it.
Layering Your Classic Banana Pudding
This is where the real fun begins, friends. Layering is an art form, truly.
We are building a masterpiece of texture here. Pay attention to the order.
This specific stacking helps the cookies soften just right.
It makes the final texture of this Banana Pudding perfect.
Establishing the Foundation Layers
Grab your big serving dish. Start thin on the bottom.
Spread a thin coat of your creamy pudding mixture first.
This acts like glue for the next layer. It’s important.
Next, arrange a nice, even layer of those sliced bananas.
Cover those bananas completely with vanilla wafer cookies.
Don’t press them down too hard, just let them sit.
Repeating the Banana Pudding Layers
Now, we repeat that sweet cycle all over again.
Add more pudding mixture on top of the wafers.
Follow that with another layer of bananas, naturally.
Then, add the next layer of vanilla wafer cookies.
Finish everything up with the last bit of pudding mixture.
Make sure the very top is all smooth and covered.
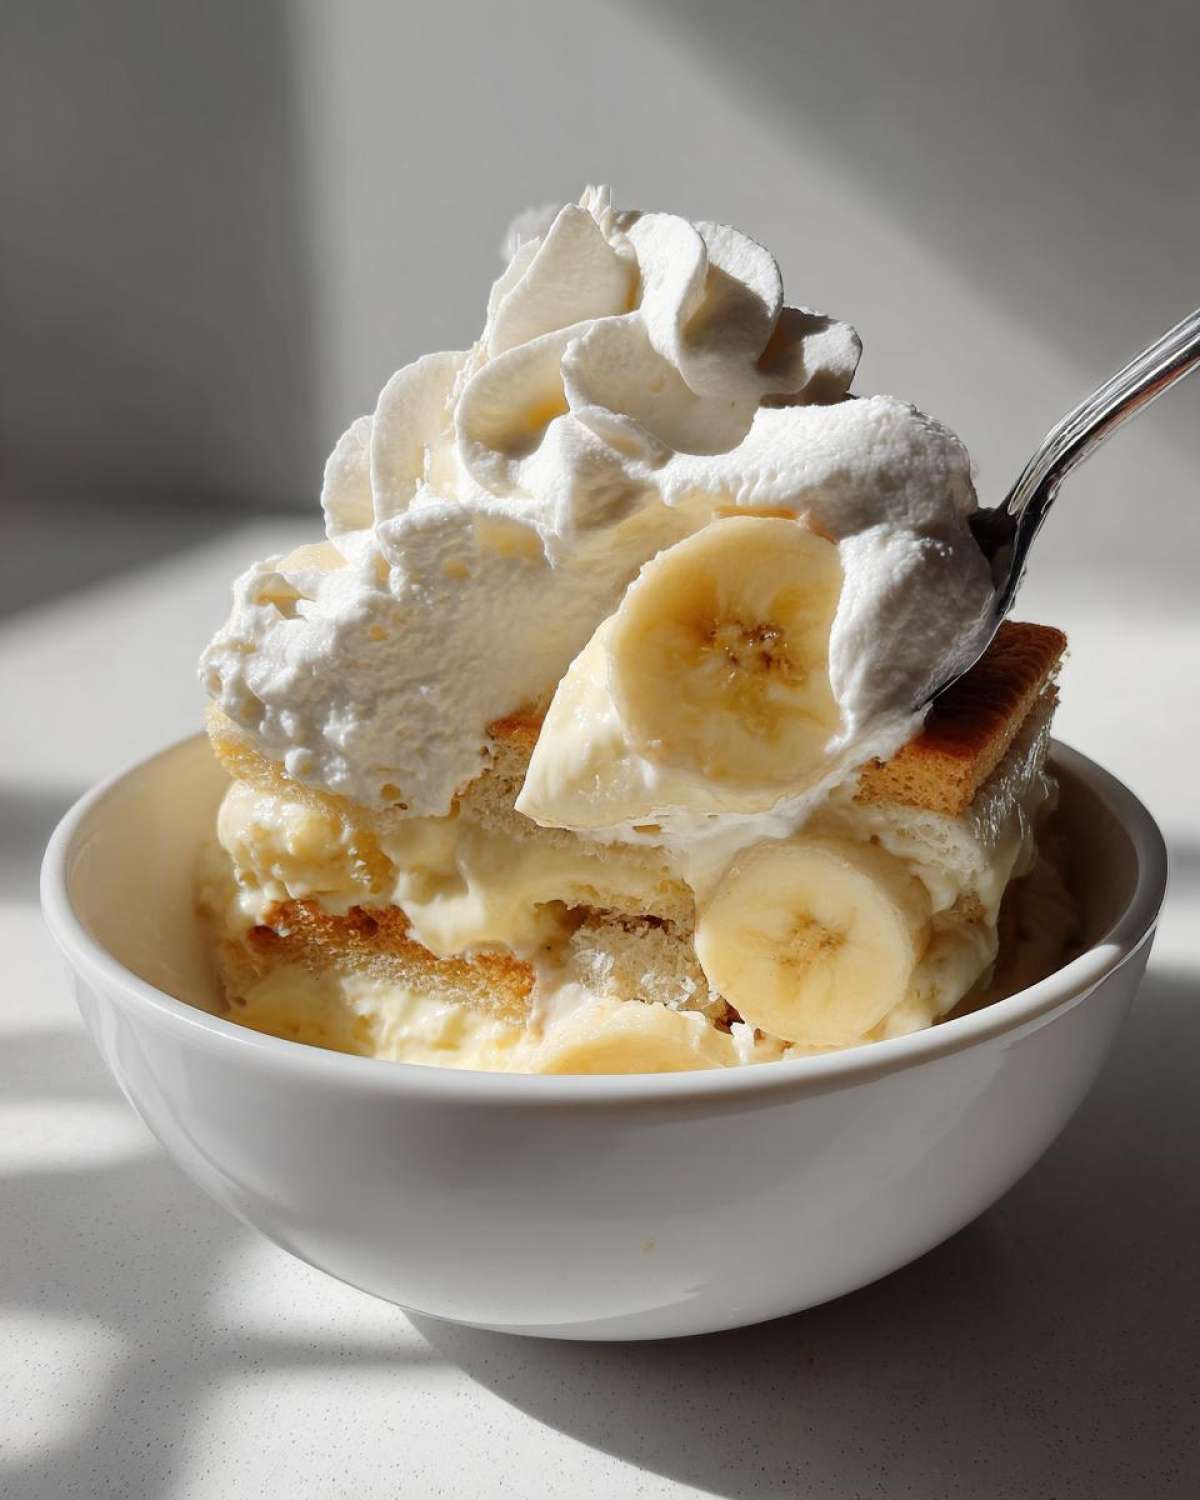
Chilling Time for Optimal Banana Pudding Texture
Patience is tough in the kitchen, I know. But this step is non-negotiable.
You absolutely must chill this Banana Pudding properly.
It’s what takes this dessert from good to truly legendary.
Rushing this means crunchy, separate layers remain.
We want creamy harmony in every single bite.
Plan for a good long rest in the cold air.
Why Resting the Banana Pudding Matters
The chilling isn’t just about temperature, really.
It’s about texture transformation happening inside the dish.
The wafers need that time to soak up the pudding.
That moisture absorption is crucial for success.
As I always say, let it rest for four hours minimum.
Overnight chilling gives the very best result, trust me.
This resting period marries all the flavors together.
Serving and Storing Your Homemade Banana Pudding
The wait is finally over, my friends. It’s time to unveil this beauty.
Your patience has paid off handsomely here.
This Banana Pudding is ready for its moment in the spotlight.
A few final steps make it look as good as it tastes.
Final Touches Before Serving
Only decorate right before you serve it up.
Use any remaining whipped topping for the top layer.
Spread it lightly across the entire surface gently.
You can make pretty swirls with the back of a spoon.
Some folks like a sprinkle of cookie crumbs on top.
Either way, it looks fantastic when chilled!
Storing Leftover Banana Pudding
If you have any leftovers, cover it well.
Keep your Banana Pudding tightly wrapped in the fridge.
It tastes great for about three days, maybe four.
The cookies will get much softer the next day.
That super soft texture is just how some folks prefer it.
It never needs reheating; it’s best served cold.
Frequently Asked Questions About Banana Pudding
I get so many wonderful questions from readers like you.
Let’s tackle a few common queries about this dessert.
These tips help ensure your results are always perfect.
Can I make this Banana Pudding recipe ahead of time?
Oh yes, you absolutely should make it ahead of time!
I strongly suggest assembling it the night before serving.
This gives the cookies the necessary time to soften.
Four hours is the bare minimum chilling time needed.
Overnight rest makes the layers truly meld together.
What is the best type of banana to use for Banana Pudding?
This is so important for the final texture.
You want bananas that are ripe but still hold their shape.
Look for bananas with a good yellow skin color.
Avoid any that are overly spotty or too soft.
Soft bananas will break down into mush quickly.
Firm slices give you a better bite in the pudding.
Can I use a different cookie instead of Nilla Wafers?
You certainly can try other cookies, dear reader.
But the classic vanilla wafer is truly special here.
Its specific sweetness and texture matter a lot.
They absorb the pudding moisture beautifully.
For that authentic Southern taste, stick to the wafers.
Understanding the Nutrition in Your Banana Pudding
We focus on flavor here at Delish Diarist.
We capture memories in every spoonful we make.
Exact science is not really my specialty, I confess.
Richard says my focus is always on the taste first.
For general information on food preparation safety, readers can consult resources like the U.S. Food and Drug Administration.
Nutritional Disclaimer
Please understand these numbers are just estimates.
The nutritional information provided is approximate only.
It relies on standard product brand averages.
Your actual values will change based on ingredients.
We do not calculate precise data for every batch.
Enjoy the taste of nostalgia, that’s the main goal!
Share Your Delish Diarist Banana Pudding Experience
Now that you’ve made this classic Banana Pudding, I want to hear from you!
Did it transport you back to your own childhood kitchen?
Richard and I cherish these connections we make.
Cooking is sharing, after all, isn’t it?
Tell me about your layering success stories.
What memories did this dessert bring back for you?
Drop a comment down below for us to read.
We love seeing how this recipe lives in your home.
Happy cooking, and thank you for reading our diary!
PrintStunning 4-Hour Banana Pudding Memory

Enjoy a taste of nostalgia with this classic Southern Banana Pudding. This recipe layers creamy vanilla pudding, sweet sliced bananas, and crunchy Nilla wafers, topped with light whipped cream for a comforting, chilled dessert.
- Prep Time: 20 minutes
- Cook Time: 0 minutes
- Total Time: 4 hours 20 minutes
- Yield: 8 servings
- Category: Dessert
- Method: No-Bake Layering
- Cuisine: American (Southern)
- Diet: Vegetarian
Ingredients
- 1 (5 ounce) box instant vanilla pudding mix
- 3 cups cold milk
- 1 (8 ounce) container frozen whipped topping, thawed (or homemade whipped cream)
- 1 teaspoon vanilla extract
- 4 large ripe bananas, sliced
- 1 (11 ounce) box vanilla wafer cookies
Instructions
- In a large bowl, whisk together the instant vanilla pudding mix and cold milk for about two minutes until slightly thickened.
- Let the pudding stand for five minutes to fully set.
- Gently fold the thawed whipped topping and vanilla extract into the pudding mixture until just combined.
- In a large serving bowl, begin layering the ingredients. Start with a thin layer of the pudding mixture on the bottom.
- Arrange a layer of sliced bananas over the pudding.
- Top the bananas with a layer of vanilla wafer cookies.
- Repeat the layers: pudding, bananas, and wafers, ending with the remaining pudding mixture on top.
- Cover the serving bowl tightly with plastic wrap.
- Refrigerate for at least four hours, or preferably overnight, to allow the wafers to soften.
- When ready to serve, top the pudding with any remaining whipped topping or freshly whipped cream.
Notes
- For the best texture, make this dessert ahead of time so the wafers absorb moisture from the pudding.
- Use firm, ripe bananas; overly soft bananas can become mushy.
- You can substitute homemade stabilized whipped cream for the frozen topping if you prefer.
- If you use meringue instead of whipped cream, bake it lightly on top before chilling.
Nutrition
- Serving Size: 1/8 of recipe
- Calories: Approx. 350
- Sugar: Approx. 40g
- Sodium: Approx. 250mg
- Fat: Approx. 15g
- Saturated Fat: Approx. 8g
- Unsaturated Fat: Approx. 7g
- Trans Fat: Approx. 0g
- Carbohydrates: Approx. 55g
- Fiber: Approx. 1g
- Protein: Approx. 4g
- Cholesterol: Approx. 20mg