

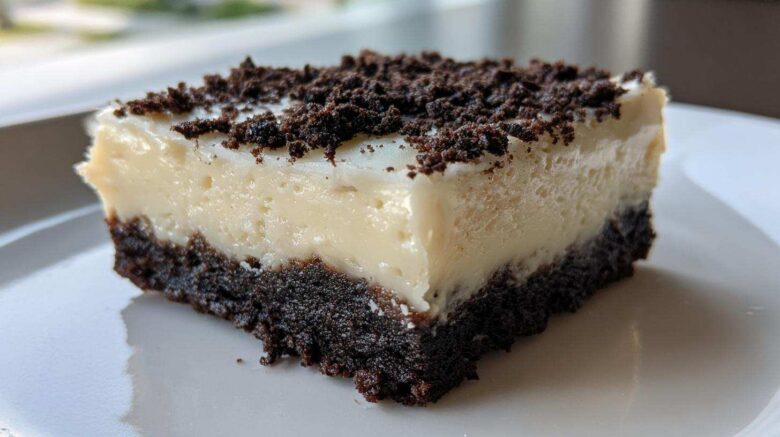
Welcome to Our Kitchen: Making Perfect No Bake Cookies and Cream Bars
Oh, how I love a recipe that comes together fast. Life moves quickly, even for Richard and me now. We spent decades chasing flavors worldwide. Now, we cherish these quiet moments together. This recipe for No Bake Cookies and Cream Bars is pure magic. It’s speedy, yes. But it also gives you those gorgeous, satisfying squares.
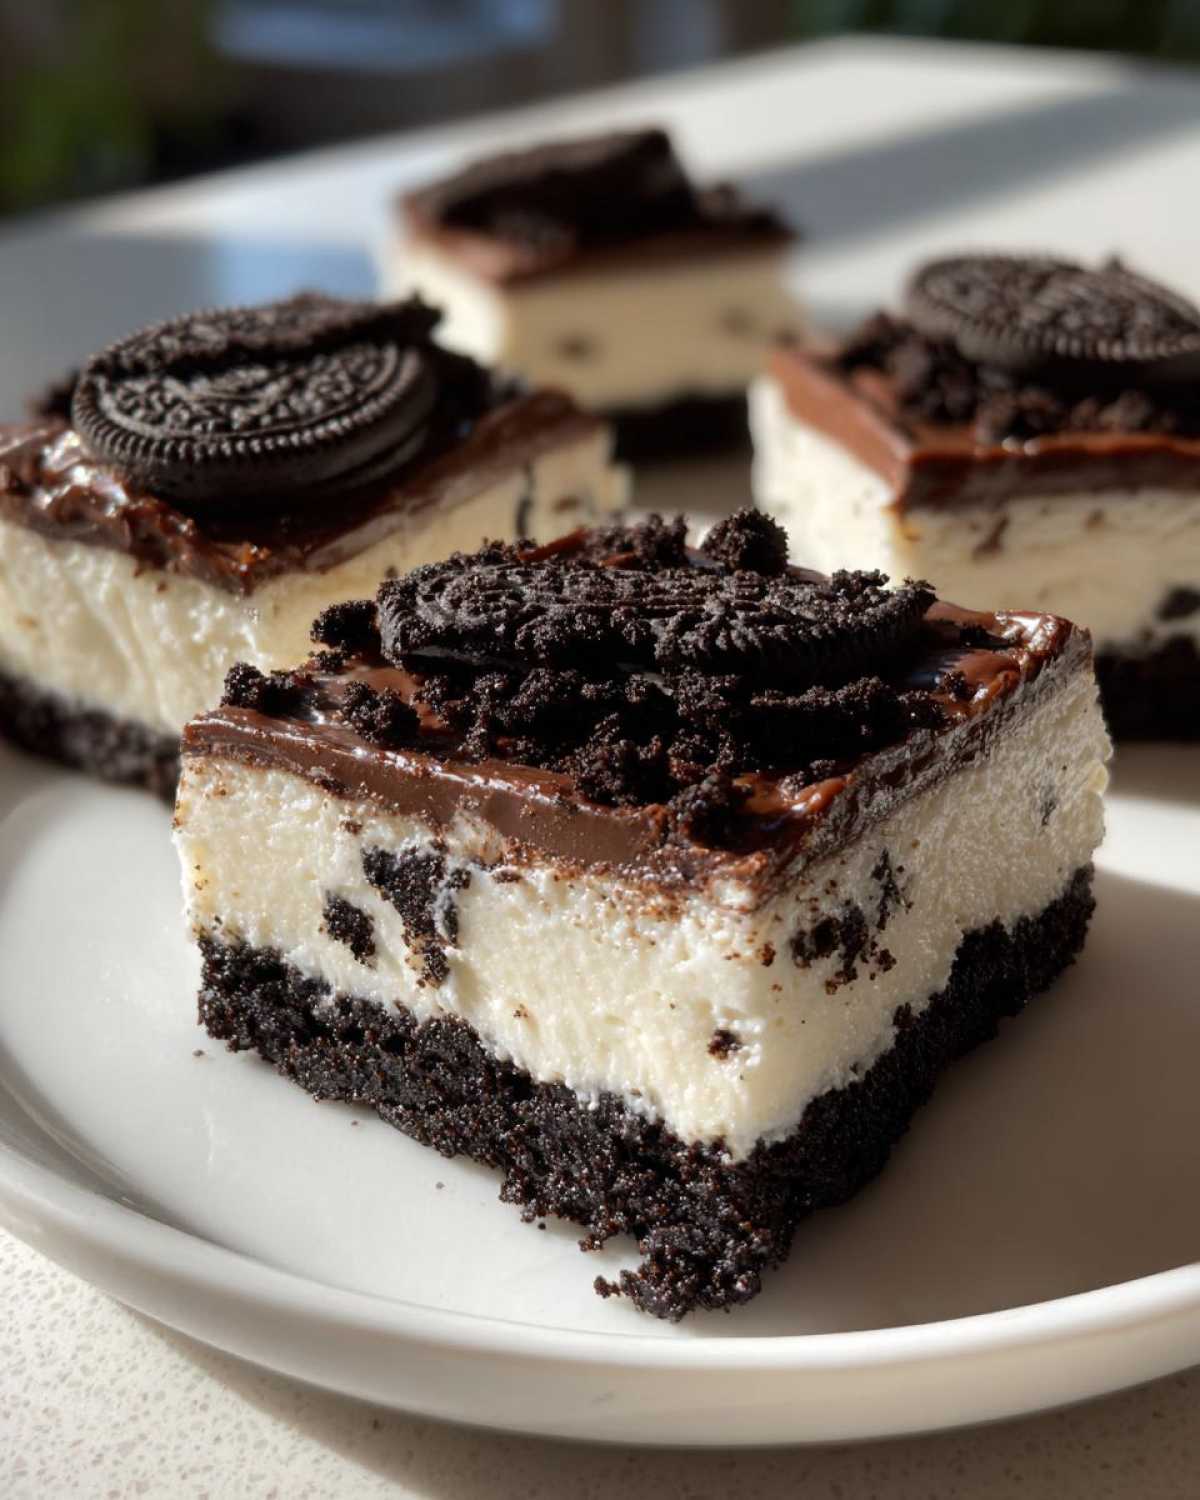
That’s the real goal here, isn’t it? A quick treat that still looks polished. I’m Eleanor, and this kitchen is my journal. Richard keeps the flavor memories sharp. We promise you easy desserts. This batch of No Bake Cookies and Cream Bars delivers that sweet taste memory instantly. You won’t even need the oven!
Why You’ll Love These No Bake Cookies and Cream Bars
These bars really hit all the right notes. They are simple to pull together. You get maximum flavor for minimum effort. Seriously, what’s not to cheer about?
- Quick Assembly Time: Prep takes just twenty minutes. We have zero actual cooking time involved.
- Guaranteed Clean Cuts: Follow my steps closely. You will get perfect, sharp-edged no bake squares every time.
- Sweet Nostalgia Factor: Every bite tastes like a happy memory. These No Bake Cookies and Cream Bars bring the past right into your kitchen.
Equipment Needed for Your No Bake Cookies and Cream Bars
You don’t need a fancy setup for this treat. Richard often says the best tools are the simplest ones. For these bars, gathering your gear is quick work.
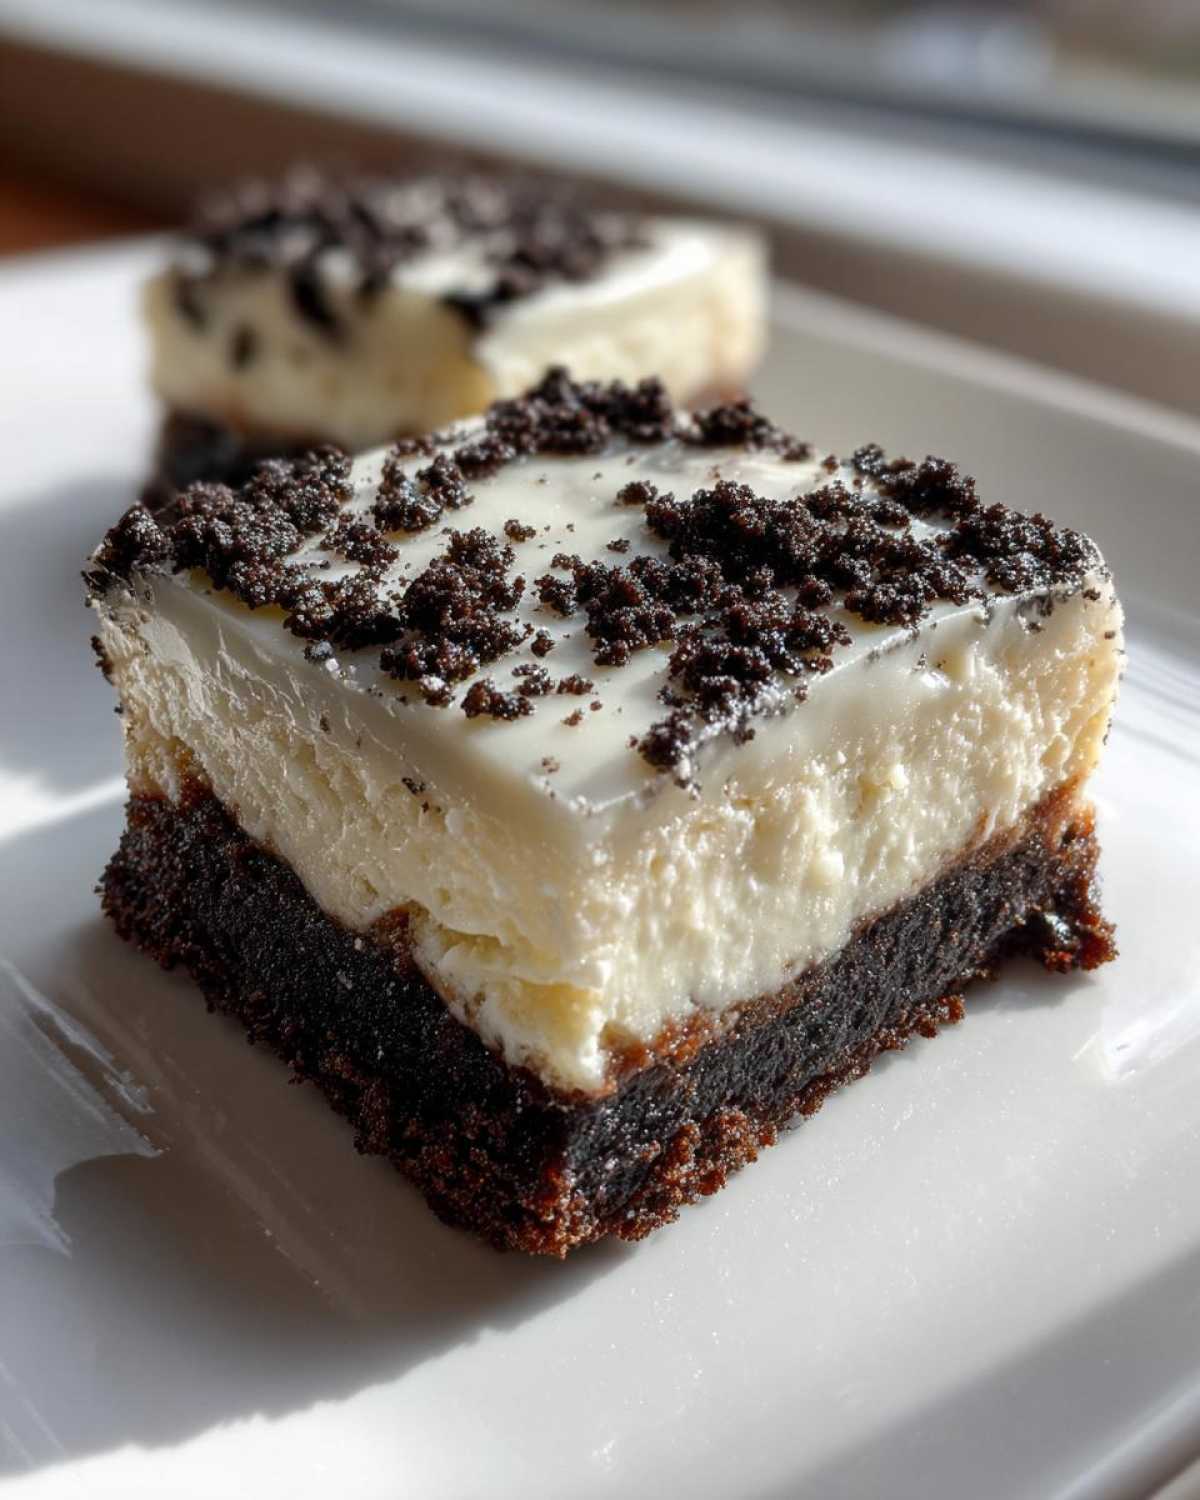
Make sure you have these items ready to go:
- One 8×8 inch baking pan.
- Parchment paper is essential here.
- A medium mixing bowl for the crust.
- One large bowl for the dough.
- A whisk for combining ingredients well.
- A microwave-safe bowl for the topping.
- A sturdy spatula for pressing layers.
Gather Your Ingredients for No Bake Cookies and Cream Bars
Let’s get down to what makes these bars so wonderfully rich. Gathering ingredients is half the fun, I think. Richard always checks the list twice. We want to avoid that mid-mix panic!
Here is exactly what you need for your batch:
- One cup of unsalted butter. It must be melted before you start.
- Two cups of crushed chocolate sandwich cookies.
- One fourteen-ounce can of sweetened condensed milk.
- Three cups of powdered sugar. Remember to sift this!
- One teaspoon of pure vanilla extract.
- One cup of white chocolate chips for the top coat.
Notes on Ingredient Selection
Choosing your cookies matters a lot here. Use good quality chocolate sandwich cookies. You want that dark, slightly bitter cookie flavor.
Sifting your powdered sugar is non-negotiable for success. I learned this the hard way once. Un-sifted sugar leaves lumps. Lumps ruin the smooth texture we want in the dough layer. Sifting makes everything creamy.
Step-by-Step Instructions for No Bake Cookies and Cream Bars
Now for the best part. We turn simple pantry items into magic. These instructions are straightforward. Just follow along as I guide you. Soon, you’ll have those perfect No Bake Cookies and Cream Bars chilling nicely.
Creating the Cookie Crust Base
First, prep your 8×8 pan. Line it well with parchment paper. Leave some overhang on the sides. This overhang acts like handles later. In a medium bowl, combine your melted butter. Mix it right into the crushed cookies. Stir until it looks like wet sand.
Press this cookie mix down firmly. Use the bottom of a glass for a flat surface. Get the crust even in the prepared pan. This layer needs to be solid. It supports everything else we add.
Mixing the Creamy Dough Layer
Grab your large bowl now. Whisk the sweetened condensed milk together. Add the vanilla extract to the milk. Mix them until they are fully combined. Now, bring in the sifted powdered sugar slowly. Add it a cup at a time. Mix well after each addition. Stop when you have a very thick dough. This dough should be stiff, not runny at all.
Take this thick dough layer. Press it gently over the cookie base. Make sure the top is smooth and level. This creates the signature creamy center.
Assembling and Melting the Topping
Time for the final layer. Put your white chocolate chips in a microwave-safe bowl. Melt these chips carefully. Use short thirty-second bursts in the microwave. Stir after every single interval. This prevents burning the chocolate. Keep stirring until it is perfectly smooth.
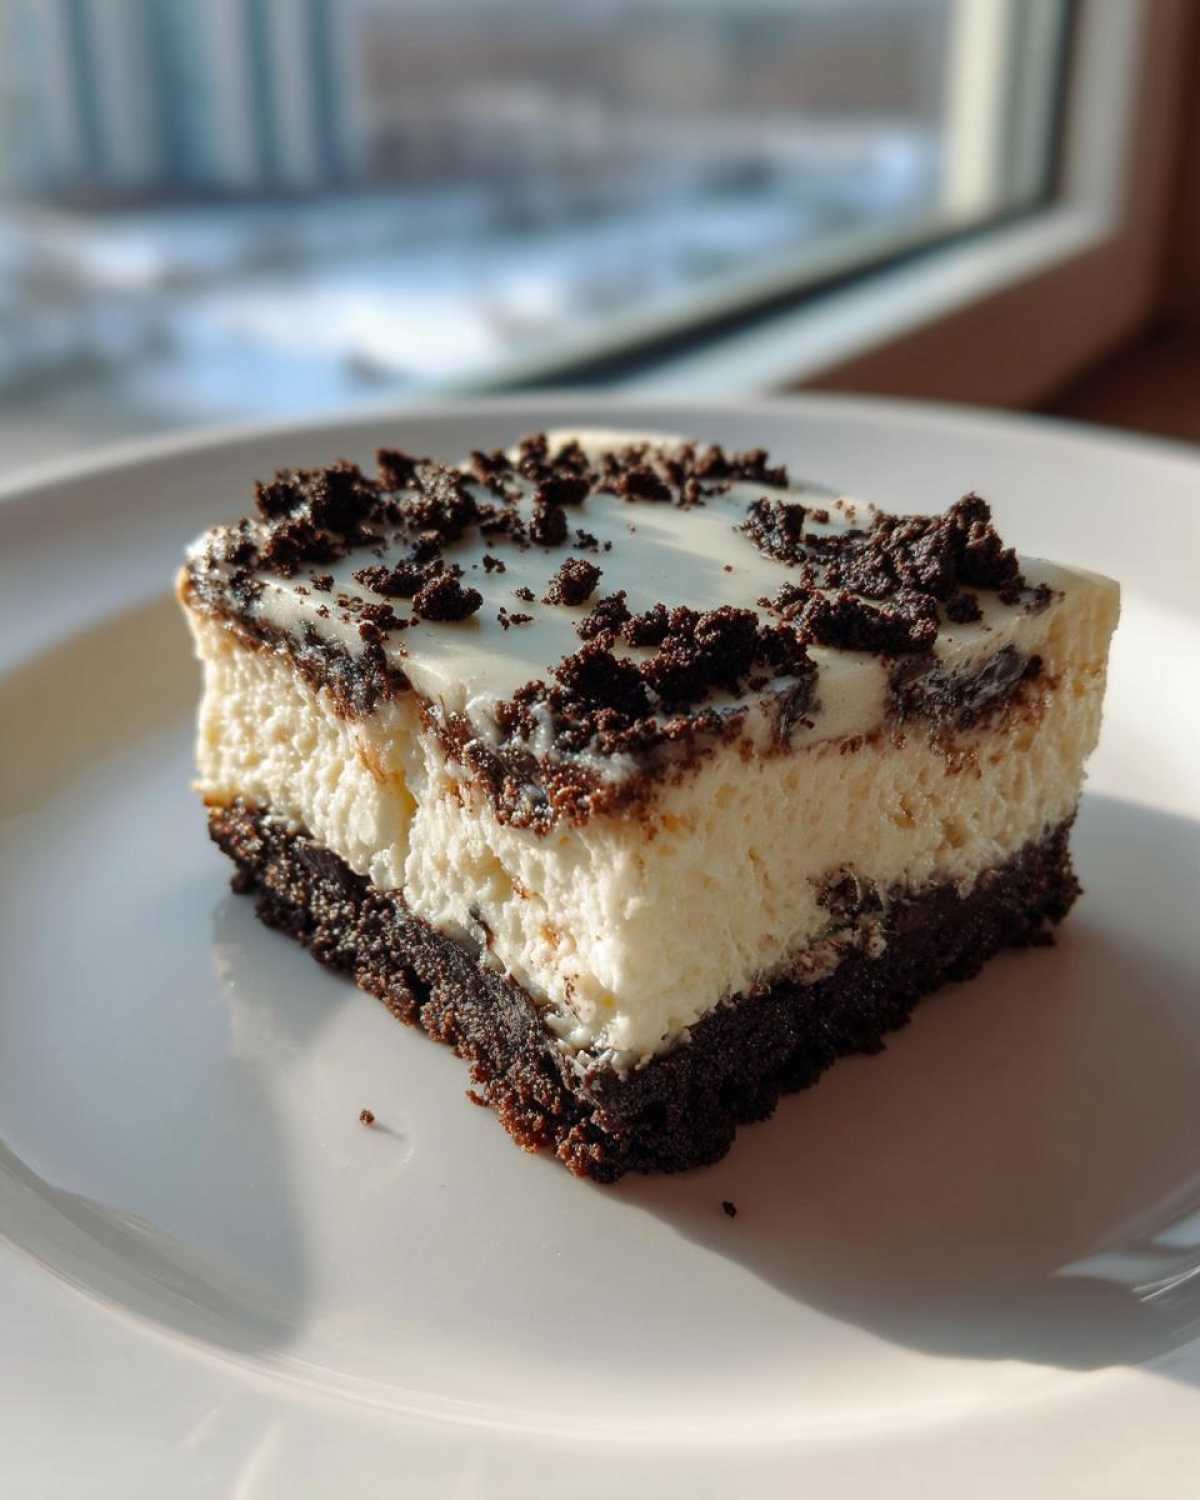
Spread this melted white chocolate evenly. Pour it right over the dough layer. Make sure it covers everything nicely. Now, the hardest part arrives. You must wait. Place the pan in the refrigerator. Chill for at least three full hours. This chilling time is critical for clean cuts.
Eleanor’s Tips for Perfect No Bake Cookies and Cream Bars
Richard and I have made dozens of batches. We learned a few tricks along the way. These small details make a big difference. They take your good bars to great ones. You deserve the very best No Bake Cookies and Cream Bars.
Don’t rush the chilling process, please. That time in the cold sets everything properly. Firmness equals beautiful squares when you slice them later. Here are my secrets for perfection.
Achieving the Cleanest Slices
This is my biggest piece of advice. It guarantees those sharp edges you want. Get a long, sharp knife ready. Run the blade under very hot water first. Dry the knife quickly before you slice.
Press down firmly and smoothly through the bar. Wipe the knife clean after each cut. Then, reheat the blade again. This simple step prevents sticking. It makes cutting so much easier.
Flavor Adjustments
If you find things too sweet, I have a simple fix. Add just a tiny pinch of salt. Sprinkle it right over the melted white chocolate layer. Salt balances sweetness beautifully. If you are interested in learning more about how salt affects baked goods, you can check out resources on the science of salt in cooking.
Want an extra flavor punch? Reserve a quarter cup of crushed cookies. Sprinkle those saved crumbs on top. Sprinkle them on before the bars go into the fridge. This adds great texture too.
Storing and Reheating Your No Bake Cookies and Cream Bars
Once these delicious bars are set, storage is simple. Keep them cold, always. Place them in an airtight container first. The refrigerator is their happy place. They stay fresh there for about a week.
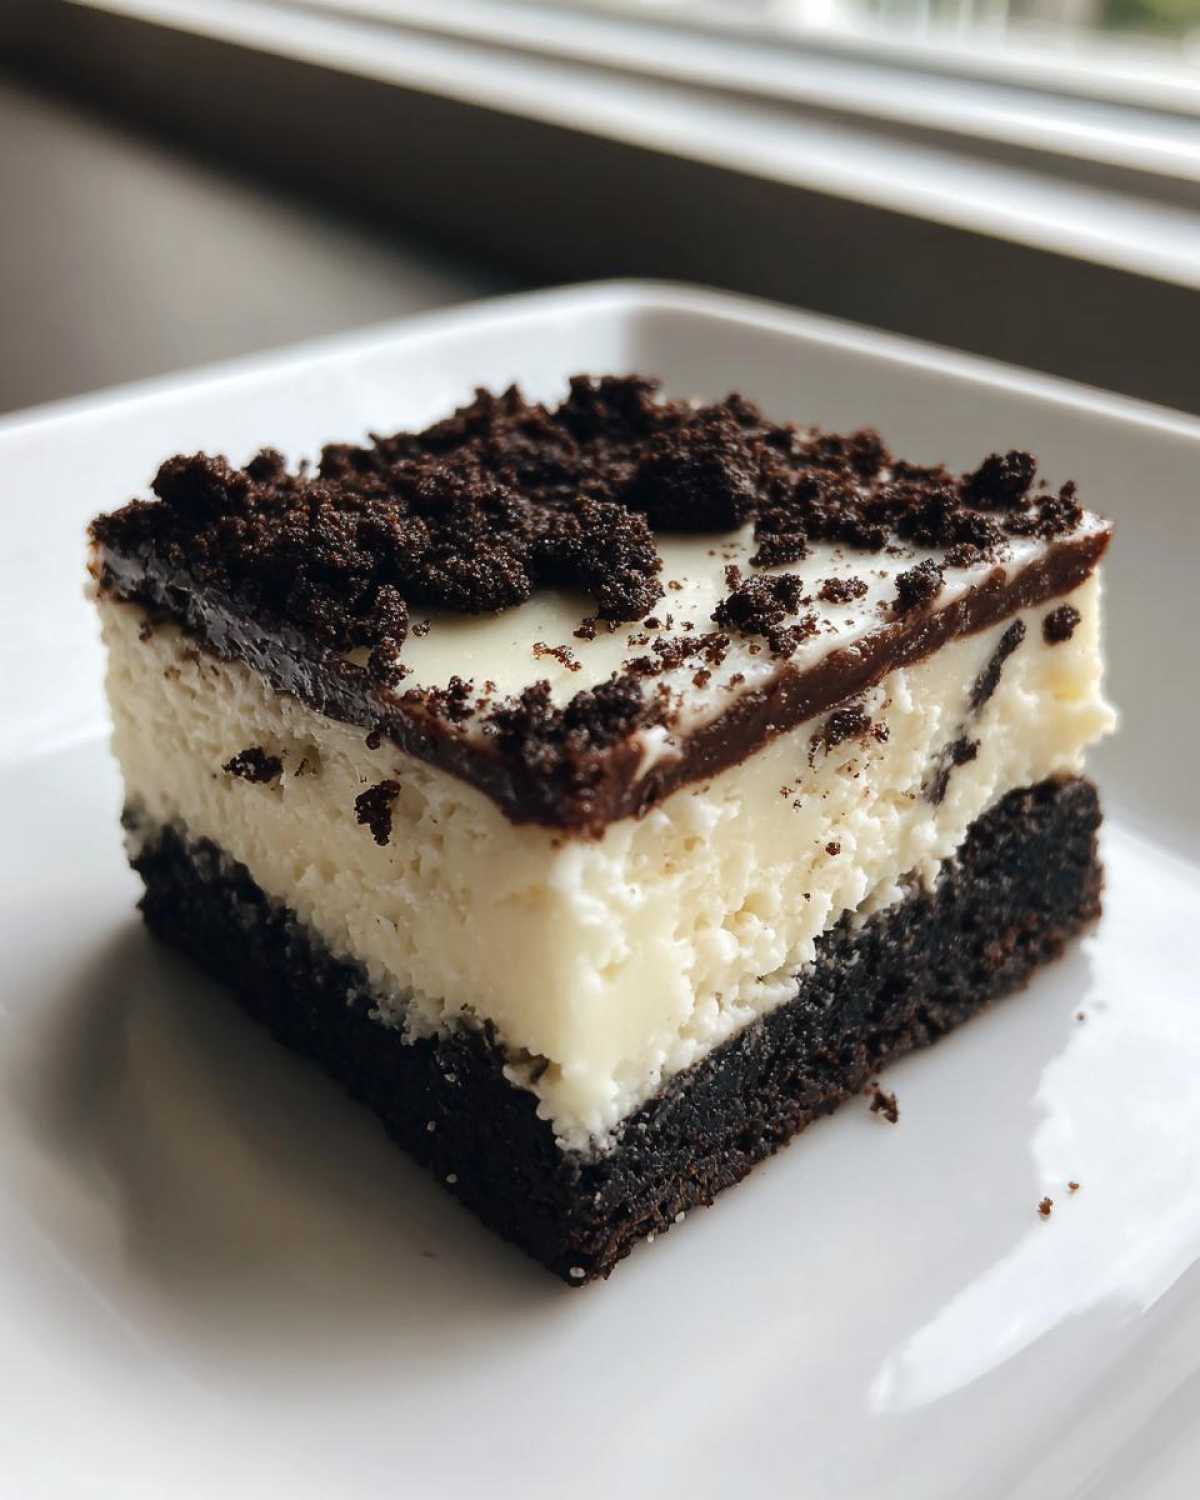
Do not leave them out too long at room temperature. They soften quickly, which ruins the texture. Serve these straight from the cold, I suggest. This keeps them firm and easy to handle.
There’s no reheating needed, thankfully. They are best enjoyed chilled. This keeps that creamy layer perfectly sturdy. Enjoy them cold, just like a scoop of ice cream! If you are looking for other easy, no-bake desserts, check out our No Bake Butterfinger Pie.
Frequently Asked Questions About No Bake Cookies and Cream Bars
I know you might have a few lingering questions. That’s perfectly normal when trying a new treat! We want your experience making this easy dessert to be flawless. Here are the common things people ask me.
Don’t worry about getting everything perfect right away. Cooking is just learning by tasting, after all.
How long do these bars need to chill?
You must chill them for at least three hours. This is the minimum time needed. I highly recommend leaving them longer if you can. Four hours is even better for firmness. They need to be completely solid for those clean no bake squares.
Can I substitute the white chocolate chips?
You certainly can try. If you don’t like white chocolate, use milk chocolate chips instead. Melt them the same way we did before. Some folks even use a thin layer of peanut butter topping. Just ensure whatever you use sets up firm when cold.
What is the best way to store leftover No Bake Cookies and Cream Bars?
Storage is simple, thankfully. Keep them in an airtight container. Layer them with parchment paper if you stack them. They stay fresh and delicious in the fridge. They’re usually good for about seven days.
Nutritional Estimates for No Bake Cookies and Cream Bars
Richard and I love good food. We focus more on the memories made. We aren’t strict calorie counters anymore. I know some of you track everything closely.
Because of that, I must add a small note here. These estimates are just general ideas. They are not precise lab results. Nutrition varies greatly by brand. Your cookie brand choice matters a lot.
The final numbers change based on what you use. For example, the sugar content shifts easily. We provide these figures as a rough guide only. Enjoy these treats in moderation, friends. For more quick recipes, feel free to browse our recipe blog.
Share Your Delish Diarist Experience
We truly hope you loved making these bars. Did they taste like a sweet memory for you? Please leave a rating below. Tell us how your No Bake Cookies and Cream Bars turned out.
Richard loves reading your comments about the texture. Share your successes with us. Come write your own entry in our Delish Diarist journal today!
Print5 Amazing No Bake Cookies and Cream Bars Cuts
You will love these No Bake Cookies and Cream Bars! They are quick to make and set up perfectly for clean, satisfying squares. Get ready to taste a sweet memory.
- Prep Time: 20 minutes
- Cook Time: 0 minutes
- Total Time: 3 hours 20 minutes
- Yield: 16 bars
- Category: Dessert
- Method: No Bake
- Cuisine: American
- Diet: Vegetarian
Ingredients
- 1 cup (2 sticks) unsalted butter, melted
- 2 cups crushed chocolate sandwich cookies (like Oreos)
- 1 (14 ounce) can sweetened condensed milk
- 3 cups powdered sugar, sifted
- 1 teaspoon vanilla extract
- 1 cup white chocolate chips
Instructions
- Line an 8×8 inch baking pan with parchment paper, leaving an overhang for easy removal.
- In a medium bowl, mix the melted butter with the crushed cookies. Press this mixture evenly into the bottom of the prepared pan.
- In a separate large bowl, whisk together the sweetened condensed milk and vanilla extract.
- Gradually add the sifted powdered sugar to the milk mixture, mixing until a thick dough forms.
- Press this dough evenly over the cookie crust layer in the pan.
- Melt the white chocolate chips in a microwave-safe bowl in 30-second intervals, stirring until smooth.
- Spread the melted white chocolate evenly over the dough layer.
- Refrigerate for at least 3 hours, or until completely firm.
- Use the parchment paper overhang to lift the bars from the pan. Cut into squares before serving.
Notes
- For the cleanest cuts, use a long, sharp knife warmed slightly under hot water between slices.
- You can add a pinch of salt to the white chocolate layer to balance the sweetness.
- If you prefer a stronger cookies and cream flavor, reserve 1/4 cup of crushed cookies to sprinkle over the melted white chocolate before chilling.
Nutrition
- Serving Size: 1 bar
- Calories: Approx. 350
- Sugar: Approx. 35g
- Sodium: Approx. 150mg
- Fat: Approx. 22g
- Saturated Fat: Approx. 14g
- Unsaturated Fat: Approx. 8g
- Trans Fat: Trace
- Carbohydrates: Approx. 38g
- Fiber: Approx. 1g
- Protein: Approx. 3g
- Cholesterol: Approx. 15mg