

Welcome to our kitchen diary entry today.
Richard and I are sharing a real treasure.
It is a sweet treat that needs no oven at all.
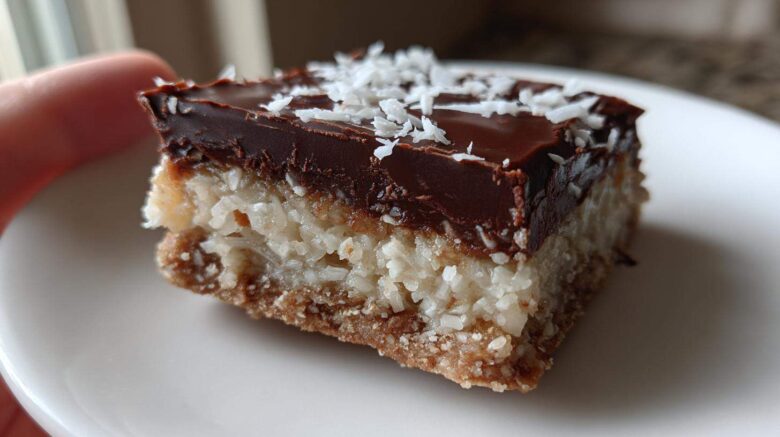
I call these wonderful squares No Bake Almond Joy Bars.
They bring back so many happy memories for us.
After forty years of travel, I love simple sweets.
These bars offer perfect chocolate, coconut, and almond layers.
I learned to appreciate simple desserts years ago.
When you need a quick, satisfying candy, this is it.
I’ve made this recipe many, many times now.
It’s a foolproof recipe, truly.
You get those beautiful, clean layers without any fuss.
We used to bring these to every potluck gathering.
The base is crunchy graham cracker goodness.
Then comes the sweet, chewy almond coconut center.
Finally, a thick blanket of melted chocolate tops it off.
This recipe is pure comfort food for us now.
It tastes just like that famous candy bar we all know.
Let’s make some delicious memories together today.
Why You’ll Love These No Bake Almond Joy Bars
I know you’ll adore making these bars, friends.
They are the definition of easy candy making.
You need almost no effort for these layered bars.
Forget heating up the whole kitchen, please.
We skip the oven entirely when making these.
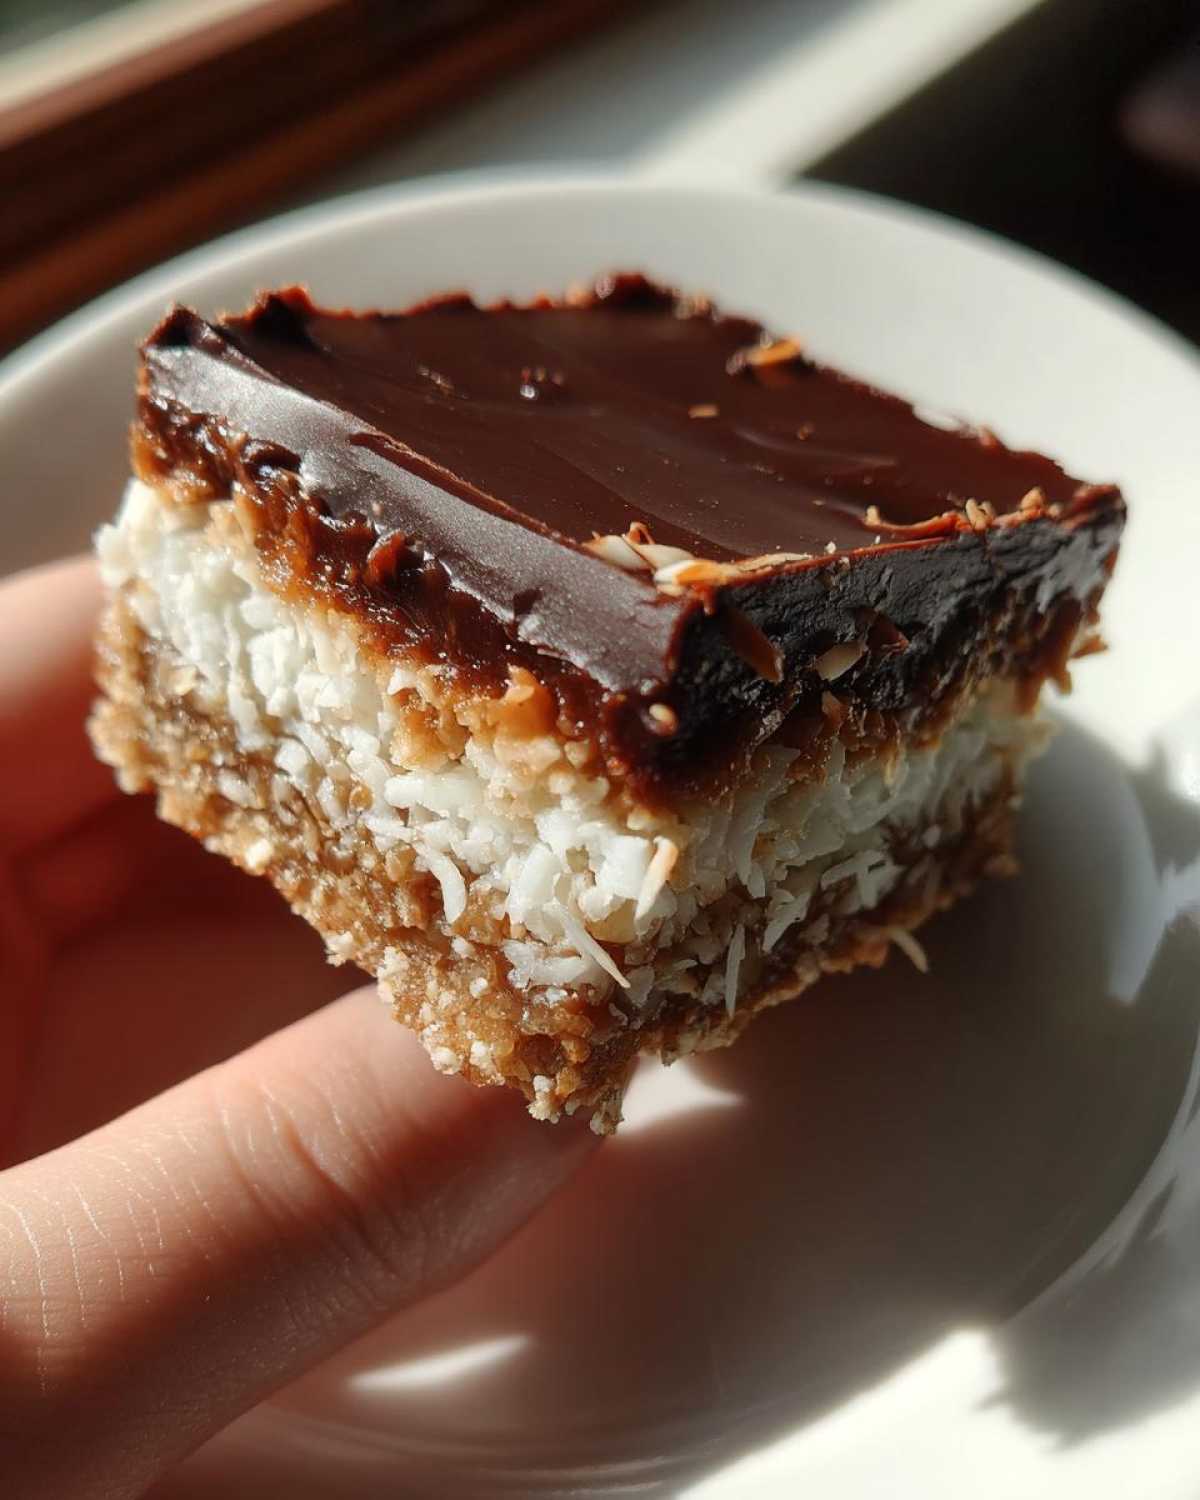
This recipe yields sixteen perfect squares of joy.
It’s the classic flavor profile we all crave.
Coconut, chocolate, and almonds sing together.
Quick Prep and Layer Clarity
The prep time flies by really fast.
You’ll have everything mixed in minutes flat.
My biggest tip for you is layering well.
Press that bottom crust down like you mean it.
Firm packing stops any messy sliding later.
That’s how we get those beautiful, distinct layers.
Equipment You Need for No Bake Almond Joy Bars
Gathering your tools first makes cooking fun.
It keeps the process moving along nicely.
You don’t need anything too fancy here.
Just the basics for mixing and setting up.
Having everything ready is my pro secret.
Essential Tools List
- An 8×8 inch baking pan is key.
- Parchment paper for easy lifting later.
- A couple of good mixing bowls.
- One small saucepan for melting chocolate.
- Or use a microwave-safe bowl instead.
Ingredients for Your No Bake Almond Joy Bars
Now for the fun part, gathering our goodies.
These simple ingredients create magic, truly.
We need just a few things for these bars.
It’s amazing what a few items can do.
You will have everything on hand already.
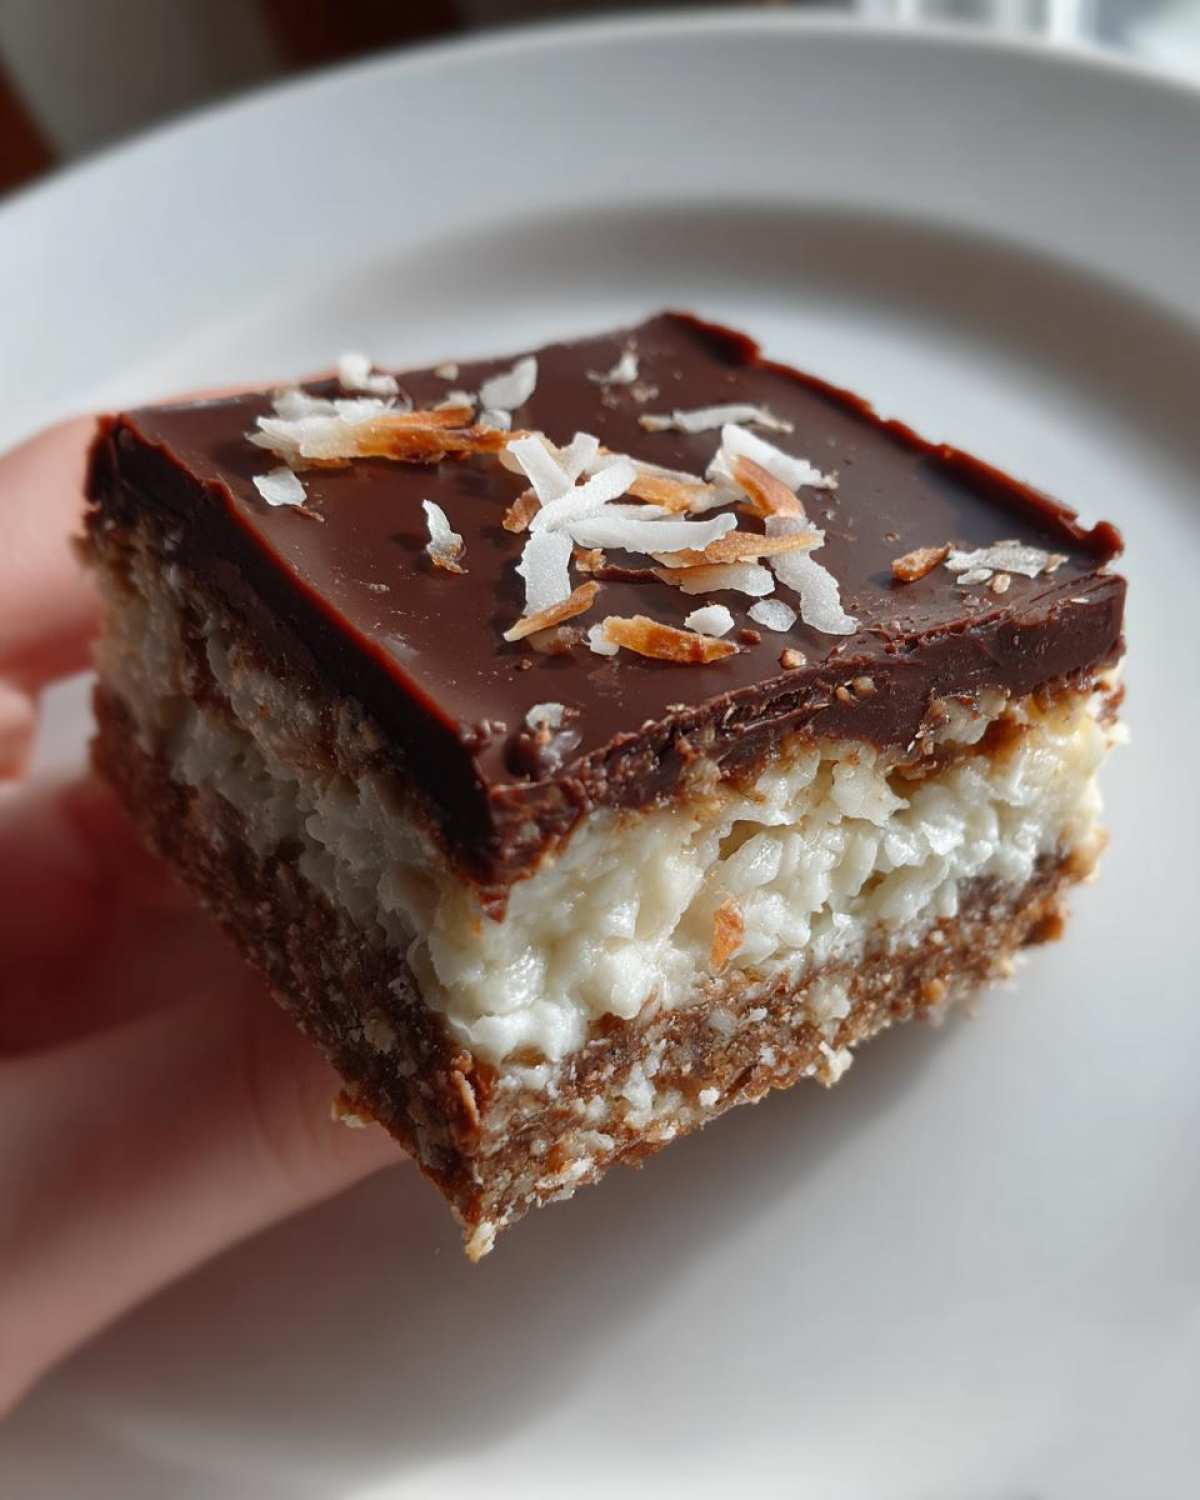
Making these No Bake Almond Joy Bars is simple.
For the solid base layer you will need:
- One cup of unsalted butter, melted until liquid.
- Two cups of graham cracker crumbs, packed tight.
- One cup of powdered sugar, nice and fine.
- Fourteen ounces of sweetened condensed milk.
Next, gather your coconut and almond mix:
- Three cups of shredded coconut, the standard kind.
- One cup of chopped almonds, toasted if you like.
- One teaspoon of pure vanilla extract for scent.
Finally, for that gorgeous chocolate coating:
- Twelve ounces of semi-sweet chocolate chips.
- Two tablespoons of coconut oil for shine.
Make sure your butter is fully melted before starting step one.
Preparing the Base Layer of Your No Bake Almond Joy Bars
This first layer sets the stage for everything.
It needs to be strong and hold its place.
We want those clean layers the recipe promises.
A weak base means messy squares later on.
Take your time right here, it matters a lot.
This foundation supports the sweet coconut filling.
Setting Up the Pan and Pressing the Crust
First, line that 8×8 inch pan with parchment paper.
Leave an overhang on two sides, trust me on this.
This overhang acts like built-in handles later.
Mix your melted butter, crumbs, and sugar well.
Press this mixture into the bottom very firmly.
Use the bottom of a flat glass to really compact it.
Creating the Coconut Almond Filling
Now we mix up the heart of our candy bar.
This is where that lovely almond flavor blooms.
In a big bowl, combine the milk and vanilla extract.
Stir in all your shredded coconut and chopped almonds.
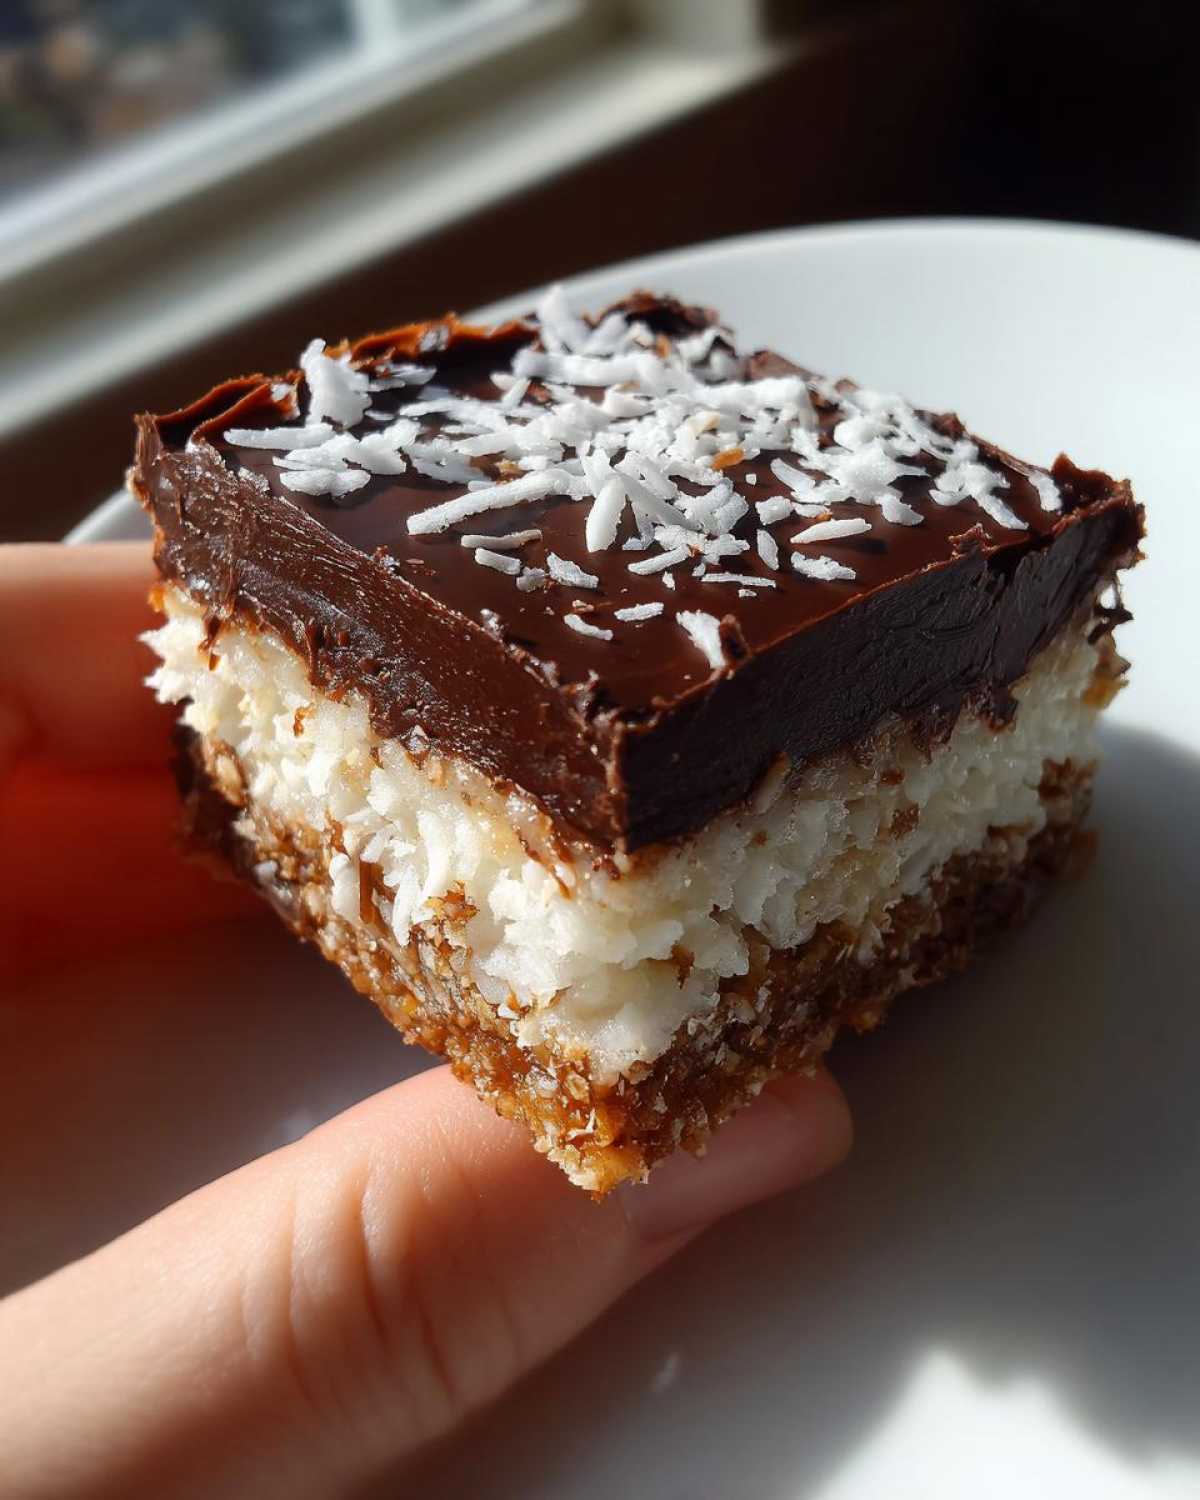
Spread this thick coconut mixture evenly on top.
It should sit nicely over that firm graham base.
The Importance of the First Chill
Patience is key before we add the chocolate top.
Pop the pan into the refrigerator now.
You must chill it for at least one full hour.
This firming step stops the layers from mingling.
It gives us those beautiful, distinct layers we want.
Waiting feels long, but it’s totally worth it.
Melting Chocolate and Finishing Your No Bake Almond Joy Bars
The final layer brings everything together, folks.
It’s the lush chocolate blanket everyone expects.
We melt the chocolate chips and coconut oil now.
Pouring it over the firm coconut layer is next.
This step completes the classic look of these bars.
These No Bake Almond Joy Bars need a long rest.
Do not rush this final chilling period, please.
If you cut them too soon, they will run.
We want solid, sliceable candy squares.
Return the pan to the cold fridge again.
Let them chill for a solid two to three hours.
This final set is absolutely non-negotiable.
Achieving a Smooth Chocolate Topping
For that perfect, glossy chocolate finish, listen up.
Always melt your chocolate chips with coconut oil.
The oil keeps the chocolate soft when it sets.
It prevents that hard, cracking texture sometimes.
Stir it until it’s super smooth and shiny.
Pour it gently across the chilled coconut layer.
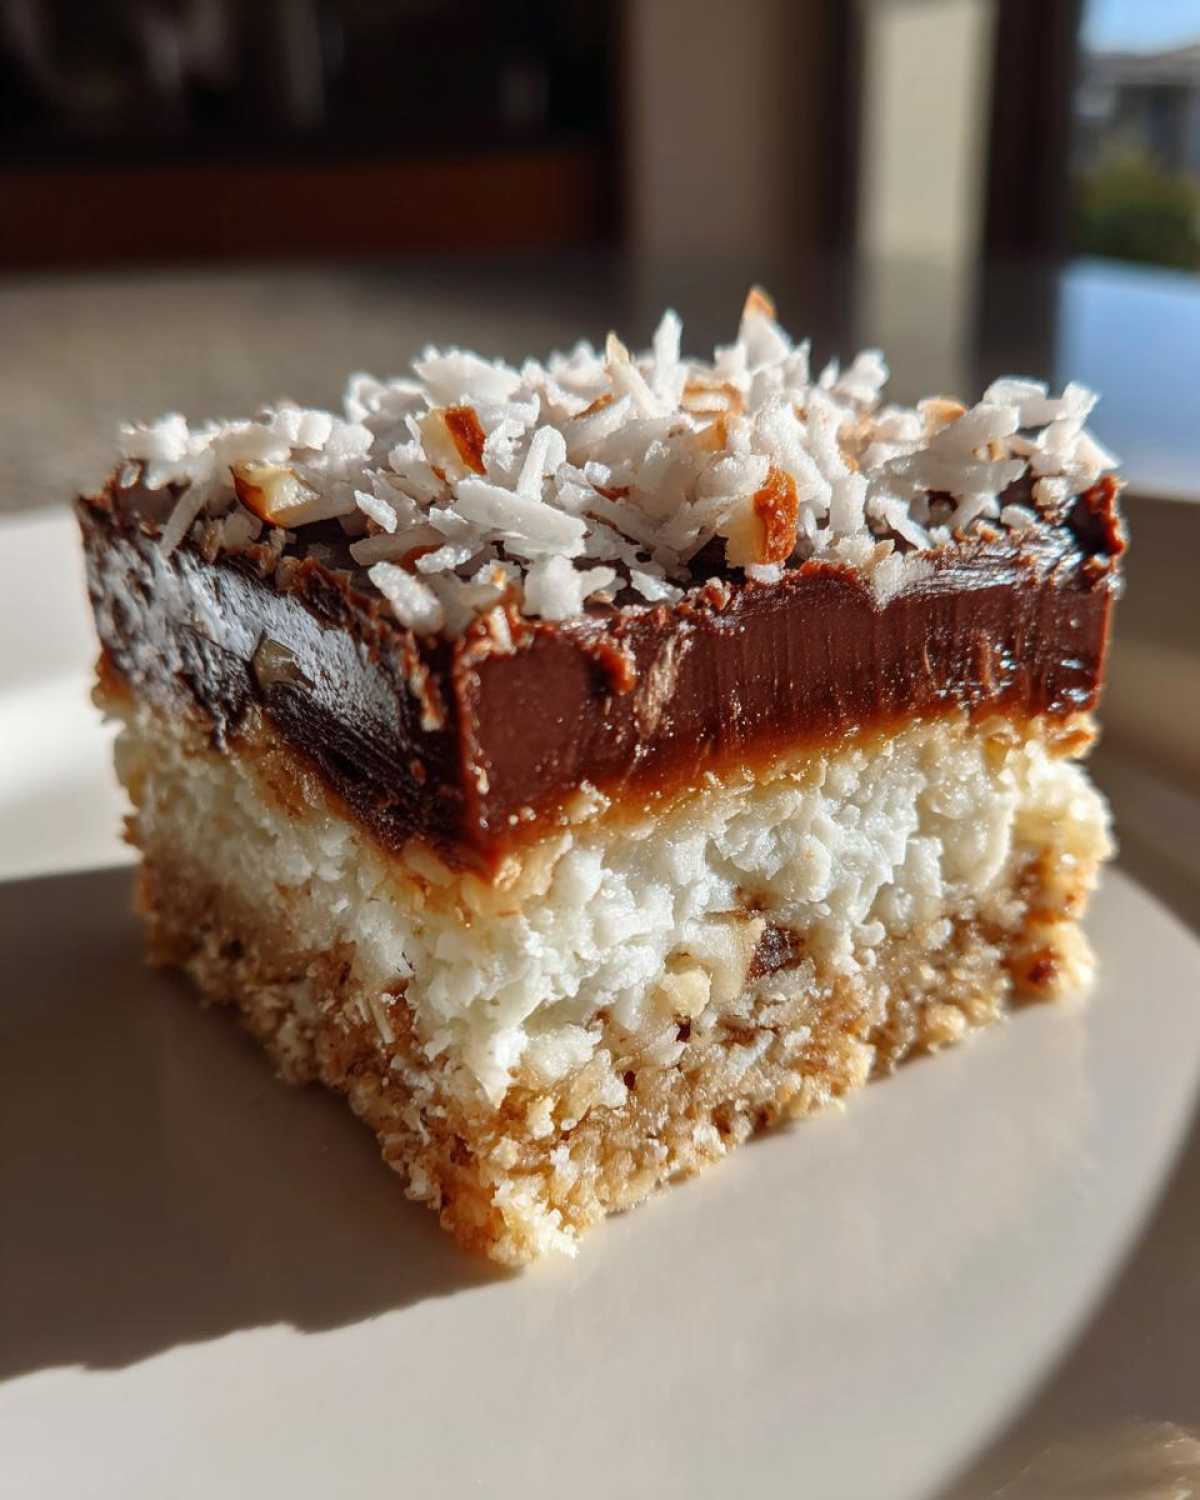
Tips for Perfect No Bake Almond Joy Bars
I’ve learned a few tricks over the years.
These little things make a big difference.
They help keep things tidy in my kitchen.
Good chilling time means good results always.
Don’t skip any of those resting periods.
They are just as important as mixing things.
Cutting for Clean Squares
Lifting the whole slab out is the best start.
Use that parchment paper overhang we made earlier.
Place the chilled block onto a cutting board.
Use a long, sharp knife for clean slicing.
Wipe the knife blade between each cut.
This keeps your squares looking sharp and neat.
Frequently Asked Questions About No Bake Almond Joy Bars
I always get questions about these simple treats.
Let’s clear up a few things right now.
These questions come up often when I share them.
Knowing the answers helps you make great coconut bars.
I want your experience making this easy candy to be great.
Here are my best answers for you today.
Can I Substitute the Chocolate Type in No Bake Almond Joy Bars?
Yes, you absolutely can change the chocolate!
Semi-sweet chips are my top choice for balance.
Milk chocolate works well for sweeter palates.
Dark chocolate chips give a richer, deeper taste.
The coconut oil helps keep any choice smooth.
Just use the same amount for the best topping.
How Long Do No Bake Almond Joy Bars Last?
These bars keep well in the fridge, thankfully.
Store them in an airtight container, always.
They stay fresh for about one week there.
Keeping them cold helps the layers stay firm.
I have never tried to freeze them, to be honest.
They are best enjoyed within a few days.
Storing Your Delicious No Bake Almond Joy Bars
Keeping these bars fresh is very simple.
Place cut squares into an airtight container.
Refrigeration is the best place for them.
They stay perfectly firm in the cold.
You can enjoy them for about one week.
Keep the lid sealed tightly always.
This prevents them from drying out.
Share Your Delish Diarist Experience
I hope these bars brought you joy today.
Did they take you back to a special time?
Tell Richard and me about your baking adventure.
Rate these easy candy bars below for us.
We love hearing how food tells your stories.
PrintGorgeous 3-Layer No Bake Almond Joy Bars
Enjoy these simple, delicious No Bake Almond Joy Bars. They capture the classic chocolate, coconut, and almond flavor combination in easy, layered squares perfect for a sweet treat.
- Prep Time: 20 minutes
- Cook Time: 5 minutes (for melting chocolate)
- Total Time: 3 hours 25 minutes (includes chilling)
- Yield: 16 bars
- Category: Dessert
- Method: No Bake
- Cuisine: American
- Diet: Vegetarian
Ingredients
- 1 cup (2 sticks) unsalted butter, melted
- 2 cups graham cracker crumbs
- 1 cup powdered sugar
- 1 teaspoon vanilla extract
- 1 (14 ounce) can sweetened condensed milk
- 3 cups shredded coconut
- 1 cup chopped almonds
- 1 (12 ounce) package semi-sweet chocolate chips
- 2 tablespoons coconut oil
Instructions
- Line an 8×8 inch baking pan with parchment paper, leaving an overhang for easy removal.
- In a medium bowl, combine the melted butter, graham cracker crumbs, and powdered sugar. Press this mixture firmly into the bottom of the prepared pan to form the base layer.
- In a separate large bowl, mix together the vanilla extract, sweetened condensed milk, shredded coconut, and chopped almonds. Spread this coconut mixture evenly over the graham cracker base.
- Chill the pan in the refrigerator for at least 1 hour, or until the coconut layer is firm.
- In a small saucepan or microwave-safe bowl, melt the chocolate chips and coconut oil together until smooth. Stir until fully combined.
- Pour the melted chocolate mixture over the chilled coconut layer. Spread it evenly to cover completely.
- Return the pan to the refrigerator and chill for another 2-3 hours, or until the chocolate is completely set.
- Lift the bars out of the pan using the parchment paper overhang. Cut into squares before serving.
Notes
- For cleaner layers, make sure the first layer is tightly packed before adding the coconut mixture.
- Chilling time is crucial for the bars to hold their shape when cut.
- You can substitute semi-sweet chocolate with milk chocolate or dark chocolate.
Nutrition
- Serving Size: 1 bar
- Calories: Approx. 280
- Sugar: Approx. 25g
- Sodium: Approx. 100mg
- Fat: Approx. 18g
- Saturated Fat: Approx. 10g
- Unsaturated Fat: Approx. 8g
- Trans Fat: Approx. 0g
- Carbohydrates: Approx. 30g
- Fiber: Approx. 2g
- Protein: Approx. 4g
- Cholesterol: Approx. 15mg