

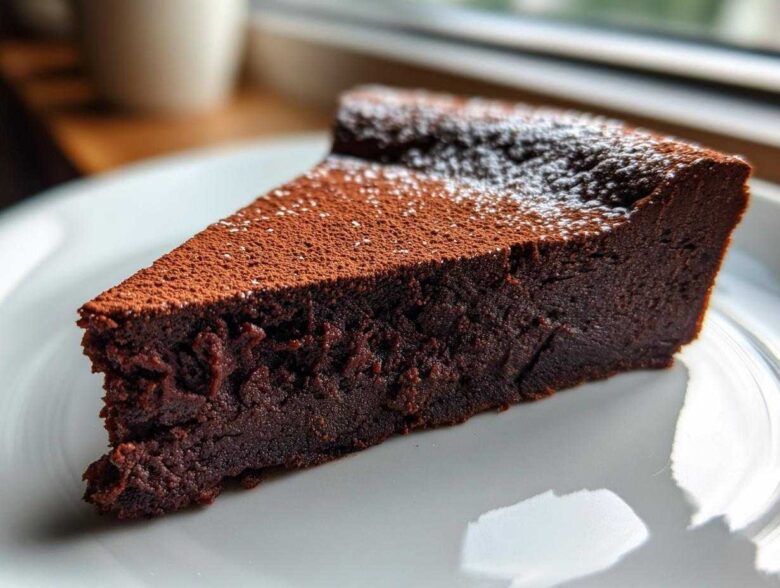
Oh, let’s talk about real indulgence for a minute. If you think ‘dessert’ means complicated layers or endless whipping, I’m here to set you straight! I’ve spent years chasing that perfect, soul-satisfying hit of dark chocolate, and honestly, nothing comes close to the sheer decadence of a truly great flourless chocolate torte. Forget dry cakes; we are aiming for something that feels like rich, chilled velvet melting on your tongue. Trust me, I’ve messed up enough cocoa-heavy concoctions to know the shortcuts. If you love that deep fudgy experience, you absolutely must check out my recipe for ultimate chewy brownies, too!
This recipe is my secret weapon, my go-to for stunning dinner parties because it’s naturally gluten-free, surprisingly simple, and it delivers maximum *wow* factor with minimal fuss. You only need a handful of high-quality ingredients, and before you know it, you have this stunning, elegant chocolate masterpiece ready.
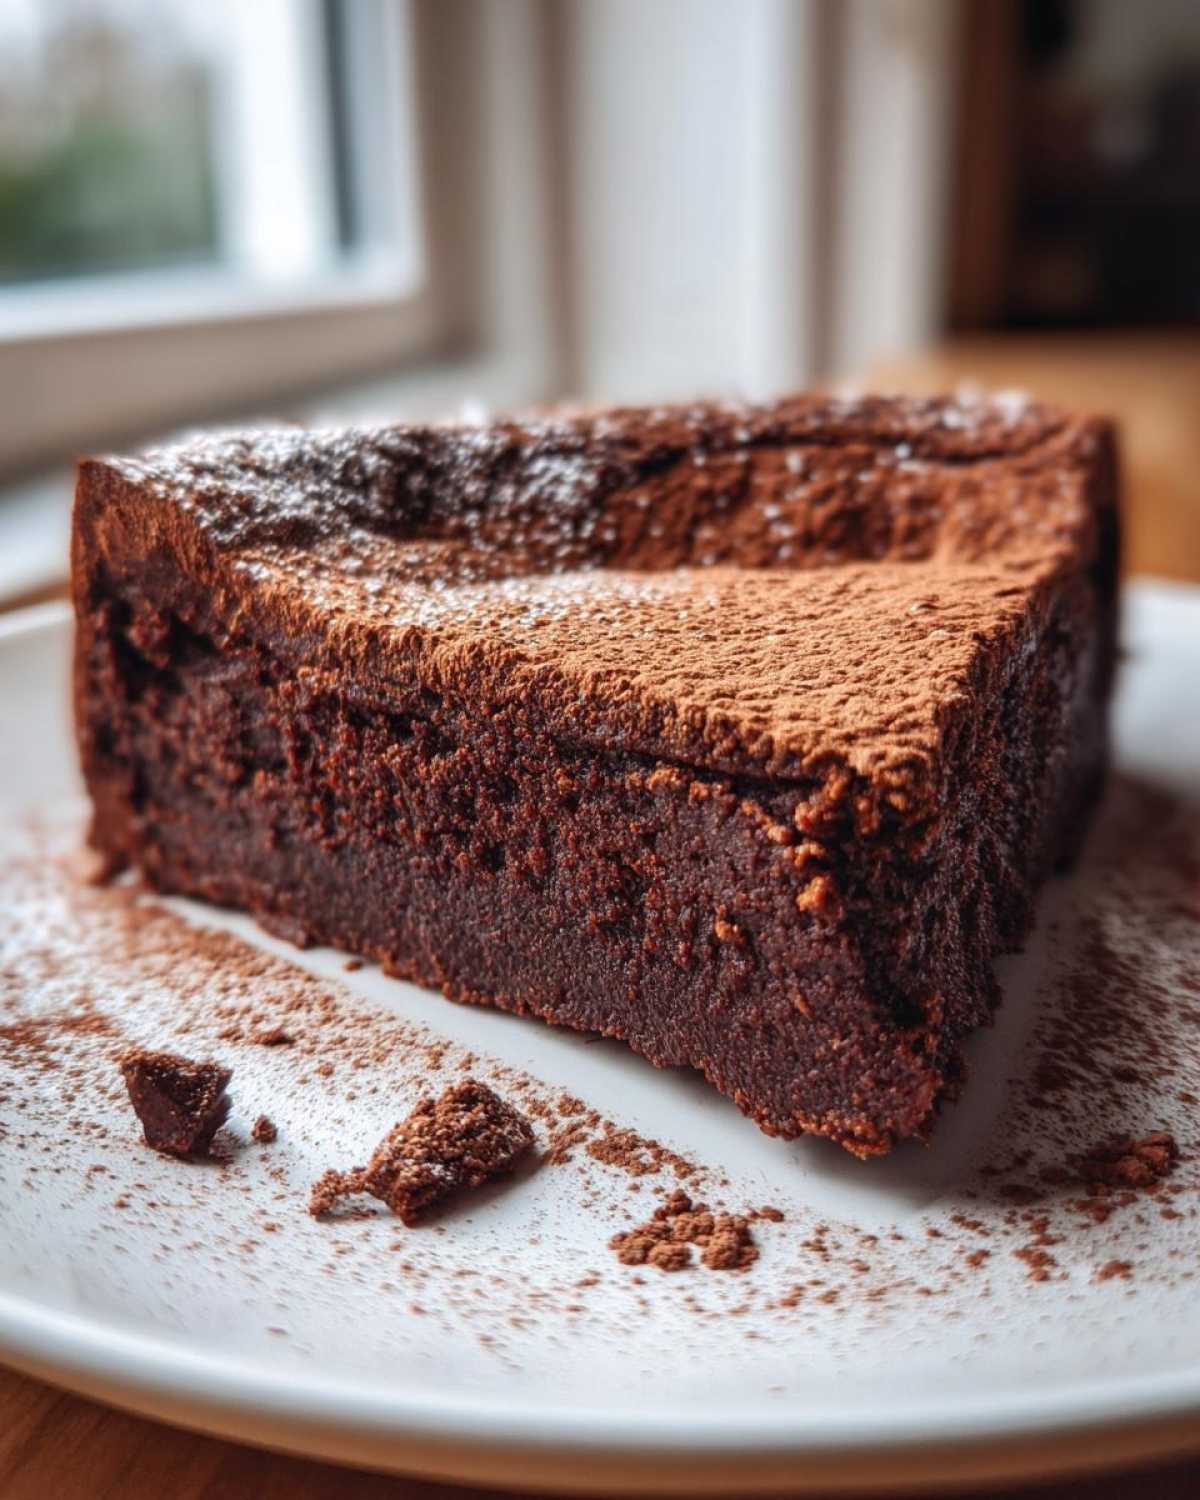
Why This Flourless Chocolate Torte is Your New Go-To Recipe
I know you see pictures of these fancy cakes and think they must take hours, right? Wrong! This is the easiest showstopper you’ll ever bake. Seriously, it’s magic how few steps it takes to get such a professional result.
- It’s pure, velvety chocolate heaven—the texture is legitimately melt-in-your-mouth fudgy.
- It’s completely gluten free dessert perfection, which is awesome for guests with sensitivities or just people who prefer not to mess with flour!
- It comes together so fast; you spend more time letting it cool than actually baking it.
If you want another quick win, you should definitely check out my no-bake chocolate eclair treat when you have a chocolate craving!
Essential Ingredients for a Decadent Flourless Chocolate Torte
The beauty of a great flourless chocolate torte often lies in its simplicity. We aren’t hiding anything behind binders or flours here; what you see is what you get! That means we have to make sure the few things we *do* use are top-notch. I’ve listed exactly what you need below, but honestly, just grabbing the best quality chocolate you can afford is half the battle won.
We use butter, eggs (separated, pay attention!), sugar, vanilla, salt, and that crucial dusting of cocoa powder. That’s it! If you love intense chocolate flavour, you’ll see how that small ingredient list lets the cocoa shine. If you’re looking for other simple bakes, my chocolate chip banana bread also relies on quality ingredients shining through!
Ingredient Notes and Substitutions for Your Flourless Chocolate Torte
Okay, let’s talk quality because this matters SO much when a recipe has only seven main things. For the chocolate, please listen to me: use high-quality bittersweet chocolate, aiming for 70% cacao or higher. If you use a standard semi-sweet, the result will be sweet but lack that deep, sophisticated dark chocolate indulgence we are aiming for. Don’t skimp!
You can certainly drop the cacao percentage down to 60% if 70% feels too intense for your crowd, but definitely don’t go lower than that for the main body of the flourless chocolate torte. And yes, you must use unsalted butter—we control the salt level ourselves with that tiny pinch, so using the wrong salt level throws everything off. This is not the place for margarine, folks; the butter provides the essential richness.
Equipment Needed for This Easy Chocolate Torte
The great thing about this rich fudgy cake is that you don’t need a ton of fancy gear! Honestly, if you can melt butter and separate eggs, you’re already 90% done. Just gather up these few basics before you start mixing.
- An 8-inch springform pan—this is non-negotiable since we need easy release.
- A couple of good-sized mixing bowls for separating the yolks and whipping the whites.
- An electric mixer (handheld or stand mixer) is a lifesaver for getting those egg whites stiff.
- A double boiler setup, which is just a heatproof bowl sitting snugly over simmering water.
Step-by-Step Instructions for the Best Chocolate Torte Recipe
Alright, time to put on our aprons! This is where we build the structure for that beautiful, dense flourless chocolate torte. First thing: get that oven warmed up to 350°F (175°C). Make sure that 8-inch springform pan is greased really well and has parchment paper glued to the bottom; you’ll thank me later when it’s time to release this beauty!
Next, melt your chocolate and butter together over that shimmering water bath until it’s completely smooth—no lumps allowed! While that cools down just a tad, whip your egg yolks and sugar until they get pale and thick. Then, gently fold that melted chocolate into the yolks—don’t rush it. Now for the crucial part: the egg whites. Whip those with a tiny bit of salt until they stand up in stiff peaks. This is the air that lifts our cake without any flour!
The secret to keeping it light is the folding. Take about a third of those stiff whites and stir them vigorously into your chocolate base—this is called ‘sacrificing’ the whites to lighten the mix up. Then, gently, gently, fold in the rest until you just see one or two white streaks left. Pour that luscious batter into your prepared pan. It bakes for about 30 to 35 minutes. Remember, you want the edges set, but the very center should still have a little wobble. If you want an amazing guide on how to get clean slices on no-bake pies, check that link out!
Achieving the Perfect Velvety Chocolate Dessert Texture
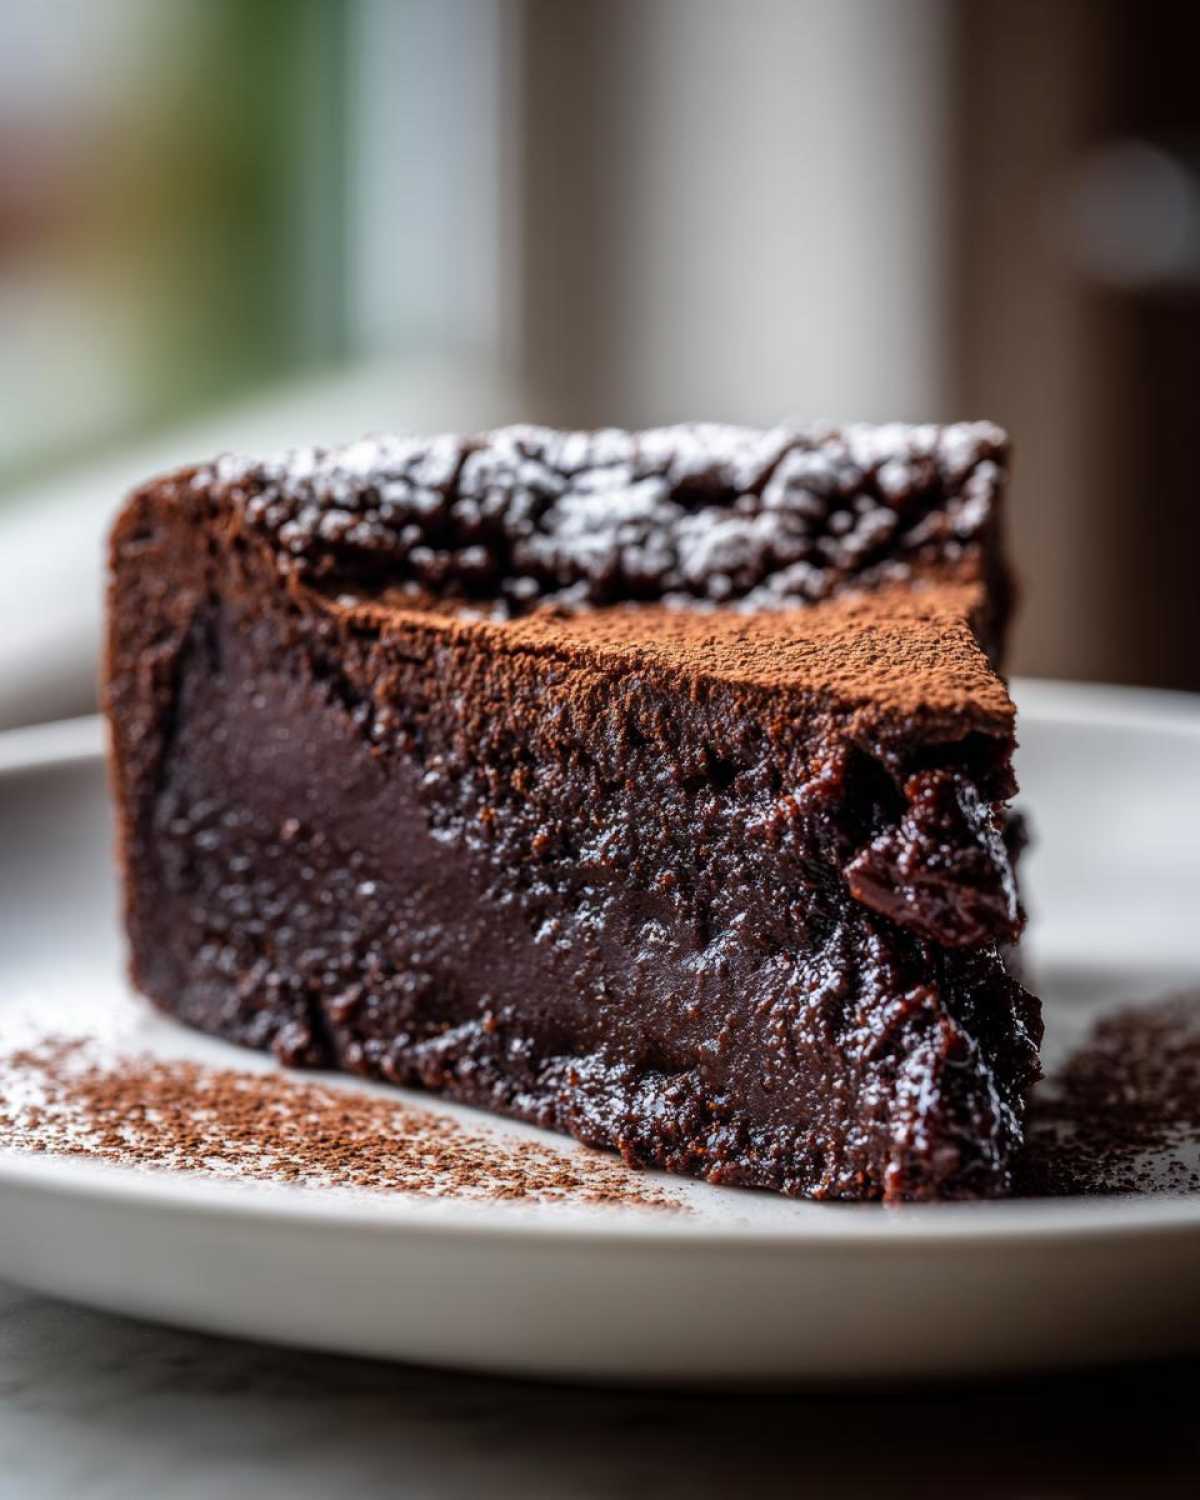
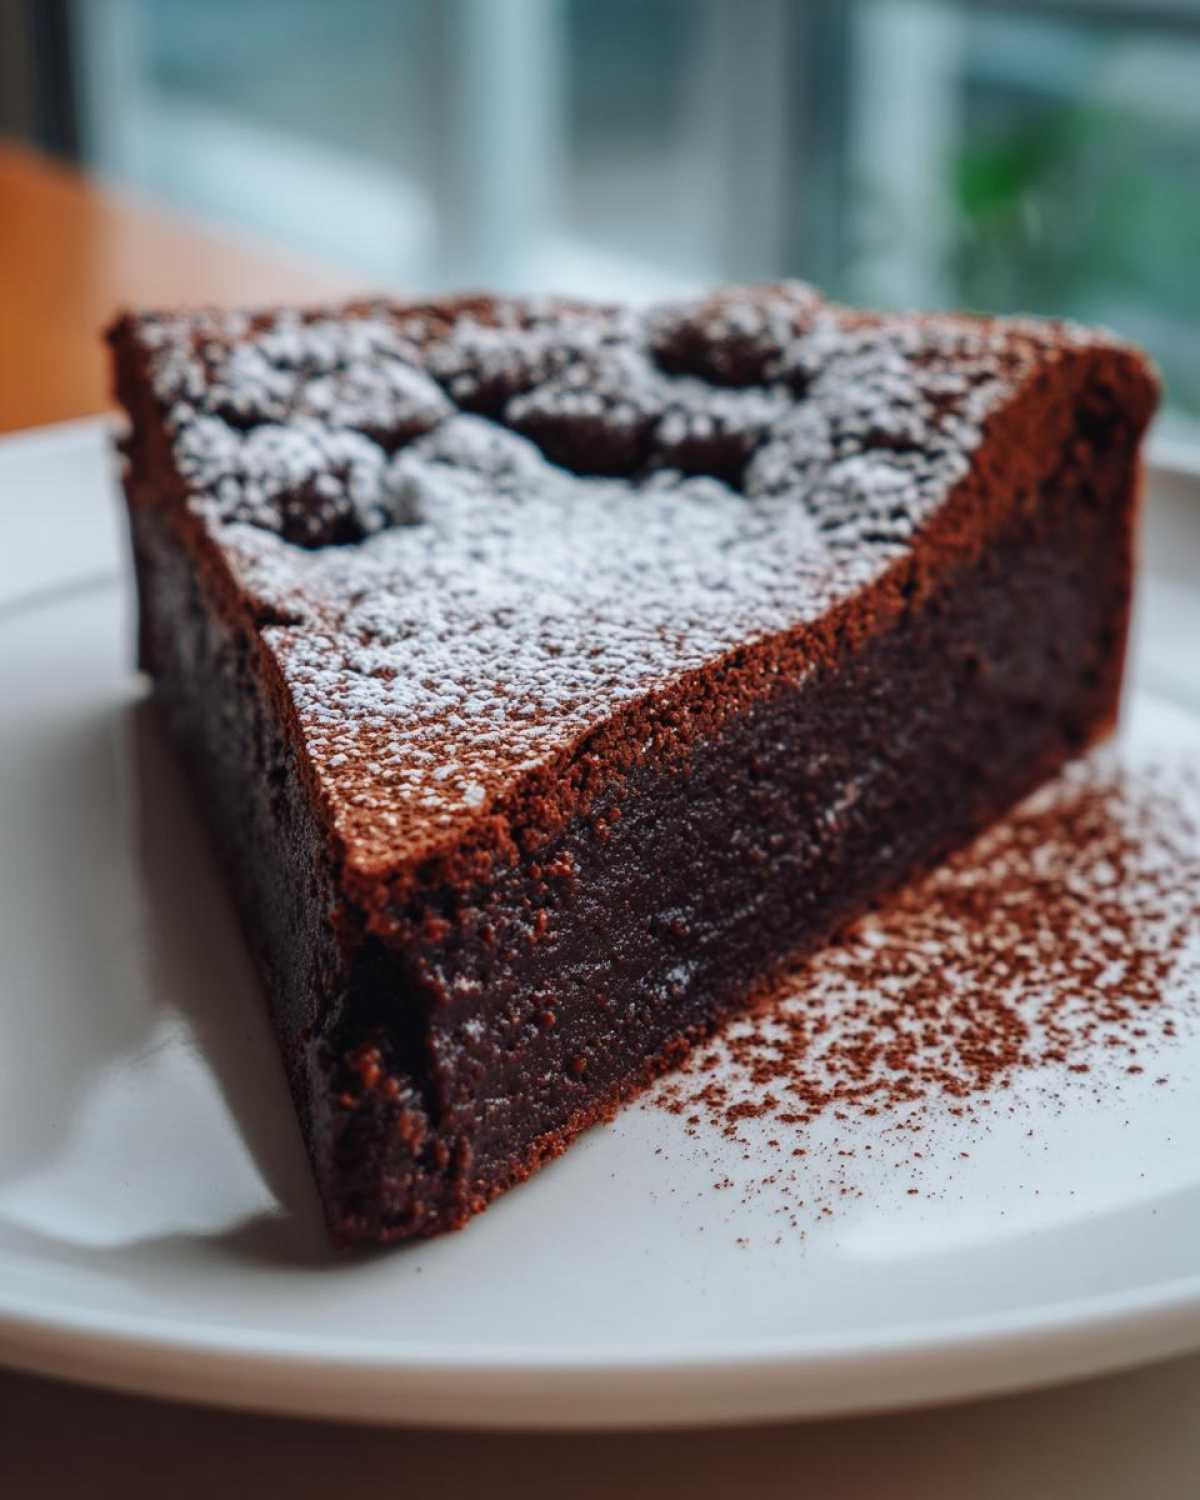
This is the make-or-break moment for glorious, melt in your mouth chocolate! When you bake it, you must resist the urge to cook it until it’s rock solid. We are aiming for a slightly underdone center in this flourless chocolate torte. If you see the edges pulling away from the pan and the center is still jiggling like firm pudding when you gently nudge the rack—pull it out!
I always say, treat it like a lava cake when you pull it out. It sinks a bit as it cools, and that’s exactly what you want; that sinking creates the intense, dense area we all crave. If you overbake it even by five minutes, it turns from velvety to merely dense, and we don’t want that!
Tips for Success When Making Your Flourless Chocolate Torte
Even though this is an easy recipe, treating those egg whites right ensures you get those beautiful, elegant desserts everyone raves about. Before you even think about whipping the whites, make sure your bowl and whisk attachments are completely free of any grease or fat—even a drop of yolk will stop them from peaking properly!
After baking, the cooling process is just as important as the mixing. Don’t try to rush taking this torte out of the pan right away! Let it cool completely on a rack. Yes, the middle is going to sink down dramatically; that’s how you know you baked it perfectly for that rich, fudgy density. That sinking action pulls the outer layers down into that wonderful texture we love.
For presentation, always dust that cocoa powder on right before you serve it. If you dust it too early, the moisture from the air makes the cocoa look uneven and sad. A quick, generous dusting through a fine-mesh sieve is the key to that professional look. If you are mastering pies, you absolutely have to see my guide on the best cherry pie technique for flawless results!
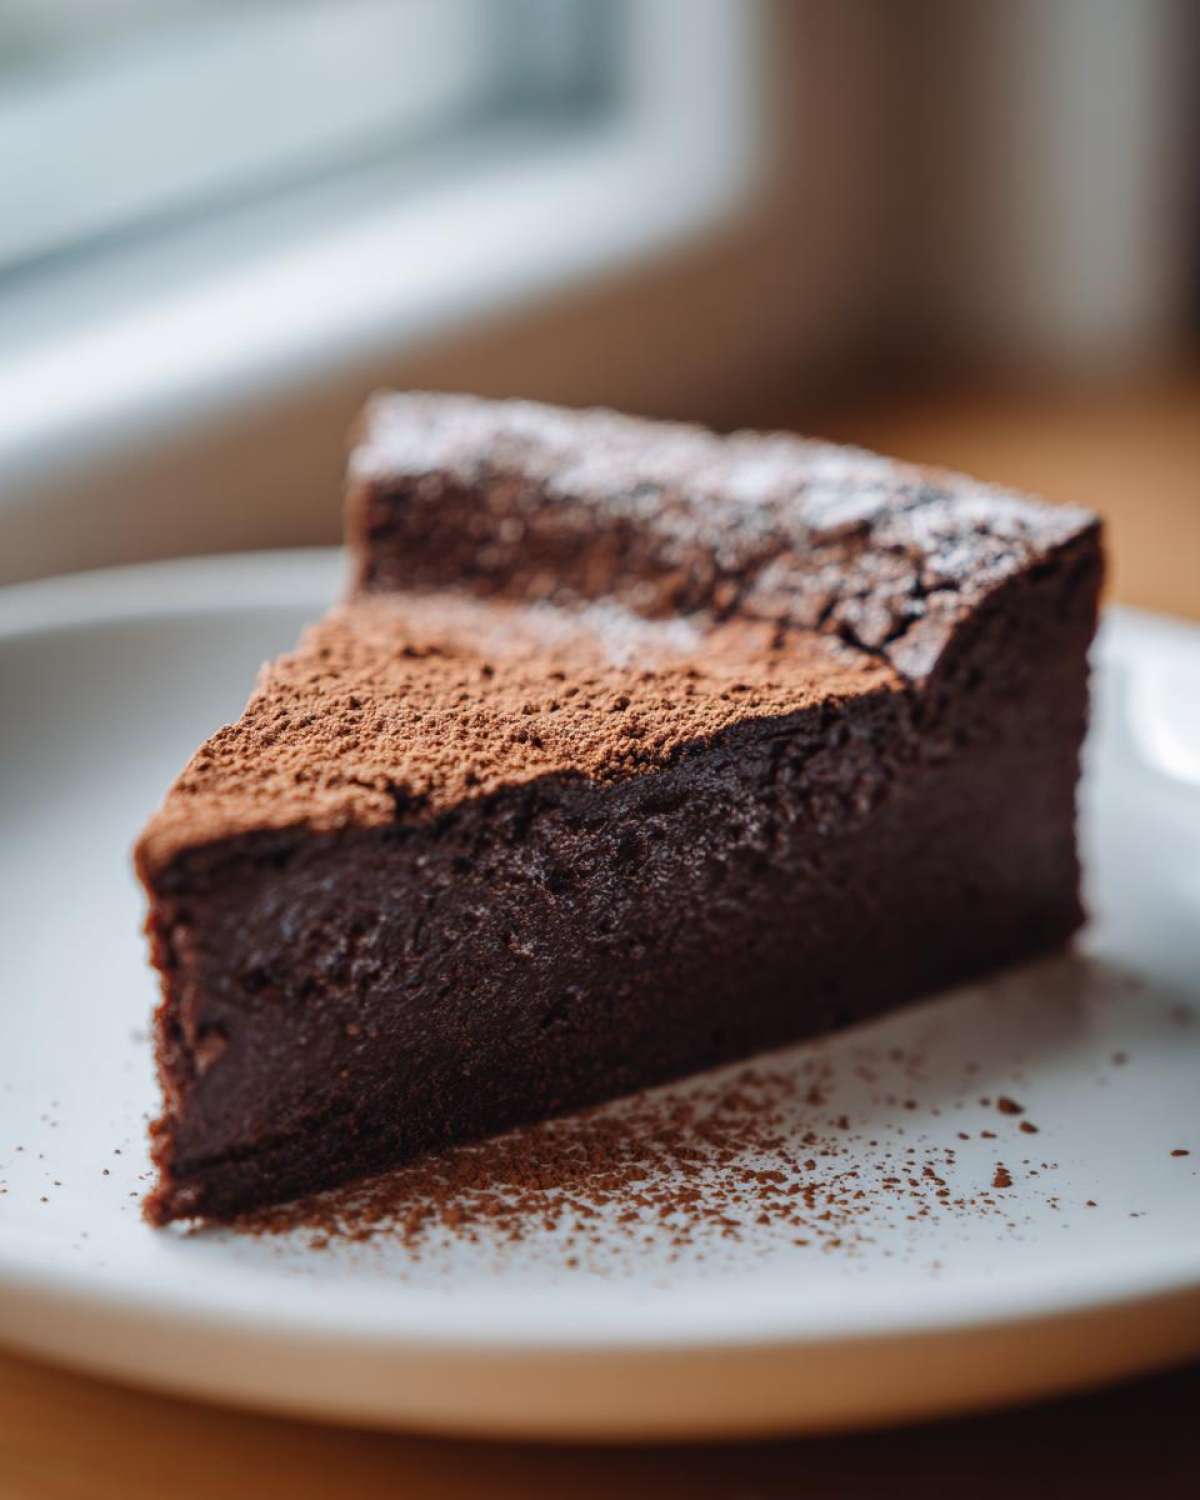
Serving Suggestions for Your Rich Fudgy Cake
Now that you’ve got this gorgeous, deep chocolate cake, how do you present it? You don’t want to overpower that intense chocolate flavor we worked so hard for, right? Keep it focused and elegant!
My absolute favorite accompaniment is a big dollop of freshly whipped cream. But not just any cream—I use a recipe that keeps things nice and stable, which you can find using my notes on making super stable whipped cream!
If you want tartness to cut through the richness, a handful of fresh raspberries is perfect, or maybe a light dusting of espresso powder mixed with your final cocoa coat. That little coffee kick elevates the whole thing!
Make-Ahead and Storage for the Flourless Chocolate Torte
This is such a wonderful special occasion cake because you absolutely can make it ahead of time! Honestly, that’s my favorite part. You can certainly finish the entire flourless chocolate torte a day before you plan to serve it. If you keep it covered, it’s fine at room temperature, but I usually stick mine in the fridge because it just feels safer.
If you refrigerate it, though, you must let it rest on the counter for at least an hour before slicing! Chilling firms up that velvety chocolate too much. You need it slightly softened to get that true, melt-in-your-mouth texture we’re aiming for. For more great make-ahead options, you’ve got to check out my no-bake Biscoff cheesecake recipe!
Frequently Asked Questions About This Flourless Chocolate Torte Recipe
I always get tons of questions once people realize how simple this flourless chocolate torte is! Since it’s such a classic, people naturally wonder about tweaking it. Here are a few things I hear all the time.
Is this really a true Gluten Free Dessert?
It absolutely is! Since we rely only on eggs for structure and absolutely no grain products go into the batter, this is naturally gluten-free. If you’re worried about cross-contamination, just make sure you’re using clean mixing bowls and equipment, which is what I always do!
Can I use milk chocolate instead of bittersweet for this Chocolate Torte Recipe?
You *can*, but I strongly advise against it if you want that *decadent* punch. Milk chocolate has way more sugar and milk solids, which means your torte will be much sweeter and, frankly, way less structured. You risk it collapsing more easily because the fat content changes. Stick to the dark stuff for the best rich fudgy cake result!
Why did my flourless chocolate cake sink after cooling?
Don’t panic, this is actually a good thing! That sinking in the center is completely normal in a no flour cake recipe. It means you correctly underbaked the center just slightly to keep that gorgeous velvety texture. As it cools, the center contracts. That slight dip is the perfect place to put a pile of whipped cream because it forms a natural little crater!
What’s the best way to get perfect clean slices?
This is my biggest tip for serving those elegant desserts! Once the torte is completely cool, pop it in the fridge for at least four hours—overnight is best. Then, before slicing, dip a long, thin knife into hot water and wipe it clean with a towel. Slice one piece, re-wipe the knife, and repeat for every single cut. It keeps the chocolate fudgy and smooth rather than tearing.
For information on managing liquid ratios in other recipes, check out my post on high-protein chia pudding ratios!
Estimated Nutritional Snapshot for This Special Occasion Cake
Okay, I know you’re focusing on the decadence here, but if you’re counting macros or just curious, here’s a rough look at what one slice of this incredible flourless chocolate torte offers. Please remember these numbers are just an estimate!
- Serving Size: 1 slice
- Calories: 380
- Fat: 28g
- Carbohydrates: 28g (with 22g being sugar)
- Protein: 7g
These figures use the specified ingredients, so if you swap out the bittersweet chocolate for something sweeter, those numbers will absolutely change. You can find my notes on making healthier yogurt bagels if you need a completely different type of treat!
PrintThe Ultimate Decadent, Easy Flourless Chocolate Torte (Naturally Gluten-Free)
Make a rich, fudgy, and intensely chocolatey torte that requires no flour. This dessert is naturally gluten-free and perfect for special occasions, offering a velvety texture that melts in your mouth.
- Prep Time: 20 min
- Cook Time: 35 min
- Total Time: 55 min
- Yield: 8 servings
- Category: Dessert
- Method: Baking
- Cuisine: French
- Diet: Gluten Free
Ingredients
- 8 ounces high-quality bittersweet chocolate (70% cacao or higher), chopped
- 8 ounces unsalted butter, cut into pieces
- 4 large eggs, separated
- 1/2 cup granulated sugar
- 1 teaspoon vanilla extract
- Pinch of salt
- Cocoa powder, for dusting
Instructions
- Preheat your oven to 350°F (175°C). Grease an 8-inch springform pan and line the bottom with parchment paper.
- Place the chopped chocolate and butter in a heatproof bowl set over a saucepan of simmering water (a double boiler). Stir until completely melted and smooth. Remove from heat and let cool slightly.
- In a separate large bowl, beat the egg yolks and granulated sugar together with an electric mixer until the mixture is pale yellow and thick, about 3 minutes. Beat in the vanilla extract.
- Gently fold the slightly cooled chocolate mixture into the egg yolk mixture until just combined.
- In a clean, dry bowl, beat the egg whites with the pinch of salt until stiff peaks form.
- Gently fold one-third of the beaten egg whites into the chocolate mixture to lighten it. Then, carefully fold in the remaining egg whites until no white streaks remain. Do not overmix.
- Pour the batter into the prepared springform pan.
- Bake for 30 to 35 minutes. The edges should look set, but the center will still be soft and slightly jiggly.
- Let the torte cool completely in the pan on a wire rack. The center will sink slightly as it cools, which is normal.
- Once cool, carefully remove the sides of the springform pan. Dust the top generously with cocoa powder before slicing and serving.
Notes
- You can make this torte one day ahead. Store it, covered, at room temperature or in the refrigerator. Allow it to come to room temperature before serving for the best texture.
- For a professional look, use a fine-mesh sieve to dust the cocoa powder evenly over the top just before serving.
- If you prefer a less intense flavor, use 60% cacao chocolate instead of 70%.
Nutrition
- Serving Size: 1 slice
- Calories: 380
- Sugar: 22
- Sodium: 85
- Fat: 28
- Saturated Fat: 17
- Unsaturated Fat: 11
- Trans Fat: 0.5
- Carbohydrates: 28
- Fiber: 3
- Protein: 7
- Cholesterol: 140