

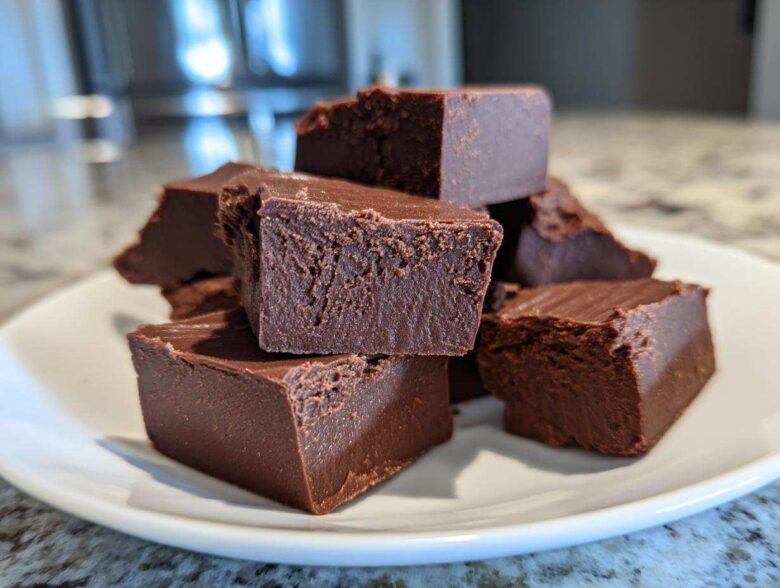
Oh my goodness, do you ever just *need* something incredibly rich, deeply chocolatey, and decadent, but you have zero time to mess around with boiling sugar and praying a candy thermometer doesn’t fail you? I totally get it! That’s why I’m sharing my absolute lifesaver: the easiest **chocolate fudge** recipe known to mankind. Seriously, it only takes three ingredients—*three*!—and you don’t even need to own a candy thermometer. I’ve whipped this up when unexpected guests dropped by, and it sets up beautifully in the fridge every single time. This quick dessert is your secret weapon for satisfying that pure **fudge** craving without any fuss.
Why This Easy Fudge Recipe is a Must-Try
Look, making homemade candy can feel intimidating, right? Like you need a science degree or a closet full of specialized gear. Not with this **fudge**! I promise this foolproof method means you can have that gorgeous, rich texture without any drama. If you’re looking for a *real* win in the kitchen, this is it.
- It’s lightning fast! You’re looking at maybe five minutes of actual hands-on time before it goes into the fridge. It’s the definition of a quick dessert.
- You only grab three things from the pantry. Honestly, the ingredient list is almost unbelievable!
- It gives you that classic, melt-in-your-mouth experience. No more weirdly grainy results that taste like sugar crystals. This **fudge** is pure velvet.
Achieving Smooth Fudge Without a Candy Thermometer
This is the best part! We skip the whole tempering process entirely. See, by using sweetened condensed milk paired with the chocolate, we create an emulsion that sets up perfectly as it cools. The high sugar content in the condensed milk does all the heavy lifting to keep the crystals fine and the final texture incredibly **creamy fudge**. Trust me, your old candy thermometer can stay put in the drawer for this batch!
Ingredients for Perfect 3-Ingredient Chocolate Fudge
When I say this is an **easy fudge recipe**, I really mean it. You only need three things to start, which means fewer things to measure and less chance of messing up the ratios. Keep these ingredients close, and you are halfway to **homemade fudge** heaven!
- 1 (14 ounce) can sweetened condensed milk
- 2 cups semi-sweet chocolate chips
- 1 teaspoon vanilla extract
That’s the whole list! Just make sure that sweetened condensed milk can is full—don’t accidentally grab evaporated milk, or you’ll end up with soup instead of **fudge**. The simplicity of this recipe shows you don’t need complicated additions for maximum flavor.
Ingredient Notes and Substitutions for Your Fudge
Even with just three items, the quality really shines through. Since the chocolate is the star of the show here, using chocolate chips that you genuinely enjoy eating on their own makes a big difference in your final **rich decadent dessert**.
For instance, I sometimes get asked if they can use milk chocolate. Sure, you totally can! But if you swap semi-sweet for milk chocolate, your **fudge** will be much sweeter, and you might want to drop the sweetness down elsewhere if you were adding more complexity later. Semi-sweet seems to hit that perfect sweet-and-bitter spot for me.
Now, if you want to pivot into a different territory—maybe you need that classic peanut butter fudge vibe—here’s the trick, and it’s super easy. You can swap out one cup of those semi-sweet chips for one full cup of creamy peanut butter. You melt them together just the same way. It results in a gorgeous, nutty slab of heaven that’s equally quick!
How to Make Quick Dessert Chocolate Fudge
This is where the magic happens, and honestly, it’s so fast you’ll barely have time to put the empty can back in the recycling bin! We are ditching the stovetop entirely for this **quick dessert**. Forget watching pots boil; we’re using the microwave, which is fantastic for a **simple dessert idea** like this. The key detail here is being gentle during the melting phase so you don’t scorch the chocolate—that would be a tragedy! If you loved how easy microwave caramels were, this is the same principle applied to pure chocolate heaven.
Preparing the Pan for Easy Fudge Removal
Before you even think about turning the microwave on, you need to set up your pan. This step is non-negotiable if you want perfectly clean pieces of **fudge** later! Grab an 8×8 inch square pan. You need to line it completely with parchment paper. The most important trick? Make sure you leave a big overhang on two opposite sides. Think of them as handles!
When the **fudge** is done chilling, you won’t need a knife struggling around the edges. You just lift the whole magnificent slab out using those parchment ‘handles.’ It makes cutting the squares so much easier, and it keeps the edges of your candy looking crisp and professional, which is essential if you plan on sharing this treat!
Melting and Stirring for Creamy Fudge Texture
Okay, pan ready? Now dump the chocolate chips into a medium, microwave-safe bowl, and pour that whole can of sweetened condensed milk right on top. Don’t stir yet! Microwave it on HIGH for just 60 seconds. Take it out, and stir it vigorously. You’ll probably see some chips still holding their shape, and that’s fine.
This next part requires attention: put it back in for 30-second bursts. Stir *completely* between every single burst. I usually find it takes one or two more 30-second sessions, but maybe three if your microwave is older. You’re looking for total, seamless smoothness—no lingering lumps of chocolate allowed! The instant it’s all melted together, take it out immediately. That’s how you guarantee a **creamy fudge** result that feels luxurious, not grainy.
Right after you hit peak smoothness, stir in that teaspoon of vanilla extract. Mix it until it vanishes. Now, pour that glorious brown mixture into your prepared pan. Smooth the top a little with a rubber spatula, and off it goes into the fridge to chill for at least two hours. Patience is the hardest ingredient in this **easy homemade candy**!
Tips for No Fail Fudge Success
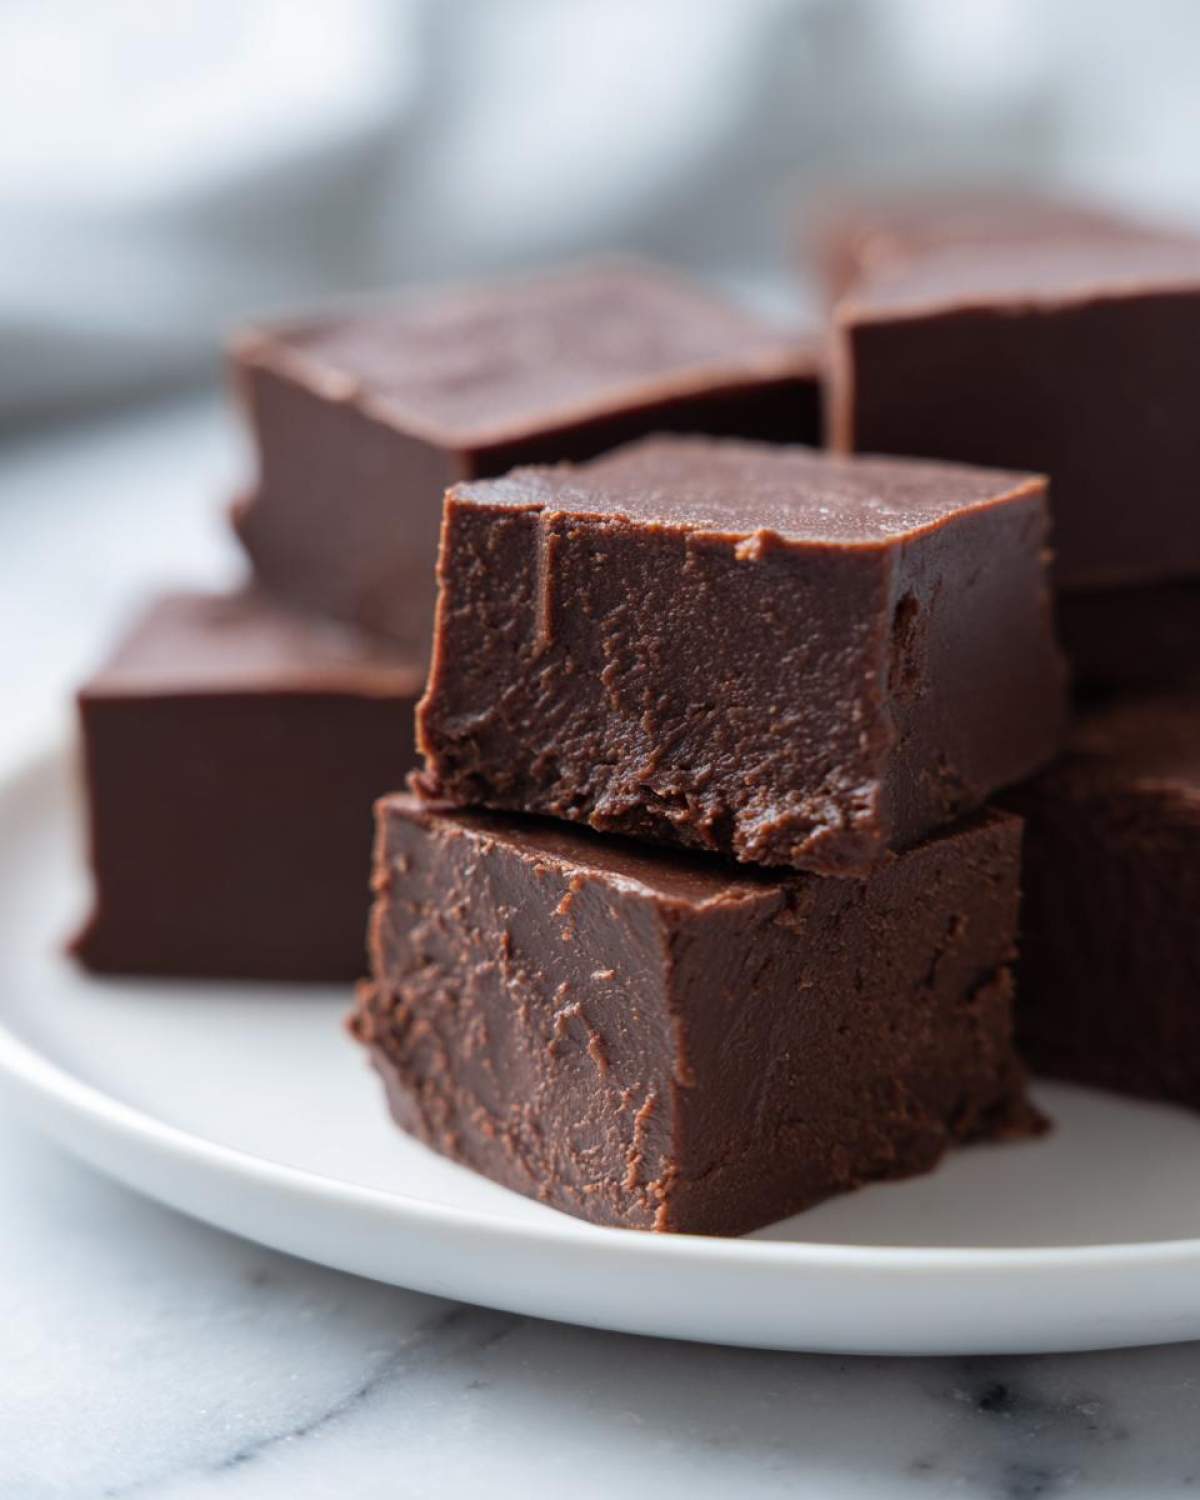
Even though this is the simplest **fudge** recipe ever invented, a couple of tiny details can push it from “pretty good” to “OMG, what is this sorcery?” I learned these things the hard way, usually after having to eat a slightly weirdly set pan of chocolate! We aren’t fighting with a stovetop, but we still need to respect the cooling process. If you follow these two pointers, you are guaranteed **no fail fudge** every single time.
First things first: resisting the urge to touch it! I know that glossy, warm chocolate looks irresistible, but you have to let it set undisturbed in the fridge. The goal is firm but still velvety, and that takes time. Don’t try to speed it up by putting it in the freezer or leaving it on the counter if your kitchen is warm. That often leads to sweating or improper setting. Stick to that 2-hour minimum in the actual refrigerator, even if you are desperate.
The second big tip relates to the chocolate itself. Did you know your bowl matters? If you use a bowl that was chilled or still has any residual water drops in it, it can cause the chocolate to seize up and get grainy while melting. So, make sure your mixing bowl is completely dry and at room temperature before you start. A dry bowl keeps that smoothness locked in. Seriously, check for condensation! We want that beautiful, **smooth fudge**, not seized chocolate.
Another little trick, especially if you added extra mix-ins like chopped nuts (which are amazing, by the way—I often toss in some salty chopped peanuts, similar to what you’d find in no bake chocolate peanut butter cups—but do that right before pouring it into the pan!), is to ensure they are dry. Any moisture from wet ingredients mixed in can interfere with that crucial setting process. Keep everything dry and cool during the setting phase, and you’ll have the *best* **homemade fudge**!
Making Homemade Fudge for Gifting
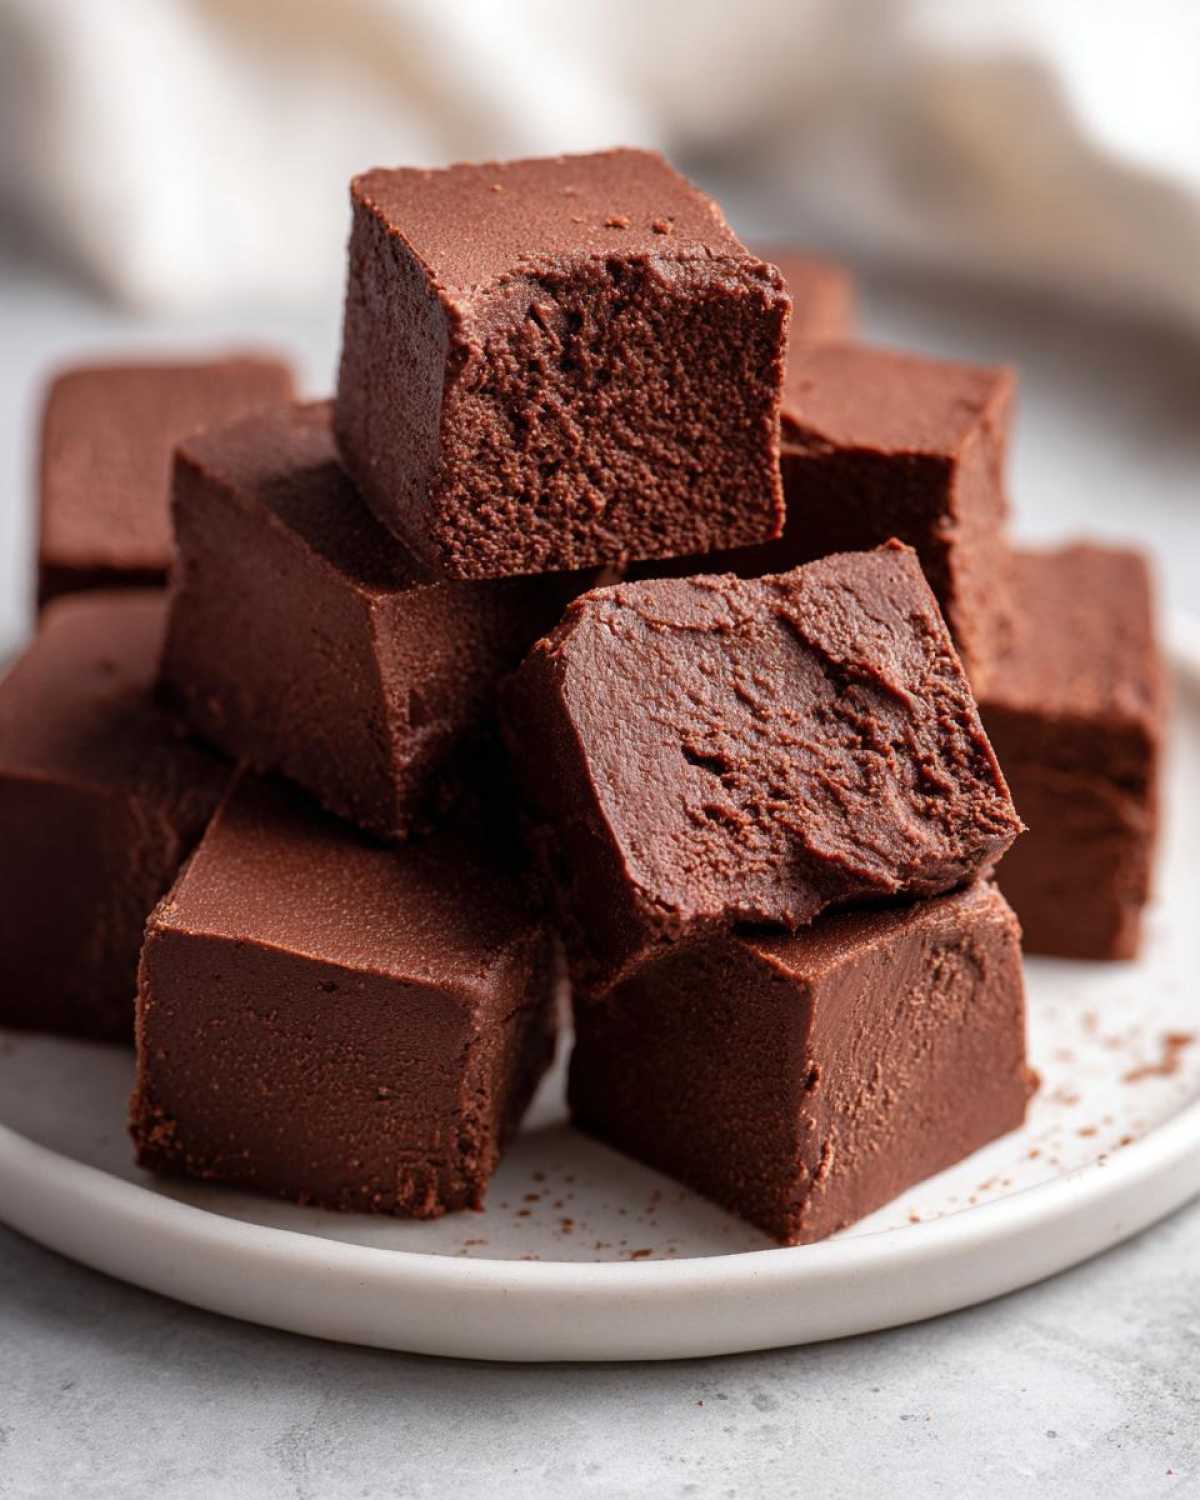
You know, one of the greatest joys about making this **easy fudge recipe** is sharing it! Nothing says “I care about you” like a square of rich, homemade candy, right? Because this **fudge** is so quick to make, it makes a fantastic last-minute teacher gift, a contribution to a party platter, or a sweet little something for neighbors during the holidays. It screams **holiday candy** quality without demanding hours of your time.
The key to making your **homemade fudge** look super professional when you’re gifting it is all in the presentation, specifically the cutting and the wrapping. If you rush the cutting, you end up with weird trapezoids, and nobody wants a wonky piece of candy!
Cutting Uniform Squares Like a Pro
Remember that parchment paper overhang I talked about? This is where it pays off big time! Once your **fudge** is rock solid—let it chill for at least two hours, sometimes three is better depending on how warm your kitchen is—just grab those paper handles and lift the whole slab out onto a cutting board. It should peel away from the paper easily.
Now for the uniform part. I don’t use a ruler, because goodness, who has time for that? Instead, I visualize the grid. If you’re aiming for 36 squares like the recipe yields, think of it as a 6×6 grid. Use a large, sharp chef’s knife. Press straight down rather than sawing back and forth because sawing can sometimes drag the soft chocolate and make the edges messy. If the knife sticks (which can happen if the **fudge** is too cold), just run the knife under hot water for a second, wipe it dry, and cut again. A clean cut makes the final product look so much sharper; it’s like the difference between sliced bread and a perfectly cut piece for a trifle, similar to how you’d get clean slices for a no bake chocolate eclair dessert.
Wrapping Gifts of Fudge
Once you have your beautifully cut squares, it’s time to wrap them up so they stay fresh and look adorable. Since we are making a **simple dessert idea** that is rich and meltable, you want something that won’t stick horribly. I skip plastic wrap directly on the candy whenever possible because it often pulls off a bit of the surface.
My favorite method for **fudge for gifting** is simple wax paper. Cut squares of wax paper large enough to fully wrap each piece. Place the square near the center of the wax paper, fold up the sides neatly, and twist the ends like you’re wrapping a piece of hard candy. This keeps the air out and prevents the pieces from sticking to each other if you stack them in a little tin or box. If you use cute little cellophane bags and tie them with a nice piece of twine or ribbon, you’ve got a gorgeous, **classic American dessert** gift ready to go!
Variations on This Rich Decadent Dessert Fudge
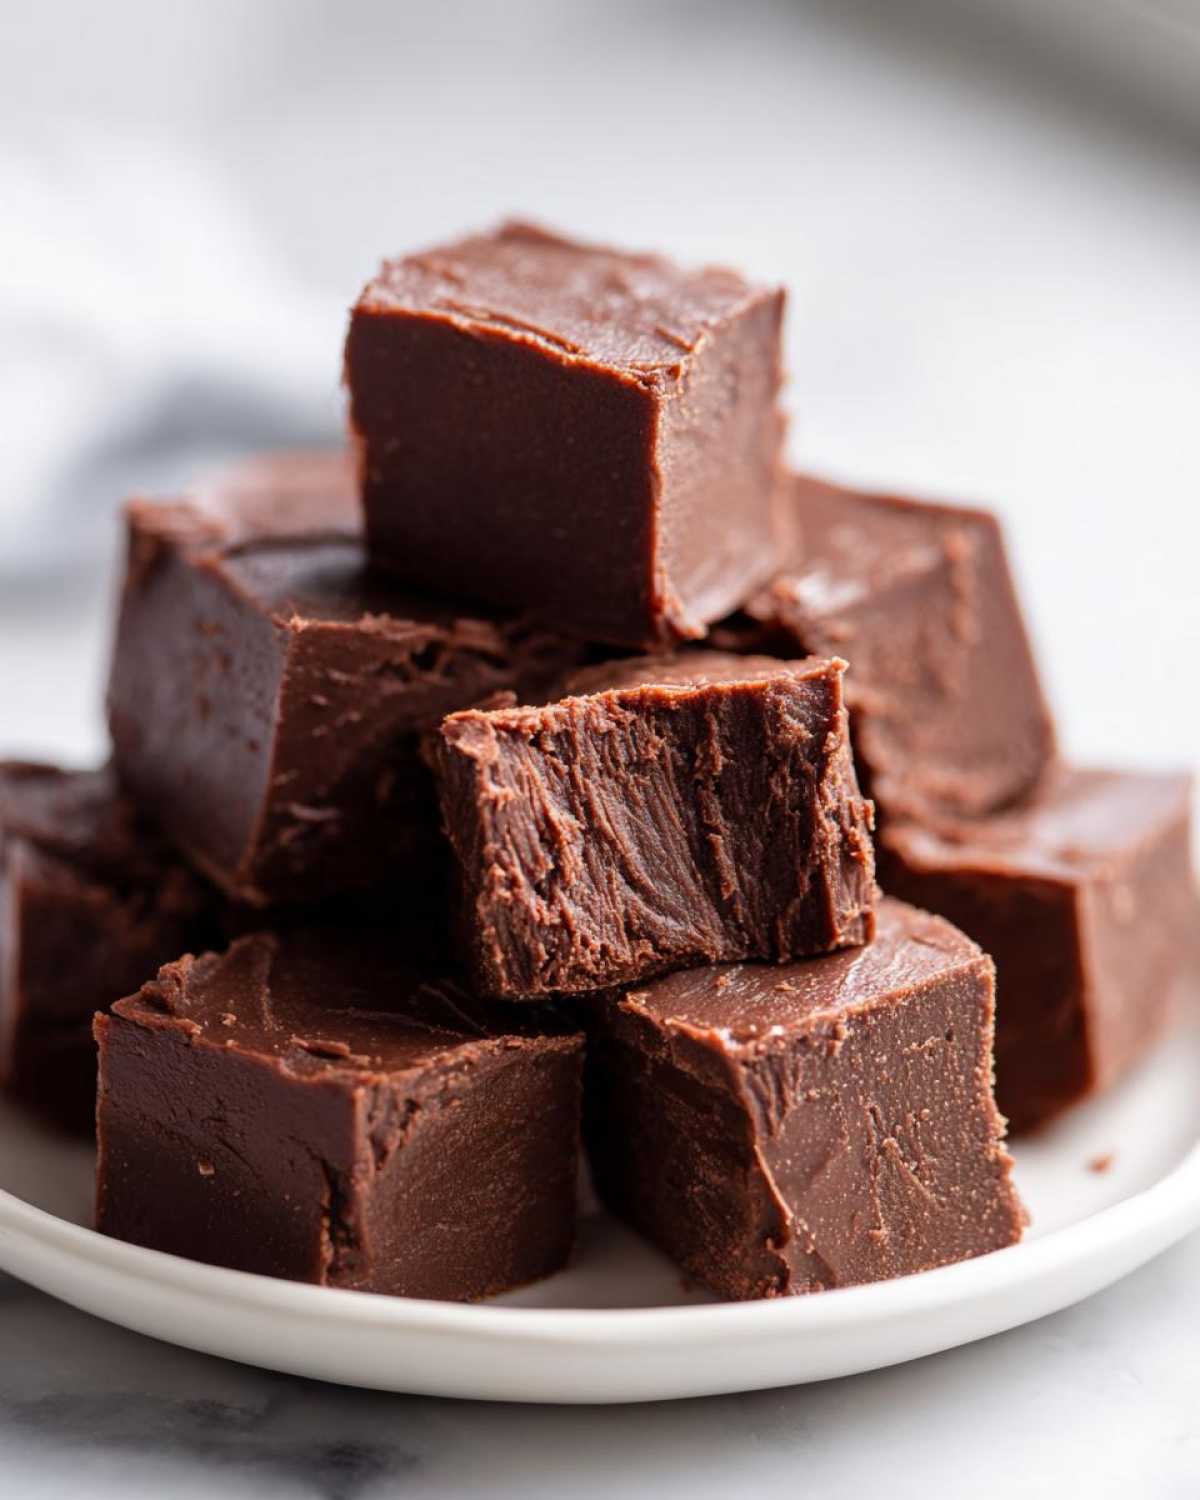
This three-ingredient base is sneaky! It’s so stable and versatile that you can customize it endlessly without messing up that perfect **smooth fudge** set we worked so hard for. Think of this **rich decadent dessert** as a blank canvas for your own sweet creations. I love experimenting, especially when I have leftover frosting or other bits and pieces from a baking day. It makes coming up with **simple dessert ideas** for the week so much fun!
The key to adding things in is remembering that we want things that won’t introduce too much moisture or sink messily to the bottom while the **fudge** is setting. So, don’t go adding fresh fruit or anything wet, okay? Keep the mix-ins dry or fatty, and you’ll be golden.
Mixing in Nuts and Sprinkles
For that little bit of crunch that makes the texture interesting, nuts are always a winner. I’m talking about walnuts or pecans. Make sure they are toasted first! Toasting brings out so much more flavor, and it ensures they are bone dry before they go into that warm chocolate mixture. Toss them in right after you stir in the vanilla—that’s when the whole batch is the easiest to work with.
If you’re making this for a party or for the kids, you can go wild with sprinkles! Mini chocolate chips work great, too, if you want more chocolate, obviously. Golden sprinkles or rainbow jimmies are fabulous additions. Just remember, because this is a **no bake fudge**, you need to mix the sprinkles in quickly before the mixture starts to firm up too much. They should get suspended throughout the slab just as you’re pouring it into the prepared pan. It makes for a beautiful presentation, and it’s a much more fun way to present a simple **homemade fudge**!
Making the Peanut Butter Fudge Swap
If you are craving that salty, sweet combo, transforming this into **peanut butter fudge** is a must-try! It’s shockingly simple, and the result is just as glorious as the original chocolate version. Remember I mentioned swapping out some of the chips for peanut butter? Here’s the dedicated recipe tweak for that:
To make a truly spectacular **peanut butter fudge**, you’ll use the same can of sweetened condensed milk, but you’re going to use one cup of creamy peanut butter *and* one cup of semi-sweet (or milk) chocolate chips. You microwave them together with the milk, just as before.
Once melted and smooth, you’ll want to swirl a little extra peanut butter right into the top *after* you pour it into the pan, maybe drizzling it back and forth a bit. If you want extra flavor, you can even use the leftovers from a no bake cheesecake recipe sometimes if you have a little bit of melted Biscoff spread hanging around—though I usually save that for toppings on the side!
Adding a Hint of Coffee or Mint
Because the base flavor is so clean, adding extracts for a little zip is a fantastic way to change things up! If you love that chocolate mocha flavor, try swapping the vanilla extract for one teaspoon of good quality instant coffee dissolved in just a tiny bit of hot water, or better yet, use coffee extract if you have it. It deepens the chocolate flavor so beautifully; it makes this **chocolate fudge** taste like it came from a fancy chocolatier.
Alternatively, for a completely different vibe, skip the vanilla and add ½ teaspoon of peppermint extract. This instantly turns it into a fantastic seasonal treat! It doesn’t even need toppings, but if you’re feeling fancy, sprinkle a few crushed candy canes on top right before it goes into the fridge. It’s a wonderfully **creamy fudge** flavor that everyone adores around the holidays.
Storing and Serving Your Smooth Fudge
Now that you’ve successfully created this beautiful, **smooth fudge**, the next crucial step is keeping it tasting perfect until you’ve eaten every last piece! Trust me, once you cut into it, the hardest part is stopping. Because this recipe is so simple and relies on sweetened condensed milk rather than cooked sugar syrups, the storage instructions are actually really straightforward. You don’t need to worry about special airtight containers or complicated humidity controls, though a little care goes a long way to preserving that silky texture we worked so hard to achieve.
The absolute best place for this **fudge** to hang out is in the refrigerator. Pop it into a shallow, airtight container. If you don’t have a perfect lid, just pressing a piece of plastic wrap directly onto the surface of the squares before putting the lid on works wonders to keep any fridge smells out. When stored properly in the fridge, this **homemade fudge** stays wonderfully fresh for a solid two weeks. Sometimes I forget I even made a batch, and it’s still perfectly good a week later—it’s so reliable!
The Secret to That Melt-In-Your-Mouth Texture
Here’s a little debate I have with myself every time I make this **chocolate fudge**: do I eat it straight from the fridge, or do I let it warm up a bit? When it’s straight out of the cold, the texture is much firmer. It definitely offers a satisfying chew, and if you like your candy almost chewy, pull it out and eat it right away.
However, if you want the absolute *best*, most luxurious experience—that true **melt-in-your-mouth chocolate** feeling—you need to let it temper slightly. Before serving, take the pan or the cut squares out onto the counter about 20 to 30 minutes before you plan on eating them. Letting these chilled squares come up a tiny bit in temp allows them to soften just enough. When you bite in, that coolness is still there, but the richness of the chocolate melts instantly on your tongue. It’s the difference between a firm bite and decadent surrender, I swear!
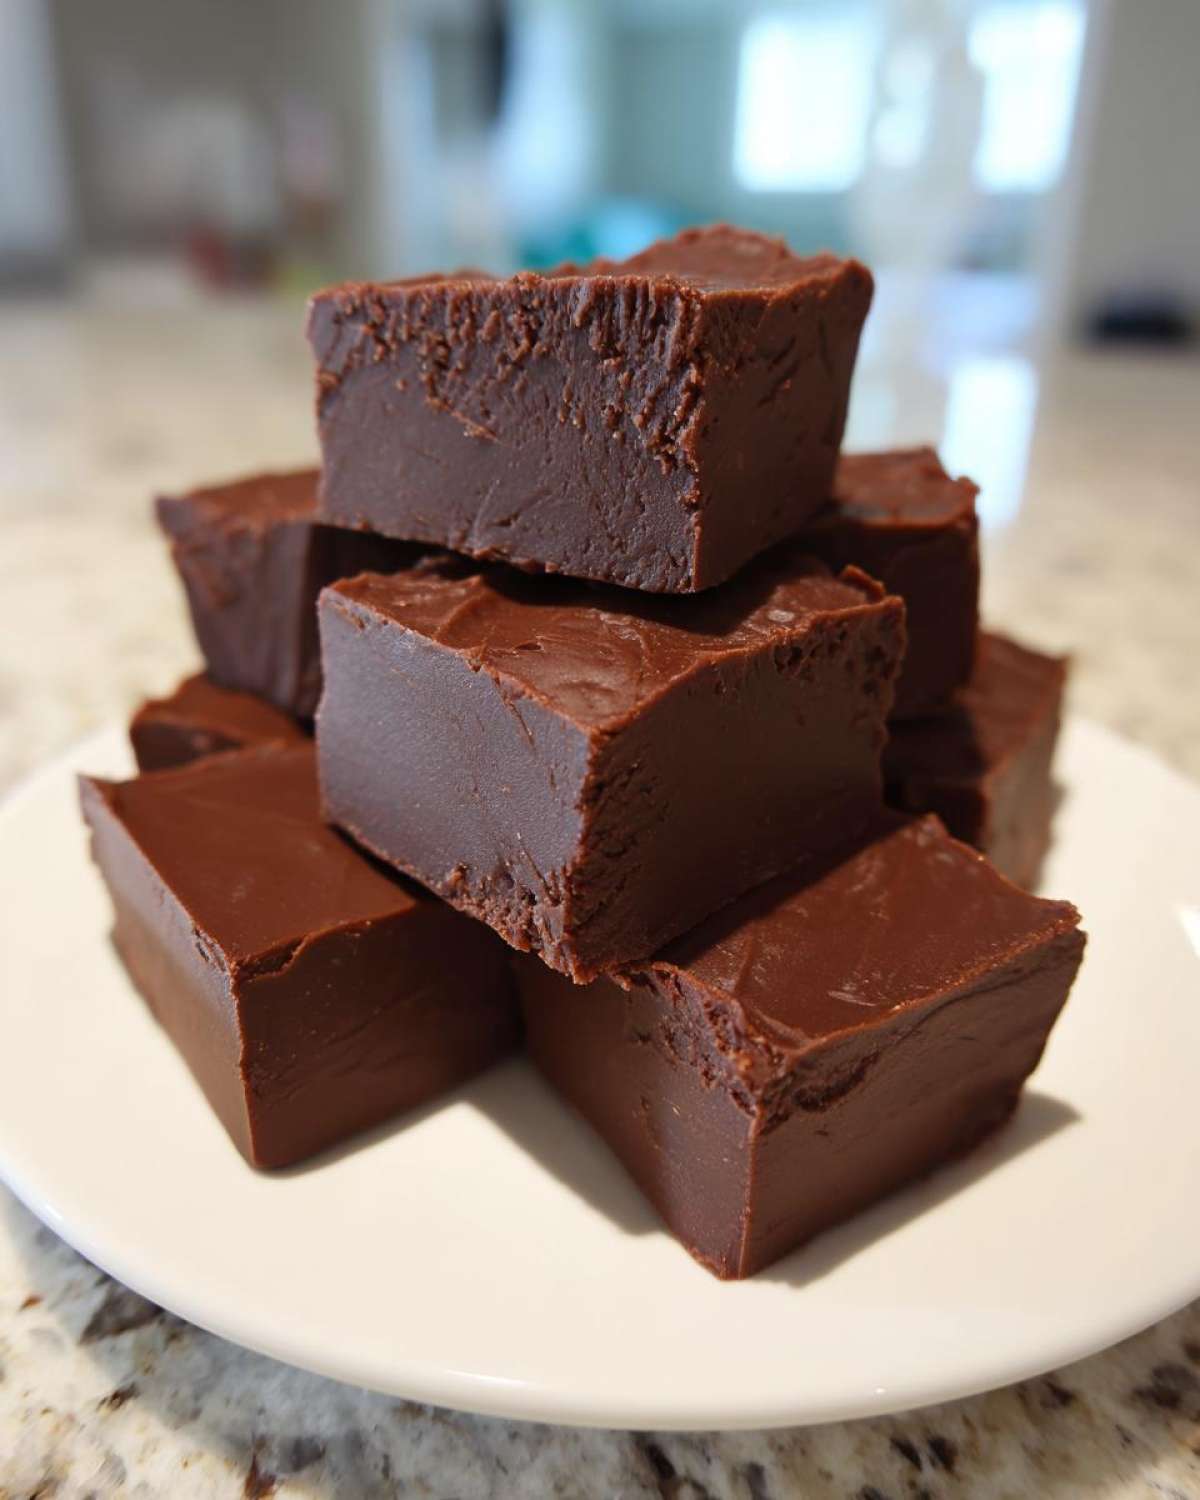
Can This Fudge Sit Out on the Counter?
This is where the sweetened condensed milk really helps us out! Unlike traditional cooked fudge that can start to weep or get sticky if left out too long on a humid day, this version is much more stable due to the sugar content. I’ve definitely left pieces out on a party platter for a few hours, and they were absolutely fine.
For short-term display (say, a party lasting an afternoon), it’s totally okay to keep your squares on a nice serving plate, especially if you’re going to eat them relatively quickly. Just keep it out of direct heat or sunlight—we definitely don’t want that gorgeous **smooth fudge** turning into a puddle! If you plan on keeping it out for more than four or five hours, or if your kitchen runs really warm, better safe than sorry: pop it back into the airtight container and into the fridge. It’s always easiest to just keep the bulk of your batch chilled until you’re ready to serve the next batch.
Frequently Asked Questions About Microwave Fudge
Okay, I know whipping up a **quick dessert** in the microwave can sound too good to be true, so people always have questions! I get it. When I first started making this simple recipe, I peppered my family with inquiries about texture and ingredients. Here are the things I hear most often about making this fantastic **3 ingredient fudge**.
Can I use milk chocolate chips instead of semi-sweet for this fudge recipe?
Yes, you totally can! That’s the flexibility of using sweetened condensed milk for this **easy fudge recipe**. However, you need to know that milk chocolate chips have more sugar and less actual cocoa solids than semi-sweet chips. What does that mean for you? Well, your final **creamy fudge** is going to be noticeably sweeter. If you prefer a deep, slightly darker chocolate taste, stick with semi-sweet. If you have a major sweet tooth or you are making this for little ones, milk chocolate is a fantastic, easy swap! It might set just a tiny bit softer, so give it that extra 15 or 20 minutes in the fridge just to be safe.
Why is my fudge grainy instead of smooth?
Ugh, that’s the worst when you are expecting **smooth fudge**! Graininess almost always comes down to one of two things, even with this easy method. The most common culprit is overheating the chocolate in the microwave. If you rush it and just nuke it for a whole minute and a half without stirring, the edges can scorch and create hard little sugar clumps that ruin the entire batch. Remember that trick I mentioned? Go in short, 30-second bursts, stirring *completely* until everything is just combined.
The other potential issue is if the chocolate chips you used weren’t completely dry when they went into the bowl. Any drop of water or steam can cause the chocolate to seize up instantly. So, double-check that your bowl is dry and your chocolate chips haven’t been sitting in a damp area! Patience and dryness are the keys to a truly **melt in your mouth chocolate** experience. Speaking of keeping things clean and tight, if you ever need to slice something like a pie cleanly, chilling it well is key, just like we do with this no bake Nutella pie!
Can I use evaporated milk instead of sweetened condensed milk?
No, please, please don’t substitute evaporated milk here! This is the one place in this **no bake fudge** recipe where you have zero wiggle room. Evaporated milk is much thinner and doesn’t contain the massive amount of sugar that sweetened condensed milk does. The sugar is what thickens the mixture and helps it set up hard enough to cut into squares. If you use evaporated milk, you will end up with a runny, sweet chocolate sauce that will never firm up. You need that gooey, thick, shelf-stable goodness that only the canned sweetened kind provides for this **homemade fudge** magic to work!
How long does this fudge last if kept airtight?
Because this recipe relies on canned milk and not perishable cream, this **classic American dessert** is great for making ahead! If you keep it stored tightly sealed in the refrigerator—you can even wrap the cut squares individually in wax paper before placing them in the container—it tastes fantastic for at least two weeks. I’ve honestly kept pieces longer, but two weeks is my safe, confident recommendation for optimal flavor and texture. If you leave it on the counter, it doesn’t last quite as long, especially in warm weather, so the fridge is your best friend for preservation.
Can I make this fudge ahead of time for holiday candy?
Absolutely! This is my secret weapon for getting ahead of the **holiday candy** rush. Since it needs those two hours to set completely in the fridge anyway, you can make this fudge a few days before you plan on serving or gifting it. If you cut it and wrap it up nicely in wax paper, it keeps beautifully in the fridge, and as I mentioned earlier, letting it sit out for 20 minutes on the counter before serving brings it to that perfect, soft texture. If you’re storing it for more than a week, keeping it in the fridge is better than letting it sit on the counter, just to maintain that perfect structure.
Nutritional Snapshot of This Classic American Dessert Fudge
Now, I want to be super clear about something before we dive into the numbers for this quick and easy **chocolate fudge**. Whenever you make **homemade fudge** like this—especially when it involves melting down tons of lovely chocolate chips—it’s definitely a treat, not an everyday health food! These numbers are just estimates based on the standard ingredients listed. If you swap cane sugar for honey, or use dark chocolate instead of semi-sweet, those values will shift around a bit, so take this as a helpful guide rather than gospel.
That said, it’s amazing how much flavor you get for what’s in that small square. It’s a sign of a truly great, **classic American dessert** when the indulgence tastes that good! For those of you tracking calories or macros, here is what you can generally expect for one small square (remember, we usually slice this into 36 pieces for a good party platter!).
- Serving Size: 1 square
- Calories: 120
- Sugar: 16g
- Sodium: 25mg
- Fat: 6g
- Saturated Fat: 3.5g
See? A reasonable little indulgence! I usually think of this more as a holiday candy or a special occasion **quick dessert**, so I don’t stress too much about those sugar counts. If you’re making this for gifting and want to make sure your neighbors or friends have the full picture, printing this out is a nice touch. Everything always tastes better when you know exactly what beautiful, **rich decadent dessert** you’re eating!
If you want to explore more fantastic recipes that nail that balance between incredible flavor and manageable prep time, you should definitely check out the main page of my recipe index. There are tons of tips and tricks there I use when I’m whipping up something special!
PrintEasy 3-Ingredient Chocolate Fudge
Make rich, creamy chocolate fudge quickly using just three ingredients. This recipe requires no candy thermometer for a smooth, melt-in-your-mouth result.
- Prep Time: 5 min
- Cook Time: 5 min
- Total Time: 10 min
- Yield: 36 small squares
- Category: Dessert
- Method: Microwave
- Cuisine: American
- Diet: Vegetarian
Ingredients
- 1 (14 ounce) can sweetened condensed milk
- 2 cups semi-sweet chocolate chips
- 1 teaspoon vanilla extract
Instructions
- Line an 8×8 inch baking pan with parchment paper, leaving an overhang on the sides for easy removal.
- Place the chocolate chips in a medium, microwave-safe bowl.
- Pour the entire can of sweetened condensed milk over the chocolate chips.
- Microwave on high for 60 seconds. Stir well.
- Continue microwaving in 30-second intervals, stirring well after each, until the mixture is smooth and completely melted. This usually takes 1 to 2 minutes total after the first interval.
- Stir in the vanilla extract until fully combined.
- Pour the mixture into the prepared baking pan and spread evenly.
- Refrigerate for at least 2 hours, or until firm enough to cut.
- Lift the fudge out of the pan using the parchment paper overhang. Cut into small squares before serving.
Notes
- For a richer flavor, use dark chocolate chips instead of semi-sweet.
- If you prefer a peanut butter version, substitute 1 cup of chocolate chips with 1 cup of creamy peanut butter.
- For fudge suitable for gifting, cut into uniform pieces and wrap individually in small squares of wax paper.
Nutrition
- Serving Size: 1 square
- Calories: 120
- Sugar: 16
- Sodium: 25
- Fat: 6
- Saturated Fat: 3.5
- Unsaturated Fat: 2.5
- Trans Fat: 0.1
- Carbohydrates: 16
- Fiber: 0.5
- Protein: 2
- Cholesterol: 10