

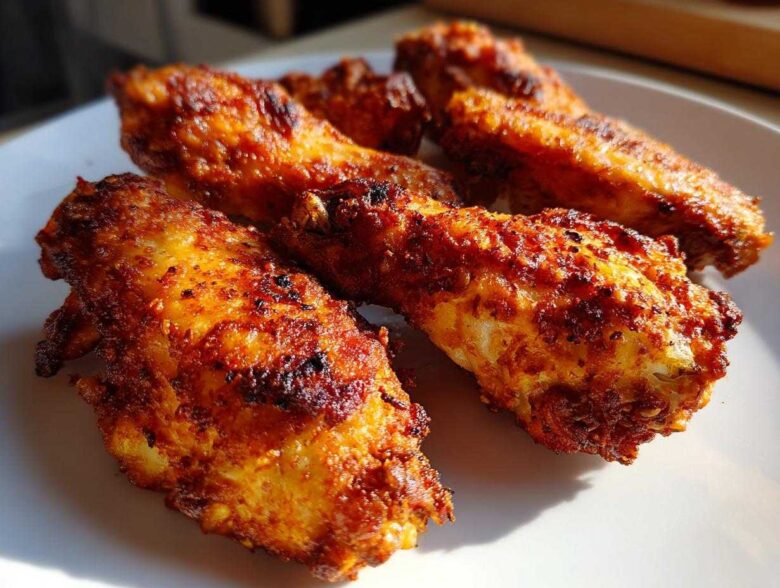
Okay, listen up, because I’m about to solve the single biggest disaster in home cooking: achieving truly crispy chicken wings without setting off the smoke alarm or deep-frying half a gallon of oil. We’ve all been there, right? You bake your beautiful chicken wing pieces all hopeful, and what you get is sad, rubbery skin. Ugh. It’s the worst.
But I cracked the code, trust me. After far too many batches that ended up soggy, I finally found the secret. This recipe for the Ultimate Crispy Baked Chicken Wings uses one humble pantry staple—baking powder—to transform your dinner. I’m talking maximum crunch, just like you paid $20 for at the pub, but done right here in your own oven. No frying required, ever!
This technique is the key to getting that shatteringly crisp skin while keeping the meat underneath unbelievably juicy. I’ve tested this method dozens of times for Game Day parties, and everyone begs me for the ‘secret to oven crispy’ wings. I’m spilling it all now, starting with why this simple chemistry trick works so well.
If you want to see how I get my chicken thighs perfectly caramelized while we’re talking about great textures, check out my notes on garlic butter chicken thighs too!
Why This Baking Powder Method Makes the Best Crispy Baked Chicken Wings
I know, adding baking powder to savory food sounds bizarre, but this is where the magic happens for Crispy Baked Chicken Wings. Don’t worry, you won’t taste it later! Baking powder is alkaline, so when it mixes with the moisture on the skin, it actually raises the pH level. That slightly higher pH tells the proteins in the skin to break down much faster during baking.
What does that mean for you? It means the skin dries out incredibly quickly at high heat, creating that beautiful, crunchy barrier we all crave. It’s science, but it tastes like pure joy.
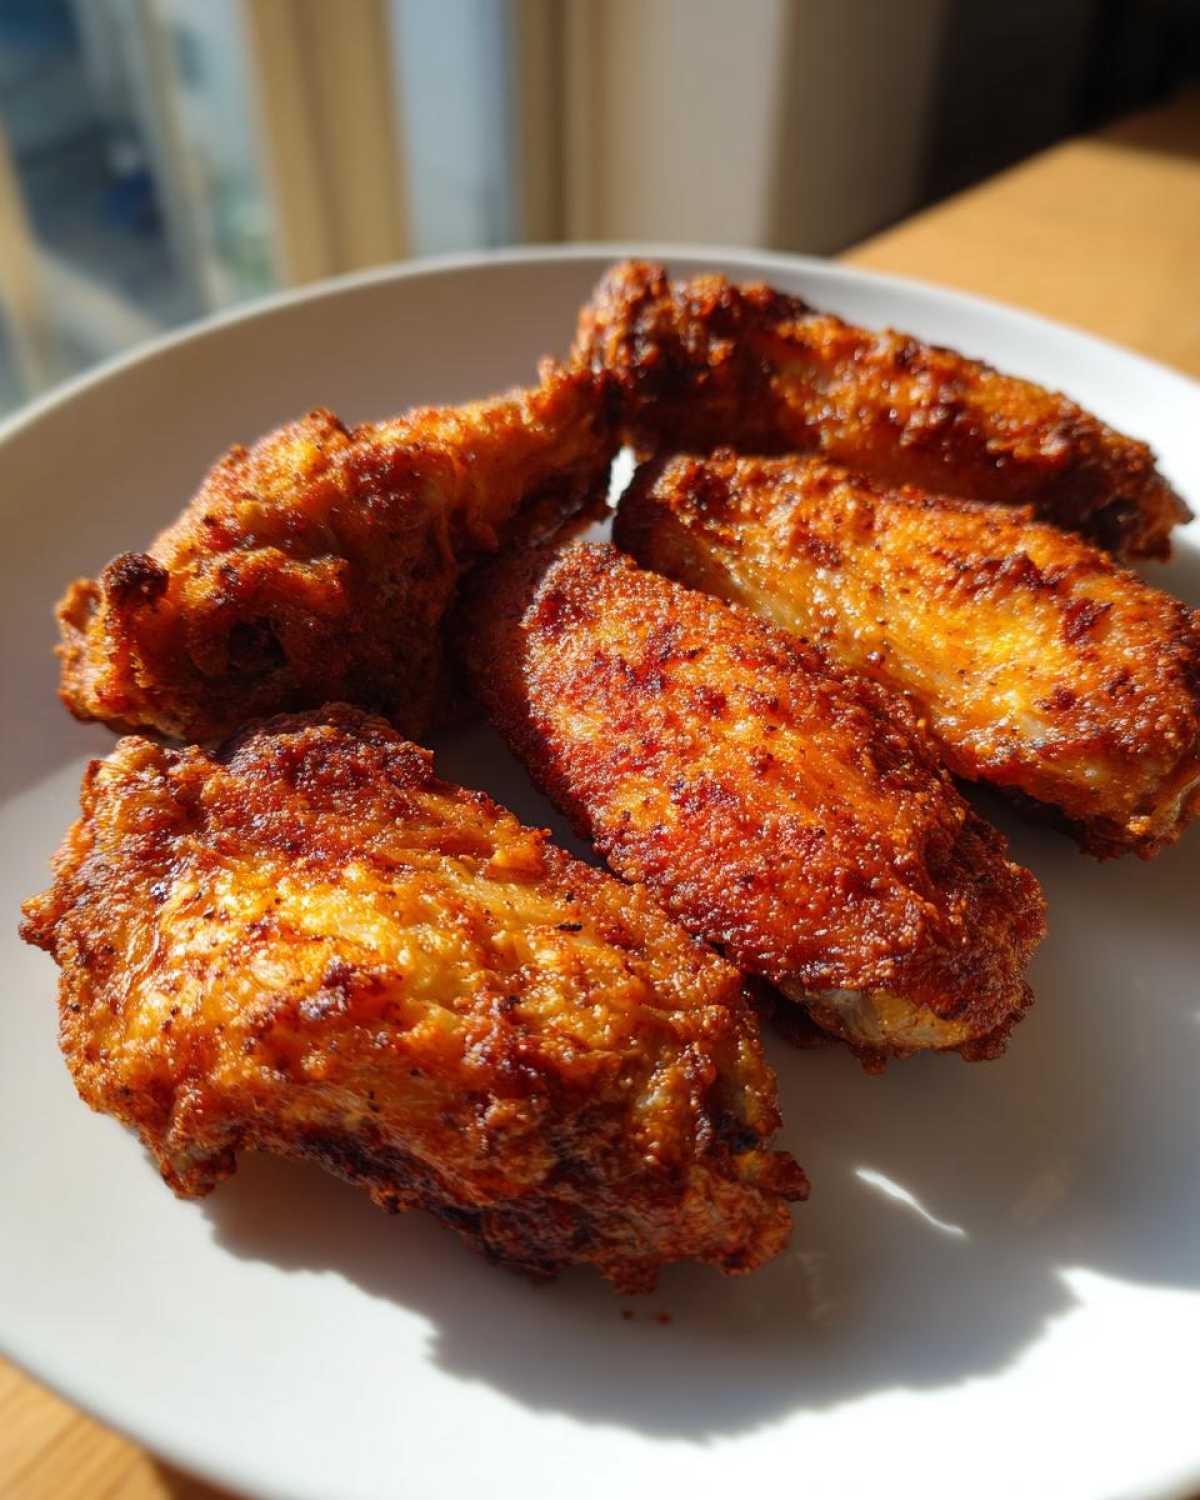
My only firm rule here is to use aluminum-free baking powder when you can; it just gives a cleaner taste. If you skip this step, you’re just roasting wings, not recreating perfection. I learned this trick from a chatty chef friend, and it completely changed how I approach chicken wing recipes! If you want to see another amazing oven-only wing recipe, my baked garlic parmesan wings are fantastic too.
Achieving Juicy Chicken Wings Underneath the Crunch
People think they have to smother the wings in oil to get them crispy, but that just makes them heavy. The beauty of this high-heat baking powder method is the balance it forces! The skin dries out fast, seals its fate as a crunch-zone, and that rapid cooking action locks all the natural juices inside the meat.
So you end up with perfectly cooked, Juicy Chicken Wings that shatter when you bite into them. It’s the best of both worlds, and it’s exactly what we want for our Game Day appetizers!
Ingredients Needed for Perfect Crispy Chicken Wing Coating
The ingredient list itself is wonderfully short—that’s the beauty of concentrating on technique over drowning things in sauce before baking! You’ll need about two pounds of wings, separated into flats andettes—make sure your butcher does this, or just ask them nicely!
The real stars are the seasonings. You absolutely need 1 tablespoon of baking powder; aluminum-free is my preference just for a cleaner taste, but use what you have. Then, measure out 1 teaspoon of kosher salt, 1/2 teaspoon of pepper, and a tiny dash of garlic powder and paprika for color. A little olive oil is optional if you use a dry rub later, but the baking powder does most of the work.
Now, let me shout this one crucial thing: You must pat those wings completely, utterly, aggressively dry with paper towels before anything touches them. If they are damp, the baking powder can’t create that magnificent crust. Don’t skip this step if you want amazing buffalo chicken wings!
Step-by-Step Instructions for Crunchy Oven Fried Chicken Wings
Alright, this is where the rubber meets the road—or where the skin meets the rack, I guess! Getting these Oven Fried Chicken Wings perfect is all about setup. First things first: crank that oven up! We need maximum heat to kickstart that crisping process swiftly, so preheat everything to 425 degrees Fahrenheit (that’s 220 Celsius for my international readers).
While it heats, prepare your baking sheet. I line mine with foil because cleanup is never fun, but the absolute secret weapon here is the wire rack. You have to put a wire rack on top of that baking sheet. Trust me, that tiny bit of elevation is what prevents the bottom of your wings from steaming in their own juices. Air circulation on all sides is non-negotiable for crunch!
Prep Work: Drying and Coating Your Chicken Wing Pieces
I cannot stress this enough: your wings need to be bone dry. Grab a giant stack of paper towels and just press them onto every single piece of chicken. If you see any damp spots, keep drying! Once they feel almost chalky, toss them into your bowl with the baking powder and seasoning mix we whipped up.
Toss them around until every crease and crevice has a light, even dusting of that white powder. Then, place them onto that waiting wire rack. They need space! Don’t let them stack up or fight for space. If they’re touching, they’ll steam each other. We want single-layer wings getting roasted by the hot air.
Baking Times and Flipping for Maximum Crispiness
Into the hot oven they go! Set your timer for 20 minutes flat. Go do something else; don’t open the door and let the heat out! Set that initial timer and let the baking powder do its magic on the top side.
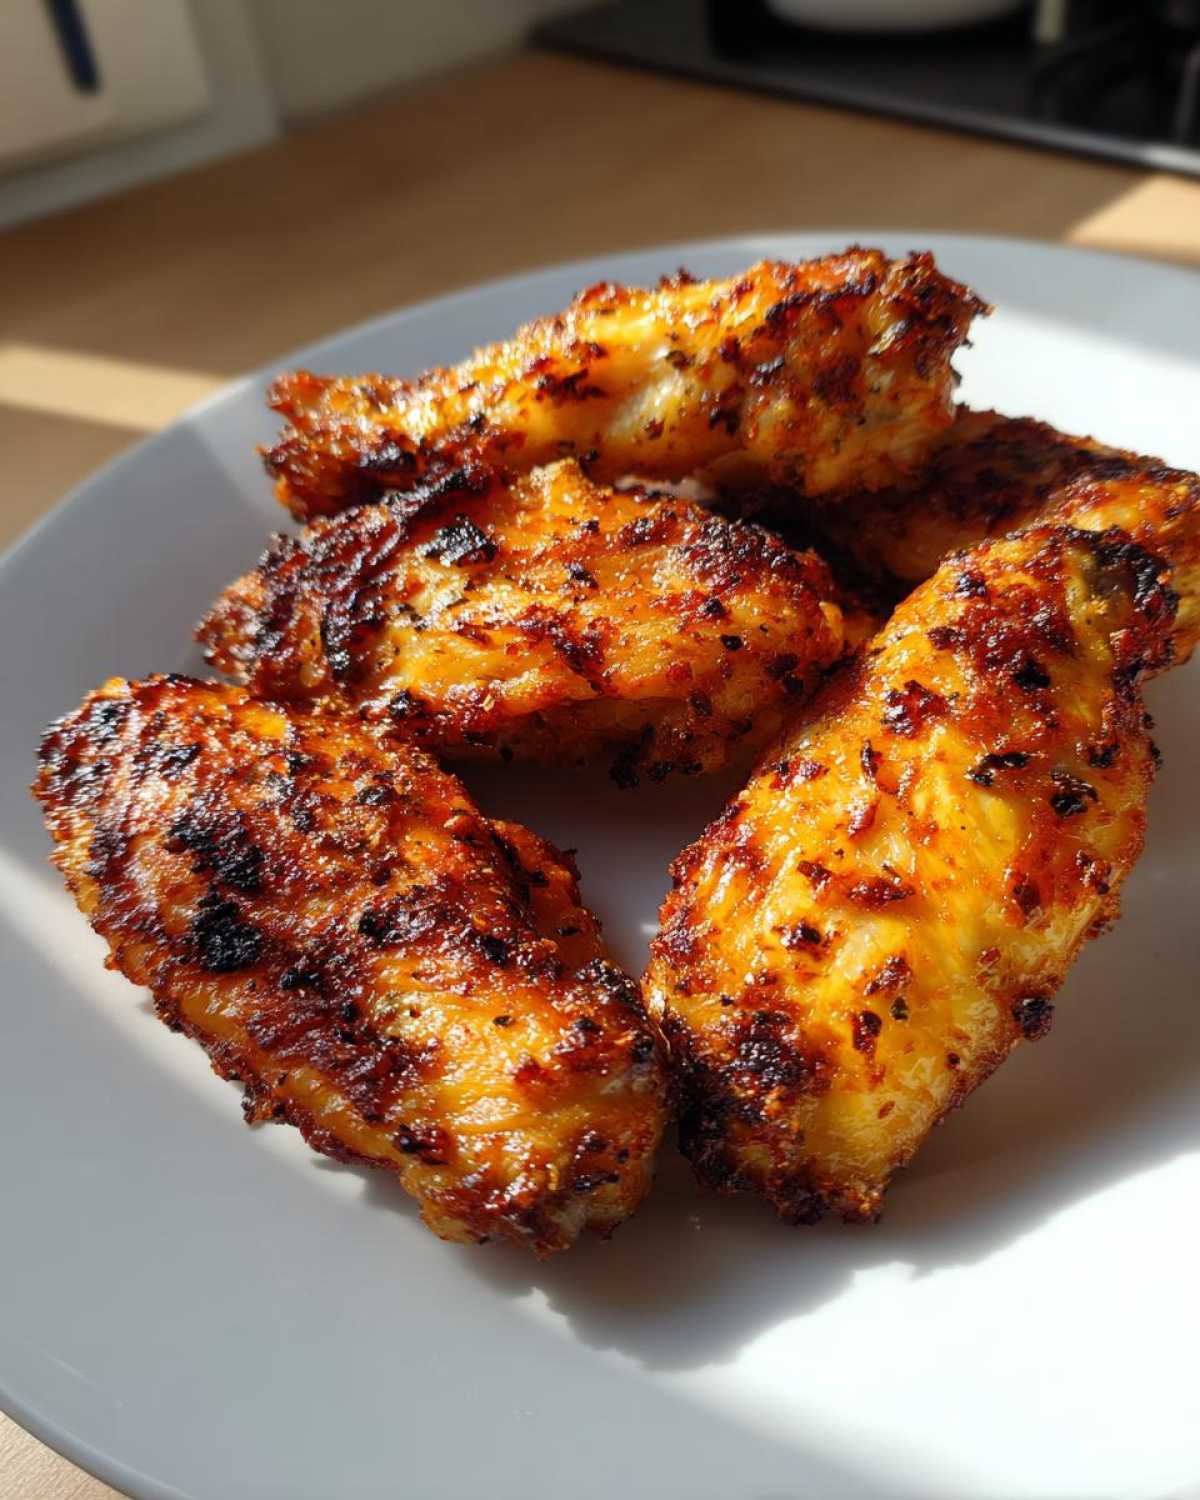
When the timer dings, use tongs to flip every single wing over carefully. Back they go—this is the second bake. Give them another 20 to 25 minutes. You’re looking for them to be deeply golden brown and super taut. If they look pale, just give them five more minutes. When they are done, you’ll know it because they sound slightly hollow when you tap them. If you want to toss them in a quick hot honey glaze right after they come out, now is the time to do it!
Flavor Variations: Saucing Your Crispy Chicken Wing Recipe
If you thought this recipe ended with perfect crunch, think again! We’ve got a blank canvas here—the ultimate base for whatever flavor you crave. The most important rule when transforming your baked chicken wing pieces is this: Sauce them *after* they come out of the oven! If you try to coat them too early, that beautiful, crisp skin we worked so hard for will steam right off.
As soon as they slide off the rack, throw them into a clean, large bowl. For a classic sticky result, toss them straight into your favorite store-bought BBQ sauce or maybe even my easy honey garlic glaze! If you’re making Honey Garlic, you’ll want to use the method from my honey garlic chicken wings recipe, but use it just as a quick toss rather than a slow simmer.
You can also pivot entirely and skip the wet sauce altogether, which is fantastic if you’re worried about messy fingers at a party.
Easy Dry Rub Chicken Wings Seasoning Ideas
For those of us who hate sticky hands, keeping it dry is the way to go! You can easily turn these into Lemon Pepper wings or fantastic smoky bites just by using a different coating post-bake. This is where you get super creative with your Dry Rub Chicken Wings.
My go-to dry rub combo is a teaspoon of smoked paprika, half a teaspoon of celery salt, a generous shake of cayenne pepper (if you like heat!), and maybe a tablespoon of sugar to help it caramelize slightly on the hot surface. Toss the hot wings in that blend immediately. It sticks instantly and tastes incredible!
Tips for Making Game Day Chicken Wings That Stay Crisp
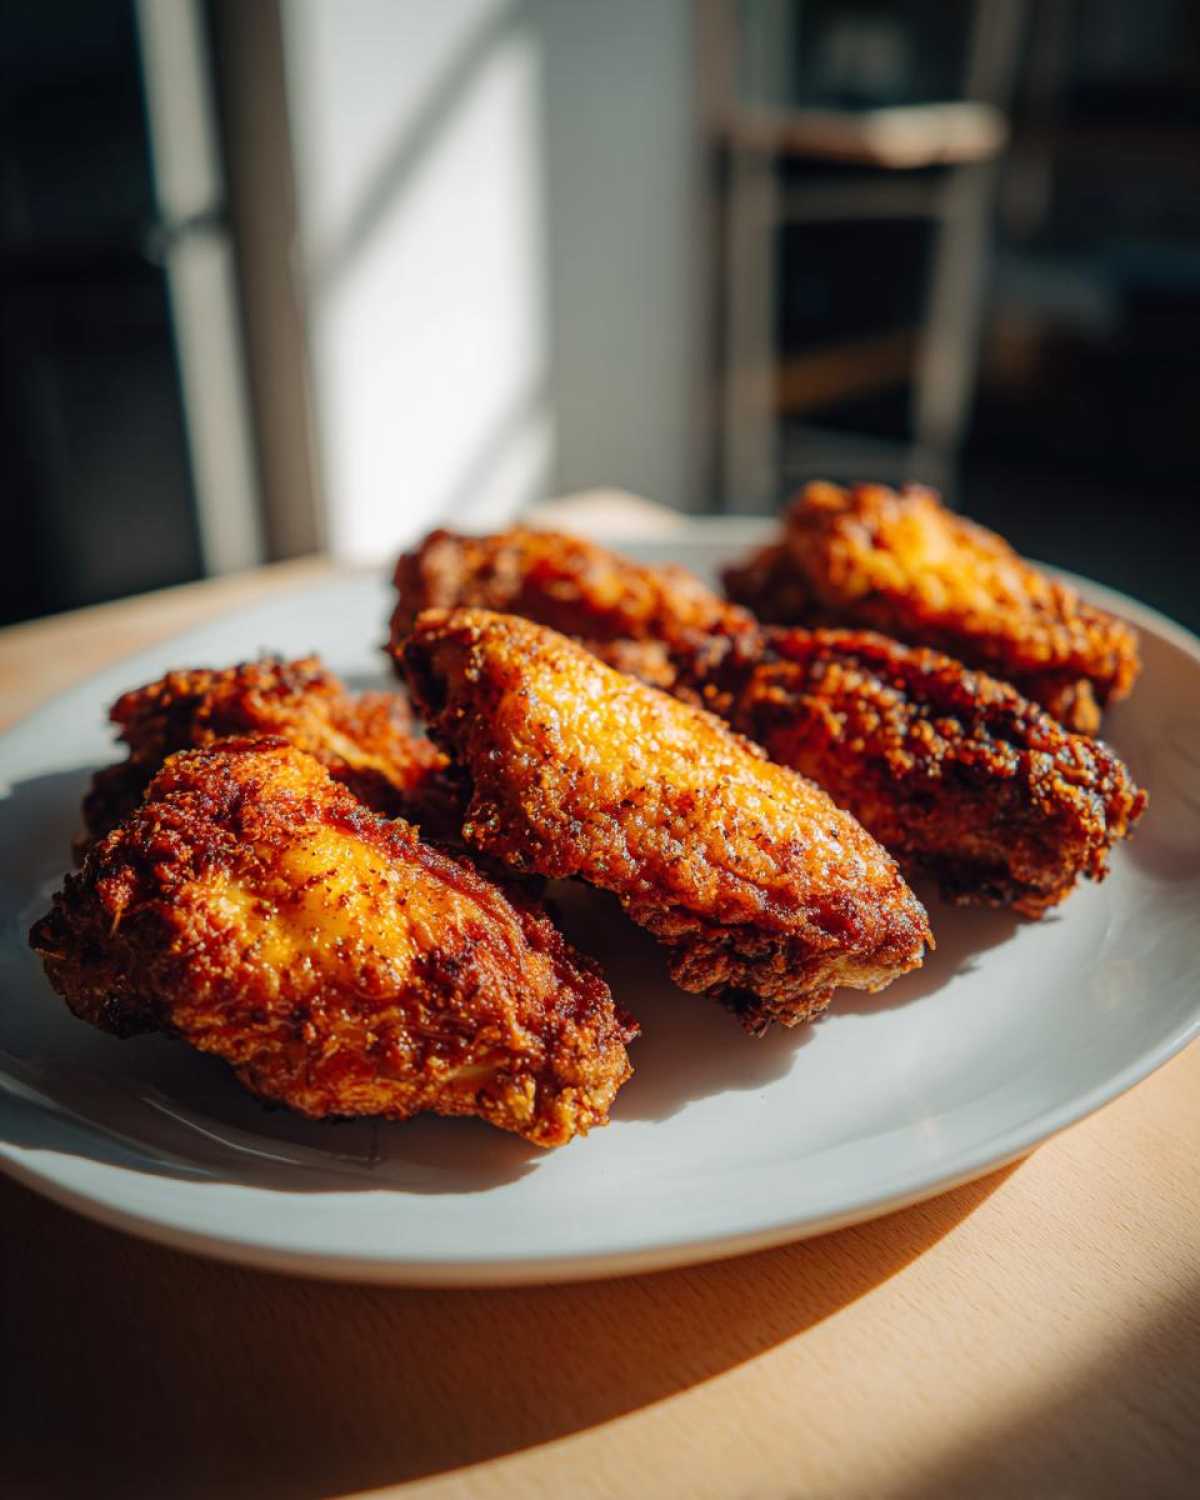
Hosting a crowd for the big game means you’re cooking a giant batch of chicken wing perfection, and keeping them crisp while you wait for the slowpokes is a real challenge. If you’re cooking in two rounds, try to keep the first batch warm on a baking sheet placed in a very low oven—like 170°F. Don’t cover them, or they will steam themselves silly!
If you absolutely must let them rest for a few minutes before plunging them into sauce, give them five minutes uncovered on the wire rack. This lets that last bit of residual steam escape so the crunch factor doesn’t totally vanish.
For serving, move them to a decorative platter right before your guests dive in. Seriously, these Game Day Chicken Wings disappear fast, so don’t stress too much about keeping them warm for hours. If you’re also making a dip, you have to try my amazing buffalo chicken dip recipe!
Storage and Reheating Instructions for Leftover Chicken Wings
We never have leftovers, honestly, but when we do, I’m very strict about how they’re stored. Make sure you let any extra crispy chicken wing pieces cool down before you put them away. Crucially, do not mix them with sauce! Sauce makes everything soggy, which defeats the purpose of the baking powder magic.
Keep the plain, dry wings tucked away in an airtight container in the fridge. When it’s time for round two? Absolutely no microwaving! That heats them up but guarantees a sad, rubbery texture.
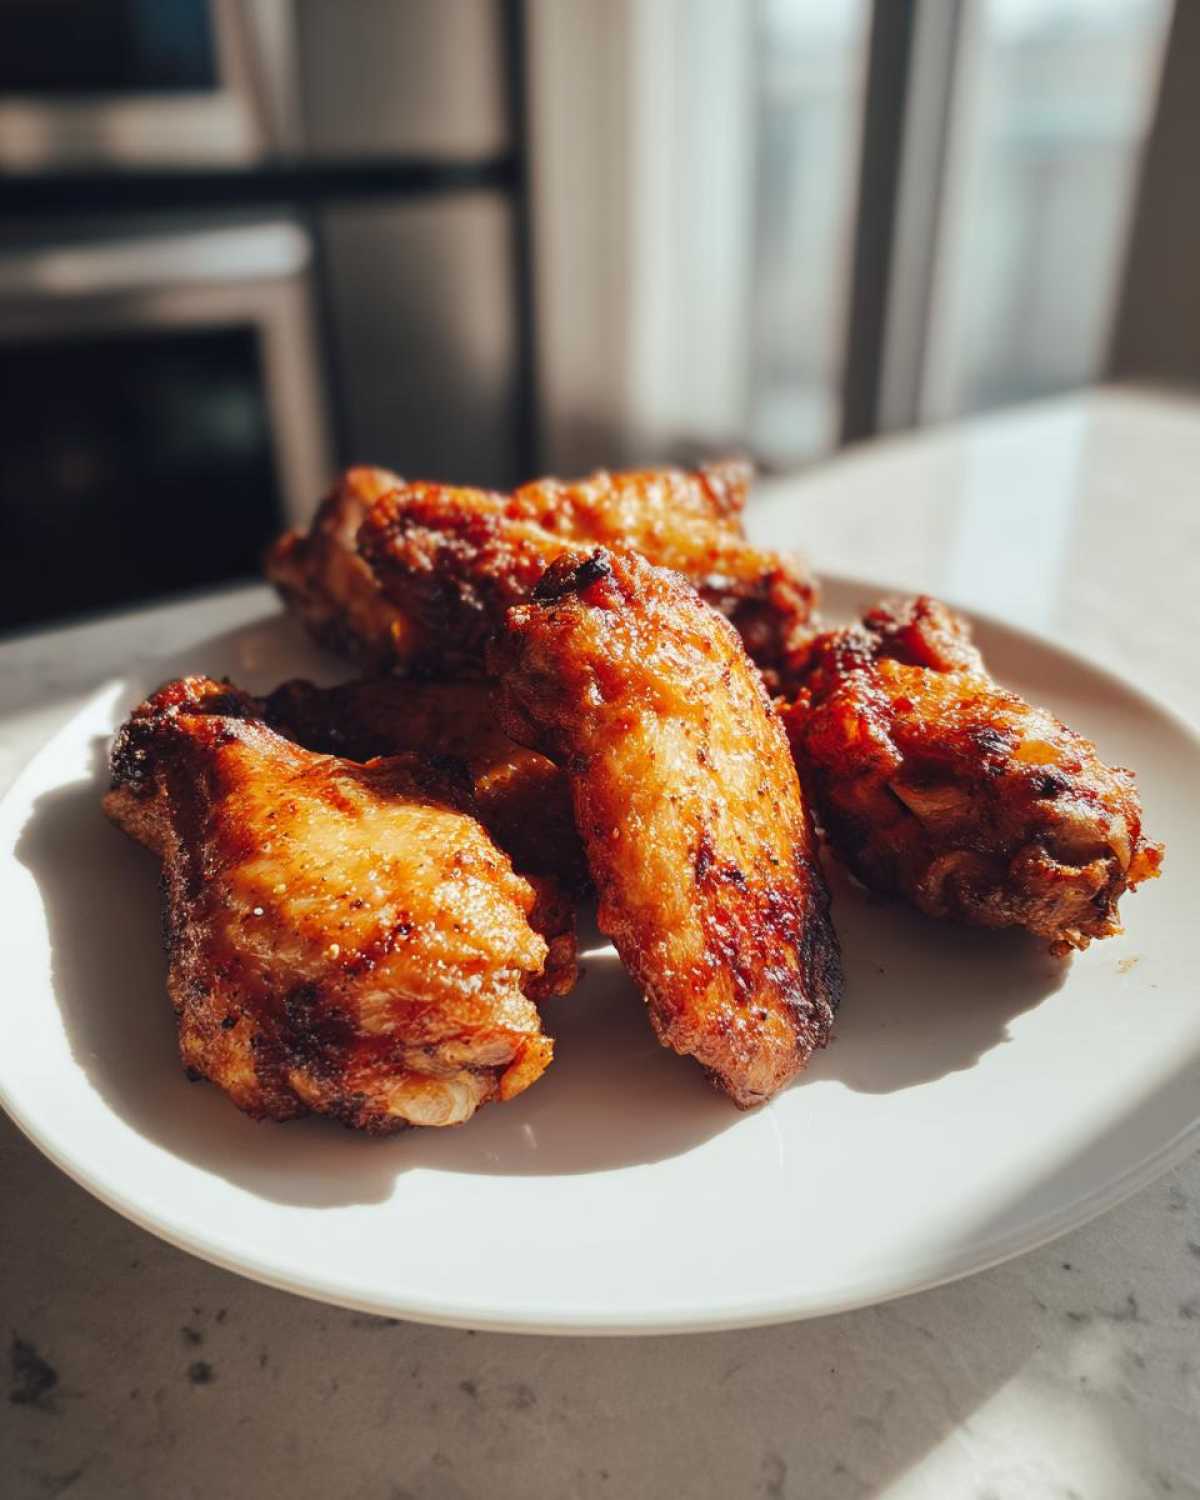
For the best result—we want that crunch back—you have to use intense, dry heat. Pop those leftovers on a wire rack set over a baking sheet and bake them at 400°F for about 8 to 10 minutes until they feel freshly crisp again. Or, if you have one, the air fryer is a champion at reviving them. If you’ve mastered the crispy base, reheating is easy, just look at how amazing my air fryer chicken parmesan turns out when revived!
Frequently Asked Questions About No Fry Chicken Wings
Okay, I know you probably have a few lingering questions floating around after seeing the magic of the baking powder trick. It seems wild, right? Here are the things everyone asks me when they try to achieve these No Fry Chicken Wings for the first time.
Can I use aluminum-free baking powder in this chicken wing recipe?
That’s a great question! If you can find aluminum-free baking powder, use it, please! It just gives you the cleanest flavor profile possible, which is what we’re aiming for when making the absolute Best Chicken Wing Recipe. However, don’t panic if all you have is the regular kind. It will still work its skin-drying magic just fine; you might just notice a tiny, tiny hint of a metallic background note if you really try hard to taste it. For me, the crispiness outweighs any slight flavor difference, but I try to use the aluminum-free stuff always.
Is this recipe suitable for making Party Appetizers Chicken Wings?
Absolutely! These are perfect for any gathering, holiday, or Game Day Chicken Wings spread. They scale up beautifully. The catch, and this is key for maintaining that crunch we worked for, is that you have to cook them in batches. You can’t just pile three pounds of wings onto one pan and expect them to crisp up. They’ll steam! Set up two racks if you have them and cook as many as you can spread out nicely, then swap pans out as needed. It takes longer, but you keep that gorgeous texture until the very last piece is served.
Can I substitute baking powder with baking soda for my chicken wing preparation?
Oh, honey, no! Don’t do it. Baking powder and baking soda are NOT the same thing, even though they both make things rise or change texture. Baking soda is much, much stronger chemically. If you swap the tablespoon of baking powder for a tablespoon of baking soda, your wings are going to taste intensely metallic and salty. It’ll ruin the whole batch, and the texture will be off. Stick to the baking powder listed in the recipe for the best outcome on your Party Appetizers Chicken Wings!
If you’re looking for other ways to revive breaded items or keep things crunchy, you might want to check out my tricks for crispy chicken cutlets as well!
Estimated Nutritional Data for Baked Chicken Wings
Okay, now we’re getting down to the nitty-gritty, because even when we’re indulging in gloriously crispy chicken wing feasts, we still like to know what we’re working with, right? I put together the stats below based on four plain wings seasoned only with the dry rub before any sauce is added. I always tell people to treat these numbers as a general guide.
Remember, if you’re planning your weeknight meals—for example, if you’re counting protein because you’re obsessed with my high-protein egg muffins—you need to factor in whatever amazing sauce, like honey garlic or BBQ, you toss them in afterward! Those glaze additions can change the sugar and sodium really quickly.
Here’s the estimate for those beautifully baked pieces before any dipping:
- Serving Size: 4 wings
- Calories: 280
- Total Fat: 18g
- Saturated Fat: 5g
- Protein: 26g
- Carbohydrates: 1g
- Sugar: 0.5g
- Sodium: 350mg (This is just the salt we added to the rub, so watch your bottle of BBQ sauce later!)
These numbers really show off why this is such a great way to make party appetizers—you get a huge hit of satisfying protein without loading up too much on the carbs, seeing as we skipped the breading entirely!
Share Your Perfectly Cooked Chicken Wings Experience
Whew! We did it. You now have the knowledge—the secret trick—to making the crispiest chicken wing pieces without ever touching your deep fryer. I’m so excited for you to try this out for your next game day or easy weeknight dinner. Seriously, tell me how it goes!
When you make these this weekend, please do me a huge favor: come back here! Leave a rating, five stars if you think they finally solved your soggy wing problem, and drop a comment below telling me what sauce you used.
Did you stick with the simple dusting? Did you try the homemade dry rub? Or did you drown them in a killer Honey Garlic glaze? I truly love seeing everyone customize this base recipe. It makes me feel like we’re all cooking together!
If you’ve got extra recipe ideas or want to browse more incredible baked favorites, feel free to head over to the main blog page. Happy crunching!
PrintUltimate Crispy Baked Chicken Wings with Baking Powder

Make incredibly crispy chicken wings in the oven without frying. This recipe uses a simple baking powder technique to achieve a crunchy exterior and juicy interior.
- Prep Time: 15 min
- Cook Time: 45 min
- Total Time: 60 min
- Yield: 4 servings
- Category: Appetizer
- Method: Baking
- Cuisine: American
- Diet: Gluten Free
Ingredients
- 2 lbs chicken wings, separated into flats and drumettes
- 1 tablespoon baking powder (aluminum-free preferred)
- 1 teaspoon kosher salt
- 1/2 teaspoon black pepper
- 1/2 teaspoon garlic powder
- 1/4 teaspoon paprika
- 1 tablespoon olive oil (optional, for tossing)
Instructions
- Preheat your oven to 425 degrees Fahrenheit (220 degrees Celsius). Line a large baking sheet with foil for easy cleanup. Place a wire rack on top of the prepared baking sheet.
- Pat the chicken wings completely dry using paper towels. This step is critical for crispiness.
- In a large bowl, combine the baking powder, salt, pepper, garlic powder, and paprika.
- Add the dried chicken wings to the bowl. Toss thoroughly until every piece is lightly and evenly coated with the dry rub mixture. If you prefer a slightly richer coating, drizzle with olive oil before tossing.
- Arrange the wings in a single layer on the wire rack. Do not let the wings touch each other; space them out for maximum air circulation.
- Bake for 20 minutes.
- Flip each wing over. Return the wings to the oven and bake for another 20 to 25 minutes, or until the skin is deeply golden brown and very crisp.
- Remove from the oven and serve immediately, or toss in your favorite sauce if desired.
Notes
- Use aluminum-free baking powder for the best flavor results.
- The wire rack allows air to circulate underneath the wings, preventing a soggy bottom.
- For extra flavor, toss the finished wings in a simple sauce like honey garlic or lemon pepper seasoning after they come out of the oven.
Nutrition
- Serving Size: 4 wings
- Calories: 280
- Sugar: 0.5
- Sodium: 350
- Fat: 18
- Saturated Fat: 5
- Unsaturated Fat: 13
- Trans Fat: 0
- Carbohydrates: 1
- Fiber: 0
- Protein: 26
- Cholesterol: 90