

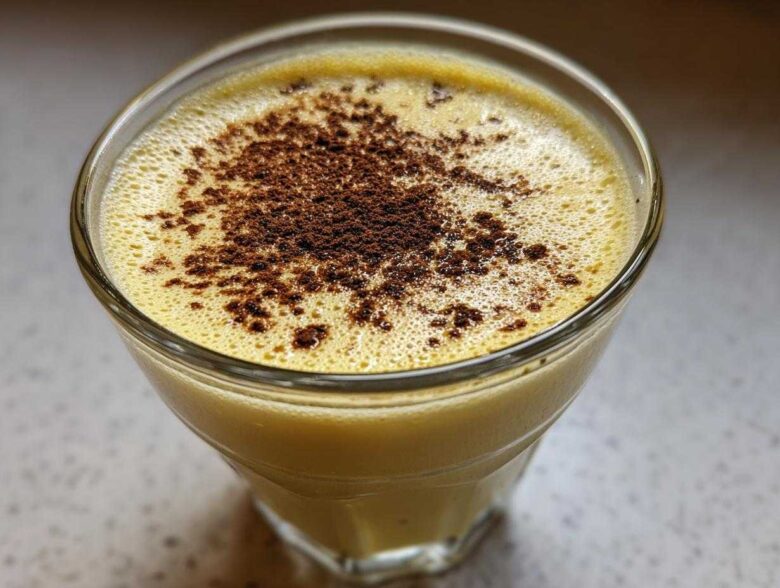
Oh my goodness, when those first frosty days hit, my kitchen instantly transforms into a cozy little laboratory, and all I can think about is getting that perfect make ahead holiday drinks going! Forget those cartons in the supermarket, because nothing—and I mean *nothing*—compares to stirring up a batch of truly creamy homemade eggnog from scratch. I remember the first time I tried making it; I was so nervous about scrambling the yolks, but trust me, once you master that simple tempering trick, you unlock the secret to the best holiday beverages ever.
This recipe is the one you need, whether you’re planning an adults-only cocktail hour or need a wholesome, rich treat for the kids that tastes like pure velvet. We are making the ultimate, custard base eggnog today that is perfectly decadent, and I’ll show you exactly how to whip up both the boozy and the non alcoholic eggnog versions right here!
Why This Homemade Eggnog Recipe is the Best Holiday Drink
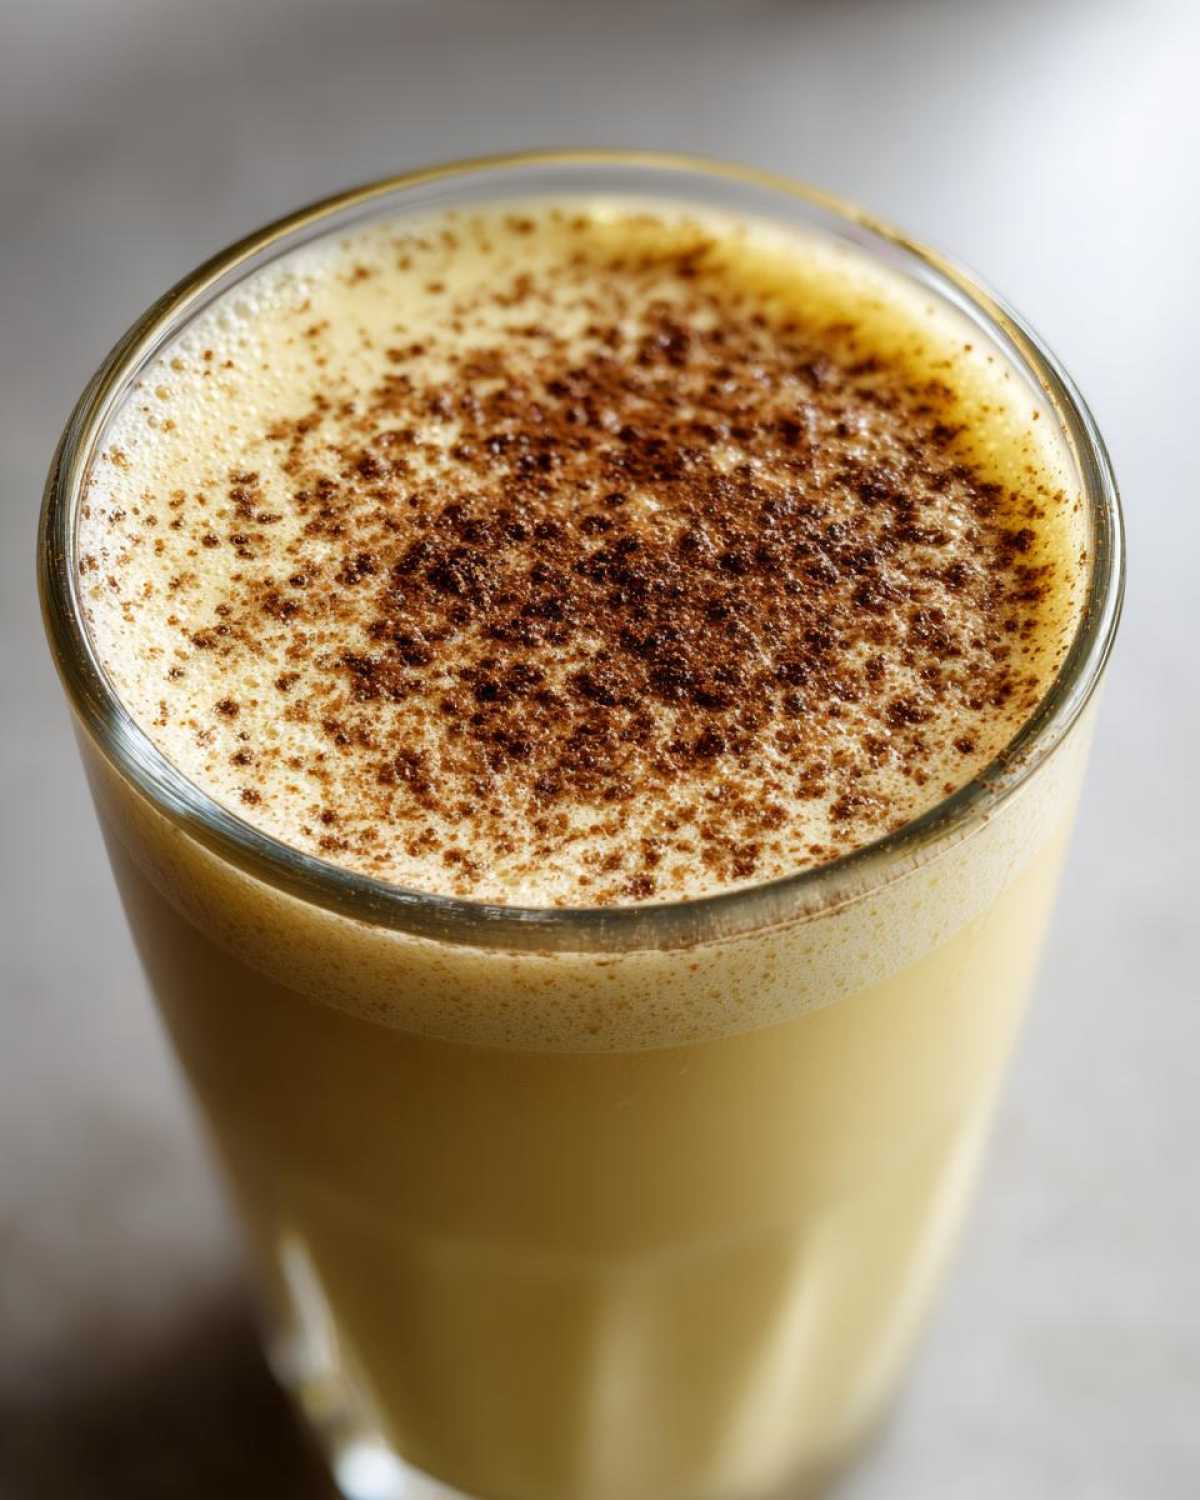
Why should you ditch the store brand for my version? Because this isn’t just another sweet drink; it’s a real celebratory treat! We are making a classic eggnog from scratch that has a depth of flavor you just can’t find on a shelf. It’s rich, it screams Christmas, and honestly, it’s surprisingly simple once you get the hang of it. You can read more about all my favorite baking adventures over at my blog!
- It yields the most unbelievably creamy holiday drink imaginable.
- We use a proper cooked custard base, which means zero risk, maximum richness.
- It tastes incredible whether you add spirits or keep it totally kid-friendly!
Achieving Thick and Creamy Eggnog Texture
That velvety mouthfeel everyone raves about? That’s all down to the science we are doing! By tempering the yolks slowly and cooking the mixture just until it coats the spoon, we create a stable, beautiful custard. This stops the drink from being watery. We’re aiming for that incredibly thick and creamy eggnog that makes you want to sip it slowly by the fire. Don’t skip the chilling time; that’s essential for building structure!
Ingredients for Your Perfect Homemade Eggnog Recipe
Okay, let’s talk magic makers! Getting the list right is the first step toward having the best holiday beverages on the block. Remember, this is an old-fashioned recipe, so we stick close to the essentials. You’ll need those six lovely egg yolks—they are the backbone of our custard! Sugar and salt balance everything out, naturally.
For the liquids, we use a mix of whole milk and heavy cream. That ratio right there is what delivers the unbelievable richness. Don’t forget the vanilla and just a generous half teaspoon of fresh ground nutmeg. That nutmeg is non-negotiable, trust me! And for the adults, you get to choose your spirit hero—bourbon, brandy, or rum. Find more tips on ingredient ratios over in my egg muffin recipe guide!
Ingredient Substitutions for Your Eggnog
The easiest ‘substitution’ is, of course, making non alcoholic eggnog—you just skip the liquor entirely! The amazing thing is that even without the spirits, this simple eggnog preparation still tastes phenomenal because of the cooked custard base. If you’re feeling adventurous with your spices, you can swap out half the nutmeg for a tiny pinch of cardamom or allspice, but keep the nutmeg as the star. If you don’t have whole milk, don’t panic, but note that using all heavy cream will make it almost pudding-like!
How to Make Eggnog at Home: Step-by-Step Instructions
Now we get into the actual fun part: turning simple things into liquid gold! Making your own eggnog involves a few crucial techniques, but don’t let that scare you off. The main thing here is heat control. We are cooking a custard, not making scrambled eggs, so patience is our best friend in the kitchen.
Start by getting those yolks, sugar, and salt happy and pale yellow in a bowl. While that’s happening, gently warm up your milk and cream in a saucepan—think just tiny bubbles around the edge, never a rolling boil. This sets the stage perfectly for the rest of the procedure. If you want more super helpful advice on liquid ratios, check out my post on chia pudding ratios; the concept of careful mixing is the same!
Tempering the Eggs for Smooth Eggnog
This right here is the make-or-break moment! Tempering means slowly introducing the hot liquid to the cold yolks so they warm up gently without cooking instantly. You whisk those yolks like crazy while pouring in *just* a little bit of the hot milk mixture. Keep whisking! This slow introduction creates a stable base for your eggnog, guaranteeing that beautifully smooth texture we are chasing. If you dump it all in at once, you’re ruining the whole batch!
Chilling and Serving the Classic Eggnog
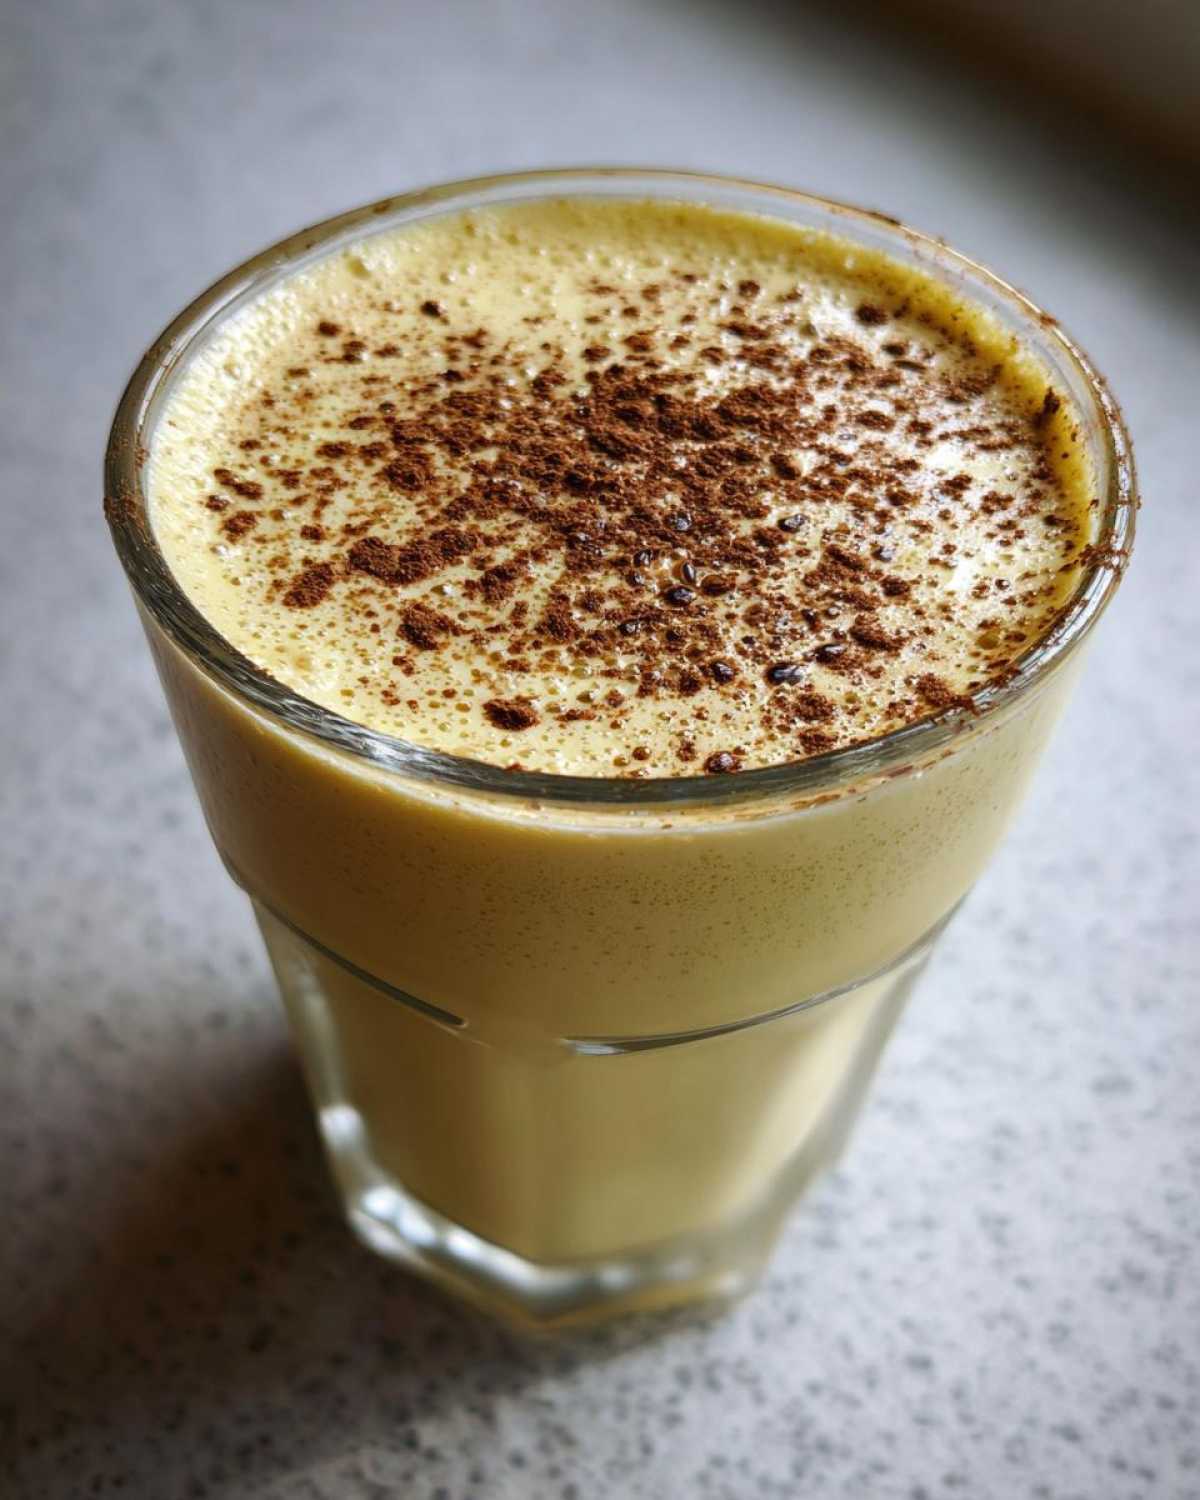
Once the mixture is thick enough to coat your wooden spoon—seriously, check the back of it!—take it off the heat right away. Strain it all through a fine-mesh sieve; this catches any tiny bit of cooked egg, giving you that perfect velvet finish. Then, cover the surface with plastic wrap so a skin doesn’t form while chilling. For the absolute classic eggnog flavor to bloom, this absolutely must chill overnight. When you’re finally ready to serve, don’t forget that fresh grating of nutmeg on top—it makes all the difference!
Alcoholic Eggnog Suggestions and Non Alcoholic Eggnog Options
One of the best parts about making your own eggnog is that you get to decide what goes into it! For the adults at the party, this is where we get fun. You can certainly stick to the traditional route, using either dark rum or bourbon. Both add a lovely warming spice that complements the nutmeg beautifully. If you’re looking for something a little different, a good quality brandy works like a charm too!
I actually wrote a whole piece comparing different bourbon recipes over at the blog if you want to get really serious about your base spirit—you can check out my Old Fashioned guide for inspiration! But the absolute quickest route to a wonderful alcoholic eggnog is just pouring in half a cup of your favorite spirit right before that long chill.
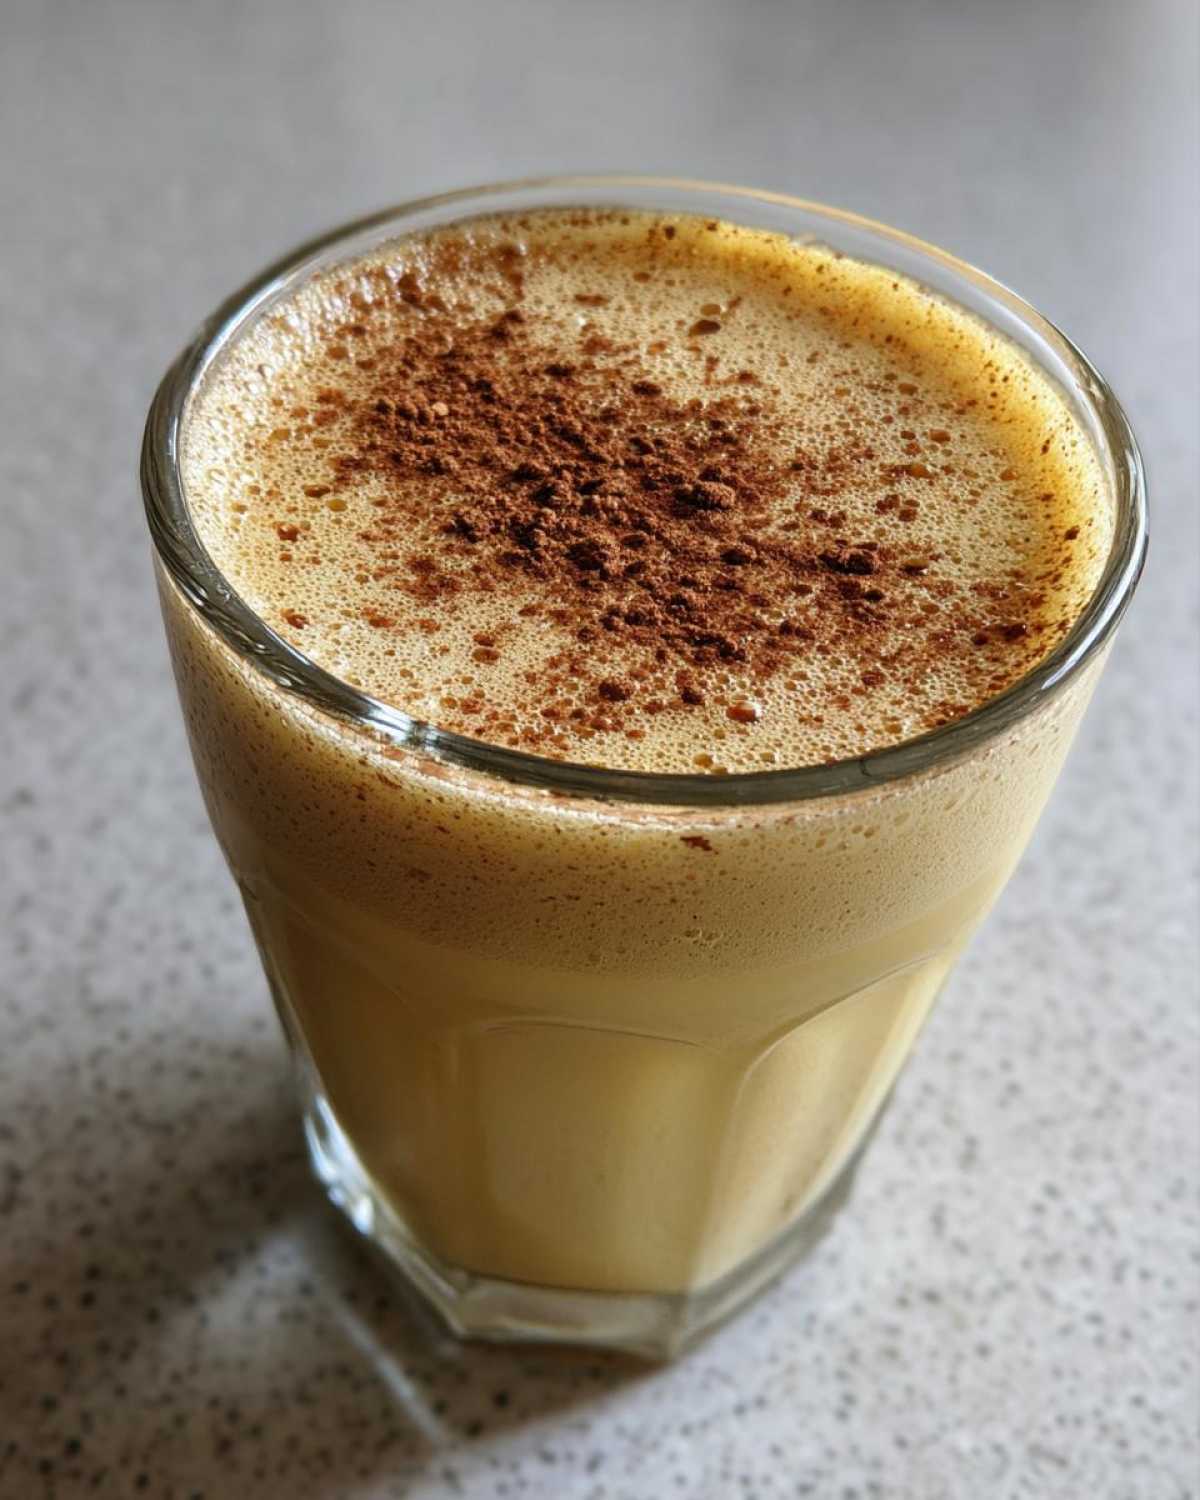
Now, for those who prefer their sips sans spirit, making non alcoholic eggnog couldn’t be easier. You literally just skip step six entirely! The flavor is still rich, thick, and incredibly festive thanks to the cooked custard. It’s the perfect Christmas drink recipes addition for everyone at the table.
Tips for How to Make Perfect Eggnog
If you want to nail the how to make perfect eggnog every single time, you need to know the little secrets that separate good from glorious! Straining the mixture, like I mentioned before, is super non-negotiable. Don’t be tempted to skip that step; it’s what guarantees you get that professional, silky texture, even if you think your whisking was flawless.
Also, that skin that tries to form on top while it cools? Ugh, the worst! To stop skin formation dead in its tracks, press a sheet of plastic wrap directly onto the surface of the hot liquid as soon as you strain it. It really works wonders, I promise you. You might also want to check out my tips on getting that perfect egg doneness in my toast recipe—it’s all about temperature control!
Finally, for thickness, remember the note on the recipe card: less milk equals a thicker beverage. If you love it super rich, swap out half a cup of the milk for a smidge more cream. That’s how you get that luxurious, heavy feel in the glass!
Make Ahead Holiday Drinks: Storing Your Eggnog
This is truly my secret weapon for surviving the holidays: my eggnog recipe is fantastic for making ahead! You absolutely don’t have to stress about making this fresh on Christmas morning. Once it’s chilled completely according to the instructions, you can cover it tightly and tuck it away in the fridge.
I find that the flavors actually deepen and get so much better after chilling overnight. You can safely keep this gorgeous beverage ready to go for up to three whole days. That’s huge when you’re trying to juggle baking and decorating! Just give it a good whisk before you pour, and it’s ready for serving. Check out my favorite list of other make ahead holiday drinks for even more stress-free entertaining!
Serving Suggestions for This Creamy Holiday Drink
Presentation is half the fun when it comes to serving up this dreamy creamy holiday drink! When you pull that chilled eggnog out, don’t just pour it into plain glasses. A chilled coupe or an old-fashioned glass looks so elegant.
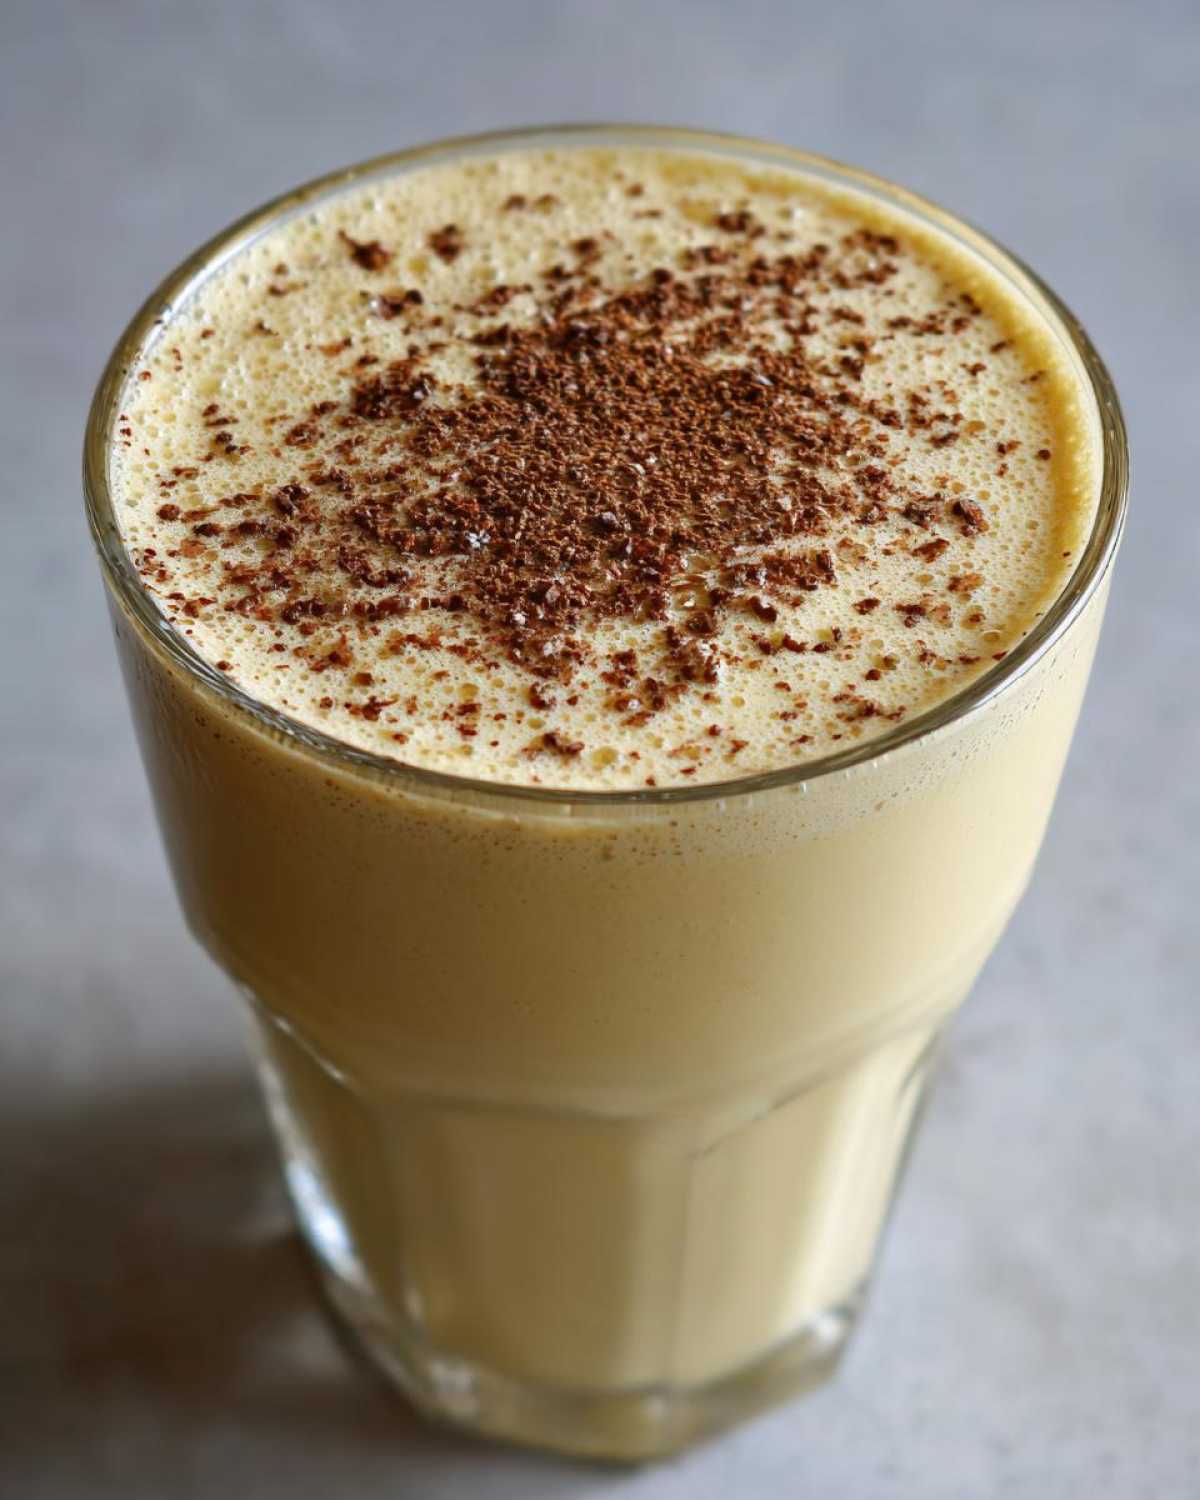
Always, always hit it with a fresh grating of nutmeg right before you hand it over—the aroma alone is intoxicating! Cinnamon sticks make a great stirrer too. This richness pairs so perfectly with something slightly chewy, like my recipe for moist chocolate chip banana bread, if you’re serving snacks!
Frequently Asked Questions About Homemade Eggnog
I know when you’re looking for that perfect simple eggnog preparation, questions pop up, especially around safety! You’re working with eggs, after all. Don’t worry, I’ve gathered the things folks ask me most when they try making this recipe for the first time. It’s an amazing tasting custard base eggnog once you know the ropes!
Is it safe to make eggnog from scratch using raw eggs?
That’s the number one question, and I totally get it! The good news is that while we do start with raw yolks, this recipe is completely safe because we cook the mixture! We bring that base up to 170 degrees F while stirring constantly. That heat pasteurizes the yolks beautifully. So, you get all that rich flavor without any worries later. It’s the great benefit of making your eggnog the old-fashioned way!
Can I use different sweeteners in my eggnog?
You sure can experiment, but just know you might change the final texture slightly. If you swap the granulated sugar for liquid sweeteners like honey or maple syrup, you’re adding extra liquid, which means your final drink might be a touch thinner than my rich version. If you try it, I’d bump up the heavy cream slightly or cut the milk down by half a cup. Let me know how that turns out—you can always reach out via my contact page!
Nutritional Estimate for Creamy Eggnog
Now, I know we’re here for the pure hedonistic joy of holiday indulgence, but since we are making this from scratch, I like to give people a heads-up on what’s in that gorgeous glass of eggnog. Remember, because this recipe is so customizable—especially depending on whether you add rum or brandy—these numbers are just a general guide. They’re based on the recipe as written, without the spirits added!
When you serve up a cup of this delicious beverage, you are getting a treat that’s rich in fat from the cream and egg yolks, which is what gives it that stunning mouthfeel. I always tell people I’m treating my body to some essential fats and protein when I make this!
Here’s a rough rundown for one serving:
- Calories: About 450
- Fat: Roughly 30g (watch that saturated fat!)
- Carbohydrates: Around 38g
- Protein: Close to 10g
- Sugar: About 35g
This is why we only have one or two glasses; it’s a genuine winter warmer! Just remember that if you sneak in a quarter cup of bourbon, those numbers shift a little bit, especially when it comes to calories and cholesterol. For the fine print and official details, you can always check out my full site disclaimer page. Enjoy it, you totally deserve it!
PrintCreamy Homemade Eggnog Recipe
Make a rich, classic eggnog from scratch. This recipe provides instructions for both alcoholic and non-alcoholic versions.
- Prep Time: 15 min
- Cook Time: 10 min
- Total Time: 4 hr 25 min
- Yield: 4 servings
- Category: Beverage
- Method: Stovetop Cooking
- Cuisine: American
- Diet: Vegetarian
Ingredients
- 6 large egg yolks
- 3/4 cup granulated sugar
- 1/4 teaspoon salt
- 1 cup whole milk
- 1 cup heavy cream
- 1 teaspoon vanilla extract
- 1/2 teaspoon ground nutmeg, plus more for garnish
- 1/2 cup bourbon, brandy, or dark rum (optional, for alcoholic version)
Instructions
- In a medium bowl, whisk the egg yolks, sugar, and salt until the mixture is pale yellow and thick.
- In a saucepan, combine the milk and heavy cream. Heat over medium heat until small bubbles form around the edges; do not boil.
- Slowly pour about one cup of the hot milk mixture into the egg yolk mixture while whisking constantly to temper the eggs.
- Pour the tempered egg mixture back into the saucepan with the remaining milk mixture.
- Cook over low heat, stirring constantly with a wooden spoon, until the mixture thickens enough to coat the back of the spoon (about 170 degrees F). Do not let it boil.
- Remove from heat immediately. Strain the mixture through a fine-mesh sieve into a clean bowl.
- Stir in the vanilla extract and ground nutmeg.
- If making the alcoholic version, stir in your chosen spirit now.
- Cover the surface directly with plastic wrap to prevent a skin from forming. Chill in the refrigerator for at least 4 hours, or preferably overnight, until very cold.
- Serve cold, garnished with freshly grated nutmeg.
Notes
- For a non-alcoholic version, simply omit the spirits in step 6.
- You can make this recipe up to 3 days ahead of time.
- For a thicker texture, use only 1/2 cup of milk.
Nutrition
- Serving Size: 1 cup
- Calories: 450
- Sugar: 35
- Sodium: 120
- Fat: 30
- Saturated Fat: 18
- Unsaturated Fat: 12
- Trans Fat: 1
- Carbohydrates: 38
- Fiber: 0
- Protein: 10
- Cholesterol: 350