

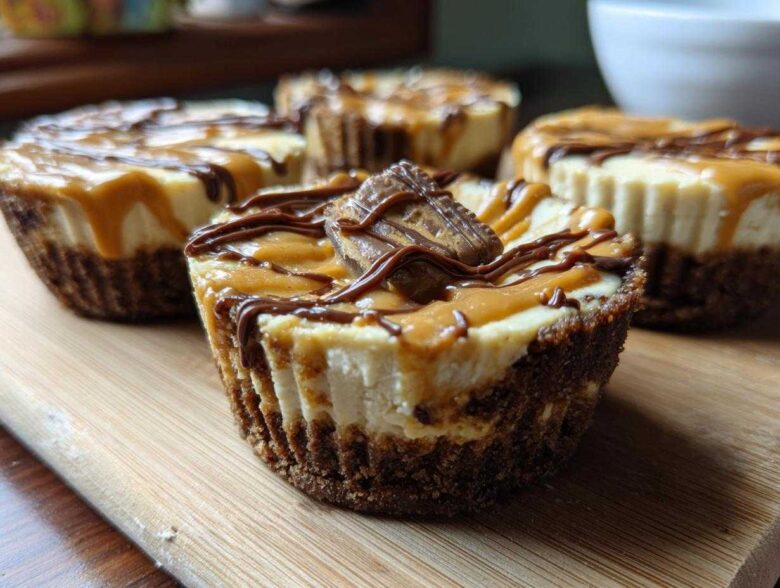
If you’re like me, sometimes you just need a perfect little indulgence that doesn’t involve even turning on the oven, especially when company is coming over! Portion control is a beautiful thing, right? That’s exactly why I swear by my recipe for amazing, super creamy cookie butter cheesecake cups. Seriously, these little beauties fly off the dessert table every single time I make them for birthdays or neighbor get-togethers.
The best part? They are absolutely no-bake! We’re talking about a crunchy, buttery crust holding up this rich, tangy filling laced with that warm, spiced flavor of cookie butter. It’s quick assembly, a bit of chill time, and boom—you have twelve perfectly individual desserts ready to go. Trust me, once you try this creamy cookie butter dessert, it’s going to be your go-to quick fix!
Why You Will Love These No Bake Cookie Butter Cheesecake Cups
Honestly, what’s not to love about these little gems? They check every single box for an easy weeknight treat or a party showstopper. Forget complicated baking; these just require a little mixing and waiting!
- They are genuinely the definition of easy cheesecake cups. You don’t even need a mixer for the crust, and the filling comes together in minutes.
- That satisfying crunch of the cookie crust paired with the smooth, tangy filling? It’s the ultimate texture combination you crave in No Bake Cheesecake Cups.
- Individual portions mean no messy slicing! Everyone gets a perfect, beautiful little dessert ready to go. They’re perfect for taking to potlucks because they travel so well.
- The flavor is just fantastic. That warm spice from the cookie butter makes these feel incredibly decadent, even though this is a Quick Cheesecake Recipe using zero oven time.
- Since everything sets in the fridge, you can literally make these the day before your event. I love finding recipes that let me get ahead, don’t you?
Essential Ingredients for Perfect Cookie Butter Cheesecake Cups
When we’re going for a truly fantastic **cookie butter cheesecake cups** experience, we have to respect the ingredients. Because this is a no-bake situation, the quality really shines through, so please try to use good stuff here! We start with the crust, which needs about one and a half cups of cookie crumbs—that’s usually about 25 cookies—mixed with just a quarter cup of melted unsalted butter. Make sure that butter is truly melted, not just barely softened. If you are worried about your crust falling apart, you might want to check out my no-bake strawberry cheesecake cups post; the crust technique is similar!
For the filling, the star, of course, is the cookie butter itself; you’ll need a full half cup of it folded in, plus two tablespoons melted for drizzling later. The creamy base requires eight ounces of cream cheese, and this absolutely must be fully softened—it’s my non-negotiable rule for smooth fillings! We balance that tang with a half cup of powdered sugar, a quick teaspoon of vanilla extract, and then we whip a half cup of heavy whipping cream until it holds stiff peaks. Using real heavy cream is magic here; don’t skip it!
Expert Tips for Making the Best Cookie Butter Cheesecake Cups Crust
You know, I learned the hard way that the crust is the foundation for these **cookie butter cheesecake cups**. I once made a batch for a big family picnic about five years ago, and because I rushed the crust, about half of them fell apart when I tried to pop them out of the liners. Oops! Total rookie mistake, but it taught me the golden rule: the crust needs attention!
First things first: don’t just sprinkle the crumbs and butter together and call it done. You need to massage them together until every single speck of that cookie goodness is coated in the melted butter. I use my fingers for this because I can really feel if there are any dry patches lurking at the bottom of the bowl. Remember, this is your sturdy Biscoff Crust Recipe!
Once the crumbs look like wet sand, the pressing part is crucial for firm **cookie butter cheesecake cups**. I line my muffin tin with paper liners just like the recipe says. Then, I take a small, flat-bottomed measuring cup—the one that holds exactly a quarter cup works perfectly for me—and I use the bottom of that to firmly press the crumbs down into the base of each paper cup. You really need to pack it in there! You want a solid, compacted layer so that when you pull the finished dessert out, the crust stays perfectly intact.
Another quick tip that really helps with a snappy crust is that initial chill time. Don’t skip putting that loaded tin in the freezer while you whip up the filling. A good 15 minutes in the freezer hardens that butter up perfectly. That guarantees a strong base that won’t give way when you try to drizzle that warm cookie butter on top later. A strong crust means happy eating!
Step-by-Step Instructions for No Bake Cookie Butter Cheesecake Cups
Putting together these **no bake cookie butter cheesecake cups** is so straightforward, you’ll wonder why you didn’t make them sooner! It’s all about timing your chilling steps so everything sets up beautifully. We follow the recipe chronologically, starting with getting that crust nice and firm downstairs!
Preparing the Crust Base
First off, grab a bowl and dump in your cookie crumbs and that quarter cup of melted butter. Mix it up thoroughly with a fork until it looks like everything is evenly moistened. You’re aiming for that damp, sandy texture we talked about earlier. Spoon about one tablespoon of that mix into the bottom of each of your lined muffin cups. Remember what I said about packing them tight? Use the back of a spoon or a small glass to really push that mixture down and make a solid base for the filling.
Once they’re all packed, you have to chill them! Pop the entire muffin tin right into the freezer. Seriously, don’t skip this. We want this crust to firm up while we work on the creamy topping, so let them chill there for at least 15 to 20 minutes. This stops the crust from mixing up into the filling later, keeping those defined layers nice and clean. If you ever make my no-bake blueberry cheesecake cups, this freezing step is just as important!
Mixing the Creamy Cookie Butter Filling
Now for the fun part! Get out your big mixing bowl. You need to make sure that cream cheese is perfectly room temperature—if it’s cold, you’ll get lumps, and nobody wants a lumpy cheesecake! Beat the softened cream cheese with the powdered sugar and vanilla extract until it’s just light and totally smooth. Scrape down the sides so you don’t miss any pockets of sugar.
In a separate, clean bowl, whip that heavy whipping cream until you have stiff peaks. This is what gives our filling that lovely lift and airiness. Now, you have to fold this whipped cream into the cream cheese base. Use a big spatula and be gentle! We don’t want to deflate all those lovely air bubbles we just created! Once it’s mostly just combined, gently fold in that main half-cup of cookie butter until the color is uniform. Stop folding the second you don’t see white streaks anymore.
Assembly and Setting the Cookie Butter Cheesecake Cups
Time to pull that crust tin out of the freezer! Now, you can either spoon the filling evenly over the chilled crusts, or, if you want to be fancy and keep those clean edges, use a piping bag fitted with a star tip. Fill each cup almost to the top. They are going to look great stacked up like that!
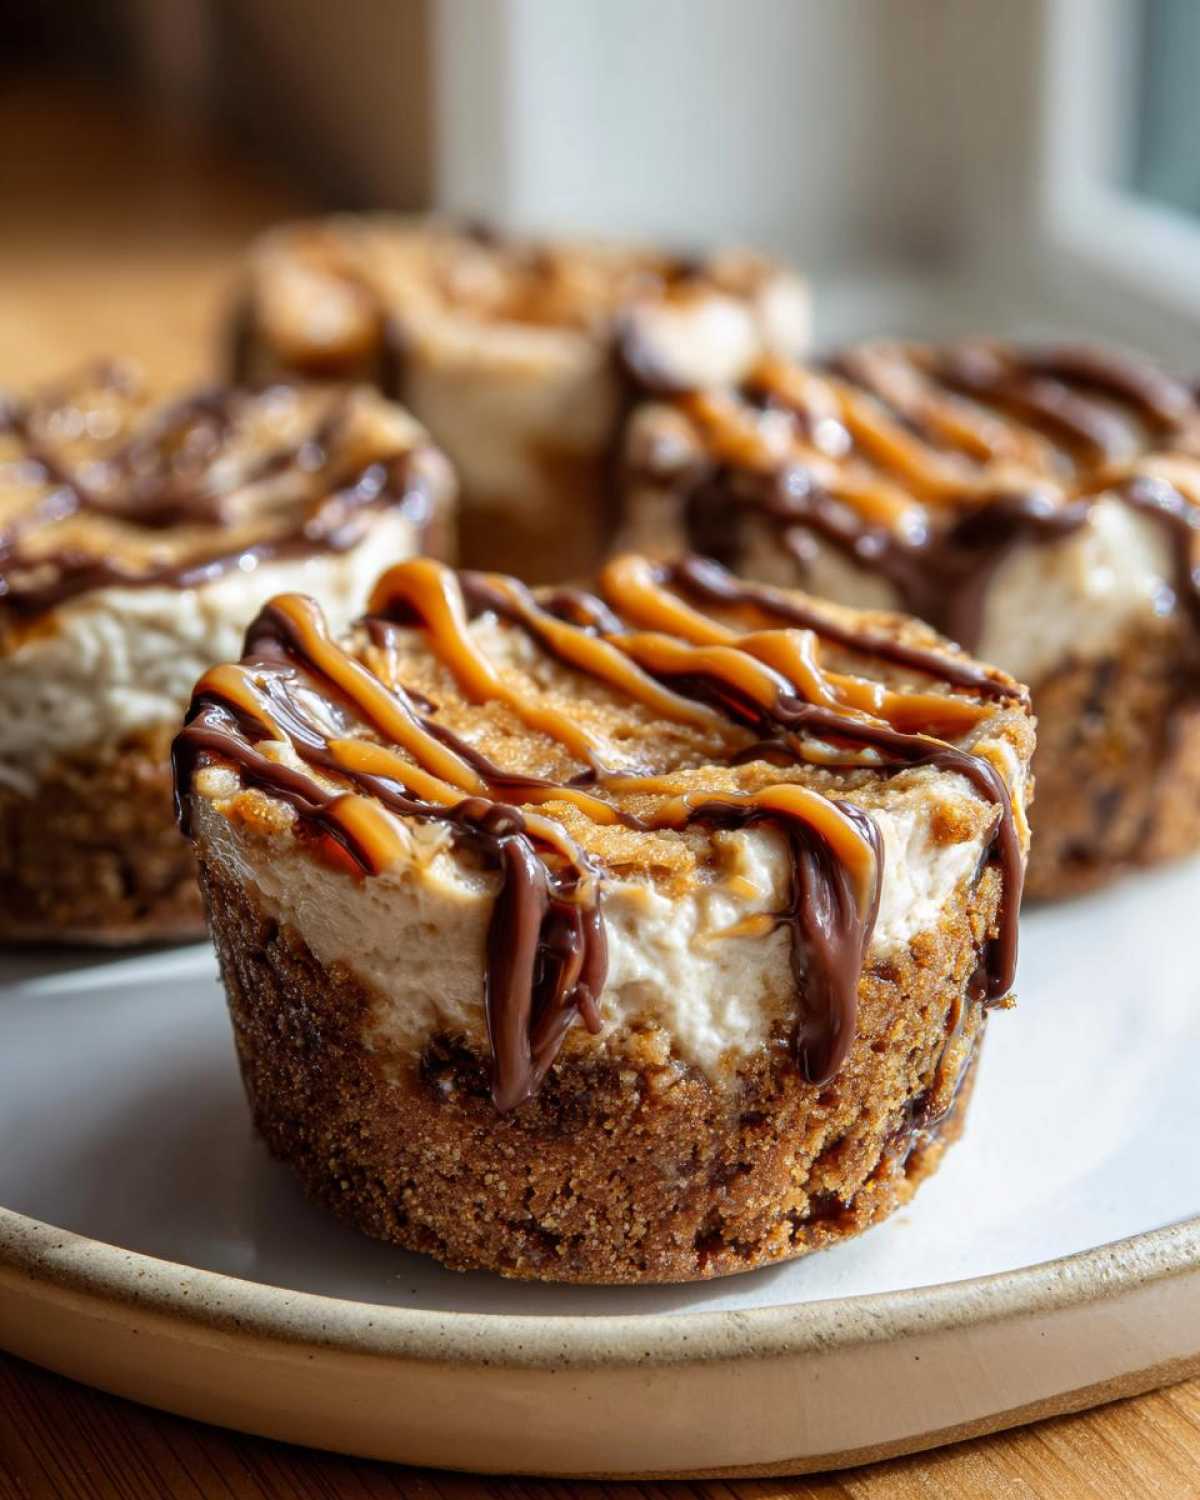
This is where patience comes in, unfortunately. These **cookie butter cheesecake cups** need a good, solid set. Move the tin carefully into the refrigerator—not the freezer this time! They need at least four hours to firm up properly. I usually make these in the morning so they are perfectly set by dessert time. Right before you pull them out to serve, warm up those last two tablespoons of cookie butter just slightly—maybe 10 seconds in the microwave. Drizzle that gorgeous, melty topping over each cup for the final flourish!
Ingredient Notes and Substitutions for Your Cookie Butter Cheesecake Cups
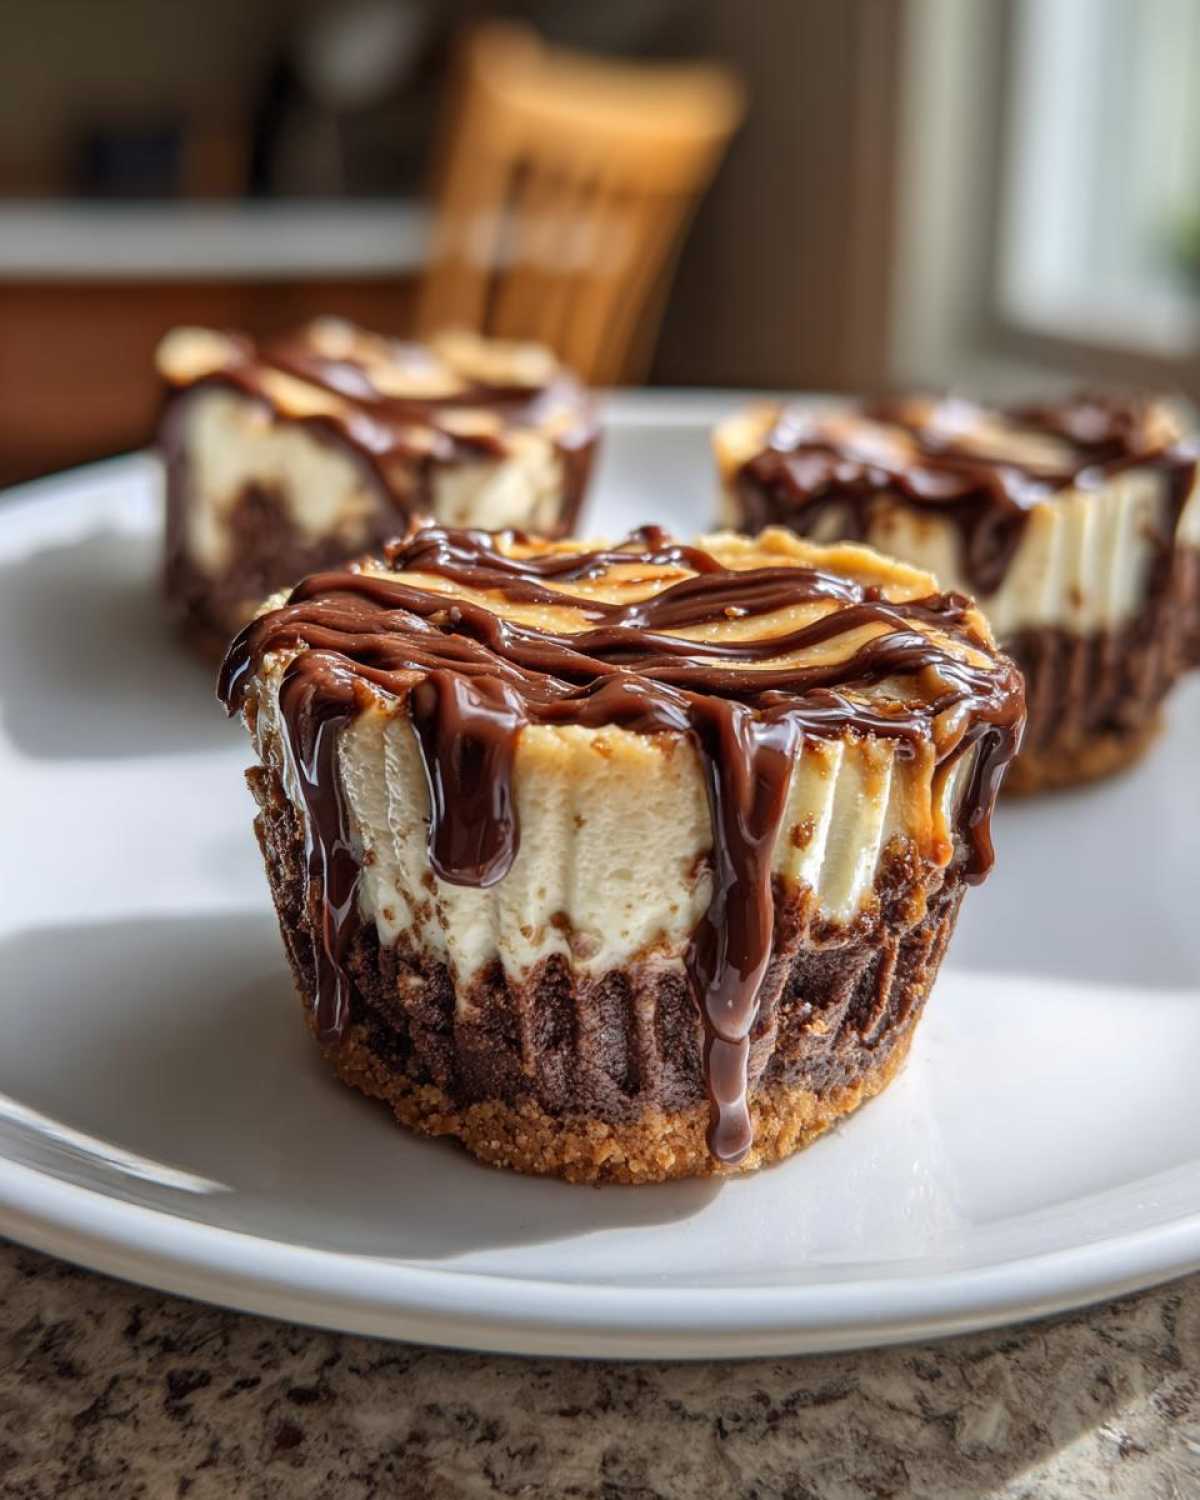
Okay, let’s talk specific ingredients for these marvelous **cookie butter cheesecake cups**. I know everyone has their pantry staples, and sometimes you need to swap things around, but I really want to stress where you shouldn’t compromise, and where you have some wiggle room.
First up: the star! Biscoff is the most popular cookie butter, and for good reason—it has that perfect spiced crunch and creamy texture. If you can find it, use it! However, if you have another favorite brand of cookie butter you love, go for it! The main thing is that it should be thick enough to dollop, not runny like syrup. If your substitute cookie butter is a little softer, just make sure you fold it into the cream cheese mixture *very* gently so you don’t lose the airiness we worked so hard to incorporate while whipping the cream. I’ve experimented with a speculoos brand once, and they came out tasting just as glorious!
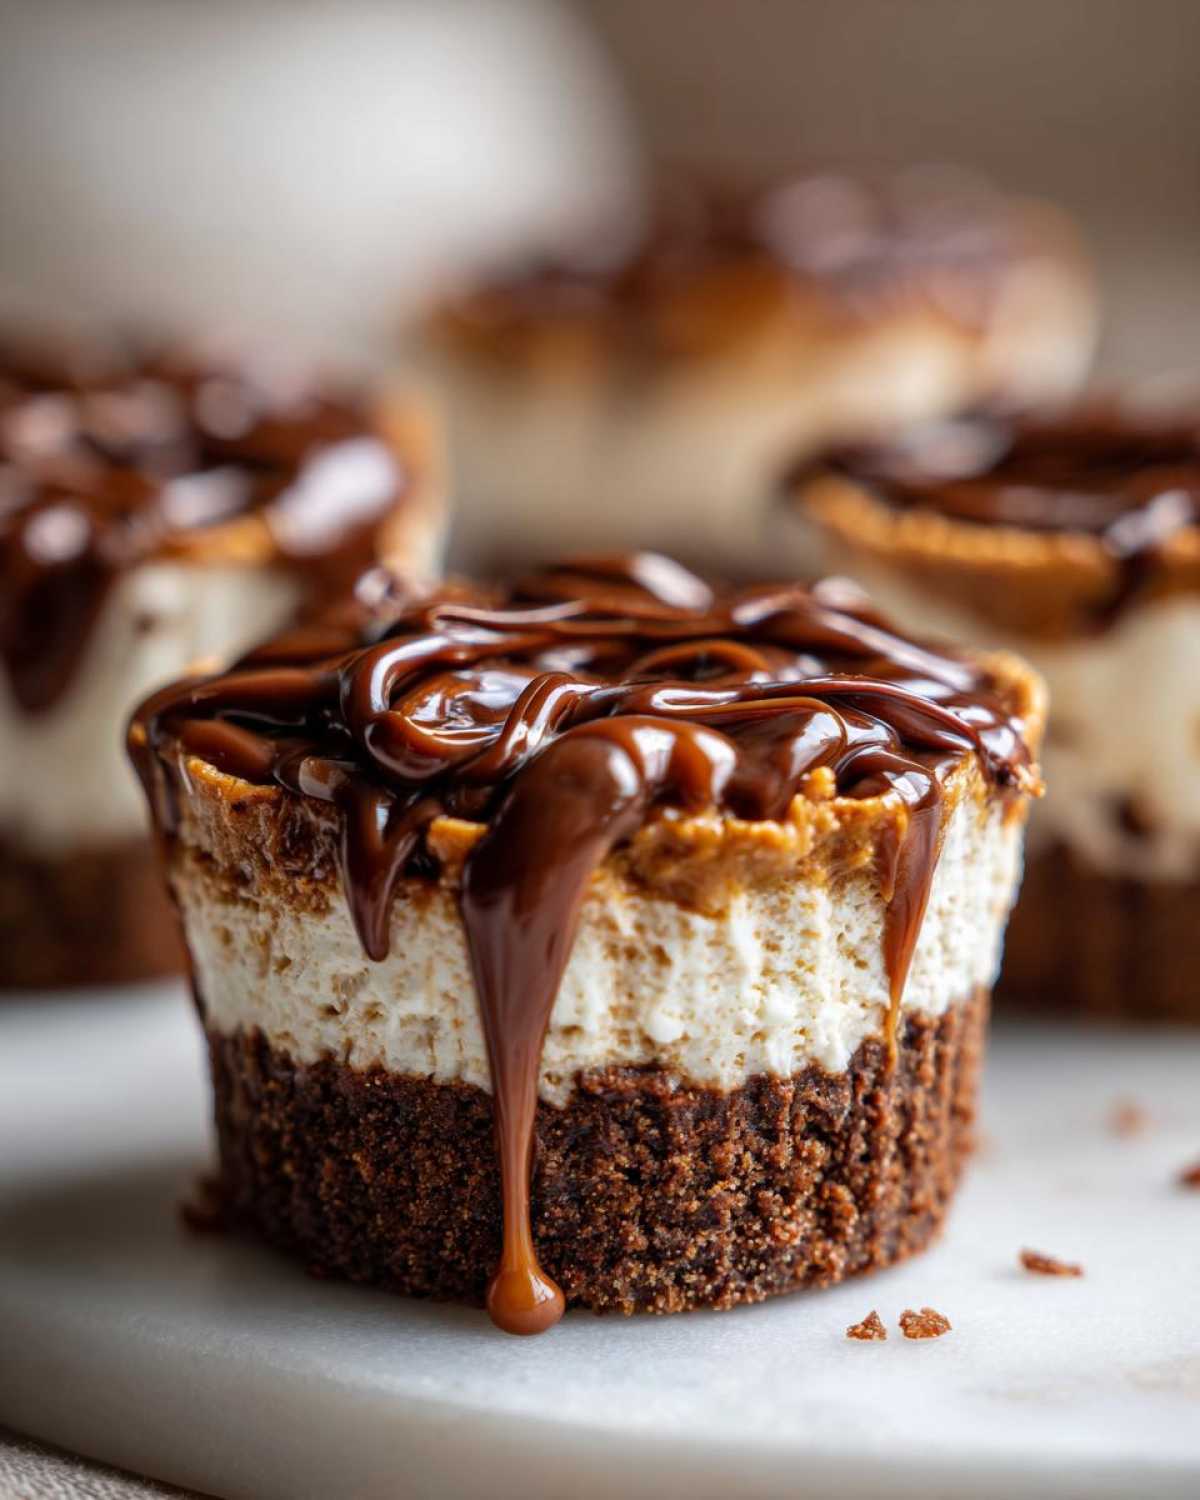
Now, about that heavy whipping cream. It’s crucial for that fluffy texture in the filling. If you absolutely cannot find heavy whipping cream—maybe you’re traveling or just ran out—you *could* try using a tub of frozen, thawed whipped topping, like Cool Whip, but you have to be extra careful. If you use the whipped topping, you MUST skip whipping cream separately and just fold the thawed topping straight into your cream cheese/sugar mixture. It won’t be quite as rich, and it’s less of a *cheesecake* texture, leaning more toward mousse, but it works in a pinch. Just try to keep everything else the same for that classic flavor profile you know and love from these no-bake caramel cheesecake cups.
Lastly, the cream cheese. Please, please, please make sure it’s fully softened but still cool to the touch. If it’s greasy or warm, it won’t incorporate correctly with the powdered sugar, and you’re back to those annoying little lumps in your otherwise perfect **cookie butter cheesecake cups**. A few seconds in the microwave can sometimes help if you forgot to take it out early, but watch it closely! Cold cream cheese equals a sad, lumpy filling.
Serving Suggestions for Individual Cheesecake Desserts
When it comes to presenting these wonderful **cookie butter cheesecake cups**, a little extra flair goes a long way! Since the drizzle is already quite pretty, you might think you’re done, but why stop there? They are fantastic served straight from the liner, but if you’re aiming for something really special, try carefully lifting them out of the paper if the crust held up well and placing them onto tiny decorative paper doilies. It dresses them up wonderfully, much like I suggest for my strawberry shortcake cups!
For pairing, coffee or a hot spiced cider is just amazing alongside these **individual cheesecake desserts**. If you want one more topping element, a tiny sprinkle of cinnamon or a micro-shaving of dark chocolate right over that melted cookie butter drizzle adds a gorgeous visual contrast. You can even add one small, crushed cookie piece right in the center of the drizzle for extra crunch. They look so cute lined up on a platter!
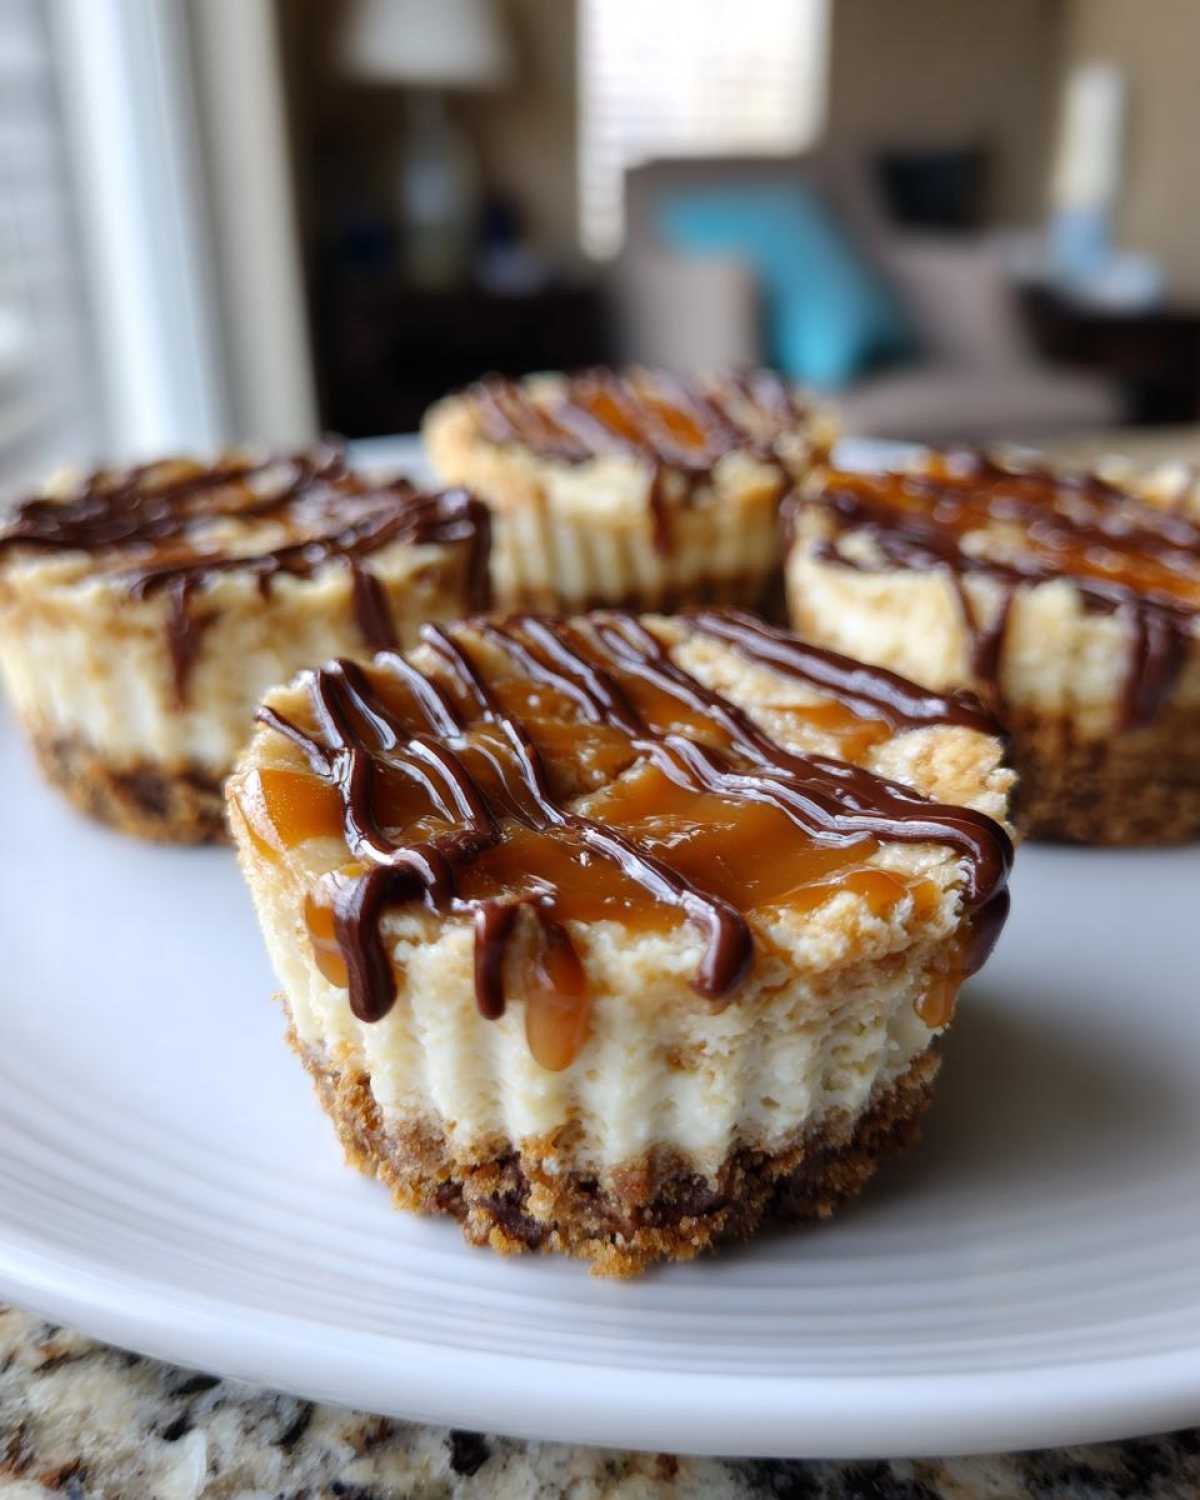
Storage and Make Ahead Tips for Cookie Butter Cheesecake Cups
One of the absolute best things about whipping up a batch of these glorious **cookie butter cheesecake cups** is that they are truly champions of make-ahead desserts! Seriously, if you’re hosting or bringing something to a party, this is your lifesaver. You absolutely want to plan ahead, because they need that chilling time to set up properly, so they’re not a last-minute drizzle-and-serve situation.
The required minimum four hours of chilling time gets them firm enough to hold their shape, but honestly? They are always better on day two. The flavors really settle in and meld together overnight. I often make a full 12-cup batch on a Saturday afternoon, and they are absolutely incredible for Sunday brunch company. They are among the best Make Ahead Desserts I know!
When it comes to storage, airtight is your best friend. You want to keep them covered so they don’t absorb any weird smells from the fridge, and also to keep that lovely drippy topping from getting sticky. You can leave them right in the muffin tin, covering the whole thing tightly with plastic wrap. Sometimes, if you’re short on space, you can carefully lift them out of the paper liners (if the crust is holding strong!) and arrange them in a single layer in an airtight container. Just make sure to put a piece of parchment paper between layers if you stack them, otherwise that beautiful cookie butter drizzle will smear everywhere. Who wants a messy dessert, right?
So, how long do they last? Because we used professional-grade cream cheese and heavy cream, they keep wonderfully in the refrigerator for up to three full days. After that, the crust might start getting a little soft, even though it’s already partially frozen from the initial setup. I haven’t had much success freezing them once they are fully set, though. The tiny ice crystals that form tend to break down that lovely, fluffy texture of the cream cheese filling when they thaw. Stick to the make-ahead strategy of one to two days in the fridge, and your **cookie butter cheesecake cups** will be perfect every time!
Frequently Asked Questions About Biscoff Cheesecake Cups Recipe
There are always a few things people wonder about when they are making a new no-bake recipe, especially when you introduce spices like cookie butter! Here are the most common questions I get about mixing up these perfect little dessert cups.
Can I use a different cookie instead of Biscoff for the crust?
That’s a great question! While the signature flavor comes from the cookie butter itself, you absolutely have options for the crust if you can’t find those specific cookies or just want a change. You could use Graham crackers, of course, but if you want to stick to that warm spice family, shortbread cookies or even vanilla wafers work beautifully. Just remember that you might need to adjust the amount of melted butter slightly if the crumbs are naturally drier than the original cookies. You want that “wet sand” texture, no matter what cookie you choose for your no-bake dessert base!
How long do these really need to set up to be firm?
This is key if you want those pretty, clean edges! While I mentioned four hours in the instructions, and that is the minimum time required for the filling to become solid enough to enjoy, they are honestly much, much better after a full overnight chill. You want the filling to be firm enough that when you gently peel the paper liner away, the filling doesn’t wobble or sag at all. Rushing the chilling time leads to soft **mini cheesecake cups**, and nobody wants that!
I don’t have a stand mixer. Can I still make these easy cheesecake cups?
Oh, please don’t worry about fancy equipment! You can totally make these by hand. The crust is easily mixed in a bowl with a fork. For the filling, you’ll want a good sturdy whisk or a hand mixer for the cream cheese and sugar part to get it smooth. The only slightly tricky bit is whipping the heavy cream to stiff peaks without a stand mixer, but if you use a large bowl and whip vigorously for a few minutes, you’ll get there! It’s perfect for making **individual dessert portions**!
Are these cookie butter cheesecake cups freezer-friendly?
This is where I have to give a slight warning! While you *can* technically freeze them, I don’t highly recommend it if you are aiming for that perfectly light, creamy texture. When the dairy freezes and thaws, it sometimes changes the texture of the cheesecake filling, making it a bit grainy or separating the cream. If you must freeze them, make sure they are *fully* set in the fridge first, wrap each **creamy cookie butter dessert** individually in plastic wrap, and keep them in an airtight container. Try to eat them within about three weeks if you freeze them.
Estimated Nutritional Information for Cookie Butter Cheesecake Cups
I always get asked about the numbers, and while these **cookie butter cheesecake cups** are certainly a treat and not an everyday food, I wanted to give you a rough idea of what you’re looking at per serving. Remember, I’m a cook, not a nutritionist, so these figures are just estimates based on the standard ingredients called for in the recipe when divided into 12 servings. Your exact numbers will vary a bit depending on the brands of butter or cookie butter you use, especially since some brands are higher in sugar than others!
Here’s a basic breakdown so you can see what you’re working with for these rich, individual servings:
- Serving Size: 1 cup
- Calories: Roughly 280 calories per cup. They are packed with flavor, so that’s not too bad for a satisfying dessert!
- Fat: About 18 grams of fat total, with roughly 10 grams coming from saturated fats, mainly from the cream cheese and butter.
- Carbohydrates and Sugar: You’re looking at about 26 grams of carbs, with around 22 grams of that being sugar. That’s where the sweetness from the powdered sugar and the cookie butter really comes in!
- Protein: You get about 4 grams of protein per cup, which is nice to see in a dessert.
It’s important to keep in mind that since these are **no oven dessert recipes**, we aren’t sacrificing flavor for quick prep, which sometimes means the calorie count climbs a little. But honestly, when they taste this good, I find it easy to trust that little bit of indulgence is well worth it. Enjoy them!
PrintNo-Bake Cookie Butter Cheesecake Cups
Make simple, individual cheesecake cups featuring a crunchy cookie crust and a creamy, tangy cookie butter filling. This no-bake recipe is quick to assemble.
- Prep Time: 20 min
- Cook Time: 0 min
- Total Time: 4 hr 20 min
- Yield: 12 servings
- Category: Dessert
- Method: No-Bake
- Cuisine: American
- Diet: Vegetarian
Ingredients
- 1 1/2 cups cookie crumbs (about 25 cookies)
- 1/4 cup unsalted butter, melted
- 8 ounces cream cheese, softened
- 1/2 cup powdered sugar
- 1 teaspoon vanilla extract
- 1/2 cup heavy whipping cream
- 1/2 cup cookie butter (like Biscoff)
- 2 tablespoons cookie butter, melted, for topping
Instructions
- Combine the cookie crumbs and melted butter in a small bowl. Mix until the crumbs are evenly moistened.
- Press about 1 tablespoon of the crumb mixture into the bottom of each liner in a 12-cup muffin tin lined with paper or foil liners. Place the tin in the freezer while you prepare the filling.
- In a large bowl, beat the softened cream cheese, powdered sugar, and vanilla extract until smooth.
- In a separate bowl, whip the heavy cream until stiff peaks form. Gently fold the whipped cream into the cream cheese mixture until just combined.
- Fold in the 1/2 cup of cookie butter into the cream cheese mixture until uniform.
- Spoon or pipe the filling evenly over the chilled crusts in the muffin tin cups.
- Refrigerate the cups for at least 4 hours, or until firm.
- Before serving, drizzle the tops of the chilled cheesecake cups with the remaining 2 tablespoons of melted cookie butter.
Notes
- You can use store-bought cookie butter crumbs to save time on crushing the cookies.
- For the best texture, ensure your cream cheese is fully softened before mixing.
- These cups keep well in the refrigerator for up to 3 days.
Nutrition
- Serving Size: 1 cup
- Calories: 280
- Sugar: 22
- Sodium: 150
- Fat: 18
- Saturated Fat: 10
- Unsaturated Fat: 8
- Trans Fat: 0
- Carbohydrates: 26
- Fiber: 1
- Protein: 4
- Cholesterol: 55