

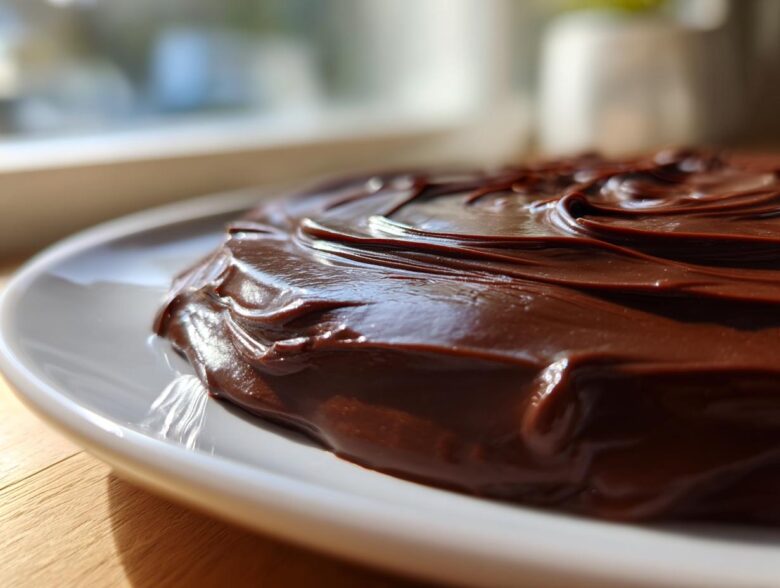
Oh, listen to me, because achieving that Pinterest-perfect, shiny dessert coating used to feel like a secret only pastry chefs knew. Seriously, I spent ages messing around, trying different amounts of chocolate until my kitchen looked like a cocoa powder explosion. But guess what? I finally cracked the code! This recipe for **chocolate ganache** is the absolute game-changer because it’s so ridiculously easy. We’re talking two ingredients that magically transform into the richest, silkiest topping you’ve ever seen—all made right on the stovetop in under ten minutes. Trust me when I say this simple ratio works perfectly whether you need a thin drizzle, a luscious filling, or even the base for perfect little truffles.
If you’re ready to elevate your cakes and donuts instantly, you need this trick up your sleeve. Check out how amazing chocolate eclairs look when they’ve got this coating!
Why This 2-Ingredient Chocolate Ganache Recipe Works So Well
Honestly, sometimes the simplest things are the absolute best, and this recipe proves it! I used to think you needed stabilizers or corn syrup for that perfect dessert shine, but nope. This combination right here is all you need for true decadence. It’s my go-to when I realize I need a gorgeous cake topping five minutes before people arrive.
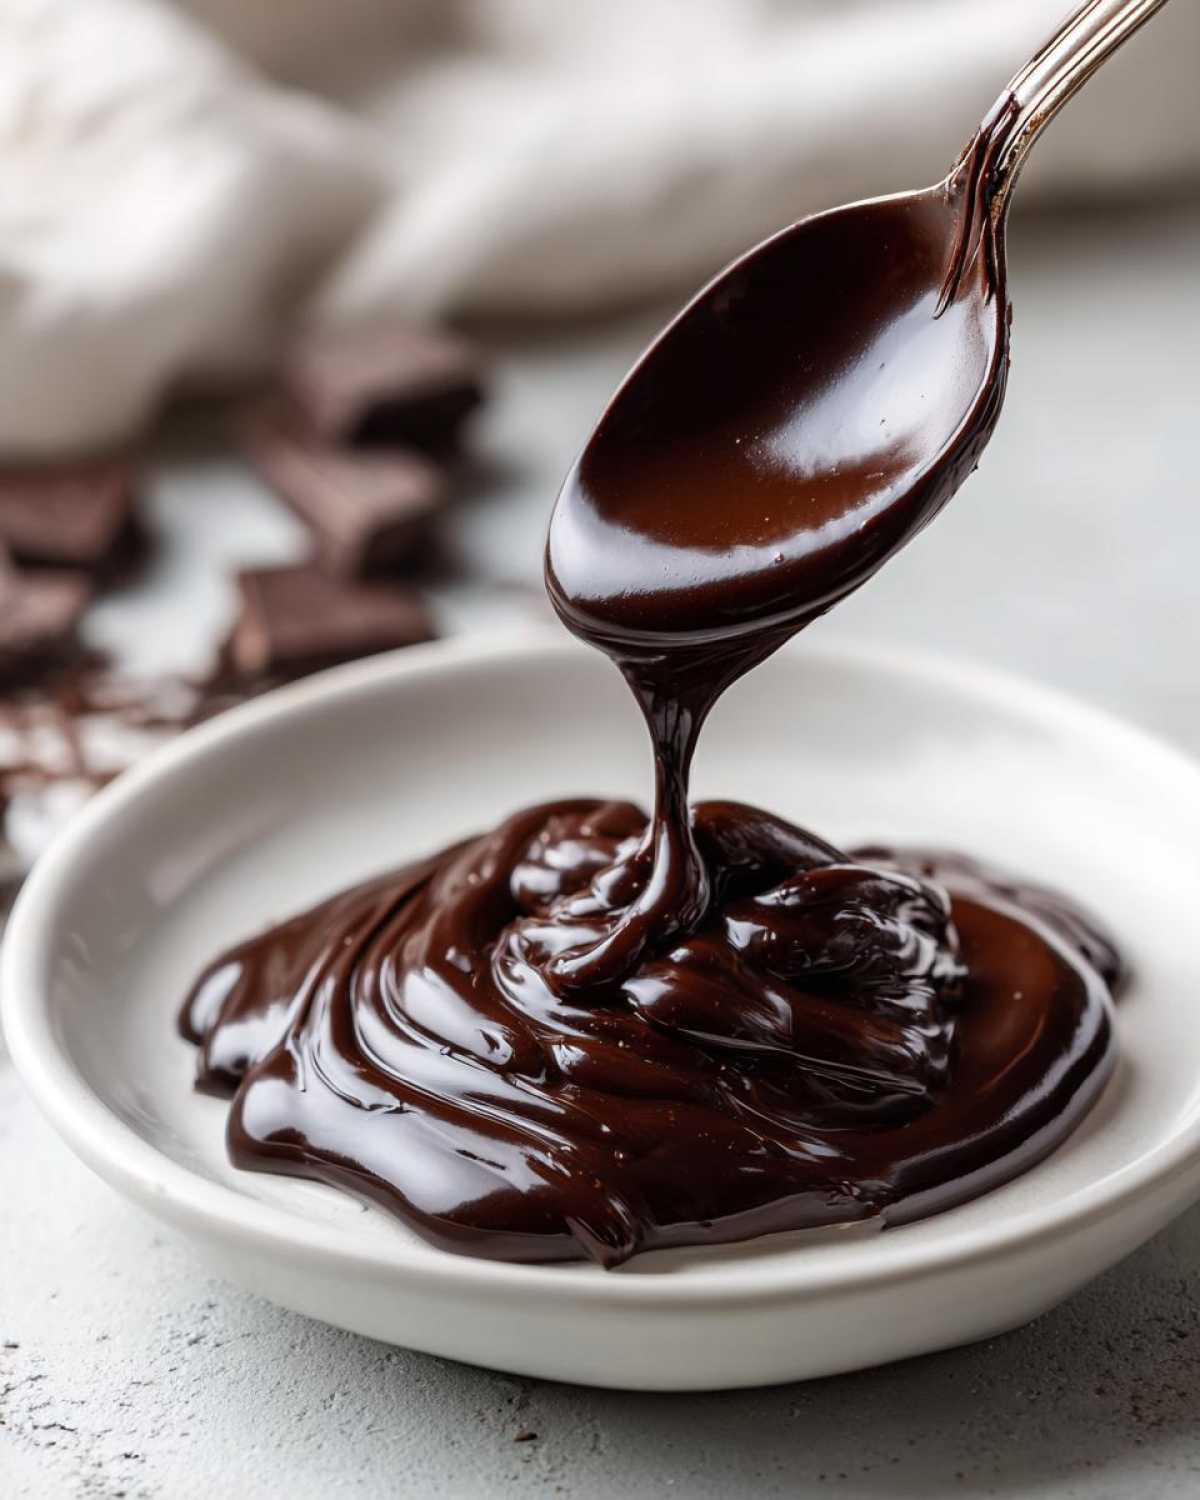
- It cuts down on measuring and fuss—just two items, that’s it!
- The chemistry inside that bowl creates a structure that works for almost any decoration.
- It tastes incredibly rich without being overly sweet, letting the quality of your chocolate shine through.
Plus, if you want to see what happens when you use an amazing base for something fudgy, peek at my recipe for ultimate chewy brownies!
Achieving That Silky Smooth Chocolate Glaze
The magic is truly in the fat ratio. When you heat that heavy cream just right and pour it over quality chocolate, the fat content does all the work. It wraps around the cocoa solids perfectly, creating an emulsion that guarantees a **silky smooth chocolate glaze**. There are no lumps or dull spots when you handle it gently.
The Speed of This Quick Stovetop Chocolate Sauce
If you’re scrambling to finish a dessert, this is your miracle worker. From placing the chocolate in the bowl to having a pourable sauce, we are looking at mere minutes. It’s the fastest way to elevate pretty much anything into a showstopper dessert. It truly is a **quick stovetop chocolate sauce**!
Ingredients for Your Ultimate Chocolate Ganache
You won’t believe how few things we need here. Seriously, this is why I call it magic! For this base recipe, we only need two heavy hitters: good quality chocolate and heavy cream. Don’t skimp on the chocolate here, because remember, it’s half the show! I always reach for something around 60% to 70% cacao if I’m making a richer topping, but milk chocolate works if you want it sweeter (just slightly reduce the amount of chocolate).
Pop over to my chocolate chip banana bread if you need another reason to keep good quality chocolate on hand!
Ingredient Notes and Substitutions
This recipe is super flexible depending on what you’re doing later. If you want a sturdy frosting that won’t drip everywhere, you’ll want to adjust the ratio slightly later on, leaning towards more chocolate than cream. For the deepest flavor, stick with dark chocolate for your **dark chocolate ganache recipe**. Remember, any adjustments you make to the ratio now will determine if you end up with a pourable glaze or a thick, spreadable frosting later on!
How to Make Chocolate Ganache in Minutes
Okay, this is where the magic truly happens, and honestly, it feels like cheating because it’s so fast. First things first: get your beautiful, chopped chocolate—or chips, no judgment here—into a nice sturdy bowl. This is what we’re trying to melt!
Next, walk over to the stove with your heavy cream. You need to heat this up in a small saucepan, and here’s my biggest tip to avoid a disaster: watch it closely! You only want to see little tiny bubbles forming around the edge, like it’s just starting to whisper a gentle simmer. If it starts boiling hard and bubbling furiously, take it off immediately; boiling cream can sometimes seize your chocolate later. Instant fail!
Once the cream is properly heated, pour that hot liquid right over your chocolate. Now, fight the urge to touch it! Let it sit there, undisturbed, for a full five minutes. This resting time is absolutely non-negotiable; it lets the residual heat evenly melt everything from the inside out. If you skip this, you’ll get stuck with chunks!
The Gentle Whisking Technique for a Velvety Chocolate Filling
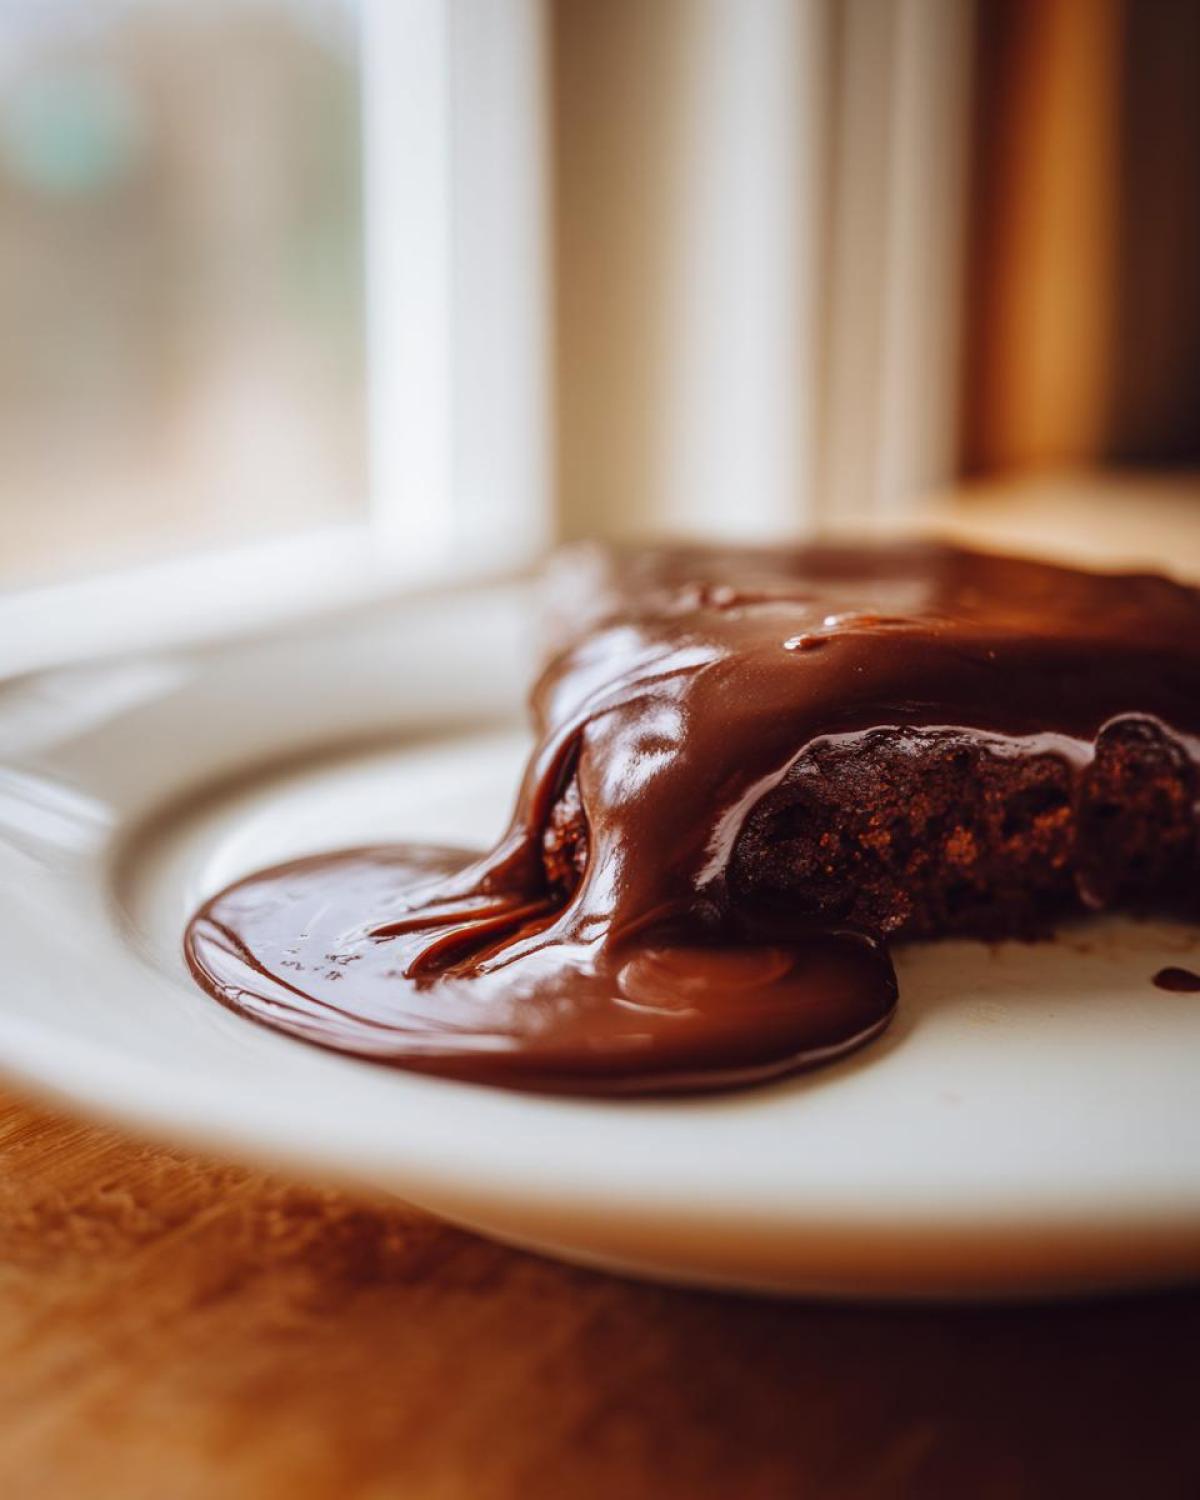
After those five minutes are up, grab your whisk, but grab it gently! Don’t beat it like you’re making meringue. Start whisking very slowly, focusing right in the center of the bowl where the chocolate is thickest. As the mixture comes together, slowly work your way out to the edges. Keep going gently until everything is one single, gloriously glossy pool of chocolate. If you whisk too aggressively, you introduce air, and we want that beautiful, dense, **velvety chocolate filling** look, not a bubbly catastrophe!
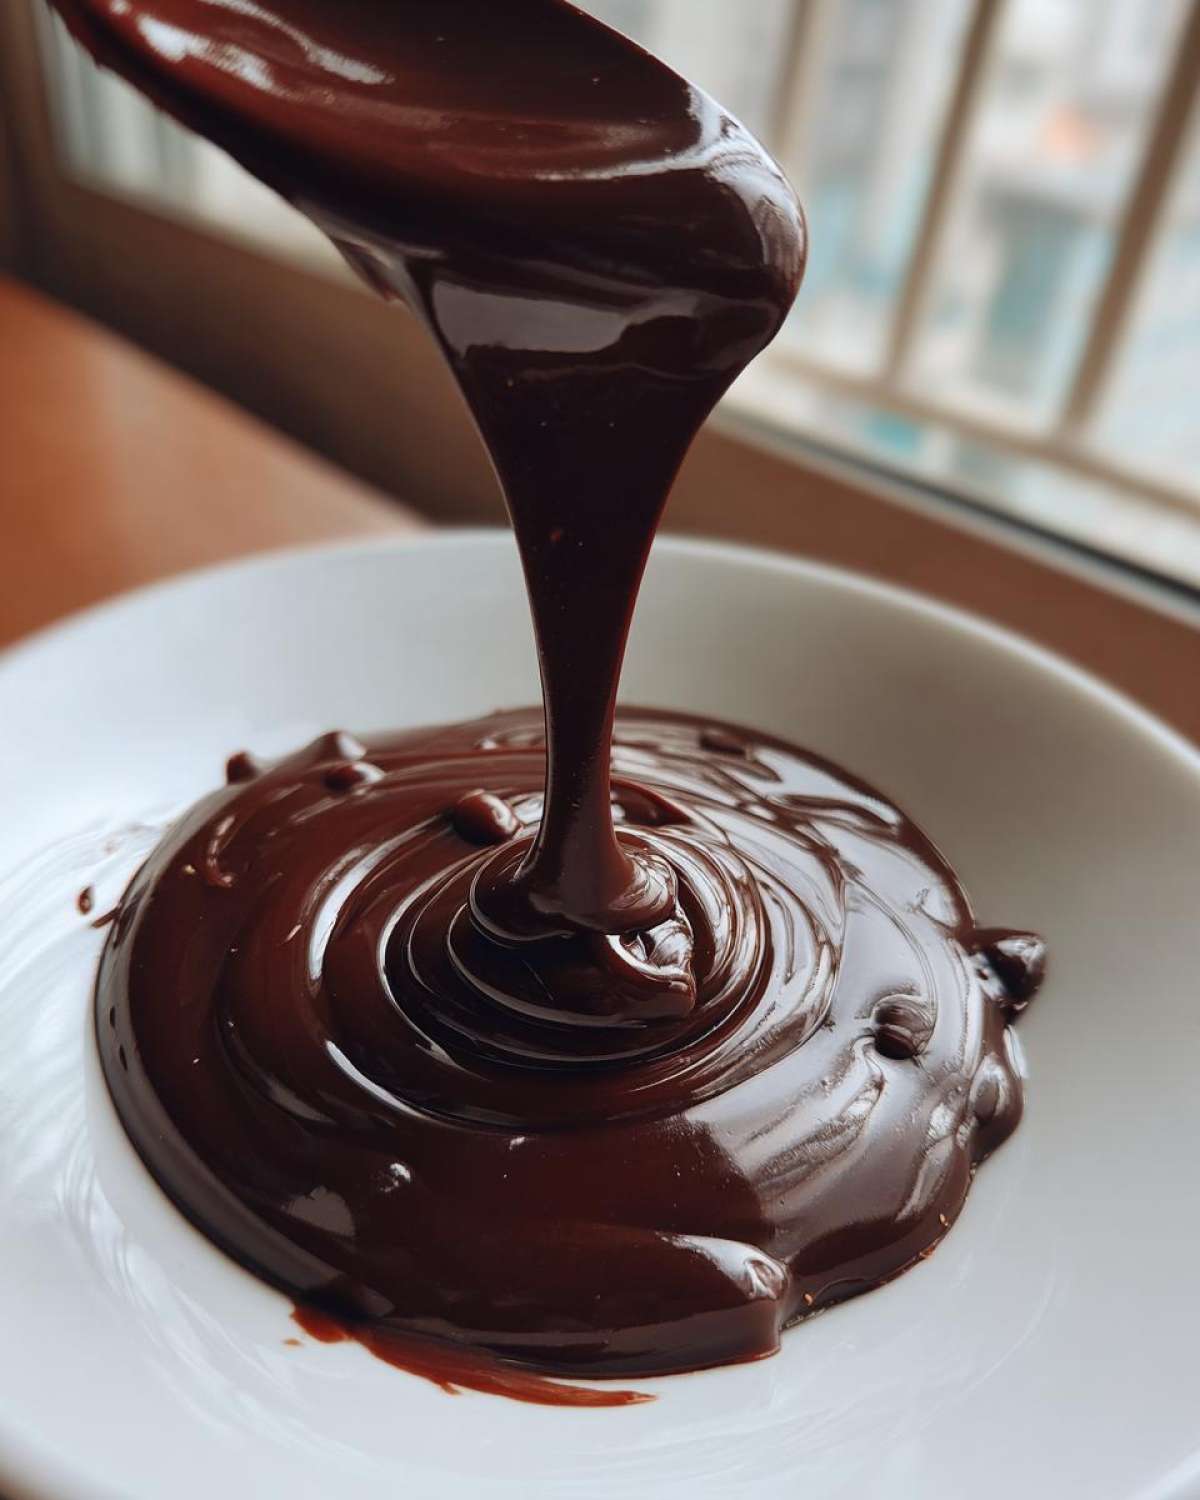
When it looks totally smooth, take a peek at your no-bake Nutella pie—that’s the kind of sheen you’re aiming for! If you need it thinner for a glaze, use it right now while it’s warm. If you want it to firm up for spreading or rolling, just walk away and let it chill out on the counter for an hour or two.
Adjusting Consistency: Best Ratios for Chocolate Ganache
This is the part where you graduate from just making ganache to actually mastering it! People always ask me if the ratio matters, and I want to scream, “YES, it matters a lot!” because what you need for a shiny glaze is totally different from what you need to pipe a rosette onto a cupcake. If you want a thin glaze—the kind that drips beautifully—you need a pretty equal relationship between the chocolate and the cream. Think 1:1 by weight for that lovely flow.
But if you’re aiming for a thick, sturdy **homemade chocolate frosting easy** texture, you absolutely need to increase the chocolate content. I usually bump it up to about two parts chocolate for every one part cream when I’m whipping it later for firmer uses. This variation means you can use the exact same two ingredients for almost any chocolate need you have, which is why this recipe is my constant kitchen MVP. If you are looking for chewier results in cookies, check out my chewy protein cookies!
Tips for a Perfect Chocolate Drip Ganache Tutorial
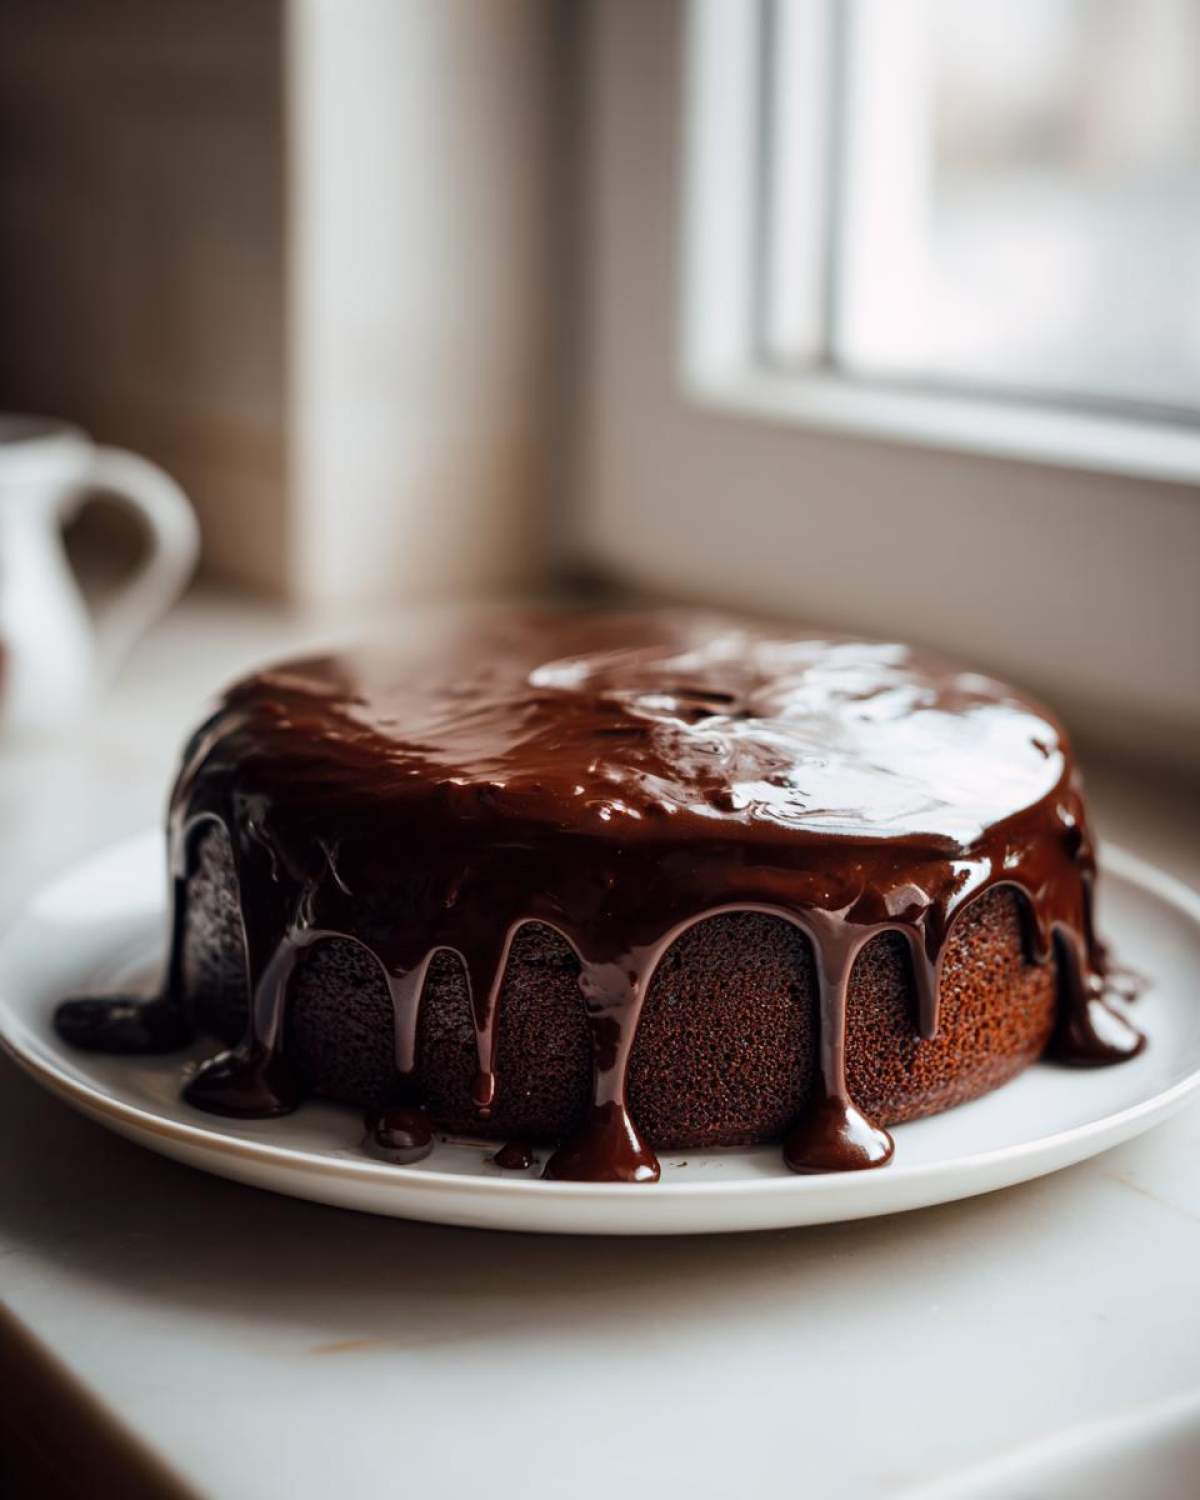
For that show-stopping look where the ganache cascades down the sides of your cake in perfect, even ribbons, you need a specific temperature and consistency. This is where the thinner ratio comes into play—the 1:1 mix works best because it stays fluid longer as it touches the cooler cake. Temperature is everything for a great **chocolate drip ganache tutorial**. You want to use it while it’s warm but not piping hot. If it’s too thick, the drips stop short. If it’s too thin, it runs right off the cake and pools on the platter. Aim for the consistency of slowly-poured honey, and you’ll get those gorgeous, even lines every single time!
Versatile Uses for Your Easy Chocolate Ganache Recipe
I truly believe the best recipes are the ones that do double or triple duty in the kitchen, and this beautiful **easy chocolate ganache recipe** is the ultimate multi-tasker. Once you master that simple 2-ingredient ratio, you open up a world of dessert possibilities in minutes flat. Forget running to the store for a specific frosting or glaze when you have this ready to go! I use it for everything delicate and decadent.
Just thinking about all the ways you can deploy this is exciting. If you’ve ever made my no-bake peanut butter cups, you know firsthand how fantastic it is as a solid filling!
- Drizzling over cinnamon rolls or day-old donuts for an instant breakfast upgrade. This is the definition of a **no fuss chocolate glaze**!
- Layering between cake sponges as a rich, fudgy filling. My go-to for making a quick layer cake feel professional.
- Glazing bundt cakes or loaf cakes—it sets up beautifully shiny!
- Spooning over pudding or ice cream as a warm, decadent sauce.
And if you want to see what this recipe looks like when you adapt it to be a fully spreadable topping, you absolutely have to check out my guide on easy homemade chocolate frosting!
Making Chocolate Truffle Making Base
My absolute favorite use for this is turning it into truffles, but that requires just one extra afternoon step: patience! When you want that firm, rollable consistency needed for a perfect **chocolate truffle making base**, you must let the ganache cool completely at room temperature. If you’re looking for a glaze, you use it right away while it’s warm and fluid. But for truffles, you need it cool enough to handle.
This means letting it sit on the counter, stirring it every 20 minutes or so, until it gets thick—almost like fudge that’s slightly soft. Depending on how warm your kitchen is, you might need an hour and a half to two hours. Once it’s firm enough to scoop and roll cleanly between your palms without getting everywhere, it’s ready to shape! It’s the perfect sturdy foundation for dusting cocoa powder or rolling in crushed nuts.
Troubleshooting Common Chocolate Ganache Issues
Don’t you panic when things don’t look perfect right away! Even with just two ingredients, sometimes the chemistry gets a little fussy. The most common issue is a separated ganache—it looks oily and broken, which is such a letdown when you were expecting that mirror shine.
If your mixture looks separated, don’t throw it out! Grab one teaspoon of room-temperature water or milk from the fridge. Add just that tiny bit, and then whisk vigorously. I mean really put some muscle into it! It sounds weird, but that bit of extra moisture helps bring the fat and liquid back together into a gorgeous, smooth emulsion every time. If you see graininess, it usually means your chocolate wasn’t fully melted by the time you started whisking, so be patient in that resting phase next time!
If you want to try another amazing no-bake solution that avoids any stove work, check out my chocolate cornflake bars!
Storage and Reheating Your Chocolate Ganache
What’s great about this simple recipe is that it keeps really well, but how you store it depends on when you plan to use it next. If you need it to stay pourable, keep it covered at cool room temperature, but honestly, most of the time I stick leftovers in the fridge. It gets rock hard in there, which is perfect if you want to use it later as a firm filling base!
To bring it back to life, you need gentle heat. Never microwave a whole batch! If you only need a little bit, scoop out what you want and microwave that small amount for 10-second bursts, stirring between each one until it’s smooth again. It comes right back to that beautiful gloss!
If you really need firming up time, pop it in the fridge, just like when making my no-bake chocolate lasagna, but remember to let those refrigerated leftovers sit out to soften before reheating!
Frequently Asked Questions About Making Chocolate Ganache
This recipe is so straightforward, but I know when you’re trying something new, questions pop up! I get asked the same things over and over, so I wanted to tackle my most common reader queries right here. If you’re wondering about stability or timing for different decorating projects, this should cover the essential details about your beautiful, homemade **chocolate ganache**.
Can I use milk instead of heavy cream for my easy chocolate ganache recipe?
Oh, I get this one all the time, especially if someone is out of cream! The short answer is **no, not if you want it to set up**. Heavy cream has that high fat content that is crucial for creating that rich emulsion and structure we talked about. If you use regular milk, your ganache will end up being just a plain, thin chocolate sauce. It won’t chill down into a firm filling or a workable frosting, and it might even separate because it lacks the necessary fat!
How long does it take to cool the chocolate ganache for frosting?
This is all about timing! Remember, when it’s warm, it’s for pouring and glazing. If you want that thick, spreadable texture needed for a **homemade chocolate frosting easy** application or for rolling up into truffles, you have to be patient. I usually leave it on the counter at room temperature for about an hour and a half to two hours. You’ll know it’s right when you dip a spoon in and you can gently pull it away, and the ganache holds its shape a bit, almost like thick peanut butter.
What is the best way to use this as a no fuss chocolate glaze?
The *best* way to use this as a **no fuss chocolate glaze** is to use it immediately after you finish whisking! The ganache will be at its thinnest and most fluid right then. You want to pour it gently over room-temperature (or slightly cooled) cakes, donuts, or pastries. If the cake is too warm, the ganache will just slide right off. Let the excess drip off naturally, and within about 15 minutes, you’ll have a perfectly shiny, set glaze that looks incredibly professional without any messing around!
If you’re looking for another easy, no-bake treat you can glaze or decorate, you have to try these yogurt clusters!
Share Your Silky Chocolate Ganache Creations
I truly hope this recipe takes the mystery out of making decadent chocolate toppings for you! Seriously, making this perfect **chocolate ganache** is addicting once you realize how simple the process is. You now have the secret—use it well! I love hearing how you’ve used this versatile glaze in your own desserts, maybe as an amazing filling for a cake or drizzled over your morning coffee cake.
Please leave me a rating below if this 2-ingredient recipe was a lifesaver for your baking this week. And don’t forget to snap a picture of your glossy creations and share them on social media! Tag me so I can see your masterpiece! For more easy dessert ideas, check out the main blog page!
PrintThe Ultimate 2-Ingredient Silky Chocolate Ganache: Perfect For Glazing, Filling, and Frosting
Make rich, smooth chocolate ganache in minutes using only two ingredients. This recipe provides instructions for adjusting the ratio for use as a glaze, filling, or frosting.
- Prep Time: 5 min
- Cook Time: 5 min
- Total Time: 10 min
- Yield: About 1.5 cups
- Category: Dessert Component
- Method: Stovetop
- Cuisine: General
- Diet: Vegetarian
Ingredients
- 1 cup heavy cream
- 8 ounces good quality chocolate (chopped or chips)
Instructions
- Place the chopped chocolate or chips in a medium, heat-safe bowl.
- Pour the heavy cream into a small saucepan. Heat the cream over medium heat until it just begins to simmer around the edges. Do not let it boil rapidly.
- Remove the hot cream from the heat immediately. Pour the hot cream over the chocolate in the bowl.
- Let the mixture sit undisturbed for 5 minutes to allow the heat to melt the chocolate completely.
- Starting in the center, gently whisk the mixture until it becomes completely smooth and glossy. Continue whisking slowly until the ganache is uniform.
- For a glaze or drizzle, use immediately while warm.
- For a thick frosting or truffle base, let the ganache cool at room temperature for 1 to 2 hours, stirring occasionally, until it reaches your desired spreading consistency.
Notes
- Use dark chocolate for a richer flavor. For a sweeter ganache, use milk chocolate, but reduce the amount of chocolate slightly (e.g., 7 ounces).
- For a thinner pouring glaze, use a 1:1 ratio by weight of chocolate to cream. For a thicker frosting, use a 2:1 ratio of chocolate to cream (e.g., 16 ounces chocolate to 8 ounces cream).
- If the ganache separates, add one teaspoon of room temperature water or milk and whisk vigorously until it comes back together into a smooth emulsion.
Nutrition
- Serving Size: 1/4 cup
- Calories: 350
- Sugar: 20
- Sodium: 15
- Fat: 30
- Saturated Fat: 18
- Unsaturated Fat: 12
- Trans Fat: 0
- Carbohydrates: 22
- Fiber: 2
- Protein: 5
- Cholesterol: 90