

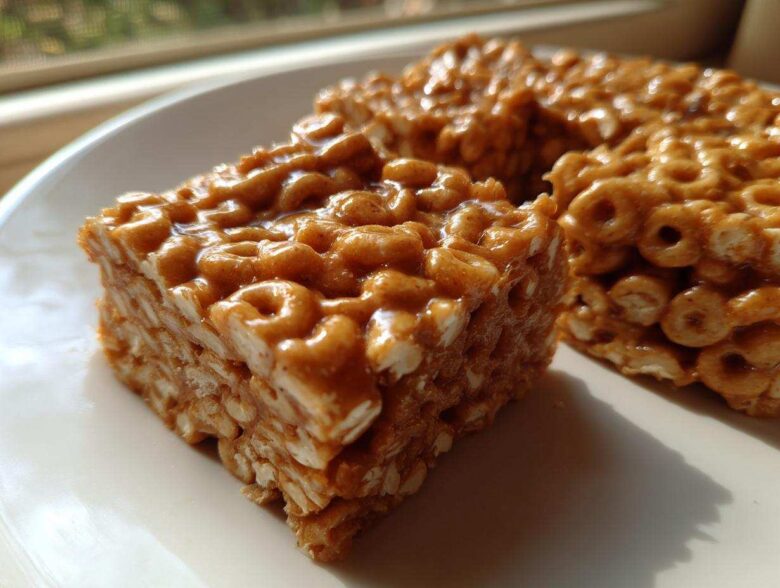
Listen, sometimes you just need a snack that happens faster than your kids can empty the dishwasher. If you’re staring down a chaotic afternoon, an unexpected playdate, or just need a genuine ‘throw it together in ten minutes’ win, I have the ultimate answer: impossibly easy, no-bake **cheerio bars**. Trust me when I say these are the easiest **cheerio bars** you will ever make. Seriously, we are talking three ingredients and zero oven time, which is crucial when the thought of turning on the oven feels like too much work.
I first perfected this version because I needed sturdy **quick kid snacks** that wouldn’t crumble into oblivion the second they hit the bottom of the lunchbox. Forget that delicate, fussy granola bar stuff. These hold together like little peanut butter bricks of joy! They’re so simple, they’ve become my secret weapon when hunger strikes fast, and I know you’re going to love them just as much as my family does. For more of my absolute household favorites, you can always check out my main recipe index!
Why You Will Make These No Bake Cheerio Bars Again and Again
Honestly, once you realize how little effort these **No Bake Cheerio Bars** require, they become your go-to treat for everything. They’re the definition of a pantry staple snack that always comes through when you need it most.
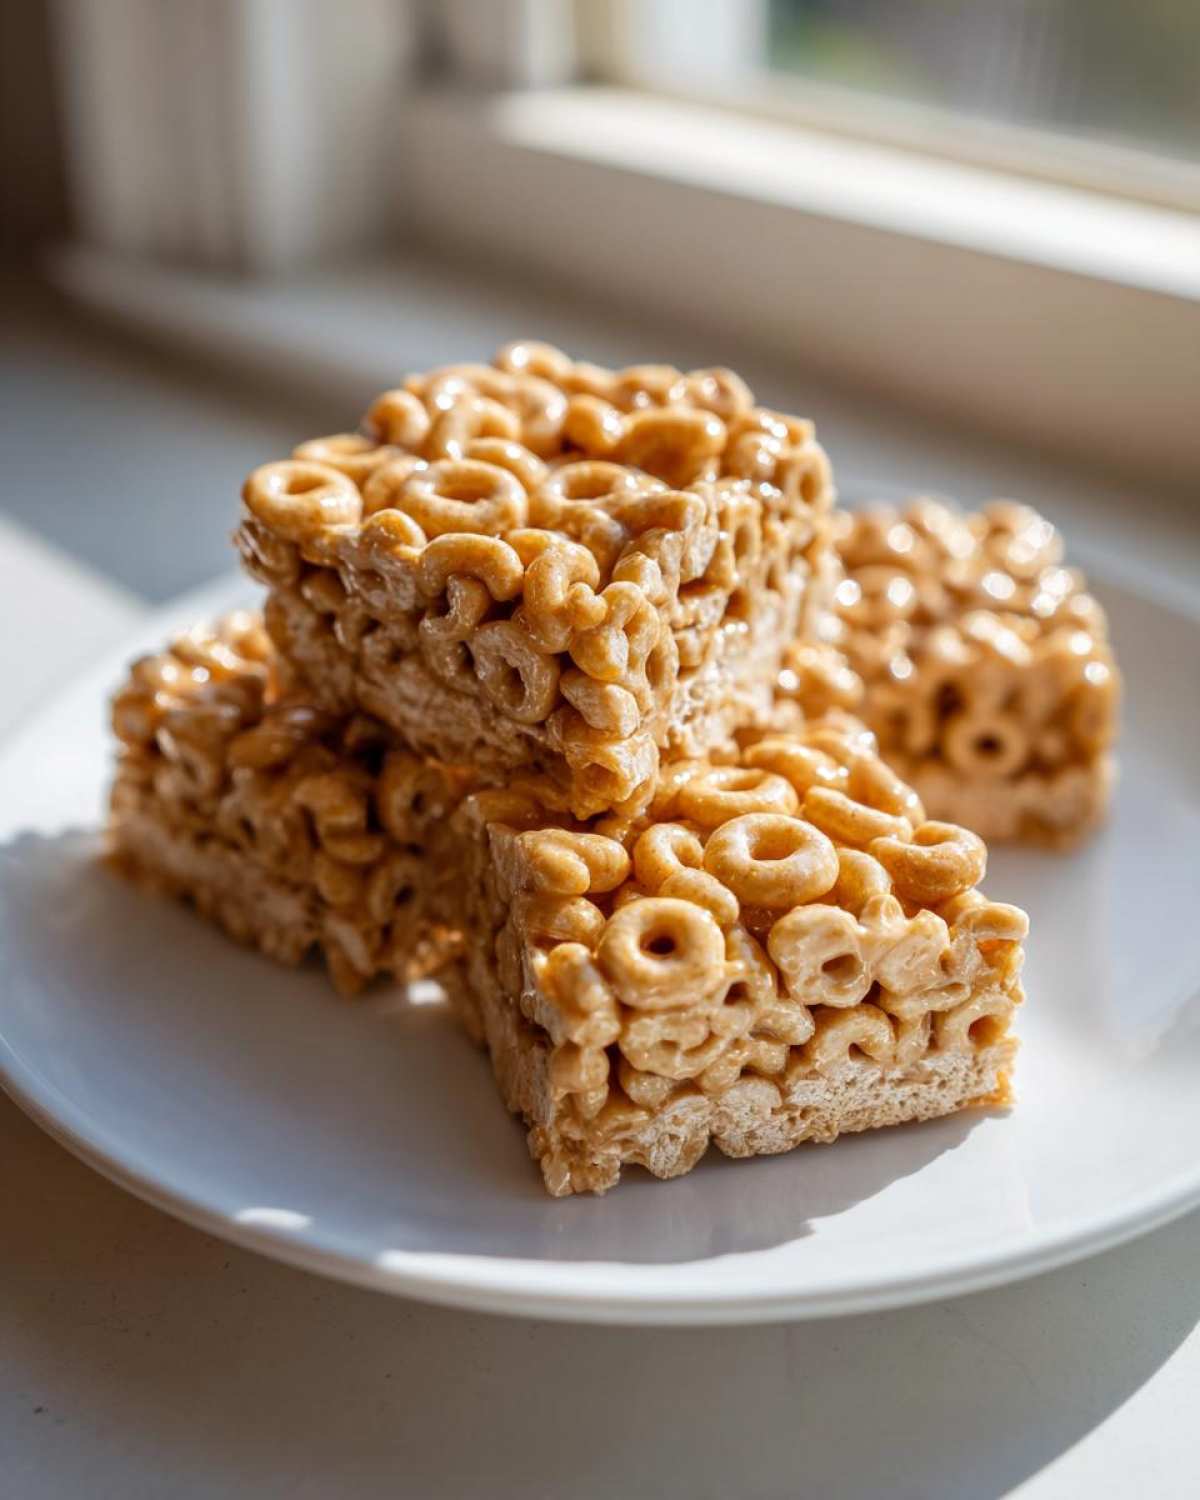
- They are truly the definition of **3 Ingredient Snack Bars**—that’s it! No weird binders or specialty flours needed here.
- Prep time is barely ten minutes, which means you can mix these up while the coffee is still hot. They are perfect for **Quick Breakfast Bars** in a pinch.
- Cleanup is a dream! You mostly just use one bowl and whatever you use to press the mixture down.
- These are fantastic **Lunchbox Treats** because they don’t require refrigeration (though chilling helps them set). They stay intact and sturdy like little **Homemade Granola Bars Alternative** heroes.
- They satisfy that peanut butter craving instantly. If you love my three-ingredient peanut butter cookies, you’ll adore the texture of these bars!
Gathering Ingredients for Your 3 Ingredient Snack Bars
The simplicity of these **3 Ingredient Snack Bars** is what makes them magical, but you can’t skip the quality here. You absolutely need three things, and don’t worry, I’ve tried using substitutes!
- Three cups of cereal. Now, you can use plain Cheerios if that’s what you have, but honestly, I strongly recommend Honey Nut Cheerios for these **Cheerios Treats Recipe**. They just blend better with the honey and peanut butter, giving you a slightly sweeter, more cohesive bind.
- One full cup of creamy peanut butter. Please use creamy! Crunchy bits get in the way when you’re trying to get a smooth mixture.
- Half a cup of liquid honey. This is our sticky binder! If you’re looking for something similar but slightly different, check out my Peanut Butter Oat Energy Bites, they use dates instead!
That’s your whole shopping list for these fantastic **No Cook Snacks**!
Essential Equipment for Perfect Cheerio Bars
You don’t need a massive collection of gadgets for these **Easy Cereal Bars**, which I love because it means less to wash later. Seriously, most of this stuff is probably already sitting in your drawers right now. Getting the right tools just makes sure your bars set up cleanly and you don’t end up with a sticky mess on your hands!
Here’s the minimalist list that gets the job done every single time when I whip up these **Peanut Butter Cereal Treats**:
- An 8×8 inch square baking pan. This is important for the right bar thickness. If you go bigger, they might be too thin and brittle!
- A sturdy, microwave-safe mixing bowl. We’re melting the binder in here, so make sure it can handle the heat.
- A good solid spatula or a wooden spoon. You need something strong to stir the heavy peanut butter and honey mixture.
- Parchment paper. Do not skip this step, I beg of you! Lining the pan with parchment paper that hangs over the sides is the secret to lifting the whole slab out later for perfect cutting.
That’s fundamentally it! No fancy stand mixers required for these speedy **Simple Dessert Bars**.
Step-by-Step Guide to Making No Bake Cheerio Bars
Okay, here we go—the magic happens now! These instructions are so simple you barely need them, but paying attention to the mixing texture is what keeps your **Peanut Butter Cereal Treats** from turning into a crumbly mess. We’re aiming for smooth, sticky, and fully coated. Remember, since these are **No Bake Cheerio Bars**, the process is all in the binding stage.
First, tackle the pan prep. I line my 8×8 pan with parchment paper, making sure I leave a good amount hanging over two opposite sides. That overhang acts like built-in handles so you can lift the whole chilled slab out cleanly later. You absolutely need that overhang for easy removal!
Preparing the Pan and Melting the Binder for Cheerio Bars
Once your pan is lined—we’re ready for the binder! Grab your microwave-safe bowl and combine the full cup of peanut butter with the half cup of honey. If you don’t have a microwave, don’t panic! You can definitely do this on the stovetop. Melt the peanut butter and honey very gently in a small saucepan over the lowest heat setting, stirring constantly until it’s totally smooth. Just be careful not to scorch it; the microwave is much faster for this part.
If you are microwaving, start with 30 seconds on high. Stir it like you mean it! If it’s still stiff, go back in for another 30 seconds. You want it liquidy and drizzly when you pull it out—that perfect smooth consistency is key to coating everything evenly.
Mixing and Pressing the Peanut Butter Cereal Treats
Now, quickly pour all three cups of your Cheerios right into that warm, sticky binder. Work fast here! You need to stir everything together until every single piece of cereal is coated in that gorgeous peanut butter-honey glue. If you see any dry cereal pieces hiding on the bottom, keep stirring!
Transfer that whole gooey mass to your prepared pan. This next step is critical for structural integrity: press the mixture down FIRMLY and evenly across the entire pan. I use the flat bottom of a measuring cup or place a sheet of wax paper over the top and use the heel of my hand. You want to compact these **Simple Dessert Bars** so they stick together when you cut them. Do not skimp on the pressing!
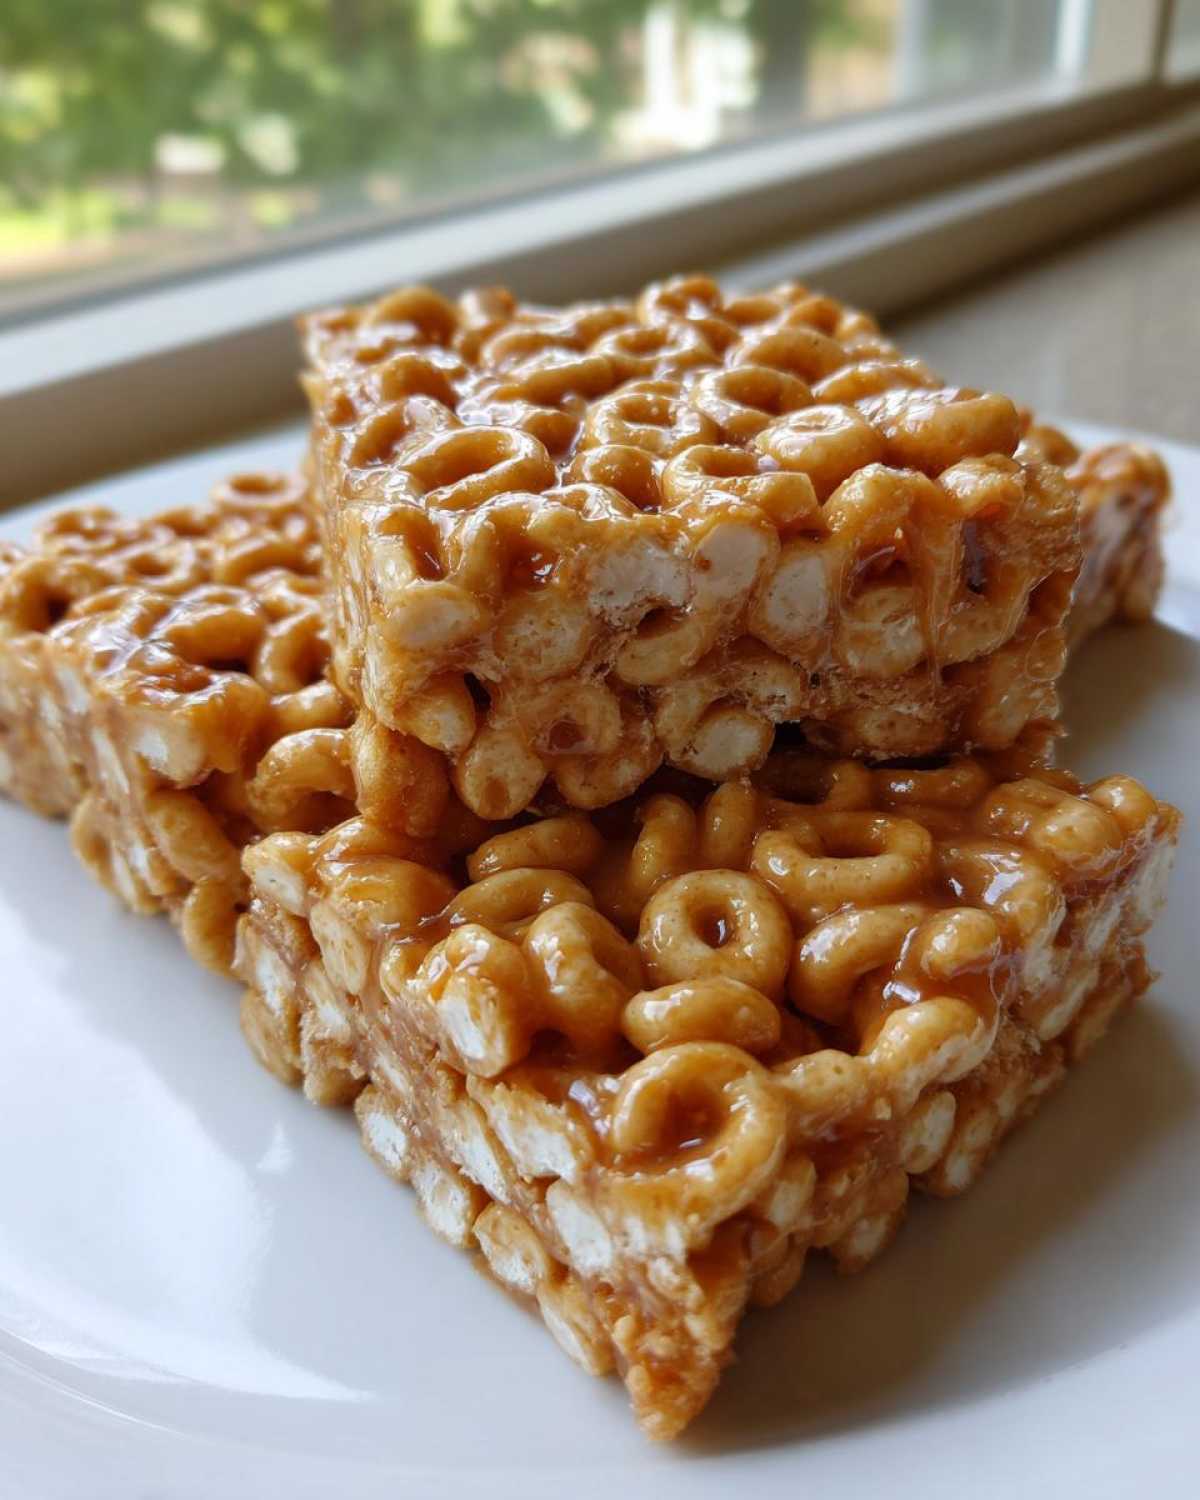
Finally, pop that pan into the fridge for at least an hour. Chilling is what makes these **Snack Bars** sliceable. If you try cutting them warm, they’ll just spread. Once they are solid, use those parchment handles to lift them out and cut into 12 or 16 uniform squares. If you want the absolute cleanest cuts possible, peek at how I slice my no-bake peanut butter bars—it’s a great trick!
Tips for Success When Making Cheerio Bars
Look, even the easiest recipes can trip you up if you don’t follow just a couple of little tricks. These **Cheerio Bars** are super forgiving, but there’s definitely a difference between a slightly soft bar and one that’s just too gooey to handle. Since we aren’t baking, the setting stage is everything for these **Simple Dessert Bars**!
My big goal when making these is always to get perfectly neat squares for packing in lunchboxes. If you follow these tips, you won’t have any sticky problems or crumbled edges!
- The chilling time is non-negotiable. I know you’re eager, but waiting a full hour in the fridge is essential. If you try to cut them after 30 minutes, the peanut butter binder will just stretch and pull, making huge messes. They need to chill solid!
- Troubleshooting: Too Sticky? If your bars are still too soft after chilling, it often means your peanut butter or honey ratio was slightly off, or you didn’t press hard enough. Don’t panic! Pop them back in for another 30 minutes. Sometimes they just need a little extra cold time to firm up.
- Troubleshooting: Crumbly Bars? This usually happens if you used natural, runny peanut butter, or if you didn’t heat the binder long enough to get that sticky, stringy texture. If they look like they might crumble when you lift them, I cheat: I melt a tiny tablespoon of extra peanut butter and drizzle it over the top before re-chilling. That extra glue pulls everything back together.
- How to Get Super Clean Cuts: This is my favorite move, especially if I need them to look nice for school photos! Once the bars are completely firm from the fridge, use a large, sharp knife that has been dipped in hot water and wiped dry between each cut. The water helps the knife glide right through without dragging the sticky sides. For more knife tricks, check out how I get pristine slices in my No-Bake Nutella Pie recipe.
Follow those simple steps, and you’ll have perfect, sturdy **Peanut Butter Cereal Treats** every single time.
Variations on Classic Cheerio Bars
While the three-ingredient version is my absolute standard—because who can argue with perfection?—I certainly love switching these up for holidays or when the kids get bored! These **Cheerio Bars** are incredibly versatile, and since the binder (honey and peanut butter) is so simple, you can fold in all sorts of fun little additions. It’s all about jazzing up your **Quick Kid Snacks**!
If you’re looking to customize these **Easy Cereal Bars**, here are the easiest ways I’ve tried without totally messing up the chemistry:
- Mini Chocolate Chips are a Must: This is my go-to upgrade. Fold in about half a cup of mini chocolate chips right at the end, just before pressing them into the pan. If you use full-sized chips, they tend to fall out too easily when you go to pack them in a lunchbox. They melt slightly when the binder is warm, which means every bite of these **Simple Dessert Bars** gets a little ribbon of chocolate goodness.
- Spice It Up: For a totally different flavor profile that still works well with peanut butter, try adding about half a teaspoon of ground cinnamon or a tiny pinch of nutmeg when you mix in the cereal. It makes them smell amazing when they’re setting up!
- Dried Fruit Fun: If you want to sneak in some extra chewiness, finely chopped dried cranberries or raisins work surprisingly well. Keep the amount under half a cup, though, because too much dried fruit adds bulk without adding binder, which can make the final product a bit crumbly. For something softer, skip the dried fruit and try small chopped dried apricots if you want a different vibe!
- Nut Butter Alternatives? A Word of Caution! You asked about using almond butter or sunflower seed butter instead! You certainly can, but here’s the catch: many natural, runny nut butters won’t bind as tightly as creamy conventional peanut butter. If you use those, you might need to cut back slightly on the honey to compensate, or add an extra tablespoon of peanut butter just to keep the structure cohesive. For a fantastic baked alternative, check out my Chocolate Chip Banana Bread—that’s where you can really experiment with different nuts!
Keep the additions minimal, and you’ll have fantastic, flavor-boosted **Peanut Butter Cereal Treats** that still set up perfectly every time!
Storing and Packing Your Homemade Cheerio Bars
Because these **Cheerio Bars** are so easy to make, they are amazing for meal prep. You make a batch and suddenly you have **Quick Kid Snacks** covered for the entire week! The key to keeping them tasting like you just pulled them from the fridge is simple storage.
Since there’s no egg or dairy in the binder, they are wonderfully sturdy. Store them in an airtight container, and they stay perfectly fresh in the refrigerator for up to a whole week. I find they taste best on days two or three, once the honey has really seeped into the cereal and they’ve settled completely.
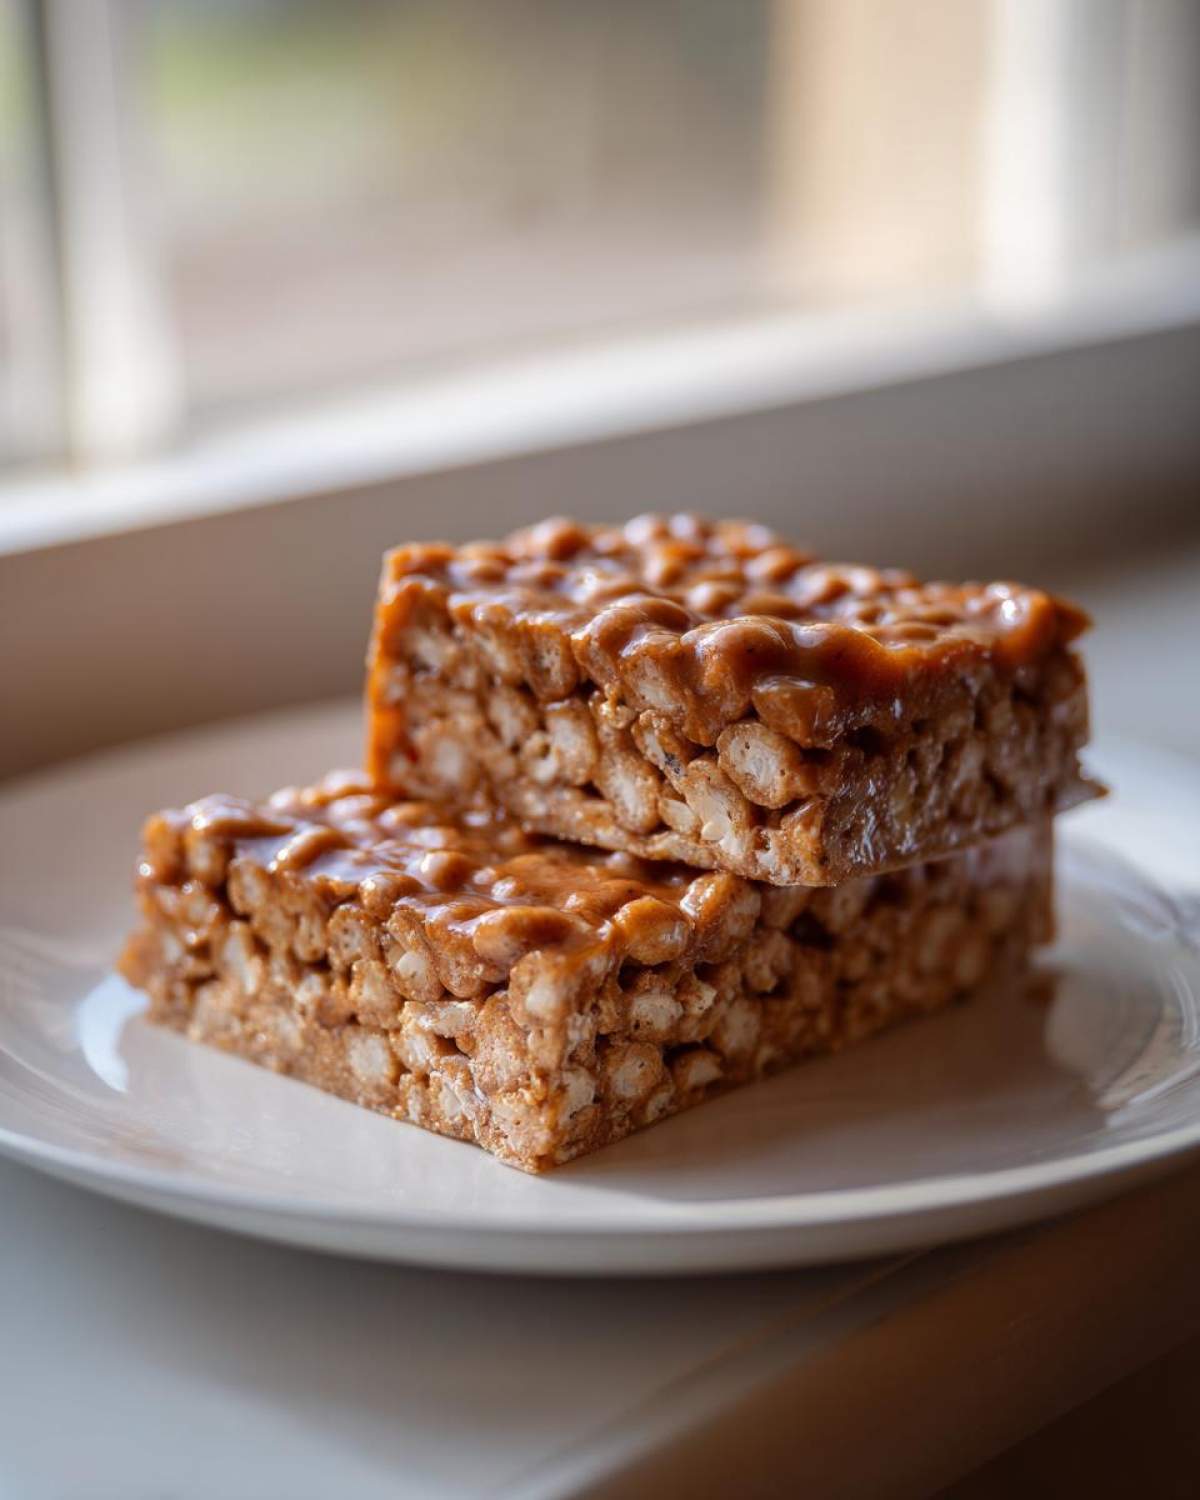
Here’s what’s really important, though: packing these things up for school lunches. These **Peanut Butter Cereal Treats** need a little protection so they don’t get squished against a juice box or a banana. You want them to stay in those nice, clean squares you cut!
- Use parchment or wax paper squares between the layers. If you stack them naked in a container, the sticky peanut butter sides will just fuse into one giant block. Cut squares of wax paper and place one between every single bar before stacking them in your container.
- Wrap individuals snuggly for the best protection. My favorite way to pack these **Lunchbox Treats** is to wrap each individual bar tightly in plastic wrap or a small zip-top baggie. This keeps them fresh and totally protected from bumps and moisture inside the lunchbox.
- If your weather is warm, consider using a small insulated lunch bag. While they don’t *need* refrigeration, if the kitchen is hot, the peanut butter gets soft quite easily. A little bit of chill keeps them firm for transport.
If you’re prepping meals for the week, check out my tips for storing my protein breakfast sandwiches—the principles of airtight packing are the same for keeping these bars tasting fresh!
Frequently Asked Questions About Peanut Butter Cereal Treats
I always get a ton of questions about these **Peanut Butter Cereal Treats** because people are trying to figure out the best way to fit them into their busy week! Since they are so simple, it seems like there should be a catch, right? Nope! But here are the most common things people ask me when they are making their first batch of these super **Easy Cereal Bars**.
Go ahead and check to see if your question is below. If you’ve tried my No Bake Biscoff Cheesecake, you know I like to keep things helpful!
Can I skip the honey and just use maple syrup?
This is a great question if you’re trying to avoid honey! You absolutely *can* substitute maple syrup, but you need to be careful about the quantity. Maple syrup is thinner and adds moisture differently than honey does. If you swap them 1:1, your bars might come out a bit too soft and sticky even after chilling. I recommend starting with about 1/3 cup of maple syrup instead of 1/2 cup of honey, and then taste-testing the mixture before adding more honey if needed. You might need to stick them in the fridge longer, too.
How long do these No Bake Cheerio Bars really need to chill?
I know waiting is the hardest part, especially when your house smells like toasted oats and peanut butter! I tell everyone that the bare minimum is 60 minutes in the refrigerator. However, if you want that satisfying, firm bite that holds up perfectly for packing in a lunchbox, you are better off leaving them for 90 minutes. If you’re in a huge rush, a quick 20 minutes in the freezer will firm them up enough to cut, but you must serve or re-chill them right away after slicing.
Can I use almond butter or sunflower seed butter instead of peanut butter?
Oh, absolutely! These are fantastic as **Toddler Friendly Snacks** using alternatives if you have a nut allergy to worry about. If you use almond butter, you might find the flavor is a little less intense than the classic **Honey Peanut Butter Bars**, but they work wonderfully. The main thing to watch for, just like I warned in the variations section, is the texture of the nut butter, especially if you use natural versions that separate a lot. If your alternative butter is very oily, you might need to add an extra tablespoon of it to ensure everything binds nicely.
Are these the healthiest cereal snacks possible?
Let’s be real here: these are significantly better than grabbing a processed, individually wrapped bar off the shelf because you control exactly what goes in them—no weird preservatives or high-fructose corn syrup! That said, because they rely on honey and peanut butter for their structure, they are definitely more of an energy treat or a **Fast Dessert Recipe** than an everyday health food. Think of them as a wholesome alternative to a Rice Krispie square. They give you a great boost of protein and fiber from the Cheerios, but they are best enjoyed when you need a satisfying, quick energy hit!
What if my mixture is crumbly and won’t stick together?
Don’t cry! This is fixable. If after you mix everything thoroughly, you still see a whole bunch of dry cereal bits rattling around, your binder (the melted honey/PB) wasn’t quite sticky enough. The solution for these **Cheerios Treats Recipe** is simple: microwave the whole cheesy bowl again for 15 seconds and stir like crazy. If it’s still dry, melt up another tablespoon of peanut butter and drizzle it in until everything looks coated and glossy. Then press again and chill!
Estimated Nutritional Overview for Cheerio Bars
Since these are homemade, the exact nutrition will always depend on brand variances—did you use a crunchy peanut butter, or maybe a different honey? But for the standard recipe using creamy peanut butter and Honey Nut Cheerios, this is what you can generally expect per bar (assuming you cut them into 12 squares).
Please remember that these are just estimates for these **Simple Dessert Bars**, but they give you a good idea of what you’re getting!
- Serving Size: 1 bar
- Calories: Approximately 205
- Fat: 11g (mostly healthy fats from the peanut butter)
- Carbohydrates: 25g
- Sugar: 12g (mostly from the honey)
- Protein: 7g
They really are a fantastic grab-and-go option when you need that little boost of energy before heading out the door. For more balanced recipes that focus on protein, don’t forget to look around my site!
Estimated Nutritional Overview for Cheerio Bars
Since these are homemade, the exact nutrition will always depend on brand variances—did you use a crunchy peanut butter, or maybe a different honey? But for the standard recipe using creamy peanut butter and Honey Nut Cheerios, this is what you can generally expect per bar (assuming you cut them into 12 squares).
Please remember that these are just estimates for these **Simple Dessert Bars**, but they give you a good idea of what you’re getting!
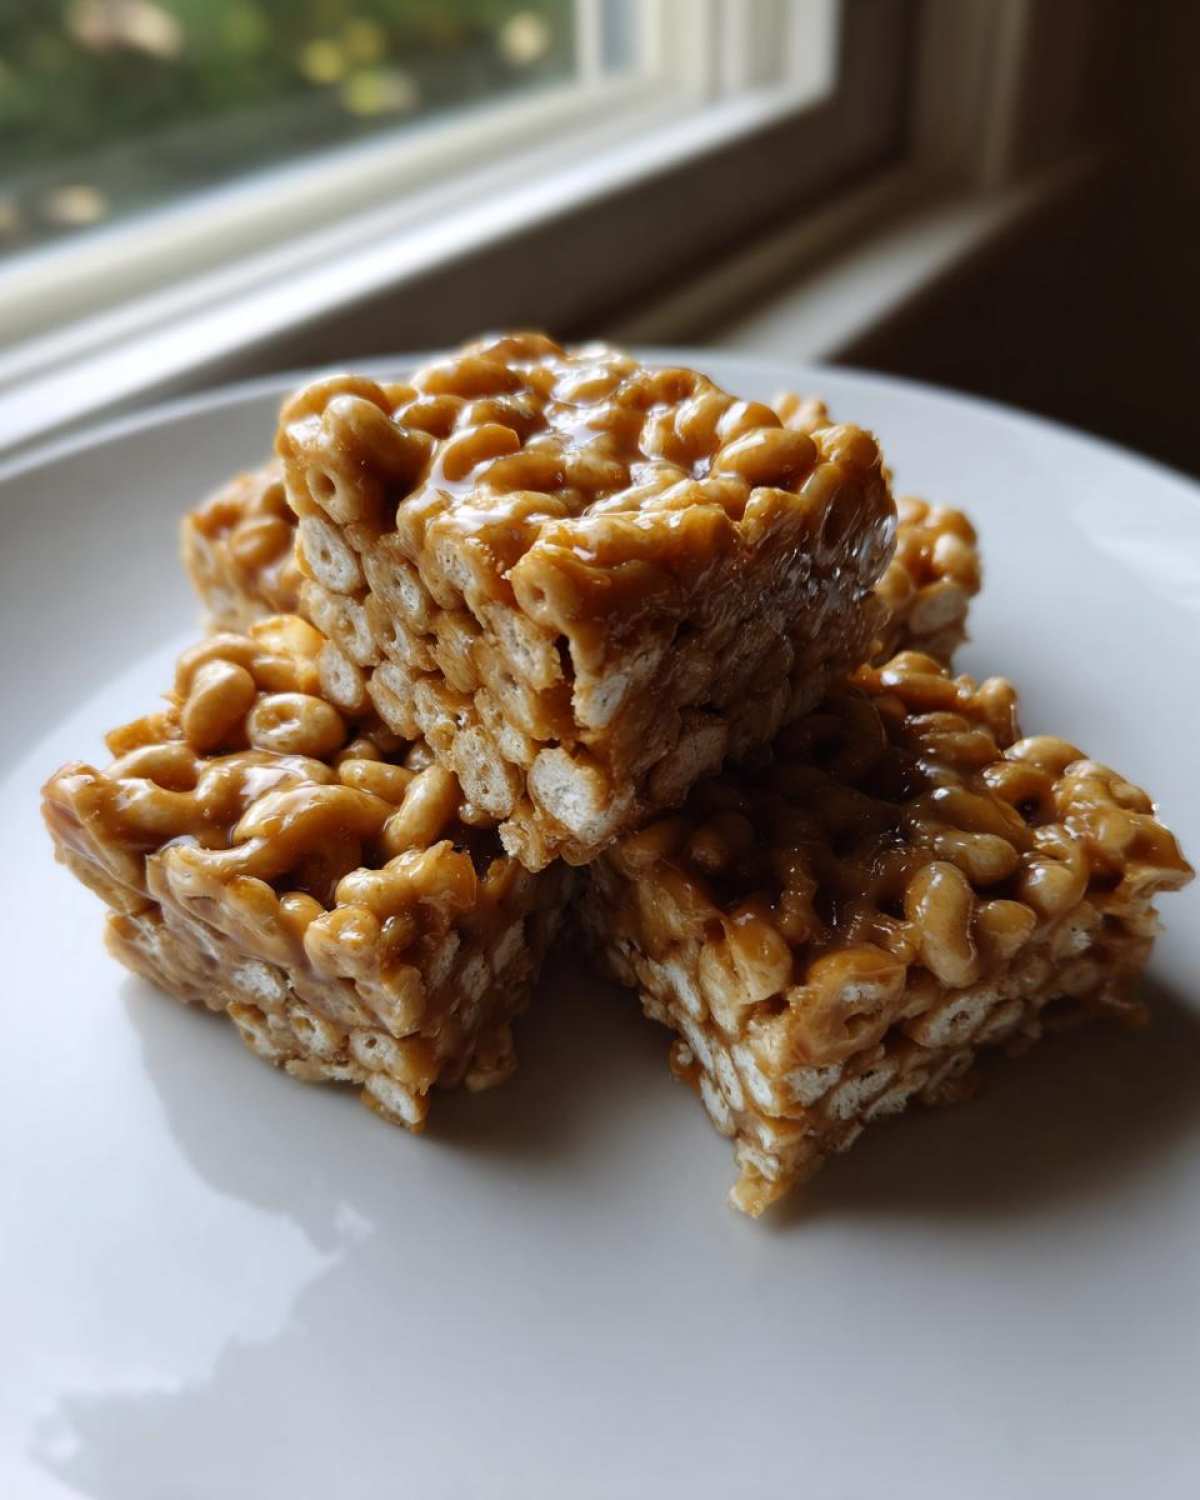
- Serving Size: 1 bar
- Calories: Approximately 205
- Fat: 11g (mostly healthy fats from the peanut butter)
- Carbohydrates: 25g
- Sugar: 12g (mostly from the honey)
- Protein: 7g
They really are a fantastic grab-and-go option when you need that little boost of energy before heading out the door. For more balanced recipes that focus on protein, don’t forget to look around my site, like my recipe for high-protein yogurt bagels!
PrintNo-Bake Peanut Butter Cheerio Bars
Make these quick, three-ingredient peanut butter cheerio bars. They require no baking and set fast, making them a simple snack or lunchbox treat.
- Prep Time: 10 min
- Cook Time: 0 min
- Total Time: 70 min
- Yield: 12 bars
- Category: Snack
- Method: No Bake
- Cuisine: American
- Diet: Vegetarian
Ingredients
- 3 cups Honey Nut Cheerios cereal
- 1 cup creamy peanut butter
- 1/2 cup honey
Instructions
- Line an 8×8 inch baking pan with parchment paper, leaving an overhang on two sides for easy removal.
- In a large microwave-safe bowl, combine the peanut butter and honey.
- Microwave on high for 30 seconds. Stir well. Microwave for another 30 seconds, then stir until the mixture is smooth and fully combined.
- Pour the Cheerios into the peanut butter mixture. Stir until all the cereal is evenly coated.
- Transfer the mixture to the prepared pan. Press the mixture down firmly and evenly into the pan using the back of a spatula or wax paper.
- Refrigerate for at least 1 hour, or until firm.
- Lift the bars out of the pan using the parchment paper overhang. Cut into 12 or 16 squares before serving.
Notes
- You can use plain Cheerios, but Honey Nut Cheerios often provide better flavor and binding.
- If you do not have a microwave, gently heat the peanut butter and honey in a small saucepan over low heat until smooth, stirring constantly.
- Store leftovers in an airtight container in the refrigerator for up to one week.
Nutrition
- Serving Size: 1 bar
- Calories: 205
- Sugar: 12
- Sodium: 110
- Fat: 11
- Saturated Fat: 2
- Unsaturated Fat: 9
- Trans Fat: 0
- Carbohydrates: 25
- Fiber: 2
- Protein: 7
- Cholesterol: 0