

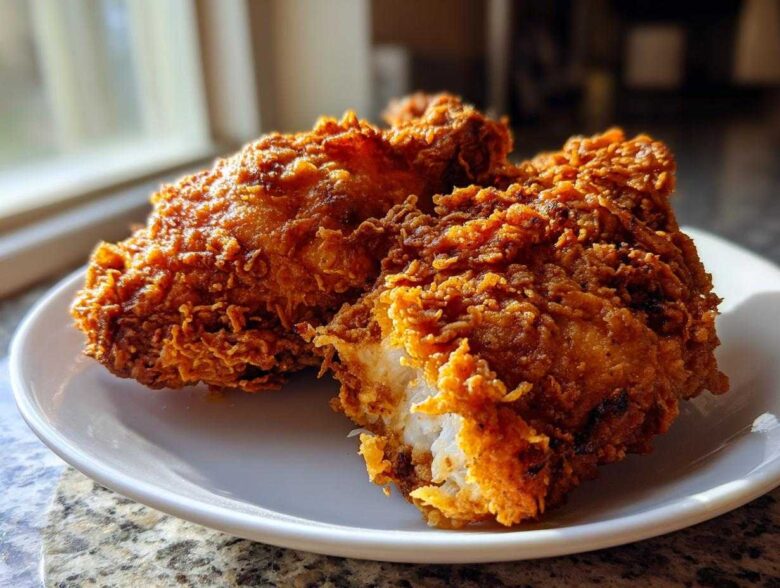
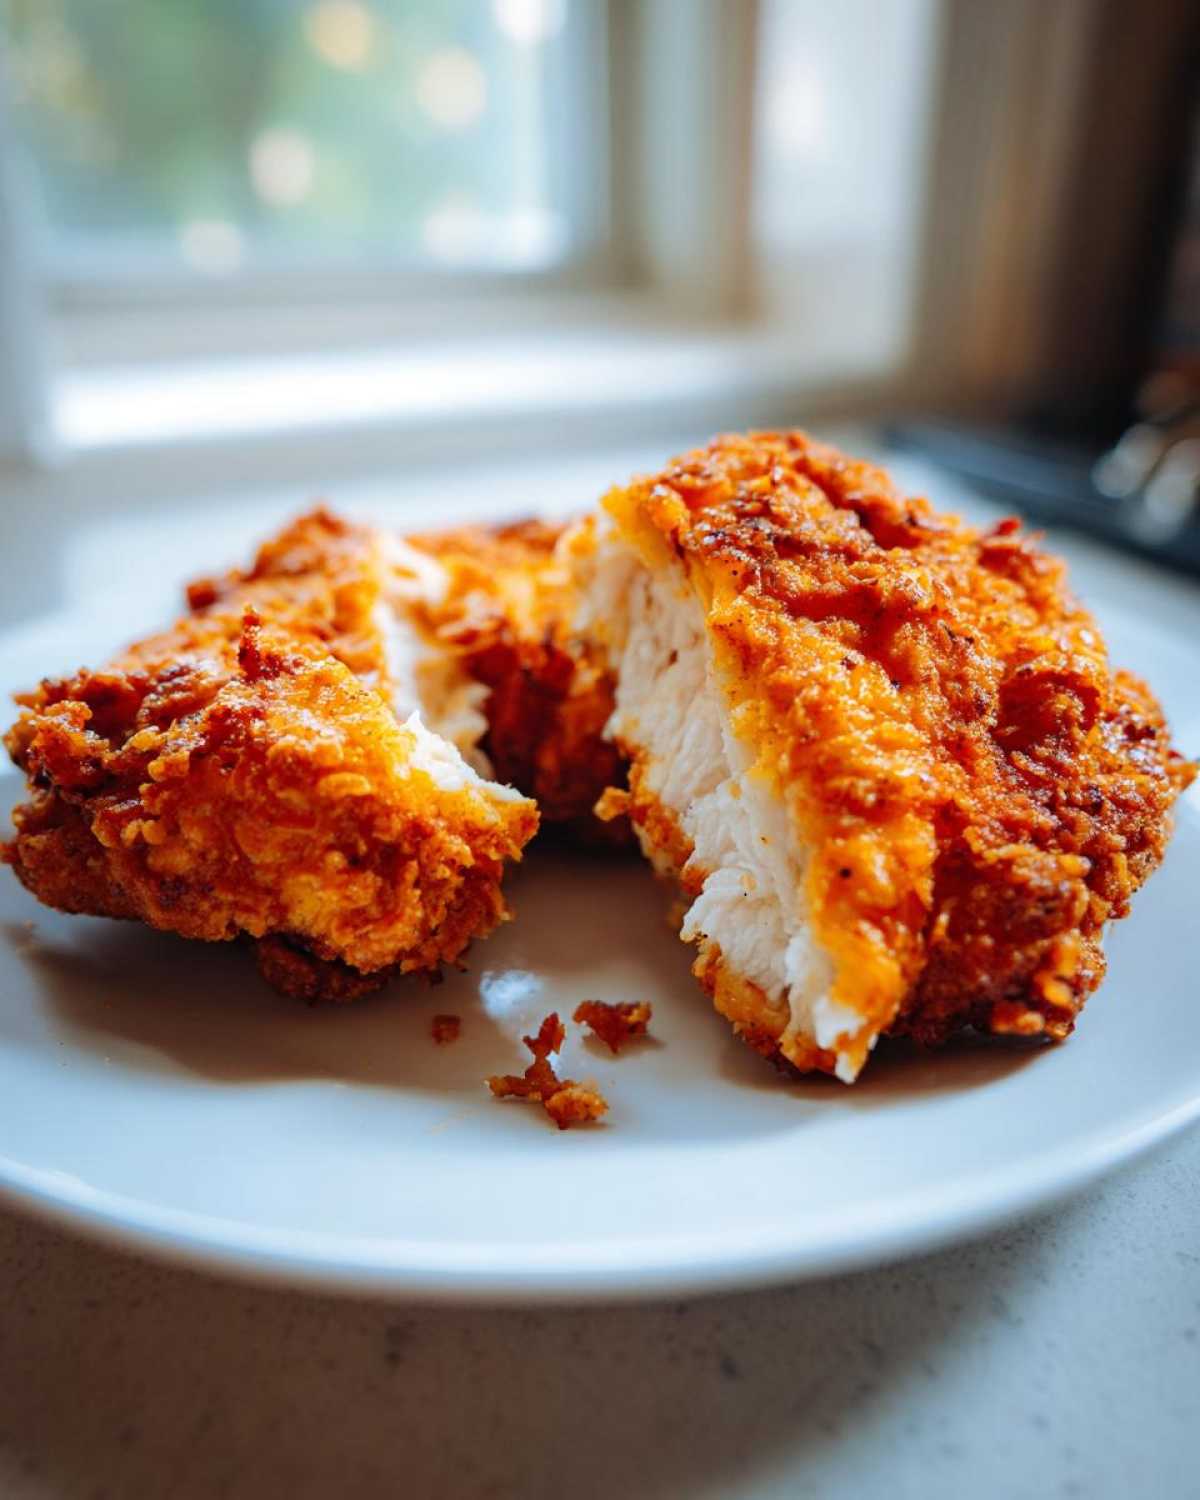
There are some flavors that just smell like coming home, aren’t there? For Richard and me, that aroma is the glorious scent of perfectly seasoned, hot fried chicken crackling away in the skillet. We’ve traveled the world chasing incredible tastes, but nothing quite beats this memory. This recipe for Richard’s Ultra-Crispy Buttermilk Southern Fried Chicken is the one we always come back to. It’s got that unbelievable, golden, craggy crust you dream about, but the inside? Oh, the inside stays so wonderfully juicy. It took us years of trial and error—especially when we were trying to recreate the best meals from our travels—but we finally cracked the code on this ultimate comfort food. If you want the best homemade fried chicken you’ve ever made, stick right here with us. We even included a link to read more about how we started this whole journaling adventure at our story.
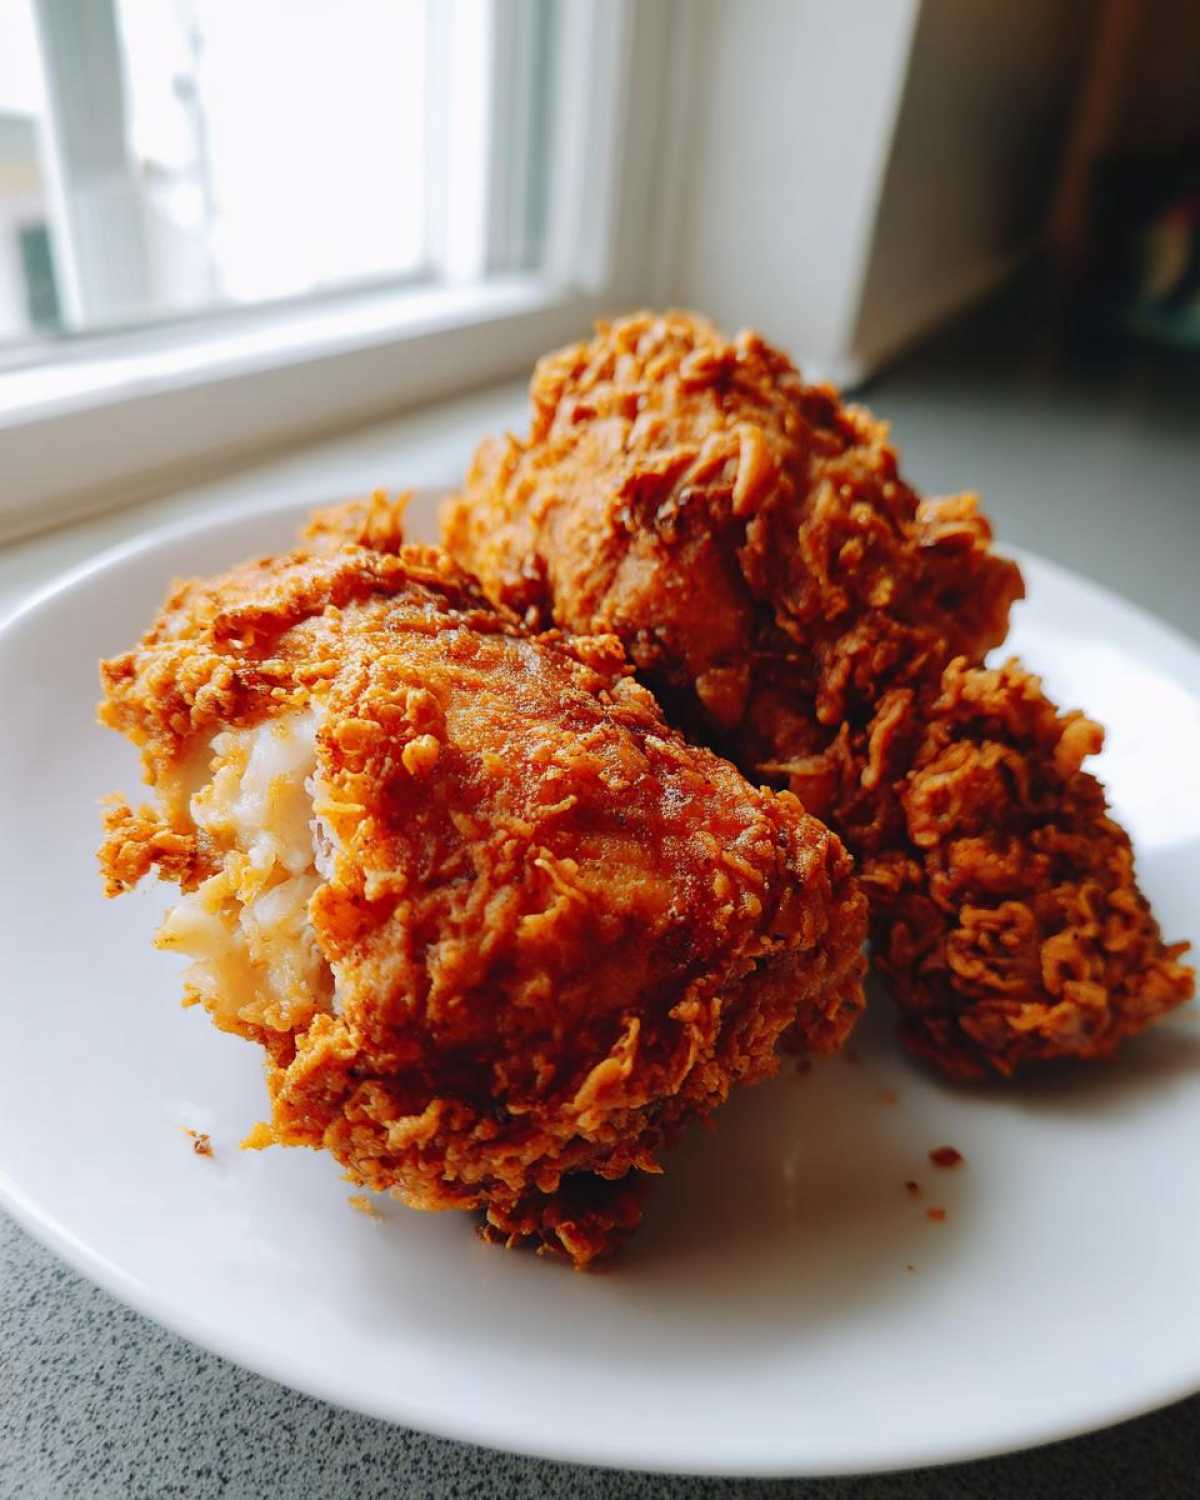
Why This Buttermilk Fried Chicken Delivers Juicy and Crispy Chicken Every Time
When people ask Richard how he gets it so perfect—that beautiful balance between juicy and crispy chicken—he just smiles. It’s all about respecting the process, you know? We learned early on that shortcuts disappear right in the hot oil, leaving you with disappointing poultry. The buttermilk brine is non-negotiable; it tenderizes the meat deeply, guaranteeing that juicy interior even if you accidentally overcook a piece slightly. It’s our insurance policy for moistness!
But the real magic for that stunningly crunchy chicken coating happens in the dredge. We swear by a modified flour mix. You’ll see we added cornstarch to the flour blend—that’s the trick for achieving that distinctive, craggy texture that flakes beautifully when you bite into it. That coating locks in all the buttermilk goodness.
We’ve actually written up more about the brine itself, because it’s so important, over here at the buttermilk secrets post.
The Secret to Ultra-Crispy Fried Chicken Texture
Listen, if you want that deep-fried chicken that looks like it has little crunchy mountains all over it, you need a thick, well-adhered coating. That’s where the double-dip comes in. After you coat the chicken once in the seasoned flour, give it a quick dunk back into the wet buttermilk, and then immediately back into the flour. Press hard when you do that second dredge! Those little flour clumps sticking to the wet batter are what become those gorgeous, golden peaks when they hit the heat.
Gathering Ingredients for Classic Fried Chicken
Now, before we even dream about that sizzling oil, we have to talk about what we’re putting *into* the pot. This isn’t the time to use what you think you have lying around; for the best homemade fried chicken, the ingredients are everything. Richard is very particular about these measurements, which is why we chronicled them so carefully!
We use about four pounds of chicken pieces, always bone-in and skin-on—that skin renders down beautifully and helps keep everything juicy. You’ll see we call for kosher salt because it’s easier to control how salty the marinade gets, but if you only have table salt, just use a little less!
We always make sure we have plenty of vegetable oil or shortening on hand; you need enough to reach about two inches deep in your pot. Making sure you have enough oil prevents the temperature from dropping too fast when the cold chicken goes in. If you’re looking for other ways to use up chicken thighs, we have a fantastic garlic butter chicken thigh recipe that is completely different!
Here is exactly what you’ll need for the marinade and the famous crunchy coating:
- 4 lbs bone-in, skin-on chicken pieces (thighs, drumsticks, breasts are perfect for this)
- 4 cups buttermilk
- 2 tablespoons kosher salt
- 1 tablespoon black pepper
- 1 teaspoon cayenne pepper (optional, but Richard adds it for that little kick!)
- 3 cups all-purpose flour
- 1/2 cup cornstarch (Don’t skip this! It’s key for the crunch!)
- 2 tablespoons paprika
- 1 tablespoon garlic powder
- 1 tablespoon onion powder
- Vegetable oil or shortening, for frying (enough to reach 2 inches deep)
How To Make Fried Chicken: Step-by-Step Instructions
Alright, buckle up, because now we get to the actual making of this masterpiece. This is how we make the best homemade fried chicken for our family dinners. It looks like a lot of steps, but trust me, they flow right into each other, and each one is vital for getting that gorgeous, shatteringly crunchy coating and keeping the meat tender inside.
We start by making sure those flavors really have time to soak in; you can’t rush perfection, especially when learning how to make fried chicken that tastes like it came straight from a Southern kitchen. Once it’s soaked, we coat it, let it rest—and yes, that wait is torture—and then we watch it turn into that unbelievable golden brown chicken you’re dreaming of!
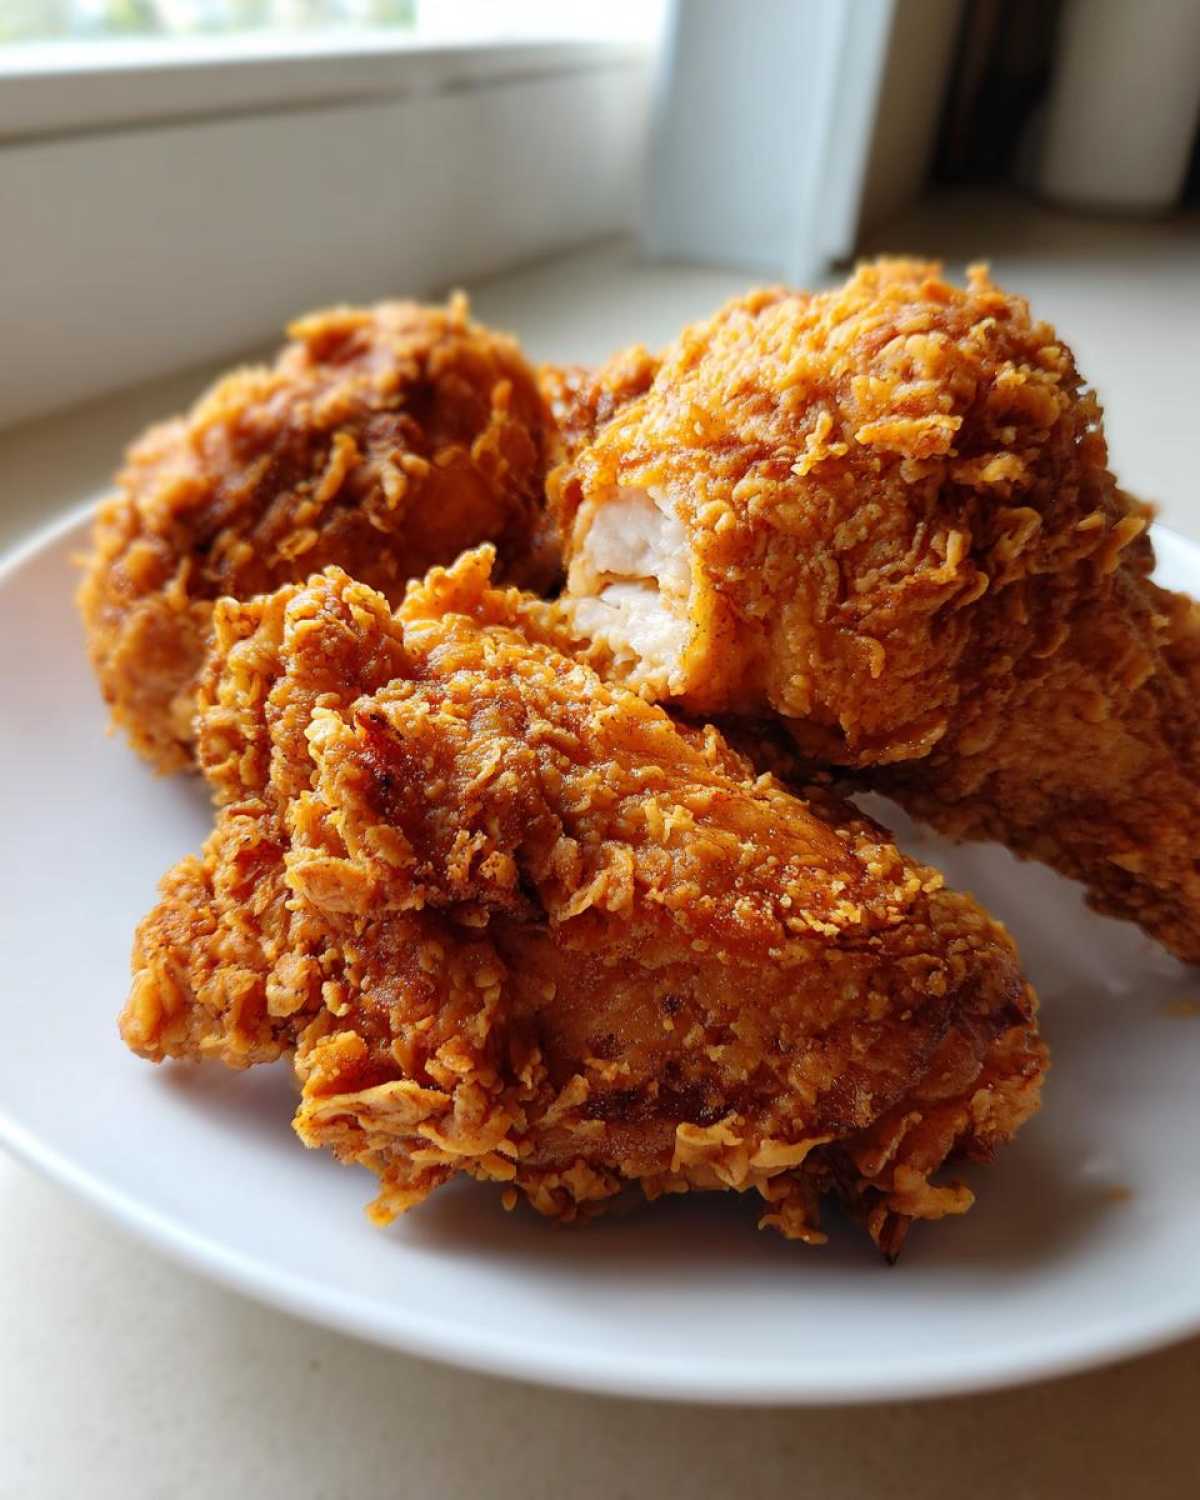
Richard always says the temperature of the oil is the difference between restaurant quality and a greasy mess. He monitors it like a hawk!
The Buttermilk Brine for Tender Fried Chicken
First up is the bath! You take your chicken pieces and just submerge them completely in that spiced buttermilk mixture we put together earlier. This isn’t just for flavor, though it adds plenty of salt and pepper notes. The acid in the buttermilk actually starts to break down those tough parts of the muscle fibers, which is exactly why the final product is so tender. You want this to hang out in the fridge for a minimum of four hours, but if you can manage it, let it soak overnight. The longer it marinates, the juicier it is going to be!
Achieving the Perfect Deep Fried Chicken Temperature
Once the resting period is over—and this is important, don’t skip that rest!—we move to the oil. Pour in enough vegetable oil or shortening so it reaches about two inches deep in your pot. Heat it up gently until it hits 325 degrees Fahrenheit. This temperature is the sweet spot. If it’s cooler, your chicken gets soggy absorbing too much oil. If it’s too hot, the outside burns before the inside finishes cooking.
When you drop those floured pieces in, only do three or four at a time—whatever fits comfortably without touching edges. Overcrowding the pot is the fastest way to drop that oil temperature suddenly! We want that consistent gentle heat so the batter has time to puff up into those crisp layers. If you catch the oil dropping below 315°F, give the heat a quick bump and wait for it to recover before adding the next batch.
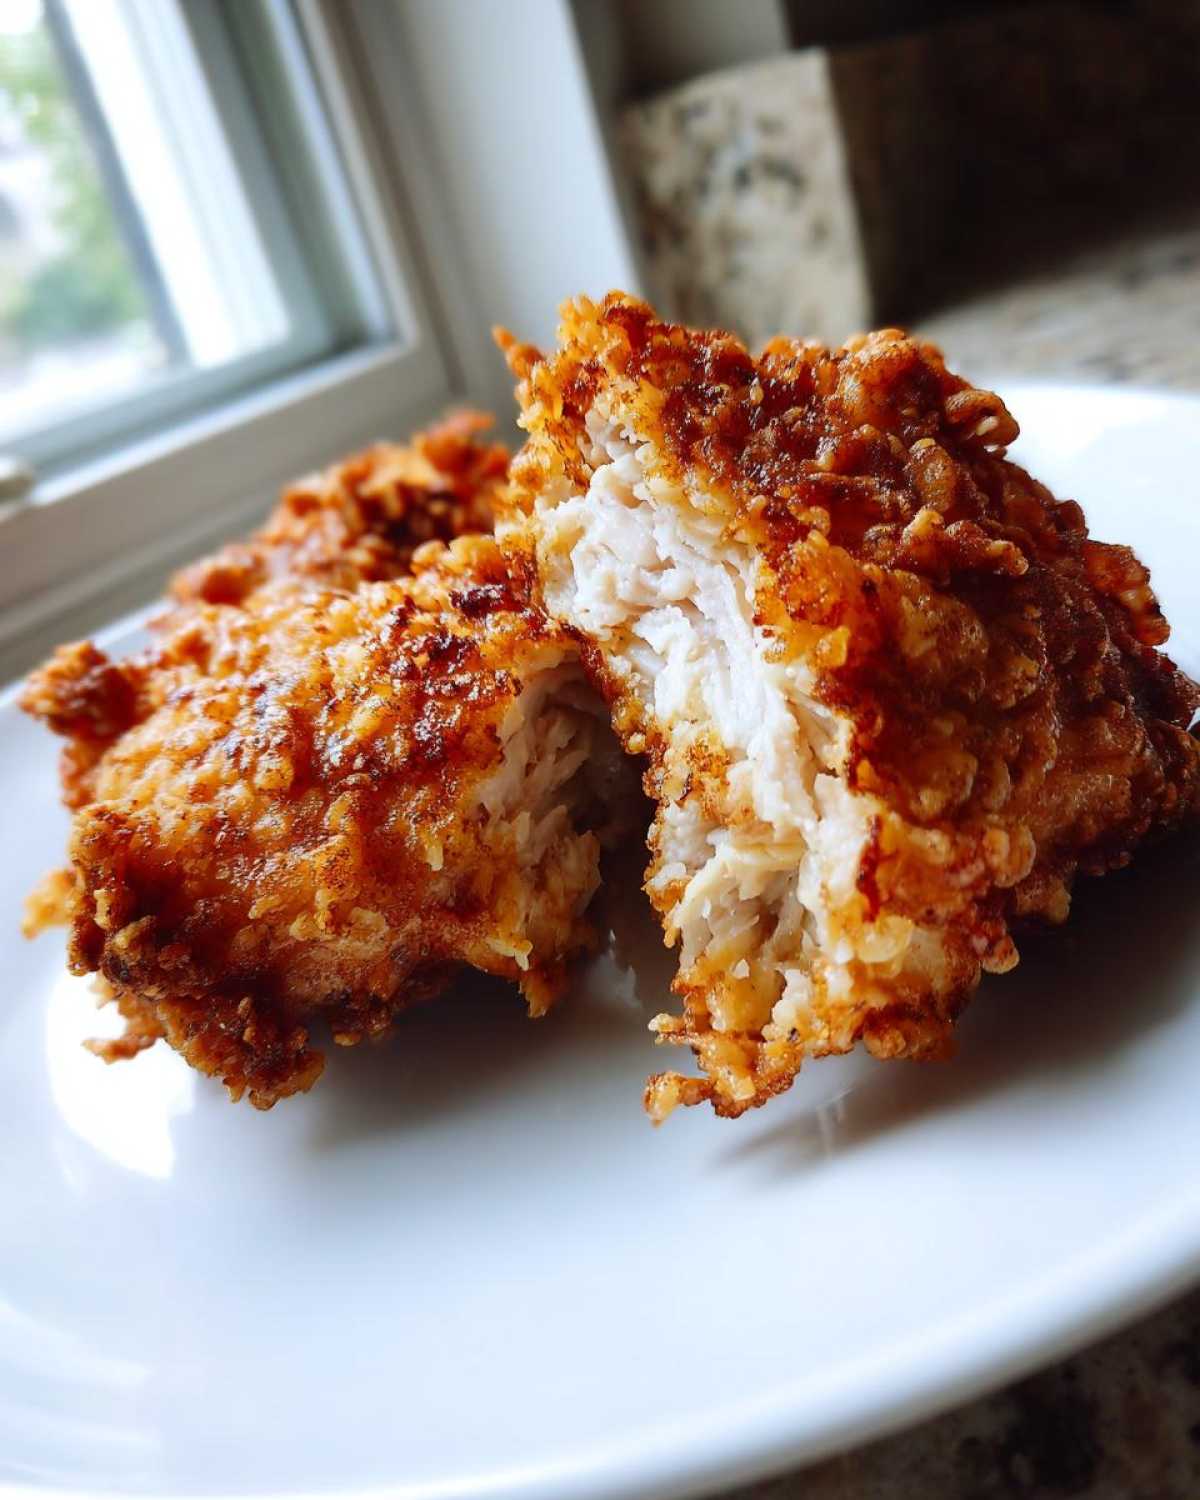
Remember that double-dip? Make sure you are pressing that flour onto the chicken super firmly before it rests. That resting time for about 20 minutes on the wire rack is when the dough sets up, locking in all that seasoned flour so it doesn’t slide right off when it hits the hot oil. We’ve got a few tricks about oven-frying if you’re avoiding the deep fryer, which you can check out here—though it won’t be quite as good—at our oven-fried alternative.
Tips for Success with Southern Fried Chicken
Even with the best recipe, a few little habits in the kitchen can make or break your Southern Fried Chicken experience. Honestly, these are the things Richard figured out after burning more chicken than I care to admit early in our marriage! We learned that the right equipment really does matter when you are dealing with that hot oil.
He insists on using a heavy-bottomed pot—cast iron is ideal, of course, but a Dutch oven works wonders too. A heavy pot holds heat so much better. When you drop those lovely, craggy pieces of chicken in, the temperature recovers much faster, which means you get that signature crispiness instead of greasy chicken. It’s all about thermal stability!
And please, please use a thermometer! I know some folks try to eyeball it with the wooden spoon trick, but when it comes to deep frying, you need precision. Keep that oil between 315°F and 330°F while frying. If you don’t have a decent thermometer, you just can’t guarantee that ultra-crispy result.
My biggest tip for anyone serving this to picky eaters is making sure the inside is done! Don’t rely only on the golden color outside. Stick a meat thermometer right into the thickest part of the breast or thigh (avoiding the bone). We are looking for 165 degrees Fahrenheit internally. If it’s not there, it needs a few more minutes. If you need a great gravy recipe to smother that perfect piece of chicken, you can look at our favorite creamy version here: creamy gravy control.
Storing and Reheating Your Crispy Fried Chicken
Oh, the dilemma of leftovers! If you’re lucky enough to have any of this incredibly juicy and crispy chicken remaining, you must treat it right. Please, I beg you, never put leftover fried chicken in the microwave if you value that crunchy coating! The steam from the microwave turns the crust instantly soft, and that’s just heartbreaking.
The best way to bring this glorious bird back to life is either in a conventional oven or, even better, an air fryer. Pop the pieces on a wire rack over a baking sheet—just like when they first came out of the oil—and reheat at about 375 degrees Fahrenheit. The air circulation is key for crispiness!
If you happen to have one of those fantastic air fryers we’ve been playing around with, you can crisp it up beautifully in about 8 to 10 minutes. You can read all about our adventures in air frying with our chicken parmesan recipe if you want to see that appliance in action. This method preserves that lovely texture we worked so hard to achieve!
Savory Chicken Dinner Ideas: Serving Suggestions for Fried Chicken
When you’ve made a batch of truly perfect fried chicken, you can’t just serve it with anything! It deserves sides that complement that rich, savory flavor and texture. This dish is the definition of comfort food, so we always lean into the classics when thinking about savory chicken dinner ideas.
Of course, most people reach immediately for mashed potatoes—and you certainly should!—but Richard and I have always believed that the acidity of a sharp side cuts through the richness of the fried coating beautifully. This is where our memories travel back to cookouts in the summer heat.
I remember one afternoon in particular, helping my aunt Beatrice set up for a big family reunion. We had mountains of this exact chicken, and she swore by two things: heavenly fluffy biscuits, still warm enough to melt butter instantly, and a big bowl of that tangy, slightly sweet coleslaw. That mix of hot, savory chicken with cool, sharp slaw just wakes up your whole mouth! If you’re looking for a side that truly holds up to the richness of our fried chicken, you absolutely must try making my creamy macaroni salad—it’s a classic picnic staple that pairs wonderfully. You can find my recipe for that creamy macaroni salad here.
We’ve also had great luck pairing it with simple, slightly sweet cornbread or even some slow-cooked green beans stewed with a little bacon fat. Whatever you choose, make sure there’s something tangy or starchy nearby to soak up any stray juices. It truly creates the most satisfying savory chicken dinner ideas imaginable!
Frequently Asked Questions About Perfect Fried Chicken
I always love hearing your questions after you try to make this recipe! It shows me you’re paying attention to the details, which is half the battle when dealing with crispy fried chicken. Richard and I compiled a few things folks often ask when they’re trying to achieve that perfect, fool-proof fried chicken on their first go. We want you to succeed!
There are so many paths to a savory chicken dinner, but sticking to this buttermilk method really ensures success. If you’re interested in another fantastic chicken dish that uses a wok, you might enjoy taking a peek at our chicken fried rice recipe once you’ve sorted out your fried chicken dinner!
Can I use chicken breasts for this recipe?
You certainly can! We often use a mix of pieces when we cook this Southern Fried Chicken, including breasts. The main thing you have to watch out for with chicken breasts is that they are usually much thicker than thighs or drumsticks. If you leave them whole, they might burn on the outside before they reach that safe 165 degrees inside. Richard always recommends either pounding the breasts slightly to an even thickness after brining or just keeping a very close eye on them when they start frying. They always cook faster than the dark meat pieces!
What is the best oil to use for deep frying?
This is a huge question! For the absolute best result—that beautiful, golden brown chicken crust—you need a neutral oil with a high smoke point. We prefer using vegetable oil because it’s easy to find and holds up well to the temperature we need. Shortening is actually what a lot of the old-school Southern cooks in the deep south used, and it gives a really rich flavor, but it can sometimes make the crust a bit heavier. Either way, make sure you have enough to maintain that 2-inch depth in your pot!
Is it really necessary to let the dredged chicken rest?
Yes, yes, a thousand times yes! I know it’s torture. You’ve got this amazing coating on your chicken, and you just want to drop it straight into the hot oil. But the resting time—those 20 minutes on the rack—is essential for setting the coating. If you skip it, the cold, wet coating hits the hot oil and just washes right off, which is how you end up with bare chicken pieces floating around! Resting helps bond that crunchy chicken coating securely to the meat.
Can I make this Easy Fried Chicken Dinner without deep frying?
If you are looking to avoid deep frying, you absolutely can adapt this! You won’t get the same ultra-crispy, flaky texture we love in this recipe—that takes the hot oil immersion—but you can bake or air fry it. For baking, place the dredged pieces on a wire rack over a baking sheet, maybe spray them lightly with cooking spray, and bake at 400°F, flipping halfway through, until done. The air fryer is fantastic for reheating, as I mentioned before, because it really blasts the moisture away and brings the crunch back to life!
Nutritional Snapshot of This Comfort Food Chicken Recipe
Now, I know that when you’re digging into a plate of what Richard calls his masterpiece—this golden, crunchy, ultra-crispy fried chicken—you aren’t thinking about numbers. And frankly, I rarely do when I’m enjoying it either! But because we are diarists and we believe in chronicling everything, we did run the numbers on the recipe details so you have an idea of what you’re serving up on your special comfort food chicken dinner night.
This is all based on averages, mind you. If you use larger breasts or add extra spice, the numbers will shift a bit. But here’s a good general look at what one serving (roughly one piece of mixed-cut chicken) looks like:
- Calories: Roughly 450
- Fat: Around 28g (A good chunk of that comes right from that beautiful skin!)
- Protein: A solid 30g, thanks to all that wonderful chicken!
- Carbohydrates: About 18g (mostly from the flour coating)
- Sodium: Approximately 650mg
We always say that food like this isn’t meant to be eaten every day, but when you make it, make it count! It’s a cherished memory in a bite, and that’s what matters most to us. I hope you enjoy this delicious entry in our diary!
Share Your Ultra-Crispy Fried Chicken Experience
Well, there you have it! Richard’s method for achieving that legendary, juicy-on-the-inside, ultra-crispy, golden-brown coating. Every time we make this fried chicken, I feel like we’ve taken a little trip back to the best roadside diner we ever stopped at on that road trip through Tennessee years ago. Now that you’ve got the diary entry, I want to hear about yours!
Please, if you try this recipe, come back and let us know how it went! Did the double-dip work magic for your crunchy chicken coating? Rate the recipe down below and drop a comment telling Richard which side dish you paired it with. We absolutely love seeing your photos and hearing about your own comfort food memories. You can always check out more of our culinary adventures over at the main blog page!
PrintRichard’s Ultra-Crispy Buttermilk Southern Fried Chicken
This recipe brings back the best memories of Southern comfort food. You get juicy chicken inside a golden, crunchy, craggy crust using a simple buttermilk soak. It is the best homemade fried chicken you will make.
- Prep Time: 30 min
- Cook Time: 45 min
- Total Time: 4 hours 75 min
- Yield: 4 servings
- Category: Dinner
- Method: Deep Frying
- Cuisine: American Southern
- Diet: None
Ingredients
- 4 lbs bone-in, skin-on chicken pieces (thighs, drumsticks, breasts)
- 4 cups buttermilk
- 2 tablespoons kosher salt
- 1 tablespoon black pepper
- 1 teaspoon cayenne pepper (optional, for a kick)
- 3 cups all-purpose flour
- 1/2 cup cornstarch
- 2 tablespoons paprika
- 1 tablespoon garlic powder
- 1 tablespoon onion powder
- Vegetable oil or shortening, for frying (enough to reach 2 inches deep)
Instructions
- In a large bowl, combine the buttermilk, kosher salt, black pepper, and cayenne pepper if using. Add the chicken pieces, ensuring they are fully submerged. Cover the bowl and refrigerate for at least 4 hours, or preferably overnight. This buttermilk brine makes the chicken juicy.
- In a separate shallow dish, whisk together the flour, cornstarch, paprika, garlic powder, and onion powder. This is your dredge mixture for the crunchy coating.
- Remove the chicken from the buttermilk, letting the excess drip off, but do not rinse.
- Working with one piece at a time, dredge the chicken thoroughly in the flour mixture, pressing firmly to make sure the coating adheres well. For an extra crispy fried chicken texture, dip the floured piece back into the remaining buttermilk quickly, and then immediately dredge it again in the flour mixture, pressing hard to create those desirable craggy bits.
- Place the coated chicken pieces on a wire rack set over a baking sheet. Let them rest at room temperature for 20 minutes. This resting period helps the coating set, preventing it from falling off during frying.
- Pour enough oil or shortening into a heavy-bottomed pot or deep fryer to reach about 2 inches deep. Heat the oil to 325 degrees Fahrenheit (160 degrees Celsius). Use a thermometer to monitor the temperature closely.
- Carefully place 3 or 4 pieces of chicken into the hot oil, ensuring you do not overcrowd the pot, which lowers the oil temperature.
- Fry the chicken, turning occasionally, until it is deep golden brown and cooked through. For dark meat (thighs/drumsticks), this takes about 12-15 minutes. For white meat (breasts), it takes about 8-10 minutes. The internal temperature should reach 165 degrees Fahrenheit (74 degrees Celsius).
- Remove the cooked chicken from the oil and place it on a clean wire rack set over paper towels to drain excess grease. Sprinkle lightly with a pinch of salt immediately after removing from the oil.
- Repeat with the remaining chicken pieces, adjusting the heat as necessary to maintain the oil temperature between 315°F and 330°F for consistent results.
Notes
- For the crispiest coating, make sure your oil temperature is correct before starting. If it is too cool, the chicken will absorb too much oil and become greasy.
- If you are using chicken breasts, consider pounding them slightly to an even thickness so they cook uniformly with the other pieces.
- This recipe focuses on achieving that classic Southern Fried Chicken texture; if you prefer a copycat KFC flavor, you can adjust the spice blend in the flour.
Nutrition
- Serving Size: 1 piece
- Calories: 450
- Sugar: 3
- Sodium: 650
- Fat: 28
- Saturated Fat: 8
- Unsaturated Fat: 20
- Trans Fat: 0
- Carbohydrates: 18
- Fiber: 1
- Protein: 30
- Cholesterol: 110