

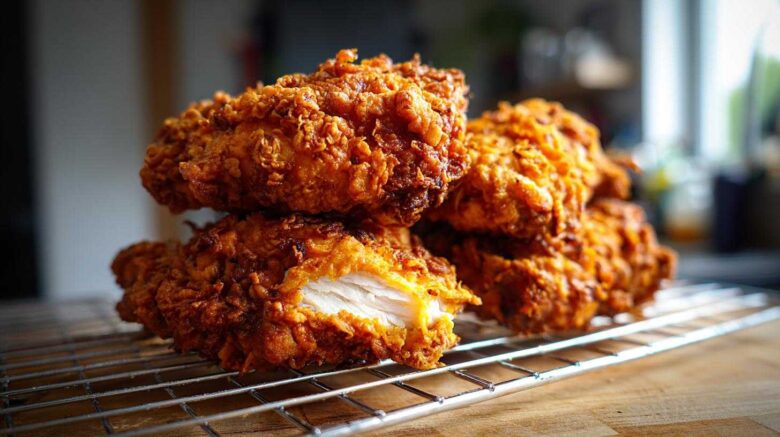
The Secret to Juicy, Crispy Buttermilk Fried Chicken
Oh, the pursuit of perfect fried chicken! It’s a journey I’ve taken for decades. Richard and I searched for this flavor globally. We came home determined to nail that Southern classic.
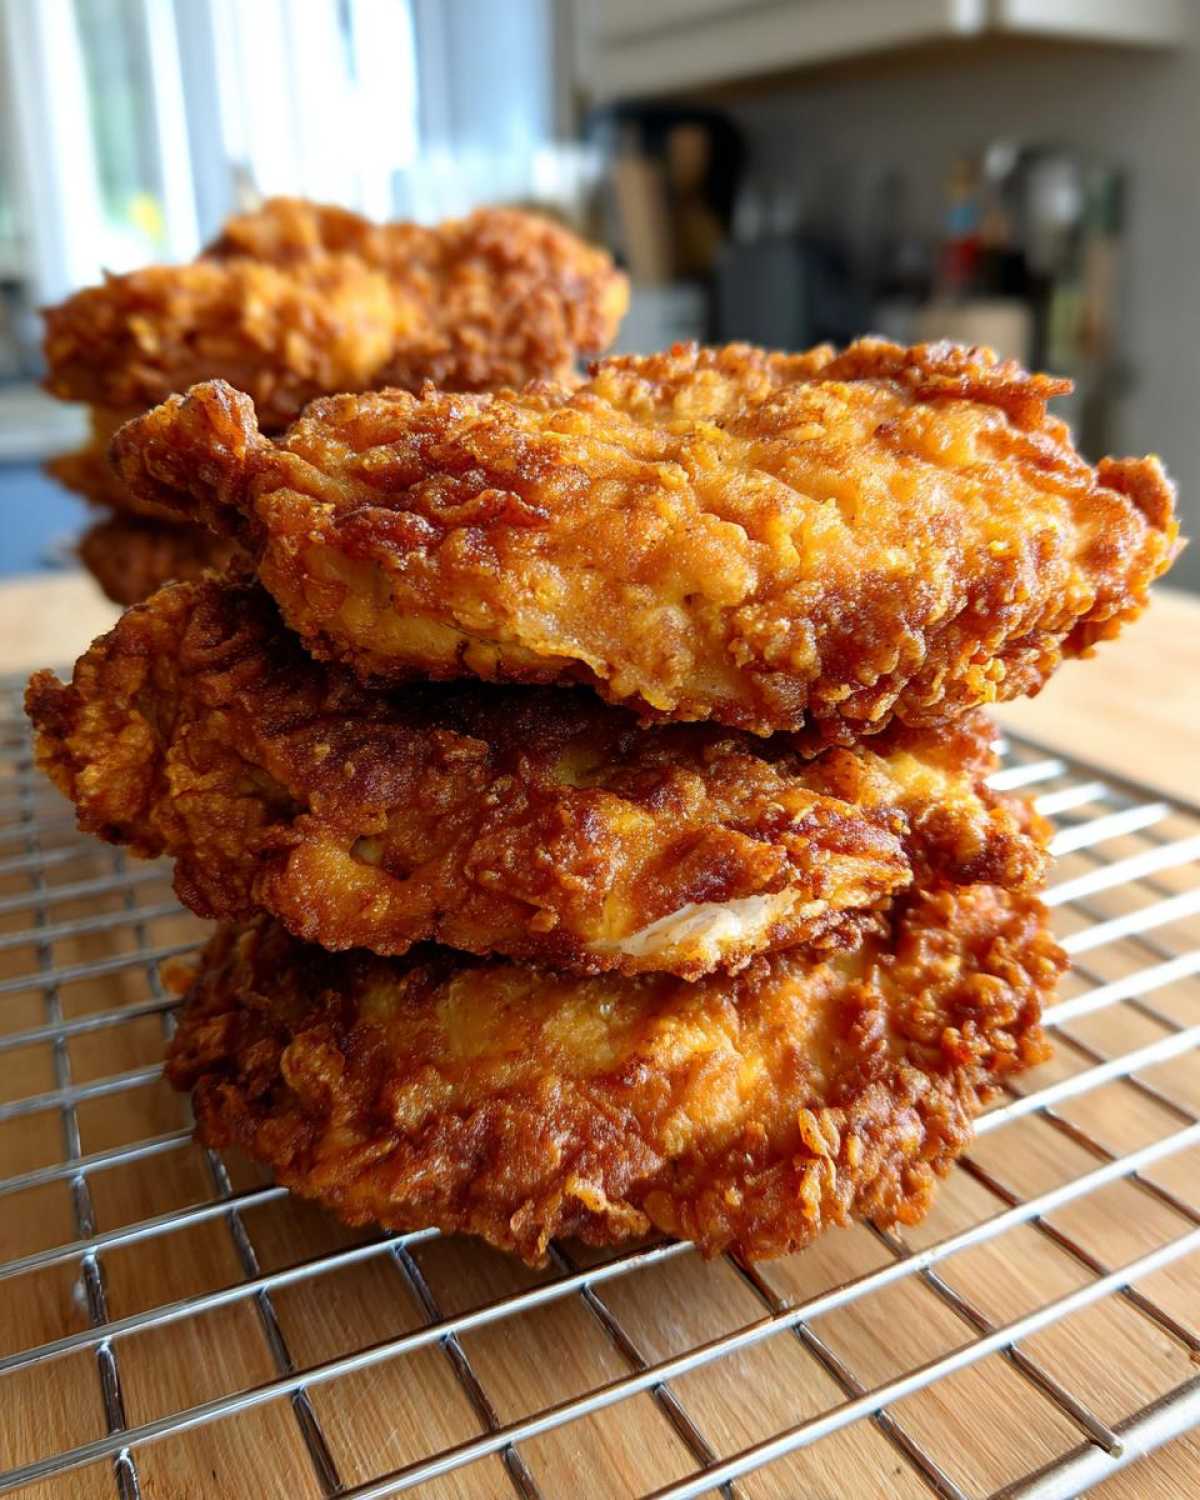
The key to truly magnificent Buttermilk Fried Chicken isn’t just the hot oil. It’s all about that magical soak. This buttermilk bath tenderizes the meat deeply. It also helps the crust stick just right.
I’m Eleanor, and this recipe is our cherished memory keeper. It brings back Sunday dinners from my childhood. Get ready for chicken that stays juicy inside. The outside will be shatteringly crisp, every single time you make it.
Why You’ll Love This Classic Buttermilk Fried Chicken
This recipe isn’t just another chicken dish. It’s a guaranteed winner for your table. I promise you tenderness like you’ve never tasted.
- The buttermilk soak ensures the meat stays moist.
- The seasoned flour creates a deeply flavorful, golden shell.
- It yields that sought-after, wonderfully crispy texture.
Making this Southern Fried Chicken feels like coming home.
Quick Look at Our Buttermilk Fried Chicken
Here are the quick facts for planning your meal.
- Prep Time: 20 minutes
- Cook Time: 30 minutes
- Total Time: 4 hours 50 minutes
- Yield: 6 servings
Essential Ingredients for Perfect Buttermilk Fried Chicken
Gathering your supplies is the first real step. Like any good story, the characters must be ready. We need quality components for this Buttermilk Fried Chicken.
You’ll need three pounds of chicken pieces. Be sure they are bone-in and skin-on for the best results. Four cups of buttermilk form our flavor base. Then come the seasonings and the coating ingredients.
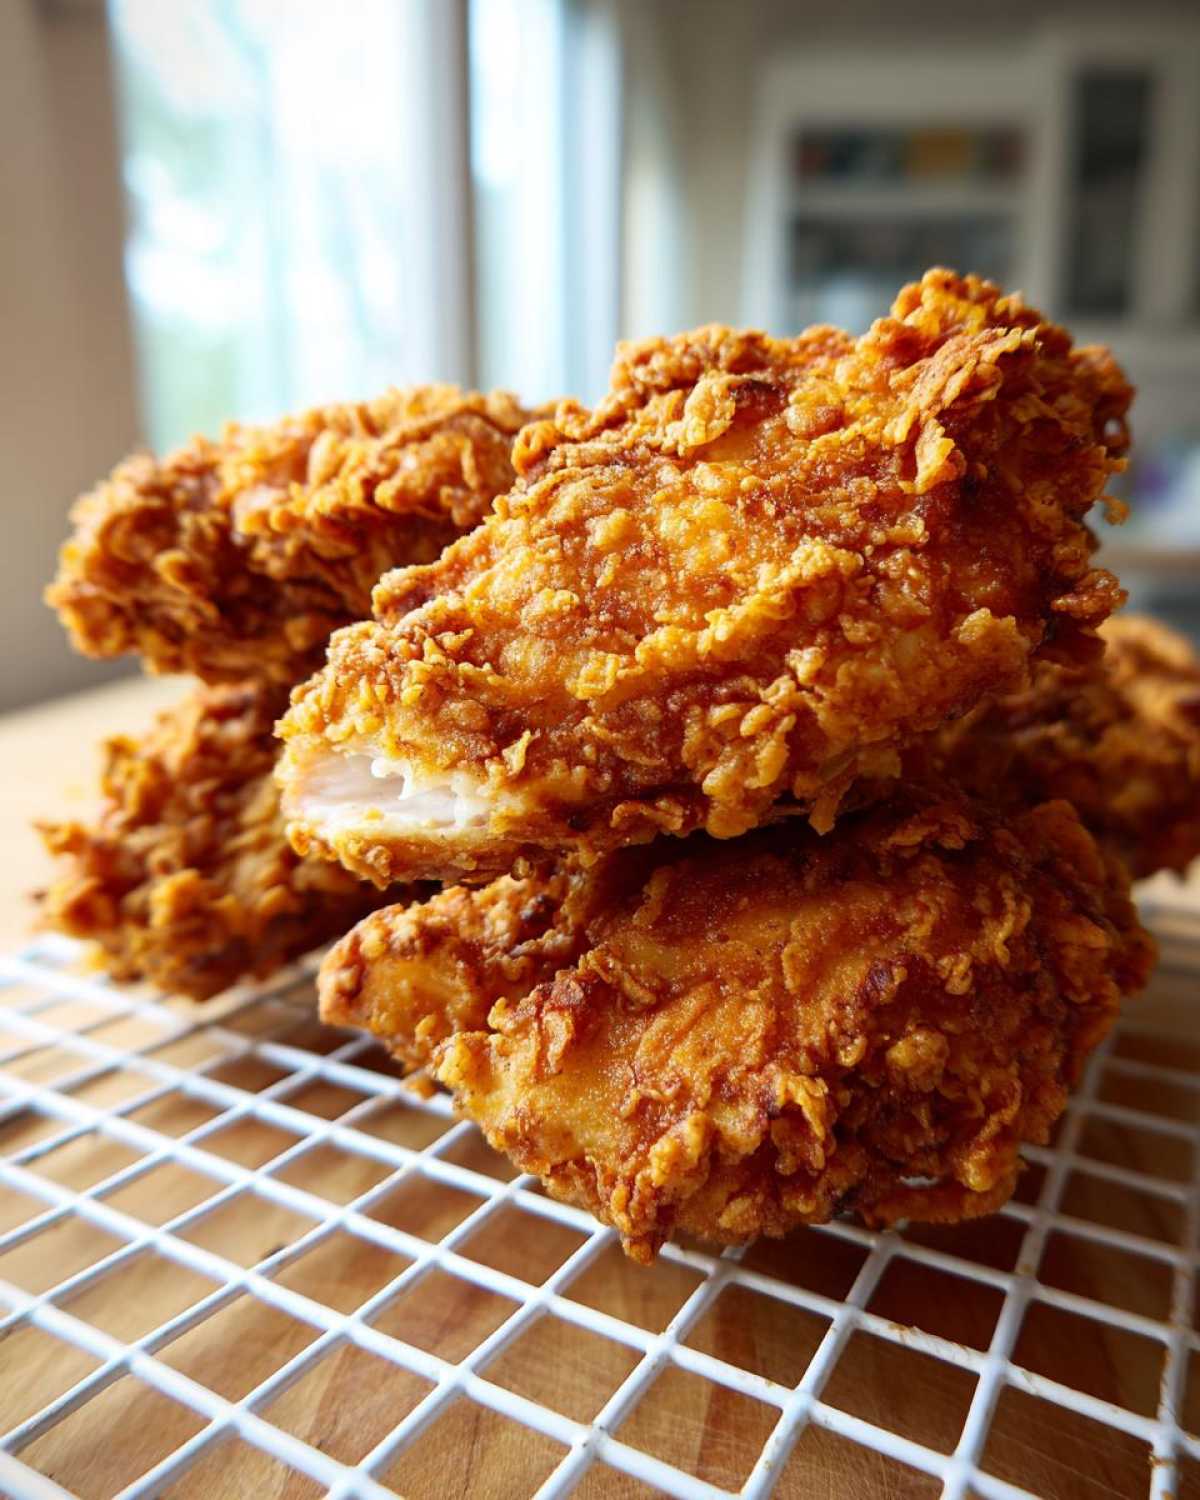
Don’t skimp on the spices here. They build the foundation of flavor. This blend keeps the chicken tasting homemade and deeply savory.
Ingredient Specifications and Clarity
Let’s talk specifics for true clarity. Richard insists on details.
We use a mix of salt, pepper, paprika, garlic powder, and onion powder. These measure one teaspoon each, except the paprika.
For the crust, use three cups of all-purpose flour. Add half a cup of cornstarch. That cornstarch is my secret weapon for extra crunch!
The buttermilk is crucial. It needs to fully cover your chicken pieces. A bit of hot sauce adds a nice background kick, if you like that warmth.
Equipment Needed for Deep Frying Buttermilk Fried Chicken
You need the right tools for this adventure. Frying safely matters a lot. I learned this lesson early on.
Grab a deep, heavy-bottomed pot. A Dutch oven works perfectly for me.
An accurate thermometer is non-negotiable. Temperature control is everything here.
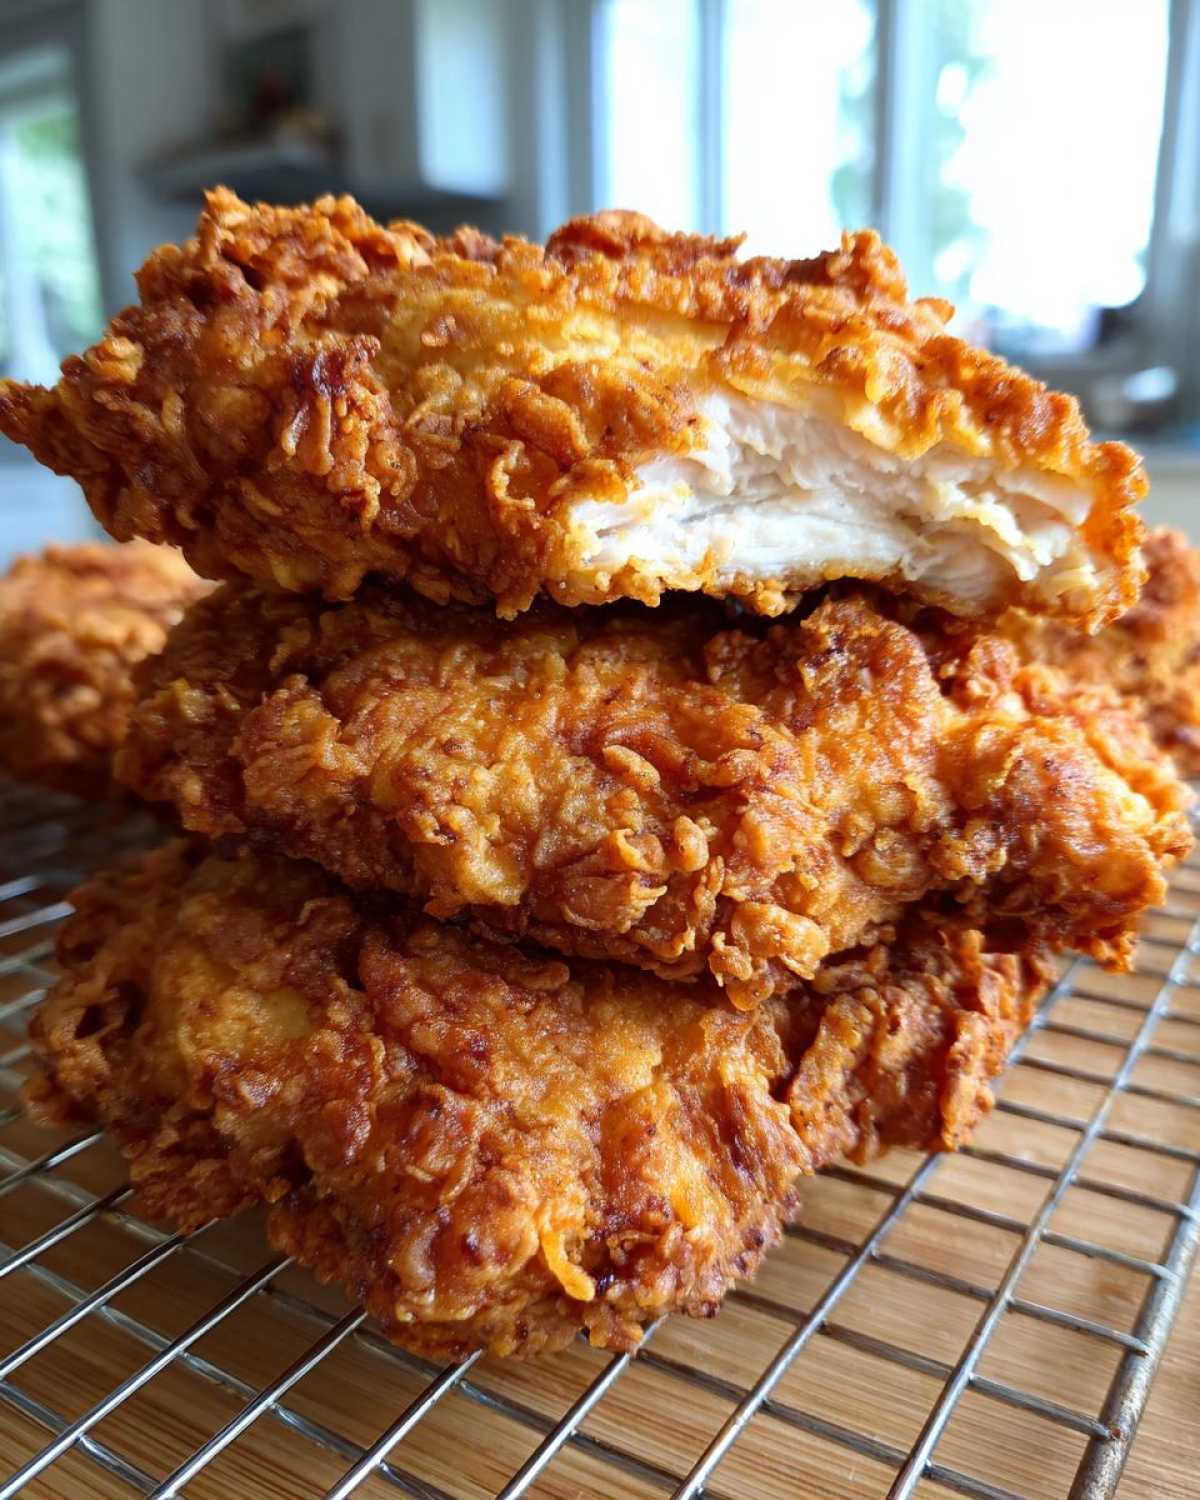
You also need a sturdy wire rack. This lets the excess oil drip away nicely.
Step-by-Step Instructions for Buttermilk Fried Chicken
Now for the fun part—turning those seasoned pieces into golden perfection. Follow these steps closely.
We want juicy meat and a crunchy, clinging crust. Patience during the soak pays off big time.
Remember to check the internal temperature before serving. Safety first in the kitchen, always!
Preparing the Flavorful Buttermilk Soak
First, grab a large bowl for the marinade. Whisk together your buttermilk and all the spices listed. Don’t forget that optional hot sauce if you want some gentle heat.
Next, nestle your chicken pieces in this mixture. Make sure every part is totally covered. Cover the bowl tightly.
Now, step away for a while. Refrigerate this mixture for a minimum of four hours. Richard says overnight is always best for deep flavor penetration.
Achieving the Perfect Coating for Buttermilk Fried Chicken
While the chicken chills, mix your dry coating ingredients. Whisk the flour and cornstarch in a shallow dish. This blend must be uniform.
Take the chicken out of the fridge. Let the extra buttermilk drip off for just a second. Do not pat the chicken dry at all.
Dredge each piece thoroughly in the flour mix. Press hard! You must really work that flour onto the wet surface. Set the coated pieces on a clean wire rack while you heat the oil.
Frying Technique for Golden Buttermilk Fried Chicken
Pour about two inches of oil into your heavy pot. Bring the temperature up slowly to 325 degrees F. This precise heat is key. Precise heat control is vital for achieving the right texture.
Carefully lower just three or four pieces in at once. Do not overcrowd the pot, or the oil cools too fast. Fry for six to eight minutes per side.
Check that the internal temperature hits 165 degrees F. Once done, lift them out immediately. Place them on that waiting wire rack to drain off any excess oil. Repeat until all your Buttermilk Fried Chicken is done.
Tips for Success with Your Buttermilk Fried Chicken
Getting this recipe right takes a little know-how. I have a few tricks up my sleeve. These tips make a huge difference in the final result.
If you want an extra thick, shatteringly crisp crust, try the double-dip method. Dredge the chicken, dip it back quickly into the buttermilk, then coat it again in flour.
Temperature management is crucial for great Southern Fried Chicken. If the oil drops too low, your chicken gets greasy fast. If it’s too hot, the outside burns.
Richard has a strong opinion on oil, too. He insists peanut oil gives the best flavor profile for this dish. It really makes the taste sing.
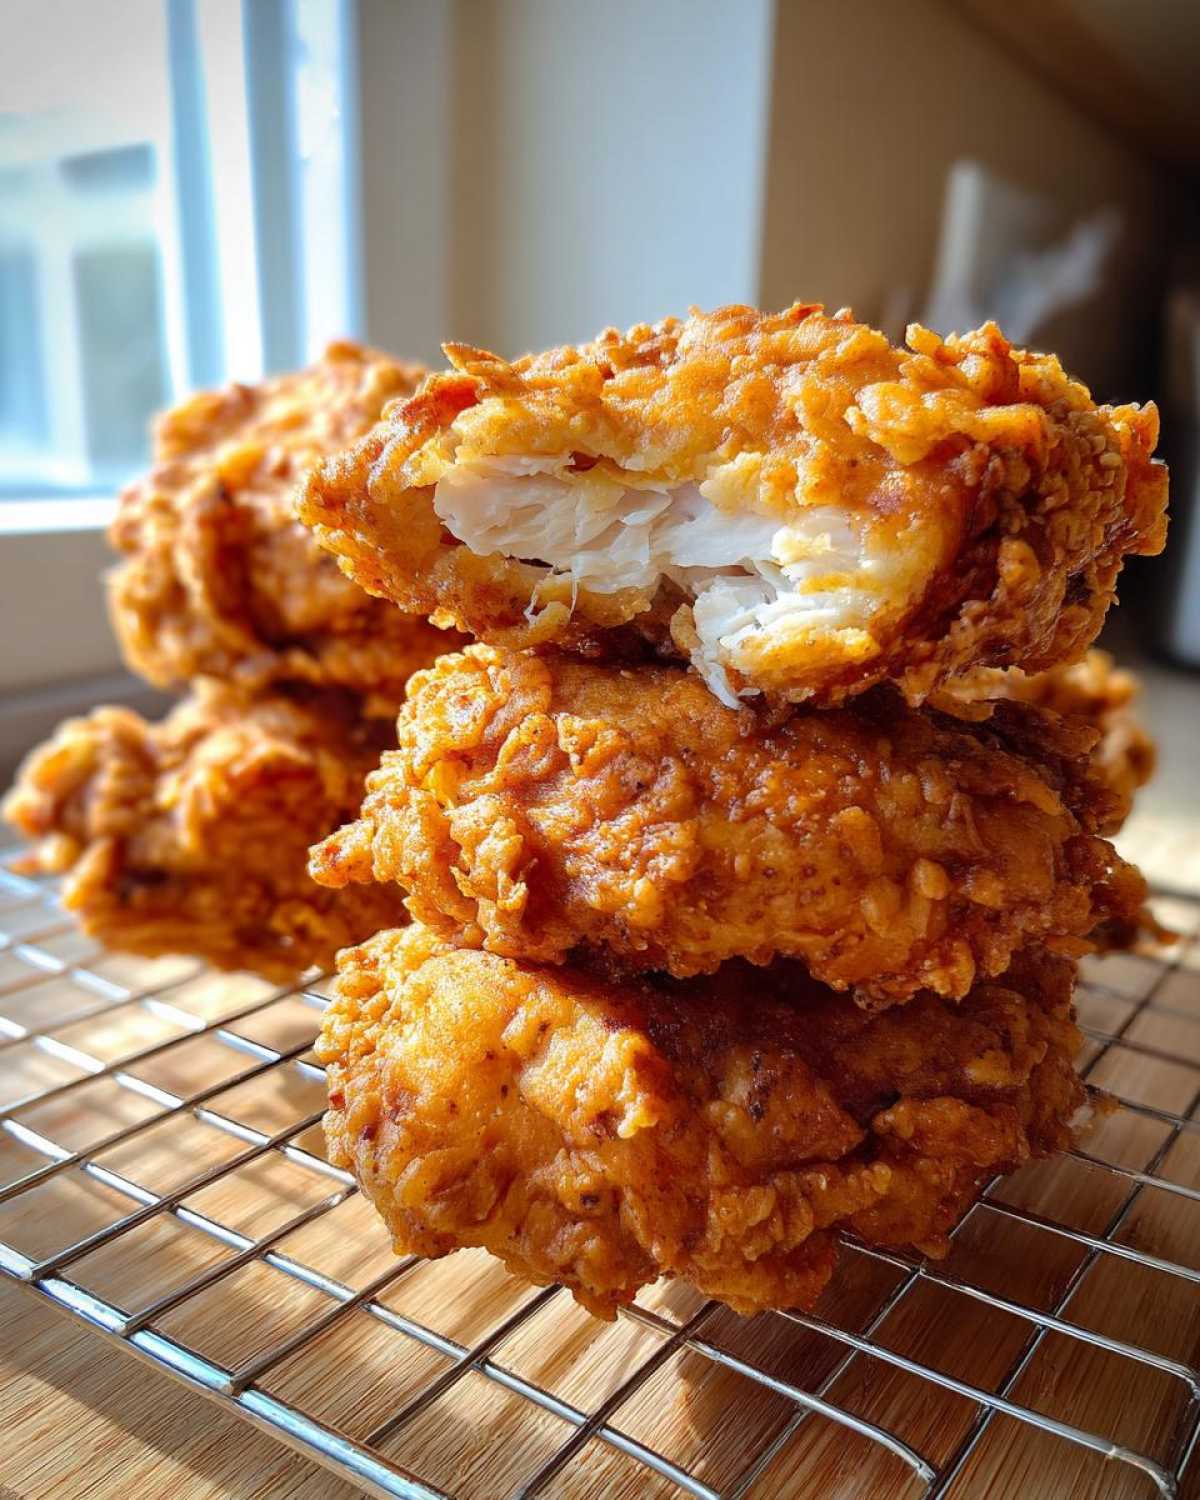
Always drain the finished chicken on a wire rack. This keeps the bottom from steaming and getting soggy. That’s a must for crispy perfection!
Common Questions About Making Buttermilk Fried Chicken
I get so many questions about this recipe. People want that perfect crunch.
It’s natural to wonder about variations. We all cook a little differently at home.
Let’s tackle a few things you might be asking yourself right now.
Can I Bake or Air Fry this Buttermilk Fried Chicken?
That buttermilk soak is magic stuff. It works wonders even without deep frying.
Yes, you can absolutely adapt this. The brine tenderizes the meat beautifully.
For baking or air frying, you’ll need a little spray of oil. It won’t be the same deep-fried texture, though. That’s a tough standard to meet!
How long must the chicken marinate for the best Buttermilk Fried Chicken?
This is where patience truly rewards you. Think of it as flavor building time.
You must let it sit for at least four hours minimum. That’s our starting point for good results.
For truly spectacular, fall-off-the-bone tender chicken, try to let it go overnight. Richard says that’s when the real deliciousness happens for our Southern Fried Chicken.
Storing and Reheating Your Delicious Buttermilk Fried Chicken
Oh, the joy of leftovers! But crispy chicken can turn sad fast. Do not store it piled up in a container.
Let the chicken fully cool first. Place it on a wire rack over a pan to drain. This stops trapped steam from softening the crust.
Store the cooled chicken in the fridge. For reheating, an oven or toaster oven works best. Set it to 375 degrees F.
Heat for about ten minutes. This brings back the crunch beautifully. Enjoy your second round of this amazing food!
Nutritional Disclaimer for Homemade Buttermilk Fried Chicken
Now, I know many of you track your food closely. I respect that greatly.
Richard and I focus more on memories here. We often talk about taste, not grams.
Because we use different brands and cuts, exact numbers vary a lot. This recipe is a classic comfort food.
We have not calculated precise nutritional information for this Buttermilk Fried Chicken.
The final values depend on your oil choice and chicken size. Please consult a professional calculator if needed.
Share Your Delish Diarist Buttermilk Fried Chicken Experience
We poured our memories into this recipe for you.
Now, it’s your turn to add to our diary.
Did you try this Buttermilk Fried Chicken?
Tell us how it turned out in the comments below.
Rate this recipe and share your photos with us. We love seeing your delicious moments!
PrintJaw-Dropping Buttermilk Fried Chicken: 1 Secret Soak
This recipe delivers classic Southern Buttermilk Fried Chicken. Soaking the chicken in buttermilk makes it incredibly tender and flavorful before it hits the hot oil, resulting in a perfectly golden and crunchy crust. Get ready for juicy chicken every time.
- Prep Time: 20 minutes
- Cook Time: 30 minutes
- Total Time: 4 hours 50 minutes
- Yield: 6 servings
- Category: Main Dish
- Method: Deep Fry
- Cuisine: American Southern
- Diet: None
Ingredients
- 3 lbs bone-in, skin-on chicken pieces (legs, thighs, breasts, wings)
- 4 cups buttermilk
- 2 tablespoons hot sauce (optional)
- 2 teaspoons salt
- 1 teaspoon black pepper
- 1 teaspoon paprika
- 1 teaspoon garlic powder
- 1 teaspoon onion powder
- 3 cups all-purpose flour
- 1/2 cup cornstarch
- Vegetable oil or shortening, for frying
Instructions
- In a large bowl, whisk together the buttermilk, hot sauce (if using), salt, pepper, paprika, garlic powder, and onion powder.
- Add the chicken pieces to the buttermilk mixture, ensuring they are fully submerged. Cover and refrigerate for at least 4 hours, or preferably overnight.
- In a separate shallow dish, whisk together the flour and cornstarch.
- Remove the chicken pieces from the buttermilk, letting the excess drip off slightly. Do not wipe off the coating.
- Dredge each piece of chicken thoroughly in the flour mixture, pressing the flour onto the chicken to create a thick coating. Place the coated chicken on a wire rack.
- Pour enough oil or shortening into a deep, heavy-bottomed pot or Dutch oven to reach a depth of about 2 inches. Heat the oil to 325 degrees F (160 degrees C).
- Carefully place 3 or 4 pieces of chicken into the hot oil, ensuring you do not overcrowd the pot.
- Fry the chicken for about 6 to 8 minutes per side, turning as needed, until deep golden brown and cooked through (internal temperature should reach 165 degrees F or 74 degrees C).
- Remove the chicken from the oil and place it on a clean wire rack set over a baking sheet to drain.
- Repeat the frying process with the remaining chicken, adjusting the oil temperature as needed between batches.
Notes
- For an extra crispy crust, you can double-dip the chicken: dredge in flour, dip briefly back into the buttermilk, and then dredge in the flour mixture again.
- Always maintain the oil temperature; too low and the chicken is greasy, too high and the outside burns before the inside cooks.
- Richard suggests using peanut oil for the best flavor when frying.
Nutrition
- Serving Size: 1 piece
- Calories: Varies widely
- Sugar: Low
- Sodium: Moderate
- Fat: High
- Saturated Fat: Moderate to High
- Unsaturated Fat: Moderate
- Trans Fat: Trace amounts
- Carbohydrates: Moderate
- Fiber: Low
- Protein: High
- Cholesterol: Moderate