

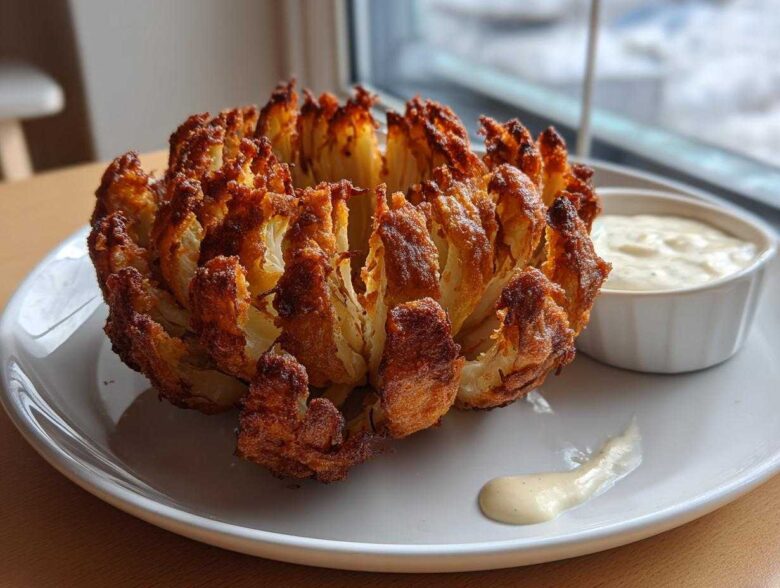
Oh my gosh, are you scrolling through your old takeout receipts wishing you could scratch that deep-fried appetizer itch without actually deep frying anything? Me too! That’s exactly why I spent what felt like a thousand weekends wrestling with onions until I finally perfected this recipe. Forget those soggy, greasy restaurant versions; we are making the ultimate crispy **Air Fryer Blooming Onions** that actually stay together! Trust me, the secret is all in the cut and the double crunch of the batter. Once you nail this, it’s going to be your new go-to game day food. I’ve got all the tips hidden in here to make sure your onion blooms beautifully and stays shatteringly crisp.
Why This Is The Ultimate Crispy Air Fryer Blooming Onion Recipe
Look, I’ve had my share of cooking failures. Most of them involved an onion falling apart into sad, floppy petals halfway through baking because the batter wouldn’t stick. That’s the biggest pain point with making **Air Fryer Blooming Onions**, and I’ve totally solved it here! This recipe is sturdy, flavorful, and doesn’t require you to babysit the air fryer every second. If you’re looking for epic Air Fryer Party Food Recipe ideas, this is it!
- We use a specific combination of flour and cornstarch that creates a serious crust base.
- The cutting technique ensures the root holds everything together until it’s time to eat.
- It gives you that incredible restaurant crunch without submerging the whole thing in oil.
Avoiding the Soggy Disaster: Air Fryer Blooming Onions Secrets
The air fryer is amazing, but it needs help with moisture—that’s what causes sogginess. My trick is making sure everything is bone-dry before battering, and then we use a generous spray of high-heat oil. While you can technically try to make this a Bloomin Onion Without Oil, honestly, you need that final crisping layer of fat hitting the hot air to get that satisfying shatter. The constant circulation does all the heavy lifting for us!
Ingredients for Your Air Fryer Blooming Onion Recipe
Okay, gathering the ingredients is where we start taking control back from the take-out menu! You need one very large, firm onion—I like a Vidalia or another sweet variety because they bake up beautifully. Don’t try this with a regular yellow onion unless you love pungent flavor! We are splitting these into the coating system and the amazing sauce you definitely need.
For the actual onion coating, you’ll grab:
- One large sweet onion (peeled, root end intact!)
- 1 cup all-purpose flour
- 1/2 cup cornstarch (this is important for crunch!)
- Salt, pepper, paprika, garlic powder, onion powder, and just a tiny pinch of cayenne if you’re feeling spicy.
- One egg mixed with 1/2 cup of milk—you can use any milk you have handy here.
And crucially, you must have a good quality cooking spray on hand. We aren’t drowning it, but we need that oil to crisp up the batter in the Air Fryer Onion Recipe.
For the Zesty Dipping Sauce
This sauce is mandatory, I’m warning you now! Whip up 1/2 cup of mayonnaise with ketchup, a decent spoonful of prepared horseradish—this is your flavor backbone—and just a dash of Worcestershire sauce for depth. Taste it before you serve it; if you want more kick, add a tiny bit more horseradish. It truly makes this whole appetizer sing!
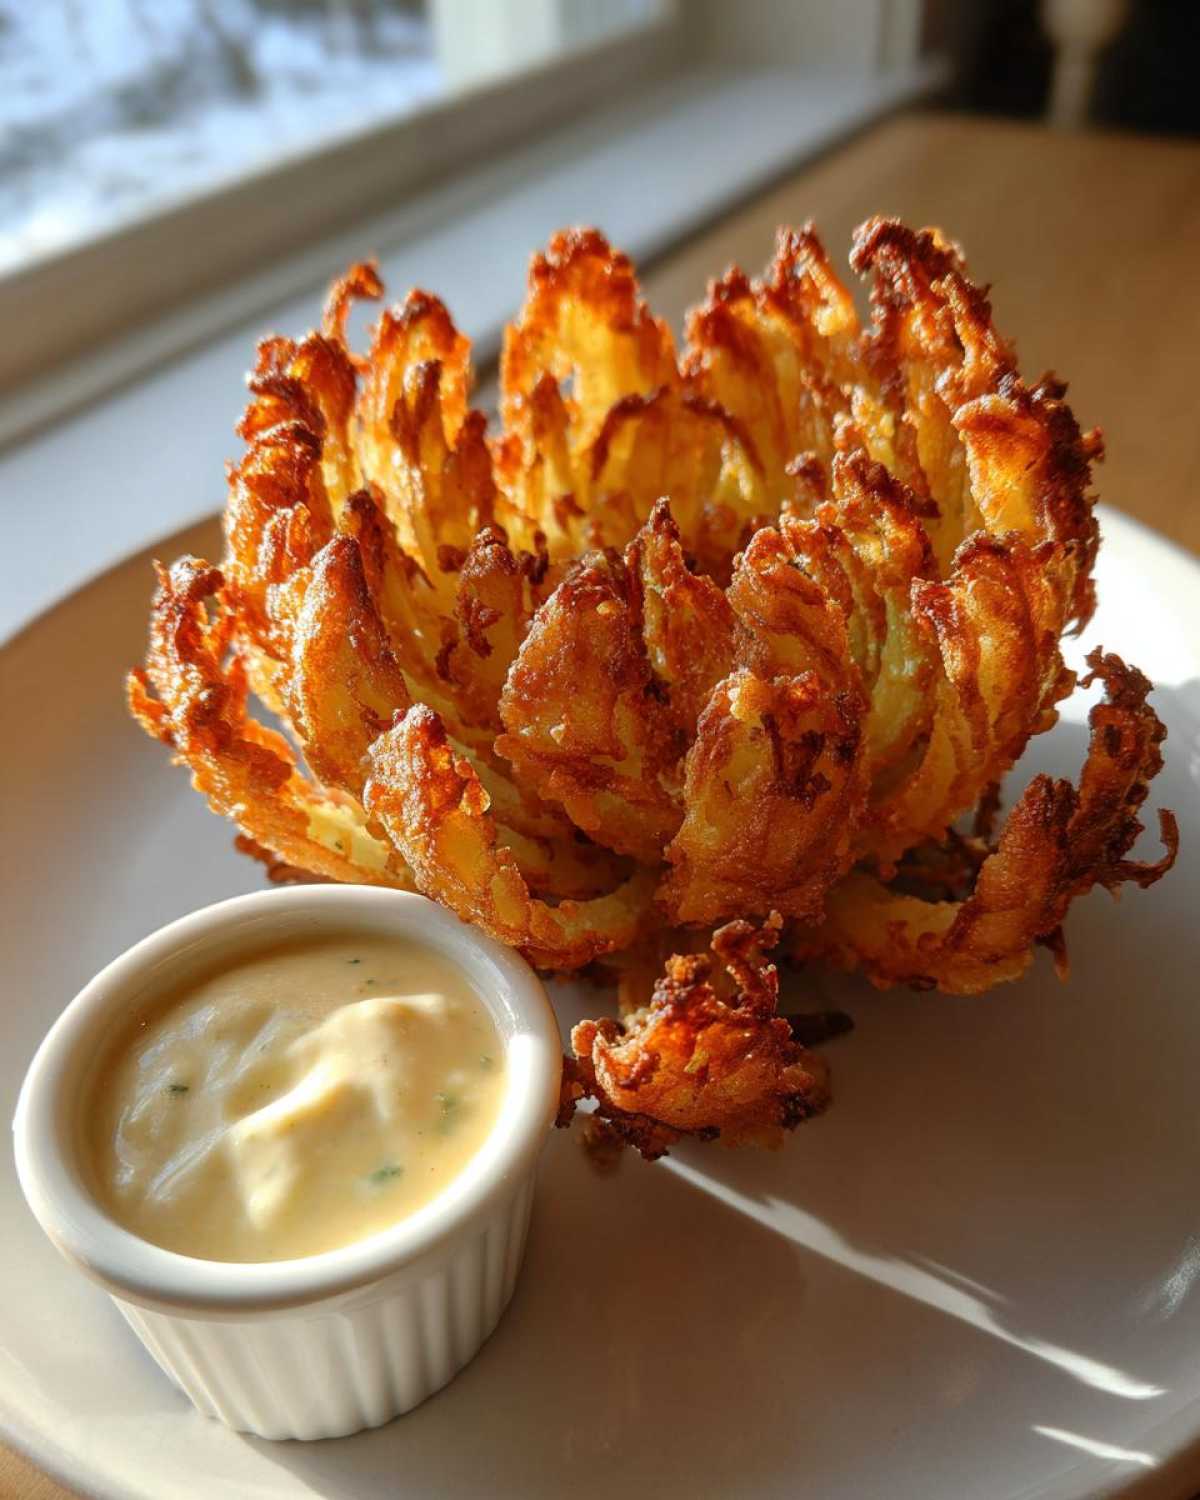
Mastering How to Cut a Blooming Onion for Air Fryer Success
This is the make-or-break moment, friends! If you cut it wrong, the whole thing separates before it even hits the basket. Learning **how to cut a blooming onion** the right way is essential, especially when you aren’t dealing with the heavy protection of deep-fry oil. First, peel your onion, and place that root end flat and secure on your cutting board—that root is your anchor, do NOT cut through it!
I make my first series of cuts from the top straight down toward the root, stopping about half an inch away from the base. Don’t be shy; these wedges need to be deep! Then, pivot your onion about 45 degrees and cut another set of wedges. You keep rotating it like you’re slicing a pie, making new cuts between the old ones, until you have about 16 to 20 solid wedges. They should look like slices that haven’t been fully separated.
Now comes the fun part: gently coaxing it open! Rinse the cut onion under cold water briefly. This helps separate those individual layers just enough so the batter can sneak in. After rinsing, you have to pat it ridiculously dry with paper towels. I mean, really dry. This moisture barrier is crucial for keeping your batter stuck tight when we move to the next stage of this onion recipe!
The Best Air Fryer Onion Batter for a Restaurant Style Onion Air Fryer
So, we have our perfectly cut, completely dry onion blossom—now it needs its armor! Getting the **Best Air Fryer Onion Batter** is what separates a good attempt from a truly **Restaurant Style Onion Air Fryer** success. We need adherence and flavor, and we build that in two separate bowls. This batter is designed to dry out slightly in the air fryer, which locks in the crunch.
In one shallow dish, we mix up our dry components: the flour, the cornstarch (don’t skip that—it’s the secret to crispiness!), salt, pepper, and all those classic spices like paprika and garlic powder. Whisk it really well so there are no spice clumps hiding!
In the second bowl, you just need the egg and milk whisked together until they are unified. Now, here is where we boost adherence for our **Air Fryer Blooming Onions**: Dip the whole onion into the wet mix first. Let the excess drip off completely. Then, immediately plunge it into the dry mix. You have to really press that flour into all the crevices; use your fingers to massage it in there! Make sure every single petal is coated.
If you followed my notes for ultra-crispy results, this is where you do the double-dip! Dip it back into the wet mix quickly, then back into the dry mix, pressing hard again. This thick, dual-layer batter is fantastic for air frying, and it helps prevent the petals from sticking together when they cook. You’re one step closer to amazing onion rings flavor, just in a whole onion!
Step-by-Step Instructions for Air Fryer Blooming Onions
Alright, we’ve done the hard cutting work, and we’ve armor-plated our beautiful onion with the best batter. Now comes the moment of truth. We have to treat the air fryer with respect! If you just toss it in without heating up, you are guaranteeing that classic soggy texture we worked so hard to avoid. We are making killer **Air Fryer Blooming Onions**, and every second counts.
Prepping and Battering the Onion
Before anything else, get that air fryer hot! Preheat it now to 375°F (190°C). While it’s heating, grab your dried, battered onion. Dip it perfectly: wet mix first, let it drip, then aggressively press it into the dry mix, covering every inch. If you did the double-dip, great! Gently shake off any mountains of loose flour so they don’t just burn in the basket.
Lightly spray the bottom of your air fryer basket—a quick spritz is all it takes. Place the onion in the basket with the open bloom side facing up. Next, take your cooking spray and really give the entire top surface a good coating of oil. This is what creates the golden crust!
Achieving Perfect Crispy Onion Cooking Times
Pop that onion in and set your timer for 15 minutes. This initial cooking time at this heat is critical for setting that bottom layer of batter. When the timer sings at 15 minutes, you have to be ready to flip. Be careful—it’s hot and delicate! Use two sturdy spatulas or kitchen tongs to gently support the base and turn it over. Once flipped, spray the other side generously with cooking spray.
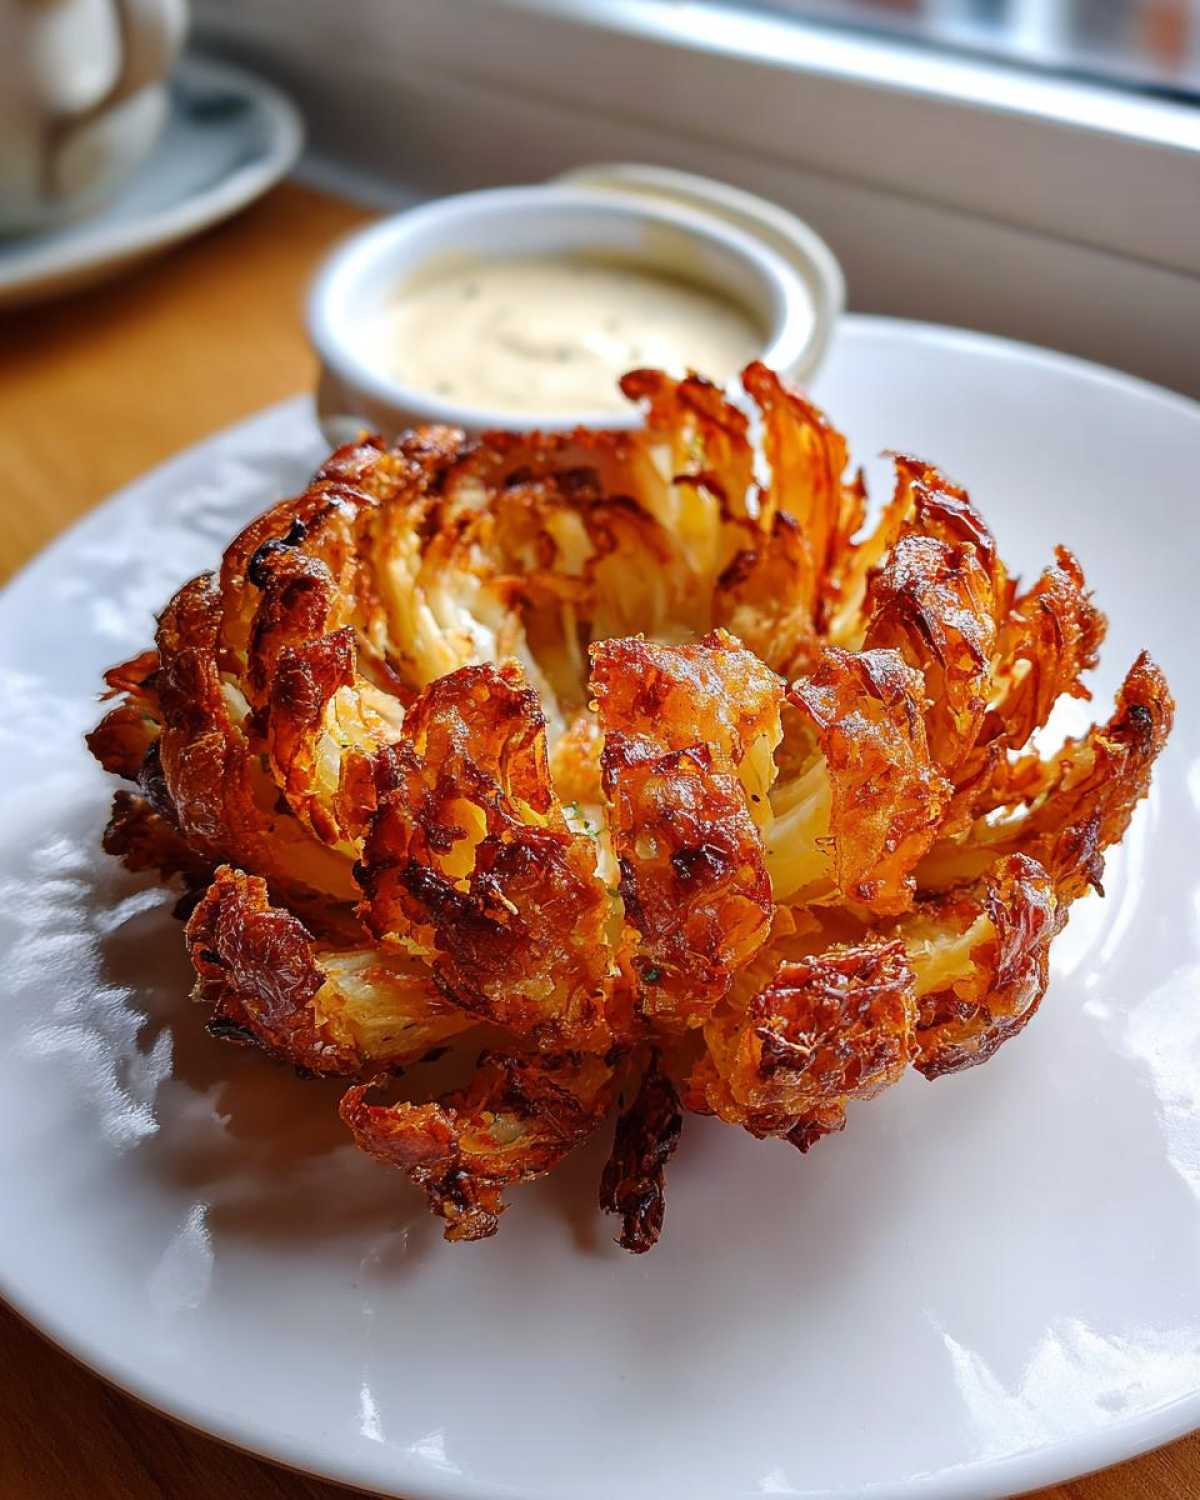
Continue cooking for another 10 to 15 minutes. This final stage is where you achieve those gorgeous, deep golden-brown colors. If you notice the delicate outer edges are getting too dark before the middle is done, just drop the temperature down slightly to 350°F (175°C) for the remainder of the time. Watching those **Crispy Onion Cooking Times** ensures you pull it out at the exact moment it’s done but not burnt! Once it looks deeply browned and feels firm when you lightly tap it, it’s ready to serve hot with that dipping sauce. You followed the process, and you absolutely nailed this crispy air fryer vegetable appetizer!
Tips for Perfect Air Fryer Blooming Onions
Okay, you’ve cut it right and you’ve battered it thick, but I have two final non-negotiable tips to guarantee success for your **Air Fryer Blooming Onions**. First, remember what I said about moisture? Reiterate this: after rinsing, pat that thing down until you feel like you might tear the actual onion apart. Dryness is the enemy of sogginess, period. It’s the single best thing you can do for adhesion.
Second, please, please, please don’t overcrowd the basket! If that onion is touching the sides or any other food, the air can’t circulate properly. When air can’t circulate, you get steam, and steam makes everything limp. If your air fryer is smaller, it means cooking in two batches. It’s worth the extra 30 minutes to have a perfectly crispy bloom. Check out these other great Air Fryer Vegetable Appetizers for ideas for batch two!
Serving Suggestions for Your Air Fryer Onion Recipe
Now that you have this unbelievable, crispy masterpiece, you have to present it right! Since this is such a show-stopping appetizer, it deserves epic company. These **Air Fryer Blooming Onions** are definitely a star on their own, but they shine even brighter next to big, comforting foods.
If it’s football season, pair it with a huge platter of loaded nachos; it fits perfectly into your spread of **Air Fryer Game Day Snacks**! Or, if you’re feeling fancy, this is the absolute best **Air Fryer Steakhouse Side Dish** you could ask for. Skip the heavy sides and use this instead; it’s way more fun!
Storage and Reheating Instructions for Leftover Air Fryer Blooming Onions
Listen, I know it’s hard to have leftovers of this amazing **Air Fryer Blooming Onion Recipe**, but if you do, do not—I repeat, do not—try to revive them in the microwave! That’s a guaranteed way to turn crispy batter into a sad, steamed sponge. It’s tragic!
The absolute best way to bring those crispy remnants back to life is right back in the air fryer. Pop them in at about 350°F (175°C) for just three or four minutes. You just need to wake the crust back up! If you’re looking for more quick fixes, check out my tips for reviving leftovers in other dishes, but for this onion, the air fryer is your only friend.
Frequently Asked Questions About Air Fryer Blooming Onions
I know everyone has a few lingering questions before they attempt this showstopper. It’s a tricky recipe in theory, but I promise, once you’ve got the cutting technique down, these **Air Fryer Blooming Onions** are super straightforward. Here are the things I get asked about the most concerning this **Air Fryer Onion Recipe**!
Can I make this recipe without oil (Bloomin Onion Without Oil)?
You *can* try, but I strongly advise against it if crispiness is your goal. While we use way less oil than deep frying, a light spray of avocado or another high-heat oil is essential for the batter to properly brown and crisp up in the hot air. Without that oil, the batter tends to just stick and steam, ending up dull and slightly soft rather than golden and crunchy. A little bit of spray goes a long way for the best result!
What is the best type of onion to use for this Air Fryer Onion Recipe?
Stick with the sweet stuff! I specify Vidalia or another large sweet onion in the recipe, and this is non-negotiable for me. The natural sweetness of these onions balances the savory, spiced batter perfectly. If you use a strong yellow or white onion, the flavor gets super sharp and pungent after cooking in the air fryer, which just overpowers that delicious coating.
If your onion falls apart during the cutting stage, it usually means you cut too close to the root. Make sure to leave that solid half-inch base firmly attached! If you have any more burning questions, feel free to reach out to me on the contact page!
PrintUltimate Crispy Air Fryer Blooming Onion with Zesty Dipping Sauce
Make a restaurant-style blooming onion crispy in your air fryer. This recipe details the cutting technique, batter consistency, and cooking times for a non-soggy result.
- Prep Time: 15 min
- Cook Time: 30 min
- Total Time: 45 min
- Yield: 1 large onion
- Category: Appetizer
- Method: Air Frying
- Cuisine: American
- Diet: Vegetarian
Ingredients
- 1 large sweet onion (Vidalia or similar)
- 1 cup all-purpose flour
- 1/2 cup cornstarch
- 1 teaspoon salt
- 1 teaspoon black pepper
- 1 teaspoon paprika
- 1/2 teaspoon garlic powder
- 1/2 teaspoon onion powder
- 1/4 teaspoon cayenne pepper (optional)
- 1 large egg
- 1/2 cup milk (dairy or non-dairy)
- Cooking spray (high heat oil recommended)
- For the Sauce: 1/2 cup mayonnaise, 2 tablespoons ketchup, 1 tablespoon prepared horseradish, 1 teaspoon Worcestershire sauce, 1/2 teaspoon paprika
Instructions
- Prepare the Onion: Peel the onion. Place the root end down on a cutting board. Make vertical cuts from the top toward the root, stopping about 1/2 inch from the root base. Rotate the onion 45 degrees and make another set of cuts. Continue rotating and cutting until you have 16 to 20 wedges. Do not cut all the way through the root. Gently spread the onion open so it resembles a flower. Rinse the cut onion under cold water to separate the layers slightly, then pat it completely dry with paper towels.
- Make the Dry Mix: In a shallow dish, whisk together the flour, cornstarch, salt, pepper, paprika, garlic powder, onion powder, and cayenne pepper.
- Make the Wet Mix: In a separate bowl, whisk the egg and milk until combined.
- Batter the Onion: Dip the entire dried onion into the wet mix, ensuring all surfaces are coated. Let excess drip off. Immediately dredge the onion in the dry mix, pressing the flour mixture firmly into all crevices to help the batter adhere. Shake off any excess flour.
- Air Fry: Preheat your air fryer to 375°F (190°C). Lightly spray the air fryer basket with cooking spray. Place the battered onion in the basket, bloom-side up. Spray the top surface generously with cooking spray.
- Cook: Air fry for 15 minutes. Carefully flip the onion (use tongs or two spatulas) and spray the second side with cooking spray. Continue to air fry for another 10 to 15 minutes, or until the batter is deep golden brown and crispy. If the edges start to brown too quickly, reduce the temperature to 350°F (175°C) for the remaining time.
- Make the Sauce: While the onion cooks, combine all dipping sauce ingredients in a small bowl and mix well.
- Serve: Carefully transfer the cooked onion to a serving plate. Serve immediately with the zesty dipping sauce.
Notes
- Drying the onion thoroughly after rinsing is key to batter adhesion.
- For extra crispiness, you can double-dip the onion: coat in wet, coat in dry, dip back into wet, and then coat heavily in dry mix again.
- If your air fryer basket is small, you may need to cook the onion in two batches to prevent crowding, which causes sogginess.
Nutrition
- Serving Size: 1/8th of onion with sauce
- Calories: 280
- Sugar: 6
- Sodium: 450
- Fat: 18
- Saturated Fat: 3
- Unsaturated Fat: 15
- Trans Fat: 0
- Carbohydrates: 25
- Fiber: 2
- Protein: 5
- Cholesterol: 60