

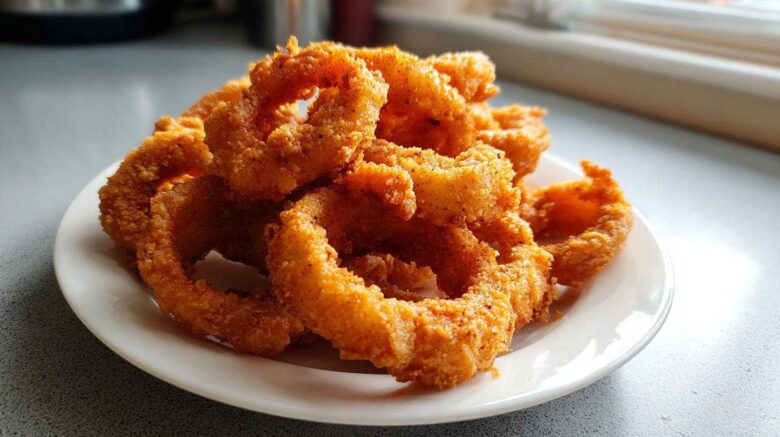
Recreating Diner Perfection: Your Guide to Old-Fashioned Onion Rings
Welcome back to our kitchen diary, friends! Eleanor here, ready to share a true comfort classic. Richard and I are tackling something truly special today. We are making Old-Fashioned Onion Rings from scratch. Forget those sad, frozen versions. We want that perfect, golden crunch.
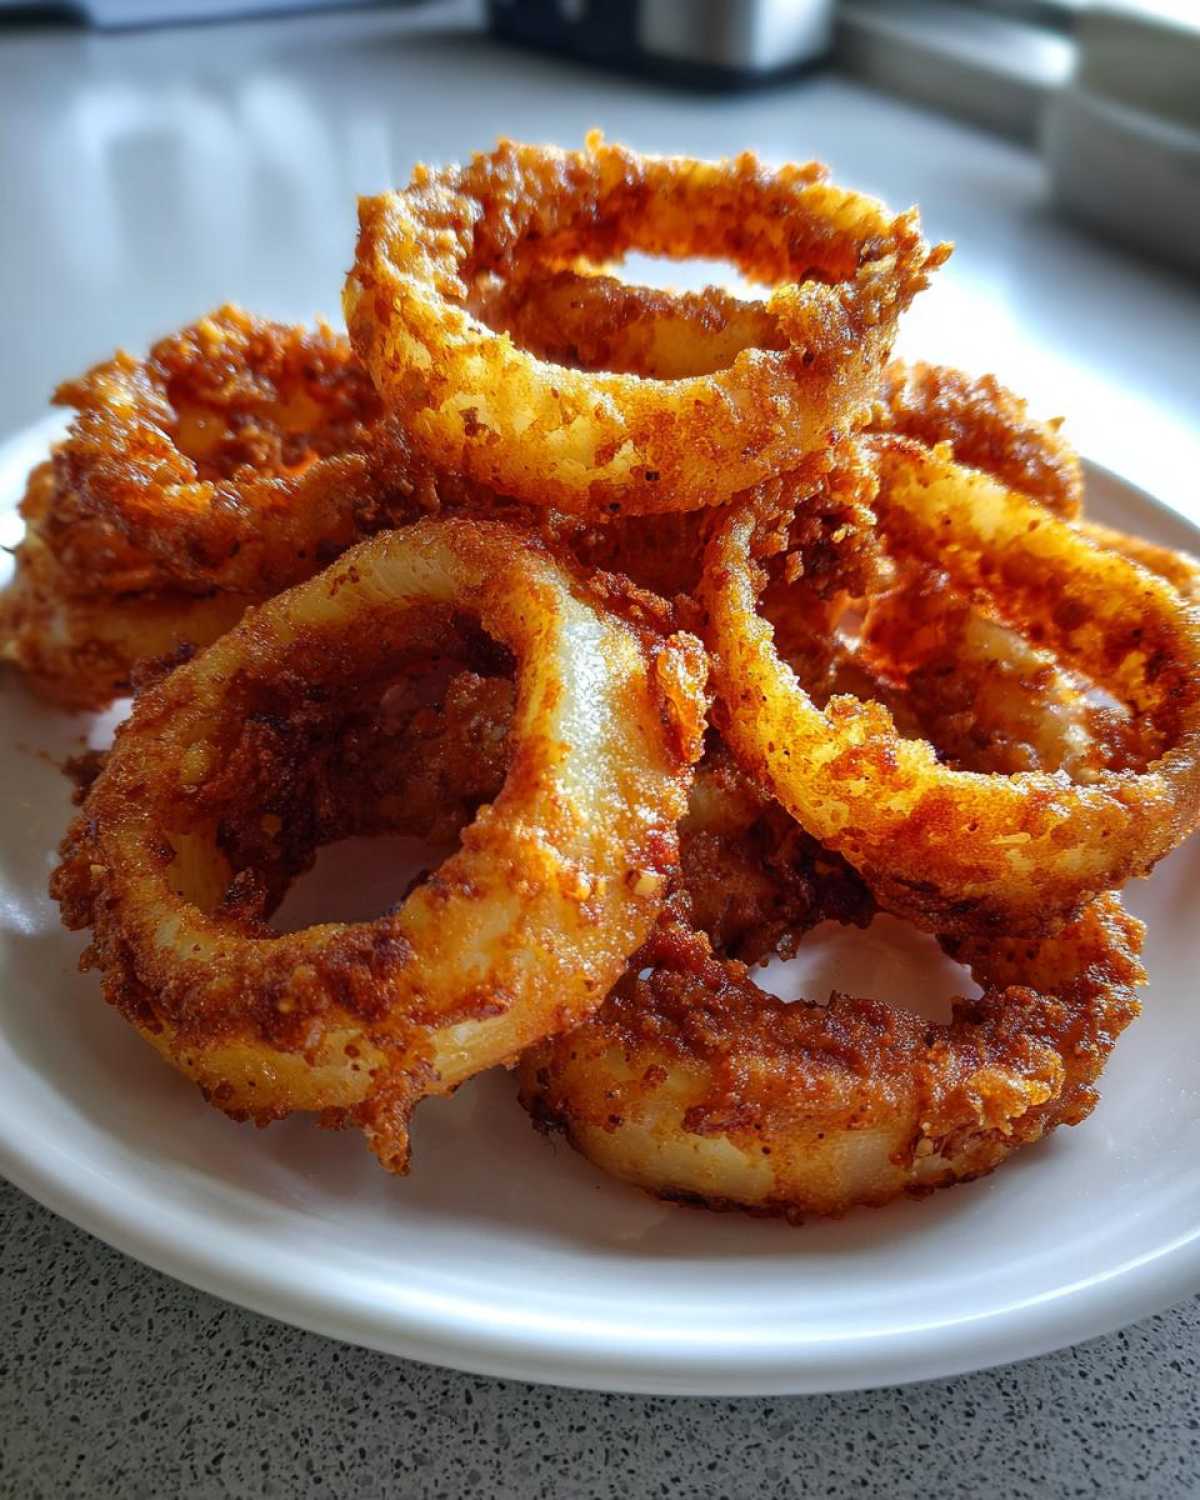
This recipe is pure nostalgia for us. It reminds me of simple American roadside stops. Richard remembers them from his childhood. Now, we bring that memory right here. This is our attempt at diner perfection.
Our Journey Back to the Best Old-Fashioned Onion Rings
You know, we have tasted so many amazing things around the world. We ate incredible street food and fancy dinners. But some tastes just stick with you. These rings are one of those tastes.
They capture a feeling of easy, happy times. Think boardwalks or late-night diners. Richard always says the best food is simple food done right. He recalls the smell of frying onions. That scent is a flavor memory itself.
We worked hard to get this batter just right. It needed that satisfying crackle. It needed to cling perfectly to the onion. This recipe brings that familiar joy back.
Essential Components for Perfect Old-Fashioned Onion Rings
Getting ready to fry means setting clear expectations first. That is how we manage the chaos in the kitchen. Knowing your timeline helps a lot. We want you enjoying these rings fast.
This recipe moves quickly once you start mixing. We aim for speed and quality here. This is a classic American diner side dish. It is vegetarian friendly too.
Prep Time, Cook Time, and Yield
Good news for busy cooks like us! The total time is surprisingly short. You will have these fresh and hot very quickly.
- Prep Time is just 15 minutes.
- Cook Time runs about 15 minutes.
- Total Time is only 30 minutes total.
- This makes 4 generous servings easily.
Equipment Needed for Deep Frying
Deep frying requires a few specific tools. Don’t skip the thermometer; it is key. Richard learned that lesson the hard way once.
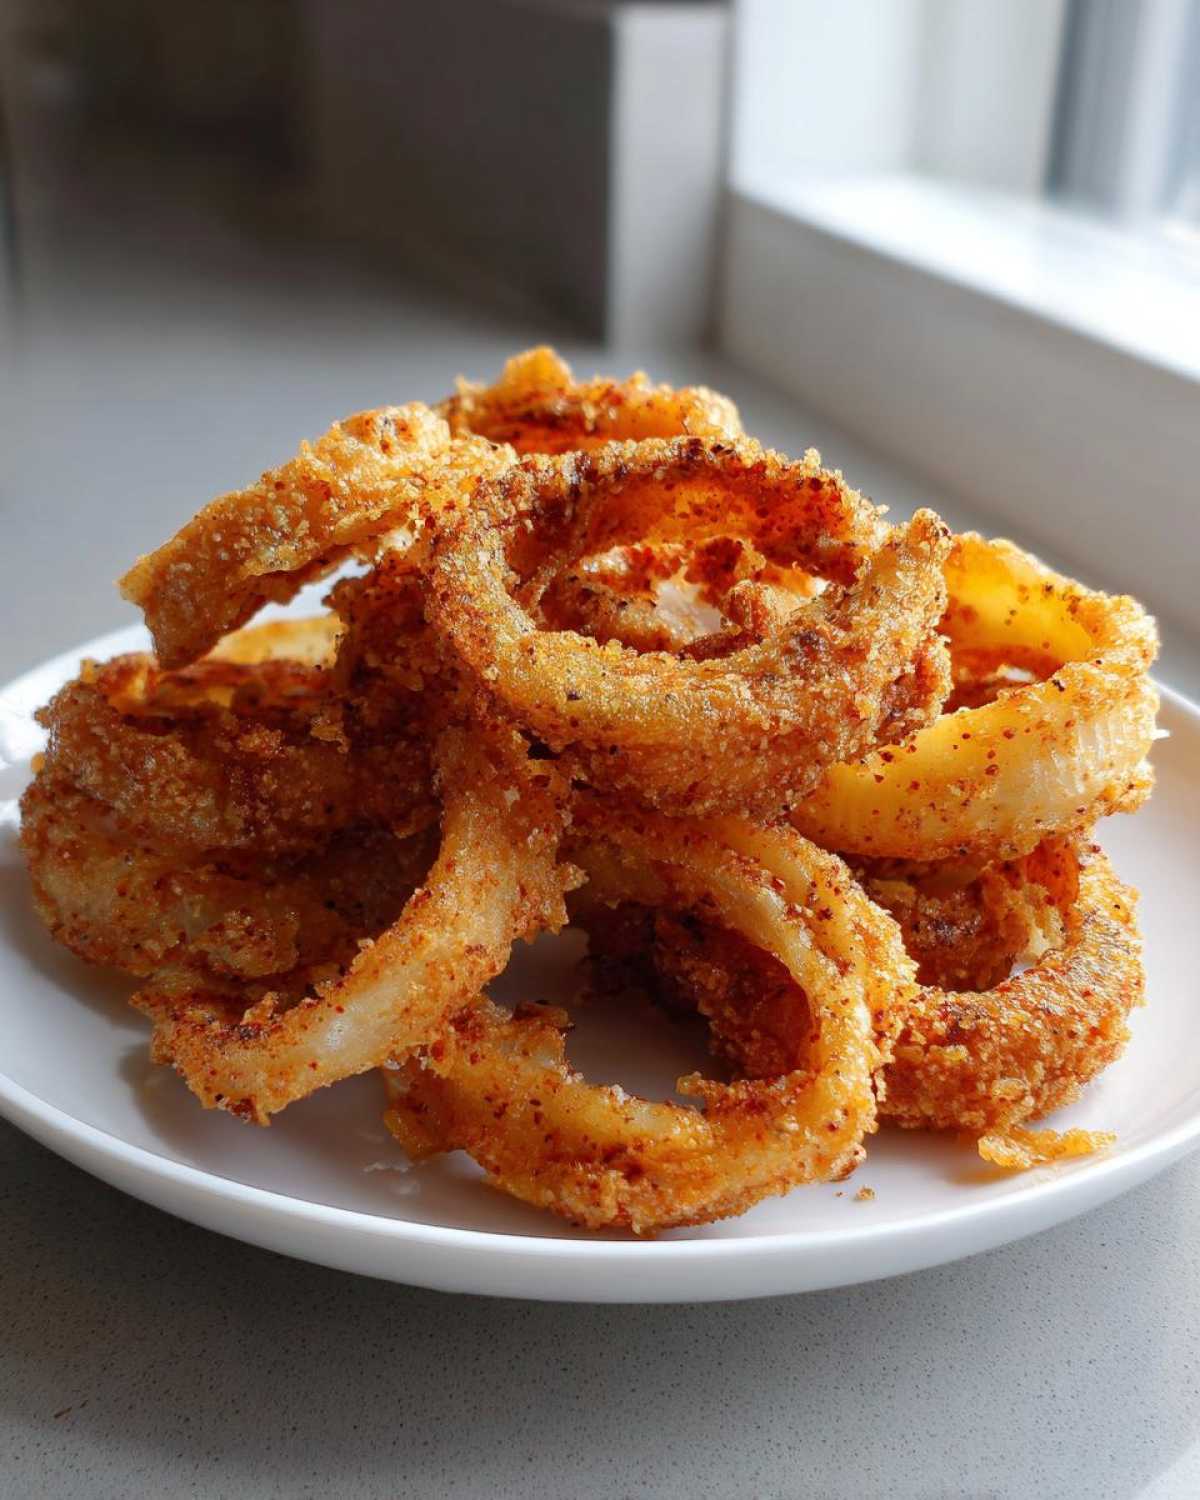
You need the right vessel for safety and results. Here is what we always pull out:
- A deep, heavy-bottomed pot or Dutch oven.
- A reliable cooking thermometer is a must-have.
- A slotted spoon for careful removal.
- A wire rack placed over paper towels.
- A couple of sturdy mixing bowls.
Ingredients for Crispy Old-Fashioned Onion Rings
Now for the fun part: gathering our supplies. Making truly crispy onion rings hinges on fresh components. We build flavor right into the batter. This ensures every bite sings with seasoning.
Don’t substitute the main vegetable here. The right onion makes all the difference. We need the perfect balance of sharpness and sweetness.
Selecting the Right Onions
For this classic recipe, we stick to yellow onions. They handle the heat well. You will need 2 large ones for this batch.
Slice these beauties carefully. Aim for rings about 1/4-inch thick. After slicing, gently pull the rings apart. Set those separated pieces aside now.
Building the Seasoned Batter
We start with the dry mix. This is where the flavor foundation is laid. In one bowl, whisk everything together well.
- 1 cup all-purpose flour.
- 1 teaspoon fine salt.
- 1/2 teaspoon black pepper.
- 1/2 teaspoon paprika for color.
- 1/4 teaspoon cayenne pepper (if you like a little kick!).
The Liquids for the Batter
In a separate bowl, we prepare the wet components. Whisk these until they look fully combined. This step prevents overmixing later on.
You need just two things here:
- 1 cup of cold milk.
- 1 large, fresh egg.
Step-by-Step Instructions for Old-Fashioned Onion Rings
This is the moment we bring it all together. Follow these steps closely. They are the secret to truly crispy onion rings. I promise, it’s easier than it looks!
Preparing the Onions and Batter Base
First, handle those separated onion rings gently. You don’t want them breaking apart now. Next, pour your wet mix into the dry ingredients bowl. Whisk them together until just smooth. A few tiny lumps are perfectly acceptable, don’t worry about those.
Overmixing makes tough batter. We want light and airy coating. Keep that whisk moving just enough.
Heating the Oil Correctly
Time to heat the oil for frying. Pour about 2 inches of vegetable oil into your heavy pot. Place it over medium-high heat. This is where your thermometer earns its keep.
You must reach 375 degrees F (190 degrees C). This temperature is non-negotiable for crispness. If the oil isn’t hot enough, the batter soaks it up. That makes greasy, sad rings.
Battering and Frying Your Old-Fashioned Onion Rings
Dip your onion rings into that lovely batter now. Let the extra coating drip right back into the bowl. This prevents oil splatter, too.
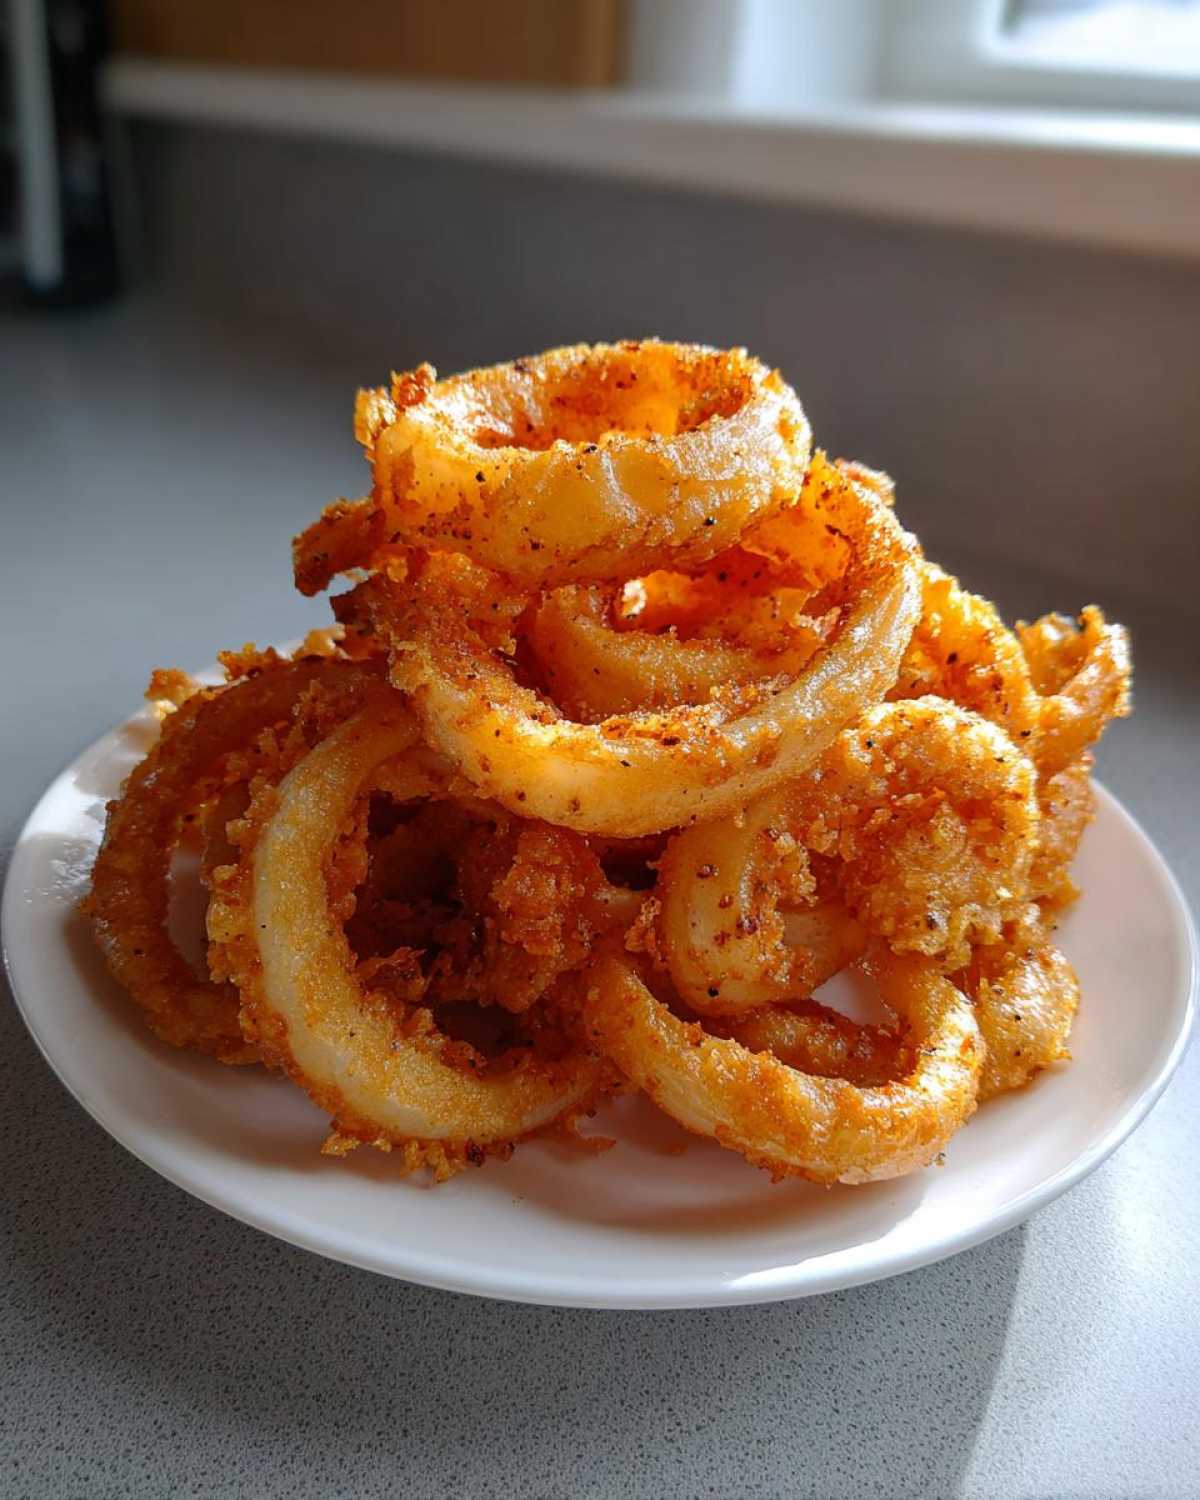
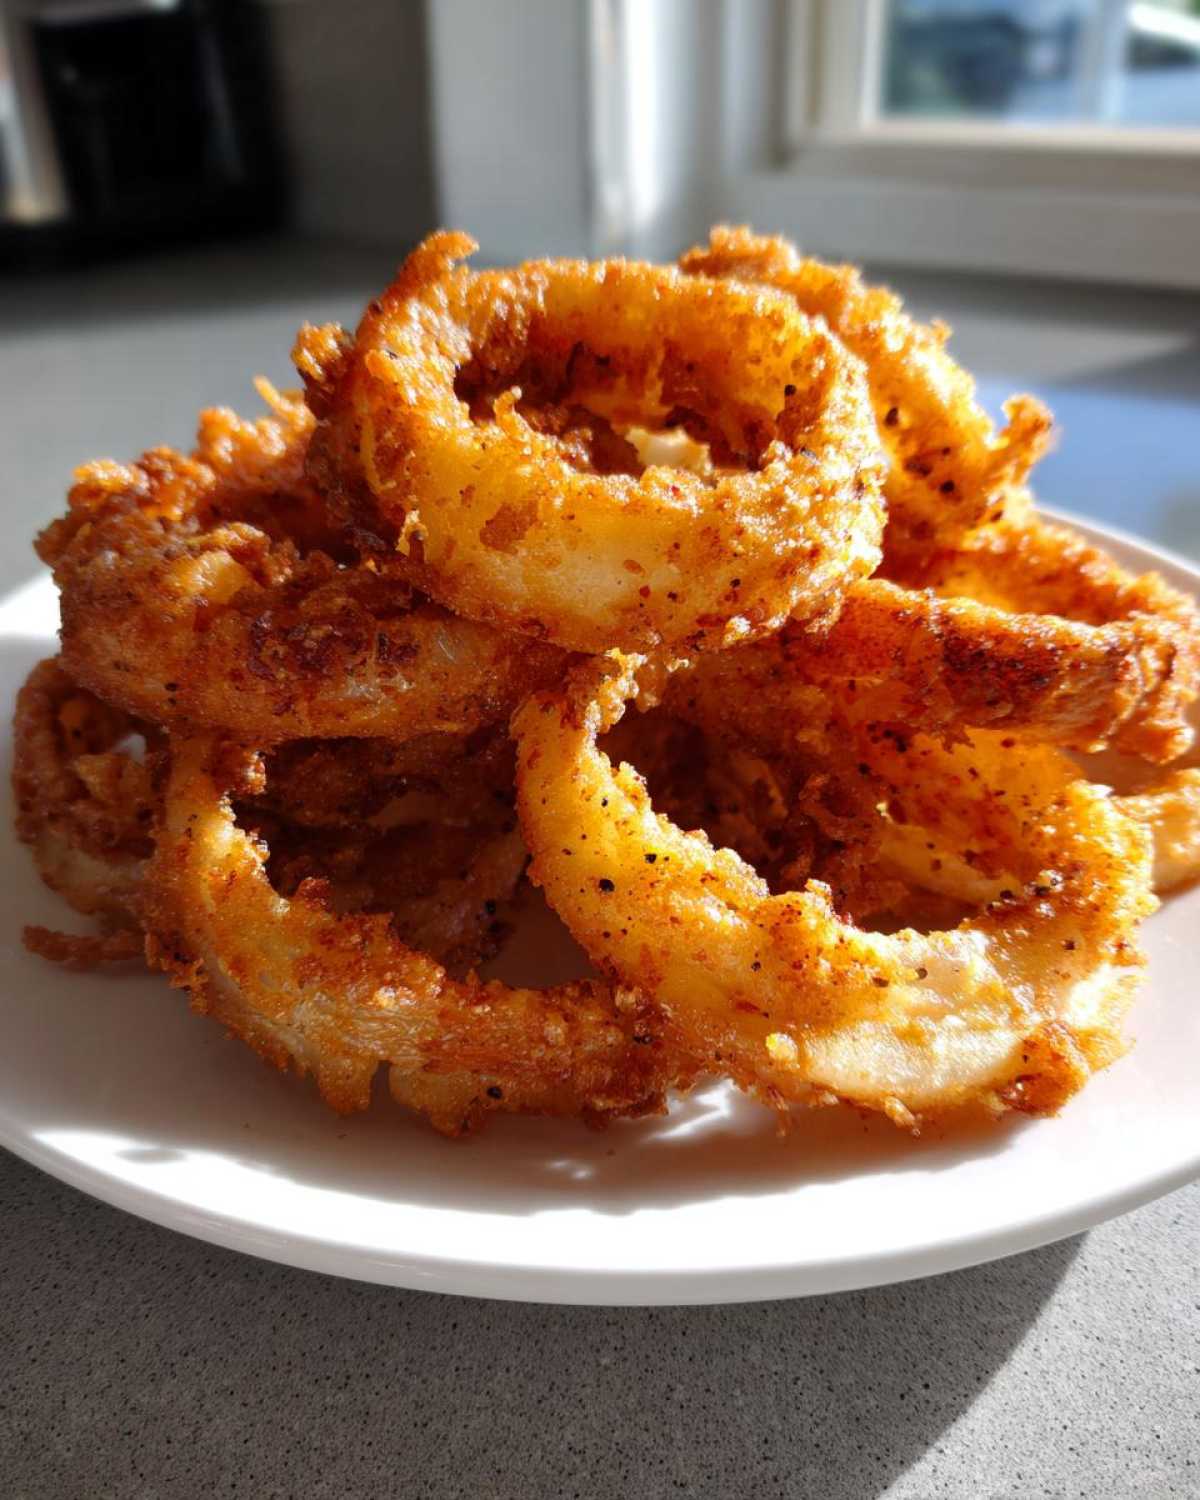
Carefully lower just a few rings into the hot oil. Never overcrowd your pot. Fry them for 2 to 3 minutes per side. Turn them once during this time. Wait until they turn that beautiful golden brown color. They should look wonderfully crisp.
Draining and Serving Immediately
Use your slotted spoon to lift the finished rings out. Move them straight to a wire rack. Set that rack over paper towels first. This catches the extra oil perfectly.
These are best eaten right away. Seriously, serve these immediately while they are piping hot. That first crunch is unbeatable. Don’t wait for anyone!
Tips for Achieving Expert Old-Fashioned Onion Rings
Richard has a few tricks up his sleeve. These little details make a big difference. They turn good onion rings into truly great ones. Trust me, these tips come from years of kitchen trial and error.
Chilling for Extra Crunch
If you have just a little extra time, try this trick. Chill your separated onion rings first. Pop them in the fridge for thirty minutes. This little step helps them hold up better. You get superior crispness this way.
Maintaining Oil Temperature
This is Richard’s biggest rule for frying success. Always watch that thermometer carefully. If the oil temperature drops too low, you are in trouble. Greasy rings are the sad result. Keep that heat steady!
A Small Batter Adjustment
Richard sometimes likes to tinker with the batter. He may add a tiny pinch of baking powder. This can make the batter feel a bit lighter. Feel free to experiment with that small addition yourself.
Frequently Asked Questions About Old-Fashioned Onion Rings
We get asked about frying issues often. It is easy to hit a snag when deep frying at home. Let’s clear up a few common concerns right now.
Why are my homemade onion rings soggy?
Sogginess usually means the oil was too cool. Or maybe you put too many rings in at once. Overcrowding drops the oil temperature fast. This makes the batter absorb too much oil.
Can I make the batter ahead of time?
I really advise against making the batter too early. Freshly mixed batter gives you the best results. It should be used right away for truly crispy onion rings. For more general kitchen advice, check out our kitchen diary blog.
What is the best onion variety for this diner-style recipe?
For these classic Diner Onion Rings, we stick to yellow onions. They offer the perfect flavor base. Their structure holds up well during the frying process.
Estimated Nutrition for Old-Fashioned Onion Rings
When we cook from memory, nutrition often takes a backseat. We are chasing that perfect taste, right? These are a treat, not an everyday meal. We don’t have exact lab results here.
But I can give you a general idea. Think of this as our best guess for one serving size. This estimate is based on the ingredients listed above. Remember, frying always adds to the fat content. For more information on the science of deep frying, you can consult resources on food safety and deep frying.
Here are the typical values we see for this kind of side dish. Consider these figures helpful estimates only:
- Serving Size: About 6 rings per person.
- Calories: Expect around 350 to 400 calories.
- Fat: The fat content will be higher due to deep frying.
- Carbohydrates: Mostly from the flour in the batter.
- Protein: A small amount comes from the milk and egg.
Enjoying these homemade onion rings means savoring the moment. Don’t stress the numbers too much. Just remember they are best served hot for true satisfaction! If you are looking for other quick sides, perhaps try our caramelized onion bacon jam.
Sharing Your Delish Diarist Experience
Well, that’s our little slice of diner heaven made right here. We hope you had fun making these with us. Richard and I truly love sharing these kitchen memories.
Did these taste just like the ones you remember? We are eager to hear your tales. Did you try chilling the rings first? Tell us about your results below.
Your feedback helps our diary grow richer. Rate this recipe for us when you can. Share your golden, crispy triumphs with fellow cooks. We can’t wait to read your stories!
Print5-Minute, Terrific Old-Fashioned Onion Rings

Make classic, diner-style onion rings from scratch. This recipe delivers crispy, golden onion rings with a perfectly seasoned batter, just like you remember.
- Prep Time: 15 minutes
- Cook Time: 15 minutes
- Total Time: 30 minutes
- Yield: 4 servings
- Category: Side Dish/Snack
- Method: Deep Frying
- Cuisine: American Diner
- Diet: Vegetarian
Ingredients
- 2 large yellow onions
- 1 cup all-purpose flour
- 1 teaspoon salt
- 1/2 teaspoon black pepper
- 1/2 teaspoon paprika
- 1/4 teaspoon cayenne pepper (optional)
- 1 cup milk
- 1 large egg
- Vegetable oil, for frying
Instructions
- Slice the onions into 1/4-inch thick rings. Separate the rings gently and set them aside.
- In a medium bowl, whisk together the flour, salt, pepper, paprika, and cayenne pepper.
- In a separate bowl, whisk the milk and egg until combined.
- Pour the wet ingredients into the dry ingredients. Whisk until the batter is smooth. A few small lumps are fine.
- Pour about 2 inches of vegetable oil into a deep, heavy-bottomed pot or Dutch oven. Heat the oil to 375 degrees F (190 degrees C). Use a thermometer to check the temperature.
- Dip the onion rings into the batter, allowing excess to drip off.
- Carefully place a few rings at a time into the hot oil. Do not overcrowd the pot.
- Fry for 2 to 3 minutes per side, turning once, until the rings are golden brown and crisp.
- Remove the onion rings with a slotted spoon and place them on a wire rack set over a paper towel-lined baking sheet to drain excess oil.
- Serve immediately while hot.
Notes
- For extra crispiness, you can chill the separated onion rings in the refrigerator for 30 minutes before battering.
- Richard remembers that a tiny pinch of baking powder can sometimes make the batter lighter, if you wish to experiment.
- Always maintain the oil temperature; if it drops too low, your rings will be greasy.
Nutrition
- Serving Size: 1 serving (approx. 6 rings)
- Calories: Estimate needed
- Sugar: Estimate needed
- Sodium: Estimate needed
- Fat: Estimate needed
- Saturated Fat: Estimate needed
- Unsaturated Fat: Estimate needed
- Trans Fat: Estimate needed
- Carbohydrates: Estimate needed
- Fiber: Estimate needed
- Protein: Estimate needed
- Cholesterol: Estimate needed