

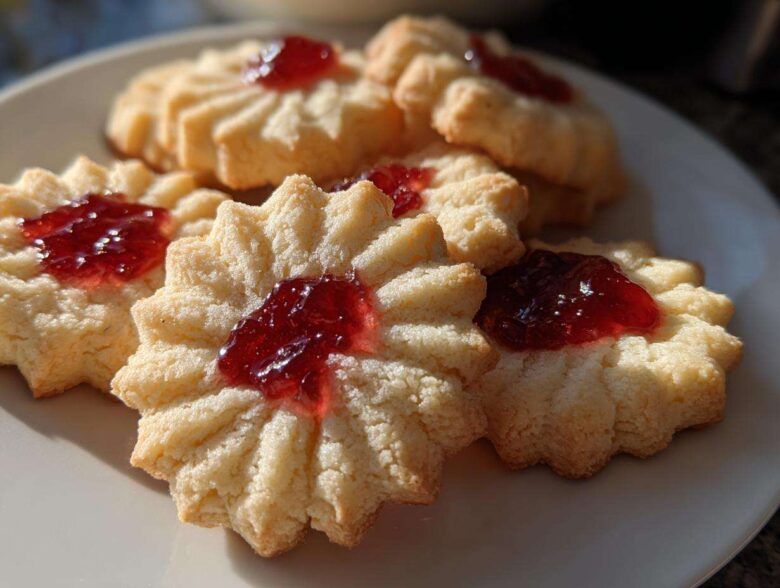
Oh, that beautiful moment when you bite into a cookie and it just dissolves? That is the magic I’m chasing every time I step into the kitchen! There’s just nothing that beats the flavor of those perfect Italian butter cookies you find at the old-school neighborhood bakeries—they’re so rich, but they somehow melt away to nothing on your tongue. For years, I tried every store-bought version, but they were always missing that authentic *oomph*. Trust me when I say, I cracked the code on the Italian butter cookies recipe that delivers that melt-in-your-mouth texture right here at home. This is the recipe I bring out every Christmas, and everyone always asks for the secret!
Why You Will Love These Bakery Style Butter Cookies
I’m telling you, once you try these, you’ll never go back to the store-bought tins. They truly live up to the hype! If you love baking, these Italian butter cookies will be your new go-to, especially because they are so wonderfully versatile.
- They have that real, deep, rich buttery flavor because we use a full cup of quality butter. This isn’t a shy cookie experience, it’s bold!
- The texture is simply unbeatable. They are genuinely melt in your mouth cookies—soft inside, slightly crisp at the edges, never tough or crumbly.
- They are shockingly easy! You don’t need crazy techniques or hours of chilling time before you get to the pressing part. Perfect for a quick afternoon bake.
- These are fantastic giftable cookies. You can dress them up with jam or chocolate and watch them disappear instantly at any gathering. Check out my tips for my favorite holiday baking shortcuts!
Essential Ingredients for Authentic Italian Butter Cookies
Okay, this is where we build the foundation for greatness, so pay attention to the details on your shopping list! When you’re aiming for true Bakery Style Butter Cookies, you can’t skimp on quality here, especially regarding the fat. I’ve listed the basics below, and I swear by these measurements for perfect results every time.
- 1 cup unsalted butter, softened
- 3/4 cup granulated sugar
- 1 large egg
- 1 teaspoon vanilla extract
- 2 1/2 cups all-purpose flour
- 1/2 teaspoon baking powder
- 1/4 teaspoon salt
- Optional: 1/2 cup jam for filling
- Optional: 4 ounces semi-sweet chocolate for dipping
See that butter? It brings the richness, and the vanilla is what gives these Italian Butter Cookie Recipe a classic flavor profile that just sings. It’s what separates a decent cookie from a truly unforgettable one!
Ingredient Notes and Substitutions for Italian Butter Cookies
Now, let’s talk tweaks and temperature control. This dough is pretty forgiving, but achieving that incredible softness relies a lot on your butter!
First tip on butter: Make sure it’s actually soft, not melted! Softened means if you press it gently, your finger leaves an indent, but it’s not greasy or shiny. If the butter is too warm, it won’t cream properly, and you’ll get dense cookies instead of those lovely melt in your mouth cookies.
For upgrades, I sometimes swap just half a teaspoon of the vanilla for a quarter teaspoon of almond extract. That tiny hint of almond really boosts the Italian flavor profile. It’s a personal choice, but one I highly recommend for that authentic taste!
If you decide to go the variation route—and you totally should—the jam needs to be thick so it doesn’t run out while baking. Seedless raspberry or apricot jam works gorgeously. And for the chocolate dip? Make sure you use good quality semi-sweet or bittersweet chocolate chips for the best melt. Trust me on this one!
Step-by-Step Guide to Making Simple Butter Cookie Dough
Alright, let’s get mixing! Making the dough for these Italian butter cookies is fast, which is why I love them for unexpected guests. Remember, the total prep time is just about 20 minutes, which is totally insane for such a rich-tasting treat. We start with the creaming—this is non-negotiable for the texture!
Grab your stand mixer or a big bowl and your electric hand mixer. You need to beat that softened butter and granulated sugar together until it looks pale and fluffy. I mean really fluffy, like pale yellow clouds building up in your bowl. This process traps the air we need for lighter cookies. For a deeper dive on this, check out my guide on creaming butter correctly!
Next, we drop in the egg and that wonderful vanilla extract and beat until it’s all happily combined. Then, we add the dry stuff—flour, baking powder, and salt—but listen up: **Do not overmix!** Seriously. Mix on low speed and stop as soon as you see the last streaks of flour disappear. Overmixing develops gluten, and gluten makes these soft Simple Butter Cookie Dough batches turn tough. We want tender, buttery biscuits, not hockey pucks!
Achieving the Perfect Texture for Italian Butter Cookies
Once you stop mixing, the dough should feel soft, almost like thick Play-Doh. It shouldn’t be sticky or oily, but it should hold its shape when pressed. If you don’t have a cookie press immediately ready to go, that’s okay! You can cover the dough and pop it in the fridge for about 30 minutes. Chilling firms it up slightly, making it easier to handle if you decide to roll logs instead of pressing shapes.
This gentle handling right here is what ensures you get those true Melt In Your Mouth Cookies described on the packaging. When the dough is handled too much or is too warm, the butter starts melting before it hits the oven, and that ruins the structure. Keep it cool, treat it gently, and you have golden (or vanilla-white!) success.
Baking Your Italian Butter Cookies: Temperature and Timing
Putting these beauties into the oven is the most exciting part! You want to make sure your oven is fully preheated to 350°F (175°C). If your oven runs a little hot or cool—and most home ovens do, believe me—it’s worth checking with an oven thermometer first. This is crucial for ensuring that perfect, quick bake time.
Line your baking sheets with parchment paper. This is my absolute favorite non-stick trick for all cookies, especially when you’re making batches upon batches for the holidays. It prevents sticking and makes clean-up a dream!
When you place the pressed shapes or piped swirls on the sheet, give them some space—about two inches apart. These Italian Butter Cookies spread just a tiny bit, and we don’t want them merging into one giant buttery blob! They are quite small, so you might need a couple of sheets going in rotation.
The magic baking window is short. Keep an eye on them! The recipe notes say 10 to 12 minutes, which is usually spot on for an average oven. The visual cue you are looking for is the edges just starting to turn a light golden brown. If they look totally white, they aren’t done, but if you wait until they are dark gold, you’ve gone too far and you’ll lose that melt-in-your-mouth quality in your Homemade Italian Biscuits.
When that perfect golden fringe appears, pull them out! The *Cook Time* is short, so always err on the side of slightly underbaked rather than overbaked. You’ll let them sit on the hot sheet for just 5 minutes while they firm up—this is key so they don’t fall apart when you move them. Then, transfer them gently onto a wire rack to cool completely. Don’t rush this cooling, either! They need to be totally room temperature before you even *think* about dipping them in chocolate or sandwiching them together!
Finishing Touches: Jam Filled and Chocolate Dipped Butter Cookies
Once your italian butter cookies are completely cool—and I mean ice-cold, not even slightly warm—it’s time for the fun part! This is where you customize them for whoever you’re baking for. You can leave them plain for the best coffee pairing cookies ever, or you can dress them up. I love having a platter that mixes the flavors so people can choose their favorite style of these buttery holiday cookies.
First, let’s tackle the sandwich cookies. These are my absolute favorite for gifting because they look so elegant when you see the jam peeking out. For this, you just need a nice, thick jam—apricot or raspberry are traditional favorites. Take two completely cooled cookies and put a small dab of jam right in the center of one. Don’t put the jam too close to the edge, or it’ll squeeze out everywhere when you press the other cookie on top! Gently press them together until the jam spreads almost to the edges. If you aren’t careful, you’ll end up with a sticky mess!
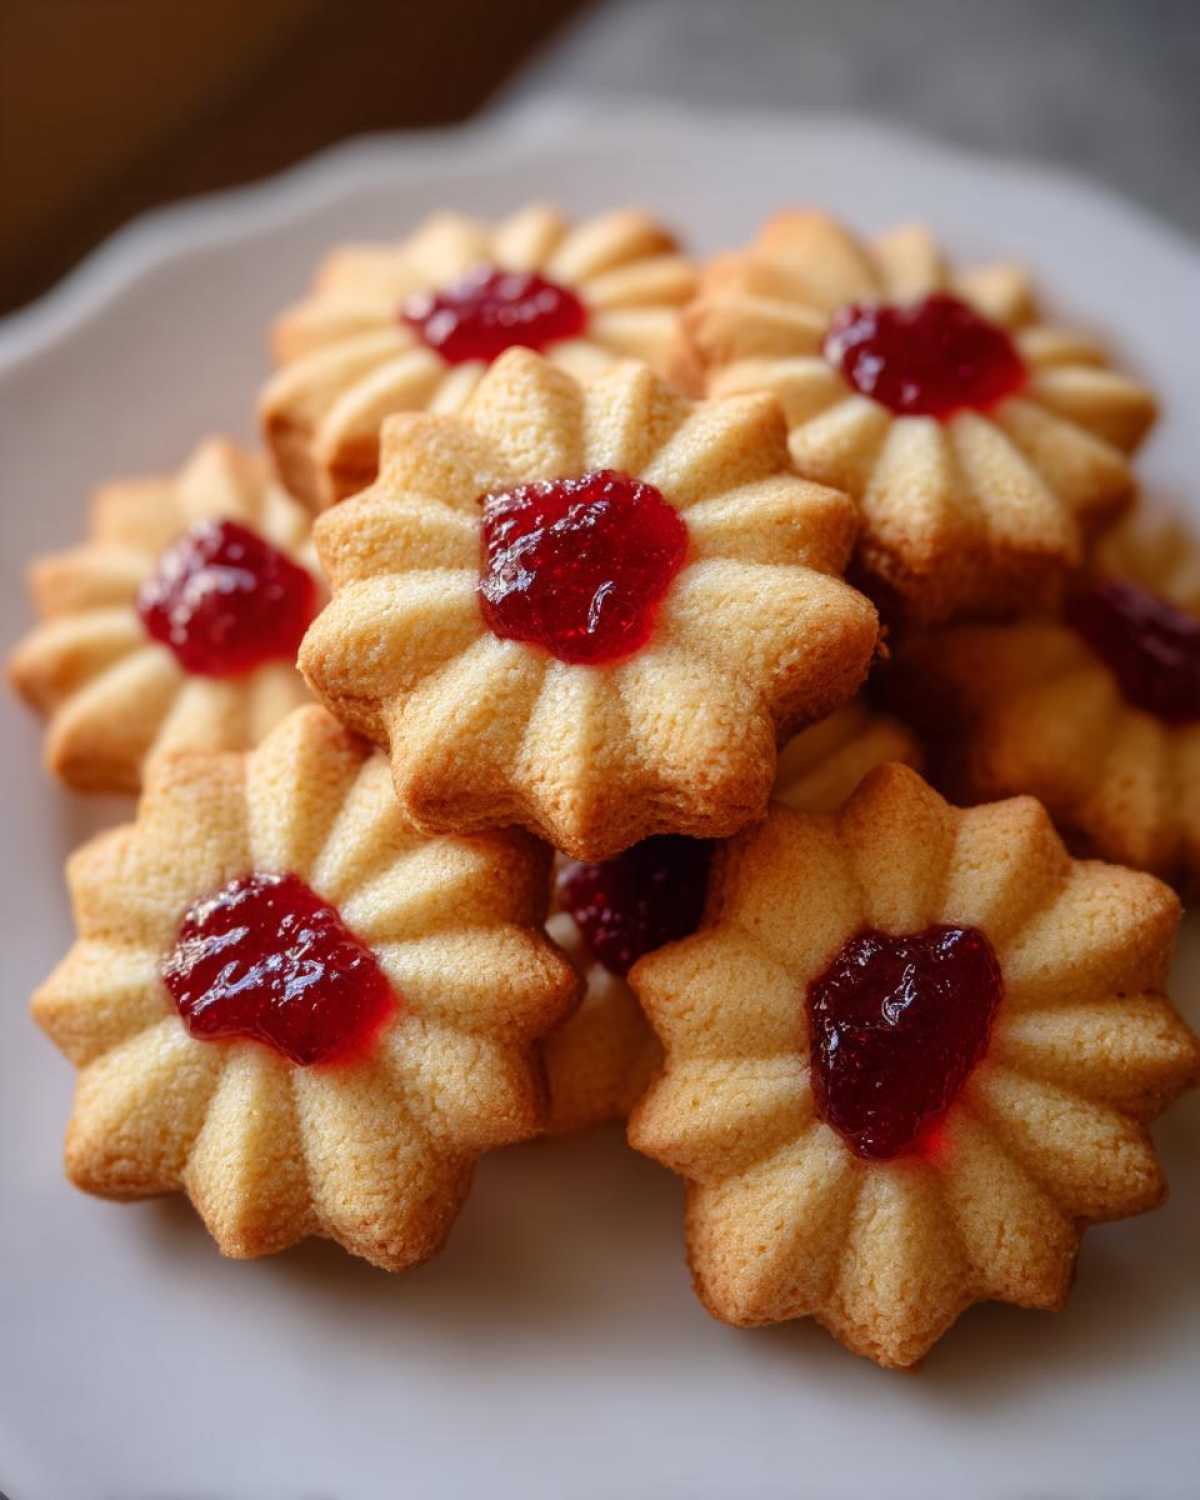
For the chocolate-dipped ones, this is where we add a little sophistication to our easy Italian cookies. You need to melt your chocolate first. I usually do this in a double boiler, but you can carefully use the microwave in short 20-second bursts, stirring in between, until it’s smooth enough to drizzle easily. If you’ve never tempered chocolate before, don’t stress too much for cookies like this! If you want a more professional sheen, check out my basic guide on getting chocolate to set right.
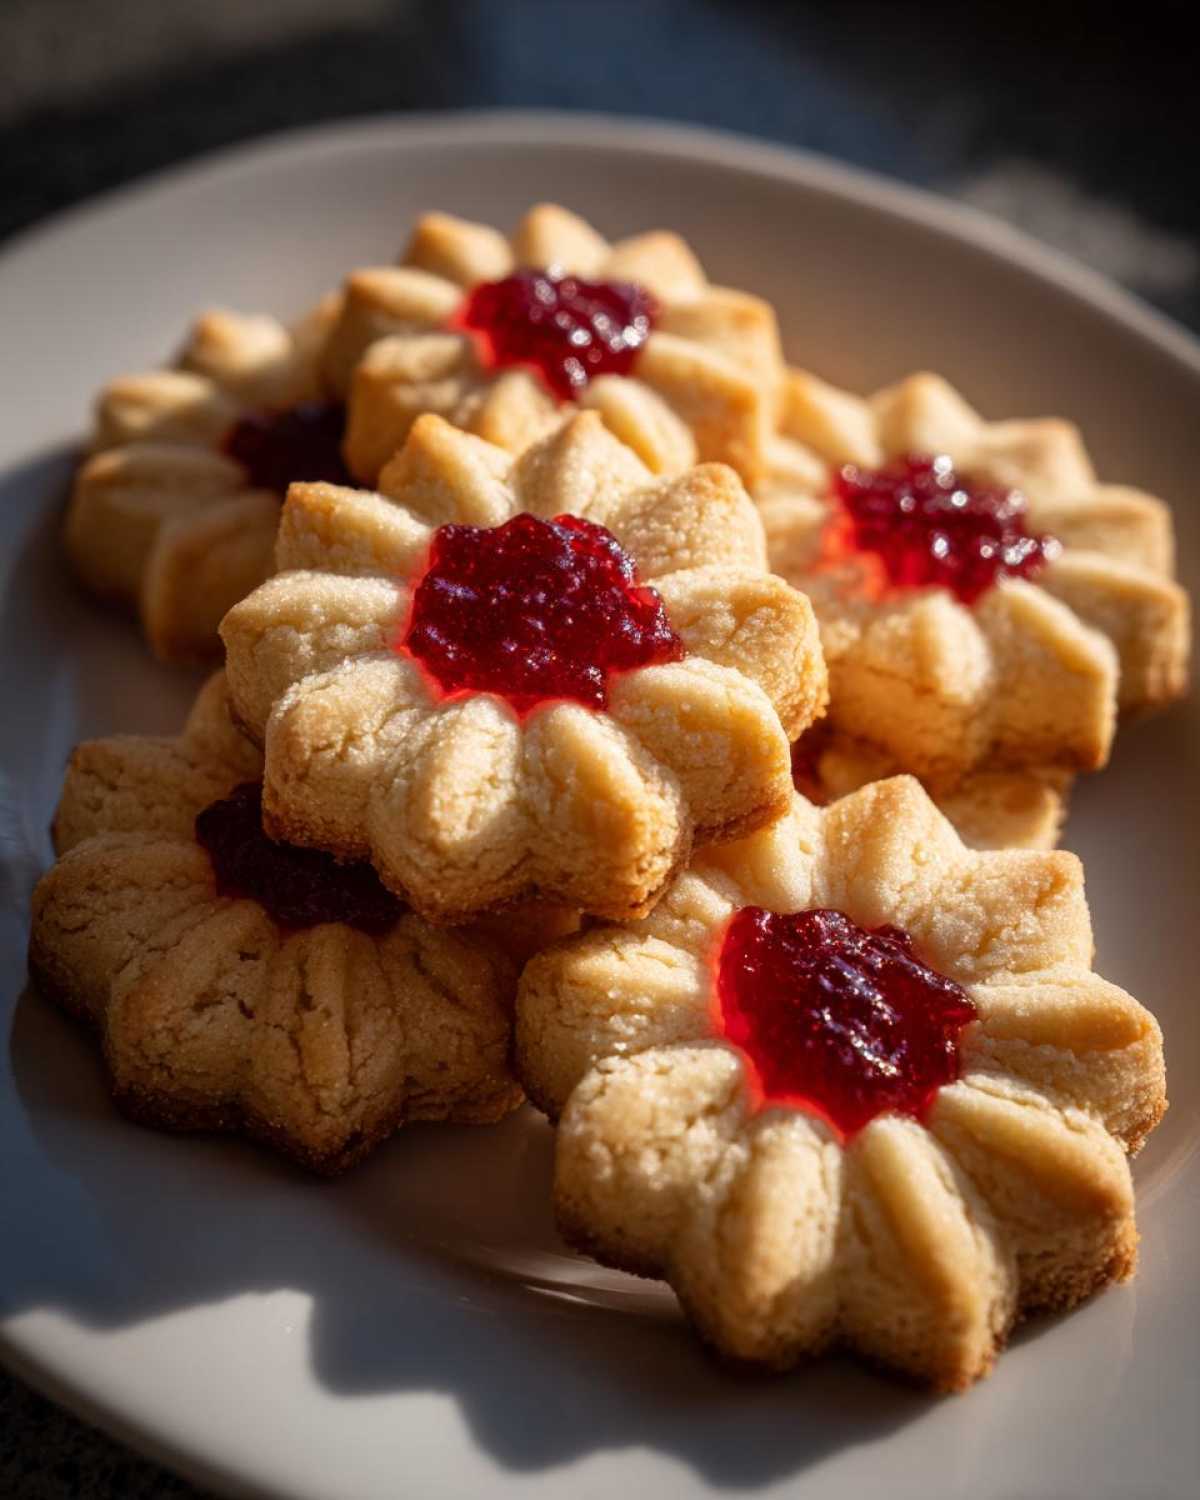
Once your chocolate is ready, take the cooled cookies and dip just the tip or maybe one whole side into the melted chocolate. I try to keep the dip shallow for these traditional Italian dessert cookies—we want the butter flavor to shine, not just the chocolate!
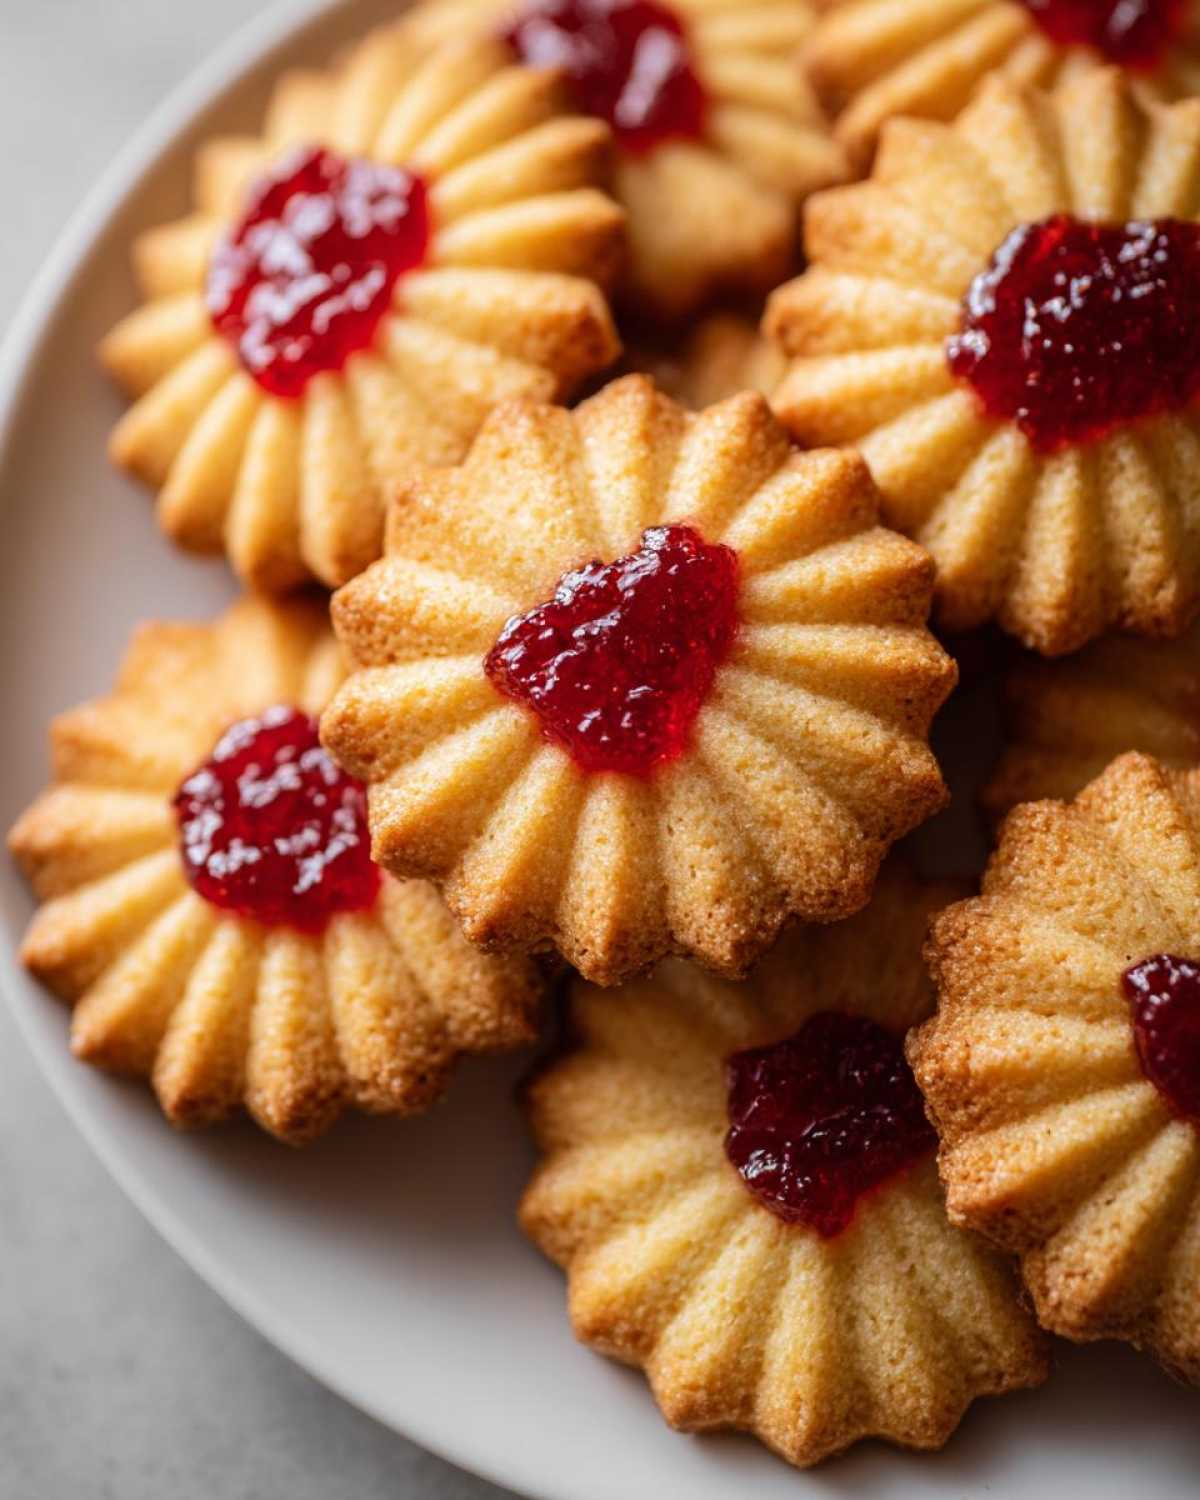
Stand them up on a piece of parchment paper or a wire rack set over a sheet of wax paper to let that chocolate set completely firm. If you’re in a hurry, pop the tray into the fridge for 15 minutes, but letting them set at room temperature always gives a nicer finish. Voilà! You’ve gone from simple dough to dazzling homemade Italian biscuits in minutes.
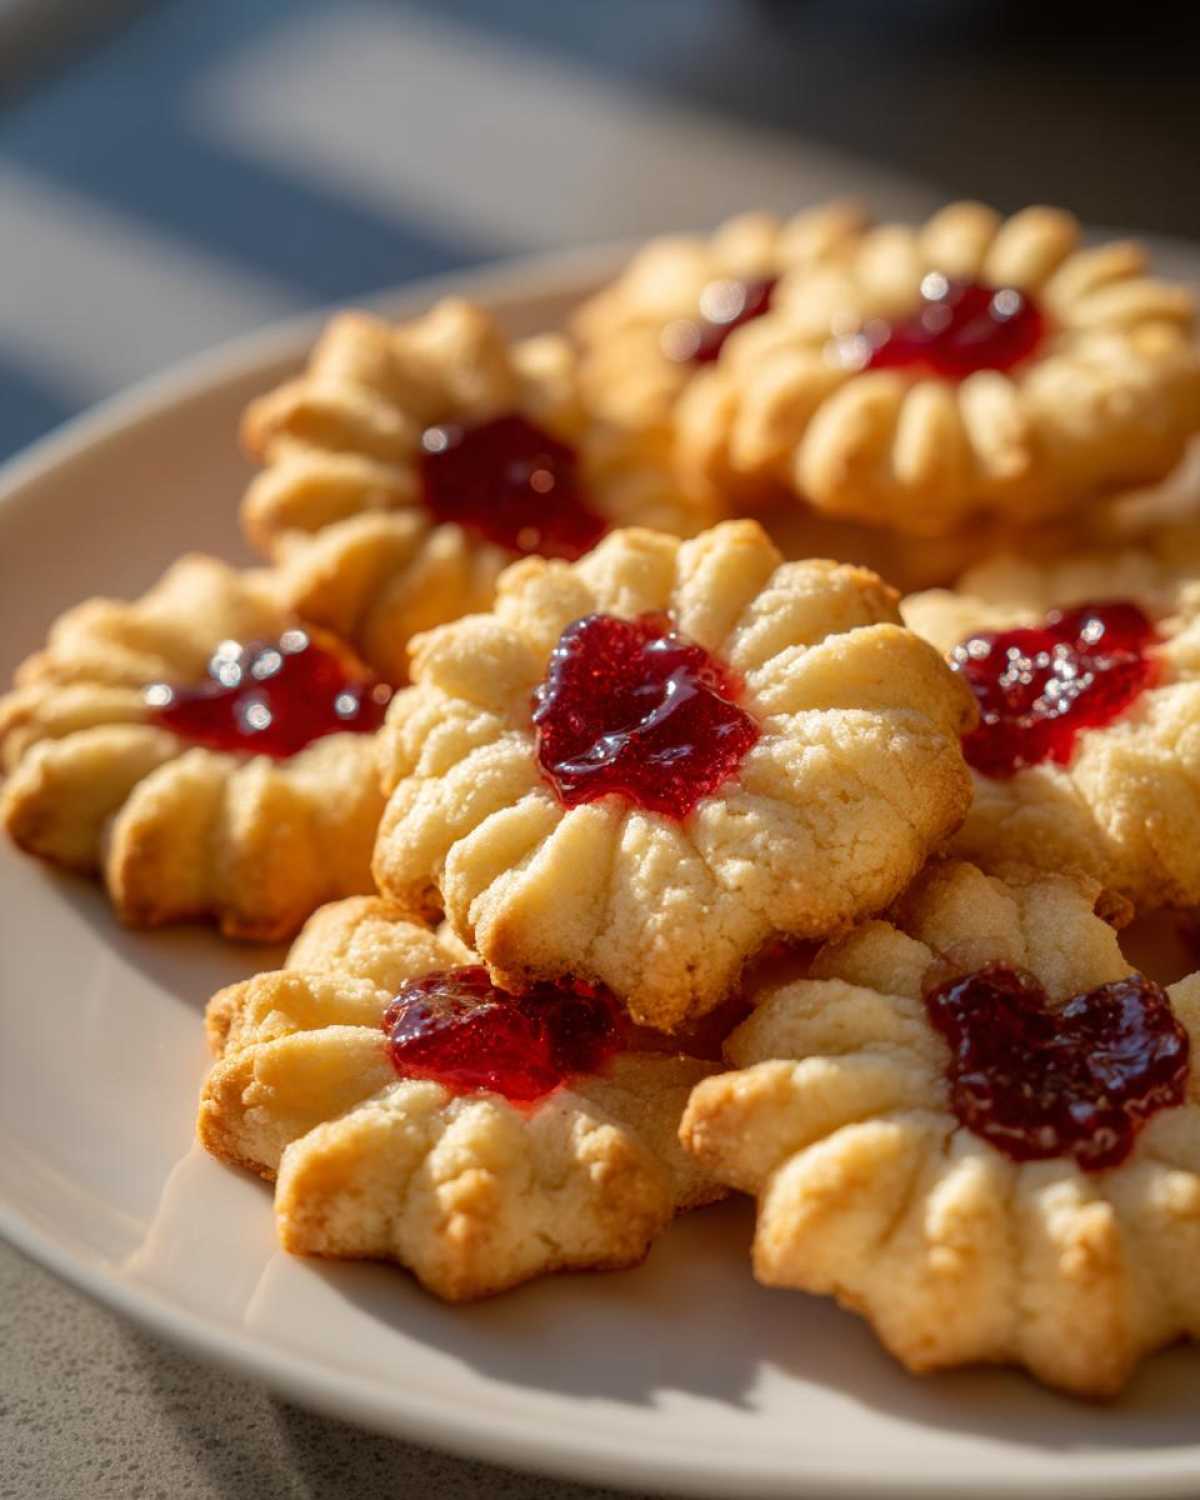
Tips for Success with Homemade Italian Biscuits
I’ve made mountains of these italian butter cookies over the years, and trust me, tiny details make the difference between good and legendary batch. Let’s talk about ingredient quality for a minute, because cheaping out here will show.
Use the best vanilla you can get your hands on. Seriously. Since vanilla is one of the main flavors alongside the butter, a watery, cheap extract won’t cut it. If you can find pure vanilla paste, use it! You get those lovely little black specks which just scream quality when people look at the cookie.
Also, regarding the butter again—use unsalted! I know it seems like a pain, but that way you control the salt exactly. We only call for 1/4 teaspoon of salt in the whole recipe, and that little bit is just there to balance all the sugar and fat. Salted butter throws that balance off completely when you’re aiming for that delicate Bakery Style Butter Cookies profile.
We touched on cooling before the dips, but let’s stress it: cooling is important! If they are even slightly warm when you move them off the sheet, they might snap. Use a gentle offset spatula if you need help getting them off the hot pan after those initial five minutes. Be careful not to press down on them, or you’ll deflate all that lovely air we whipped in!
These are the kinds of Buttery Holiday Cookies that improve the next day, so don’t worry if you bake them ahead of time. In fact, I highly recommend it for parties. Just make sure they are stored correctly. You can check out this external guide on the best ways to keep baked goods fresh if you have concerns about humidity.
Finally, if you find yourself squeezing the dough out of a press and it’s breaking apart, your dough is too dry. That usually means you’ve overworked it during the flour stage. Next time, try adding just 1 teaspoon of milk to the dough mixture before you stop mixing. It sounds small, but it restores that necessary moisture for easy pressing.
Storing and Keeping Your Italian Butter Cookies Fresh
If you manage to have any of these italian butter cookies left over—which is a big *if* in my house—storage is incredibly simple. Because these are classic, straightforward *butter* cookies without any highly perishable fillings (unless you put a lot of fresh fruit jam in them!), they are wonderful make-ahead treats.
My biggest rule for keeping them perfect is to use an airtight container. That’s it! No fancy wrapping required, but you *must* keep the air out. If you leave them exposed, they’ll go stale shockingly fast, and you’ll lose that lovely, delicate texture we worked so hard to achieve. I usually stack them, separated by a square of parchment paper between layers, just so they don’t stick together.
Since these are Giftable Cookies, knowing they last is a lifesaver! These cookies will stay wonderfully fresh at room temperature for a solid week. I mean, they are perfectly fine for seven days sitting in a sealed cookie jar. They often taste even better on day two once the vanilla and butter have really settled in.
If you decide to make them chocolate-dipped or jam-filled, they still last about the same amount of time at room temperature, as long as the chocolate has fully set and the jam layer isn’t excessively thick. Do *not* put them in the fridge! That cold air actually dries out the texture of cookies fast, making them hard instead of that beautiful, soft Simple Butter Cookie Dough texture we established. Keep them cool, keep them dry, and keep the lid tightly closed!
Frequently Asked Questions About This Italian Butter Cookie Recipe
I know when I start a new recipe, I always have a million little questions running through my head, especially if I’m counting on them for a big holiday spread! These italian butter cookies are pretty straightforward, but here are the things I get asked most often when friends try the recipe for the first time. Maybe this will help you get those easy Italian cookies baked perfectly on your first go!
Can I make this Simple Butter Cookie Dough ahead of time?
Yes, you absolutely can! That is one of the best parts about making these ahead for your Italian Christmas Baking plans. Once you’ve mixed the dough to the point where it looks like a soft ball, wrap the whole thing up tightly in plastic wrap. You can keep it in the refrigerator for up to three days. I find that chilling it for about 24 hours actually makes the butter firm up just perfectly, which means when you take it out to press it, it holds its shape even better!
Just a heads-up: If it chills for more than 24 hours, you might need to let it sit on the counter for about 10 minutes before you press it, otherwise, it might be too firm and crack when coming out of the press.
What makes these Traditional Italian Dessert cookies different from Spritz cookies?
This is a great question, and honestly, they are *very* close cousins! Many people use the terms interchangeably, especially if they are using a cookie press. The main difference I’ve found when comparing my Authentic Italian Cookies recipe to classic American *Spritz Cookie Recipe* variations is often the flavor profile.
Traditional spritz cookies often call for a higher amount of almond extract and sometimes have less sugar, aiming for a very crisp, light texture. My recipe here leans heavily into that rich butter flavor and vanilla note, keeping the overall cookie softer—closer to what you’d find in a real Italian bakery case. My version also often feels a little denser than a classic light spritz cookie, aiming for that perfect bite. But honestly, if you use the press method, the physical outcome is nearly identical!
What is the best pairing for these simple vanilla butter cookies?
Oh, I have strong feelings about this! These Vanilla Butter Cookies are designed to be the perfect counterpoint to a strong hot beverage. They are rich and crumbly, so they need something to cut through that richness, right? My top answer is always a strong, dark espresso or a freshly brewed cappuccino. They are amazing Coffee Pairing Cookies!
If you prefer tea, go for a hearty black tea with a slice of lemon. The acidity from the lemon brightens up the buttery flavor beautifully. They are definitely too rich for a light chamomile, in my opinion!
Estimating Nutrition for Your Rich Buttery Pastries
I always hesitate to put out nutritional info because my kitchen scale gets covered in flour about five minutes after I start baking! But for those of you counting things up, I ran the numbers based on the standard recipe yield of about 3 dozen cookies (without jam or chocolate dips).
Keep in mind, these are estimated values per single cookie serving—and these cookies are meant to be an indulgence for special occasions!
- Calories: 110
- Fat: 7g
- Carbohydrates: 10g
- Protein: 1g
- Sugar: 7g
As you can see, these rich buttery pastries are definitely higher in fat, but that’s what makes them taste heavenly! Enjoy them guilt-free when you have them!
PrintAuthentic Bakery-Style Italian Butter Cookies

Make rich, melt-in-your-mouth Italian butter cookies with this straightforward recipe, perfect for holidays or gifting.
- Prep Time: 20 min
- Cook Time: 12 min
- Total Time: 32 min
- Yield: About 3 dozen
- Category: Dessert
- Method: Baking
- Cuisine: Italian
- Diet: Vegetarian
Ingredients
- 1 cup unsalted butter, softened
- 3/4 cup granulated sugar
- 1 large egg
- 1 teaspoon vanilla extract
- 2 1/2 cups all-purpose flour
- 1/2 teaspoon baking powder
- 1/4 teaspoon salt
- Optional: 1/2 cup jam for filling
- Optional: 4 ounces semi-sweet chocolate for dipping
Instructions
- Preheat your oven to 350°F (175°C). Line baking sheets with parchment paper.
- In a large bowl, cream together the softened butter and sugar until light and fluffy.
- Beat in the egg and vanilla extract until combined.
- In a separate bowl, whisk together the flour, baking powder, and salt.
- Gradually add the dry ingredients to the wet ingredients, mixing until just combined to form a soft dough. Do not overmix.
- Transfer the dough to a cookie press fitted with your desired shape disc (like a star or wreath) or roll the dough into small logs or balls.
- Place the cookies about 2 inches apart on the prepared baking sheets.
- Bake for 10 to 12 minutes, or until the edges are lightly golden.
- Let the cookies cool on the baking sheet for 5 minutes before transferring them to a wire rack to cool completely.
- For jam-filled cookies, sandwich two cooled cookies together with a small amount of jam.
- For chocolate-dipped cookies, melt the chocolate and dip the tips or bottoms of the cooled cookies. Let the chocolate set before serving.
Notes
- For a stronger vanilla flavor, substitute 1/2 teaspoon of vanilla extract with 1/4 teaspoon of almond extract.
- If you do not have a cookie press, you can chill the dough for 30 minutes and slice it, or roll it into small balls and flatten them slightly with a fork.
- These cookies store well in an airtight container at room temperature for up to one week.
Nutrition
- Serving Size: 1 cookie
- Calories: 110
- Sugar: 7
- Sodium: 35
- Fat: 7
- Saturated Fat: 4
- Unsaturated Fat: 3
- Trans Fat: 0
- Carbohydrates: 10
- Fiber: 0
- Protein: 1
- Cholesterol: 25