

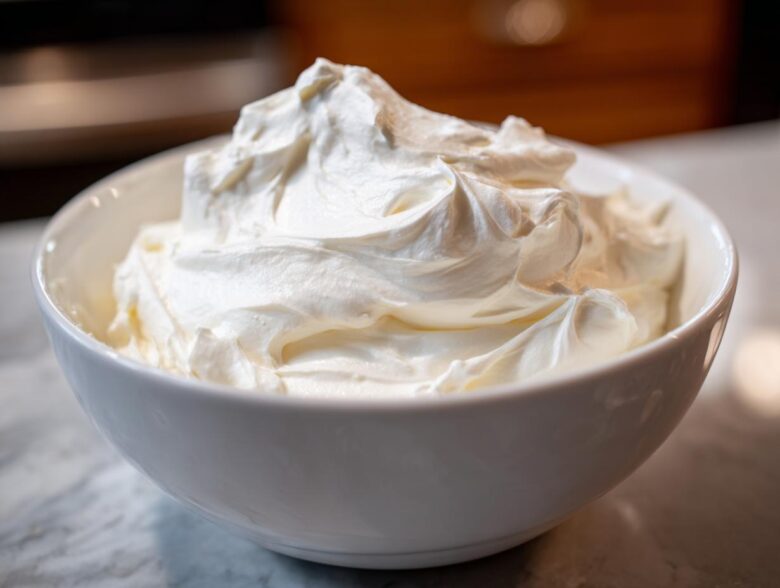
Oh, friend, I remember the dark days of cookie decorating! You spend hours cutting out perfect shapes, you bake them until they’re just right, and then you get to the icing part—and it’s a disaster. Crumbly, too runny, or worse, it looks beautiful but stays sticky for three days! It’s enough to make you want to just eat the cookies plain. But I cracked the code, trust me. After a lot of sticky messes, I finally settled on this no-fail, fantastic royal icing recipe. This version uses meringue powder, which is my secret weapon because it gives such wonderfully smooth results that dry hard as a rock. If you’ve been searching for the best royal icing recipe that lets you achieve those crisp, professional lines, welcome home. This is it! For more of my kitchen adventures, you can always check out my main blog page.
Why This is the Best Royal Icing Recipe for Sugar Cookies
I swear by this specific royal icing recipe because it solves all the decorating headaches we talk about. It’s not just another icing; it’s the foundation for beautiful cookie boxes. When people ask how I get my iced cookies to stack perfectly without smearing, I point them right here! Forget soft, gummy tops—we are aiming for perfection.
- It dries incredibly smooth, giving you that professional, flawless finish.
- It hardens completely, which is essential if you plan on packaging or stacking your gorgeous sugar cookies.
- It takes color beautifully, allowing for vibrant hues without watering down the consistency.
Achieving That Perfect Stable Icing for Cookies
The main reason this icing is so stable comes down to the meringue powder. While you absolutely *can* use fresh egg whites, meringue powder gives you such a reliable structure, especially if you’re a beginner or if you’re baking in high humidity. That powder ensures your royal icing recipe whips up consistently stable every single time, making sure your hard work stays pristine until it gets to the party. It’s truly the secret to a rigid, lovely shell.
If you need tips on slicing pies cleanly after all that decorating, maybe check out my guide for the no-bake Nutella pie stabilization!
Gathering Ingredients for Your Foolproof Royal Icing Recipe
Okay, laying out your ingredients is the first big step to making this *royal icing recipe* foolproof. It’s super simple, thankfully! We only need four things, but you have to treat them right. Like with my banana bread recipe, prep work matters! You absolutely must sift that powdered sugar. If you skip this, you’re going to end up with lumps, and nobody wants that scratchy feeling in their beautiful, smooth icing. Trust me, the extra second it takes to push that sugar through the sifter makes all the difference for a truly glossy result.
Here’s what you’ll need to pull together:
- 3 cups powdered sugar, and yes, sift it!
- 2 tablespoons meringue powder
- 1/4 cup warm water (just slightly warm, not hot)
- 1/2 teaspoon clear vanilla extract (I like clear because it won’t tint the white icing yellow!)
When you are ready to bake next, don’t forget to check out my ultimate trick for moist chocolate chip banana bread!
Simple Royal Icing Instructions: How to Make Royal Icing
The instructions for this royal icing recipe are beautifully straightforward once you have your dry ingredients ready. We’re going to whip this up in about ten minutes flat! Seriously, this is the definition of easy cookie decorating icing. Following these simple royal icing instructions ensures you get the structure right from the very start. Remember, we start low and slow. Using your electric mixer, gently combine the sifted sugar, meringue powder, warm water, and vanilla on the lowest speed. You don’t want to create a sugar cloud that blankets your whole kitchen! Scrape down those sides really well after it first combines, and then we crank it up!
The real magic happens when you ramp that speed up to medium-high. You need to beat this stuff for a full five to seven minutes. I know it feels like a long time when you just want to start piping, but those minutes are where the air gets incorporated to create that professional look. If you’re looking for a way to make a creamy sauce in half the time, check out my creamy chicken gnocchi recipe for inspiration!
Whipping Up Royal Icing to Stiff Peaks
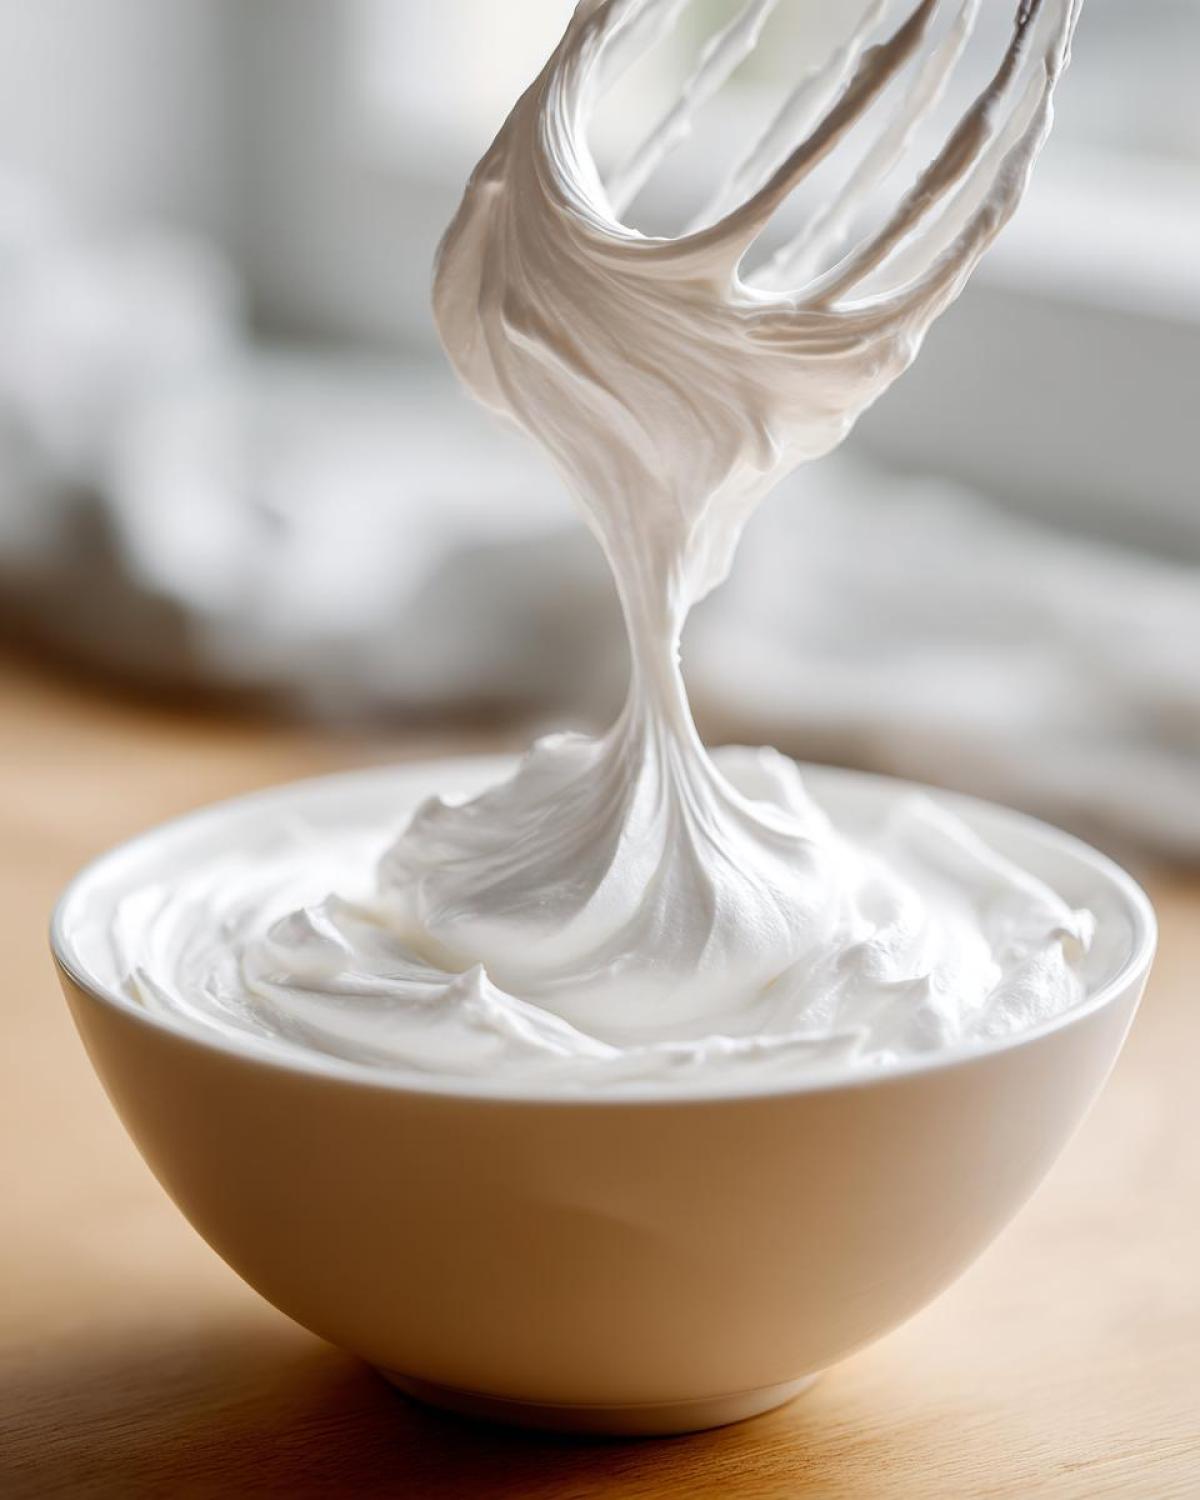
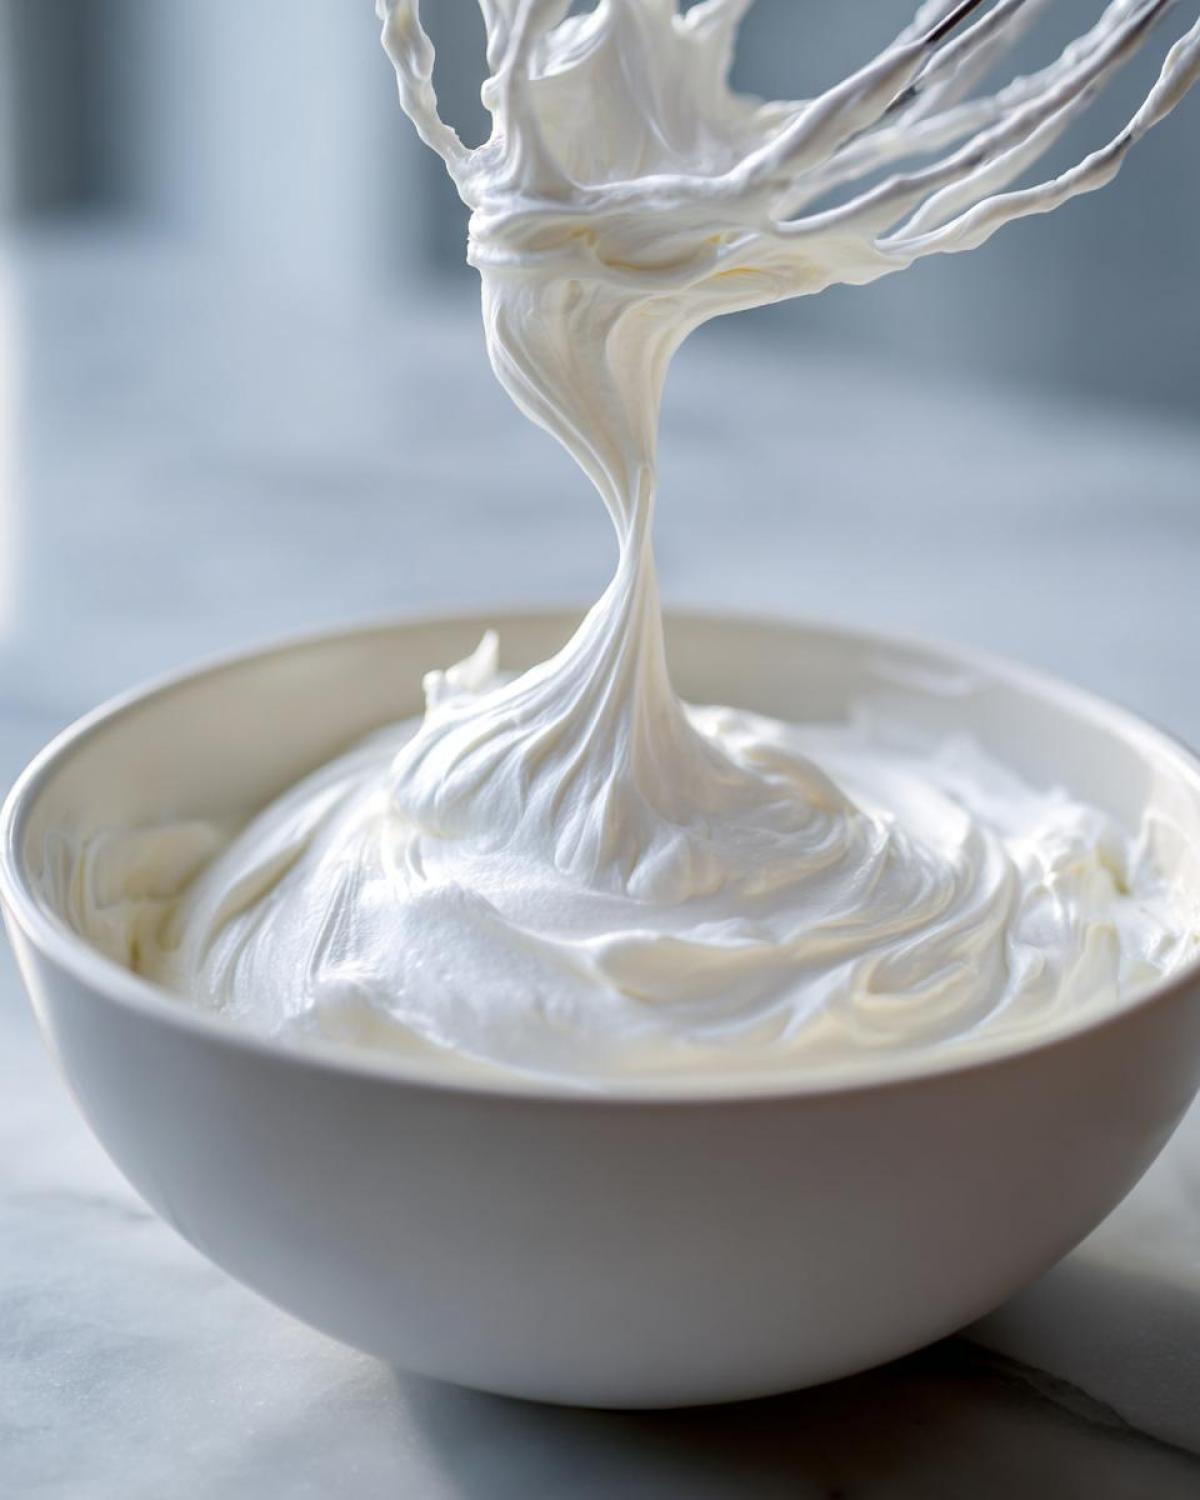
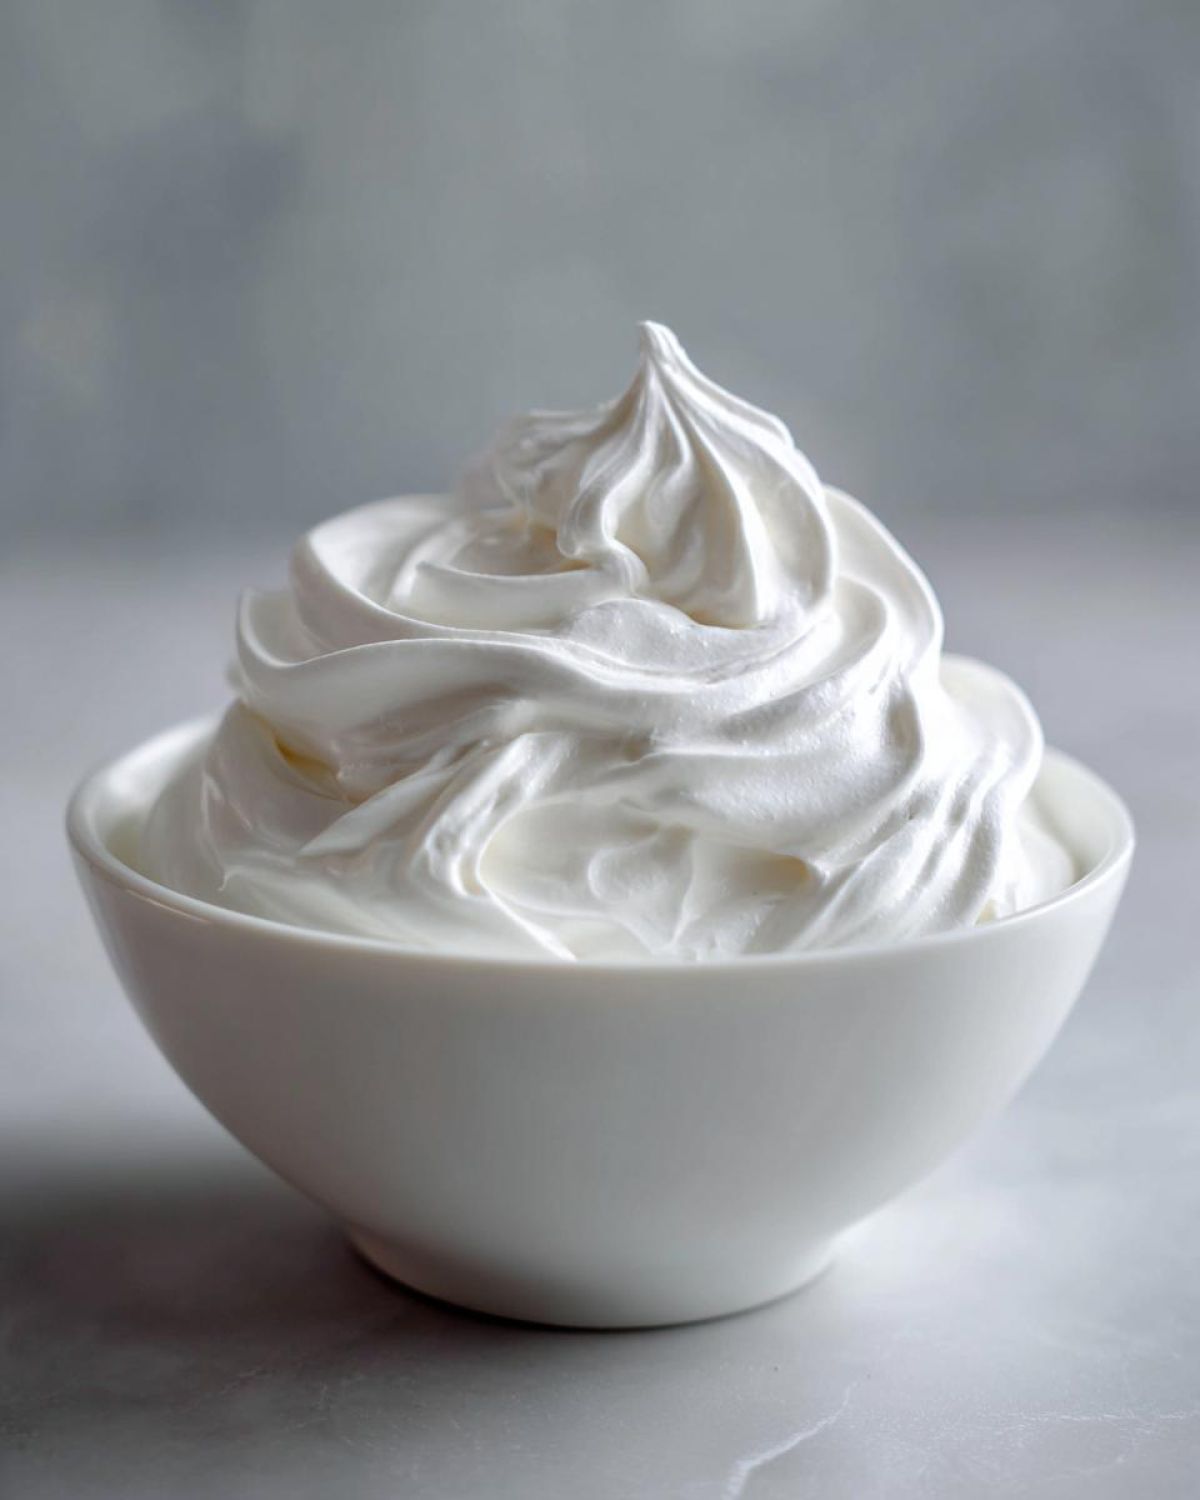
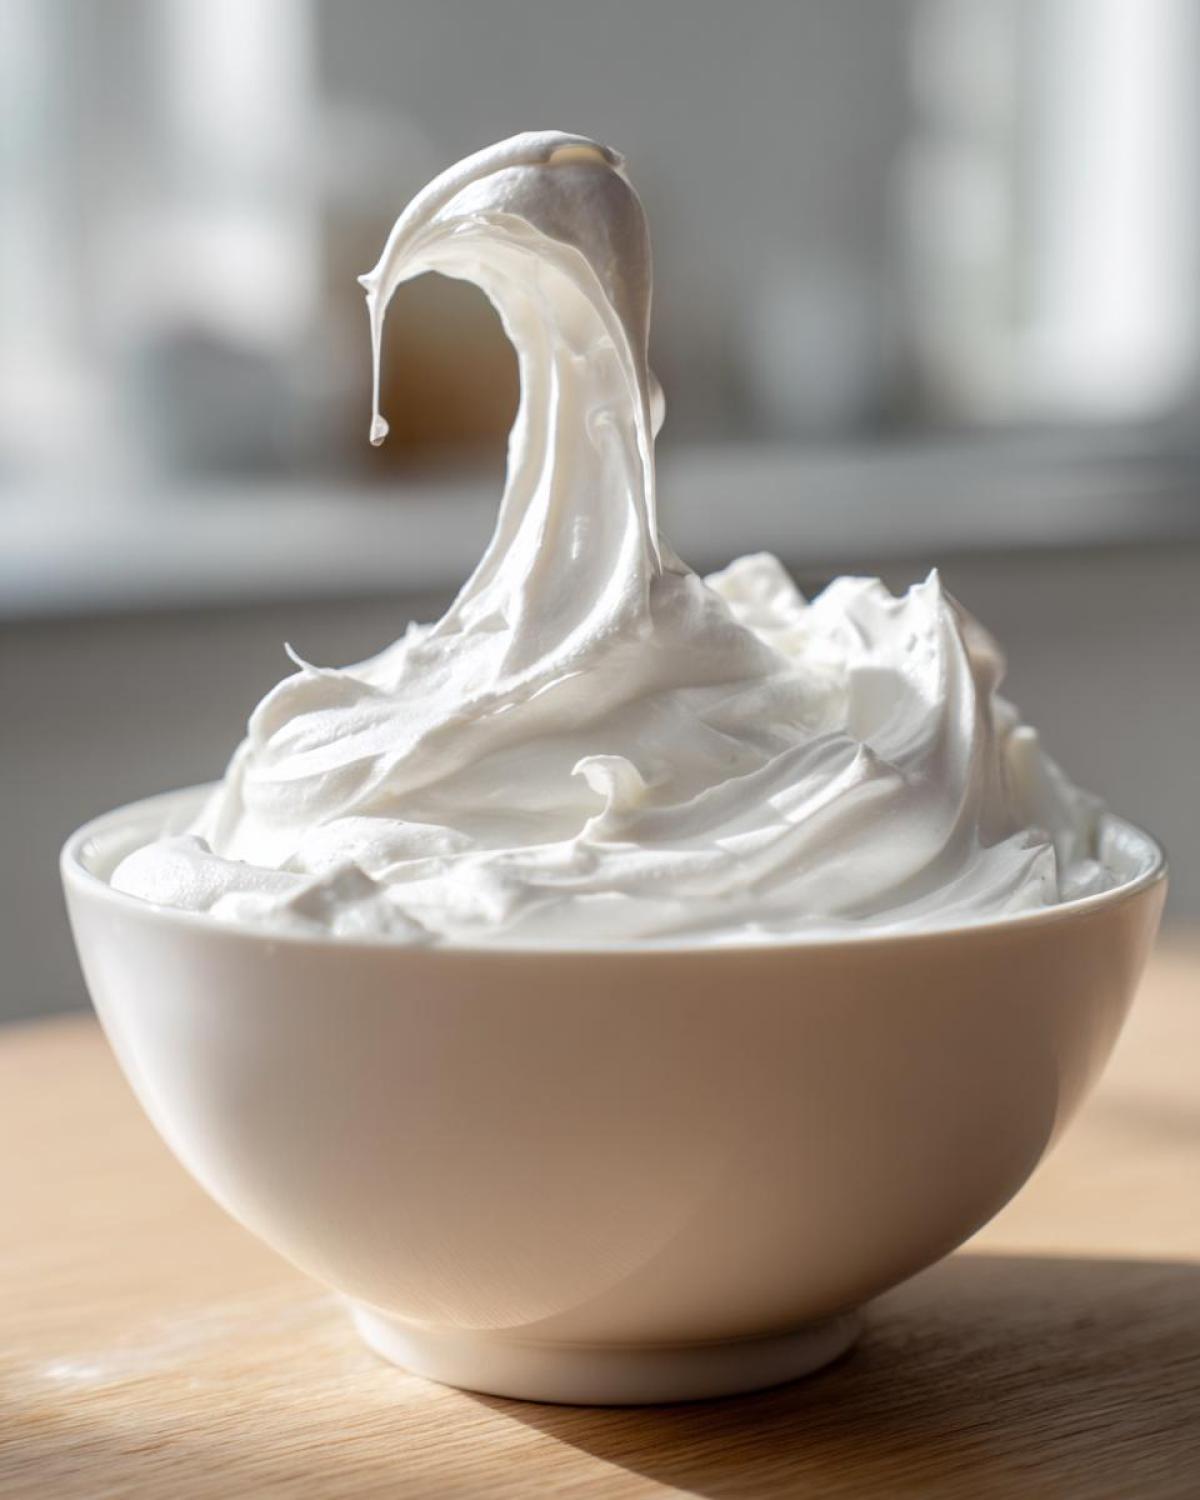
When those five to seven minutes are up, stop the mixer and look. You’re waiting for two things: glossiness and stiffness. The final product should look incredibly shiny, almost wet, but if you lift the whisk, it needs to hold a distinct peak that doesn’t flop right over. That stiff peak means your royal icing recipe is perfectly aerated and ready to give you that professional cookie icing technique you’ve been dreaming of. If it’s too stiff, don’t panic! That’s an easy fix we cover next.
Mastering Consistency: Tips for Piping and Flooding Icing
Okay, this is where we move from a basic white blob to actual cookie artistry! Getting the right consistency is honestly the hardest part of any royal icing recipe, but once you get this down, you’ll feel like a total pro. You need at least two textures: outlining consistency and flooding consistency. Outlining is the thick stuff that holds its shape when you pipe a border—it should hold a line when you drizzle it off a spoon. The flooding consistency is much thinner, basically liquid velvet that covers the cookie evenly. For flooding, you should drizzle it off the spoon and watch the surface smooth out on its own in about ten seconds. If you can’t remember that timing, just remember: less water for rigid lines, more water for smooth filling!
If you’re already thinking about glazes for savory items, you might want to look at my hot honey chicken glaze timing!
Troubleshooting Your Royal Icing Recipe When It’s Too Thick or Thin
Don’t let a slightly off consistency stress you out! It’s SO easy to fix this royal icing recipe. If you piped your border and it immediately collapsed into a puddle, you need more powdered sugar. Add it one small tablespoon at a time, mixing well after each addition until it feels strong again. Now, if you’re trying to flood and the icing is just sitting on top of the cookie like stiff peaks that won’t self-level? You need drops of water! Add your water one teaspoon at a time and mix gently. This fine-tuning is the secret to getting that perfect, smooth cookie icing recipe that looks like it came from a bakery. Seriously, take your time adjusting; it’s worth it for that amazing professional finish!
Coloring and Storing Your Perfect Royal Icing Recipe
Once you’ve achieved that perfect silky texture in your royal icing recipe, it’s time to make it pretty! A quick tip, and this is something I learned watching a pro baker: use gel food coloring, not liquid drops. Liquid color can throw off the delicate water balance we worked so hard to achieve, making your icing runny. Gel colors give you vibrant hues without adding extra liquid.
Now for storage—this is non-negotiable! Royal icing hates the air; it dries out instantly, turning into a hard, unusable block on top. When you’re done coloring a batch, cover that bowl immediately! I mean it, take a piece of plastic wrap and press it directly onto the surface of the icing, making sure there are absolutely no air pockets between the wrap and the icing. If you do that, this royal icing recipe will stay perfectly usable in the airtight container at room temperature for up to a week. If you need longer, you can freeze it, but I usually try to use it within seven days. If you want ideas for what to serve alongside your beautiful cookies, you have to try my carrot ribbon salad sometime!
Expert Tips for a Beginner Royal Icing Tutorial
If you’re reading my royal icing recipe hoping to elevate your cookie game, this section is for you! I really think this is the most approachable beginner royal icing tutorial out there. My number one tip for success, after getting the ratios right, is respecting your mixer. When you start beating this icing, don’t just throw the mixer on high! Start low until everything is incorporated—we talked about avoiding that sugar dust cloud, right? Then, you let it whip for those full five to seven minutes. That extended whipping time is the number one secret to achieving a professional cookie icing technique that isn’t grainy.
And please, please, please—as soon as you’re done mixing or coloring, cover every single bowl. I cannot stress this enough. Even a few minutes uncovered can start the hardening process! If your icing starts looking tacky on top, just stir it gently before you bag it up. It keeps the whole process frustration-free. Don’t forget to peek at how I get my eggs just right on my avocado toast—it’s all about timing, just like with this icing!
Storage and Shelf Life for Your Cookie Decorating Icing
Proper storage is the final checkpoint for making sure this royal icing recipe doesn’t fight you later on! Once you’ve mixed up your batch of cookie decorating icing, any unused portion needs to be treated like royalty—which means total airtight protection. I mentioned it before, but it bears repeating: plastic wrap pressed directly onto the surface of the icing is non-negotiable. I use that method for everything, even if I’m just setting a bowl aside for ten minutes while I finish coloring another batch.
If you’re making a huge holiday batch, you absolutely can keep this icing longer than a week, which is great news! You can portion off what you need for immediate use and freeze the rest. Just seal it really well in a freezer bag, squeezing out as much air as humanly possible. You want to make sure it’s tightly sealed to prevent any freezer burn, which can ruin the texture when you thaw it out.
When you’re ready to thaw, let it sit overnight in the fridge. Do NOT try to microwave it! When you bring it out, you might see a tiny bit of weeping or separation—that’s totally normal, considering how much sugar is in this royal icing recipe. Just give it a quick, gentle stir or a very short mix on low speed, and it should snap right back into that glossy, perfect consistency we are aiming for. If you’re interested in the science behind why certain liquids might separate, my post on the protein chia pudding liquid ratio actually discusses hydration stability in a similar way!
Frequently Asked Questions About This Royal Icing Recipe
I get so many direct messages asking about the little details of this royal icing recipe, so I figured I’d answer a few common ones right here! Everyone wants to know how to get that picture-perfect cookie, and usually, the anxiety comes down to drying time or texture issues. Don’t worry; we’ve got you covered for creating that reliable, stable icing for cookies.
How long does this royal icing recipe take to dry hard?
This is the million-dollar question! If you use this royal icing recipe in a thin layer for flooding, it usually dries quite hard within about 6 to 8 hours at room temperature. However, if your kitchen is really humid—like you just ran the dishwasher or it’s a rainy day—it can take up to 12 hours, sometimes more. For thick outlines, you need to give it a full 24 hours before you try stacking them, just to be safe! This recipe promises to dry hard, but humidity is its natural enemy!
Can I use regular vanilla instead of clear vanilla in this royal icing recipe?
Yes, you totally can swap it out, and it’s fine for flavor! The reason I always push for clear vanilla in my royal icing recipe is purely aesthetic. Vanilla extract has a caramel color to it, right? If you use standard vanilla, especially in a large batch, your pristine white icing might turn a very pale, slightly off-white or yellowish tint. If you’re planning on coloring your icing bright blue or neon pink, nobody will notice. But if you want a pure snow white base for delicate work, stick with the clear stuff. For more inspiration on color and flavor balance, check out my tips for a smooth lemon parmesan pasta sauce—it’s all about balance!
Estimated Nutritional Data for This Simple Royal Icing Recipe
Now, before you all grab your measuring spoons, I have to give you the serious baker’s safety disclaimer for this royal icing recipe! Since this is an incredibly simple mix of sugar and powder, the numbers are pretty straightforward. However, please remember that these are just estimates based on the standard measurement of about 1/4 cup of prepared icing, which is what you’re likely using per cookie session. These figures don’t account for any extra water you might add when thinning it out! If you want to see some other reliable estimations, check out the basics on my blog page.
- Serving Size: 1/4 cup prepared icing
- Calories: 180
- Sugar: 45g
- Sodium: 10mg
- Fat: 0g
- Protein: 1g
Easy Royal Icing Recipe with Meringue Powder

A simple, reliable recipe for royal icing using meringue powder that dries hard and smooth, perfect for decorating sugar cookies.
- Prep Time: 10 min
- Cook Time: 0 min
- Total Time: 10 min
- Yield: Enough to cover approximately 2 dozen medium cookies
- Category: Baking Decoration
- Method: Mixing
- Cuisine: American
- Diet: Vegetarian
Ingredients
- 3 cups powdered sugar, sifted
- 2 tablespoons meringue powder
- 1/4 cup warm water
- 1/2 teaspoon clear vanilla extract (or other flavoring)
Instructions
- In a large bowl, whisk together the sifted powdered sugar and meringue powder.
- Add the warm water and vanilla extract to the dry ingredients.
- Using an electric mixer, start on low speed until the ingredients are just combined. Scrape down the sides of the bowl.
- Increase the speed to medium-high and beat for 5 to 7 minutes until the icing is very smooth, glossy, and holds stiff peaks.
- If the icing is too thick for outlining, add water, 1 teaspoon at a time, beating well after each addition until you reach the desired consistency.
- If the icing is too thin for piping, add more sifted powdered sugar, 1 tablespoon at a time.
- Divide the icing into bowls for coloring, if desired. Cover all unused icing with plastic wrap pressed directly onto the surface to prevent drying.
Notes
- For outlining consistency, the icing should hold a line when drizzled off a spoon.
- For flooding consistency, add water until the icing flows smoothly off a spoon and the surface smooths out in about 10 seconds.
- Store colored icing in airtight containers at room temperature for up to one week, or freeze for longer storage.
Nutrition
- Serving Size: 1/4 cup prepared icing
- Calories: 180
- Sugar: 45g
- Sodium: 10mg
- Fat: 0g
- Saturated Fat: 0g
- Unsaturated Fat: 0g
- Trans Fat: 0g
- Carbohydrates: 45g
- Fiber: 0g
- Protein: 1g
- Cholesterol: 0mg