

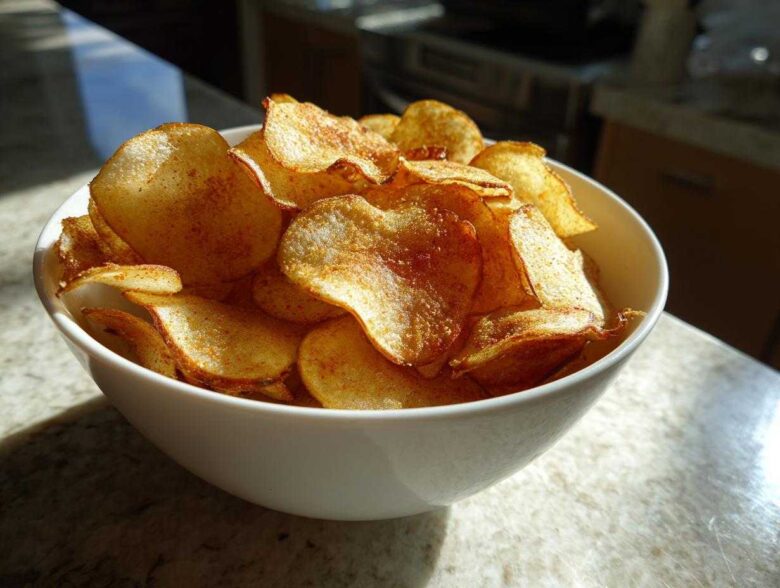
Oh my gosh, are you ready for this? There is nothing, and I mean *nothing*, in this entire world that hits the spot quite like a truly crunchy snack you made yourself. Forget those sad, stale bags in the pantry! We are talking about going from raw potato to the ultimate, shatteringly crisp potato chips right here, right now. I’ve spent way too many evenings staring down sad, floppy attempts, but trust me, I’ve finally cracked the code. This guide is your golden ticket to perfectly cooked chips, whether you’re feeling decadent and going for the classic deep fry, keeping it healthy with the oven, or keeping it quick in the air fryer. Seriously, get those Russets ready!
Why You Need to Make Homemade Potato Chips Recipe
Look, I’m going to tell you right now: store-bought chips just can’t compete with these. Once you nail the Homemade Potato Chips Recipe, you can never go back! The flavor is just brighter, and you control every single speck of salt and oil. I remember the first time I pulled a batch of these out of the fryer—still warm—and they actually shattered when I bit down. That sound! That’s the sound of perfection.
Making your own means you get truly Crunchy Potato Chips every time. You get to decide if you want them paper-thin or maybe a little thick-cut, which is fun! Plus, they are fantastic for parties; everyone always asks for the recipe. If you’re looking for some amazing stuff to serve alongside these crispy beauties, check out my list of easy homemade snacks!
Essential Ingredients for Perfect Potato Chips
Okay, don’t panic when you see this list. It’s shockingly simple, which I love because it means the potato is the absolute star of the show! We aren’t masking anything here. You’ll need about three large Russet potatoes. Russets are the best for this because they are nice and starchy, which leads straight to that incredible final crunch.
For the cooking fat, if you’re deep frying, grab some basic vegetable oil—we need a neutral oil that can handle high heat without messing with our flavor. If you are baking or air frying, you’ll only need about a tablespoon of oil, so don’t go crazy buying bottles of fancy stuff!
Finally, salt! Always salt them while they are hot. I use about one teaspoon, but honestly, you taste as you go. If you want a little kick right away, add a hair of paprika or some garlic powder with that salt. That’s it! Three potatoes, oil, and salt.
The Secret to Crispy Potato Chips: Preparation Steps
If you skip these steps, you are going to end up with sad, soft chips, and nobody wants that! Seriously, the cooking method matters, but the prep work is where you guarantee those Crispy Potato Chips. It’s all about consistency and getting rid of the enemy: starch. We’re aiming for thinness, people!
Slicing and Starch Removal for Better Potato Chips
First things first: the slicing. You need them even, or you’ll burn some chips while others are still raw in the middle. If you have a mandoline slicer, dust it off—it’s your best friend here. Aim for about 1/16th of an inch. If you don’t have one, use your sharpest knife and take your time; maybe put on a good podcast while you work!
Next, the soak! This is non-negotiable. Drop those slices immediately into a giant bowl of very cold water. I usually let them hang out there for 30 minutes, but if I have time, I’ll change the water halfway through and leave them for an hour or even two. What this does is draw out all that excess starch that makes chips gummy when they cook. It’s magic, really.
Now comes the slightly messy, but ultra-important part: drying. You can’t just shake off the water; you have to pat them bone-dry. I lay mine out on a big stack of paper towels or use a clean kitchen cloth and just blot, blot, blot! Any moisture left on the potato is going to steam instead of crisp up when it hits the hot oil or oven rack. Do not rush this; it is the single biggest key to ultimate crunch.
How to Make Potato Chips: Three Cooking Methods
Alright, now that our potatoes are sliced thin and bone-dry, it’s time for the fun part—the actual cooking! Remember, this guide has you covered whether you want the richest flavor or the lightest guilt factor. Getting these potato chips cooked perfectly is all about respecting the heat chosen for your method. Don’t overcrowd the pan, basket, or sheet, or you’ll end up steaming them again. Patience here translates directly to shatteringly crisp edges.
Method 1: Classic Deep Fried Potato Chips
If you want that classic, salty, diner-style crunch, deep frying is your absolute winner, hands down. You need a heavy-bottomed pot and enough vegetable oil to cover the chips—aim for about two inches deep. Before you even think about dropping them in, make sure your oil is sitting steady at 325°F (160°C). If it’s too cool, they’ll soak up too much oil and get greasy. Toss them in small batches so the oil temperature doesn’t plunge. They only need about three to five minutes to go beautifully golden brown. Pull them out right away with a slotted spoon and get them onto paper towels. Don’t dawdle!
For more oil tips and tricks, you might want to check out my guide on essential deep frying techniques.
Method 2: Easy Oven Baked Chips
If we are keeping things lighter, the oven is your hero. Preheat that bad boy to 375°F (190°C). In a big bowl, toss your dried slices with just about one tablespoon of oil total—just enough to coat lightly. You must lay them out in a single layer on parchment-lined baking sheets. If they overlap even a tiny bit, they won’t crisp up correctly. These guys need about fifteen to twenty-five minutes, but here’s the catch: you have to carefully flip them halfway through so both sides get that gorgeous golden color. These Oven Baked Chips are fantastic for guilt-free snacking!
Method 3: Quick Air Fryer Potato Chips
The air fryer is so fast and requires almost no hands-on time once they are loaded up. Stick with a slightly lower temperature here, around 350°F (175°C), and use maybe a teaspoon of oil. Remember, the air fryer is basically a tiny convection oven on turbo speed, so you must work in batches and arrange them in a single layer in the basket. The most important thing? Shake the basket every five minutes until you see them turning golden. These Air Fryer Potato Chips get surprisingly close to the fried version without all the fuss.
Seasoning Your Homemade Potato Chips
This is the best, most crucial moment! You have to move fast here. As soon as those chips come out of the hot oil, the oven, or the air fryer, they need to be seasoned RIGHT AWAY. Why? Because the residual heat and slight dampness on the surface are the only things that will make the salt stick perfectly. Don’t let them cool down near the draining station!
Dump the hot chips immediately into a big bowl. Toss them gently with your salt. I usually start with maybe a teaspoon of fine salt, but honestly, you have to taste-test as you go. If you want something extra special, this is the time for my favorite BBQ mix—just combine a tablespoon of brown sugar, smoked paprika, onion powder, and a tiny pinch of cayenne. Mix that right in with the salt!
Here’s a pro tip for that amazing tangy crunch you get in the fancy chip shops: if you want a salt-and-vinegar vibe, you need vinegar powder. It’s cheap and works brilliantly! If you don’t have that, right after you salt them, sprinkle a tiny bit of white vinegar over them and toss super fast. They might steam for a second, but it locks in flavor for fantastic Seasoned Potato Chips.
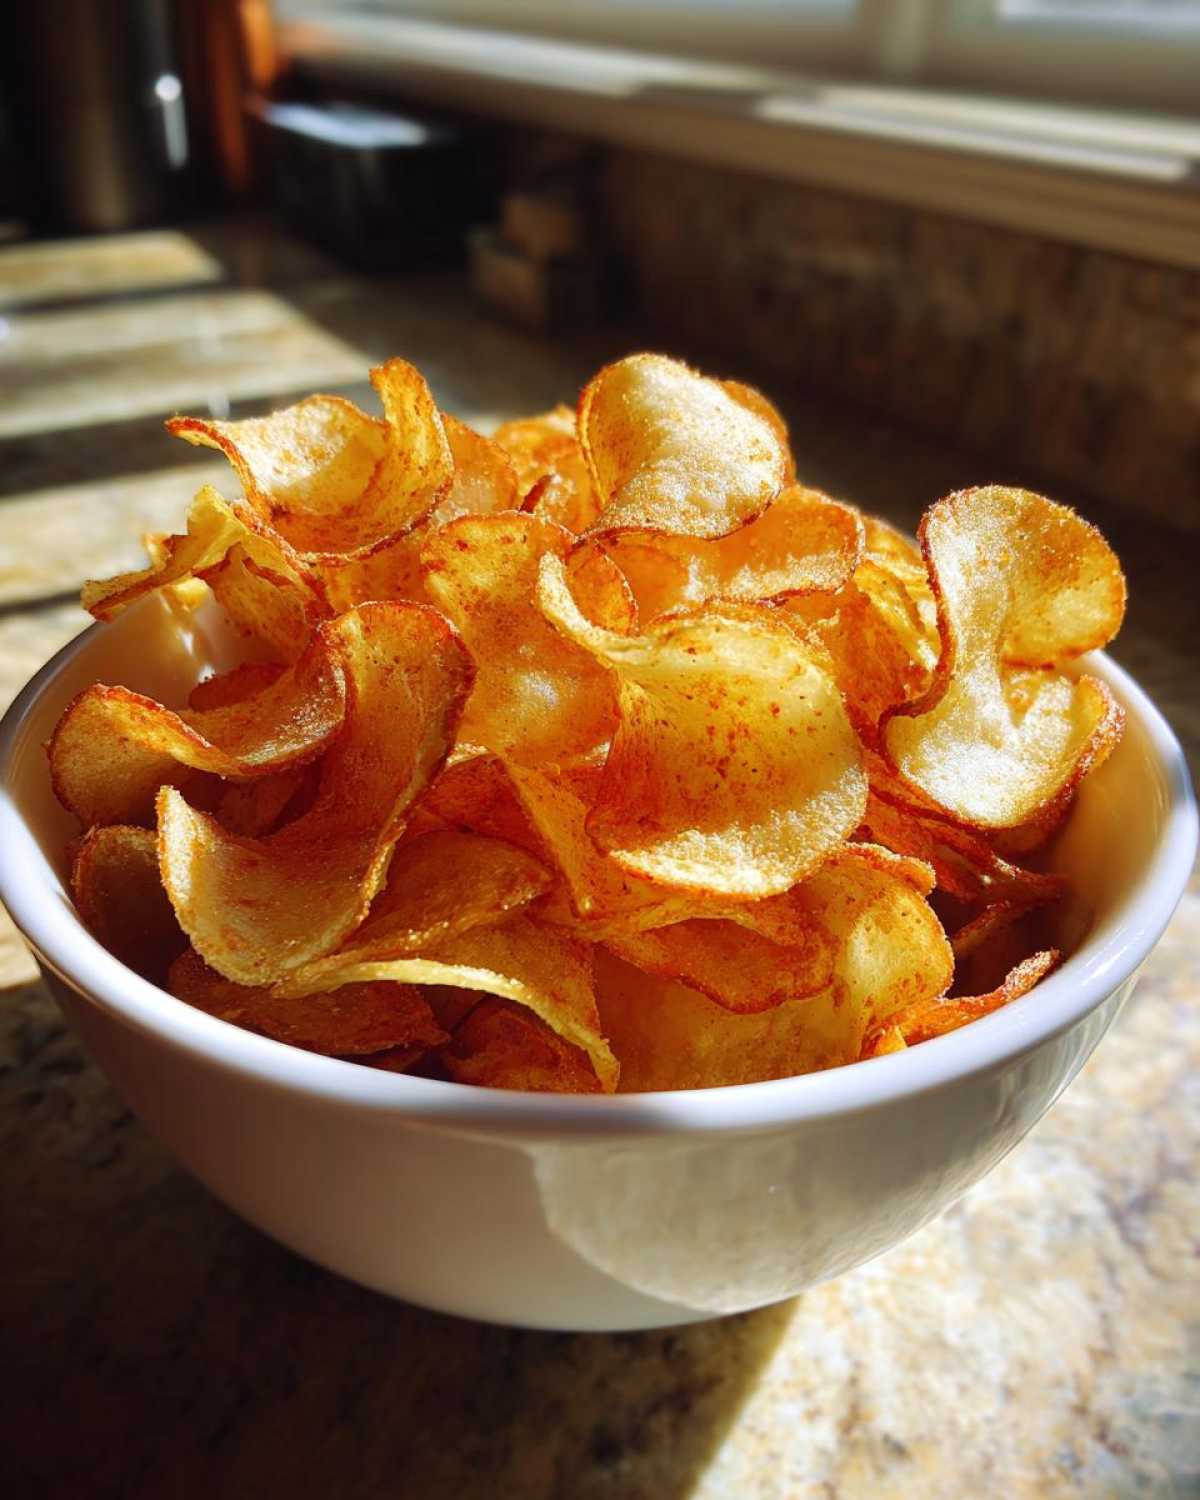
Remember, if you let them sit for even five minutes before seasoning, the salt will just slide right off. Be swift, be enthusiastic, and enjoy the amazing scent that fills your kitchen!
Ingredient Notes and Healthy Chip Alternatives
So, let’s talk about making tweaks because I know we all have different things in our pantries, or maybe we’re trying to eat a little cleaner some days. I’ve tried this recipe with Yukon Golds, and honestly, they turn out a bit softer than Russets, but they have this lovely buttery flavor. If you’re feeling adventurous and want color, try sweet potatoes, but you have to watch them like a hawk! They tend to burn faster in the oven because of the extra sugar they contain.
When it comes to oil for frying, I usually grab plain old vegetable or canola oil because they have high smoke points, which is what we need for that deep fry. However, if you’re air frying or baking, feel free to substitute olive oil if you like the flavor profile—it’s a great move towards having some Healthy Chip Alternatives, even if it tames the flavor down a tiny bit.
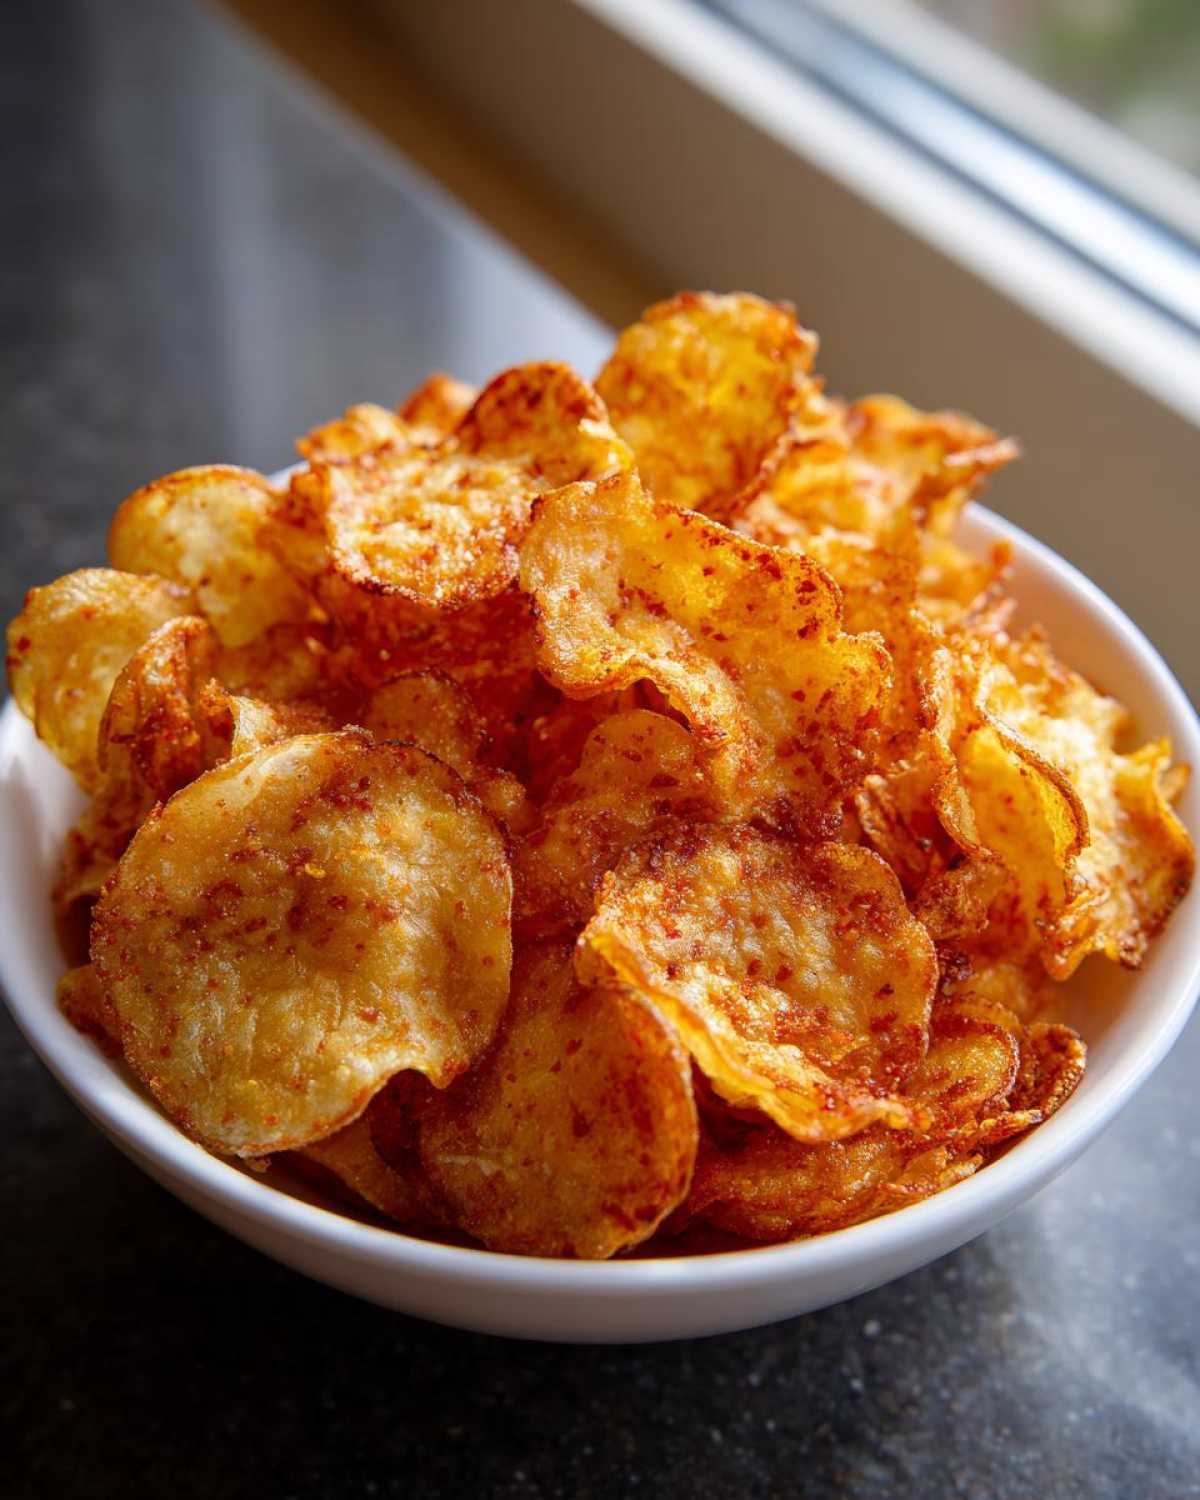
But honestly, the very best way to make these a healthier choice is simply by choosing your cooking method wisely! If you toss those potatoes lightly with just a teaspoon of oil and use the air fryer, you get that satisfying crunch factor, but you are cutting out massive amounts of fat compared to the deep fryer. Baking works nearly as well, especially if you use parchment paper. It saves your waistline without sacrificing that crucial snack time crunch!
Tips for Success When Making Potato Chips
I’ve learned a few things the hard way over the years when dealing with these thinly sliced spuds! The good news is that once you remember these couple of tricks, you stop having any trouble at all, and you can rely on getting amazing textures every single time. It’s all about respecting what a potato needs before it can turn into a glorious savory wafer.
First off, let’s reiterate the drying part from the prep section because it’s just that important. If you think they look dry, keep blotting! I often hold the paper towels over the sink and just press down really firmly; you’d be shocked at how much residual water comes out even after you thought you were done. You can check out my full rundown on common kitchen troubleshooting if you ever get stuck on a recipe!
If you’re baking or air frying, remember that second soak idea I mentioned? If you slice your potatoes, soak them in cold water for 10 minutes in an ice bath (that’s water full of ice cubes), then dry them really thoroughly, they get an extra boost of staying rigid and crisp when cooking. It sounds like extra work, but it’s a game-changer for those healthier methods!
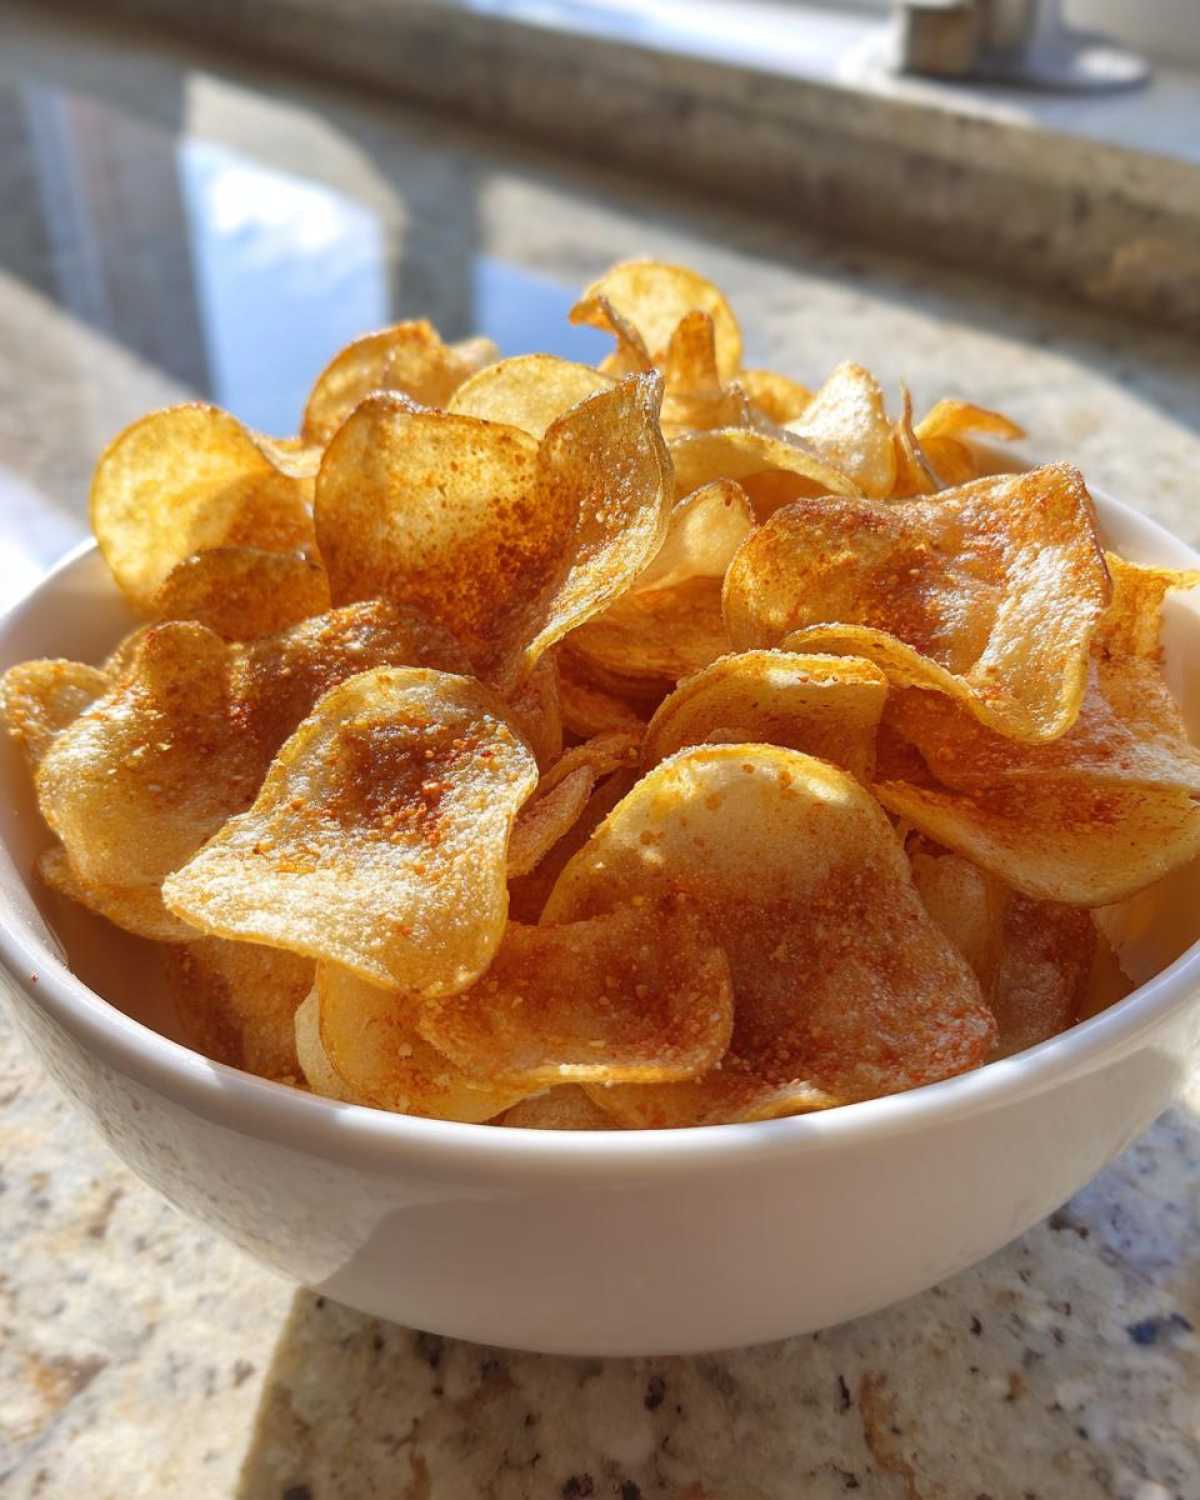
Another big one for thickness: consistency wins. Unless you are a professional chef with eyes like a calipers, you must use that mandoline. If you cut some slices thick and some thin, the thin ones will be burnt dust before the thick ones are even properly colored. Uniformity is your friend, so take the time on that first step.
And finally, when seasoning, remember that the crunch sets as they cool. Don’t pull them out of the oven and immediately stick them in a sealed container! Let them sit on a cooling rack or a layer of paper towels for a solid ten minutes—they fully firm up during that cool-down period. If you trap the steam, you trap the sogginess. Be patient for those final ten minutes, and you’ll be rewarded with the perfect Crunchy Potato Chips.
Storage and Serving Suggestions for Party Snack Recipes
Okay, this is kind of the sad part—when you have to stop eating them! But good news: these homemade chips store surprisingly well, better than you’d think, as long as you follow my rule right after you season them. You must let them cool down completely, I mean stone cold, before you even think about putting a lid on anything. If you trap any hint of warmth or internal steam, they’ll soften up fast.
Once they are totally cool, grab an airtight container. Seriously, the tighter the seal, the better. Keep them stored at room temperature. Don’t stick them in the fridge! That humidity is their arch-nemesis. If you’ve stored them well, they should stay delightfully crisp for a couple of days. If you find they’ve softened up on Day Three? Don’t trash them! Just spread them out in a single layer on a baking sheet and pop them in a 300°F oven for about four minutes. It wakes them right back up!
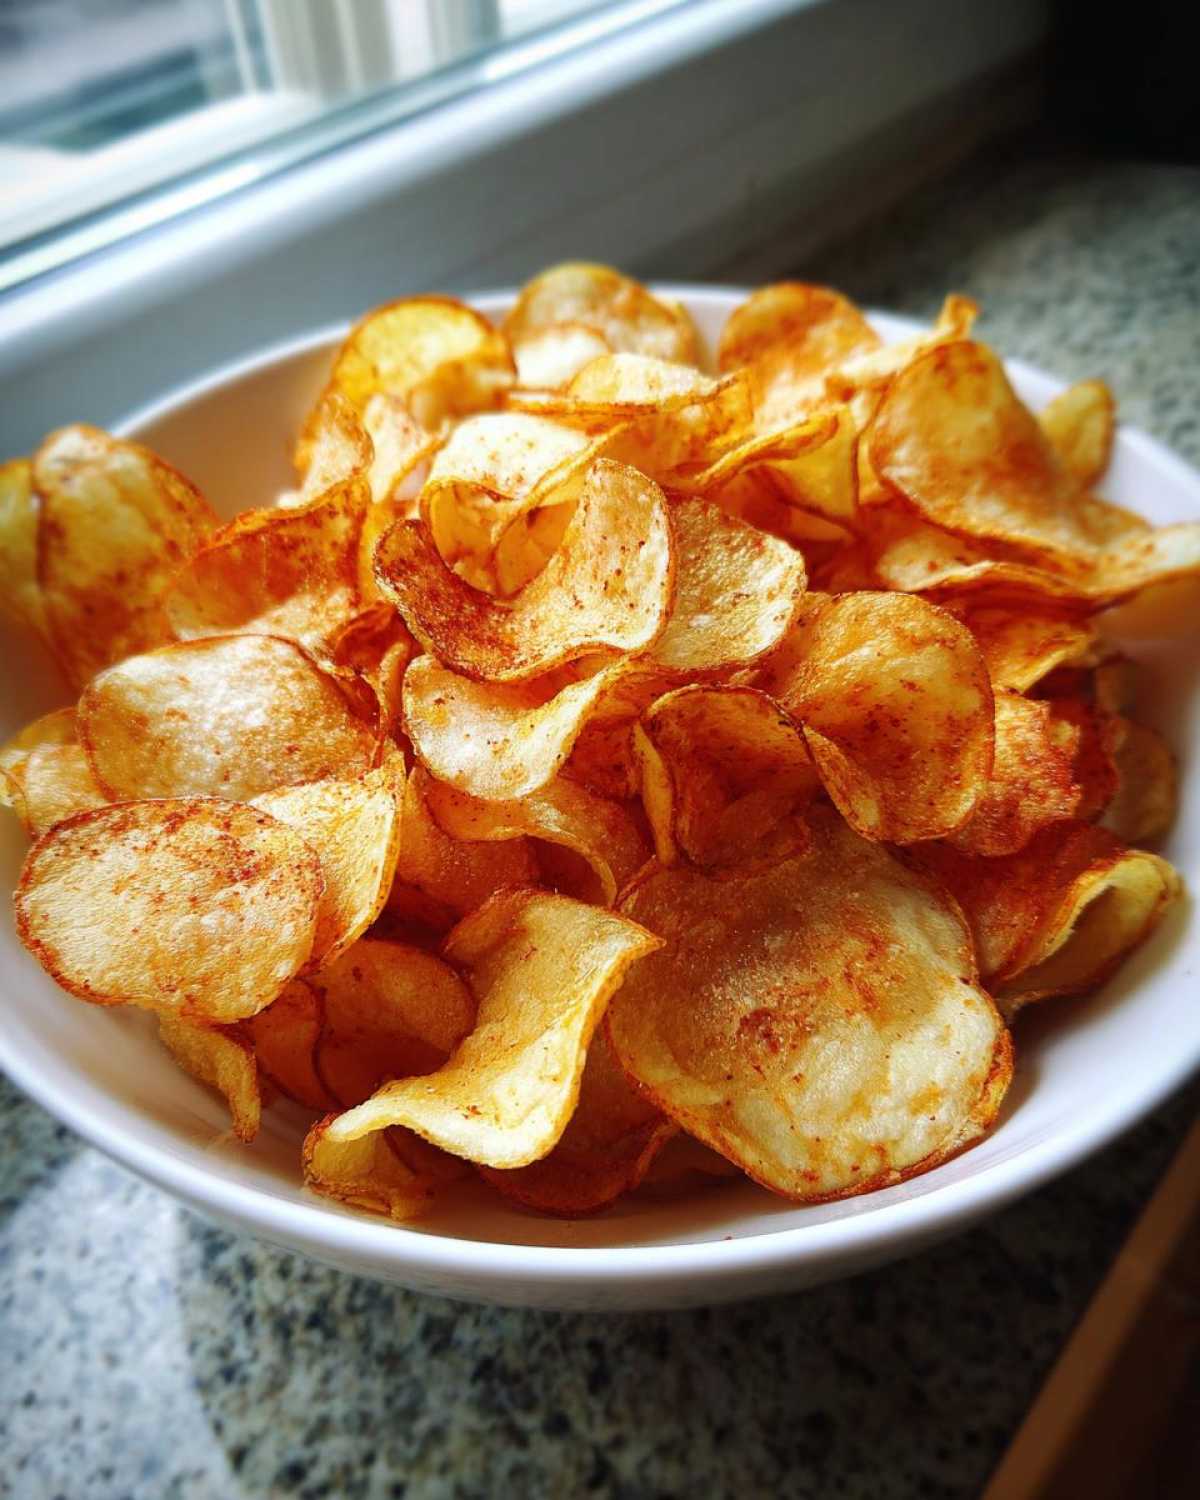
When it comes to serving, these are obviously premier Party Snack Recipes material. They are fantastic all by themselves, served in big rustic wooden bowls for that farm-to-table look. But since you’ve put in all this effort, why stop now? They are the perfect companion for my seven-layer dip, or they make the ultimate base for homemade nachos if you’re planning a major Game Day Food spread. Everyone loves having truly fresh potato chips!
Frequently Asked Questions About Potato Chips
I get so many questions about this recipe because, yes, while it seems simple, those little details make all the difference between amazing crunch and a sad pile of fried starch! Here are some of the things I hear most often when people try making their first batch of Homemade Potato Chips Recipe.
Why are my oven baked chips still soggy?
Oh, that’s the most common frustration! If your Oven Baked Chips turn out floppy, it almost always comes down to two things: not enough drying time, or you overcrowded the baking sheet. Remember, the oven needs air circulating around every single slice to crisp them up. If they are touching, they steam, and steaming means sogginess! Make sure you are using parchment paper and that there is space between every single slice. If you think they aren’t dry enough after soaking, give them an extra five minutes of blotting time!
Can I use sweet potatoes or Yukon Golds instead of Russets?
You absolutely can! I love experimenting with different types of potatoes for variety. Yukon Golds are creamy, and they give you a wonderful flavor, but they don’t have as much starch as Russets, so they might require a little more oil and you absolutely have to watch them carefully so they don’t brown too fast. Sweet potatoes are delicious, but they have way more sugar, so they need lower heat (maybe drop the oven/air fryer temp by 25 degrees) or they will burn on the outside before they crisp internally.
What is the absolute best thickness for crunchy potato chips?
For the very best combination of texture and ease of cooking, I really push for that 1/16th of an inch mark. This is where a mandoline becomes worth its weight in gold! If you go too thick—say, 1/8th of an inch—they turn out closer to kettle chips, which is great, but they take forever to cook through and often stay softer in the center. If you go too thin, they can shatter completely when you try to move them, and you’ll end up with crumbs instead of great Crunchy Potato Chips!
How should I store any leftover homemade potato chips?
Just like I mentioned before, airtight containers are your best friend. The biggest enemy of any chip is humidity in the air, so if you have a good quality container that seals tightly, they’ll hold up well for a day or two on the counter. If you’re unsure about the temperature in your kitchen, you can look up some tips on proper potato storage techniques, though once cooked, keeping them dry is the most important thing. Never put them in the fridge; stick to room temperature!
Estimating the Nutrition of Your Potato Chips
Now, let’s be real for a second. When you’re making something this delicious, you aren’t really thinking about macros, right? I know I’m not! But since we are making these potato chips completely from scratch, it’s helpful to have a ballpark idea of what you’re munching on, especially if you went with the deep-fried route versus the air fryer.
These numbers are just estimates, folks, because the final count depends heavily on how much oil you use in the frying process and how heavily you salt them at the end. If you stick to the baked or air-fried method where we use way less oil, your fat and calorie counts will obviously drop down significantly, making them fantastic Guilt Free Snacks!
Take a look here for a rough breakdown per serving (which is about one cup, but honestly, who measures snack bowls?):
- Serving Size: 1 cup
- Calories: Around 250
- Fat: About 15 grams (This is the big variable depending on frying!)
- Saturated Fat: 2 grams
- Carbohydrates: 28 grams
- Fiber: 3 grams
- Protein: 3 grams
- Sodium: 250 milligrams (Remember, you control the salt!)
- Sugar: Only 1 gram (That’s the beauty of using just potatoes!)
See? Not bad at all, especially when you think about those nasty additives you find in the store-bought kinds. We’ve got simple ingredients, a tiny bit of sugar naturally occurring, and good fiber from the potato flesh. When these are made fresh, they are truly one of the best Simple Snack Ideas out there!
Share Your Best Potato Chip Recipe Results
Okay, now that you’ve got the ultimate guide—whether you went full indulgence with the deep fryer or kept it light with the air fryer—I really, truly want to know how it went! This whole process, making potato chips from scratch, is so much more fun when we can chat about it afterwards. Did you manage that perfect 1/16-inch slice? Were you shocked by how much easier the air fryer method was?
Please, please, please pop down into the comments section below. I want to hear which method you chose! Were you a classic fried purist, or did the Oven Baked Chips satisfy your crunch craving? Knowing which way readers succeed helps me refine these instructions even more for the next person who tries this recipe.
And listen, if you did manage to snap a picture of that golden, perfectly seasoned batch—maybe piled high for a party spread—I insist you share it with us! Tag me on social media when you post your masterpiece. I absolutely love seeing your amazing results and getting inspired by your seasoning combinations. Seeing your success makes all my early floppy-chip failures worth it!
Baking or frying your way to snacking glory is something to be proud of. Go on, give those chips a good rating if you loved them—five stars for that ultimate Snack Time Crunch! I can’t wait to see what you all came up with!
PrintUltimate Homemade Potato Chips Guide: Fried, Baked, and Air Fried

A guide providing three methods—deep frying, oven baking, and air frying—to make perfectly crispy homemade potato chips from scratch.
- Prep Time: 45 min
- Cook Time: 25 min
- Total Time: 70 min
- Yield: 4 servings
- Category: Snack
- Method: Frying, Baking, Air Frying
- Cuisine: American
- Diet: Vegetarian
Ingredients
- 3 large Russet potatoes
- Vegetable oil, for frying (if deep frying)
- 1 teaspoon salt, or to taste
- 1/2 teaspoon paprika (optional)
- 1/4 teaspoon garlic powder (optional)
Instructions
- Wash and thinly slice the potatoes using a mandoline or sharp knife. Aim for 1/16-inch thickness for best results.
- Place the sliced potatoes in a large bowl of cold water. Soak for at least 30 minutes, or up to 2 hours, changing the water once. This removes excess starch.
- Drain the potatoes completely and dry them thoroughly using paper towels or a clean kitchen cloth. Moisture prevents crisping.
- For Deep Frying: Heat 2 inches of oil in a heavy-bottomed pot to 325°F (160°C). Fry chips in small batches until golden brown and crisp, about 3 to 5 minutes. Remove with a slotted spoon and drain on paper towels.
- For Oven Baking: Preheat your oven to 375°F (190°C). Toss the dried slices with 1 tablespoon of oil. Arrange in a single layer on baking sheets lined with parchment paper. Bake for 15 to 25 minutes, flipping halfway, until golden and crisp.
- For Air Frying: Lightly toss the dried slices with 1 teaspoon of oil. Place in the air fryer basket in a single layer (work in batches). Air fry at 350°F (175°C) for 10 to 15 minutes, shaking the basket every 5 minutes, until crisp.
- Immediately transfer the hot chips to a large bowl. Sprinkle with salt and your chosen seasonings. Toss gently to coat evenly.
- Let the chips cool completely before serving; they will crisp up further as they cool.
Notes
- For extra crunch in baked or air-fried chips, you can briefly soak the slices in ice water for 10 minutes after slicing, then dry them very well.
- To make BBQ seasoned chips, mix 1 tablespoon of brown sugar, 1 teaspoon of smoked paprika, 1/2 teaspoon of onion powder, and 1/4 teaspoon of cayenne pepper with the salt.
- For a simple salt and vinegar flavor, toss the hot chips with 1 teaspoon of white vinegar powder or sprinkle with salt immediately after frying/baking, then let them cool.
Nutrition
- Serving Size: 1 cup
- Calories: 250
- Sugar: 1
- Sodium: 250
- Fat: 15
- Saturated Fat: 2
- Unsaturated Fat: 13
- Trans Fat: 0
- Carbohydrates: 28
- Fiber: 3
- Protein: 3
- Cholesterol: 0