

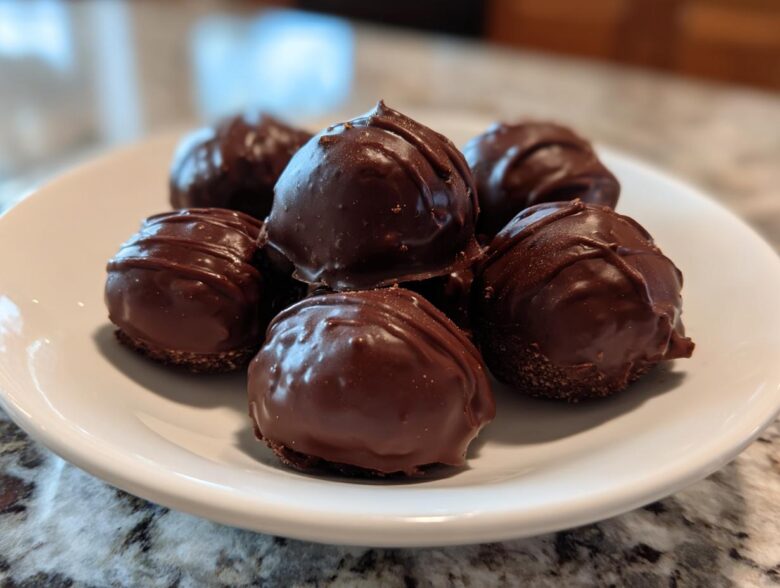
You know those desserts you see online that look absolutely incredible but require you to turn on the oven, wait forever for things to cool, and basically dedicate an entire afternoon? Forget those! I’m here today to talk about the reigning champion of effortless indulgence: oreo balls. Seriously, if you need something rich, deeply chocolatey, and quick enough to whip up while the kettle boils, this is it. I first made these ages ago when I promised a dessert for a neighborhood potluck and realized I had zero time. They were a massive hit! I’m sharing my absolute favorite version, which keeps the ingredient count down but pumps the flavor way up. Trust me, these bite-sized wonders will become your new go-to party staple.
This recipe simplifies the entire world of chocolate truffles down to the bare essentials. You won’t believe how decadent they taste for requiring so little effort—and absolutely no baking whatsoever. I’ve linked my guide on no-bake pie tips if you love recipes that skip the heat, but these little bites truly conquer the quick dessert game.
Why Our Classic Oreo Balls Recipe Works Every Time
People rave about this recipe because it hits that sweet spot: amazing flavor with almost zero work. Seriously, if you need an Easy Oreo Truffle masterpiece in under an hour total, this is it. That 3 Ingredient Dessert label isn’t just marketing hype; it’s the beautiful reality hiding in your pantry!
The magic isn’t just the lack of baking, though that is a huge plus. It’s how the creamy filling binds perfectly to the dark cookie crumbs. When you chill the mixture, it firms up just right so it holds its shape when you dip it. I love serving these because everyone assumes I spent way more time on them than I actually did. For more effortless sweets that impress, check out my guide on no-bake cheesecake—another total winner!
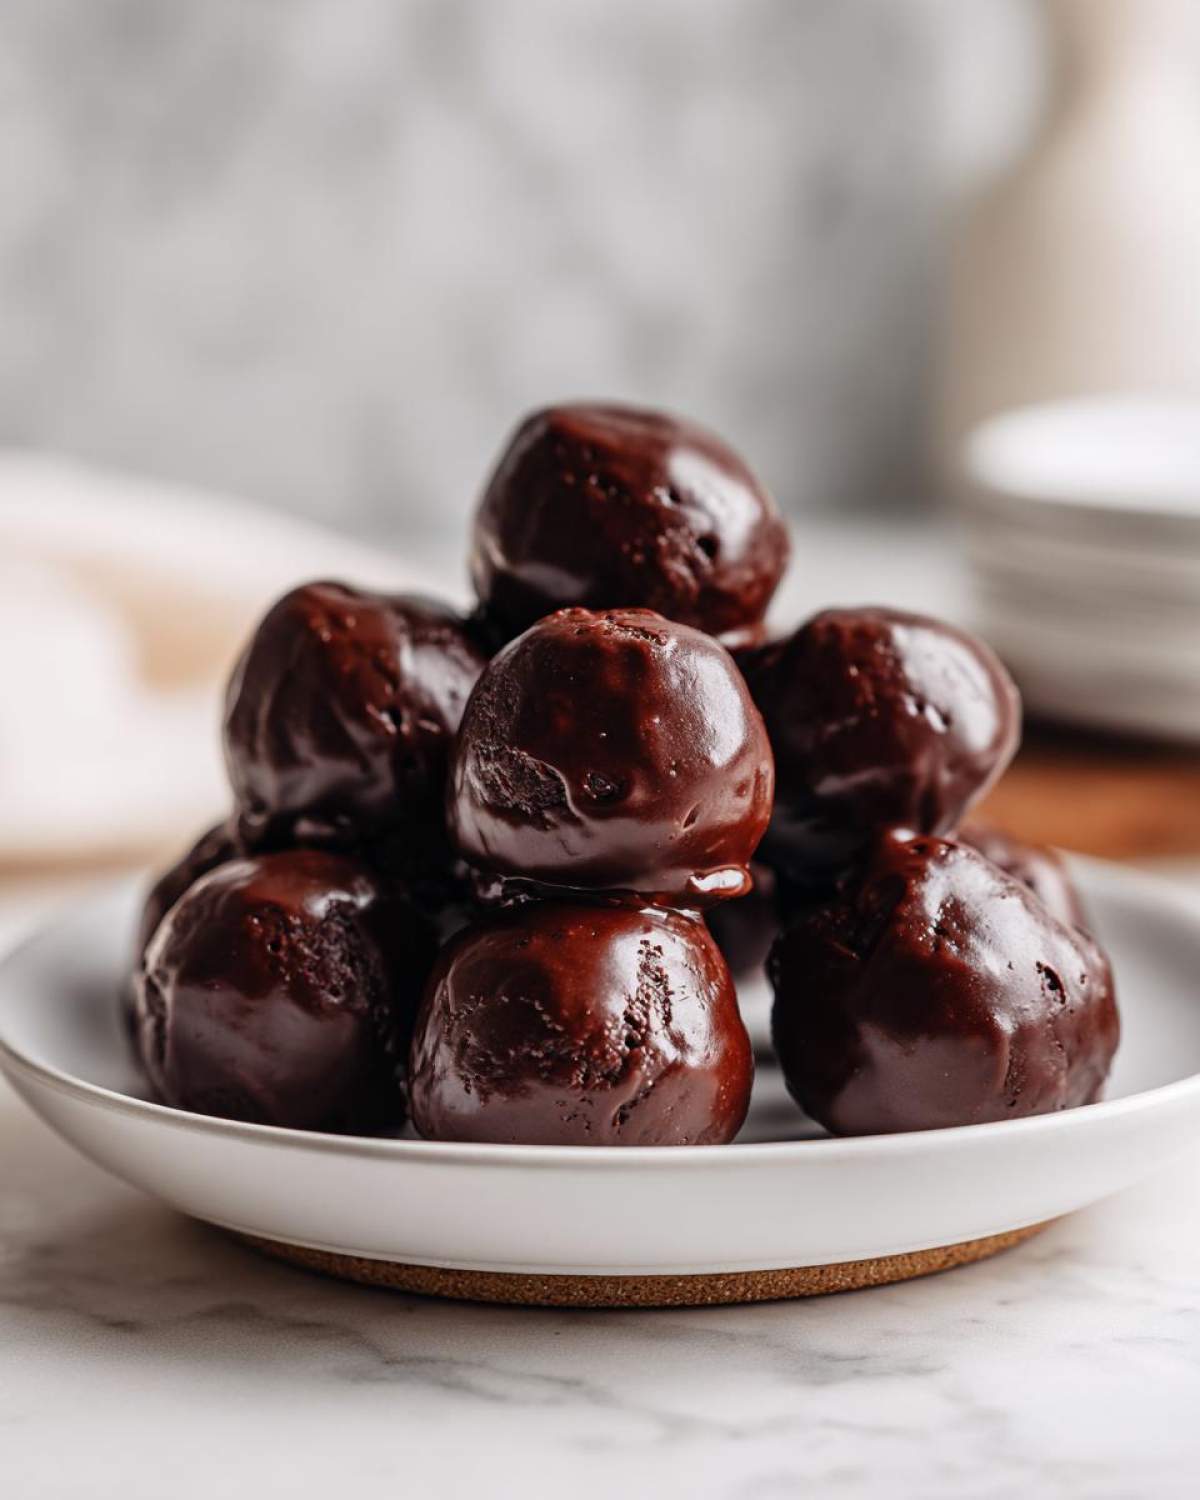
Gathering Ingredients for Perfect Oreo Balls
Alright, let’s talk gear! This recipe is shockingly simple, which is why it’s so wonderful. We are aiming for pure chocolatey bliss with just three core components. You’ll need one standard package of those glorious Oreo cookies—the whole thing, filling and all. No complex steps yet, just cookies!
Next up is the binding agent: cream cheese. And listen to me, this is critical for great Cream Cheese Oreo Balls: it must be completely, utterly softened. I mean room temperature soft, easily moved with a spoon soft. If it’s cold, your mixture will be crumbly, and we want a smooth dough, not a pile of sandy bits. Don’t rush this step—let it sit out for at least an hour, or microwave it carefully for 10 seconds at a time.
Finally, you need about a pound of good melting chocolate. Semi-sweet is my preference because it cuts that sweetness just enough, but feel free to use milk chocolate if you have a serious sweet tooth. Lay out all your items before you even think about crushing those cookies!
Ingredient Substitutions and Notes for Oreo Balls
Now, I know sometimes you have to pivot in the kitchen! If you don’t have Oreos, you can absolutely use any chocolate sandwich cookie you have on hand. The texture will be slightly different, but honestly, it’s still delicious. Just remember the filling is part of the magic working with that cream cheese!
When picking chocolate, skip the chocolate chips if you can. They have stabilizers to help them keep their shape, which makes them tricky to get smoothly melted for coating. If chips are all you have, you need to add a teaspoon of coconut oil or shortening to the bowl before microwaving. This thins it out beautifully for coating. We want that thin, glossy shell, right? Check out my guide to making chocolate éclair dessert—the dipping technique is very similar!
Step-by-Step Tutorial: Making Oreo Balls Without an Oven
Okay, time to get our hands dirty—or rather, dusty with cookie crumbs! This whole process is what makes this the ultimate Simple Candy Making project because there’s absolutely no oven involved. We’re creating a rich filling that transforms into a perfect base for our chocolate coating.
First things first: crushing those Oreos. If you have a food processor, pop the whole package in there and pulse until you have fine, even crumbs. If you’re doing this the old-fashioned way—which I sometimes prefer when I want to punch out my stress—toss the cookies into a heavy-duty zip-top bag and bash them with a rolling pin or the bottom of an empty soup can. Just be careful if you’re using glass! You need this mixture to look like dark brown sand.
Next, transfer those crumbs to a good-sized mixing bowl. Now, add that softened cream cheese we talked about. Use your hands for this if you want, but I find an electric hand mixer makes quick work of getting it perfectly incorporated. Mix it until it all comes together into a thick, scoopable dough. Seriously, treat it like Play-Doh! Once it’s homogenous, grab a small spoon or a 1-inch cookie scoop and roll them into little one-inch spheres. Place these guys on a parchment-lined baking sheet. Now comes the *most* important step for solid structure: the chill time. Pop that sheet into the fridge for at least 30 minutes. This makes them firm enough to handle when dipping, which is key to a successful shell!
While they chill, melt about 16 ounces of your semi-sweet chocolate gently. Microwave in 30-second bursts, stirring well in between each time until it’s totally smooth. If you rush this, the chocolate will seize up, and we don’t want that mess! When the Oreo Cake Balls Tutorial says chill for 30 minutes, don’t skip it. A warm center means a melted disaster during dipping.

Tips for Dipping Your Oreo Balls in Chocolate
Dipping is where the finesse comes in. Make sure those little balls are still chilly when they hit the chocolate. Use a fork—a standard dinner fork works perfectly—to gently drop the ball into the melted chocolate. Submerge it completely and then lift it out, letting the excess drip back into the bowl. Don’t be afraid to gently tap the fork handle against the side of the bowl; this vibration helps shed that thick, extra layer of chocolate.
As soon as you lift it out, slide the fork under the ball and carefully transfer it to the parchment paper. If you’re adding sprinkles for a real wow factor, do it immediately while the chocolate is still wet! If you wait even a minute, those pretty decorations won’t stick. Once they are all coated, back they go into the fridge for about an hour until that shell is hard and glossy. They’ll look just like fancy confectionery! If you want more inspiration for easy handheld treats, take a peek at my guide for no-bake peanut butter bars—the chilling technique is similar!
Making Your Oreo Balls Festive: Decoration Ideas
The beauty of these oreo balls is how easily they transform into any holiday theme. Since we coated them in plain chocolate, you have the perfect blank, dark canvas. For Christmas, this is where we lean into those amazing Holiday Oreo Treats! I simply keep a few bags of colorful sprinkles handy.
Right after you dip the ball into the chocolate and before it sets, just roll it gently in the sprinkles. If you’re feeling fancy, melt some white chocolate separately and drizzle thin lines over the top once the dark coat is already firm. That gives you a wonderful contrast!
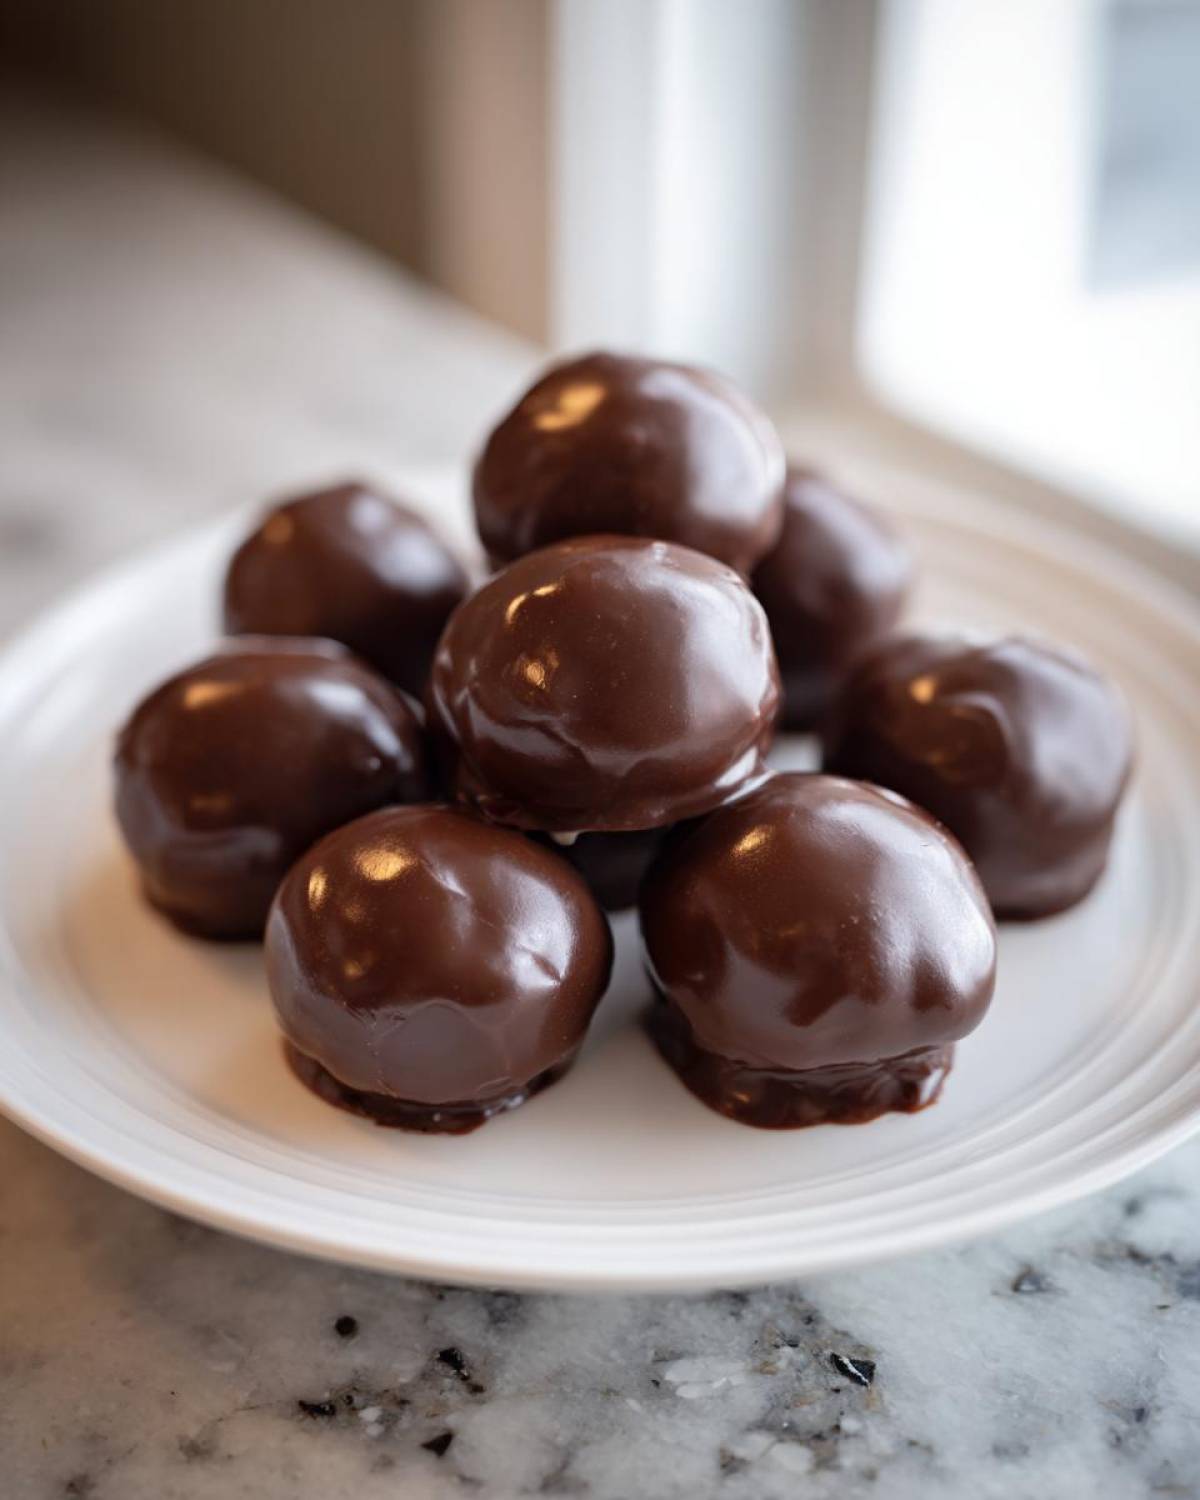
For a very simple, but elegant, look, just dust the tops with a little unsweetened cocoa powder after they are completely set. It makes them look incredibly rich and sophisticated. Honestly, any little bit of flair turns this into a truly Festive Oreo Dessert. If you want a full step-by-step for snowmen shapes, I have a whole guide on snowman truffles that uses this same base!
Storage and Serving Suggestions for Oreo Balls
Since these are no-bake wonders, figuring out storage is super important! The good news is they keep beautifully because of that cream cheese center. I always store my finished oreo balls in a single layer in an airtight container right in the refrigerator. They stay perfectly fresh and firm for up to two weeks, which makes them amazing for prepping ahead of time for big events. Because they are a fantastic Party Dessert No Bake option, you can make them days before you need them!
Can you freeze them? Absolutely, yes! If you want to make a huge batch for the holidays, place the set chocolate-covered bites on a baking sheet and freeze them until solid. Then, transfer them to a freezer-safe bag. They keep beautifully for about three months. Just let them thaw on the counter for about 15 minutes before serving. Chilled is best for that satisfying snap when you bite into the chocolate shell. Trust me, these Bite Sized Chocolate Dessert pieces disappear fast whether you serve them with espresso or alongside a big stack of fruit!
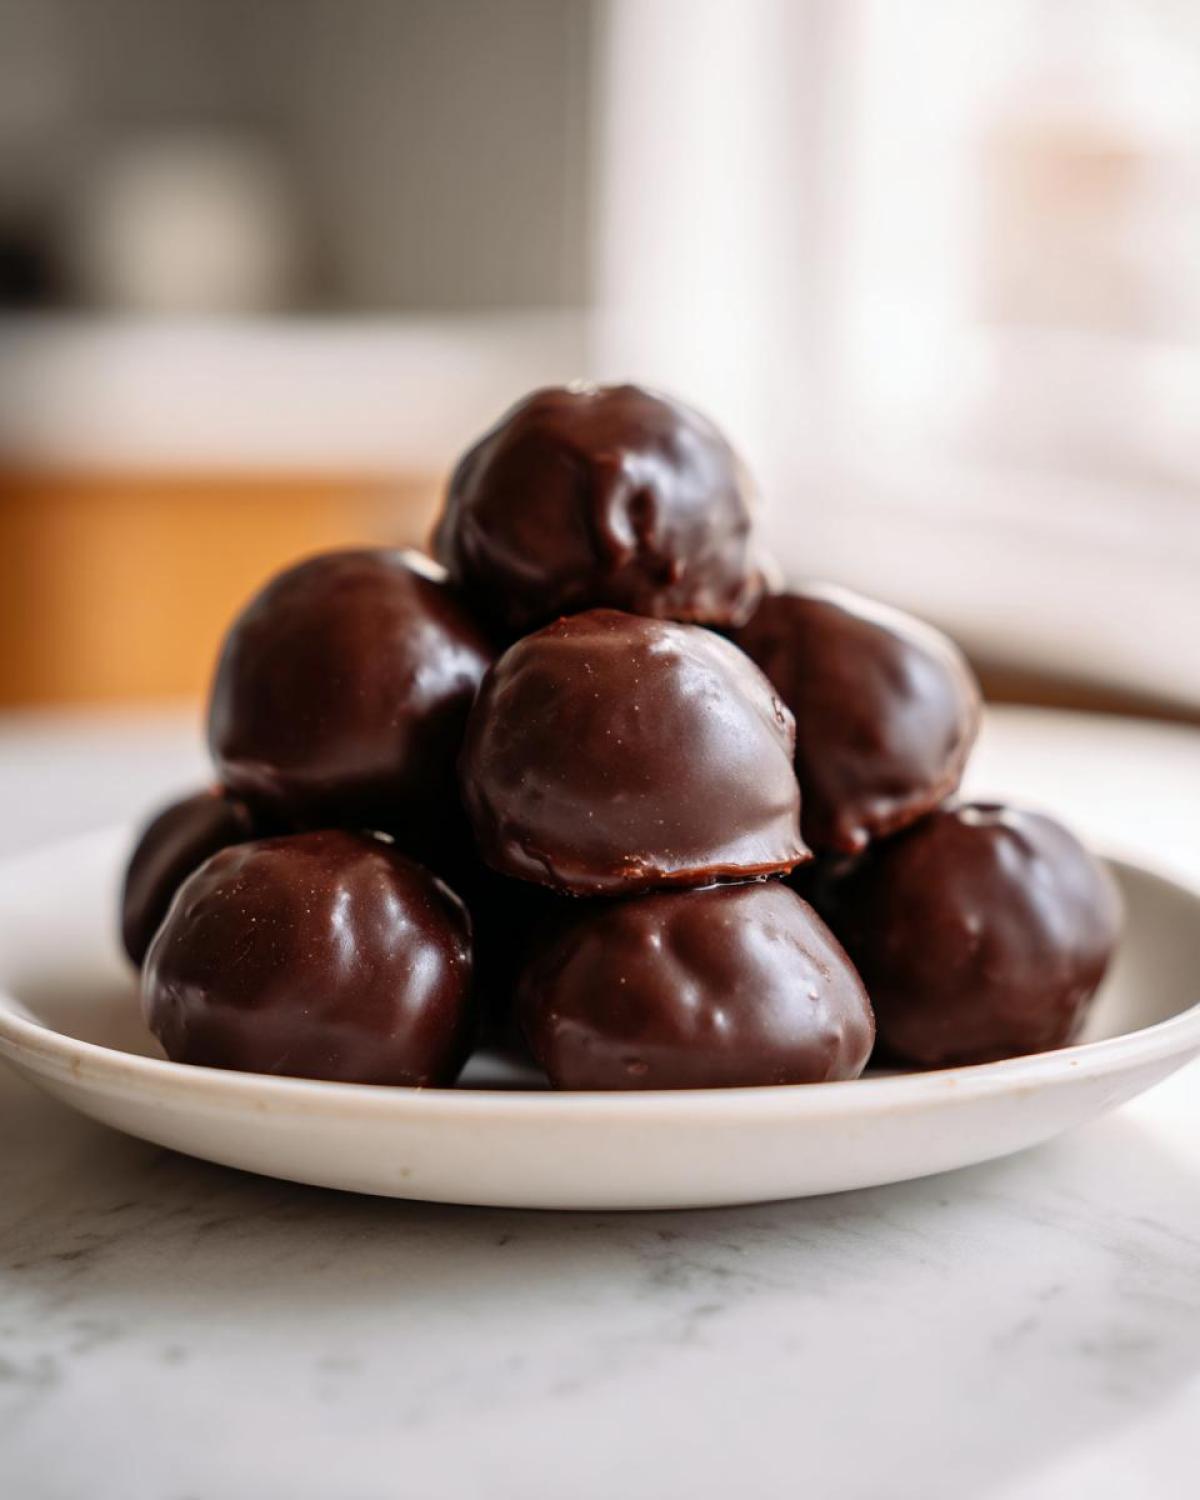
When you’re looking for great gifts, these are amazing additions to any box. Check out my thoughts on easy food gifting ideas—these truffles always make the cut!
Troubleshooting Common Oreo Balls Issues
Even the easiest recipes can sometimes throw us a loop, right? Don’t panic if your oreo balls mixture isn’t behaving exactly as planned. Because this is such a simple dessert, the solution for most problems is usually a quick fix involving chilling or softening ingredients a bit more.
The most common issue I hear about is that the filling dough is either too wet or too dry. If your mixture feels too sloppy and won’t hold a ball shape, it means your cream cheese wasn’t fully firm to begin with, or maybe your Oreos were extra crispy. The fix? Pop the whole bowl into the fridge or freezer for 15-20 minutes! Chilling firms up the mixture instantly, making it pliable again. If it feels dusty and won’t come together at all, you guessed it—the cream cheese was too cold. Just let the dough sit on the counter for another 10 minutes while you clean up, and it should soften up enough to press together. Be patient!
Another big headache is what happens when you try to dip them. If your chocolate coating looks lumpy or grainy—that’s seizing! You’ve introduced a tiny bit of water or steam into the melted chocolate, and it tightens right up. If you are melting in the microwave, this is easily avoided by making sure your bowl is totally dry. If it seizes, don’t throw it out! Stir in about a teaspoon of neutral oil or solid shortening until it smooths out enough for dipping. It won’t be quite as glossy, but it’ll still set hard.
What about cracking shells? Very often, the chocolate coating cracks around the ball because the ball itself was too warm when it went into the hot chocolate. If your chilled ball warms up even slightly while you are coating it, the cold center heats up too fast in the warm coating, causing a tiny expansion crack. You need to work quickly! If a cream cheese ball starts to look sad and soft while you’re dipping, put that tray back in the fridge for five minutes before continuing. That quick chill makes all the difference between a perfectly smooth shell and a cracked mess.
Frequently Asked Questions About Oreo Balls
Can I use a different consistency of cream cheese if I’m in a rush?
Oh, I really advise against it! If you use cold cream cheese, your mixture will be way too crumbly—it won’t form a nice, smooth dough. You’ll end up with more of a textured crumble than a simple Oreo Cake Balls Tutorial filling. The dough needs that softness to bind together perfectly. If you’re in a huge rush, pop the cold block into the microwave for 10-second bursts until you can easily press your finger into it. Trust me, that initial softening step saves you from ending up with a bowl of dry crumbs!
Is skipping the chilling step really that bad for these Simple Oreo Desserts?
Yes, yes it is! I know you want to move on to the dipping stage, but that 30-minute chill is non-negotiable for the best result. When the mixture is firm, it holds its shape beautifully in the warm melted chocolate. If you don’t chill them, they get soft when you handle them, they’ll roll into weird shapes, and when you dip them, they can totally melt or break apart. That chill time is what ensures your Bite Sized Chocolate Dessert looks perfect!
How long do these rich chocolate desserts actually stay fresh?
These little guys are surprisingly robust thanks to the cream cheese and the chocolate shell protecting everything. Stored tightly sealed in the fridge, they easily last up to two weeks. That’s why they are such wonderful Party Desserts No Bake—you can make them the week before your party! If you freeze them, they are good for up to three months. Make sure the chocolate coating is completely set before you bag them up for the freezer, though.
If I don’t have Oreos, what’s the best substitution for these No Bake Oreo Balls Recipe?
If you’re out of the classic version, you can certainly experiment, but the flavor profile will shift. If you use vanilla sandwich cookies, you’ll get a less intense chocolate flavor, making them closer to a classic cheesecake truffle than that iconic Oreo taste. If you use chocolate graham crackers or wafers, the texture might feel a bit grittier compared to the cream filling of the original. For the absolute best result, stick to chocolate sandwich cookies, but feel free to check out my general blog for other easy recipes if you need to switch ingredients!
Estimated Nutritional Data for This Simple Oreo Dessert
Look, I’m a cook, not a chemist, so take this part with a grain of salt! Since these oreo balls are made from cookies and cream cheese, they are definitely a treat rather than a health food, but that’s okay! We can still look at what we’re putting into our bodies, right? This data is just a general estimate based on the standard measurements for our 30-ish servings.
This calculation is based on the recipe yielding about 30 bites. If you make them smaller, the numbers per ball will drop, and if you make them bigger—well, let’s just say the calories go up! This is why I always treat mine like Bite Sized Chocolate Dessert servings, even though I usually grab two or three at a time!
Here’s a snapshot of what’s in one of these decadent little bites:
- Calories: About 150 per ball
- Fat: Roughly 10g
- Carbohydrates: Around 15g
- Protein: About 2g
You can see that the fat and carbs pack the punch here, which is expected from chocolate and cookies! We try to keep the saturated fat down by using quality melting chocolate, but these are meant to be rich! If you’re looking for truly lighter recipes that still satisfy that sweet craving, I’ve got a few ideas on the blog, but when you want the real deal, you can’t beat this classic truffle flavor.
Share Your Oreo Balls Creations
You made them! Now the best part: telling me how they turned out! Honestly, seeing your photos, especially when you get creative with the holiday decorations, absolutely makes my day. I swear, every time someone tags me in a picture of their perfectly dipped, sprinkle-covered creations, I instantly feel like we’re baking together in the same kitchen.
If these classic oreo balls were a hit at your house—and I have a sneaking suspicion they will be—please don’t forget to leave a quick star rating right at the top of this page. Five stars if they were the best Simple Oreo Dessert you’ve ever tried! It helps other bakers feel confident trying out my favorite No Bake Oreo Balls Recipe.
Did you try a special drizzle or a fun coating? Or maybe you made a huge batch for a potluck and they were completely gone in ten minutes? Let me know the drama! You can always drop a comment below or get in touch directly through my contact page. Happy baking, or should I say, happy *no-baking*!
PrintClassic 3-Ingredient No-Bake Oreo Balls

Make rich, chocolatey Oreo Balls using only three simple ingredients. This no-bake recipe is perfect for quick desserts or holiday treats.
- Prep Time: 20 min
- Cook Time: 5 min
- Total Time: 25 min
- Yield: About 30 balls
- Category: Dessert
- Method: No-Bake
- Cuisine: American
- Diet: Vegetarian
Ingredients
- 1 package (14.3 oz) Oreo cookies
- 8 oz cream cheese, softened
- 16 oz semi-sweet chocolate, melted
Instructions
- Place the entire package of Oreo cookies into a food processor. Pulse until you have fine crumbs.
- Transfer the crumbs to a mixing bowl. Add the softened cream cheese.
- Mix the crumbs and cream cheese together using a hand mixer or clean hands until fully combined and a dough forms.
- Roll the mixture into small balls, about 1 inch in diameter. Place the balls on a parchment-lined baking sheet.
- Chill the balls in the refrigerator for at least 30 minutes to firm up.
- Melt the semi-sweet chocolate in a microwave-safe bowl in 30-second intervals, stirring until smooth.
- Dip each chilled Oreo ball into the melted chocolate, ensuring it is fully coated. Use a fork to lift the ball out, tapping off excess chocolate.
- Return the coated balls to the parchment-lined sheet.
- Refrigerate the finished Oreo Balls until the chocolate coating is set, about 1 hour.
Notes
- For a festive look, you can decorate the balls with sprinkles immediately after dipping them in chocolate, before the coating sets.
- If you do not have a food processor, place cookies in a sturdy zip-top bag and crush them with a rolling pin.
- If the cream cheese is too cold, the mixture will be crumbly. Make sure it is fully softened.
Nutrition
- Serving Size: 1 ball
- Calories: 150
- Sugar: 15
- Sodium: 75
- Fat: 10
- Saturated Fat: 6
- Unsaturated Fat: 4
- Trans Fat: 0
- Carbohydrates: 15
- Fiber: 0
- Protein: 2
- Cholesterol: 15