

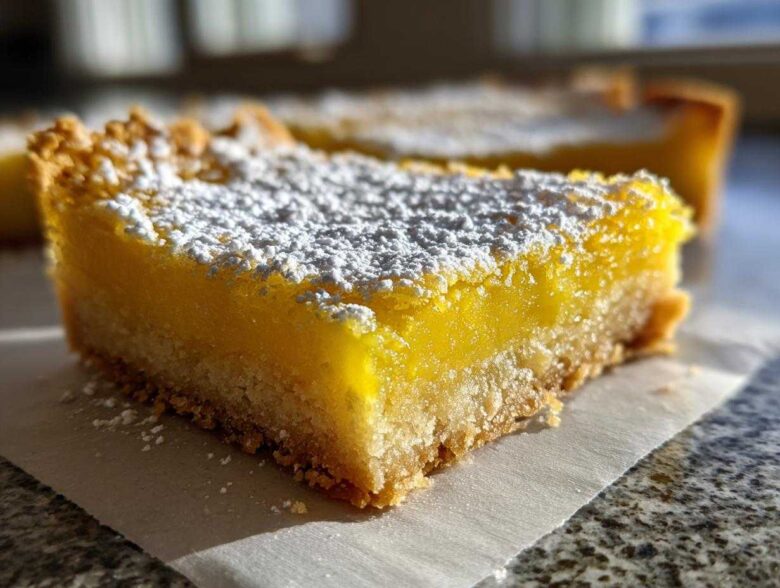
Oh my goodness, if there’s one dessert that screams sunshine and happy memories, it has to be the perfect Lemon Bar. We’re talking about that beautiful, non-negotiable balance: intensely tart, bright filling nestled right on top of a thick, golden, buttery shortbread crust. Forget those weak, runny versions you sometimes get! Today, I’m sharing my absolute favorite way to make true, thick Lemon Bars. Honestly, it took me ages to figure out the chilling part correctly. I used to slice them too early, and the beautiful filling would just ooze everywhere! But I cracked the code, and now I get those gorgeously clean cuts every single time. Trust me, following this recipe will give you the Best Lemon Bars Recipe you’ve ever made. You can see the deep dive on technique over at my classic lemon bars recipe secret post!
This version nails the texture—it’s substantial, not fussy, and the filling sets up exactly how it should. If you’re looking for a Classic Summer Baking staple that always impresses, you’ve found it right here. Ready to get zesting?
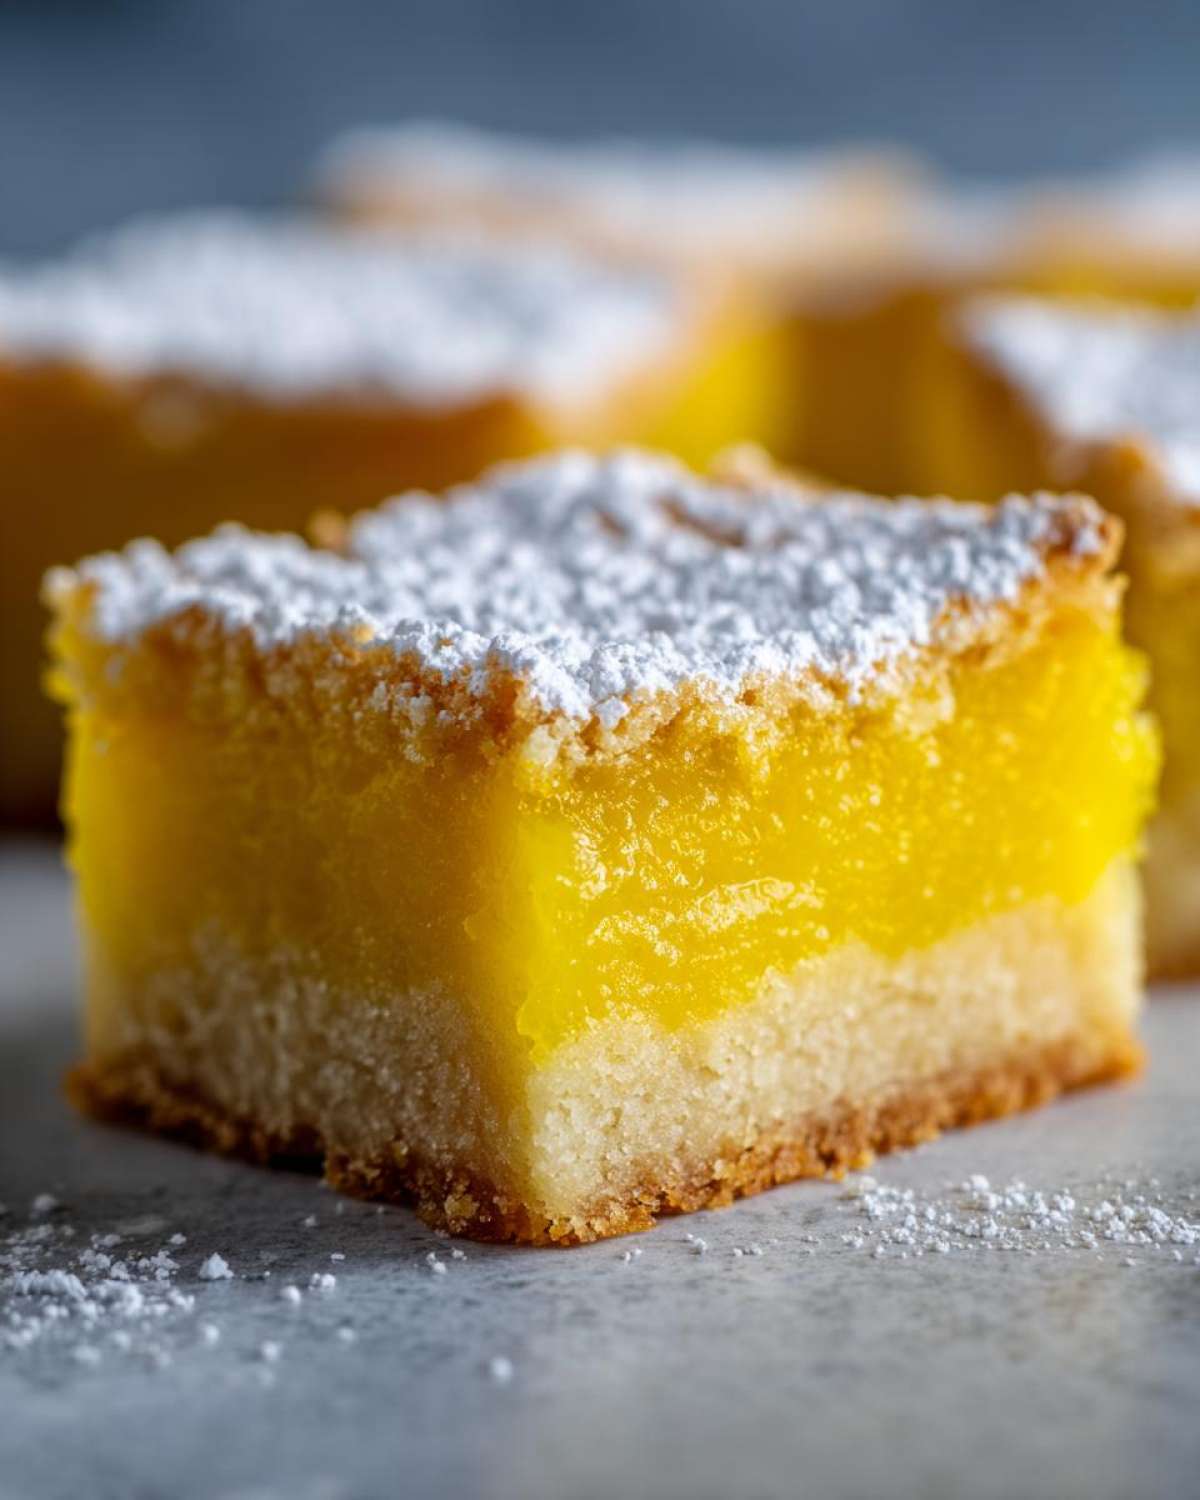
Why You Will Make the Best Lemon Bars Recipe Every Time
There’s just no contest when you compare these to anything store-bought. I promise, once you try this Simple Lemon Bar Recipe, you’re going to stick with it forever. Here’s what makes them unbeatable:
- The crust? It’s thick, unbelievably buttery, and has that perfect shortbread crumb that melts in your mouth.
- The filling sets beautifully—no more sad, liquid centers! It’s bright, tangy, and intensely lemony.
- Surprisingly easy! Even with the two separate steps, it all comes together fast without complicated equipment.
- They look gorgeous dusted with that snowy layer of powdered sugar at the end.
Gathering Ingredients for Perfect Lemon Bars
Okay, let’s talk about assembling our arsenal. For the Shortbread Crust Lemon Bars, you need precision, especially with the butter. You simply must use 1 cup of all-purpose flour, just a quarter cup of granulated sugar, a pinch of salt, and half a cup of very cold, cubed unsalted butter. Cold is key for that crumbly texture!
Now for the star—the filling. We need four large eggs and a total of 1 1/2 cups granulated sugar for that perfect sweet-tart balance. Don’t even think about using bottled juice here! We need half a cup of fiercely fresh lemon juice for that real zing. Plus, a tablespoon of lemon zest really wakes up the flavor. If you want tips on getting the most juice out of those lemons, check out my post on a lemon pound cake; the zesting technique is the same!
Step-by-Step Instructions for Tangy Lemon Bars
Making these phenomenal **Lemon Bars** is all about timing and temperature. Don’t rush the steps, especially that cooling time! First thing, let’s get the oven warmed up to 350°F (175°C). Make sure you line that 8×8 inch pan with parchment paper, leaving an overhang hanging off two sides. That overhang is your handle for lifting them out later, so don’t skip it! If you want to skip the baking part entirely sometime, you can check out my tricks for no bake lemon bars, but today we bake!
Preparing the Shortbread Crust for Your Lemon Bars
We start by combining our dry crust elements: 1 cup of flour, the quarter cup of sugar, and salt. Now, you need to cut in that cold butter—I either use my pastry blender or just pinch it in with my super cold fingertips until it looks like coarse crumbs. Press this mixture down firmly and evenly into the bottom of your prepared pan. Pop that pan in the oven for just 15 minutes until you see it getting lightly golden around the edges. That pre-bake locks in moisture!
Mixing and Pouring the Thick Lemon Filling Bars
While that crust is baking, whip up the filling! In a separate bowl—a medium one works great—whisk your four eggs. I mean really whisk them until they’re frothy. Then, slowly mix in the 1 1/2 cups of sugar, the remaining quarter cup of flour, your fresh lemon juice, and all that lovely zest. Whisk until it’s totally smooth. Then, pull that hot crust out of the oven and pour this beautiful yellow mixture right over the top!
Baking and Setting the Lemon Bars Correctly
Back they go into the oven for another 20 to 25 minutes. You’re looking for the filling to be set. Gently wiggle the pan; you want it to have only a slight jiggle, not a full wobble. This is where patience starts! Let them cool completely on the counter first. Seriously, *then* they need a minimum of two hours in the fridge before you even think about slicing. Chilling is the secret weapon for clean **Thick Lemon Filling Bars**!
Expert Tips for Achieving Perfect Lemon Bars Texture
Now that you have the basic steps down for these **Tangy Lemon Bars**, let’s talk about elevating them from good to absolutely legendary. The most important thing I learned dealing with this recipe is that the crust needs protection! You don’t want that buttery shortbread to turn soggy under that wet filling. The blind bake helps, but a little trick I use is brushing the hot crust lightly with a beaten egg white right after it comes out of that first 15-minute bake. It creates a tiny little moisture barrier!
Also, make sure your eggs for the filling are at room temperature. They mix in much better and incorporate air nicely, which is crucial for that perfect set. And remember what I mentioned in the notes? Use fresh lemon juice; bottled juice is too flat, and you won’t get that awesome flavor punch that cuts through the sweetness. These little tweaks are what separate an okay batch from the run-forever Lemon Bars.
Ingredient Notes and Substitutions for Your Lemon Bars
One of the most common questions I get is about substitutions, especially when people are missing something in their pantry. While I really stand by fresh lemon juice—you simply can’t beat that bright, authentic flavor when making these **Tangy Lemon Bars**—I know sometimes life happens.
If you absolutely must substitute the fresh stuff, you can try using high-quality bottled lemon juice, but you’ll want to add an extra half teaspoon of lemon zest to try and mimic the fresh brightness. For the flour in the crust, most people successfully swap out a portion of the all-purpose flour for almond flour if they want a slightly nuttier crust, but you might need a tiny bit more butter to keep it from crumbling too much. If you want an alternative to the shortbread base, you can try my no bake lemon bars that use a graham cracker base instead. Stick close to the sugar ratios, though; that’s what sets the filling!
Storage and Make Ahead Dessert Bars Tips
I love making these **Lemon Bars** ahead of time because they honestly taste better the next day! Store them tightly covered in the refrigerator. They keep wonderfully for about four days, but honestly, they’re usually gone before then! Keep them in the pan if you can, separated by parchment paper if you stack them.
If you need to freeze them—which is great for planning ahead for parties—they freeze well for up to two months. Bake them completely, let them cool, and slice them before wrapping tightly in plastic wrap and foil. Crucially, only dust them generously with powdered sugar *after* they have fully thawed in the fridge. Otherwise, the sugar melts right into the filling and gets sticky! This makes them the ultimate Make Ahead Dessert Bars.
Serving Suggestions for Tangy Lemon Bars
These **Tangy Lemon Bars** are fantastic all by themselves, but why stop there? The tartness cuts through richness beautifully! I always serve mine with a dollop of fresh whipped cream—it’s like serving sunshine with a cloud on top. If you have some fresh raspberries or blueberries hanging around, scattering a few dried on the plate adds the perfect pop of color and sweetness.
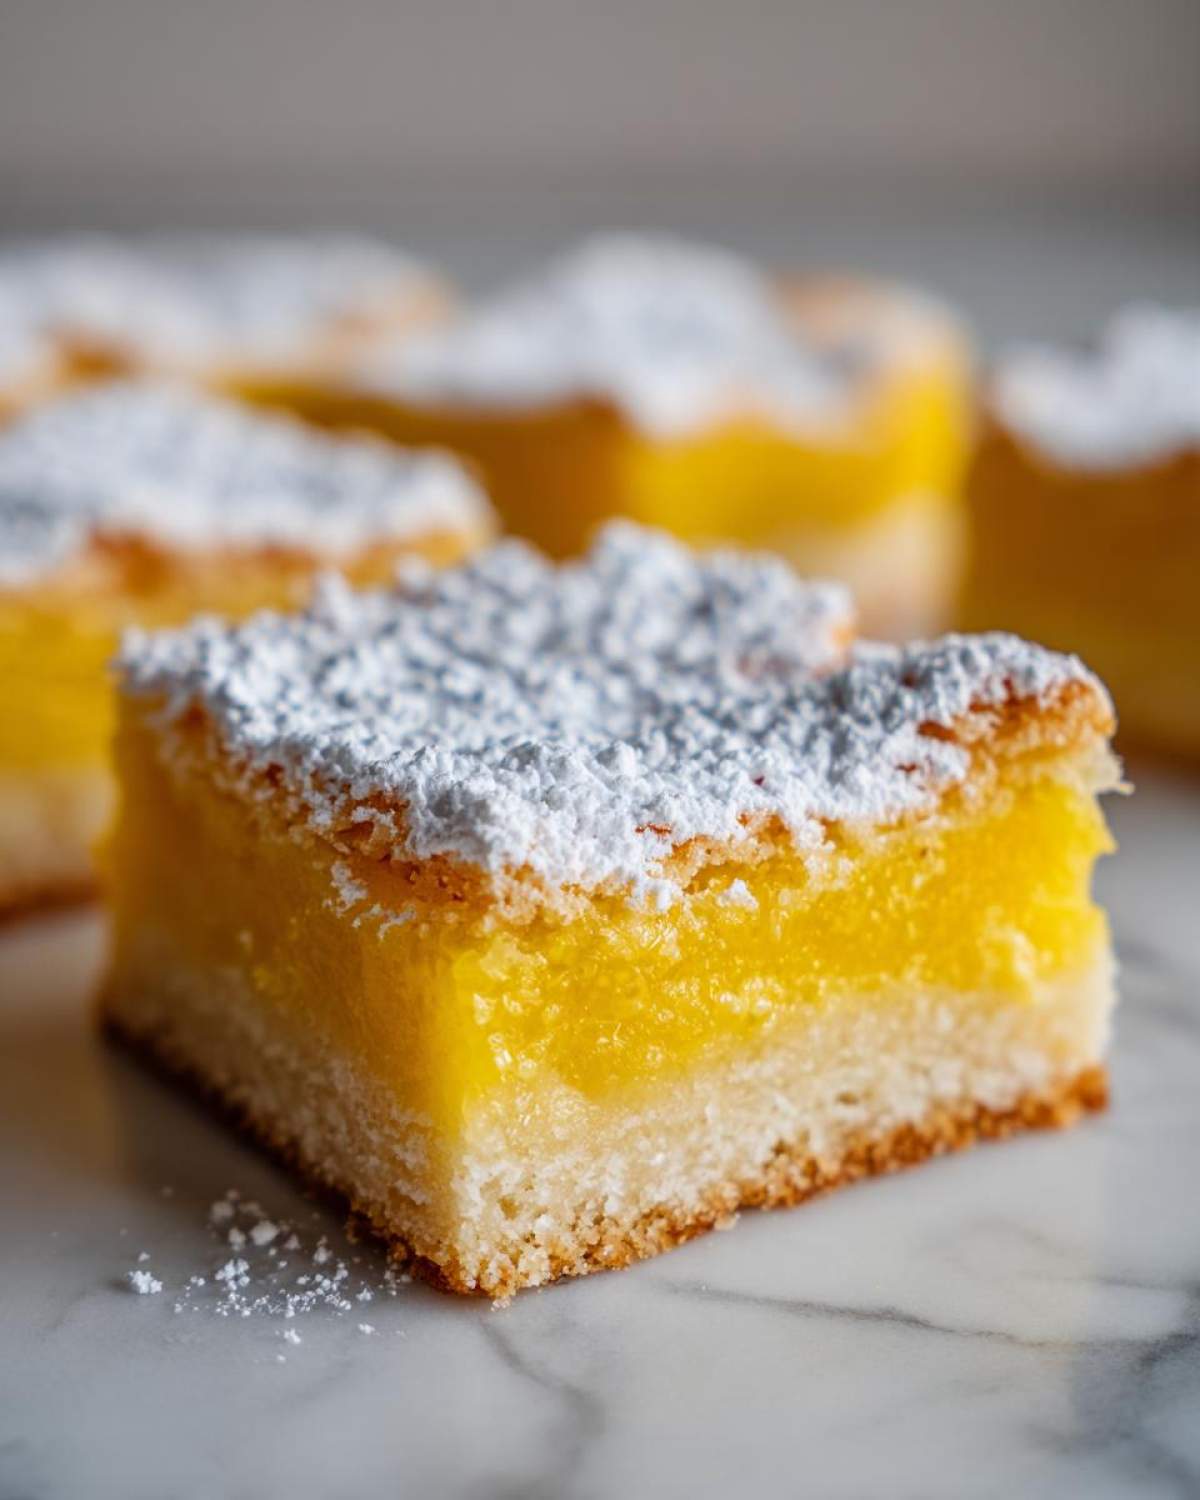
They are also wonderful alongside something rich and creamy, almost like a counterpoint. If you’re making a whole dessert spread, try pairing them next to a slice of deep chocolate cake or even my key lime pie for a full citrus showcase!
Frequently Asked Questions About Lemon Bars
It happens to all of us—baking is fun, but sometimes those little technical details trip you up! Since I struggled with the slicing forever, I hear all your most pressing questions about texture and timing. Here are the answers I’ve gathered through years of testing these **Dessert Bars Recipe** variations.
Why are my Lemon Bars still runny after chilling?
This is usually a two-part problem, but the biggest culprit is pulling them out of the oven too soon. Remember, we’re looking for *set*, not just *slightly jiggly*. If they’re fully chilled—at least two hours in the fridge—and still runny, it means the egg/flour ratio didn’t quite thicken enough during baking. If you’re worried, pull them out when they have just the slightest wobble and let them set up on the counter for an hour before refrigerating. That extra time can work wonders!
Can I make this a Simple Lemon Bar Recipe using a graham cracker crust?
Absolutely, yes! If you want to skip the shortbread, you certainly can make this a **Simple Lemon Bar Recipe** using graham crackers, but you need to change that first step. Mix about 1 1/2 cups of fine graham cracker crumbs with about 1/3 cup of melted butter and 2 tablespoons of sugar. Press that into the bottom of the pan. Since graham crackers are already cooked, you can often reduce that first bake time to just 8 or 10 minutes, or sometimes even skip it entirely if you press the crust in really tight!
If you want to see how I make a creamy, savory version of citrus, check out my Lemon Ricotta Pasta recipe—it’s a totally different vibe but equally bright!
Recipe Metrics and Quick Facts
If you’re in a hurry and just need to know the logistics of this batch, here’s the quick rundown on what you can expect from this recipe.
- Prep Time: About 15 minutes of active work.
- Cook Time: Around 40 minutes total baking time.
- Total Time: You’re done actively cooking in under an hour, but remember the mandatory chilling!
- Yield: This makes 16 perfect squares, which is great for sharing.
- Category: Definitely a crowd-pleasing Dessert!
- Diet Notes: This **Lemon Square Recipe** is naturally Vegetarian.
Recipe Metrics and Quick Facts
If you’re in a hurry and just need to know the logistics of this batch, here’s the quick rundown on what you can expect from these **Dessert Bars Recipe** favorites.
- Prep Time: About 15 minutes of active work.
- Cook Time: Around 40 minutes total baking time.
- Total Time: You’re done actively cooking in under an hour, but remember the mandatory chilling!
- Yield: This makes 16 perfect squares, which is great for sharing.
- Category: Definitely a crowd-pleasing Dessert!
- Diet Notes: This Lemon Square Recipe is naturally Vegetarian.
You can find more recipes perfect for snacking or quick desserts over in my general snacks category if you need something else fast!
PrintClassic Lemon Bars with Shortbread Crust

Make tangy lemon bars featuring a thick, buttery shortbread crust and a perfectly set, bright lemon filling, finished with powdered sugar.
- Prep Time: 15 min
- Cook Time: 40 min
- Total Time: 55 min
- Yield: 16 squares
- Category: Dessert
- Method: Baking
- Cuisine: American
- Diet: Vegetarian
Ingredients
- 1 cup all-purpose flour
- 1/2 cup cold unsalted butter, cubed
- 1/4 cup granulated sugar
- 1/4 teaspoon salt
- 4 large eggs
- 1 1/2 cups granulated sugar
- 1/4 cup all-purpose flour
- 1/2 cup fresh lemon juice
- 1 tablespoon lemon zest
- Powdered sugar, for dusting
Instructions
- Preheat your oven to 350°F (175°C). Line an 8×8 inch baking pan with parchment paper, leaving an overhang on two sides for easy removal.
- Prepare the crust: In a medium bowl, combine 1 cup flour, 1/4 cup sugar, and salt. Cut in the cold butter using a pastry blender or your fingers until the mixture resembles coarse crumbs.
- Press the crust mixture evenly into the bottom of the prepared pan. Bake for 15 minutes until lightly golden.
- While the crust bakes, prepare the filling: Whisk together the eggs, 1 1/2 cups sugar, 1/4 cup flour, lemon juice, and lemon zest in a separate bowl until smooth.
- Pour the lemon filling mixture directly over the hot, pre-baked crust.
- Return the pan to the oven and bake for an additional 20 to 25 minutes, or until the filling is set and no longer jiggles significantly in the center.
- Let the bars cool completely at room temperature, then chill in the refrigerator for at least 2 hours before cutting.
- Before serving, dust generously with powdered sugar.
Notes
- For the best texture, chill the bars completely before slicing. Use a sharp knife, wiping it clean between cuts.
- Use fresh lemon juice for the brightest flavor; bottled juice will change the taste.
- If you prefer a thicker crust, increase the butter in the crust mixture to 2/3 cup.
Nutrition
- Serving Size: 1 square
- Calories: 220
- Sugar: 22
- Sodium: 45
- Fat: 11
- Saturated Fat: 6
- Unsaturated Fat: 5
- Trans Fat: 0
- Carbohydrates: 30
- Fiber: 1
- Protein: 3
- Cholesterol: 55