

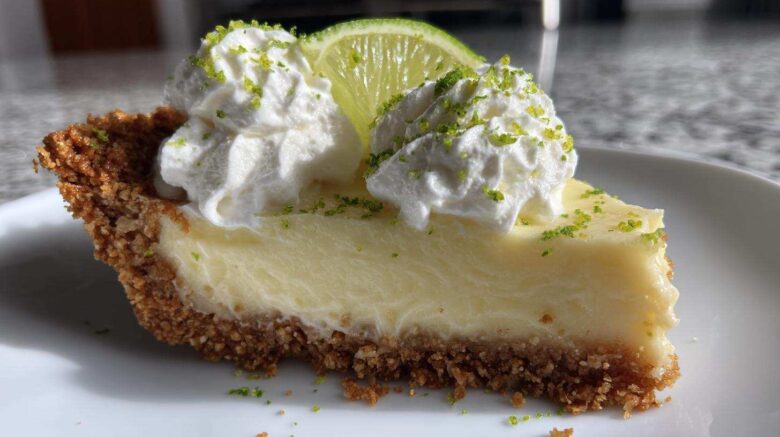
Revisiting Tangy Memories with the Perfect Key Lime Pie
For forty years, Richard and I collected flavors. We didn’t buy trinkets overseas.
We chased authentic tastes instead. That bright, sharp tang of lime? It hit us hard in Mexico.
It became a flavor we had to keep. Now, back home, we try to bottle that memory.
This recipe for Key Lime Pie is our best attempt.
It’s sharp, creamy, and truly transports us back instantly.
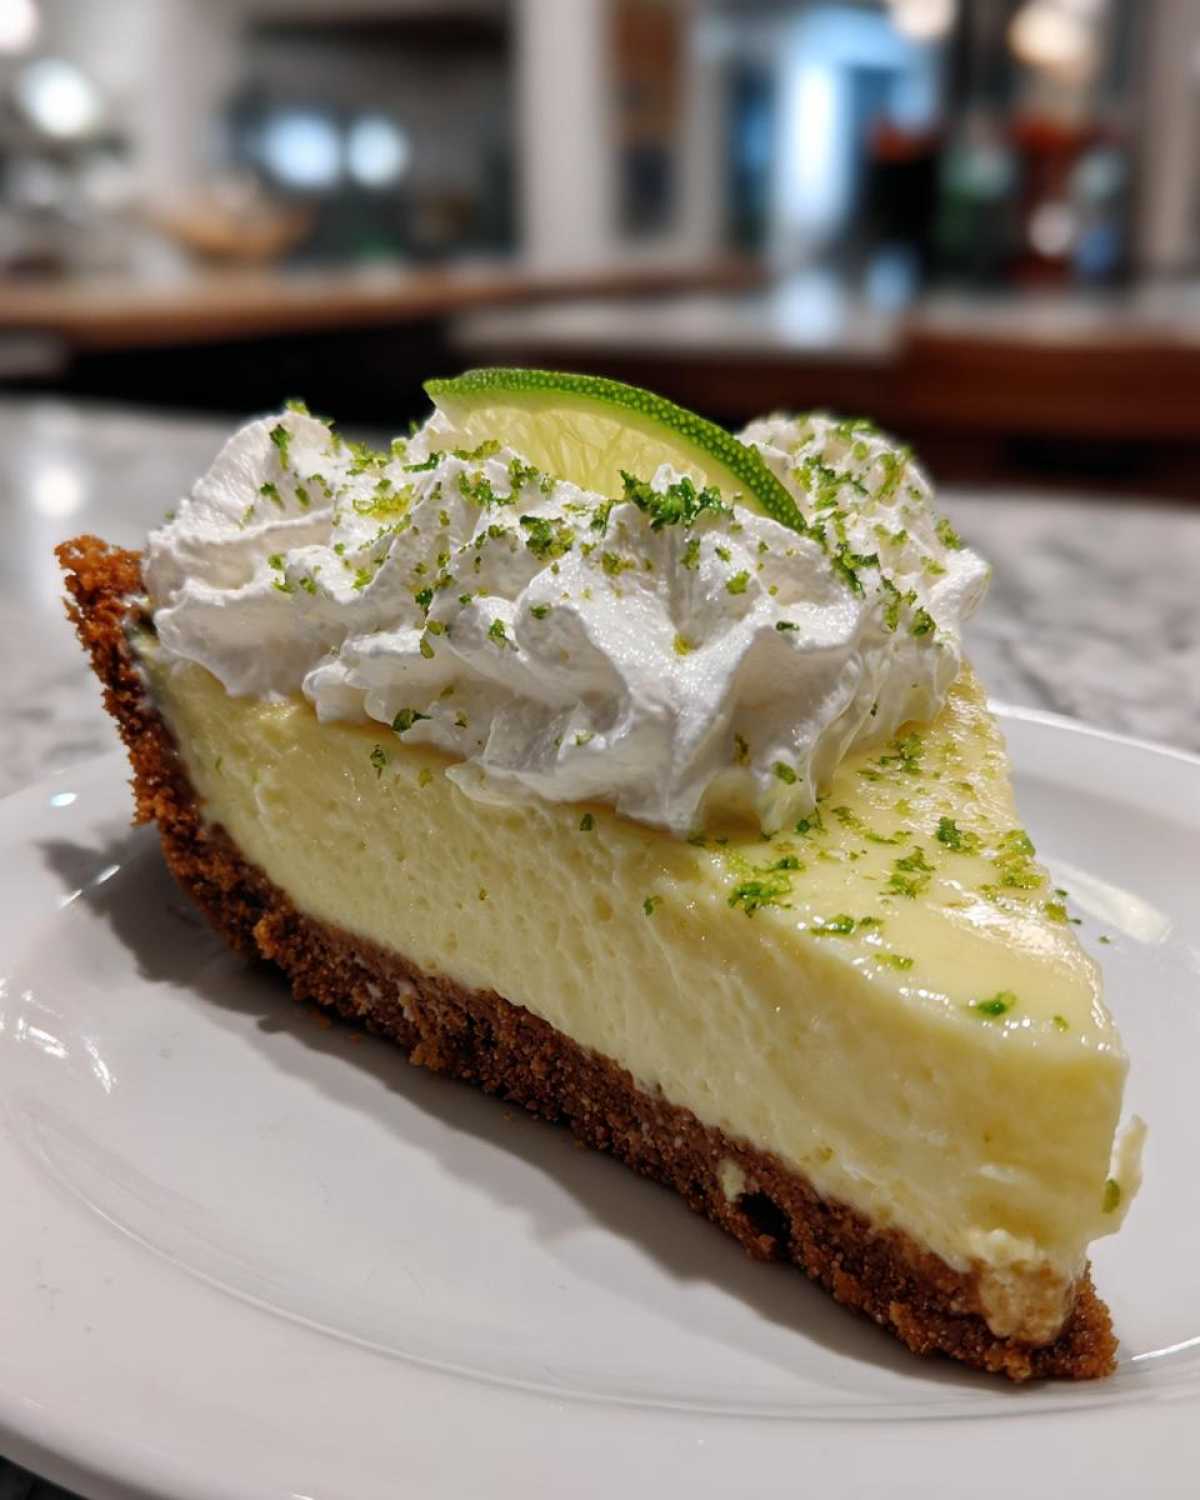
I think you’ll find this classic Key Lime Pie recipe captures that sunshine perfectly.
It’s the sweet finish we always craved after a long day.
We baked samples for years to get it right.
This version, featuring a simple graham cracker crust, is the winner.
It’s ready for your summer table now.
Why This Key Lime Pie Recipe Is Worth Your Time
I know you have many dessert choices. Why pick this one?
Richard and I spent so long perfecting this taste.
It’s the real deal, bringing back our travels.
This Key Lime Pie delivers pure, bright flavor.
- Simple graham cracker crust you bake first.
- The filling achieves that signature sharp tanginess.
- Chilling time is non-negotiable for the best Key Lime Pie texture.
- Yields 8 perfect servings, ideal for sharing.
Prep flies by quickly, I promise. You’ll love the results.
Essential Components for Your Key Lime Pie
Gathering ingredients is the first real step.
For this treasured Key Lime Pie, quality matters a lot.
Richard always checks the labels for me.
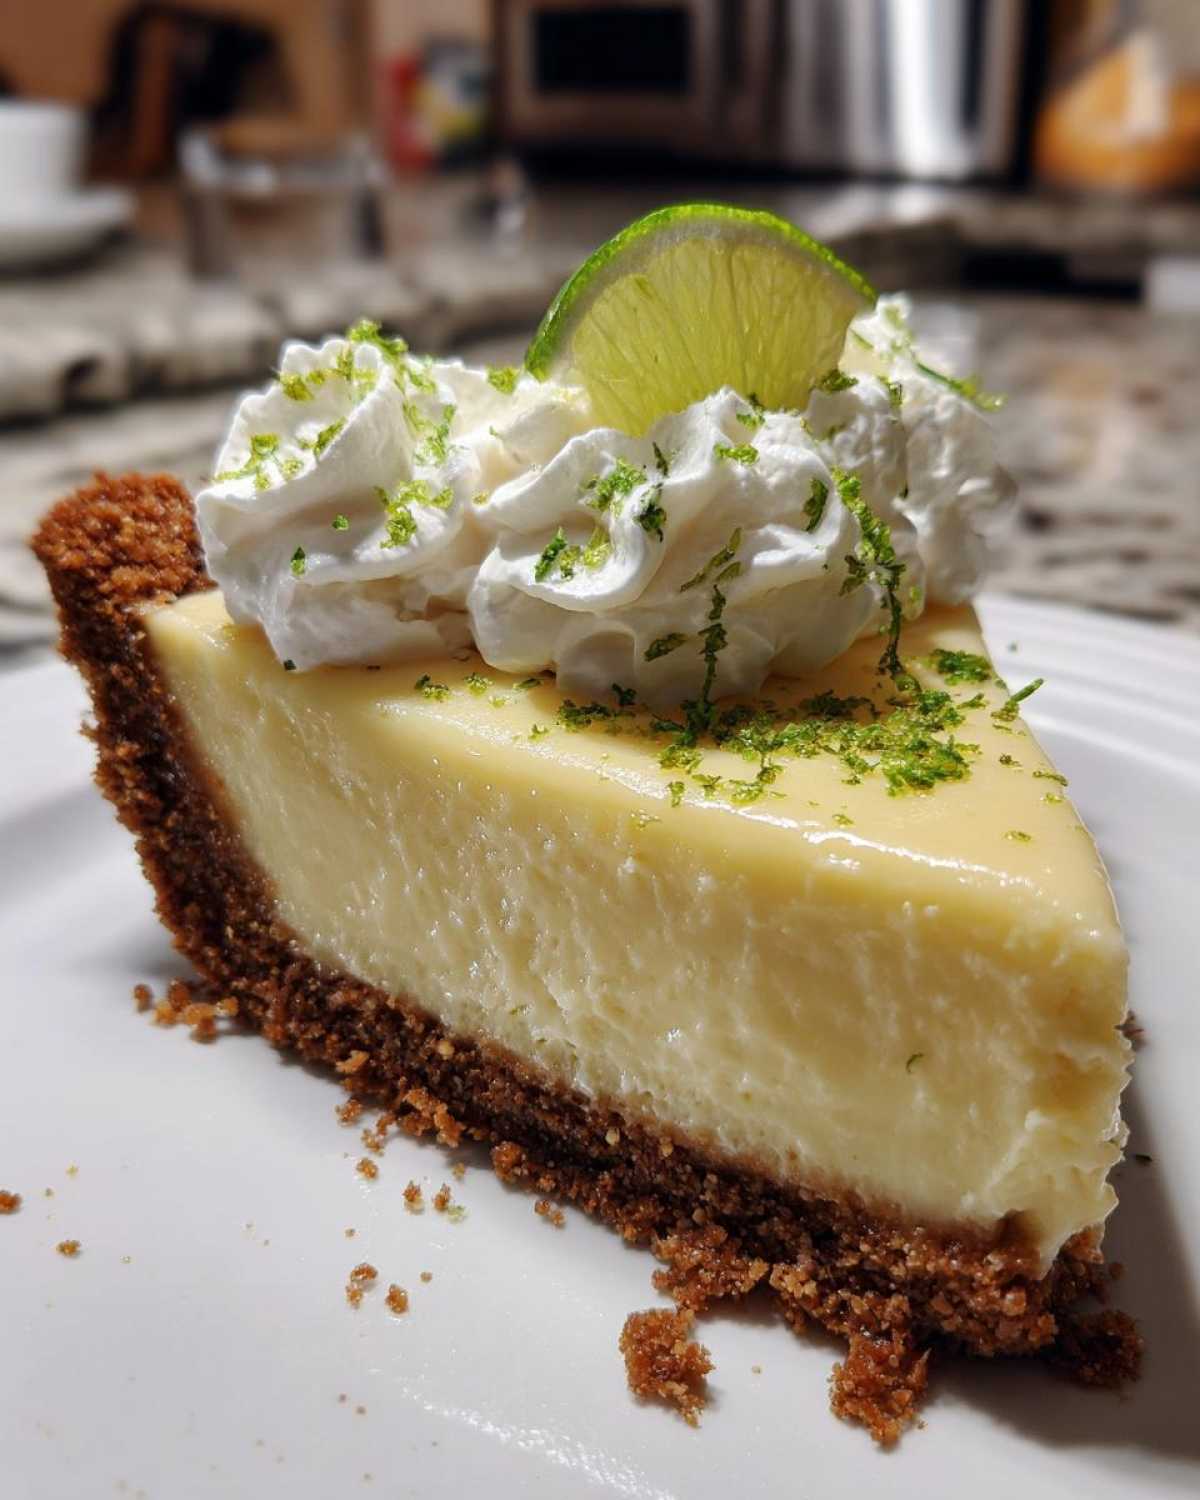
We need specific items for that perfect balance.
Here is exactly what you need for the magic.
Measurements must be precise for success here.
Graham Cracker Crust Ingredients for Key Lime Pie
- One and a half cups of graham cracker crumbs.
- A quarter cup of plain granulated sugar.
- Six tablespoons of unsalted butter, fully melted.
Make sure your crumbs are fine, like sand.
Creamy Filling Ingredients for Key Lime Pie
- One fourteen-ounce can of sweetened condensed milk.
- Half a cup of fresh key lime juice.
- Two large egg yolks, nothing less.
Please use fresh juice; bottled juice changes the flavor profile.
Garnish Ingredients
- Lime zest for a pretty top layer.
- Whipped cream for serving alongside.
That fresh zest really wakes up the whole dessert.
Equipment Needed for Making Key Lime Pie
You don’t need fancy gadgets for this treat.
My kitchen tools are well-loved, not new.
These simple items get the job done well.
Gather these things before you start mixing.
- A 9-inch pie plate is essential.
- Your oven needs to be ready too.
- You’ll need a couple of mixing bowls.
- Grab a sturdy whisk for combining things.
- A wire cooling rack helps cool things down.
Having everything ready makes baking fun.
Step-by-Step Instructions for an Authentic Key Lime Pie
Now for the fun part, putting it all together.
Follow these steps closely for perfection.
This process creates our famous Key Lime Pie.
We will start with that sturdy base.
Preparing and Baking the Crust
First, get your oven hot. Preheat to 350 degrees Fahrenheit.
Combine your crumbs and sugar in a bowl.
Pour in the melted butter slowly.
Mix until all crumbs feel damp now.
Press this mixture firmly into your pie plate.
Go up the sides evenly, make it flat.
Bake this crust for just ten minutes.
Let it cool completely on the rack after baking.
Mixing the Tangy Key Lime Pie Filling
Use a separate medium bowl for the filling.
Whisk the sweetened condensed milk first.
Next, add your fresh lime juice.
Then, whisk in the two egg yolks gently.
Keep whisking until the mixture looks smooth.
It will thicken a bit as you mix it.
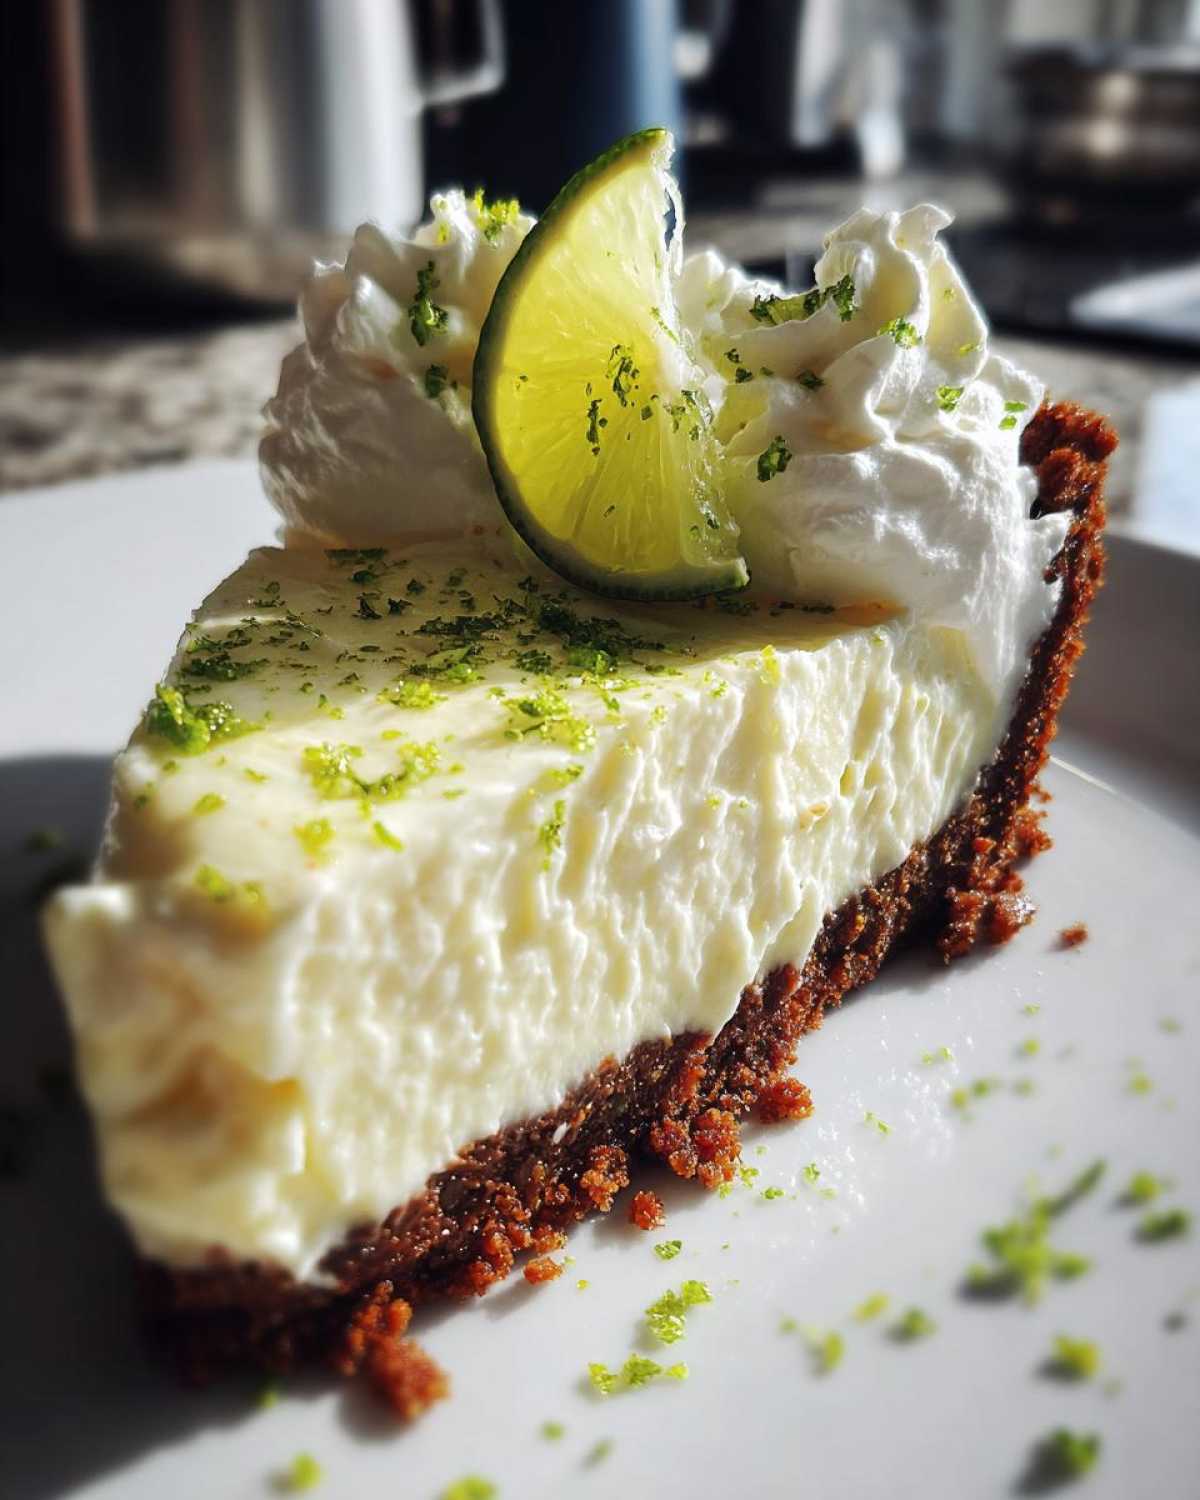
Final Bake and Crucial Chilling for Key Lime Pie
Pour that lovely filling into the cooled crust.
Bake it for fifteen minutes total.
Watch the edges; they should look set.
The middle should still have a slight jiggle.
Remove the pie from the hot oven right away.
Let it come down to room temperature slowly.
Richard insists chilling time is crucial here.
Refrigerate for a minimum of four hours.
It must be completely firm when you slice it.
Tips for Achieving the Best Key Lime Pie
Even small details change this dessert dramatically.
I want your Key Lime Pie to taste perfect.
A few tricks make a huge difference in flavor.
These little secrets come from years of testing.
Follow these pointers for the sharpest, creamiest result.
Juice Quality Matters
Key limes offer a unique, floral flavor.
If you can’t find them, don’t panic.
Fresh regular lime juice works just fine.
You might need to add a tiny bit more zest.
That extra bit of fresh zest brightens it up.
The Importance of Resting
Don’t rush the cooling process, really.
This is where the structure sets up nicely.
Richard is firm on this point always.
Four hours minimum in the fridge is key.
Patience gives you that perfect slice.
Finishing Touches for Your Key Lime Pie
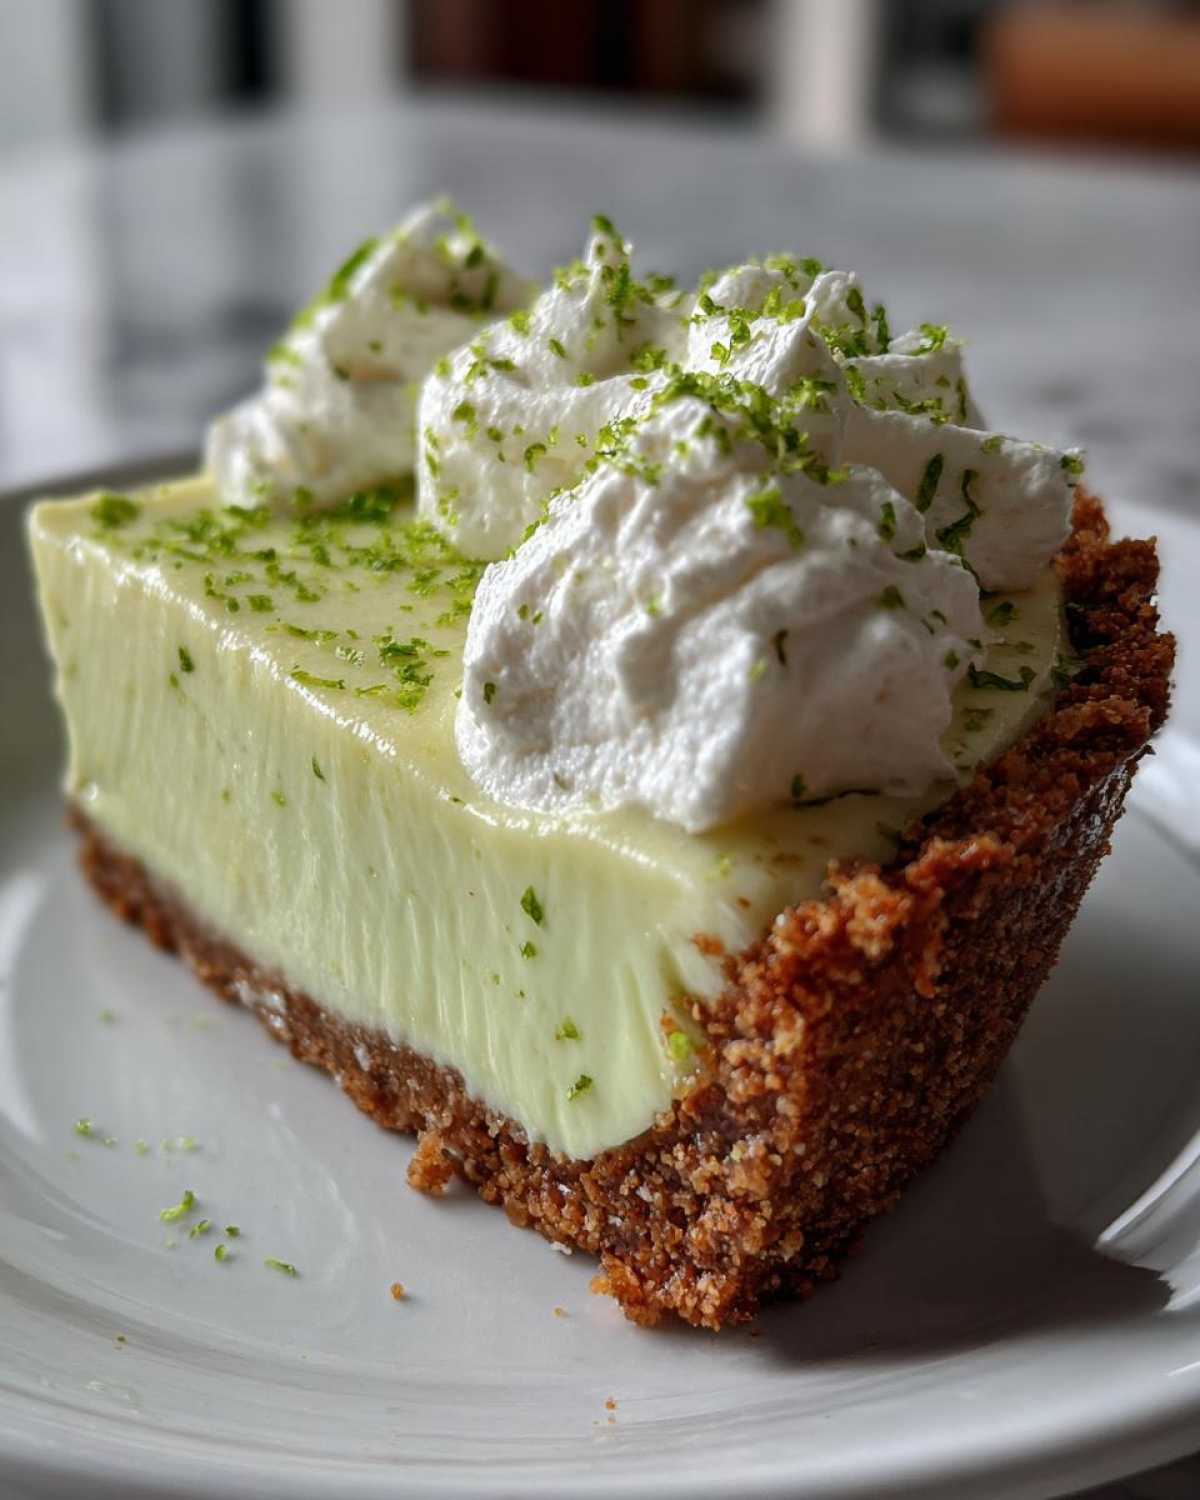
Always save the lime zest for the very end.
Adding zest just before serving is best.
It releases the strongest, brightest aroma.
A light dusting makes such a difference.
It wakes up every single bite!
Frequently Asked Questions About Key Lime Pie
I always get questions about this tart dessert.
It’s natural to wonder about substitutions.
Richard and I have tried nearly everything.
Here are the answers to the most common queries.
I hope this helps your baking journey.
Can I make this Key Lime Pie without baking it?
You absolutely can make a no-bake version.
That method relies on the acidity alone.
However, our baked Key Lime Pie is richer.
Baking sets the egg yolks gently.
It gives you that wonderfully creamy texture.
I prefer the baked version myself.
How do I know when the Key Lime Pie filling is done?
This is where you must watch closely.
The edges of the filling should look solid.
The very center needs to still wobble slightly.
Think of it like soft gelatin.
It continues setting as it cools down.
Don’t overbake the beautiful lime dessert!
What is the difference between key lime juice and regular lime juice in this dessert?
Key limes are naturally smaller and tarter.
They have a unique floral, almost perfumed note.
Regular Persian limes are easier to find.
They give you a stronger, sharper sourness.
Using regular juice is fine, truly.
Just remember to add extra zest sometimes.
It helps bring back that bright complexity.
Storing Leftover Key Lime Pie
What happens when you have leftovers?
This pie needs careful handling.
Cover the pie dish tightly with plastic wrap.
Keep it in the refrigerator always.
It stays fresh for about three days.
Do not try to reheat this dessert.
It tastes best served cold from the fridge.
The texture suffers if it warms up too much.
Understanding the Nutrition in Your Key Lime Pie
We track flavors, not calories, usually.
But I know many of you track nutrition.
These numbers give you a general idea.
The values listed are just estimates for one slice.
They reflect ingredient brands we often use.
Your actual count will shift a bit, remember that.
Enjoy this sweet treat with peace of mind.
Share Your Delish Diarist Experience
I hope you enjoyed making this pie.
Richard and I loved reliving that memory.
Did this recipe transport you somewhere wonderful?
Let us know how your results turned out.
Tell us about your favorite part of the flavor.
We love hearing from our fellow diarists.
PrintAmazing 15-Minute Key Lime Pie Memory

This is a classic Key Lime Pie recipe, sharp, creamy, and utterly refreshing. We recreate the bright, tangy flavor we first tasted years ago, set in a simple graham cracker crust. It is the perfect sweet finish for any warm evening.
- Prep Time: 20 minutes
- Cook Time: 25 minutes
- Total Time: 5 hours 5 minutes
- Yield: 8 servings
- Category: Dessert
- Method: Baking
- Cuisine: American
- Diet: Vegetarian
Ingredients
- 1 1/2 cups graham cracker crumbs
- 1/4 cup granulated sugar (for crust)
- 6 tablespoons unsalted butter, melted
- 1 (14 ounce) can sweetened condensed milk
- 1/2 cup fresh key lime juice (or regular lime juice)
- 2 large egg yolks
- Lime zest, for garnish
- Whipped cream, for topping
Instructions
- Preheat your oven to 350°F (175°C).
- Combine graham cracker crumbs and 1/4 cup sugar in a bowl. Pour in melted butter and mix until the crumbs are evenly moistened.
- Press the mixture firmly and evenly into the bottom and up the sides of a 9-inch pie plate. Bake for 10 minutes. Let the crust cool completely.
- In a medium bowl, whisk together the sweetened condensed milk, lime juice, and egg yolks until smooth. This mixture will thicken slightly.
- Pour the filling into the cooled crust.
- Bake for 15 minutes, or until the edges are set but the center still jiggles slightly.
- Remove the pie from the oven and let it cool to room temperature on a wire rack.
- Chill the pie in the refrigerator for at least 4 hours, or until completely firm.
- Before serving, top generously with whipped cream and a sprinkle of lime zest.
Notes
- If you cannot find key limes, fresh regular lime juice works well, but you may need to adjust the zest slightly.
- Richard insists chilling time is crucial for the perfect texture; do not rush this step.
- We always use fresh zest for the final touch; it brings the bright aroma right back.
Nutrition
- Serving Size: 1 slice
- Calories: 350
- Sugar: 40g
- Sodium: 200mg
- Fat: 18g
- Saturated Fat: 10g
- Unsaturated Fat: 8g
- Trans Fat: 0g
- Carbohydrates: 45g
- Fiber: 1g
- Protein: 6g
- Cholesterol: 60mg