

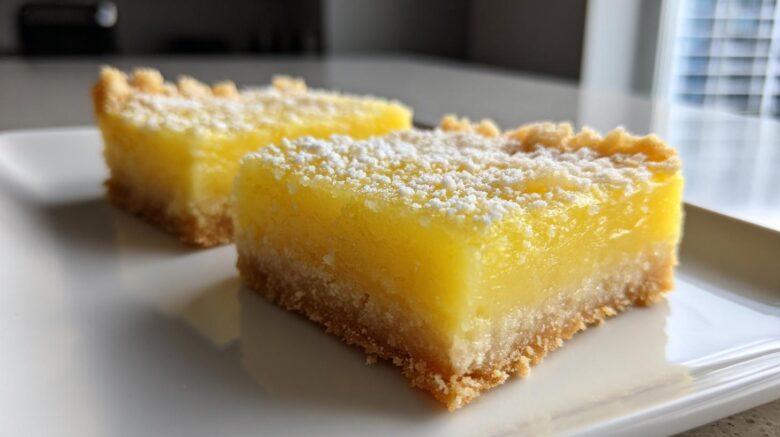
When the sun shines bright, my kitchen craves something zesty. I need a dessert that sings of summer. Forget the oven heat for a moment. Richard and I often talk about those simple, bright tastes we found traveling. We collected flavors like other people collect postcards.
Our travels gave us a deep appreciation for fresh ingredients. We learned that simplicity often hides the best tastes. Now, back home, we recreate those feelings. We capture that sharp, happy snap of fresh lemon.
This recipe for No Bake Lemon Bars is pure nostalgia. It’s that perfect, chilled lemon square experience. We made sure to keep the oven off completely. You get that intense, sunny flavor without the fuss. It’s Eleanor’s way of bottling a perfect afternoon.
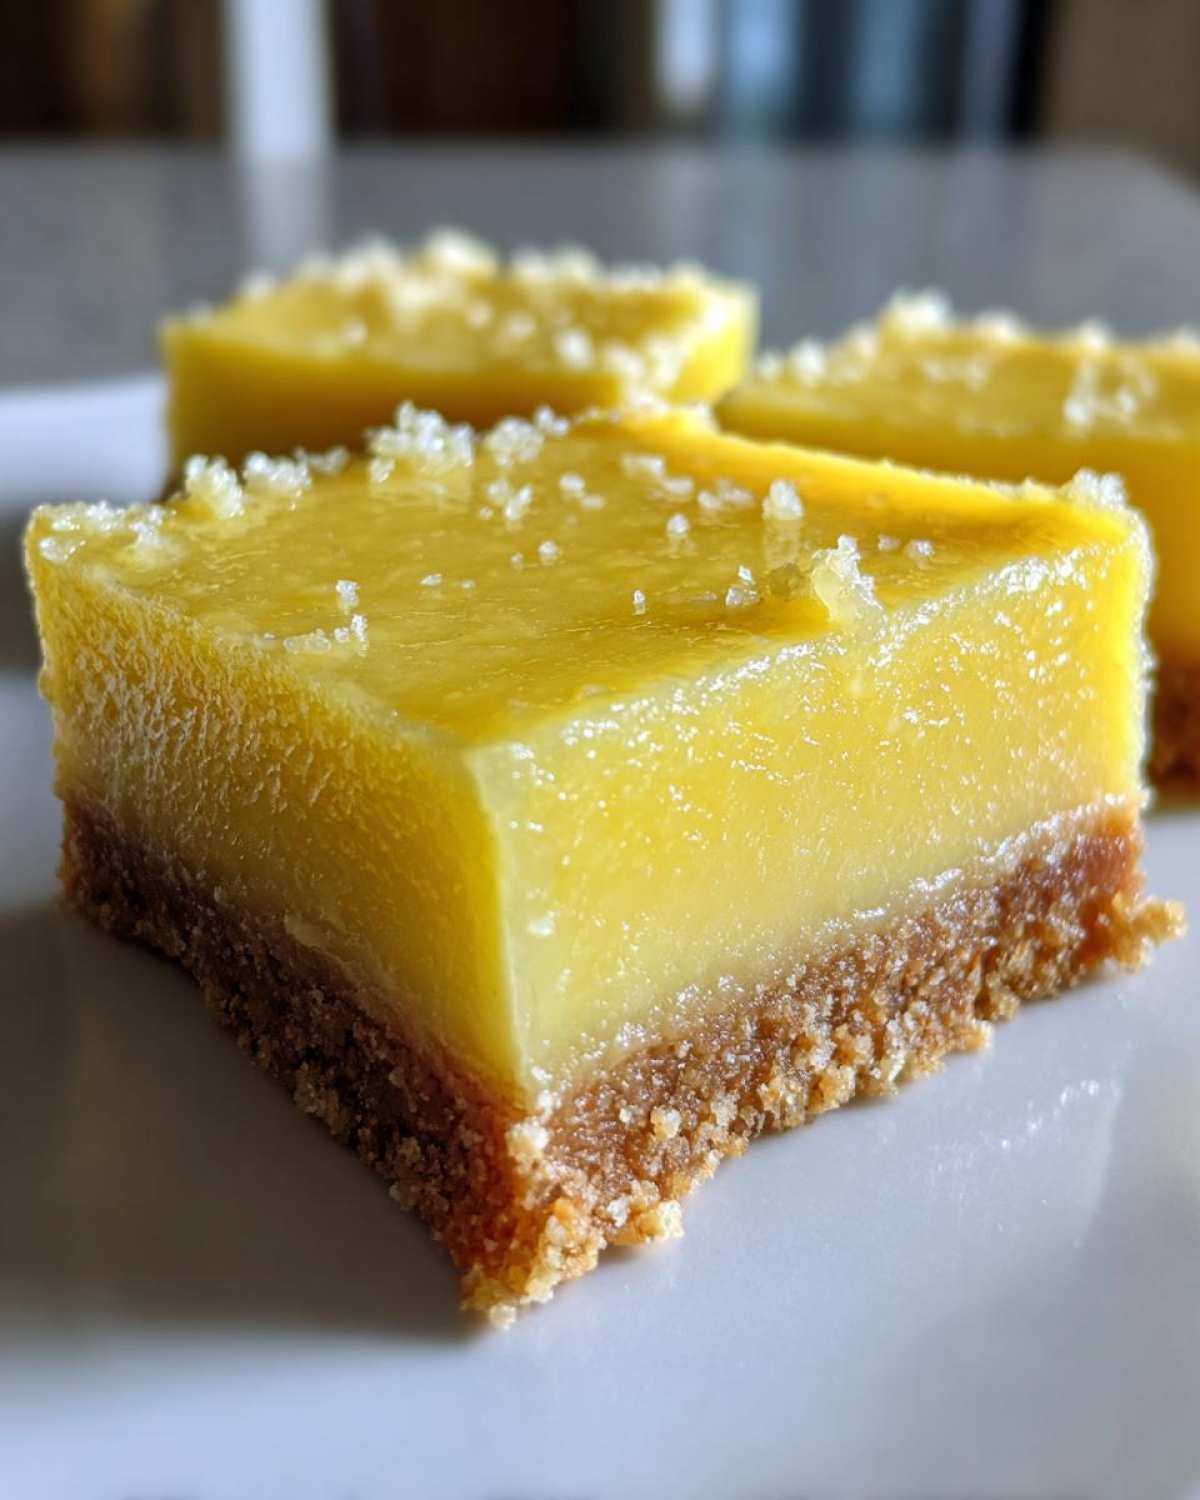
Richard remembers eating something just like this in Florida years ago. He said it tasted like sunshine in a bite. That memory inspired this recipe. It’s easy, refreshing, and truly delicious. It’s our diary entry for a bright, easy treat.
Why You Will Love These No Bake Lemon Bars
You need a dessert that tastes amazing. You want that zesty punch right now. Our No Bake Lemon Bars deliver big flavor. They are incredibly simple to make, too. This recipe is your answer for quick summer sweetness. No oven needed means less heat. You get pure, bright lemon goodness easily.
Quick Prep Time for Easy Lemon Dessert
The oven stays cool for this recipe. That’s a huge win for summer cooking. We need only twenty minutes for prep work. Think about that time savings. Traditional baked bars take much longer. This chilled lemon squares treat comes together fast.
Intense, Zesty Flavor Profile
Don’t confuse easy with bland. We use fresh lemon juice always. The zest adds incredible aromatic punch. Richard always notes the sharpness. It tastes exactly like that seaside treat we loved. The flavor is truly intense and bright.
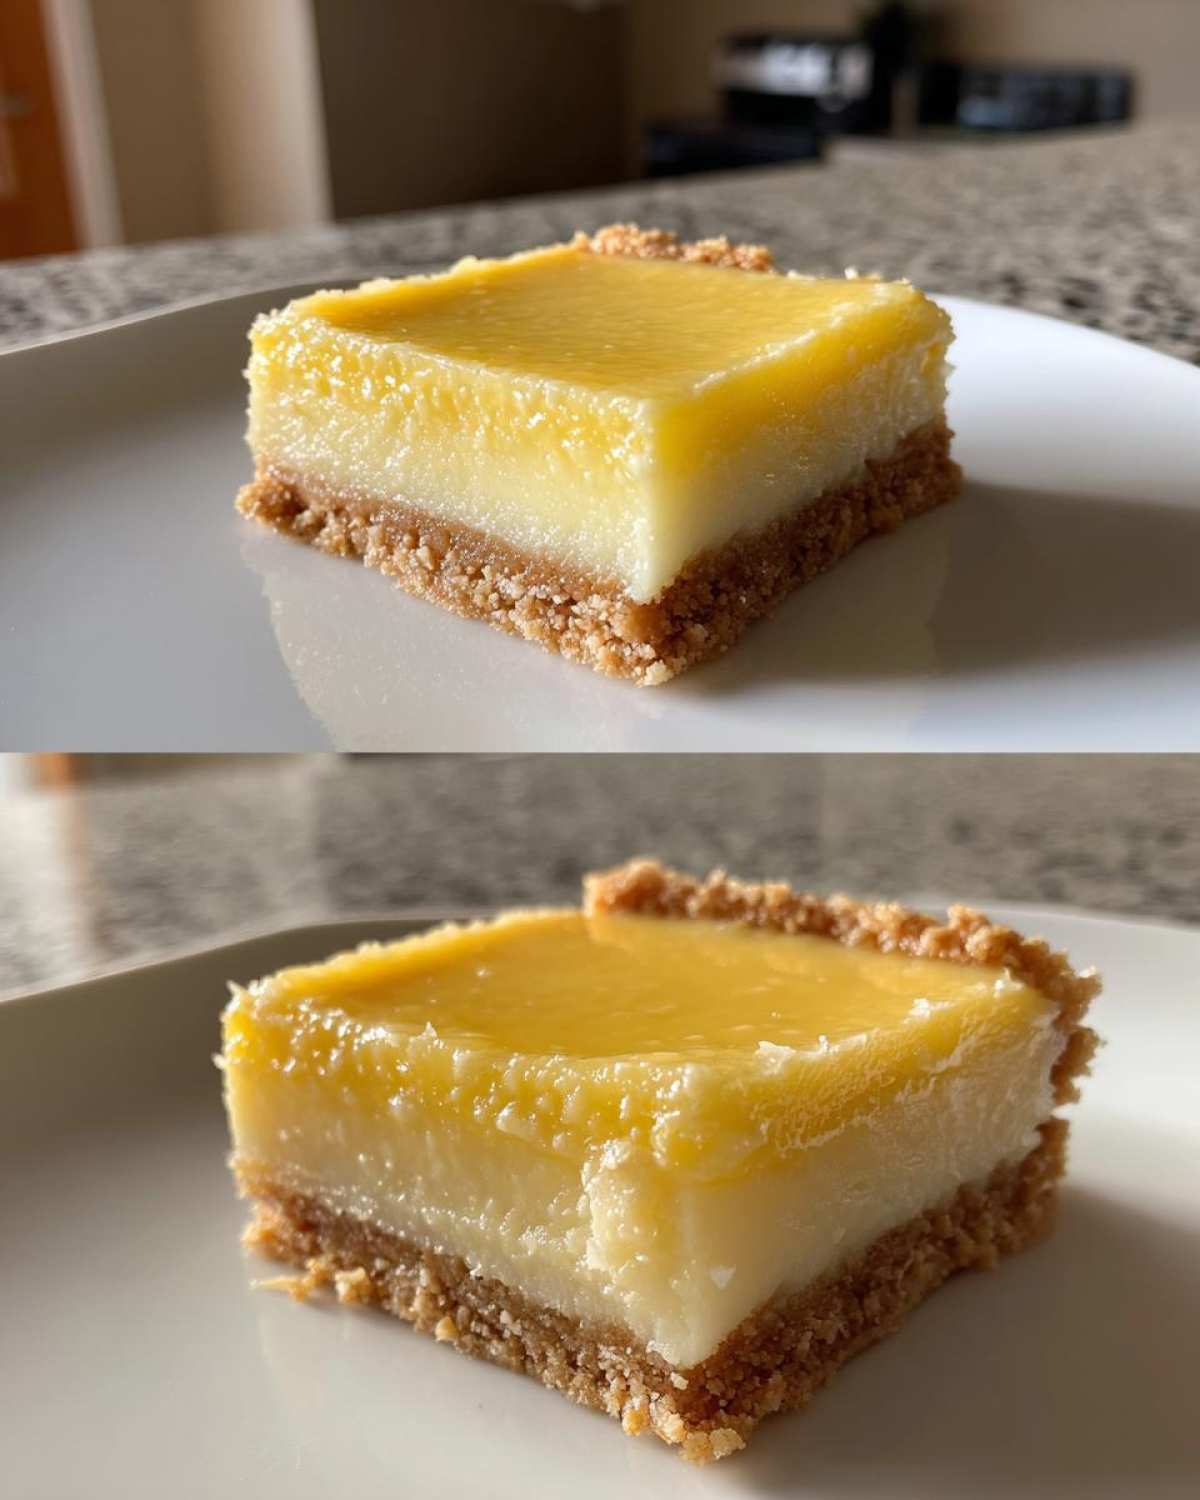
The Ingredients for Perfect No Bake Lemon Bars
Getting the best flavor starts here, friends. For these No Bake Lemon Bars, ingredient quality really matters. Since we aren’t baking, the fresh tastes need to shine through. Richard has a saying about this. He says, “The simpler the recipe, the louder the ingredients speak.”
We want that bright lemon flavor to sing loudly. Let’s look at what you need for success. Having everything ready makes mixing smooth. This is my chief diarist tip for you.
Graham Cracker Crust Components
- 1 1/2 cups graham cracker crumbs
- 1/4 cup granulated sugar
- 6 tablespoons unsalted butter, melted
Mix those crumbs and sugar first. Then pour in the melted butter slowly. Make sure every crumb gets coated well. Press it firmly into your prepared pan later.
Creamy Filling Essentials
- 1 (8 ounce) package cream cheese, softened
- 1 (14 ounce) can sweetened condensed milk
- 1/2 cup fresh lemon juice
- 1 teaspoon lemon zest
- Yellow food coloring (optional)
The cream cheese must be very soft. I mean truly room temperature soft. Lumps ruin the smooth texture we want. This step is where my expertise helps you avoid a gritty filling.
Equipment List for Your No Bake Lemon Bars
Gathering your tools first makes things simple. You don’t want to hunt mid-mix. For this easy lemon dessert, you need just a few basics. Richard calls this part “setting the stage.” It keeps the twenty-minute prep moving along nicely.
We don’t need whisks or fancy mixers much. Focus on good bowls for combining things well. Having the right pan matters too. It sets the final shape perfectly.
Pan Preparation Guidance
You’ll need one 8×8 inch baking pan. This size works best for the ratios here. Line that pan with parchment paper next. Make sure the paper hangs over two sides. This overhang is your helpful handle later. It lets you lift the chilled bars out easily. No sticking worries at all.
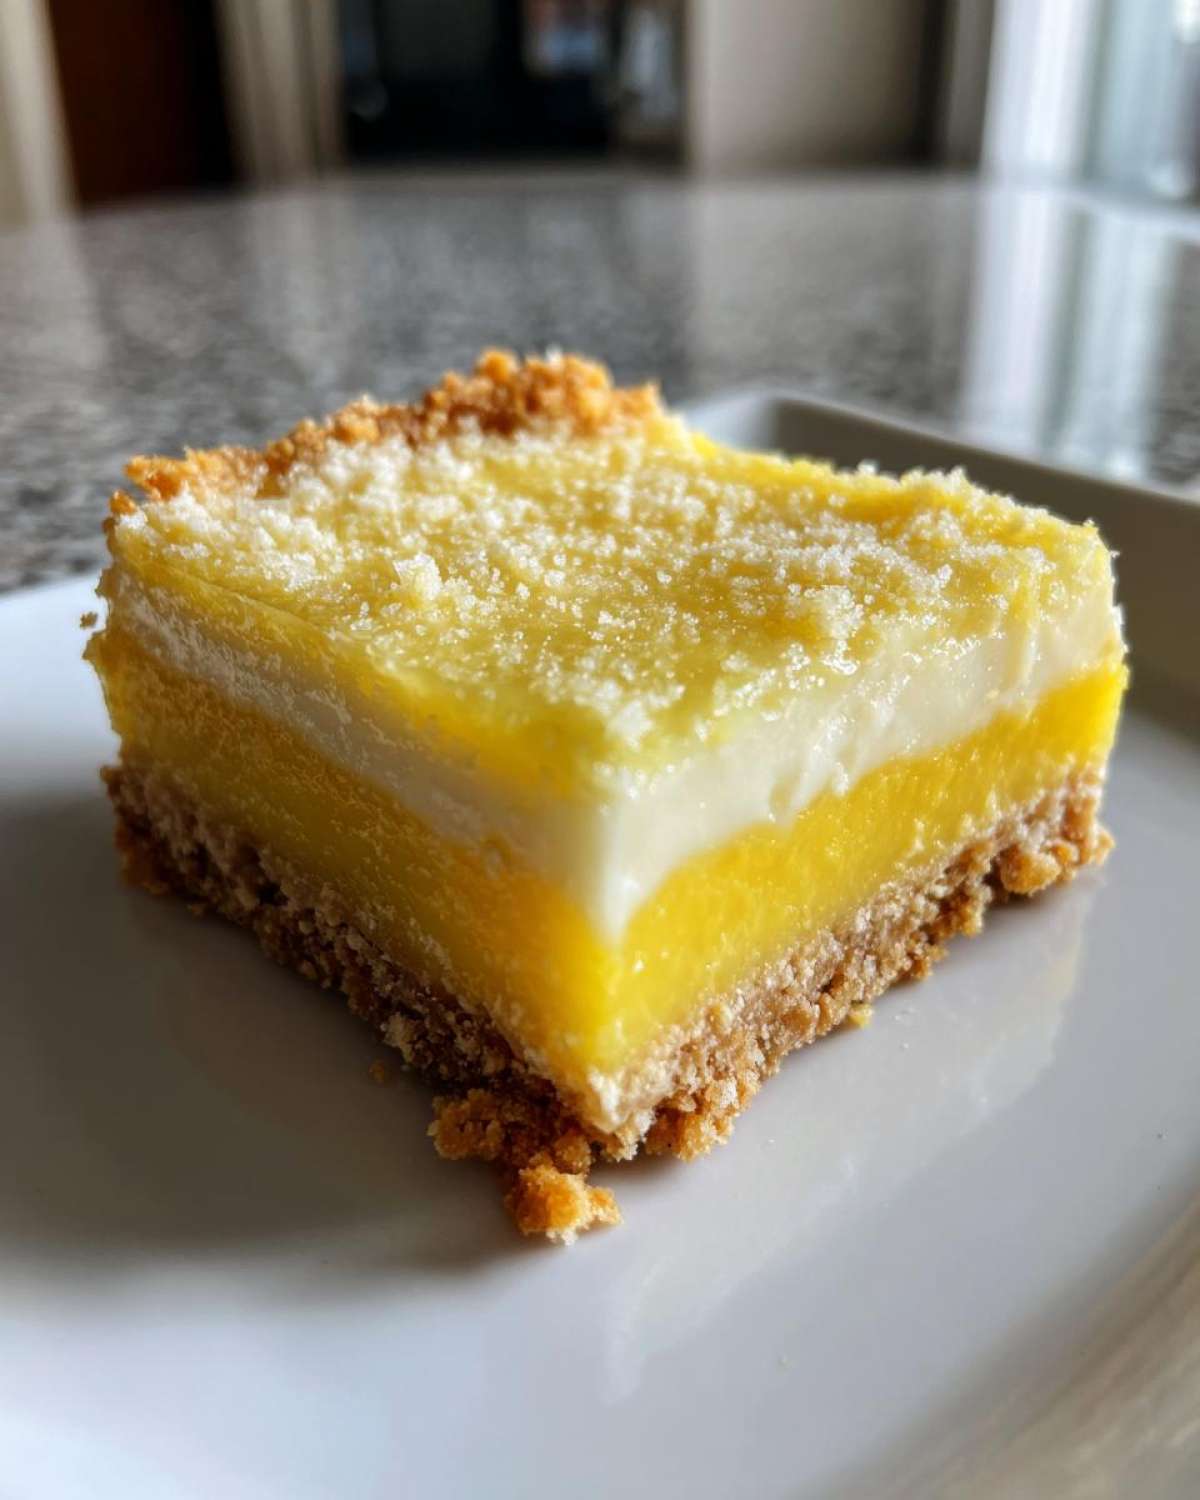
Step-by-Step Instructions for No Bake Lemon Bars
Now for the fun part, putting it all together! Making these No Bake Lemon Bars is a simple process. Follow these steps closely for success. We’re moving from messy ingredients to a perfect treat fast. My goal is always a beautiful texture for you.
Preparing the Graham Cracker Crust
First, combine your graham cracker crumbs. Mix them with the one-quarter cup of sugar well. Next, pour in the melted butter slowly. Stir until all the crumbs look moist. Now take your 8×8 pan. Press that crumb mix down firmly. Use the bottom of a glass for a flat top. This solid base is key for good bars.
Mixing the Smooth Lemon Filling
Grab a separate bowl for the filling next. Beat your softened cream cheese until it’s totally smooth. Remember my tip about room temperature cheese? This prevents lumps. Then, beat in the sweet condensed milk slowly. Keep mixing until it’s all combined nicely. Stir in that fresh lemon juice and zest now. Mix it until everything looks uniform. Add a few drops of yellow coloring if you want more sunshine color.
Setting and Chilling the No Bake Lemon Bars
Pour that bright lemon mixture over your crust. Spread it out evenly across the base. Cover the pan loosely with plastic wrap. Now comes the waiting game, but trust me. Refrigerate these chilled lemon squares for six hours minimum. Overnight is even better for firmness. This chilling time is crucial for texture. It lets the filling set up perfectly. Once firm, use the overhang. Lift the whole slab out gently. Cut into sixteen nice squares before serving them up.
Tips for Making the Best No Bake Lemon Bars
Even simple recipes benefit from a few secrets. I’ve learned that small tweaks make a big difference. We want your No Bake Lemon Bars to taste incredible. These tips come from years of tweaking recipes here. They help ensure perfect texture every time.
Don’t rush the chilling process at all. That slow set makes the bars hold shape. A firm bar is a happy bar, I always say. Pay attention to ingredient temperature too. It really impacts the final look.
Flavor Boost with Citrus Selection
If you want a truly next-level flavor, seek out Meyer lemons. Richard actually prefers them heavily. They aren’t as sharp as regular lemons. They offer a softer, more floral kind of tang. It’s a subtle difference, truly. But it makes these chilled lemon squares special.
If you can’t find Meyer lemons, don’t worry. Just make certain your regular lemons are very fresh. Old juice loses its bright zing quickly. Freshly zested is always the best path forward here.
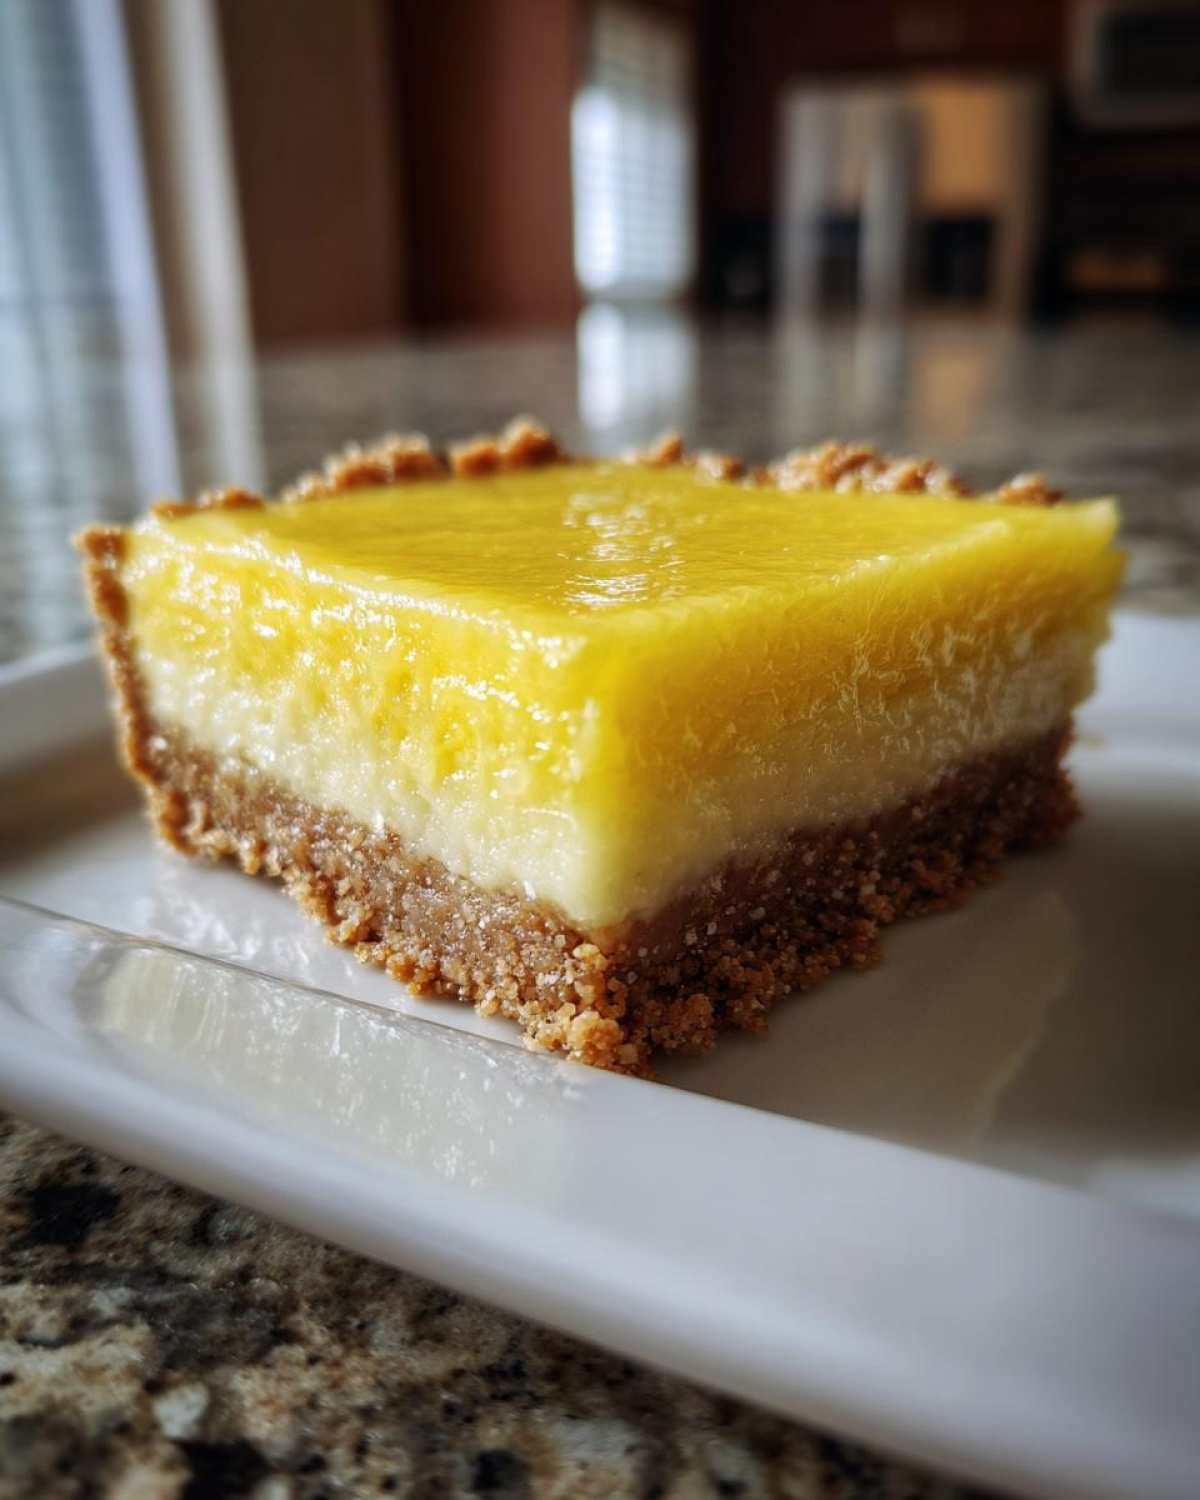
Storing and Serving Your Chilled Lemon Squares
Once these beauties are set, how do we keep them perfect? Storing these chilled lemon squares is quite easy. Keep them covered in the fridge tightly. They stay fresh for about four days this way. I haven’t tried freezing them yet. I worry about the texture changing after thawing.
When serving time arrives, think about presentation. A simple dusting of powdered sugar looks lovely. It adds a nice visual contrast to the bright yellow. Richard loves them straight from the cold. I sometimes let mine sit out for five minutes.
This slight warming softens the filling just a touch. It makes the texture even creamier. Remember, these are best served cold. They just don’t hold up well at room temperature long. Enjoy that refreshing taste quickly after cutting.
Frequently Asked Questions About No Bake Lemon Bars
I know you might have questions popping up. That’s natural when trying a new recipe. Richard and I always answer reader mail about cooking. We want your experience to be wonderful. Here are some common things people ask about this treat.
These answers should clear up any last doubts you have. We cover crust changes and setting times here. Let’s make sure your No Bake Lemon Bars turn out perfectly.
Can I use a different type of cracker for the crust?
You absolutely can try other crackers. Vanilla wafers work well, for instance. They give a sweeter base flavor. If you use a different cracker, you might need less sugar. You could also increase the crumbs slightly. Remember the note about a thicker crust? Use one and three-quarter cups instead of one and a half. That works regardless of the cracker type.
How do I know when the No Bake Lemon Bars are firm enough?
This is all about the texture check. After six hours, gently test the center. The filling should feel solid but yield slightly. It shouldn’t wiggle or look wet at all. If it still seems soft, just cover it again. Give it two more hours in the fridge. A firm set means clean cuts later on. Don’t rush this part for the best chilled lemon squares.
What happens if my cream cheese wasn’t soft enough?
Oh, that happens to everyone sometimes! If you see lumps, don’t panic yet. Try beating the mixture harder with a sturdy whisk. You can also press the mixture against the side of the bowl. If lumps remain, the texture will be slightly grainy. The flavor will still be great, though. Just aim for room temperature next time!
Sharing Your Delish Diarist Recipe
Now the diary entry is complete for us.
It’s your turn to write the next part.
We truly love hearing from you all.
Did these bars taste like sunshine for you?
Tell us how your No Bake Lemon Bars turned out.
Did you use Meyer lemons like Richard suggested?
We want to see your beautiful chilled lemon squares.
Share your successes and any little kitchen mishaps.
Every comment builds our community here.
It makes this whole process feel shared.
Leave your thoughts right below this post.
We read every single one carefully.
Thank you for joining our delicious journey.
Print5 No Bake Lemon Bars Taste Amazing
Enjoy this bright, zesty lemon bar flavor without ever turning on your oven. These no-bake bars capture the fresh taste of lemon perfectly for a simple, refreshing treat.
- Prep Time: 20 minutes
- Cook Time: 0 minutes
- Total Time: 6 hours 20 minutes
- Yield: 16 bars
- Category: Dessert
- Method: No Bake
- Cuisine: American
- Diet: Vegetarian
Ingredients
- 1 1/2 cups graham cracker crumbs
- 1/4 cup granulated sugar
- 6 tablespoons unsalted butter, melted
- 1 (8 ounce) package cream cheese, softened
- 1 (14 ounce) can sweetened condensed milk
- 1/2 cup fresh lemon juice
- 1 teaspoon lemon zest
- Yellow food coloring (optional)
Instructions
- Combine graham cracker crumbs and 1/4 cup sugar in a bowl.
- Pour in melted butter and mix until crumbs are evenly moistened.
- Press the crumb mixture firmly into the bottom of an 8×8 inch baking pan lined with parchment paper, leaving an overhang for easy removal.
- In a separate bowl, beat the softened cream cheese until smooth.
- Gradually beat in the sweetened condensed milk until fully combined.
- Stir in the fresh lemon juice and lemon zest. Mix until smooth.
- Add a few drops of yellow food coloring if you desire a brighter color.
- Pour the lemon mixture over the crust. Spread evenly.
- Cover the pan loosely with plastic wrap.
- Refrigerate for at least 6 hours, or preferably overnight, until the bars are firm.
- Use the parchment overhang to lift the bars from the pan. Cut into squares before serving.
Notes
- For an extra bright flavor, use Meyer lemons if you can find them.
- If you prefer a thicker crust, increase the graham cracker crumbs to 1 3/4 cups.
- Make sure your cream cheese is at true room temperature to avoid lumps.
Nutrition
- Serving Size: 1 bar
- Calories: 220
- Sugar: 20g
- Sodium: 150mg
- Fat: 12g
- Saturated Fat: 7g
- Unsaturated Fat: 5g
- Trans Fat: 0g
- Carbohydrates: 27g
- Fiber: 1g
- Protein: 3g
- Cholesterol: 35mg