

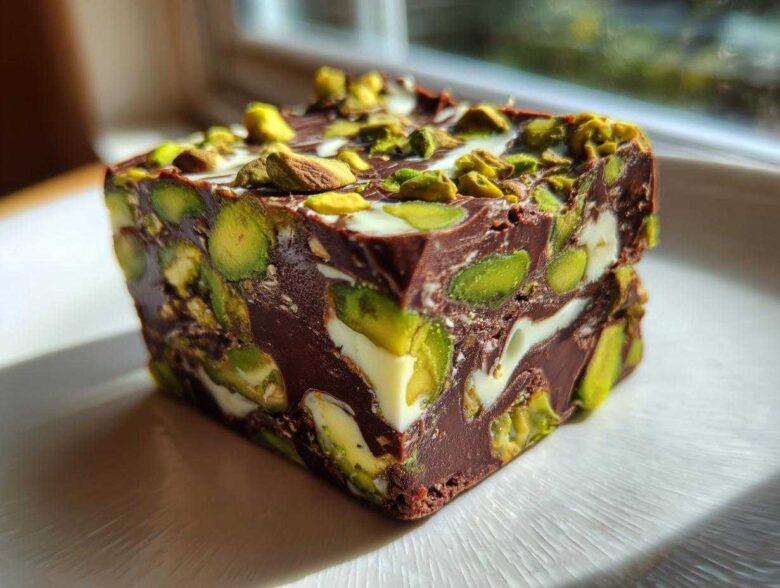
Oh my gosh, you know those days? The ones where company is coming over in an hour, you didn’t plan dessert, but you absolutely *crave* something intensely rich and satisfying? That used to send me into a panic! But not anymore, because I have cracked the code on the absolute best No-Bake Pistachio Chocolate Fudge Squares. Forget turning on the oven; we are talking pure, concentrated, fudgy goodness here. These squares are dense, bursting with nutty pistachio flavor, and the dark chocolate swirl makes them look way more complicated than they are. Seriously, if you need an impressive, quick fudge squares recipe that tastes like you slaved over it, this is it. Trust me, these are my secret weapon for last-minute holiday requests!
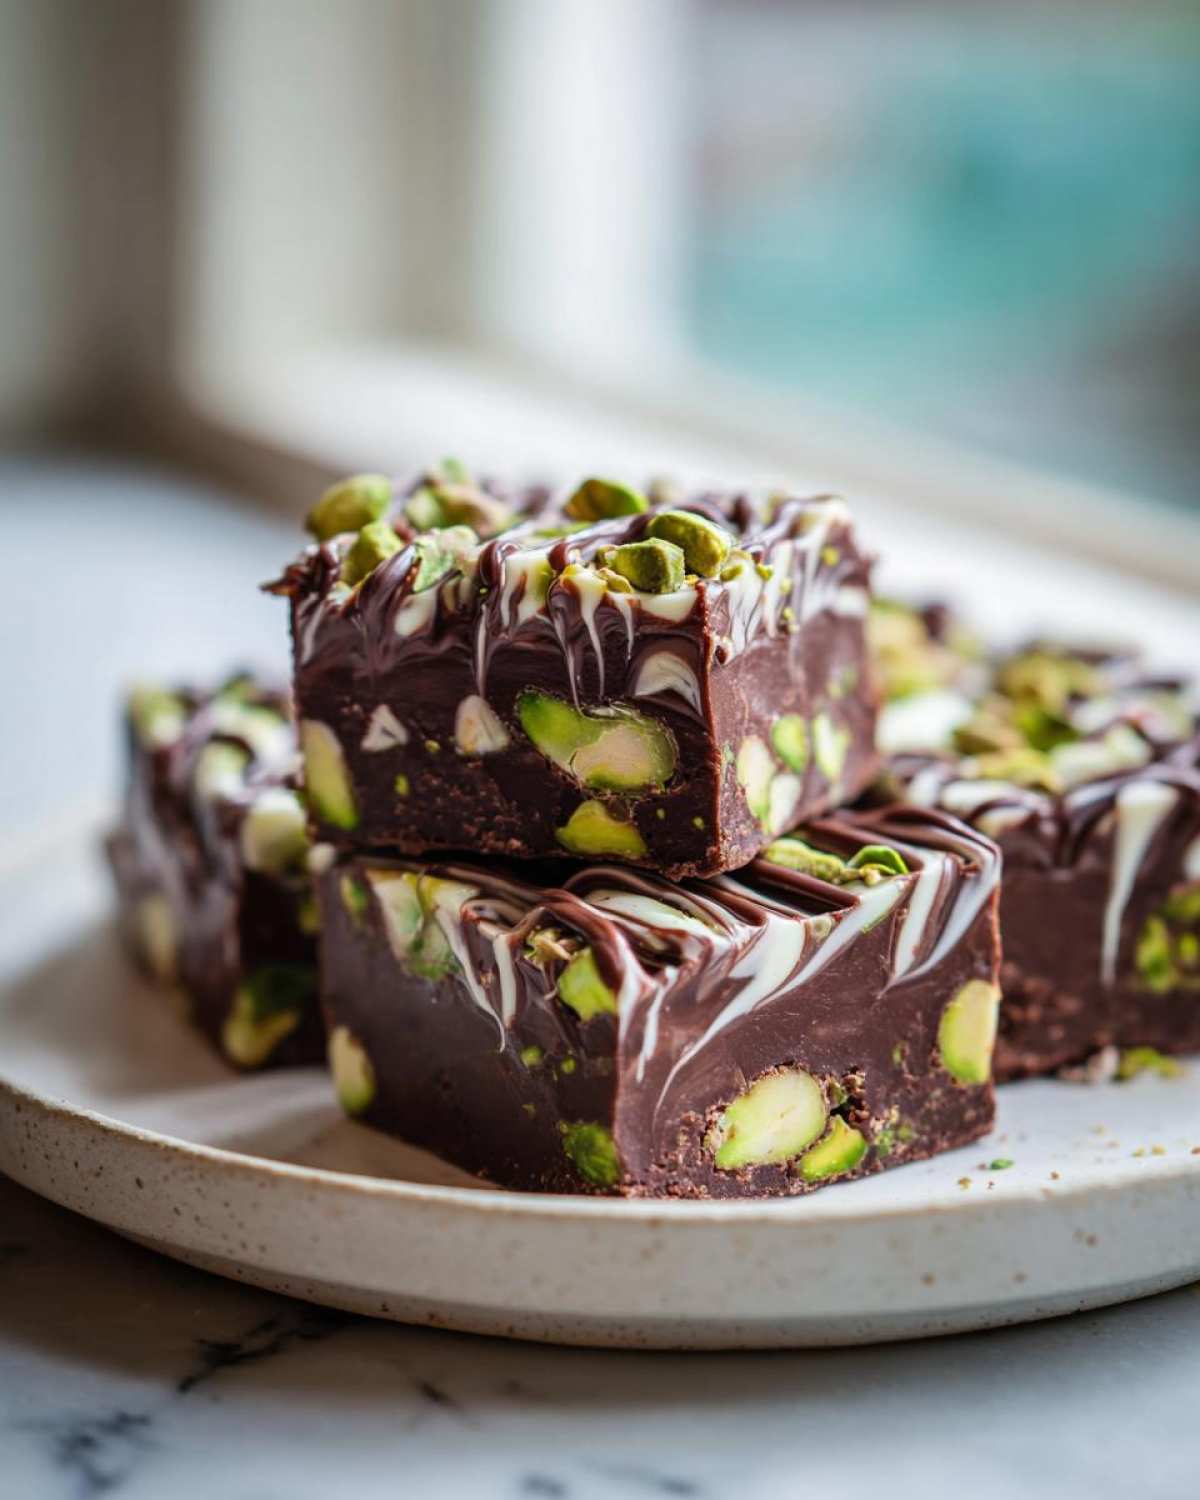
Why You Will Make These No-Bake Pistachio Chocolate Fudge Squares Often
Honestly, I keep reaching for this recipe for so many reasons! It’s ridiculously fast to assemble, making it perfect for those days when I need a grab-and-go treat. And cleanup? Minimal! You get all that fudgy flavor without the heat, which is a dream in the summer. If you love my No-Bake Biscoff Cheesecake, you are going to adore these!
- You get that perfect, decadent, **rich no bake fudge bar** texture every single time.
- It fully sets in the fridge, making it great for a **make ahead dessert bar**.
- These truly are the definition of **simple no bake dessert squares**—only stovetop time is five minutes!
- It’s way better than baking when you just need a **quick fudge squares recipe.
Gathering Ingredients for Rich No Bake Fudge Bars
Okay, the shopping list is super short, which is part of why this whole thing works so well! Since we aren’t baking, the quality of our melting ingredients really matters if we want that amazing **fudgy texture dessert recipe** we are aiming for. Don’t skimp on the chocolate chips!
Here’s what you need to pull together for these no bake fudge bars. Remember, we’re using sweetened condensed milk as our binder, which is a total lifesaver:
- One 14-ounce can of sweetened condensed milk (the full-fat kind, please!).
- One cup, or two whole sticks, of unsalted butter.
- A splash of vanilla extract (just one teaspoon!) and a half teaspoon of salt to balance the sweetness.
- One and a half cups of your favorite semi-sweet chocolate chips—this is our main fudge layer!
- A full cup of shelled pistachios, very finely chopped, to mix right into the chocolate.
- One cup of white chocolate chips for that gorgeous swirl on top.
- And finally, a half cup of pistachios set aside, also finely chopped, just for sprinkling on top.
Essential Equipment for Perfect No-Bake Pistachio Chocolate Fudge Squares
Because we are skipping the oven, we don’t need a mixer or complicated gadgets, thankfully! But you do need a few things set aside before you start melting anything. Having these ready means you can move fast when the chocolate is hot and needs stirring.
You’ll definitely want an 8×8 inch baking pan. And for easy removal, grab some parchment paper! My no bake peanut butter bars always need that paper overhang. Don’t forget a sturdy medium saucepan for heating up the condensed milk and butter base. That’s really it for these **no oven dessert ideas**!
Step-by-Step Instructions: How to Make No-Bake Pistachio Chocolate Fudge Squares
Okay, this is the fun part where the magic happens—and trust me, it happens FAST! Since there’s no baking, the entire process is about smooth melting and patient chilling. Remember how I mentioned lining the pan? That lining is your best friend for getting clean squares later, so don’t skip that part!
Preparing the Pan and Base Mixture
First things first: grab that 8×8 pan and line it with parchment paper, making sure you leave a good overhang on two sides. That overhang is how you lift the whole thing out later, so don’t be shy with it! Lightly grease the paper, and you’re ready. Now, head to the stove. In your saucepan, combine the condensed milk, butter, vanilla, and salt. Set the heat to medium and stir constantly. We just need the butter melted and everything smooth and combined. Don’t let it boil! We are just warming it up gently so we can make those beautiful **creamy no bake chocolate squares**.
Creating the Chocolate Fudge Layer and Adding Pistachios
Once your base is warm and smooth, pull that saucepan right off the heat—this is important! Toss in those semi-sweet chocolate chips. Keep stirring, and I mean *keep stirring*, until every single chip has melted right into that base. You should end up with something glossy and luxurious. If you peek at my Kahlua fudge recipe, you know this glossy look is the sign of success! Once it’s perfectly smooth, fold in that first cup of finely chopped pistachios. Get them evenly distributed through that gorgeous chocolate base before pouring it into your prepared pan.
Layering, Swirling, and Chilling Your No-Bake Pistachio Chocolate Fudge Squares
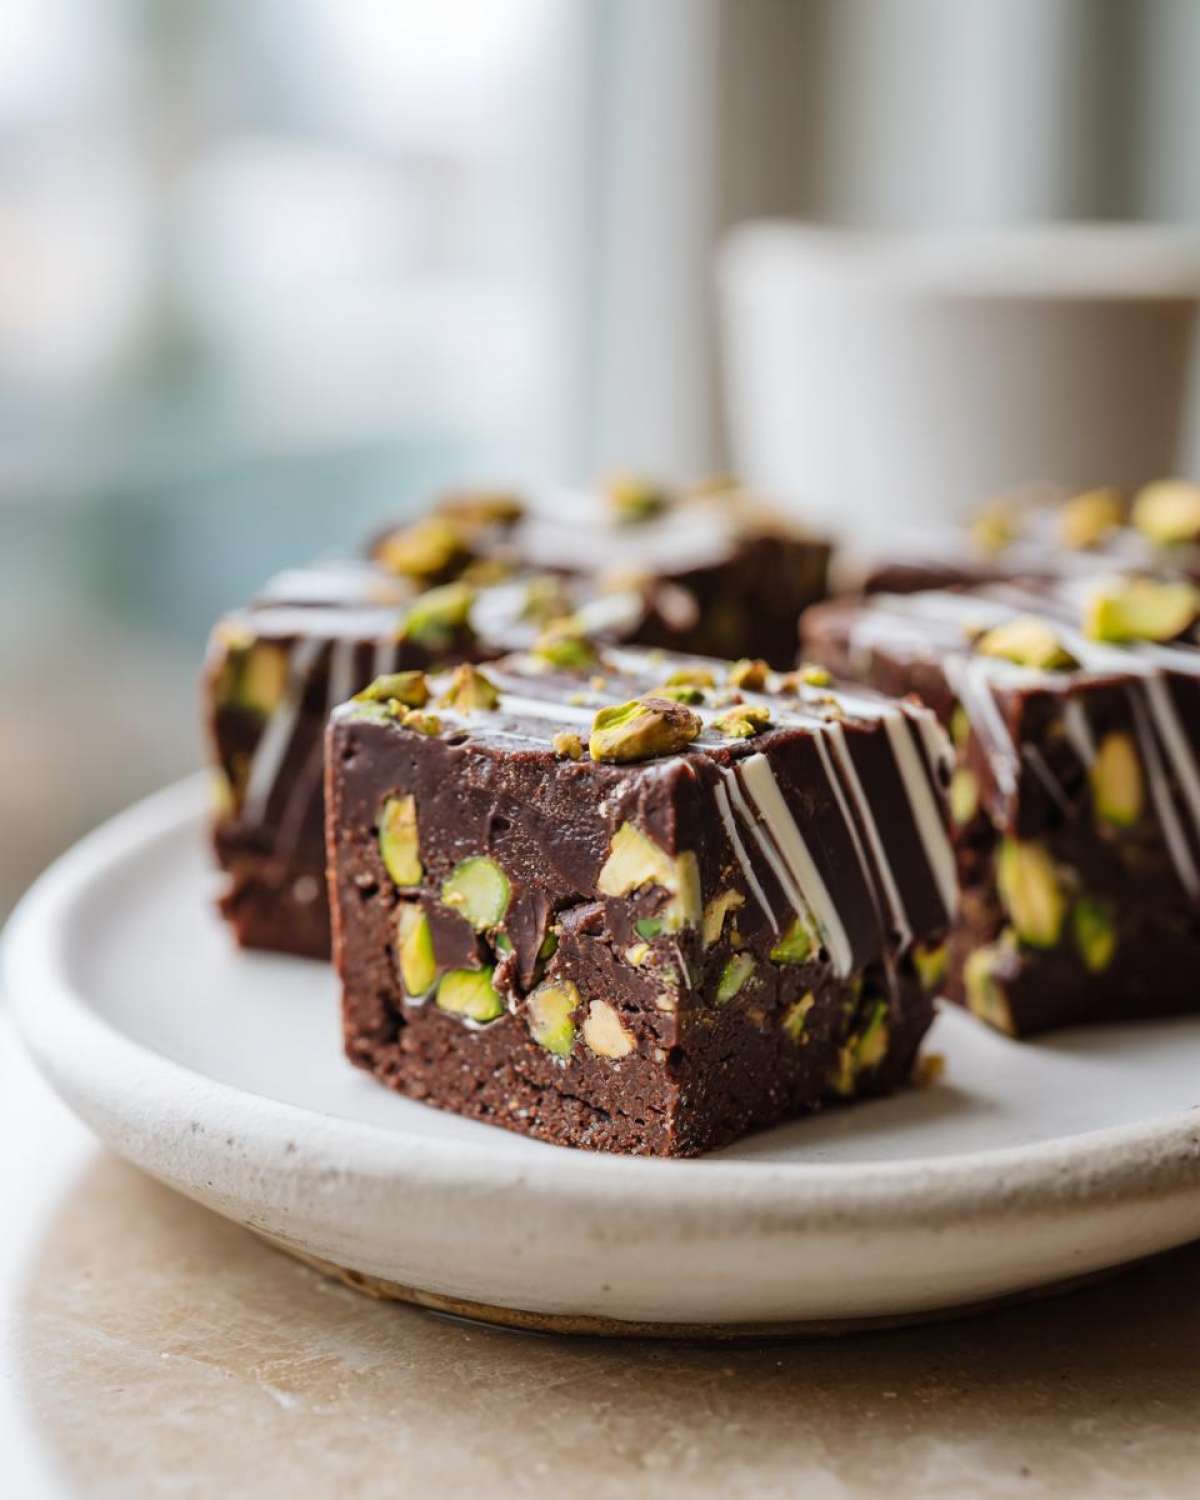
Now for the fancy bit! Melt your white chocolate chips separately, maybe in 20-second bursts in the microwave, stirring in between until they are liquid gold. Drizzle that white chocolate all over the dark fudge layer. Grab a knife—not to stir, but to *swirl* gently! Just a couple of passes creates that elegant marble effect we want. Immediately sprinkle the remaining half cup of pistachios right on top. The swirl will hold them in place! Then, put the whole thing into the fridge. You absolutely must let these chill for at least three hours until they are completely firm. Patience pays off when cutting!
Tips for the Best Pistachio Chocolate Fudge Squares Texture and Set
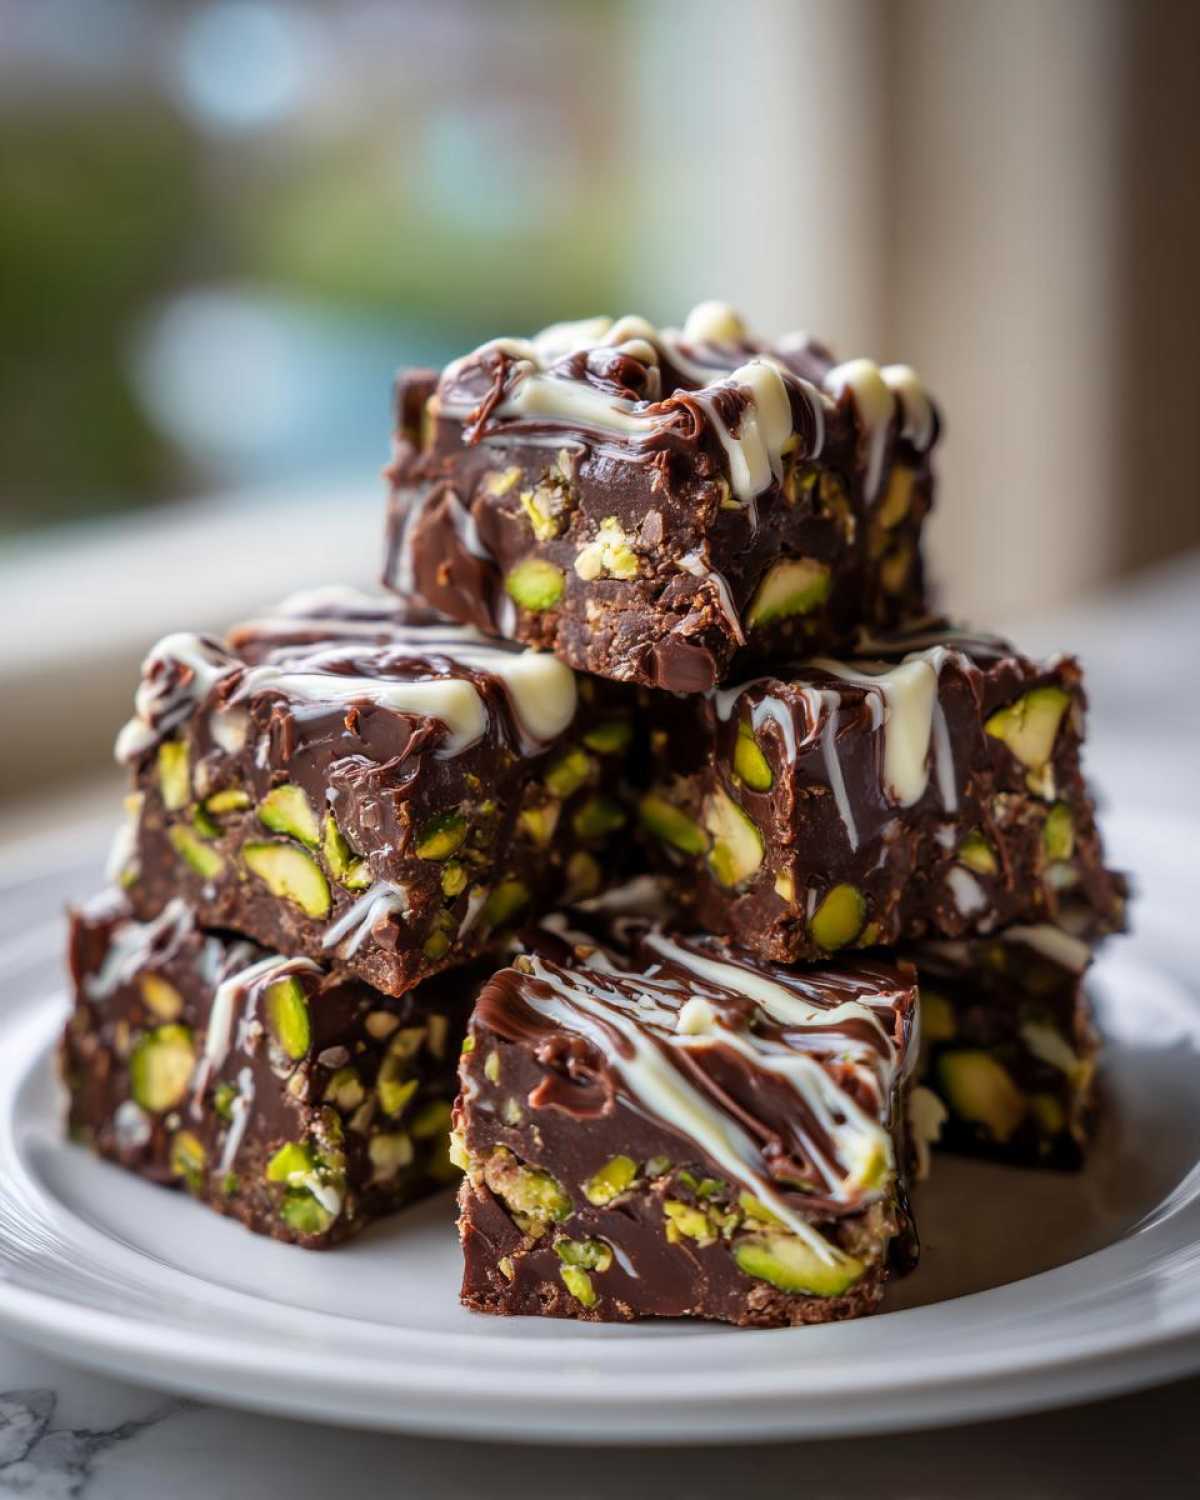
Getting that perfect, sliceable fudge texture comes down to a couple of tiny tricks I learned the hard way—because nobody likes a melty mess, right? If you try to cut these no bake fudge bars straight out of the fridge, they’ll drag and smear. My pro tip? Let them sit on the counter for about five to ten minutes before you slice. That tiny bit of warming lets the fudge relax just enough to get the cleanest possible cut. It really helps nail that perfect **fudgy texture dessert recipe**!
Also, if you have an extra five minutes, toast those pistachios! Just spread them on a dry skillet over medium heat and stir until they smell nutty, maybe two or three minutes. It makes such a difference in depth of flavor for the final product. Toasting really wakes up the nuts before you mix half of them in and sprinkle the rest on top. It’s a game-changer for these **indulgent pistachio squares**!
And seriously, if you want the best look, use high-quality white chocolate for the swirl. Cheap stuff sets up strangely sometimes, and we want that beautiful marbling effect here!
Storage and Make Ahead Dessert Bars Instructions
The great news about these no bake chocolate cornflake bars recipe is that they are practically built to be **make ahead dessert bars**! Since they rely on chilling to firm up, you can make them days before you need them. Store them firmly pressed into their pan, covered tightly with plastic wrap, right in the refrigerator. They hold up beautifully for about a week—maybe longer, if you can resist snacking on them! I usually double the batch because knowing I have rich fudge squares ready to go makes me feel super organized.
Frequently Asked Questions about No Bake Fudge Bars
It’s natural to have questions when you’re trying a new recipe, especially one that involves getting that perfect fudge texture without any oven time. I get asked all the time about substitutions and setting times! Here are the things I hear most often about making these **no bake fudge bars**.
Can I substitute the pistachios in this quick fudge squares recipe?
You absolutely can! While the combination of chocolate and pistachio is heavenly—and what makes these **best pistachio chocolate recipe** stand out—you can definitely swap them out if you have a nut allergy or just don’t have them on hand. I’ve made them with toasted pecans, and they were delicious! You could try slivered almonds too. Just remember that if you switch out the green nuts, you lose that lovely color contrast, but the core flavor of the rich, **creamy no bake chocolate squares** will still be there!
How do I ensure my No-Bake Pistachio Chocolate Fudge Squares set properly?
This is the biggest worry for everyone making **condensed milk fudge squares**! The key is twofold: keeping the heat down and giving it enough time. When you are heating the milk and butter, you must stir constantly and absolutely *not* let it boil. Boiling changes the chemistry and can make it grainy. Once you pour it into the pan, you just need patience! Do not try to rush the chilling process. Those squares need a solid three hours in the fridge minimum. If you cut them too early, they’ll just smear all over your cutting board. You can find more tips on achieving that perfect firm set when you check out my guide on no-bake chocolate peanut butter cups for reference!
Estimated Nutritional Data for No-Bake Pistachio Chocolate Fudge Squares
I always list the nutritional estimates for my recipes because it’s good practice, even though I’m not a nutritionist, obviously! These numbers help you understand what you’re digging into when you grab one of those rich squares. Keep in mind that these are estimates based on the ingredients I listed, so if you swap out butter for coconut oil or use dark chocolate instead of semi-sweet, the stats will shift a little bit. If you’re interested in how other things stack up, check out my thoughts on protein chia pudding ratios!
For one square of these **chocolate fudge squares recipe no oven** beauties, here’s the general breakdown:
- Serving Size: 1 square
- Calories: 280
- Fat: 18g (11g saturated)
- Carbohydrates: 28g
- Sugar: 28g
- Protein: 4g
- Cholesterol: 35mg
So yeah, they’re indulgent! That’s what fudge is for, right? Just enjoy them in moderation!
Share Your Indulgent Pistachio Squares Creations
Whew! That’s our entire adventure into the world of effortless, fudgy decadence. I really hope you love these **No-Bake Pistachio Chocolate Fudge Squares** as much as I do. They are always the first thing gone at any potluck or gathering I take them to!
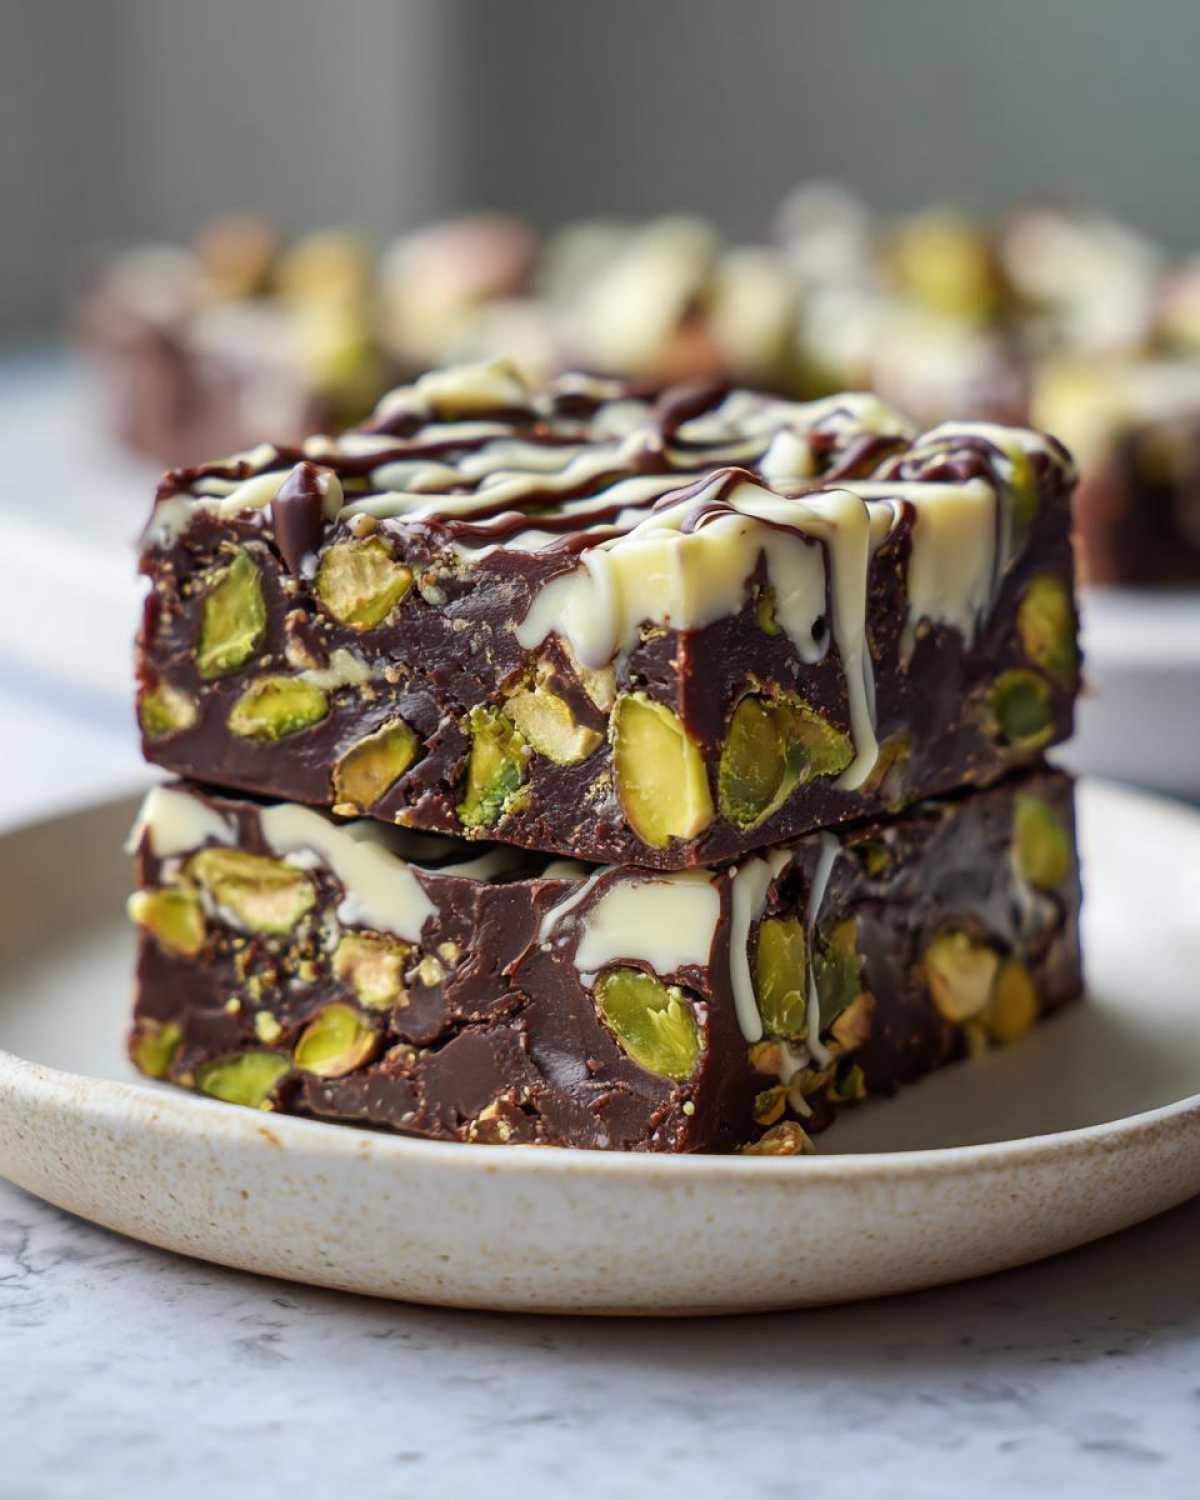
Now that you’ve tried the recipe, I would absolutely love to hear about it! Did you stick exactly to the swirl, or did you get creative with the white chocolate? Head down to the comments section right now and let me know how they turned out. Did they set perfectly for you on the first try?
If you made a batch, please snap a picture! Tag me on social media so I can see your gorgeous **easy chocolate pistachio dessert** bars. It truly makes my day when I see you all enjoying something I put together here on the blog. If you’re feeling generous, leaving a quick star rating helps other folks find this great **rich no bake fudge bars** recipe too. Go ahead, click away, and let’s chat about your fudge adventures!
For more quick, impressive recipes like this one, don’t forget to browse the main recipe index for even more no-bake magic!
PrintNo-Bake Pistachio Chocolate Fudge Squares
Make rich, dense fudge squares featuring chocolate and pistachio without turning on your oven. This recipe sets quickly for an easy dessert.
- Prep Time: 15 min
- Cook Time: 5 min
- Total Time: 3 hours 20 min
- Yield: 16 squares
- Category: Dessert
- Method: No Bake
- Cuisine: American
- Diet: Vegetarian
Ingredients
- 1 (14 ounce) can sweetened condensed milk
- 1 cup (2 sticks) unsalted butter
- 1 teaspoon vanilla extract
- 1/2 teaspoon salt
- 1 1/2 cups semi-sweet chocolate chips
- 1 cup finely chopped shelled pistachios, divided
- 1 cup white chocolate chips
- 1/2 cup finely chopped shelled pistachios, for topping
Instructions
- Line an 8×8 inch baking pan with parchment paper, leaving an overhang on two sides for easy removal. Lightly grease the paper.
- In a medium saucepan over medium heat, combine the sweetened condensed milk, butter, vanilla extract, and salt. Stir constantly until the butter melts completely and the mixture is smooth. Do not boil.
- Remove the saucepan from the heat. Add the semi-sweet chocolate chips and stir until the chocolate is fully melted and the mixture is smooth and glossy. This is the chocolate fudge base.
- Stir 1 cup of the chopped pistachios into the chocolate fudge base.
- Pour the chocolate fudge mixture into the prepared pan and spread it evenly.
- In a separate small, microwave-safe bowl, melt the white chocolate chips in 20-second intervals, stirring well after each interval, until smooth.
- Drizzle the melted white chocolate over the fudge layer. Use a knife or toothpick to gently swirl the white chocolate into the fudge layer for a marbled effect.
- Sprinkle the remaining 1/2 cup of chopped pistachios evenly over the top.
- Refrigerate the pan for at least 3 hours, or until the fudge is firm enough to cut.
- Use the parchment paper overhang to lift the fudge from the pan. Place on a cutting board and cut into 16 squares.
Notes
- For the cleanest cuts, let the fudge sit at room temperature for 5 minutes before slicing.
- Use high-quality chocolate chips for the best fudge flavor.
- You can toast the pistachios lightly before chopping for a deeper nutty flavor.
Nutrition
- Serving Size: 1 square
- Calories: 280
- Sugar: 28
- Sodium: 95
- Fat: 18
- Saturated Fat: 11
- Unsaturated Fat: 7
- Trans Fat: 0.5
- Carbohydrates: 28
- Fiber: 1
- Protein: 4
- Cholesterol: 35