

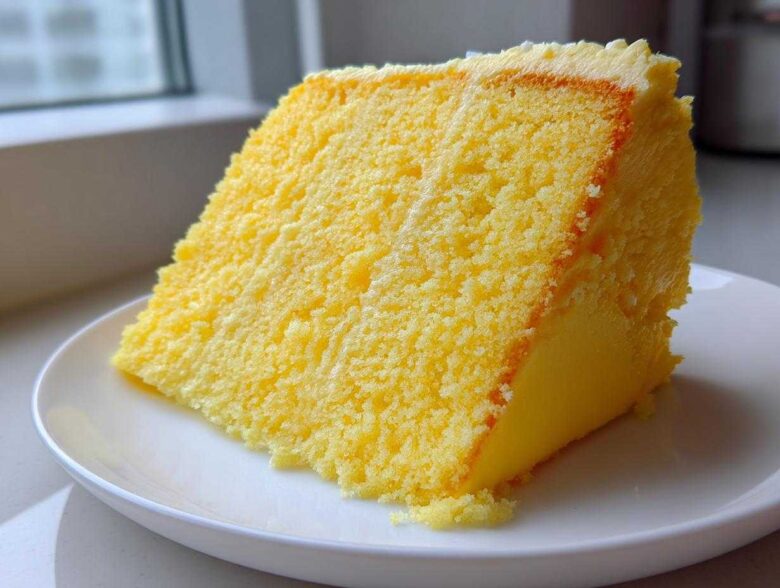
Oh, I am so excited you stopped by! You know how much I adore a classic yellow cake, right? But sometimes, that classic needs a little something extra—a richness that melts in your mouth. That’s why I spent what feels like ages getting this Yellow Velvet Cake just right. It’s the perfect bridge between that light, fluffy sponge everyone loves and that deep, moist crumb texture you only get from the best velvet recipes. Trust me, the first time I pulled this out of the oven and felt how delicate it was without falling apart? Pure magic! If you’re ready for a truly show-stopping, perfectly soft layer cake, you definitely want to stick around for this tutorial. You can check out more of my baking adventures over at my blog archives while you gather your ingredients!
Why This is the Best Yellow Velvet Cake Recipe
I know there are a million yellow cake recipes out there, but pinning down that specific, luxurious ‘velvet’ quality without making the cake heavy or weirdly dense? That’s the hard part! This recipe nails that balance, which is why I’m confident calling this the **Best Yellow Velvet Cake Recipe** you’ll ever try. It’s buttery, it’s tender, and it holds up beautifully when stacked high.
When you try this, you’ll see why it beats those box mixes every single time. It’s all down to technique and simple swaps, like using buttermilk!
Achieving That Signature Velvet Texture Yellow Cake
The secret to that velvety feel isn’t just the fat, though we use plenty of butter! It’s how we incorporate the liquid. We use a combination of regular milk AND tangy buttermilk. That buttermilk reacts just a little bit with the baking powder to give us the finest, tightest crumb possible—that signature velvet, without needing cocoa powder!
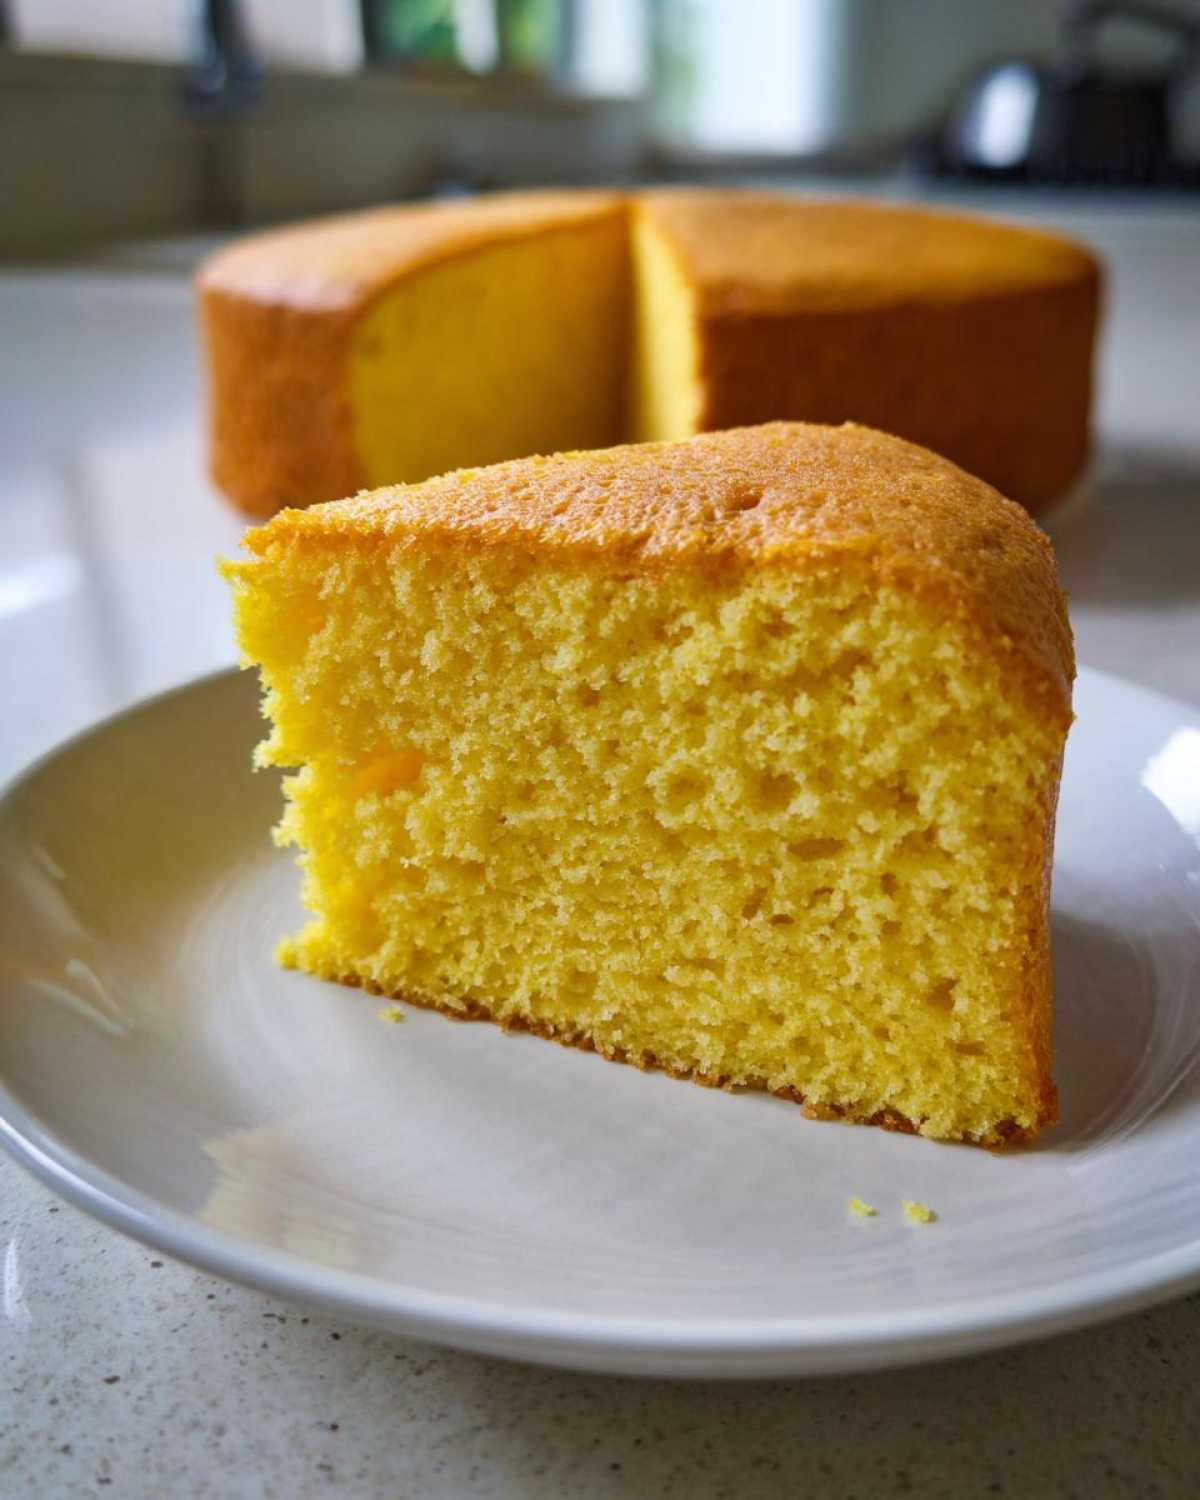
Perfectly Soft Yellow Cake for Any Occasion
Look, if you need a cake that disappears gracefully at a birthday party or holds up beautifully under a heavy frosting, this is it. It bakes up incredibly uniform, meaning fantastic layers every time. This truly is a **Perfectly Soft Yellow Cake** that browns beautifully on the edges but stays gloriously moist inside. You can even use the leftovers to make an amazing trifecta dessert, like the one I shared in my moist banana bread post!
Essential Ingredients for Your Yellow Velvet Cake from Scratch
When we’re making a true **Yellow Velvet Cake from Scratch**, we can’t skimp on quality, and temperature matters more than you think! Getting the butter soft is crucial—it should give easily when you press your finger in, but not be melty or greasy. Same goes for the eggs and the milk; room temperature ingredients mix together much more smoothly, which is key for that fine crumb structure we’re aiming for.
Here’s what you need to gather for these beautiful layers. Don’t worry if you skip the food coloring, but I highly recommend it for that intense color!
- 2 1/2 cups all-purpose flour
- 1 1/2 cups granulated sugar
- 1 tablespoon baking powder
- 1/2 teaspoon salt
- 1 cup unsalted butter, softened (Remember: softened!)
- 4 large eggs (room temperature, please!)
- 1 cup whole milk (room temp!)
- 1 teaspoon vanilla extract
- 1/2 teaspoon yellow gel food coloring (just a drop makes a huge difference!)
- 1/4 cup buttermilk
Once you have these ready to go, you’ll be halfway to the most delicious cake. It’s almost as fun as making my famous chocolate chip cookies, I promise!
Step-by-Step Moist Yellow Velvet Cake Tutorial
Alright, ready to mix up the best batch of cake batter you’ve ever made? Following these directions precisely is what transforms simple ingredients into that promised moist crumb. We start by getting the environment right—preheat that oven to 350°F (175°C) immediately! While it heats up, you need to grease and flour those two 9-inch round pans. This is non-negotiable protection against sticking, especially for such a tender **Moist Yellow Velvet Cake Tutorial** recipe! I always make sure my pans are ready before I even grab the mixer.
First, we do the dry stuff in a big bowl: flour, sugar, baking powder, and salt. Give it a good whisk to mix everything evenly. Then comes the butter. Add that softened butter right into the dry mix and beat it on low speed. Seriously, just low! You want it to look like coarse, sweet sand. This step coats the flour slightly, which is one of the little tricks that keeps gluten development down and boosts that velvety quality!
In another bowl, mix your wet ingredients: eggs, milk, vanilla, and that beautiful yellow coloring if you are using it. Now, slowly start adding the wet mix into the sandy butter/flour mixture while the mixer is on medium speed—just until it’s *barely* combined. Stop mixing! Gently fold in the buttermilk last, just until everything looks smooth. Overmixing is the enemy of soft cake, so stop when you see those last streaks disappear. This patient approach is key to the final texture, similar to how you can ruin a perfect banana bread if you overmix the wet into the dry, like I warned about in my banana bread post.
Divide the batter (it should be glorious and smooth!) evenly between your pans. Pop those in the oven for about 30 to 35 minutes. Test them with a wooden pick, and when it comes out clean, let them cool in the pans for about 10 minutes before flipping them out onto a wire rack. Don’t rush the cooling—patience equals perfect cake!
Preparing the Batter for a Velvety Yellow Layer Cake
The mixing is where the magic happens for this **Velvety Yellow Layer Cake**. Remember that low-speed mixing when we added the butter to the flour? That’s called the reverse creaming method, and it’s fabulous for tender cakes. When you add the liquids, you need to be gentle! We mix just until the batter is homogeneous. If you beat it too hard once the liquids are in, you build up the gluten, and suddenly, your velvet turns into chewy rubber. We absolutely do not want that!
Tips for Baking Success with Your Yellow Velvet Cake
Making a truly fantastic **Yellow Velvet Cake from Scratch** involves a few small things that make a giant difference in the final result. I always keep the tips Grandma passed down about temperature front-of-mind, even with modern mixers!
First, I can’t stress this enough: room temperature eggs and buttermilk are your friends! Cold ingredients don’t emulsify well with the softened butter, leading to a slightly curdled or uneven batter. If your batter looks a little weird before you add the last bit of liquid, don’t panic, but aim for smooth!
Also, if you have the time, definitely sift your flour before measuring it. This lightens up the structure just enough to enhance that soft, melt-in-your-mouth crumb. It sounds fussy, but trust me, those tiny seconds spent sifting really pay off in the texture. Check out my notes on the banana bread recipe—the tips for flour handling overlap perfectly here!
Yellow Cake Frosting Pairing Recommendations
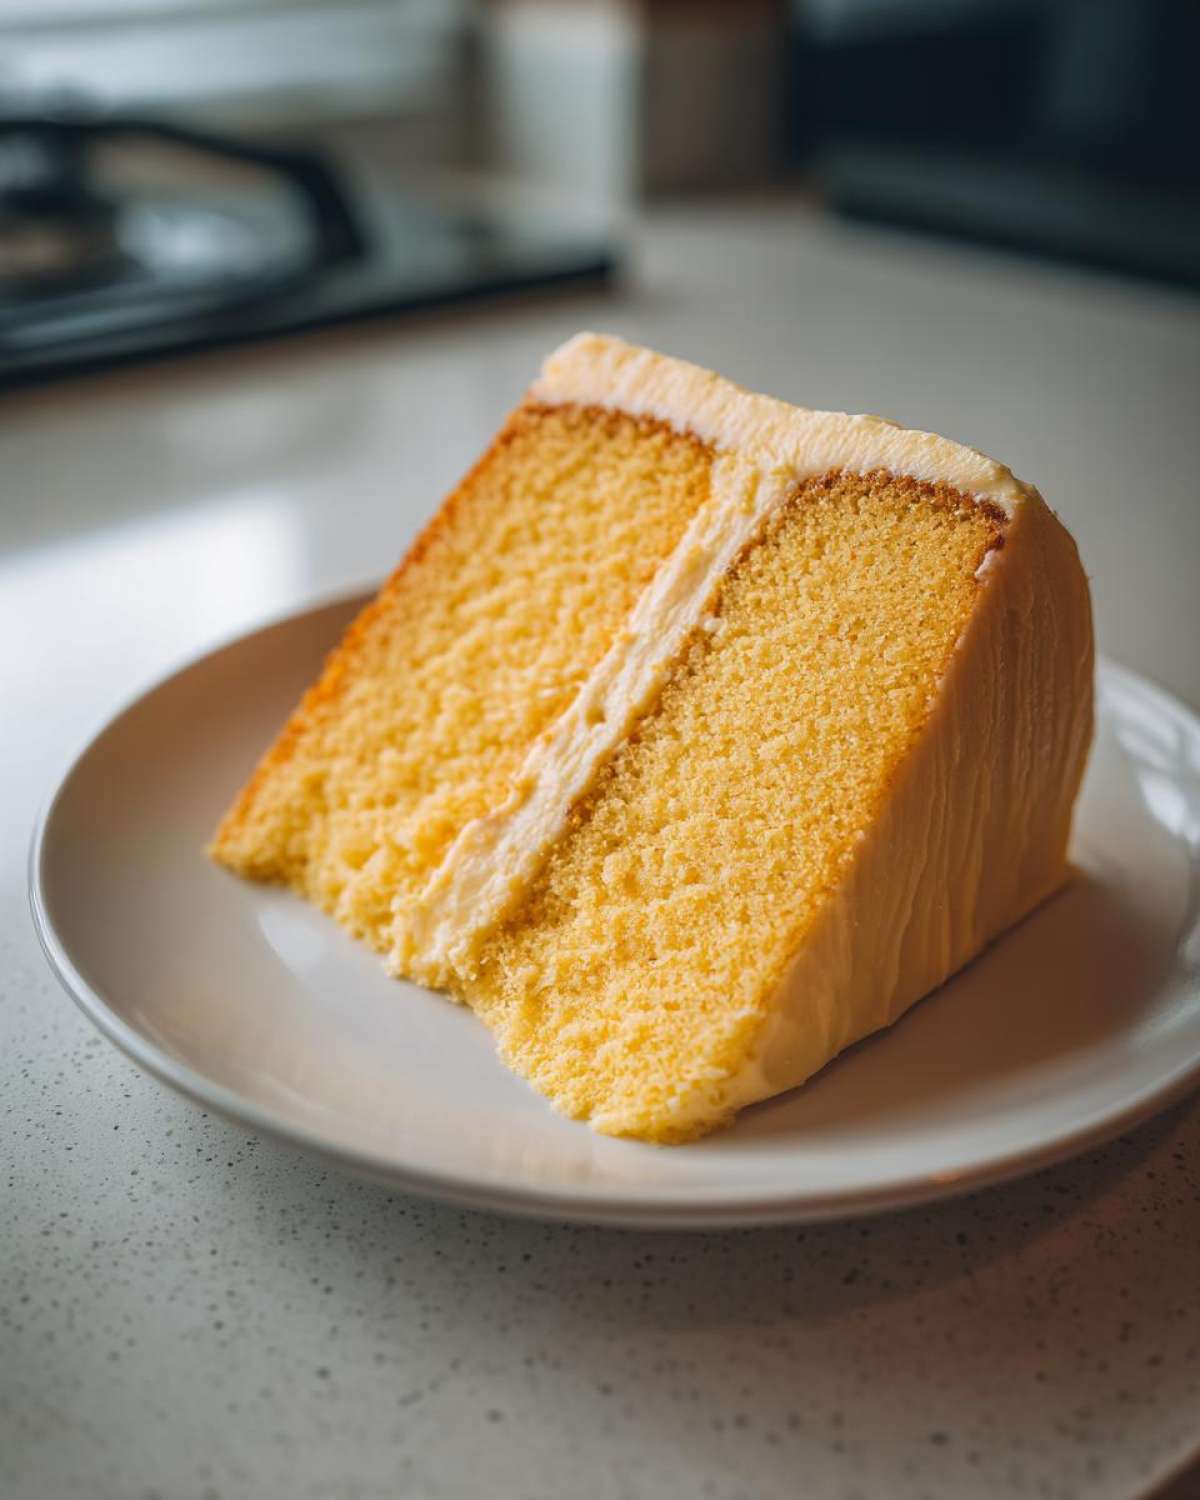
So, you’ve got this incredibly moist, rich Yellow Velvet Cake—what’s the best way to finish it off? You *have* to consider the frosting, as it totally completes the experience. The richness of the ‘velvet’ part of the cake really sings when paired with something slightly tangy to cut through the butter!
My number one suggestion, always, is a classic cream cheese frosting. The slight zip of the cream cheese is the absolute perfect counterbalance to the sweet cake layers. It harmonizes beautifully without overpowering the delicate yellow flavor. That’s why I listed it in my essential notes above!
If you want something purely vanilla-forward, a good American buttercream works, but make sure you whip it really light and fluffy so you don’t weigh down the soft crumb. Finding the right **Yellow Cake Frosting Pairing** makes all the difference between a good cake and a showstopper.
If you’re looking for a different kind of impressive finish, you could even try my tutorial on no-bake Nutella pie for inspiration on clean slicing, though that’s definitely a different flavor profile!
Storage and Reheating Instructions for Your Yellow Velvet Cake
This cake is so moist that keeping it fresh is surprisingly easy! Once it’s completely cooled down—and I mean *completely*—I wrap each layer tightly in plastic wrap before storing it at room temperature under a cake dome for up to three days. If you’ve frosted it, just cover it loosely, though it tends to do better unfrosted for long storage.
If you need to keep it longer, the fridge is fine, but remember to take it out about an hour before serving so it comes back to that perfect, soft texture. No need to reheat unless you really want it warm; just let it sit out!
Frequently Asked Questions About Yellow Velvet Cake
I always get so many questions when people try this cake for the first time because it looks and feels different from a standard recipe! It’s totally normal to wonder about the structure or color—that’s proof you’re aiming for something special!
Can I make this Yellow Velvet Cake without food coloring?
Absolutely, you can! The yellow gel food coloring is totally optional and only there to give it that intense, vibrant classic look we associate with recipes like this. If you skip it, you still end up with a gorgeous, **Rich Yellow Cake Baking Guide** result! It just won’t be that deep, striking color. It will still taste incredible, trust me!
What makes this cake texture ‘velvet’ compared to a standard Yellow Cake?
That texture difference comes down to a couple of things we talked about. The key to this **Velvet Texture Yellow Cake** is the combination of buttermilk, which makes the crumb finer, and the reverse creaming method we used when mixing the butter into the flour first! It keeps the cake light and fluffy, but with a tight, moist crumb that just seems to melt away. It’s the best feeling!
Is this cake easy to adapt for a single layer?
It does work well as a single layer, but you need to adjust the baking time significantly, which can sometimes dry out the edges. If you’re aiming for a single, taller layer, I’d suggest baking it in a 9×13 pan instead—it distributes the heat better for a longer cook. You can find more general tips on pan swaps in my general baking guide here!
Nutritional Estimate for This Rich Yellow Cake Baking Guide
Now, I always want to be super real with you all—I bake for joy and flavor, not for the label, but I know some of you track things, so here is a rough idea of what’s in a slice of this deliciousness! These numbers are based on 12 even slices, and just like with my famous pie recipes, these are estimates only. How much fat or sugar you end up with really depends on the exact butter brand or frosting you choose to top this beauty with!
- Serving Size: 1 slice
- Calories: 350
- Sugar: 30g
- Fat: 18g (with about 11g saturated fat)
- Carbohydrates: 45g
- Protein: 5g
See? Worth every single bite! If you’re making this for a special celebration, remember that everything is an estimate, especially if you go heavy on the cream cheese frosting pairing we talked about earlier. Focus on the joy of baking this truly **Rich Yellow Cake Baking Guide** masterpiece!
Share Your Perfect Yellow Velvet Cake Results
I pour my heart into testing these recipes until they are absolutely foolproof, but the real joy comes when you all try them! Seriously, I want to see your towering, beautifully frosted layers or your simple, perfect single rounds. Did you go with the tangy cream cheese frosting, or did you stick to just a dusting of powdered sugar?
Please, once you’ve made your **Yellow Velvet Cake from Scratch**, leave a comment down below! Tell me how it turned out and give the recipe a star rating. That feedback is everything to me and helps other bakers gain the confidence to try this recipe. Did the texture really feel velvety? Did your cake stay perfectly soft?
If you snapped a picture of your stunning dessert, tag me on social media! I love seeing these beautiful bakes come to life in your kitchens. It truly connects us all over our shared love for baking buttery, gorgeous things. If you have any burning questions that didn’t get answered above, jump over to my contact page, and let’s chat. Happy baking, everyone!
PrintYellow Velvet Cake Recipe
A recipe for a rich, moist yellow cake featuring a fine, velvety crumb texture.
- Prep Time: 20 min
- Cook Time: 35 min
- Total Time: 55 min
- Yield: 12 servings
- Category: Dessert
- Method: Baking
- Cuisine: American
- Diet: Vegetarian
Ingredients
- 2 1/2 cups all-purpose flour
- 1 1/2 cups granulated sugar
- 1 tablespoon baking powder
- 1/2 teaspoon salt
- 1 cup unsalted butter, softened
- 4 large eggs
- 1 cup whole milk
- 1 teaspoon vanilla extract
- 1/2 teaspoon yellow gel food coloring (optional, for deeper color)
- 1/4 cup buttermilk
Instructions
- Preheat your oven to 350°F (175°C). Grease and flour two 9-inch round cake pans.
- In a large bowl, whisk together the flour, sugar, baking powder, and salt.
- Add the softened butter to the dry ingredients. Beat with an electric mixer on low speed until the mixture resembles coarse sand.
- In a separate bowl, whisk together the eggs, milk, vanilla extract, and yellow food coloring, if using.
- Gradually add the wet ingredients to the dry ingredients, mixing on medium speed until just combined. Do not overmix.
- Gently stir in the buttermilk until the batter is smooth.
- Divide the batter evenly between the prepared cake pans.
- Bake for 30 to 35 minutes, or until a wooden pick inserted into the center comes out clean.
- Let the cakes cool in the pans for 10 minutes before inverting them onto a wire rack to cool completely.
- Frost with your preferred frosting once fully cooled.
Notes
- For the best velvet texture, use room temperature eggs and buttermilk.
- Cream cheese frosting pairs well with this cake’s richness.
- Sift the flour before measuring for a lighter crumb.
Nutrition
- Serving Size: 1 slice
- Calories: 350
- Sugar: 30
- Sodium: 250
- Fat: 18
- Saturated Fat: 11
- Unsaturated Fat: 7
- Trans Fat: 0.5
- Carbohydrates: 45
- Fiber: 1
- Protein: 5
- Cholesterol: 90