

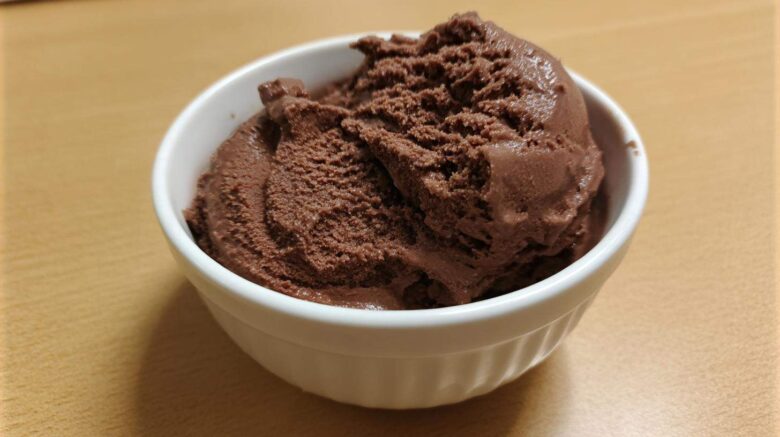
Recreating That Childhood Favorite: The Wendy’s Frosty
Oh, that familiar, cool, chocolatey dream! I swear, sometimes I just crave that iconic taste. Richard and I often talk about it. It brings us right back to late-night drives. We’d grab a couple of those thick treats. They were perfect after a long day of travel. Making a real, authentic Wendy’s Frosty at home felt impossible. I thought you needed some special machine. Well, I was wrong! This homemade chocolate frosty recipe changed everything for us. It’s simple. It tastes just like the one we remember.
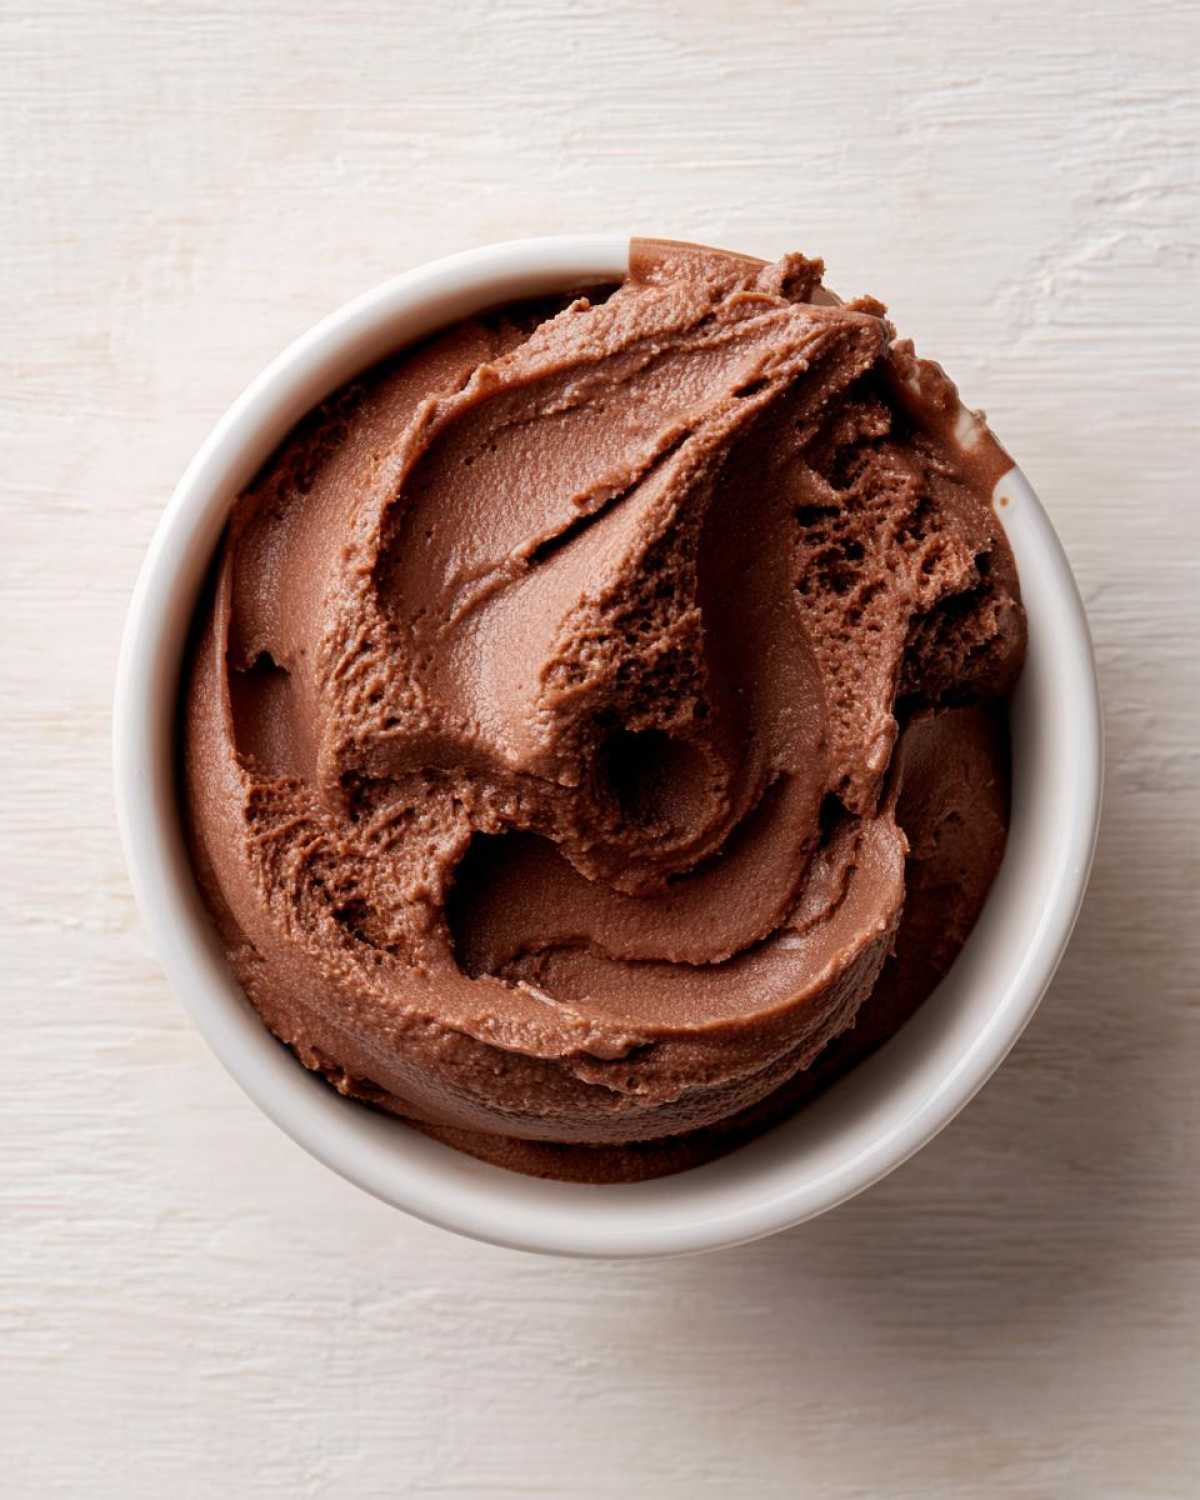
Why This Wendy’s Frosty Copycat Recipe Works
You don’t need fancy equipment here. That’s the best part. I developed this recipe to be totally foolproof. We wanted that signature, thick texture. That’s what makes it special. No churning is required for this easy milkshake recipe. I use standard pantry items. It proves that translating a great memory works. Our expertise lies in making the familiar achievable again. This method guarantees a smooth, soft-serve feel every time.
Gathering Your Ingredients for the Wendy’s Frosty
Ready to mix up some magic? Getting the right components is key. We are aiming for that perfect Wendy’s Frosty texture. Don’t worry; the list is short and sweet. These are simple things you likely have. I’ve learned that quality matters here. Let’s get everything measured out first.
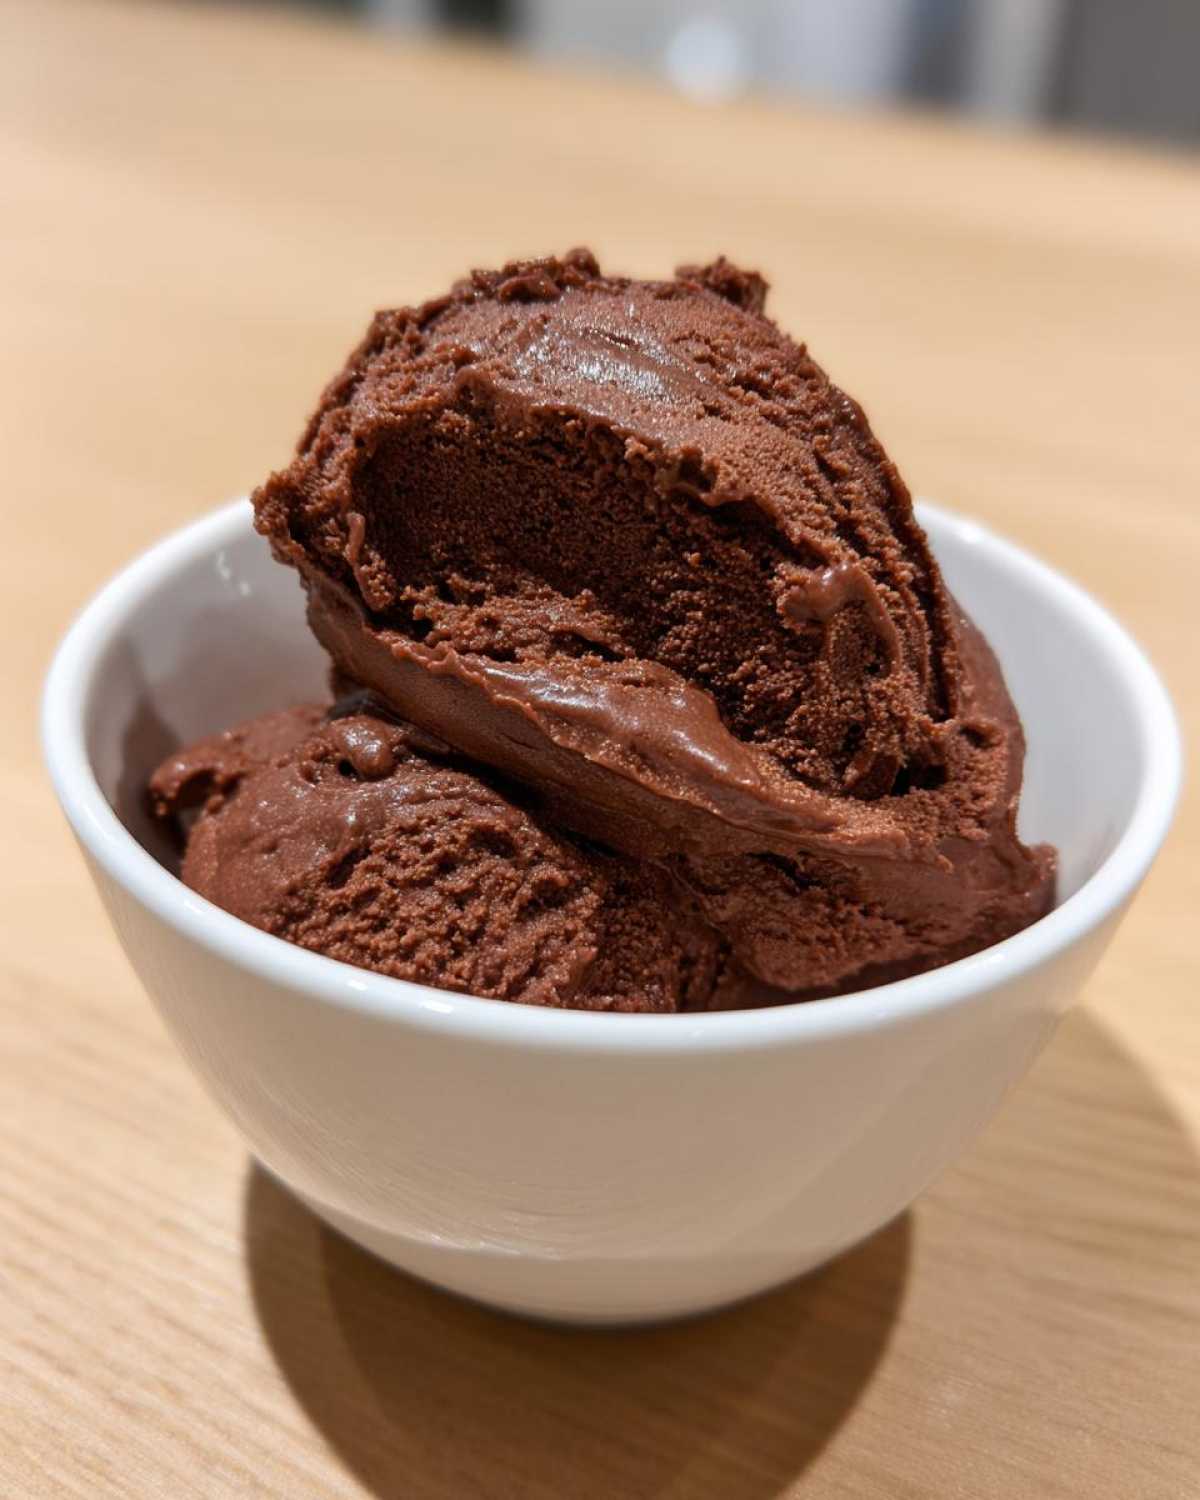
Ingredient List Clarity
Here is exactly what you need for four servings. Be precise with your measurements.
- One cup of whole milk.
- One-quarter cup of unsweetened cocoa powder.
- One-half cup of regular granulated sugar.
- One teaspoon of pure vanilla extract.
- One-quarter teaspoon of salt.
- One and a half cups of frozen whipped topping, thawed completely.
Notes for Ingredient Success
A little trick makes this even better. If you want a deeper chocolate punch, swap a quarter cup of milk. Use cooled, melted semi-sweet chocolate chips instead. Also, taste your mix slightly before freezing it. You can adjust that sugar up or down easily. This ensures your homemade chocolate frosty is perfect for you.
Equipment Needed for Your Homemade Wendy’s Frosty
You don’t need a commercial milkshake maker for this. Making your own Wendy’s Frosty is surprisingly low-tech. I gathered my usual baking tools. They worked perfectly for this frozen dessert. Having these things ready speeds things up. It helps keep the process smooth.
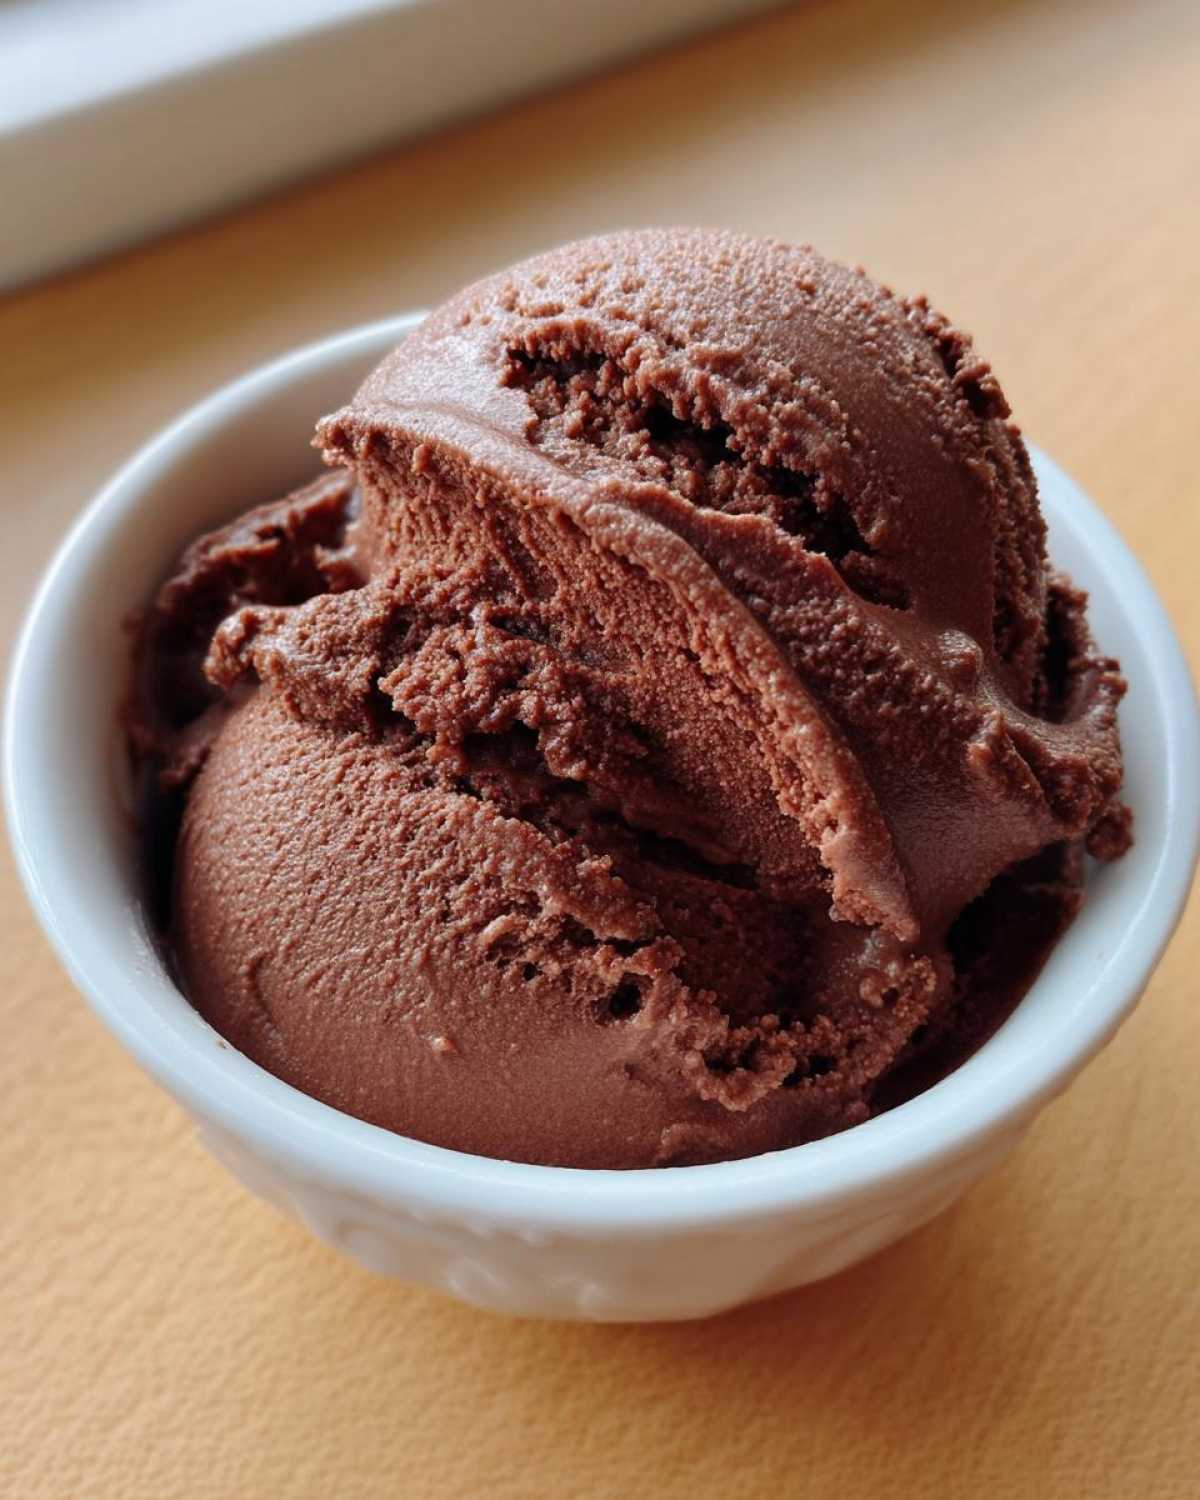
Essential Tools
Grab these items before you start mixing.
- A medium mixing bowl.
- A good whisk for blending.
- A rubber spatula for folding.
- A shallow freezer-safe dish, like a loaf pan.
Step-by-Step Instructions for the Wendy’s Frosty
Now for the fun part! Turning simple ingredients into that amazing Wendy’s Frosty. Follow these steps closely. I promise, the anticipation is worth it. We build the flavor first. Then we focus on that crucial texture. This method ensures success every single time you try this treat. Don’t rush the stirring or the freezing times.
Combining the Base Flavors
Grab your medium bowl. Pour in the milk first. Next, add the cocoa powder. Follow that with the sugar, vanilla, and salt. Now, take your whisk. Whisk everything together really well. I mean until the sugar completely disappears. You shouldn’t feel any grit left at the bottom. This step makes a smooth base. A gritty base means a grainy Frosty later.
Folding in the Texture Element
Once the base is smooth, it’s time for the whipped topping. Use your spatula now. Gently fold the thawed topping into the chocolate liquid. Fold slowly. Think soft, gentle motions. Stop mixing as soon as it’s just combined. Seriously, do not overmix this part. Overmixing knocks out the air. We need that air for the right texture.
Freezing Technique for Perfect Consistency
Pour the mixture into your shallow loaf pan. Smooth the top lightly. Place it in the freezer. Set a timer for one hour. When it buzzes, pull it out. Stir it vigorously for a full minute. Break up any ice forming. Put it back in. Repeat this stirring every hour for two hours total. After the second stir, let it freeze undisturbed. Wait another one to two hours. It should look like soft-serve ice cream. Then, your perfect homemade chocolate frosty is ready! Serve it right away.
Tips for Achieving the Perfect Wendy’s Frosty Texture
Getting that signature texture takes a little patience. It’s not like a regular ice cream. That’s where the magic lies. I’ve learned a few tricks over the years. These tips help you nail the consistency every time. Trust me; Richard has a very high standard for this treat. We want it spoonable, not rock hard. This is about quality control in your own kitchen.
Adjusting Consistency Post-Freeze
Sometimes, despite our best efforts, the freezer wins. If your Wendy’s Frosty is too solid, don’t panic. It happens to the best cooks. Simply take the dish out. Let it sit on the counter for about 10 to 15 minutes. This brief rest softens it up nicely. It returns to that perfect, scoopable state. It’s like magic, but it’s just simple physics.
Flavor Tweaks and Serving Suggestions
Remember we talked about sugar earlier? Taste your mixture before the final freeze. Adjust the sweetness if needed. That’s your control over the final flavor profile. When it’s ready, grab a sturdy spoon. Sometimes a wide straw works too. Enjoy that amazing homemade chocolate frosty experience immediately.
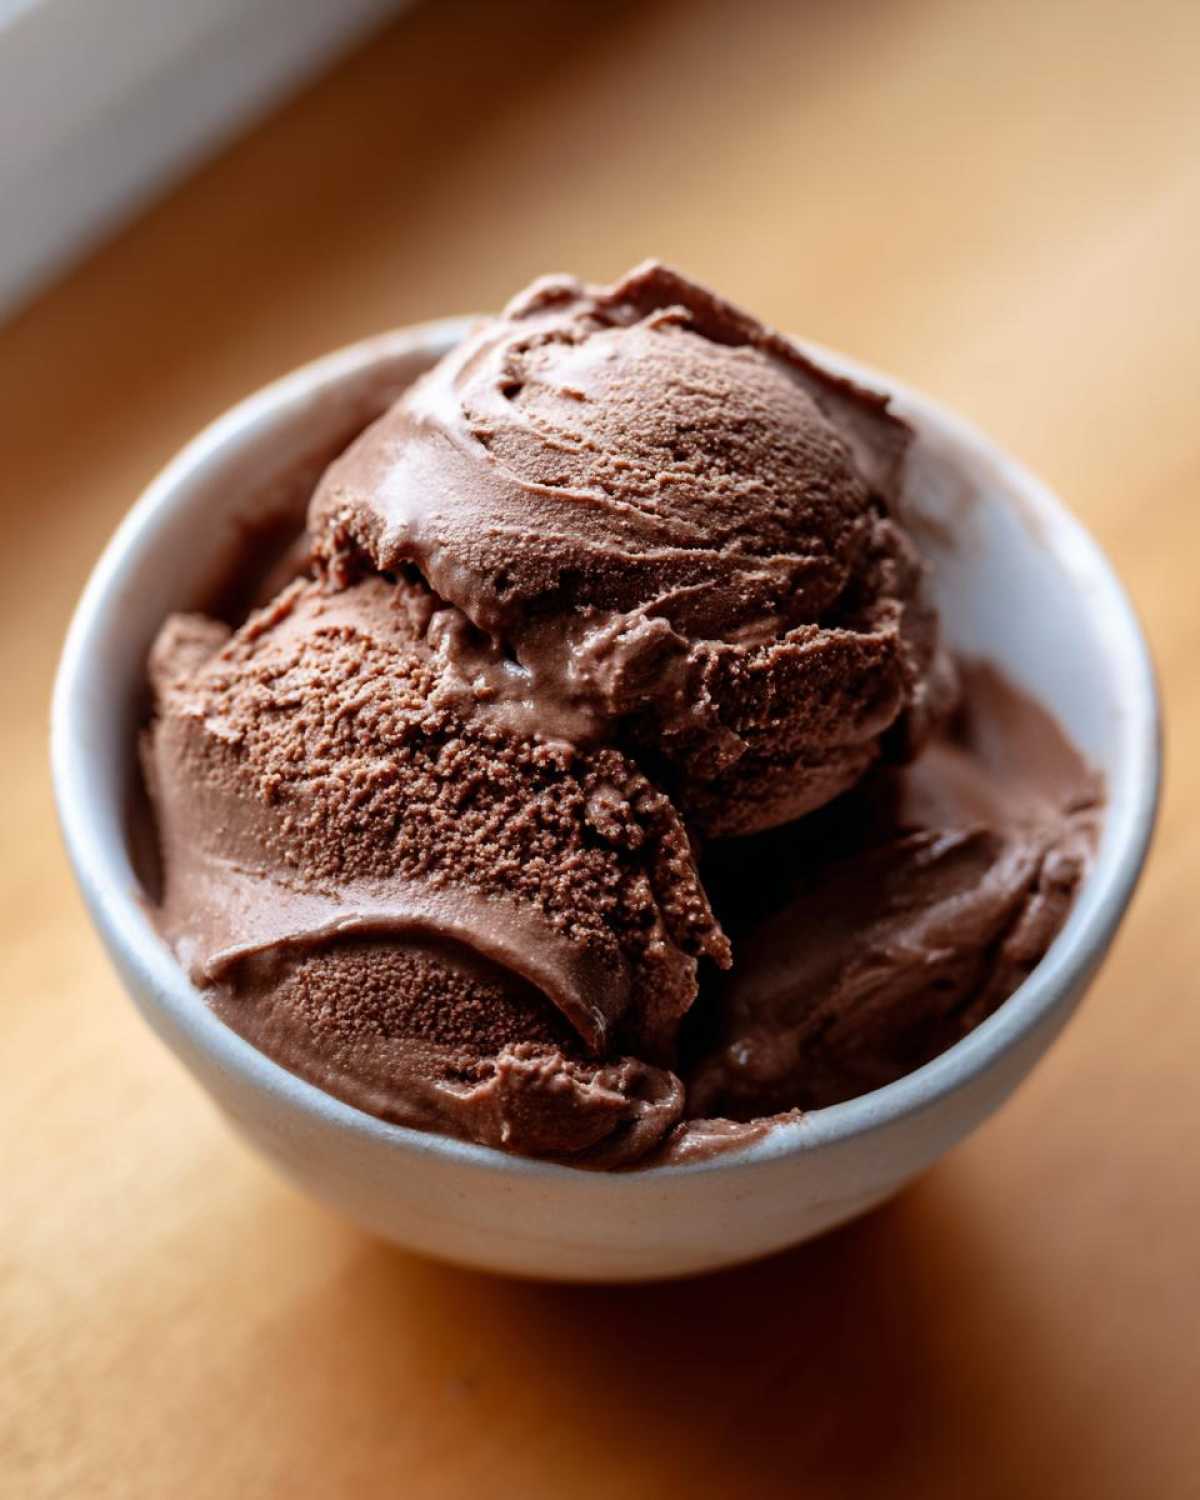
Frequently Asked Questions About Our Wendy’s Frosty
I know you might have questions popping up. That’s normal when trying a new copycat recipe. Richard always asks the tricky ones first! We want your experience making this Wendy’s Frosty to be wonderful. Here are some common things folks ask about this easy milkshake recipe.
Can I Use Real Ice Cream Instead of Whipped Topping?
That’s a great question about texture. You certainly could try. However, the thawed whipped topping is the secret weapon here. It brings in air without adding extra ice crystals. Real ice cream often freezes too solid. It makes achieving that signature soft-serve consistency tricky without a machine. Stick to the topping for the best homemade chocolate frosty result.
How Long Does This Homemade Frosty Last?
This treat is best eaten fresh. I recommend enjoying it within three days. After that, the texture can change a bit. It might get slightly icier over time. Store leftovers tightly covered in the freezer. If it gets too hard, just let it soften up a bit before serving.
Can I Make a Vanilla Version?
Absolutely! You can make a vanilla Wendy’s Frosty variation very easily. Just skip the cocoa powder entirely. Then, increase your vanilla extract to about two teaspoons. That gives you a lovely, creamy vanilla frozen dessert. It’s a delicious alternative for the non-chocolate lovers among us.
Estimated Nutritional Data for Your Wendy’s Frosty
We always like to give you a general idea of what’s in our treats.
Remember, this homemade Wendy’s Frosty data is an estimate only.
It’s based on standard ingredient measurements we used.
Your final numbers might shift a little based on brands.
For one serving (about half a cup), expect around 250 Calories.
We see about 8g of Fat and 5g of Protein.
Share Your Delish Diarist Experience
Well, that’s our diary entry for this famous treat.
I hope you loved making this Wendy’s Frosty.
Did it bring back happy memories for you?
Please leave a rating below for this easy milkshake recipe.
Tell Richard and me about your results!
PrintAmazing Wendy’s Frosty: 4 Triumphant Spoons
Create your own thick, creamy copycat Wendy’s Frosty right in your kitchen. This simple recipe brings back that familiar chocolate treat.
- Prep Time: 10 minutes
- Cook Time: 0 minutes
- Total Time: 5 hours
- Yield: 4 servings
- Category: Dessert
- Method: Freezing/No-Bake
- Cuisine: American
- Diet: Vegetarian
Ingredients
- 1 cup whole milk
- 1/4 cup unsweetened cocoa powder
- 1/2 cup granulated sugar
- 1 teaspoon vanilla extract
- 1/4 teaspoon salt
- 1 1/2 cups frozen whipped topping (like Cool Whip), thawed
Instructions
- In a medium bowl, whisk together the milk, cocoa powder, sugar, vanilla extract, and salt until the sugar dissolves completely.
- Gently fold the thawed whipped topping into the milk mixture using a spatula. Mix until just combined; do not overmix.
- Pour the mixture into a shallow freezer-safe dish, like a loaf pan.
- Freeze for at least 3 to 4 hours, stirring vigorously every hour for the first 2 hours to break up ice crystals and keep it smooth.
- After the final hour of stirring, let it freeze undisturbed for another 1 to 2 hours until it reaches a thick, soft-serve consistency.
- Serve immediately with a spoon or a wide straw.
Notes
- For a richer chocolate flavor, you can substitute 1/4 cup of the milk with 1/4 cup of melted semi-sweet chocolate chips, cooled slightly before mixing.
- If your Frosty becomes too hard, let it sit on the counter for 10 to 15 minutes before serving.
- You can slightly adjust the sugar to match your preferred sweetness level.
Nutrition
- Serving Size: 1/2 cup
- Calories: 250
- Sugar: 35g
- Sodium: 150mg
- Fat: 8g
- Saturated Fat: 5g
- Unsaturated Fat: 3g
- Trans Fat: 0g
- Carbohydrates: 40g
- Fiber: 2g
- Protein: 5g
- Cholesterol: 20mg