

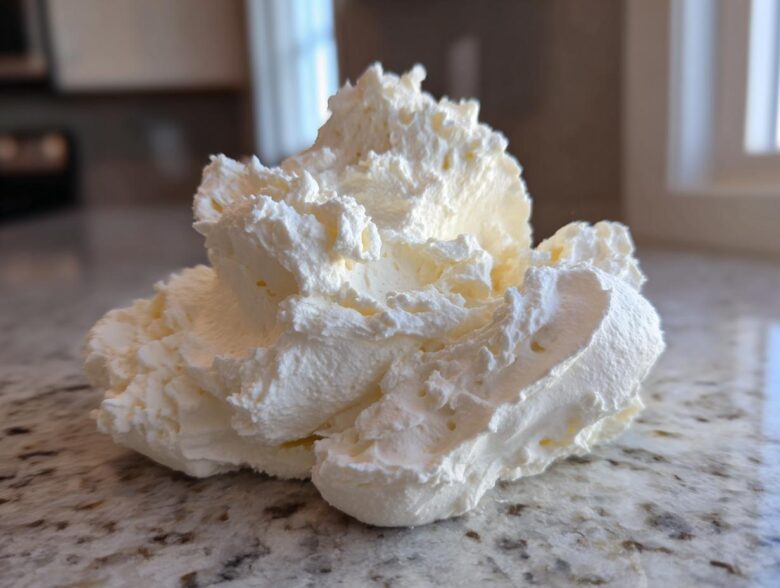
There’s something deeply satisfying about a cake or batch of cupcakes hidden beneath a cloud of perfect frosting. Richard always jokes that a cake without proper topping is just slightly sweet bread! For decades, as we traveled the world, I collected elaborate frosting techniques, but when we finally settled back home, it was this simple, honest vanilla buttercream frosting that won our hearts. It reminds me a bit of the first frosting I ever successfully made for my own birthday cake back in the ’60s—pure, sweet comfort. This recipe is the definitive version of the classic American buttercream. It whips up incredibly light and airy, yet it holds its shape like a dream, which means you can pipe beautiful stars and rosettes or just slather it on thick. It’s been the final touch on everything from simple Tuesday night brownies to our grandchildren’s birthday creations. If you want to see some of our favorite uses for these wonderful toppings, check out our general blog entries. It’s been our standard for so long, and I’m certain it will become yours too!
Why This Classic American Vanilla Buttercream Frosting is Your New Go-To
Richard worries I fuss too much over this topping, but when you’ve spent a lifetime tasting the real deal, you know the difference between good and truly excellent vanilla buttercream frosting. This recipe rises above the rest because it delivers incredible results without demanding hours of your day.
It’s sturdy enough to handle detailed piping but soft enough that it melts beautifully in your mouth. Here’s why I keep coming back to this dependable recipe:
- It’s wonderfully stable for decorating—no sagging halfway through the party!
- The flavor is pure, buttery vanilla goodness; nothing artificial here.
- It relies on a tried-and-true method that rarely fails, even when I rush a little.
Quick Preparation Time for Easy Homemade Frosting
Honestly, ten minutes is all you need from start to finish! This is my favorite trick when we’ve made a cake but realize last minute we forgot the topping. It’s perfect for those moments when you need easy homemade frosting fast, but you don’t want to compromise on taste or looks. Seriously, you can have this finished quicker than waiting for the delivery app to update!
Achieving Fluffy Vanilla Icing Tutorial Results
The secret to making this the best buttercream for cakes in your collection lies in the whipping time. We beat it until it turns pale and unbelievably light. That long whipping phase is what turns simple butter and sugar into actual airy clouds. Following the guide ensures you get that gorgeous, fluffy vanilla icing tutorial texture that pipes beautifully and tastes heavenly.
Essential Ingredients for Perfect Vanilla Buttercream Frosting
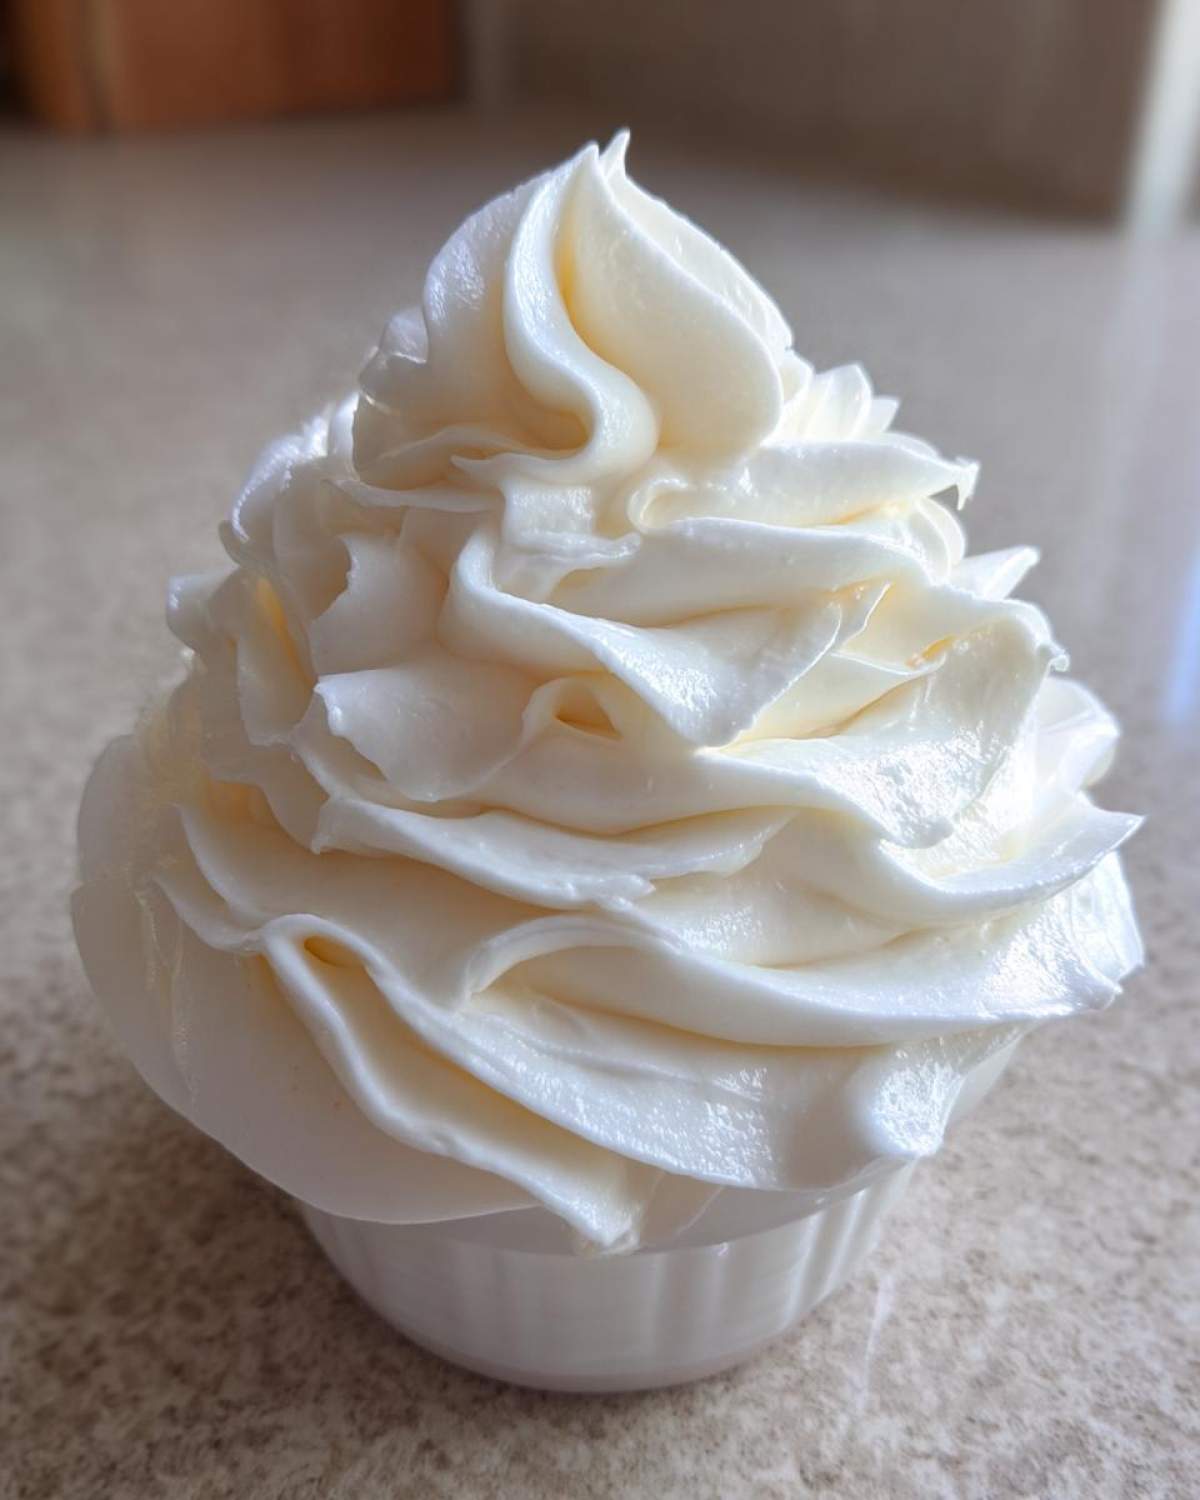
When you’re making something as foundational as a classic American buttercream, you simply cannot skimp on the quality of your starting materials. I always lay everything out on the counter before I even plug in the mixer. Trust me, timing is everything here. This recipe uses such simple components, so making sure each one is top-notch really lets that lovely vanilla buttercream frosting recipe shine.
Here’s what you’ll need for about 3 cups of this delicious topping:
- 1 cup (that’s 2 full sticks!) unsalted butter, softened perfectly to room temperature
- 4 cups powdered sugar, and they must be sifted, I insist!
- 1 full tablespoon of the purest vanilla extract you own
- 3 to 4 tablespoons of heavy cream or whole milk
- Just a tiny pinch of salt to even out all that sweetness
Ingredient Notes and Substitutions for Your Vanilla Buttercream Frosting
The butter temperature is the make-or-break point for achieving that wonderfully smooth buttercream. If it’s too cold, you’ll end up with lumps you just can’t beat out. If it’s melted mush, your frosting will be greasy and thin—not good for those beautiful designs you want to try!
I always recommend using heavy cream if you can find it; it gives a richer mouthfeel than milk for this butter and sugar frosting. If you only have milk, use whole milk, never skim! And for the vanilla? Please use pure extract. Richard says the cheap imitation stuff tastes like perfume, and I agree completely.
Step-by-Step Instructions for Smooth Buttercream
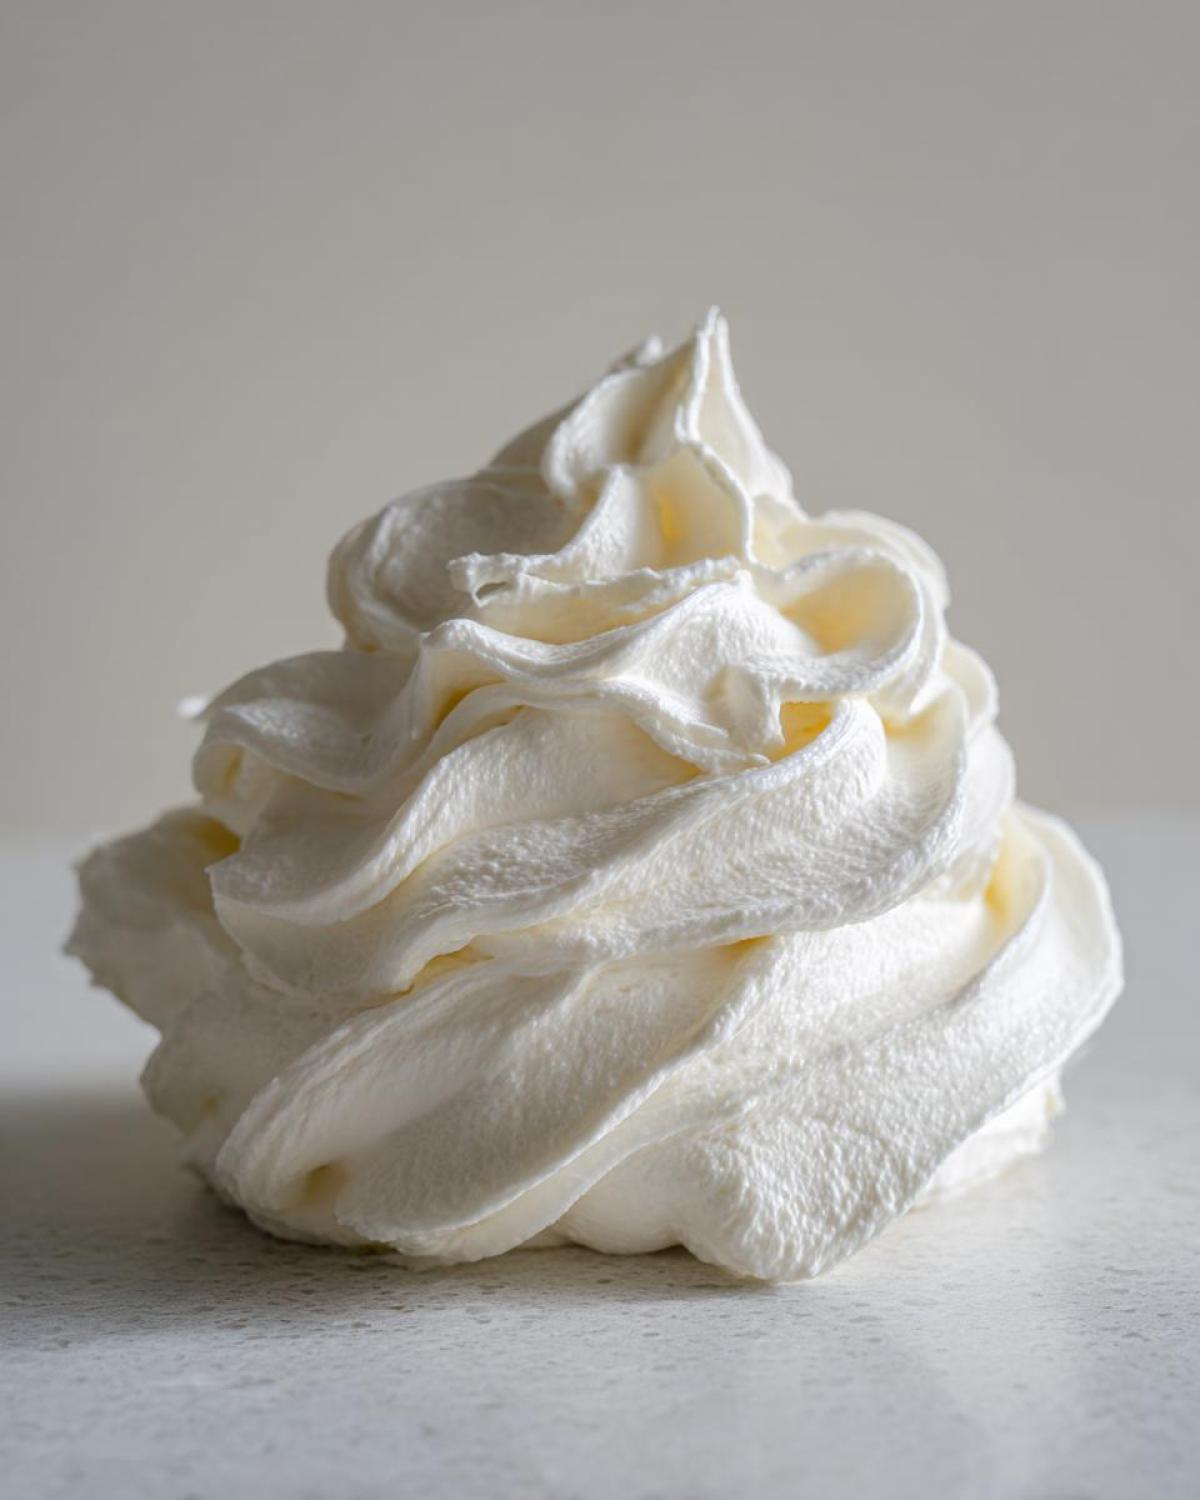
When it comes to making your vanilla buttercream frosting truly spectacular, the order and the time you spend mixing makes all the visible difference. This whole process is about trapping air, which is why we need patience during the creaming and whipping phases. I learned early on that rushing this almost always resulted in a flat, heavy topping, which is the last thing we want when aiming for this wonderfully creamy vanilla frosting recipe.
Follow these steps closely to learn how to make smooth buttercream that tastes like heaven:
- First things first: Get that softened butter into your mixer bowl—paddle attachment only, please! You need to beat that butter until it’s completely smooth, almost like silk. I usually let mine go for a solid two minutes on medium speed, making sure I scrape down the bowl sides halfway through.
- Now, you want to add your 4 cups of sifted powdered sugar. But don’t just dump it! Add it slowly, one cup at a time, keeping the speed very low so you don’t create a sugar cloud that covers your entire kitchen. Mix until it’s just incorporated after each addition.
- Once the sugar is mixed in, toss in your tablespoon of pure vanilla extract and just that tiny pinch of salt we talked about.
- Here’s where the magic happens! Add 3 of your tablespoons of heavy cream or whole milk, then crank that mixer up to medium-high. You need to whip this for a good 3 to 5 minutes. This is non-negotiable time if you want that signature light, fluffy texture that makes this the best buttercream for cakes.
- After that long whip, take a look. Does it spread easily? If it looks like stiff paste, add your last tablespoon of cream, maybe only a teaspoon at a time, until it’s perfect for your needs.
- If you overshot and it looks a little soupy—oops! Don’t panic. Just add a quarter cup more sifted powdered sugar, mix it in slowly, and that should stiffen it right up.
Once you’re done, pop over to this great source to peek at how others have piped their designs while you’re waiting for your butter to soften next time!
Mastering Buttercream Frosting Piping Consistency
If you’re planning on making fancy rosettes or detailed edges, you need to get the consistency just right. Remember steps 5 and 6? They are all about taming the wild beast that is homemade frosting! For the best buttercream frosting piping consistency, I always lean toward slightly stiffer than what I think I need.
If your batch comes out just a tiny bit soft after that main 5-minute whip, resist the urge to add more cream! Instead, grab a piece of plastic wrap and press it directly onto the surface of the frosting in the bowl, and pop the whole thing into the fridge for 10 to 15 minutes. That brief chill is amazing. When you bring it back out, mix it for just 30 seconds with the paddle attachment, and you’ll find it’s perfectly firm for stunning designs. If you need to make the whipped vanilla frosting thinner for a simple spread, add that fourth tablespoon of liquid slowly until it coats a spoon beautifully.
If you’re looking for other ways to use your kitchen time wisely, check out how I make my moist banana bread—it’s a different kind of comfort!
Tips for Success with Creamy Vanilla Frosting Recipe
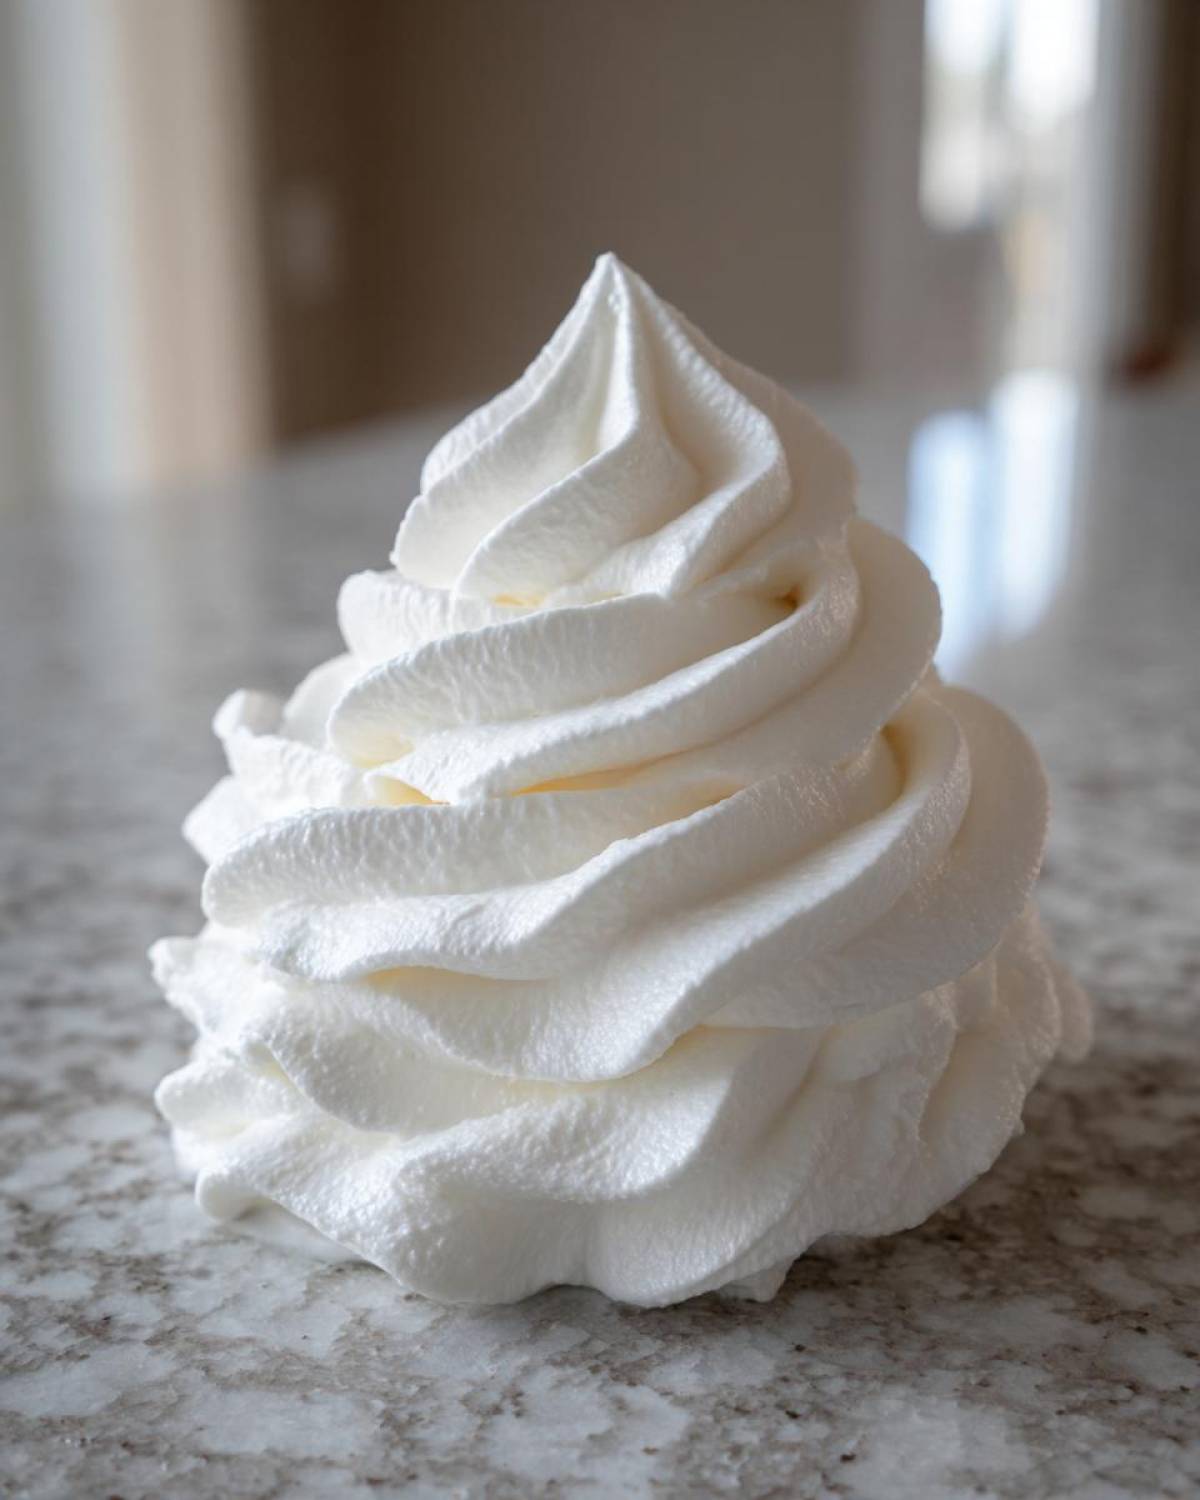
We’ve covered the steps, now let me give you the little secrets Richard and I have collected over the years that ensure every batch of this creamy vanilla frosting recipe turns out flawless. Think of these as little nudges that elevate your work from homemade to heavenly. When the final result is the best buttercream for cakes, it’s usually down to these tiny details.
First, I cannot stress enough the importance of sifting that powdered sugar. Yes, it adds a minute or two to prep, but it completely eliminates those gritty, stubborn lumps that ruin an otherwise smooth texture. If you skip sifting, you’re basically creating extra work for yourself later when you try to smooth it out!
Secondly, your vanilla needs to be good quality. Since vanilla is the star flavor in this straightforward topping, using a cheap imitation extract just won’t cut it. High-quality pure vanilla extract makes a profound difference in the aromatic warmth of this butter and sugar frosting. We want that aroma filling the kitchen, right?
Finally, remember that salt! That tiny pinch is so important. It doesn’t make the frosting salty; it just wakes up the flavor of the butter and balances the intense sweetness of the sugar. Don’t leave it out; it’s the quiet powerhouse in this recipe!
Storage and Make-Ahead Tips for Your Vanilla Buttercream Frosting
One of the best things about this vanilla buttercream frosting is that you can absolutely make it ahead of time! When we used to host big parties, I would mix up a huge batch and refrigerate it for two days before the event. It saves so much stress on party day, trust me. The key here, like with everything involving butter, is bringing it back to life correctly before you start decorating.
If you’ve made your classic American buttercream and need to store it, just cover the bowl tightly with plastic wrap, making sure the wrap touches the surface of the frosting. This stops it from developing that hard, dry ‘skin’ that always seems to form in the fridge.
You can keep this frosting perfectly fine in the refrigerator up to a week. If I see the frosting in the fridge and it looks rock hard—which it will, because butter hates the cold!—don’t just microwave it! That’s a rookie mistake that melts the structure away. You need patience.
Take it out on the counter about an hour before you plan to use it. If it’s still a little stiff after sitting out, pop it back into your mixer with the paddle attachment. Add just one teaspoon of cold heavy cream, and beat it on medium speed for about 30 seconds, then let it sit for five more minutes. Does that sound fussy? Maybe, but it brings back that perfect creamy texture we love so much for spreading on your no-bake desserts!
If you need to hide it longer, you can actually freeze it for up to three months. Thaw it overnight in the refrigerator first before bringing it to room temperature. When you whip it again with a tiny splash of cream, it will look just as good as the day you made it. It’s a wonderful trick for keeping that easy homemade frosting ready for any quick dessert decoration need. You can read more about general frosting handling over at this source, too.
Variations on This Classic Buttercream from Scratch
While this vanilla buttercream frosting reigns supreme on its own, sometimes Richard will get an idea based on a trip we took weeks ago, and we’ll decide one batch needs a little something extra. Since this recipe is such a solid base—a true buttercream from scratch—it handles flavor additions like a champ. You don’t need a whole new recipe; you just need to think about what memory you want to bring back to life!
My rule is to keep the additions small so you don’t accidentally ruin the texture. We want to enhance the flavor, not turn our beautiful, creamy vanilla frosting recipe into soup.
Here are the easiest ways I change things up when I’m feeling inspired:
- Add a Touch of Citrus: If we were in Italy or Greece, I’ll fold in the zest of one small lemon right at the end of the whipping process. It cuts through the sweetness beautifully, turning it into a fantastic topping for our lemon pound cake.
- Nutty Brown Butter Base: This one takes an extra five minutes, but oh, it is worth it! Before you start, brown your 1 cup of butter until it smells nutty and turns golden brown. Let it cool completely—and I mean completely, or it will melt the sugar—and then proceed with Step 1. It gives the finished product a deep, savory-sweet flavor perfect for fall baking.
- Almond or Mint Extracts: Sometimes, instead of using the full tablespoon of vanilla extract, Richard will ask for almond extract. Use about half the vanilla and 1/2 teaspoon of almond extract for a wonderful wedding cake flavor. For a fun after-dinner mint vibe, use just 1/4 teaspoon of peppermint extract instead. Remember, extracts are strong, so ease up on them!
These little shifts mean you always have a fresh spin on your favorite topping, ready for anything from simple cookies to elaborate layer cakes. It keeps things exciting when you are baking as often as we do! Speaking of savory, if you ever want a wonderful glaze on something other than dessert, you must try the glaze from my honey mustard chicken thighs recipe—it uses similar principles of balancing sweet and acid!
Serving Suggestions for Whipped Vanilla Frosting
Once you have this perfectly light and stable whipped vanilla frosting ready to go, the possibilities are honestly endless! I always feel like setting out the piping bag is like laying out my favorite set of paints. This specific vanilla buttercream frosting holds its shape so beautifully, which makes it one of the most versatile toppings we have in our recipe diary. It’s truly a workhorse for all your simple desserts topping needs.
Richard is a traditionalist; if I make a cake, he expects this exact flavor, but I love experimenting with how we apply it. Here are the ways this recipe truly shines:
- Layer Cakes: This is its main stage! The texture isn’t too heavy, so you can get a nice, substantial layer between the tiers without weighing the whole thing down. It makes a fantastic crumb coat; slather it on, chill it for 20 minutes, and then apply your final, smooth coating.
- Cupcakes, of Course: If you’re after that classic bakery look, you need this recipe. It’s specifically wonderful as vanilla frosting for cupcakes because it pipes like a dream and stays gorgeous on display for hours. Try it on a dark chocolate cupcake for a stunning contrast!
- Cookies and Brownies: Don’t limit yourself to cake! This frosting is heavenly spooned thickly onto fresh sugar cookies or a batch of rich, fudgy brownies. The simplicity of the buttery flavor complements intense chocolate so well. It’s the perfect finishing touch when you need a quick, sweet treat.
If you’re looking for another recipe that hits that no-bake, easy-to-finish sweet spot, you might want to check out my recipe for no-bake Biscoff Cheesecake—it’s decadent with minimal fuss!
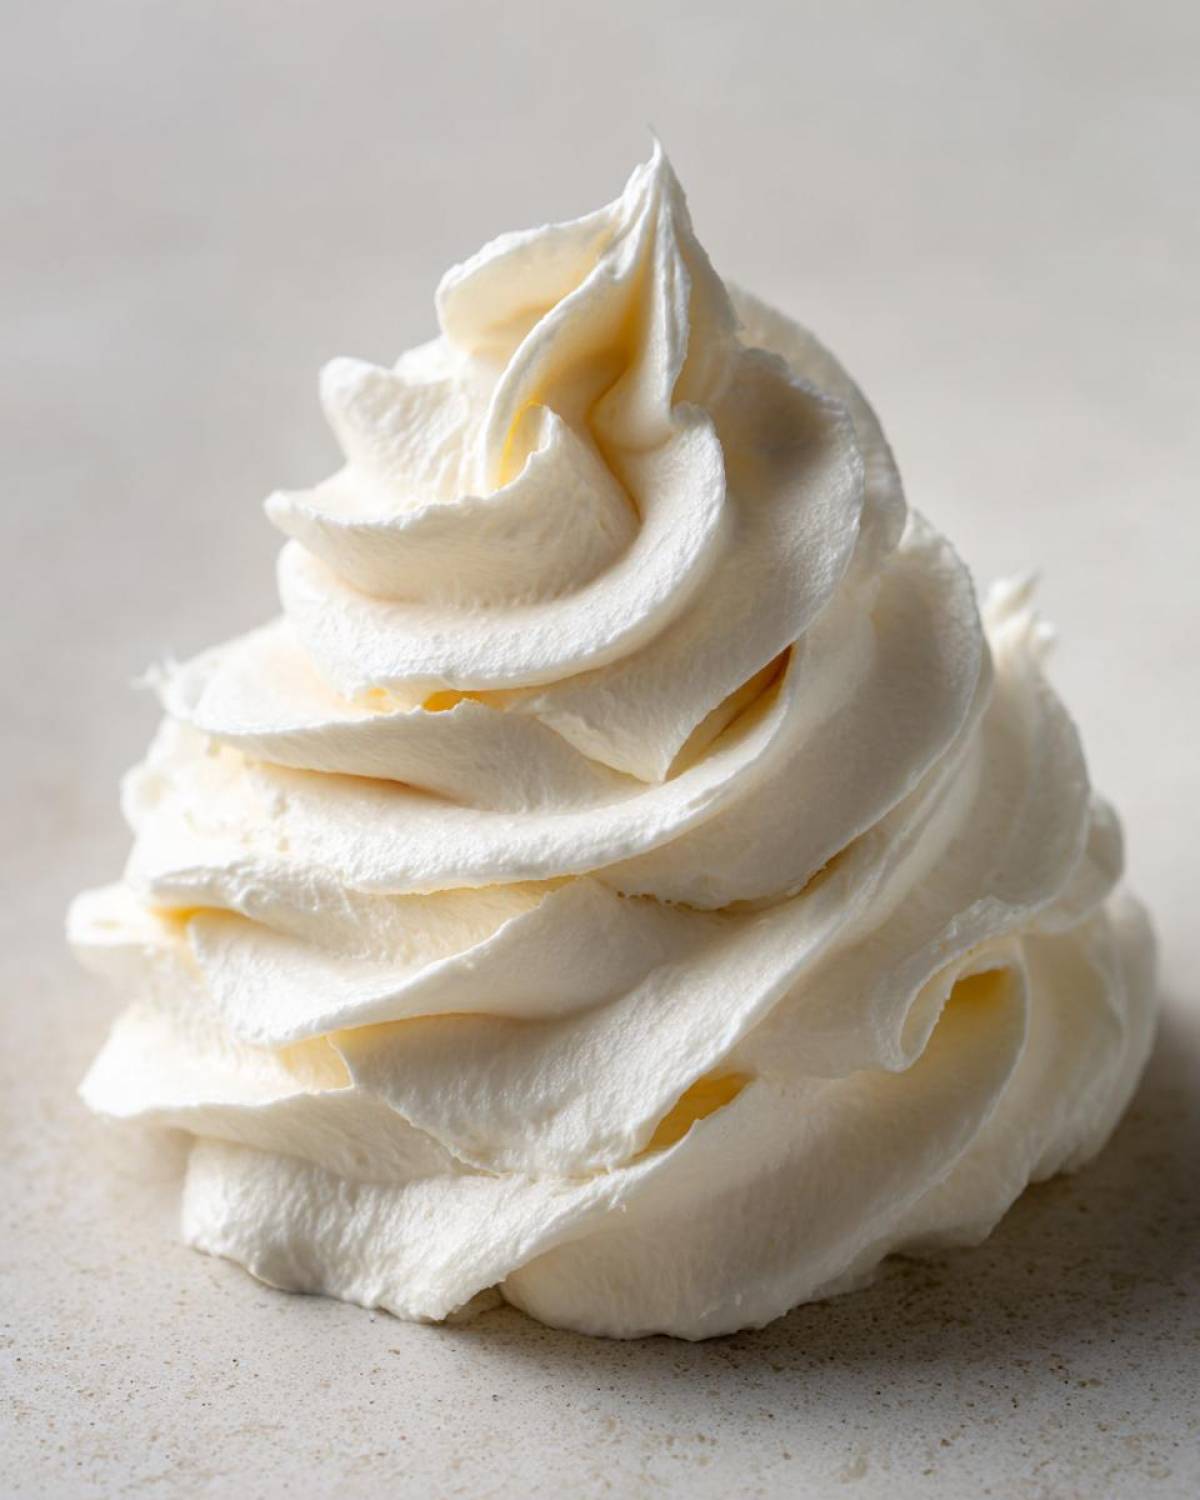
Frequently Asked Questions About Vanilla Buttercream Frosting
Oh, I know you might have a few little worries when you try a new recipe, especially when it comes to getting that perfect swirl on your cupcakes. Don’t you worry one bit! This vanilla buttercream frosting is very forgiving, but the key is knowing how to nudge it back into shape if things go sideways. Here are the questions I get asked most often about making this easy homemade frosting.
Can I use margarine instead of butter in this vanilla buttercream frosting?
Richard and I are firm believers in using real, unsalted butter for this classic American buttercream. Butter has a beautiful flavor and the right fat composition that makes the frosting rich and creamy. While you technically *can* use margarine or all butter shortening, the flavor won’t be as deep, and sometimes they don’t whip up quite as light. For the best buttercream for cakes, always stick with butter, softened just right!
How do I fix vanilla buttercream frosting that looks curdled or greasy?
That usually means your butter was too warm when you started, or perhaps it got slightly too warm during the mixing process. It looks separated, right? Don’t toss it out! This fix is so simple. Take one full tablespoon of *cold* milk or cream and add it to the greasy mixture. Start mixing on very low, then slowly increase the speed to medium-high and whip it vigorously for another minute or two. That cold liquid acts like a sudden shock to the system and helps the emulsion come back together. If it’s still a bit loose, add just a tiny splash more sifted powdered sugar until it’s perfect again for piping consistency.
Why is my homemade vanilla frosting grainy?
Graininess means your powdered sugar didn’t fully dissolve into the butter fat, which almost always happens if you skip sifting! If your creamy vanilla frosting recipe feels gritty, the fastest fix is to add one or two teaspoons of hot (not boiling!) water or milk, and then whip it on high speed for a full five minutes. The combination of heat and extended whipping time helps the sugar crystals dissolve into the liquid part of the frosting. You can always check out the advice on Natasha’s Kitchen for more troubleshooting tips, too!
We’ve used this recipe countless times for everything from everyday treats to fancy anniversary cakes, and these tips above have never failed us when making this wonderful butter and sugar frosting.
Nutritional Estimate for Your Homemade Vanilla Frosting
Now, I know Richard worries about the sugar content in my desserts—he says my love language is butter and refined flour! But when you are making a classic topping like this, there will be some richness involved. These numbers below are just an estimate for one quarter-cup serving of this gorgeous butter and sugar frosting. Please take them with a grain of salt, as they are only guides based on standard ingredient measurements, not scientific lab analysis!
We always try to keep track of these things, especially when we are looking at our portions, but honestly, the true value of this vanilla buttercream frosting is the joy it brings when spread thickly over a slice of cake!
- Serving Size: 1/4 cup
- Calories: Around 350
- Total Fat: About 15g (with 9g saturated)
- Total Carbohydrates: Roughly 55g
- Sugars: Hanging around 55g (yes, it’s sweet!)
- Protein: Just 1g
- Cholesterol: Around 45mg
If you’re watching your macros, remember that this recipe is naturally vegetarian, and you can always adjust the amount of powdered sugar you incorporate when you are learning how to make smooth buttercream at home. It’s your diary, after all!
If you’re looking for something decadent but a bit lighter overall, you might want to try my recipe for the creamy chicken gnocchi—it’s savory, but it feels just as comforting as a big swipe of this whipped vanilla frosting feels on a cupcake.
PrintThe Best Classic American Vanilla Buttercream Frosting
This recipe delivers a creamy, smooth, and fluffy vanilla buttercream frosting perfect for topping your cakes and cupcakes. It is easy to make and holds its shape well for piping decorations.
- Prep Time: 10 min
- Cook Time: 0 min
- Total Time: 10 min
- Yield: About 3 cups
- Category: Dessert Topping
- Method: Mixing
- Cuisine: American
- Diet: Vegetarian
Ingredients
- 1 cup (2 sticks) unsalted butter, softened to room temperature
- 4 cups powdered sugar, sifted
- 1 tablespoon pure vanilla extract
- 3 to 4 tablespoons heavy cream or whole milk
- Pinch of salt
Instructions
- Place the softened butter in the bowl of a stand mixer fitted with the paddle attachment. Beat the butter on medium speed until it is completely smooth and creamy, about 2 minutes. Scrape down the sides of the bowl.
- Gradually add the sifted powdered sugar, one cup at a time, mixing on low speed until just combined after each addition.
- Once all the sugar is incorporated, add the vanilla extract and a pinch of salt.
- Add 3 tablespoons of heavy cream or milk. Increase the mixer speed to medium-high and beat for 3 to 5 minutes until the vanilla buttercream frosting is light, fluffy, and pale. This whipping time is key for a smooth texture.
- Check the consistency. If the frosting seems too stiff for spreading or piping, add the remaining tablespoon of cream, one teaspoon at a time, until you reach your desired consistency for your homemade vanilla frosting.
- If the frosting is too soft, add a little more sifted powdered sugar, one quarter cup at a time, until it firms up.
- Use immediately to frost your cakes or cupcakes.
Notes
- Use room temperature butter; if it is too warm, your frosting will be greasy. If it is too cold, it will be lumpy.
- Sifting the powdered sugar prevents lumps and helps you achieve that smooth buttercream texture you want for piping consistency.
- For a richer flavor, use high-quality pure vanilla extract.
- If you need a stiffer frosting for detailed piping work, use less liquid or chill the finished frosting for 15 minutes before using.
Nutrition
- Serving Size: 1/4 cup
- Calories: 350
- Sugar: 55
- Sodium: 55
- Fat: 15
- Saturated Fat: 9
- Unsaturated Fat: 6
- Trans Fat: 0
- Carbohydrates: 55
- Fiber: 0
- Protein: 1
- Cholesterol: 45