

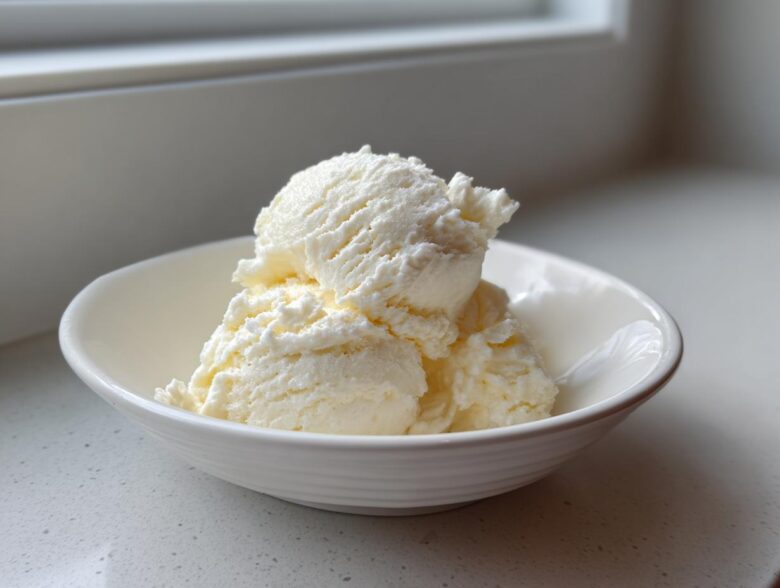
Oh, welcome, friends! Do you ever reach that point in the night, after a lovely dinner with Richard, where a sweet craving just hits you—but you’re determined to keep things sensible now that we’re enjoying a slower pace? I used to worry about those little indulgences, but not anymore! Richard and I have cracked the code, and I’m so excited to share it right here in our digital diary. We’re talking about the creamiest, dreamiest **protein ice cream** you can imagine, and the best part? You don’t need that noisy ice cream maker churning away. This simple, luscious recipe sets up beautifully in the freezer, giving us the perfect, guilt-free frozen treat whenever we want it. It truly feels like a slice of our old Parisian café days, but totally macro friendly!
Why This Simple No-Churn Protein Ice Cream is a Guilt-Free Delight
When Richard and I started swapping out heavy cream for smarter bases, I was shocked at how good the results could be! This isn’t just dessert; it’s a truly smart choice for a late-night snack. You get that decadent feeling without the worry that usually follows. I promise you, this is one of the best High Protein Dessert Recipes we’ve ever added to the diary.
- It’s unbelievably creamy, even without churning—no gritty ice crystals!
- It serves up big satisfaction as one of those perfect Guilt Free Frozen Treats.
- It’s packed with protein, making it fantastic for your fitness goals and wonderfully balanced for Macro Friendly Desserts.
- Seriously, I just mix it and forget it in the freezer. No fuss!
Gathering Ingredients for Your Creamy Protein Ice Cream
When Richard and I first experimented with making Healthy Homemade Ice Cream packed with protein, the ingredients were all over the map—lots of powders and weird thickeners. But for this simple version, we stick to the basics! The star here is plain Greek yogurt, ideally 2% or even full fat. I know some people reach for cottage cheese, but honestly, the Greek yogurt gives us that fantastic, smooth base that holds up best when freezing without a machine. It’s our secret weapon for true creaminess in a High Protein Dessert Recipes approach.
Ingredient Notes and Smart Substitutions
You’ll notice right away we aren’t fiddling with bananas or eggs here; this is true Making Ice Cream Without Machine magic! Since we skip those, we rely on the yogurt and the right protein powder. If you want to sneak in extra richness—especially if your protein powder leans a bit dry—try softening up a quarter cup of light cream cheese and beating it in with the yogurt. It adds just a gorgeous density that Richard absolutely loves.
Step-by-Step Guide: Making No Churn Protein Ice Cream
Alright, this is where the fun—and the magic—happens! Getting this mixture right at the start is the single most important thing for achieving that creamy texture in your No Churn Protein Ice Cream. We are aiming for absolutely zero grit here. Start by whisking your yogurt, milk, sweetener, and vanilla extract together until everything is nice and combined. Then, sift in your protein powder. Seriously, sift it! This is my biggest tip to avoid those stubborn little lumps that can ruin the whole texture later on. You need to whisk it with purpose, making sure it’s perfectly smooth before pouring it out.
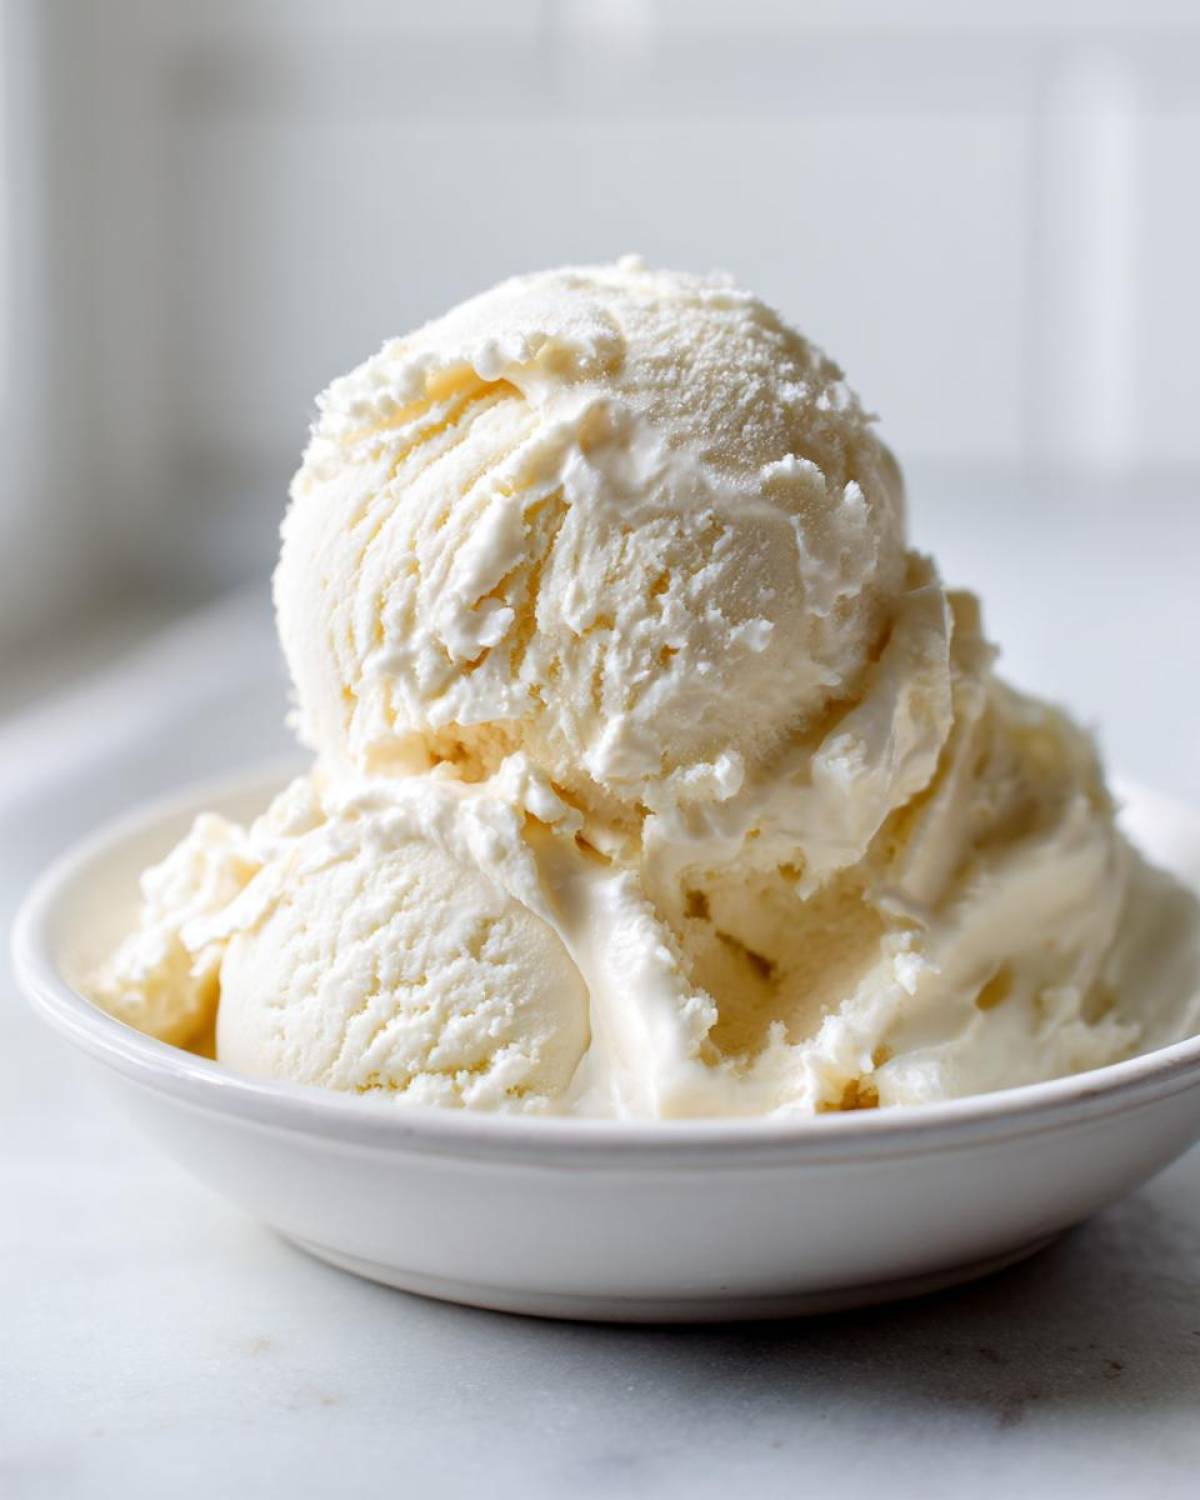
Once smooth, pour this beautiful, thick base into a freezer-safe loaf pan—that’s the shape we use most often for Simple 4 Ingredient Ice Cream bases. Because this is no-churn, we need to protect it from freezer burn. Take a sheet of plastic wrap and press it directly onto the surface of the mixture. This stops those big, awful ice crystals from forming on top! Then, put the lid on and walk away for at least six hours. The prep time is only about 5 minutes, but the dedication to waiting is where the real challenge lies!
Tips for the Smoothest Protein Ice Cream Texture
Trust me on this one: don’t rush the final step! Even after six hours, this **protein ice cream** might be quite firm because we aren’t using stabilizers or a machine to whip air in. Before scooping, let the container sit on the counter for a good 10 to 15 minutes. That little bit of tempering time softens it just enough. When you whisked it well initially, you minimized grit, but now you bring out that truly luxurious, scoopable texture that makes it feel like a real indulgence.
Flavor Variations for Your Protein Ice Cream
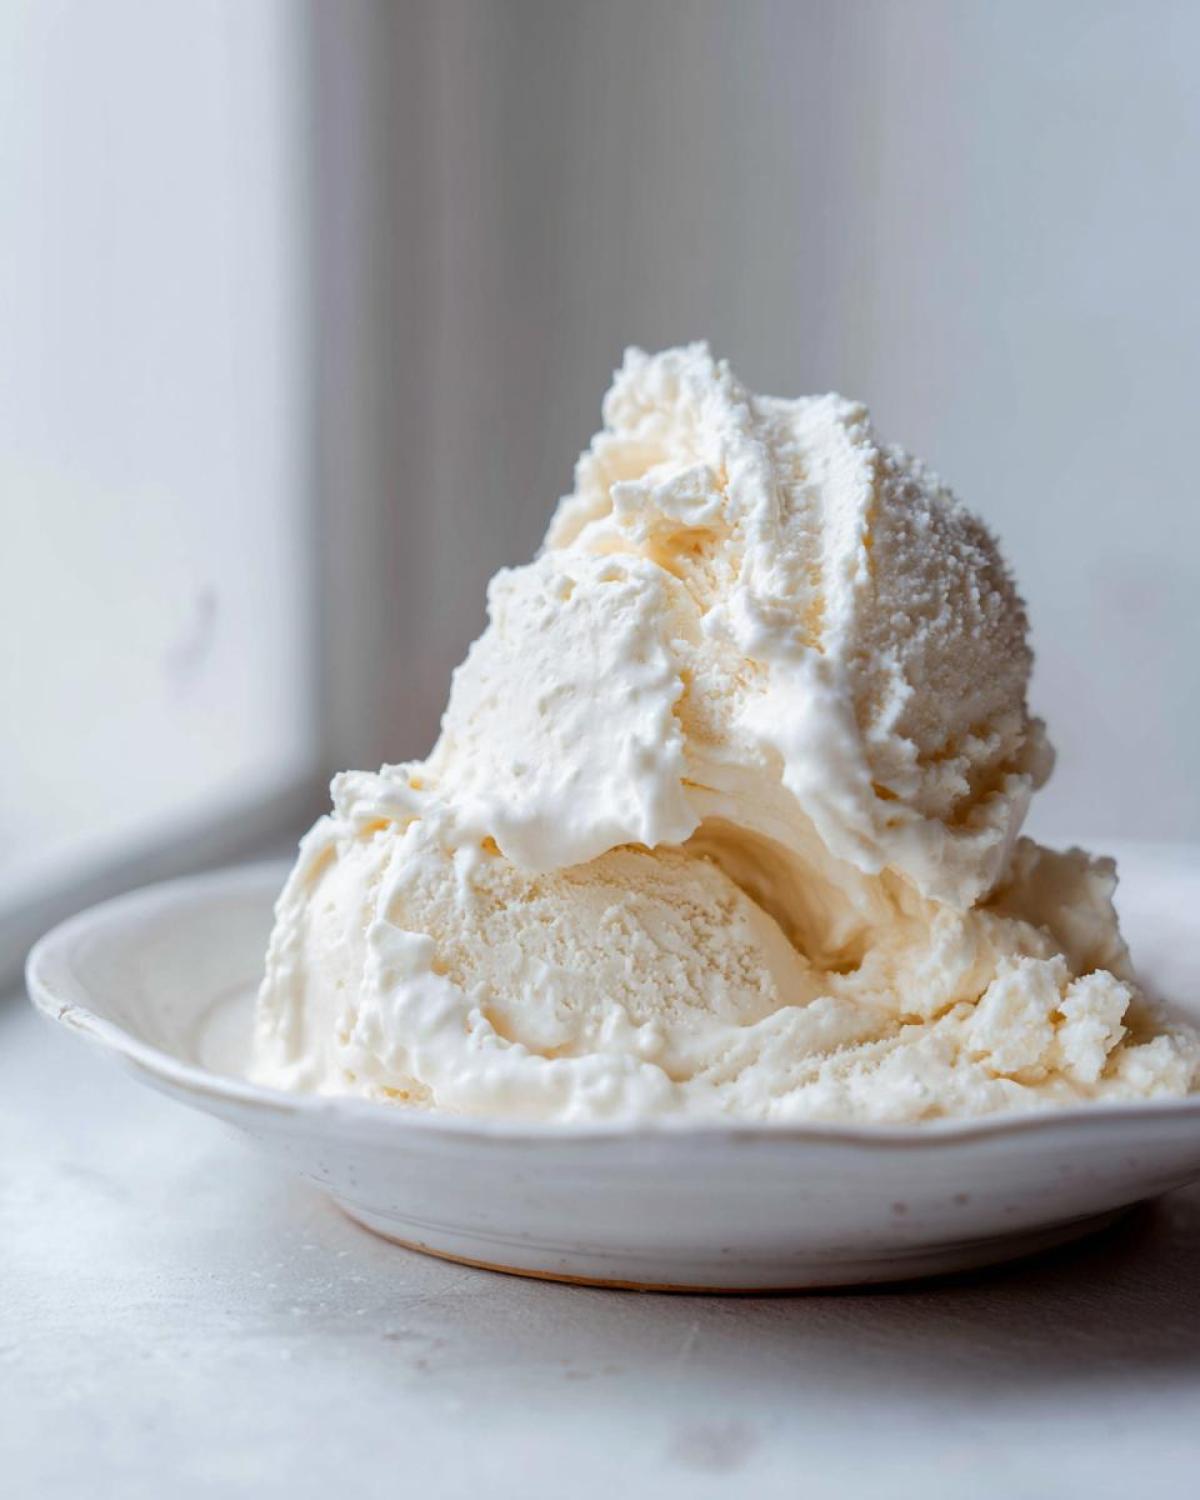
One of the joys of making our own Protein Ice Cream Flavors is that we can completely change the experience just by swapping out the powder! While Vanilla is our classic, clean slate, it’s so easy to pivot. If Richard is needing something a bit richer after a long day gardening, I simply swap that one scoop of vanilla powder for chocolate or, my favorite splurge, a salted caramel flavor.
Don’t stop at just the powder, though! A few drops of pure mint extract turns this into a perfect after-dinner mint, or a tiny bit of strong, cooled coffee concentrate makes a lovely mocha flavor. It’s all about customizing your Protein Powder Dessert to match your mood. Feel free to experiment—that’s what my kitchen diary is all about!
If you’re curious about the fancy machine route—though this method is much simpler—I know some folks have had great luck transforming their bases in other ways. You can see some incredible examples of how others are using different devices for frozen treats over at Ninja Creami Protein Recipes inspiration.
Storing and Reheating Your Homemade Protein Ice Cream
Now, this is the part where we have to be diligent because this wonderful **No Churn Protein Ice Cream** doesn’t have that commercial stabilizer helping it stay soft! When you know you aren’t going to finish the batch in a day or two, you have to lock in that air. Make sure your freezer-safe container has a lid that seals tight. Even better, I like to place a small square of plastic wrap directly touching the surface before putting the main lid on. This stops those pesky freezer crystals from forming, which is the downfall of any Healthy Homemade Ice Cream left too long.
If you forget about it for a week and it freezes into a stubborn brick—don’t panic! It happens to the best of us. Just like any dense ice cream, it needs to thaw just a tad once it comes out of the deep freeze. Let it sit on the counter for about 10 or 15 minutes. That little bit of friendly warming time brings out the best texture, making it lovely and scoopable again.
Achieving the Best Texture in Your Protein Ice Cream
Texture is everything, isn’t it? It separates a truly fantastic frozen treat from something that feels more like flavored ice. With **protein ice cream**, the base ingredients are working overtime to stay creamy while freezing without constant churning, which is why the Greek yogurt really shines here. Some recipes talk a lot about Healthy Homemade Ice Cream using cottage cheese, and that works for some people, but honestly, Richard says he can always spot it!
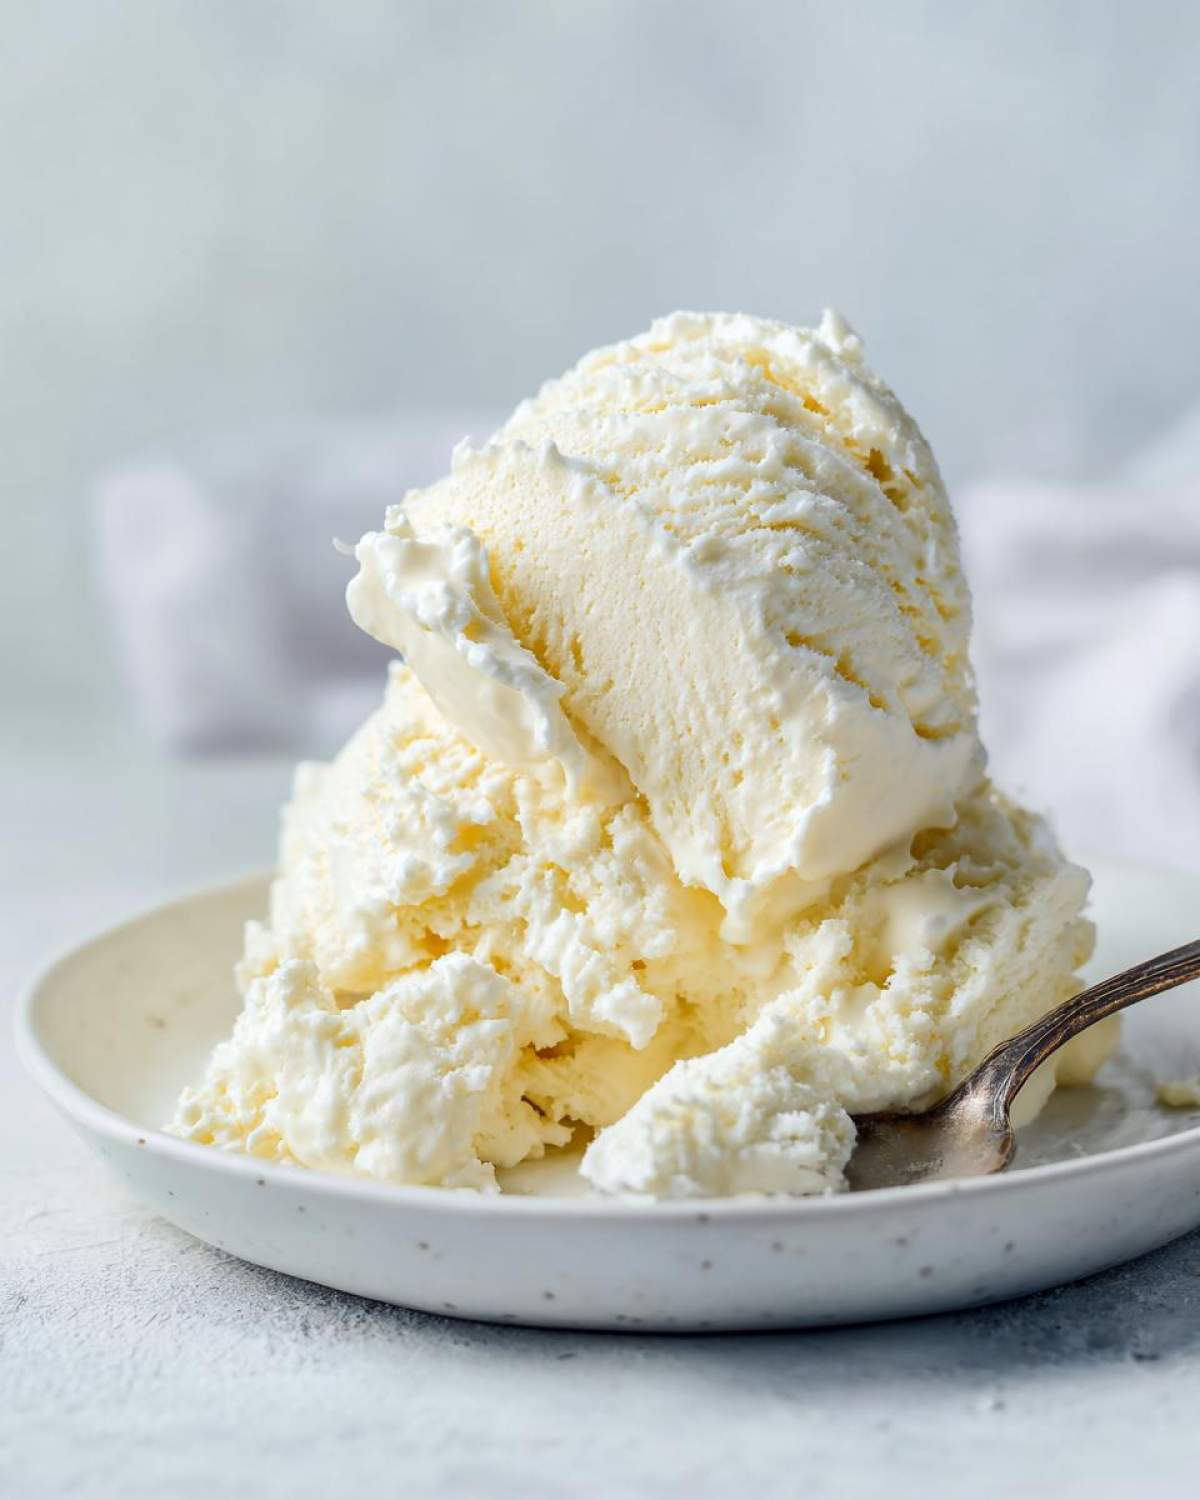
He claims the tang of the cottage cheese base just isn’t dessert-like enough for him. When we use that thick, plain Greek yogurt instead, we get a much smoother mouthfeel. I’ve tried blending it with avocado for extra fat, making lovely Easy Protein Snacks, but for this simple ice cream, the Greek yogurt keeps the structure perfectly dense yet smooth—exactly how he likes his scoop!
Serving Suggestions for Your High Protein Dessert Recipes
Even the best **protein ice cream** deserves a wonderful presentation! Since this is our version of a Healthy Homemade Ice Cream, we like light, fresh toppings rather than heavy syrups. Right now, Richard loves it served right after his walking workout, making it the perfect Post Workout Frozen Dessert.
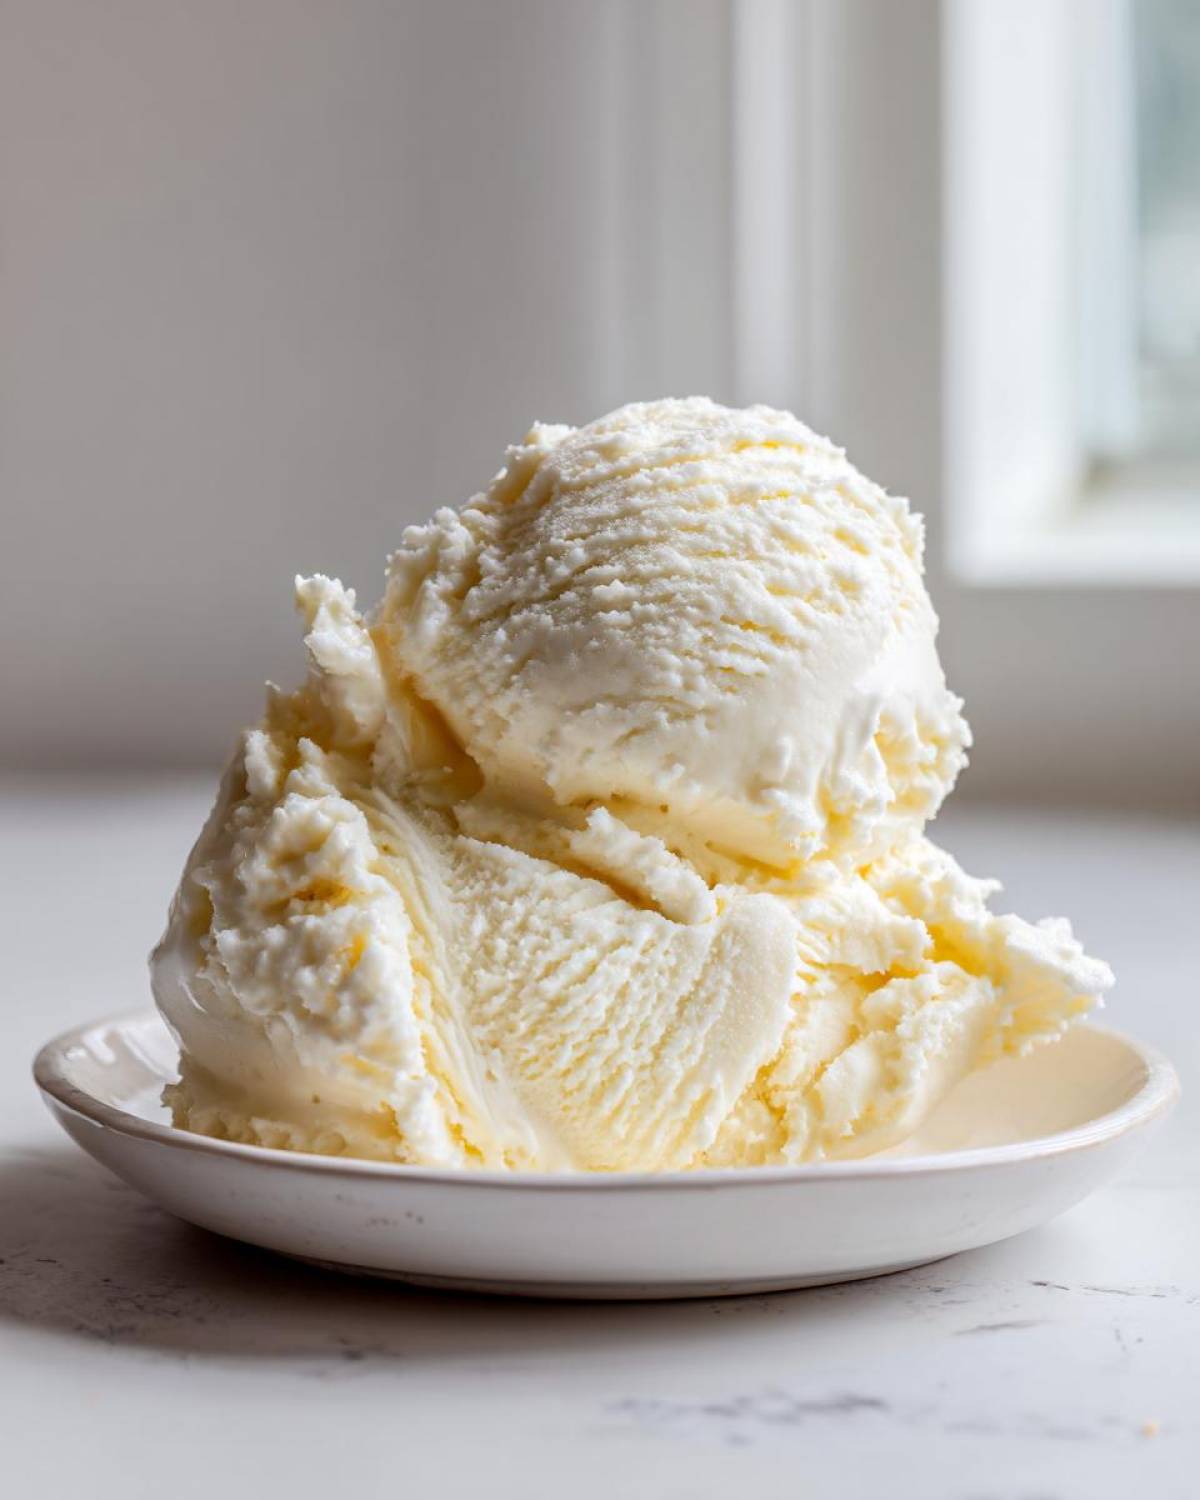
I often serve a scoop alongside a slightly warm, fudgy brownie (we have a wonderful chocolate chip protein cookies recipe that bakes up nicely!). Fresh raspberries or a sprinkle of chopped, toasted almonds elevate the whole experience instantly. Honestly, just a quick drizzle of melted peanut butter makes it feel incredibly fancy!
Frequently Asked Questions About Protein Ice Cream
Richard always says that the best recipes are the ones that answer all your nagging little questions before you even have to ask! When folks write to me asking about making **protein ice cream**, their main hang-up is always about texture. Here are the few things I hear most often when people are trying out their first homemade batch. Don’t worry if your first try isn’t perfect—mine certainly weren’t!
Can I use water instead of almond milk in this protein ice cream?
Oh, dear, please don’t! I understand wanting to keep the calories extra low, but water is the enemy of creaminess in frozen desserts. If you use water, even with the yogurt base, you are just asking for a tray of flavored ice cubes instead of lovely **protein ice cream**. You really need that little bit of fat from the almond milk (or really any milk you prefer!) to help capture the texture and keep everything smooth when it freezes.
How much protein is in one serving of this protein ice cream?
That’s the brilliant part! When we stick to the recipe as written, we land at about 22 grams of protein in one generous half-cup serving. Isn’t that amazing? It means we can truly enjoy this dish without derailing our healthy eating goals. It’s such an excellent example of our Easy Protein Snacks philosophy—making sure treats are actually helpful macros.
What is the best protein powder for making protein ice cream?
This is where personal preference meets science! For this no-churn method, I’ve found that a blend of whey and casein protein powder works best. The casein really helps the mix stay thick and creamy when it hits the freezer. If you use 100% whey protein isolate, you might notice the volume gets a tiny bit icier faster. If that’s all you have, just be sure to let it soften up those 15 minutes before digging in, or try adding that little bit of extra cream cheese I mentioned!
Your Next Steps with Protein Ice Cream
Well, that’s our little secret for enjoying something truly decadent without the fuss! I hope you feel inspired to head into your own kitchen and give this simple, no-churn **protein ice cream** a whirl. It’s one of those recipes that gets better every time I make it, especially when Richard suggests a new flavor twist—like adding a tiny bit of almond extract instead of vanilla one week!
Once you’ve tasted this creamy goodness, I truly want to know what you think! Did you stick to vanilla, or did you try swapping in chocolate? Did you add any fun mix-ins? Please come back and tell Richard and me all about your batch in the comments below. We love hearing how our memories inspire your own delicious moments!
If you’re looking for more chapters from our kitchen diary, full of old-world inspiration and new-world healthy twists, you can always browse the full archives over at the main blog index here: Welcome to the Delish Diarist Blog Index. Happy scooping, my friends!
PrintSimple No-Churn Vanilla Protein Ice Cream
Create a creamy, high-protein frozen treat without an ice cream maker. This simple recipe delivers a guilt-free dessert perfect for satisfying sweet cravings.
- Prep Time: 5 min
- Cook Time: 0 min
- Total Time: 6 hr 5 min
- Yield: 4 servings
- Category: Dessert
- Method: No Churn
- Cuisine: American
- Diet: Low Fat
Ingredients
- 1 cup plain Greek yogurt (2% or full fat for best texture)
- 1/2 cup unsweetened almond milk (or milk of choice)
- 1 scoop vanilla protein powder (whey or casein blend works well)
- 1-2 tablespoons sweetener (monk fruit, stevia, or maple syrup, to taste)
- 1 teaspoon vanilla extract
Instructions
- In a medium bowl, combine the Greek yogurt, almond milk, vanilla protein powder, sweetener, and vanilla extract.
- Whisk the mixture thoroughly until it is completely smooth and all lumps from the protein powder are gone. You want a very smooth base for the best texture.
- Pour the mixture into a freezer-safe container, like a loaf pan or a small plastic container with a lid.
- Cover the container tightly with plastic wrap, pressing the wrap directly onto the surface of the mixture to prevent ice crystals from forming.
- Place the container in the freezer for at least 6 hours, or until firm.
- For the creamiest texture, remove the ice cream from the freezer about 10-15 minutes before serving to allow it to soften slightly. Scoop and enjoy your high protein dessert.
Notes
- For a richer, more decadent texture, substitute 1/4 cup of the Greek yogurt with 1/4 cup of light cream cheese, softened.
- If you prefer a different flavor, swap vanilla protein powder for chocolate or salted caramel protein powder.
- If you find the mixture too thick to mix, add milk one tablespoon at a time until you reach a thick, pourable consistency.
Nutrition
- Serving Size: 1/2 cup
- Calories: 150
- Sugar: 4
- Sodium: 120
- Fat: 3
- Saturated Fat: 1
- Unsaturated Fat: 2
- Trans Fat: 0
- Carbohydrates: 10
- Fiber: 1
- Protein: 22
- Cholesterol: 15