

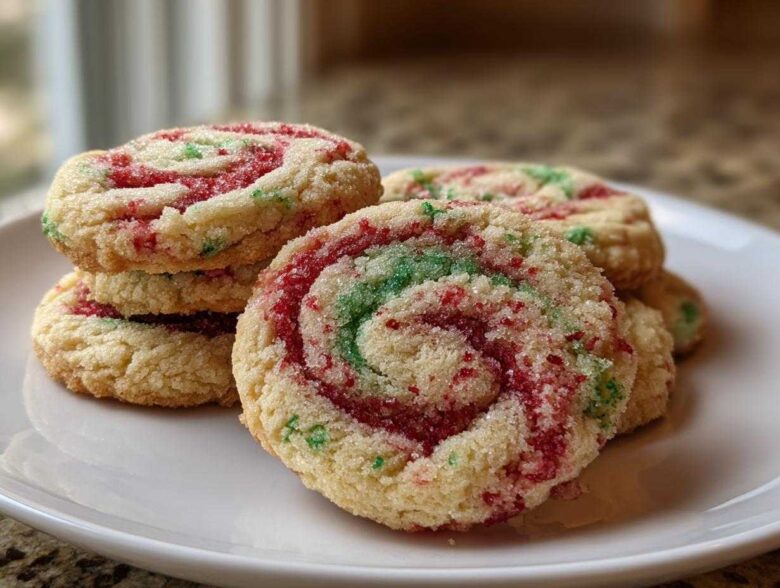
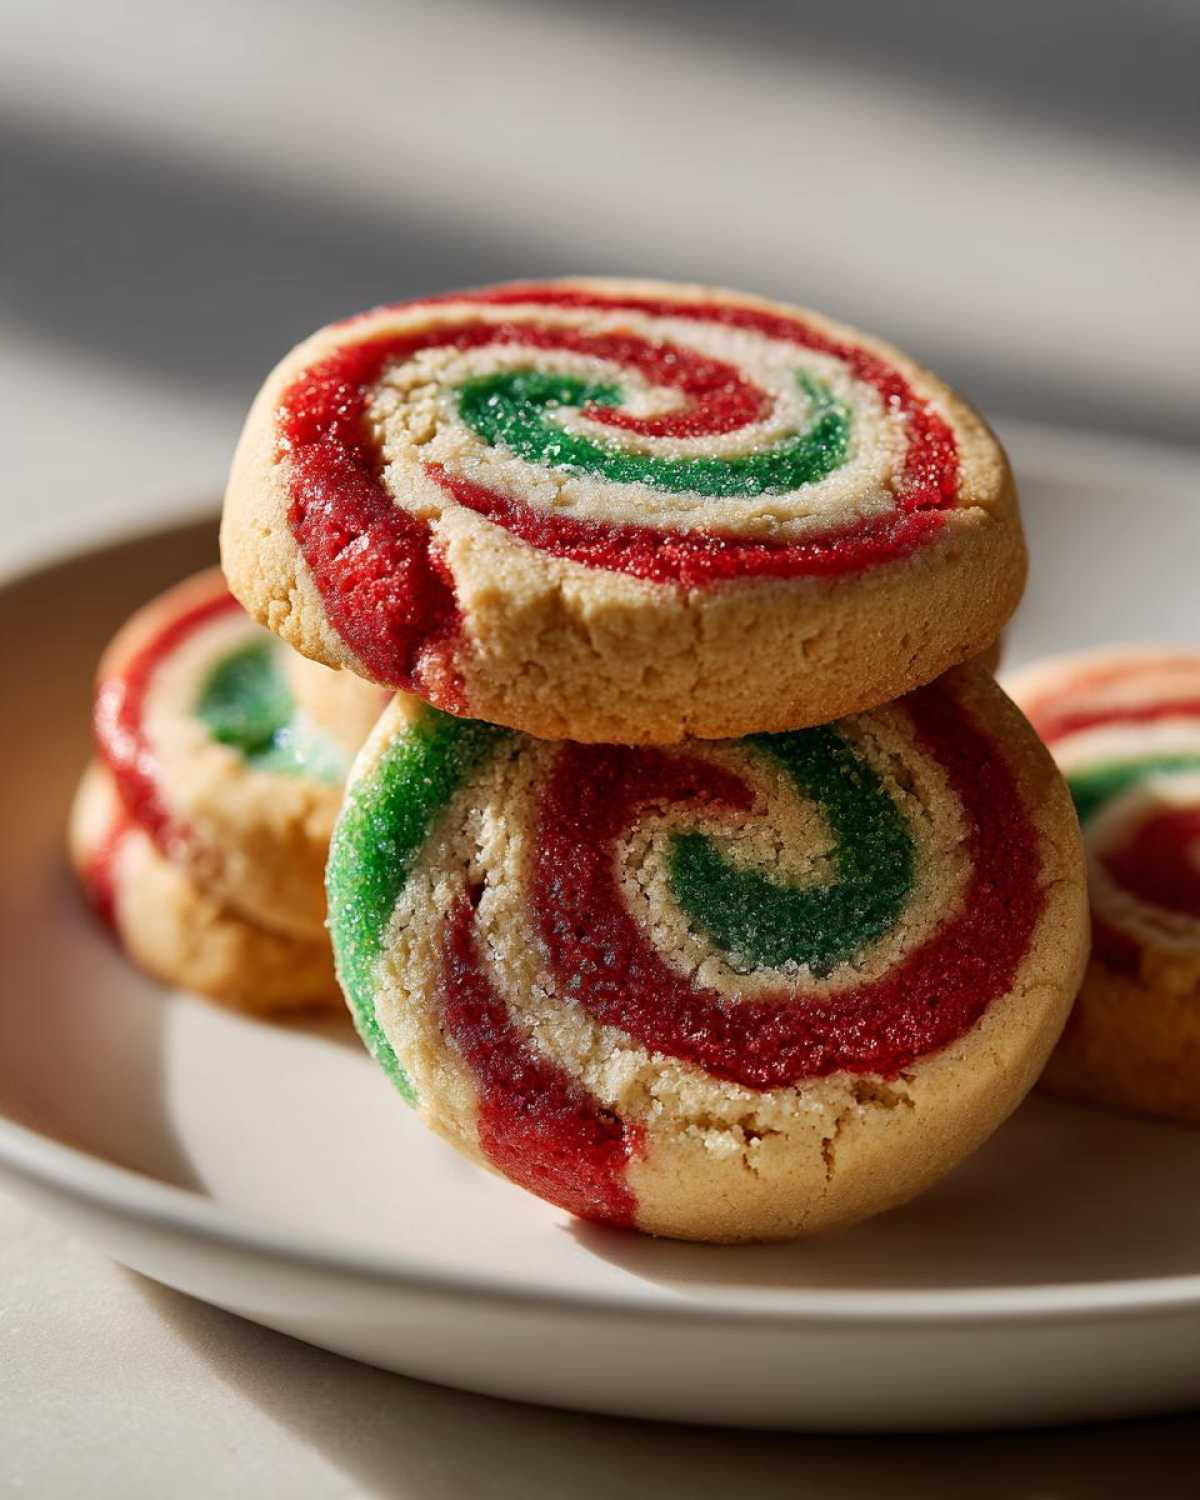
Oh my goodness, if there is one thing that screams ‘Christmas morning’ or ‘fancy cookie platter’ in my house, it’s these amazing little rounds of magic! Forget fussy rolling and cutting out shapes; these beautiful red and green pinwheel cookies are the ultimate showstoppers because they are secretly so easy. They use the magic of slice and bake cookies technology!
Honestly, I’ve been making these buttery beauties for holiday cookie exchanges since I was practically a child. The best part is getting to roll up that dough and seeing those perfect spirals pop out after they bake. You get this incredible buttery texture, the festive colors are bright, and they look like you spent days on them when, truthfully, most of the time is just chilling!
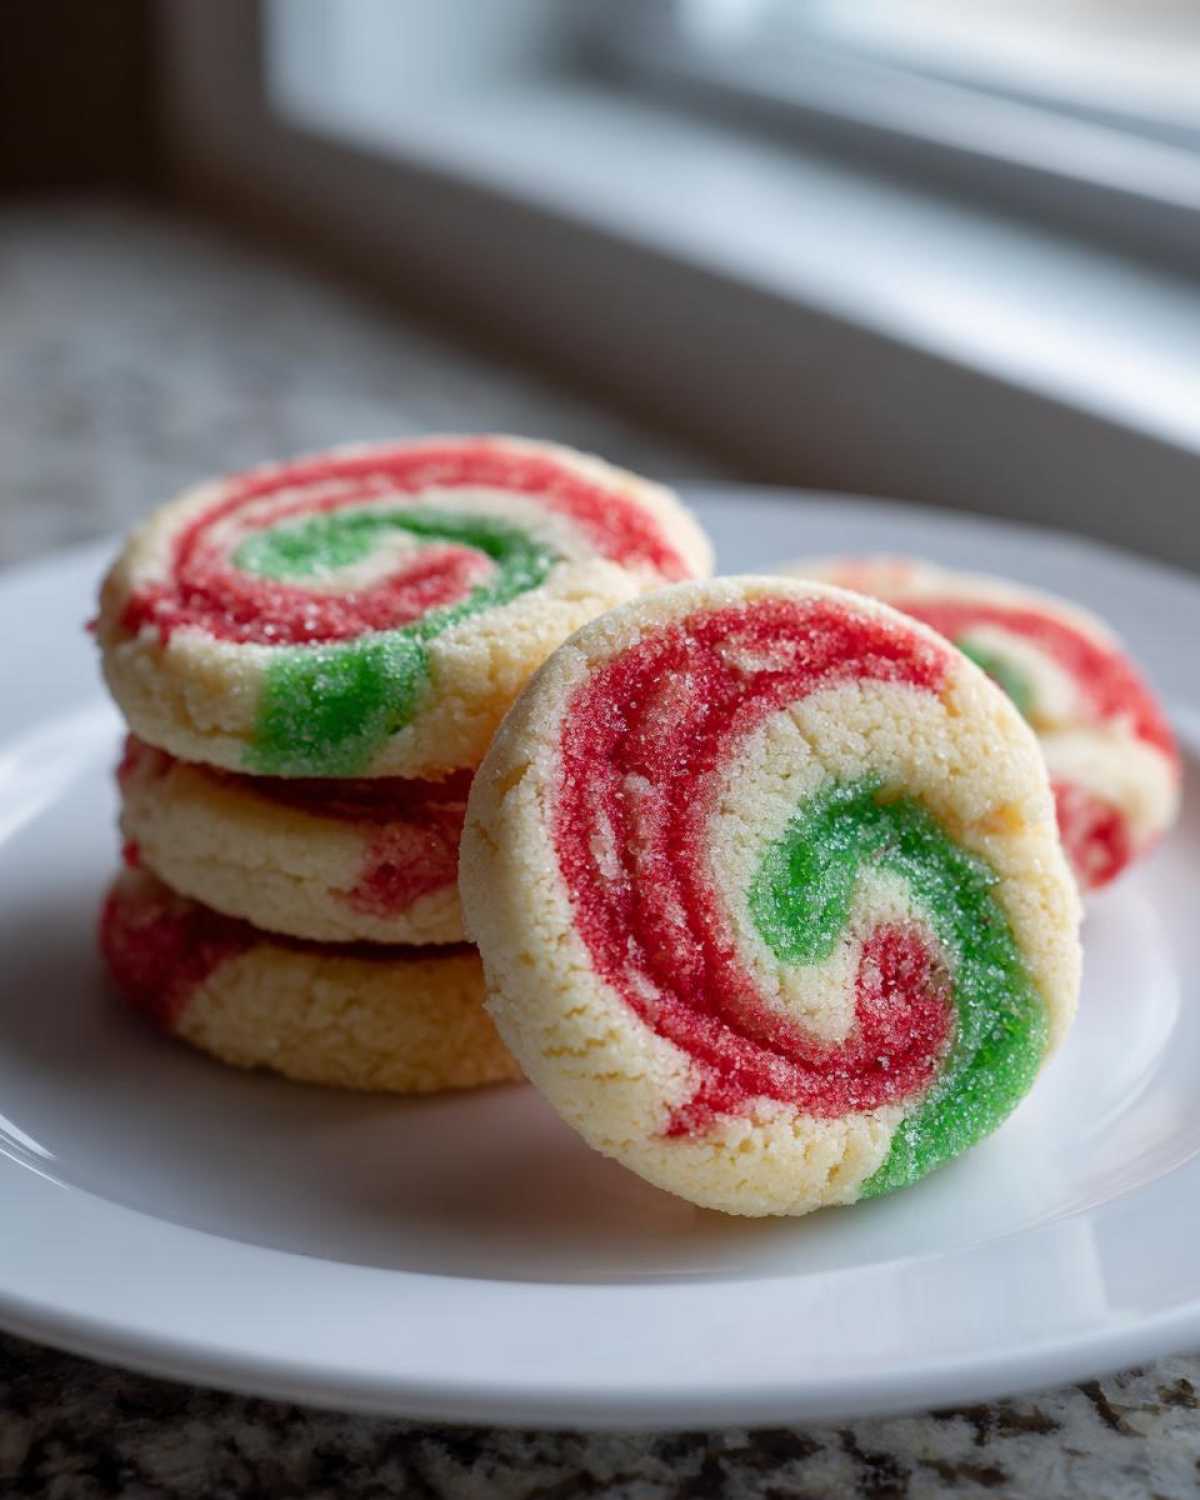
Why You Will Love These Classic Pinwheel Cookies
I know the holiday baking list feels endless, but you absolutely *must* make room for these. They are total sanity savers when you need impressive yet easy treats. Why are they my absolute go-to for festive baking? Well, just look at that list of reasons:
- They are truly slice and bake cookies, meaning you can make the dough logs weeks ahead of time!
- The flavor is pure, simple, buttery goodness—they melt right in your mouth.
- Seriously, the visual impact of those red and green swirls is unmatched on a cookie platter.
- They are incredibly stable, meaning these buttery pinwheel cookies don’t spread out into sad little puddles when baked correctly.
If you need a cookie that keeps well and looks like it came from a fancy bakery, this is the one. Check out this snickerdoodle recipe if you need another simple classic, but right now, let’s get mixing!
Ingredients for the Best Pinwheel Cookies Recipe
Okay, let’s talk about what you need to get those beautiful spirals going. The ingredient list for these buttery pinwheel cookies is wonderfully simple, which is another reason I love them so much during the busy holiday season. We aren’t messing around with a lot of extracts or weird flours here!
For the base dough, make sure you have everything ready to go before you start creaming that butter. A few things I always double-check:
- Flour: We need about two and a quarter cups of all-purpose flour. It’s the backbone of our easy rolled cookies!
- Leavening/Salt: Just a tiny bit of baking powder (1 teaspoon) and half a teaspoon of salt.
- Butter: This is non-negotiable—you need one full cup, that’s two standard sticks, of unsalted butter, and it must be truly softened. Pull it out about an hour before you start.
- Sweetener: One and a half cups of plain granulated sugar.
- Wet Binders: Two large eggs are key for structure, plus those wonderful flavor boosters: one teaspoon of vanilla extract and half a teaspoon of almond extract. The almond really makes these shine!
Now for the color! You’ll need gel food coloring for the red and green. Trust me on this one—liquid coloring can add just enough extra water to make the dough sticky, and we don’t want that when we are aiming for crisp slices. Gel gives you the brightest color saturation without compromising the dough consistency. You’ll need several drops of each color, but we only color one-third of the dough batch at a time.
If you’re looking to swap out any plain baking staples later, I highly recommend checking out my notes on moistening agents in baking—it’s great background knowledge!
Step-by-Step Instructions for Perfect Pinwheel Cookies
This is where the magic happens, but honestly, you don’t need to stress one bit! The secret to beautiful spiral cookie recipe results isn’t speed; it’s patience, especially when it comes to chilling. Follow this process exactly, and you’ll have those perfect, sharp pinwheels every single time. Remember, chilling is your very best friend here for clean cuts!
Mixing the Buttery Pinwheel Cookies Dough Base
We’re starting exactly like most great classic cookie recipes. Get your dry ingredients—flour, baking powder, and salt—whisked together so they are nice and incorporated. Then, go grab your big bowl and beat that softened butter and sugar until it’s light and fluffy. Seriously, give it a good 3 to 5 minutes with the mixer. Then, drop in the eggs one by one, followed by your vanilla and almond extracts. It should look creamy and pale before you introduce the flour mixture!
Coloring and Chilling the Pinwheel Cookies Dough
Once your base dough is ready, you need to divide it up equally into three separate piles. Keep one as your plain white dough. To the other two, start adding your gel colors—red to one, green to the other. Mix each one until the color is uniform throughout that portion. Now, wrap each color tightly in plastic wrap. They need to chill for just about an hour in the fridge. This firms them up just enough so they won’t stick to your counter when you roll them out.
Assembling and Chilling the Final Pinwheel Cookies Log
This layering step is crucial for sharp swirls! On a lightly floured surface, roll out each chilled color into a smooth rectangle, keeping the thickness about 1/4 inch. Try to make them roughly the same size—it helps everything line up! Then, you build your colorful stack: lay one color down, smooth the next color gently on top, and then stack that third color on top. You’ll have three stacked layers of dough. Starting from one of the long sides, roll that stack up *super* tightly, like you’re rolling a jelly roll. Keep that log firm! Wrap it well and put it back in the fridge for at least two hours. I usually aim for a solid three hours, or even overnight, because the harder the dough is, the cleaner your cookie slices will be.
Baking and Cooling Your Red and Green Pinwheels
Time to bake them! Get your oven preheated to 375°F (190°C) and line your baking sheets with parchment paper—this makes cleanup so much easier. Take your rock-hard dough log and slice it neatly into rounds about 1/4 inch thick, just like the ones you see in the recipe notes. Lay those out on the paper, leaving about 2 inches between each slice so they have room for a little spread. Bake them for just 8 to 10 minutes. As soon as those edges look set, pull them out! Let them sit on the hot pan for about five minutes before you move them to a wire rack. If you try to move them right away, they might crumble. These slice apart cookies firm up perfectly as they cool!
Tips for Success with Slice and Bake Cookies
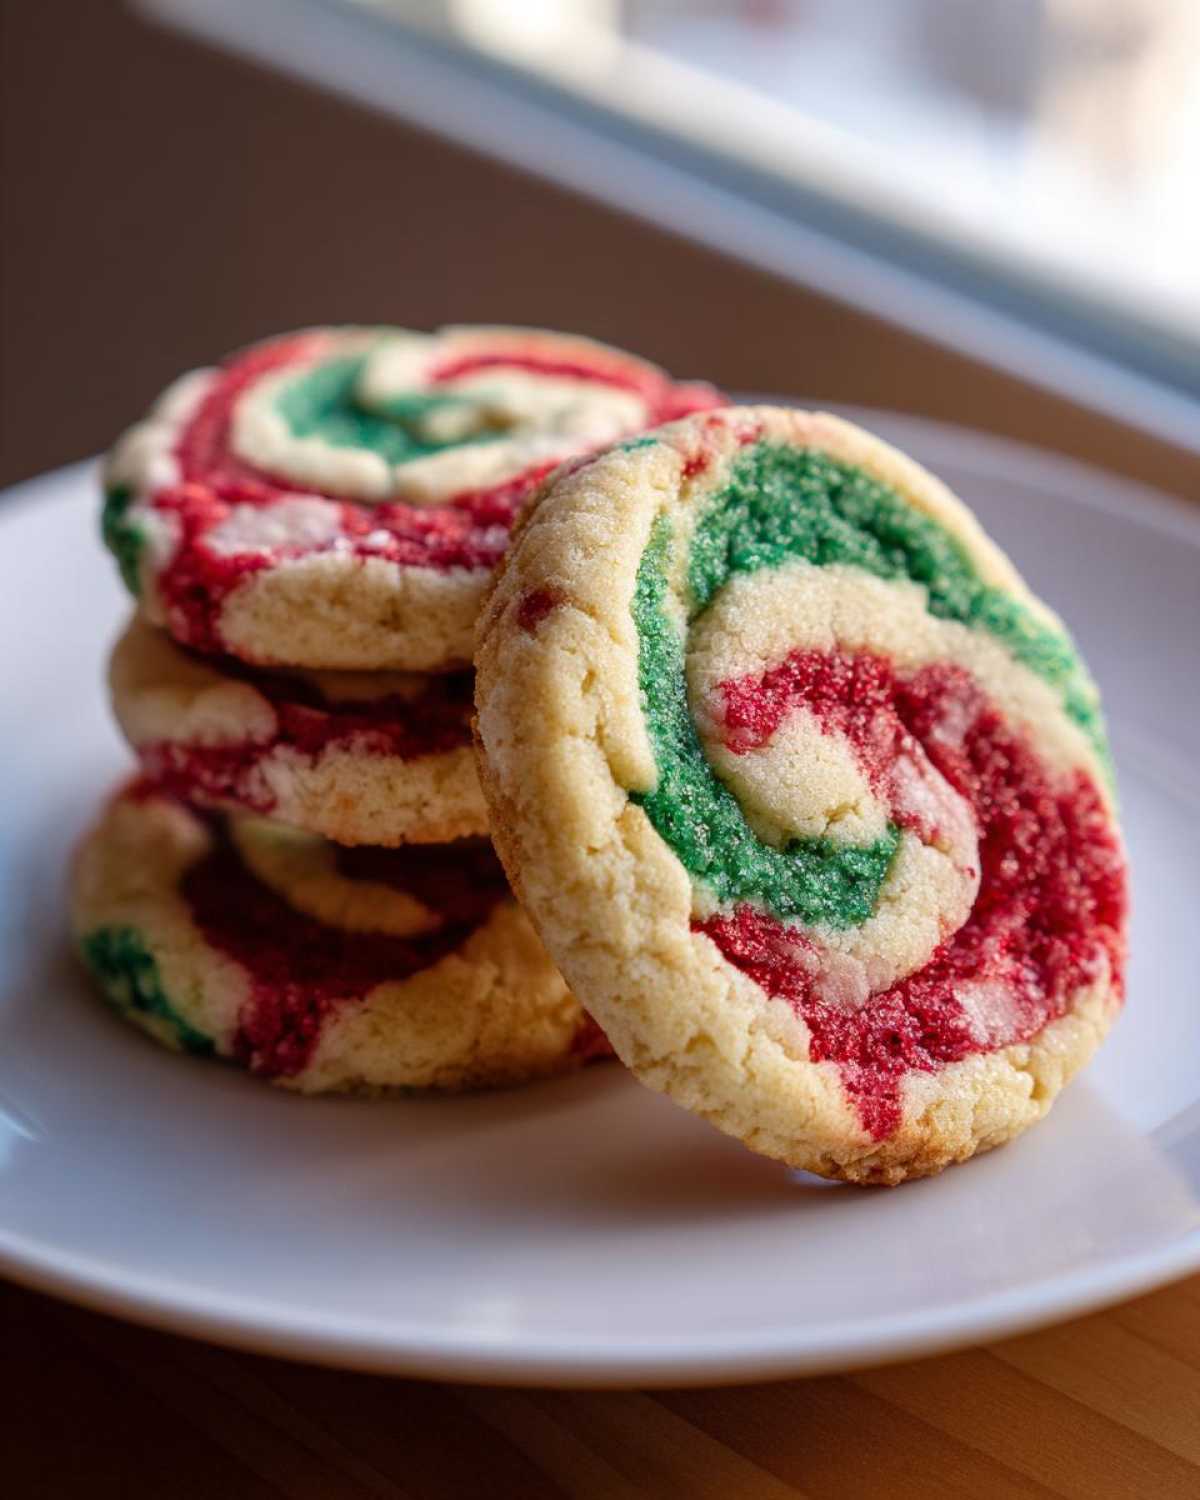
Learning the tricks for slice and bake cookies is what separates the messy holiday kitchen from the perfectly organized one. You want those layers to stay crisp and defined, right? The main enemy here is warmth. If the dough is even slightly soft when you slice it, those beautiful patterns will smear together, and you won’t get sharp edges.
Here are my tried-and-true secrets for perfect results during your festive holiday baking:
First, do not rush the chilling! That second chill on the completed log is the most important step for making gorgeous, sharp easy rolled cookies. If you feel like you can’t get a clean slice, pause, wrap it back up, and stick it in the freezer for 15 minutes. Honestly, freezing helps immensely.
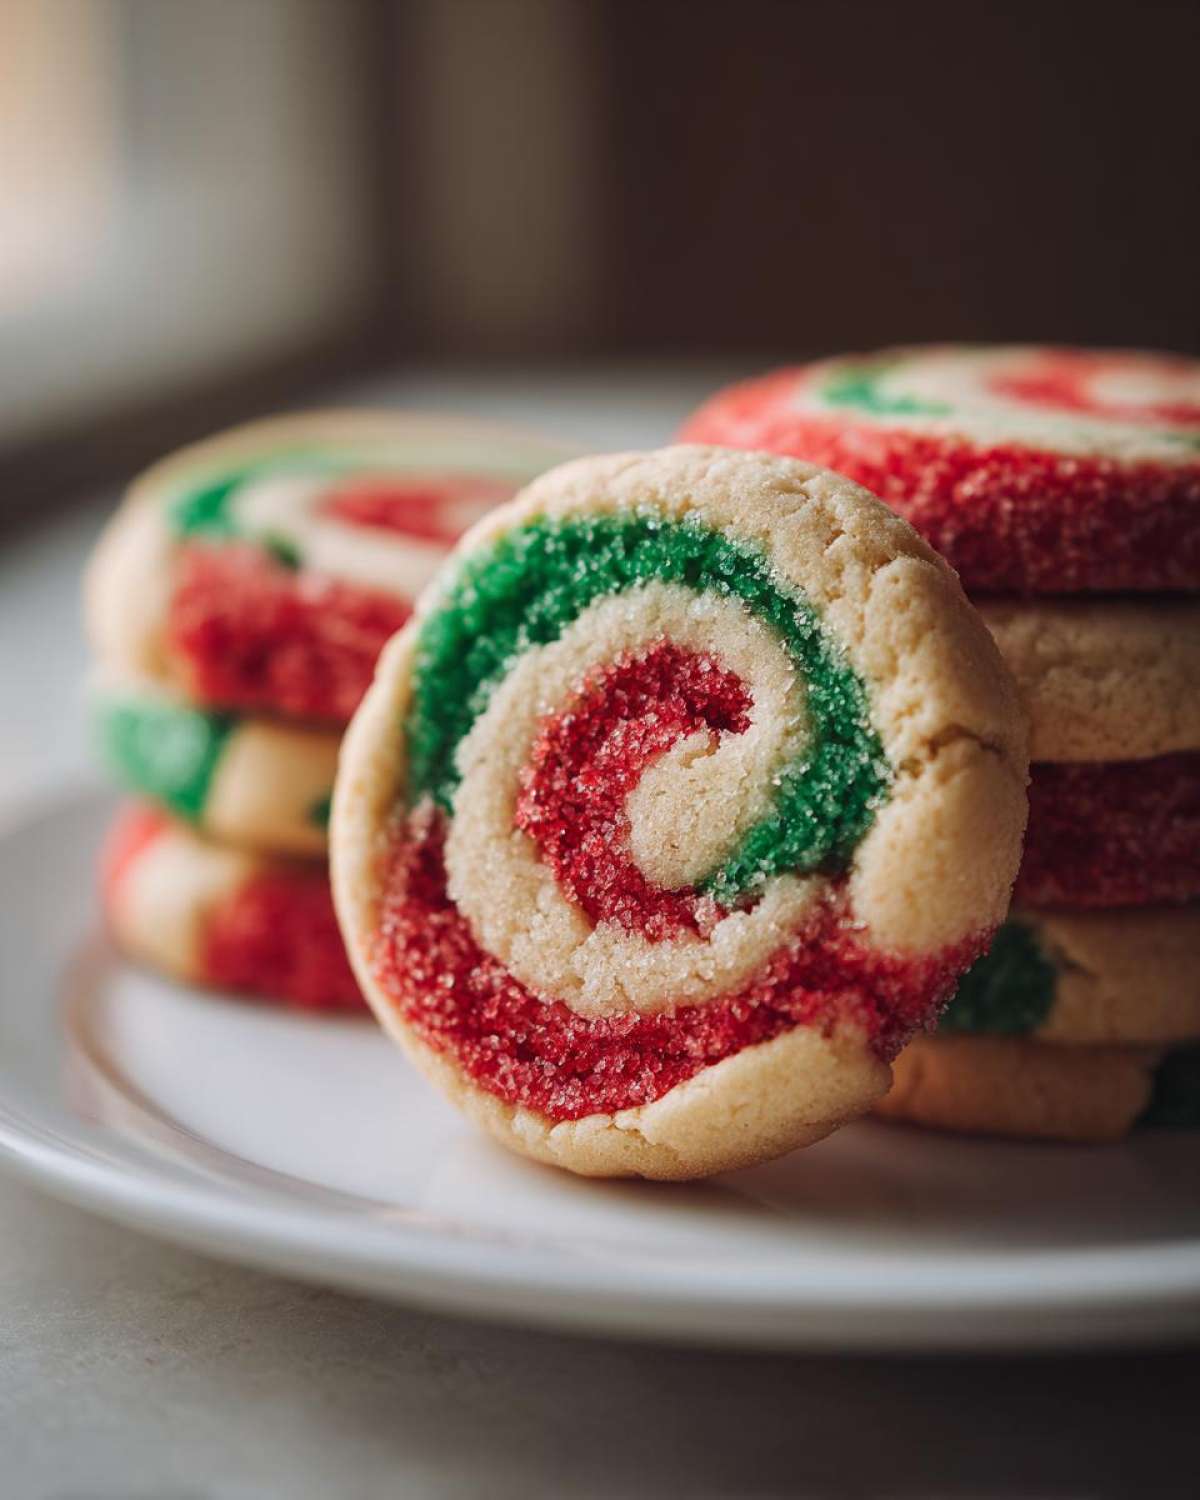
Second, when slicing, use a very sharp, thin knife, and wipe the knife clean between every two or three cuts. Residue builds up fast! Also, remember that these are buttery, so they spread a little. Make sure you give them plenty of space—at least 2 full inches—on your parchment-lined baking sheet. Don’t crowd them, or they merge into one big buttery swirl monster!
If you want to see another recipe where dough handling is key, you should peek at my tips for classic chocolate chip cookies; temperature control matters there too!
Ingredient Notes and Pinwheel Cookies Substitutions
I want to spend just a moment stressing the food coloring again, because that really makes or breaks the visual appeal of these holiday swirl cookies. Please, please use gel food coloring if you can find it. Liquid coloring just waters down the dough slightly, and when you’re working with something meant to be sliced cold, you need that dough sturdy. A few drops of gel goes a very long way!
Also, don’t be afraid to play with the extracts if you want to switch up the flavor profile. If you aren’t a fan of almond, swap it out completely! If you’re making these for a true winter feel, try replacing the almond extract with peppermint extract. It gives you that amazing blast of cool mint to go along with the buttery dough. It’s a delicious twist!
Make Ahead Christmas Cookies and Storage for Pinwheel Cookies
This is where these beauties truly shine for festive holiday baking. If you are prepping for a huge party or a Christmas cookie exchange, you don’t have to bake everything on December 24th! You can absolutely make the dough logs ahead of time. Wrap those colorful logs tightly in plastic wrap, stick them in the fridge, and they will stay perfect for up to three days. That gives you a massive head start!
Want to go even further ahead? You can freeze the wrapped log for up to three months. When you’re ready to bake, just transfer the frozen log to the fridge for a few hours until it’s firm enough to slice, not soft. You might need to add a minute or two to the baking time if the dough is going straight from the freezer to the oven.
Once they are baked, these nostalgic pinwheel cookies store wonderfully, too. Keep them in an airtight container at room temperature—don’t worry about the fridge here—and they stay fresh and tender for over a week. I often stack them with layers of wax paper in between, just like my mom did, and tuck them away. You can find my excellent advice on keeping no-bake treats fresh over at my no-bake Nutella pie slicing guide!
Variations on Classic Pinwheel Cookies
While the red and green version is my absolute favorite for Christmas, these swirl cookies recipe bases are just begging for creativity! Once you master the basic dough, you can switch up the colors for any holiday. Think pink and white for Valentine’s Day—totally gorgeous for those Valentine’s Day swirl cookies!
If you want something that isn’t strictly seasonal, you have to try making chocolate vanilla pinwheels. Just divide your dough into two parts instead of three. Leave one white, and mix cocoa powder into the other until it’s a rich brown. Roll those two layers together for a classic look that tastes incredible!
Serving Suggestions for Your Holiday Swirl Cookies
These beautiful holiday swirl cookies are ready for their big debut! They look fantastic next to chocolate stars or fuzzy crinkle cookies on any dessert table. For any Christmas cookie exchange recipes you’re putting together, these are always the first to disappear because they offer that perfect, bright, buttery contrast to the heavier chocolate types.
For stellar cookie platter ideas, try alternating the red and green pinwheels with some plain shortbread or my amazing strawberry cheesecake cups—the color contrast is just stunning. A tall glass of cold milk is the ultimate, non-negotiable pairing, though!
Frequently Asked Questions About Pinwheel Cookies
I know sometimes even the very best recipes can lead to a little panic when things don’t look exactly like the picture! People write to me all the time with questions about texture, appearance, and just general troubleshooting for these spiral cookie recipe beauties. Let’s tackle the common worries right here so you feel totally confident when you pull them out of the oven!
Why did my pinwheel cookies spread too much during baking?
Ah, the dreaded spread! This almost always comes down to one of two things, and usually, it’s the butter. If your butter wasn’t softened enough when you creamed it, the dough won’t have the right structure. But more often than not, it’s because the dough log wasn’t chilled long enough, or you didn’t chill it *after* you sliced it. If the dough is even a little soft when it hits that hot oven, it melts too fast and spreads out before the edges can set. Make absolutely sure your log is firm—almost hard—before slicing!
Can I make these pinwheel cookies without chilling the dough?
No, my friend, you really, truly can’t! Chilling isn’t just a suggestion here; it’s mandatory groundwork for beautiful slice and bake cookies. The chilling stages (both the first one after coloring and the second one after rolling the log) make the dough firm enough to slice cleanly. If you try to slice soft dough, it squishes, and you end up with colorful blobs instead of defined red and green pinwheels. If you try to bake soft dough, it spreads all over the place. Don’t skip chilling!
What is the best way to get sharp, defined swirls?
Sharp swirls come from tension! When you are layering the dough rectangles, don’t just stack them loosely. You need to press down gently as you stack to remove any air pockets between the layers. But the real secret is in the rolling of the final log. Roll it as tightly as you possibly can without tearing the dough. You want that log to feel dense and compact when you pick it up. The tighter you roll, the sharper those beautiful spiral patterns will be when you look at the finished cookie! This is the key to making these the best colorful sugar cookies on the block. Remember that strong chilling period we talked about? That keeps that tight roll locked in place!
For more general tips on using pantry staples, check out what I wrote about chia pudding ratios—it’s all about getting your ratios right!
Nutritional Data Estimate for These Pinwheel Cookies
I get asked a lot about the numbers, especially around the holidays when we’re trying to balance out all the delicious treats! Since these are classic, buttery sugar cookies, they are definitely an indulgence, but they really aren’t bad when you consider what a small slice yields.
Remember, this data is just an estimate based on standard measurements, so your actual results might vary slightly depending on the specific brands you use, especially with the butter and sugar content. See, I told you we weren’t messing around with low-fat substitutes! These are the real deal, the way they are supposed to be!
Here is a general breakdown for one cookie:
- Serving Size: 1 cookie
- Calories: 120
- Sugar: 10g (That’s where the holiday magic comes from!)
- Fat: 7g (Most of that is the lovely butter we used.)
- Saturated Fat: 4g
- Carbohydrates: 14g
- Protein: 2g
If you are curious about how other simple ingredient swaps affect treats, you might be interested in my recent post about getting the perfect texture in lemon parmesan pasta sauce—it shows how much ingredients matter!
Share Your Festive Pinwheel Cookies Creations
That’s it! You have officially mastered the art of the beautiful, yet secretly simple, red and green pinwheel cookies. I truly hope these make your holiday baking season a little brighter and your cookie platters a whole lot prettier.
Now, I need to see your results! Seriously, snap a picture of those beautiful spirals—I love seeing how your swirls turn out! If you made these for a big gathering, please come back here and give this recipe a quick 5-star rating. It helps other bakers find this amazing classic cookie recipe during the busy season.
If you have any last-minute questions about baking times or rolling techniques, drop them in the comments below! Happy baking, and enjoy sharing these fantastic Christmas cookie exchange recipes with everyone!
PrintClassic Red and Green Pinwheel Cookies

Make festive, slice-and-bake pinwheel cookies with red and green swirls. These buttery cookies are perfect for holiday cookie exchanges.
- Prep Time: 45 min
- Cook Time: 10 min
- Total Time: 155 min
- Yield: 3 dozen cookies
- Category: Dessert
- Method: Baking
- Cuisine: American
- Diet: Vegetarian
Ingredients
- 2 1/4 cups all-purpose flour
- 1 teaspoon baking powder
- 1/2 teaspoon salt
- 1 cup (2 sticks) unsalted butter, softened
- 1 1/2 cups granulated sugar
- 2 large eggs
- 1 teaspoon vanilla extract
- 1/2 teaspoon almond extract
- Red food coloring (gel preferred)
- Green food coloring (gel preferred)
Instructions
- Whisk the flour, baking powder, and salt together in a medium bowl. Set aside.
- In a large bowl, beat the softened butter and sugar with an electric mixer until light and fluffy.
- Beat in the eggs one at a time, then mix in the vanilla and almond extracts.
- Gradually add the dry ingredients to the wet ingredients, mixing on low speed until just combined.
- Divide the dough evenly into three separate bowls.
- Leave one portion plain (white dough). Add several drops of red food coloring to the second portion and mix until the color is uniform. Add several drops of green food coloring to the third portion and mix until the color is uniform.
- Wrap each colored dough portion separately in plastic wrap and chill in the refrigerator for at least 1 hour.
- Remove one color of dough at a time. On a lightly floured surface, roll the dough into a rectangle approximately 1/4 inch thick. Repeat this process for the other two colors, aiming for similarly sized rectangles.
- Place one color rectangle on top of another, smoothing gently. Place the third color on top of the second layer. You should have three stacked layers.
- Starting from one long edge, tightly roll the stacked dough layers into a compact log. Wrap the log tightly in plastic wrap.
- Chill the dough log for at least 2 hours, or until firm enough to slice easily.
- Preheat your oven to 375 degrees F (190 degrees C). Line baking sheets with parchment paper.
- Slice the chilled log into 1/4-inch thick rounds. Place the slices about 2 inches apart on the prepared baking sheets.
- Bake for 8 to 10 minutes, or until the edges are lightly set. Do not overbake.
- Let the cookies cool on the baking sheet for 5 minutes before transferring them to a wire rack to cool completely.
Notes
- Use gel food coloring for the most intense, non-diluting color in your dough.
- For sharper swirls, chill the dough logs longer, up to 4 hours.
- You can substitute peppermint extract for almond extract for a peppermint flavor variation.
Nutrition
- Serving Size: 1 cookie
- Calories: 120
- Sugar: 10
- Sodium: 65
- Fat: 7
- Saturated Fat: 4
- Unsaturated Fat: 3
- Trans Fat: 0
- Carbohydrates: 14
- Fiber: 0
- Protein: 2
- Cholesterol: 30