

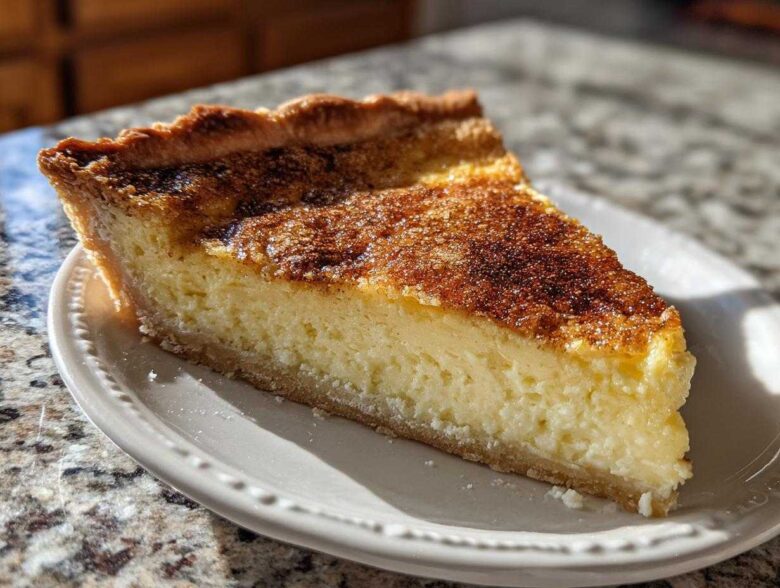
If there’s one dessert that smells exactly like coming home, it’s a baked custard. For Richard and me, the aroma of vanilla and warm spice immediately takes us back—not to one place, but to dozens! We ate simple dishes everywhere we went, but this particular egg custard pie became *our* staple, something we relied on when the road got long. When we finally settled in our own place, this recipe became the cornerstone of our holiday table, the sweet anchor to every big celebration we hosted.
I’m Eleanor, and this is Richard. We started Delish Diarist to capture these moments, and honestly, recreating this pie is like revisiting a cherished memory every time. We learned that the secret to a truly perfect, silky smooth finish isn’t complicated at all, which is why we are calling this the Old Fashioned, Fail-Proof Baked Egg Custard Pie. If you’ve been afraid of watery or curdled custard, trust me, you need this simple, traditional custard dessert in your life. You can read a little more about how we chronicle our culinary memories here: our story.
Why This Old Fashioned Egg Custard Pie is Your New Go-To
If you’ve ever had a crack appear on your holiday dessert because the filling decided to misbehave, I understand your frustration! This recipe is different. It’s designed to be the ultimate classic baked custard that always delivers that beautiful, creamy egg custard filling.
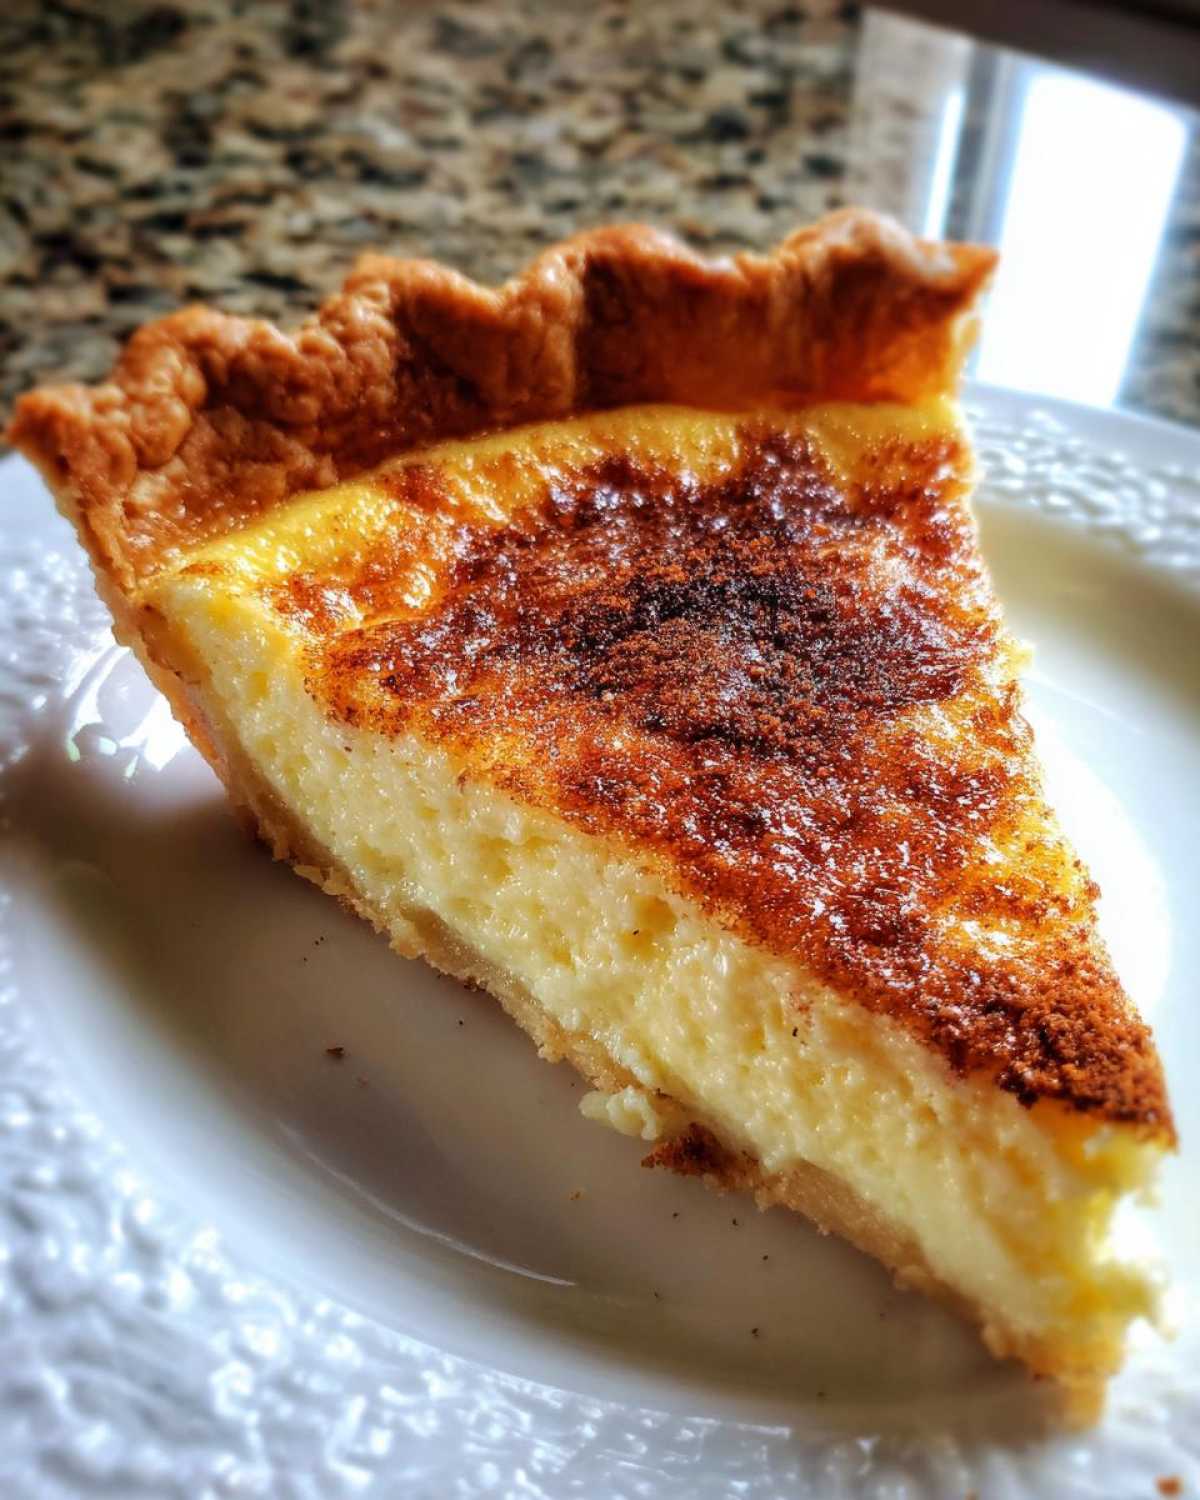
Guaranteed Smooth Custard Technique
We rely on two simple secrets to make sure you get that silky result every time—warming the milk just a touch before adding it to the eggs, and straining the final mix. It sounds fussy, but it’s the easiest way to lock in that smooth custard technique.
Simple Custard Recipe with Pantry Staples
You don’t need fancy ingredients for this easy egg custard recipe. It’s pure comfort food made with things I bet you already have on hand. It’s honestly the quickest homemade custard you can whip up!
Gathering Ingredients for Your Homemade Egg Custard
Richard insists that when you use such simple ingredients for a custard pie from scratch, their quality really matters. We’ve listed out the essentials below. Don’t let the short list scare you; this is the beauty of making an old fashioned dessert—it relies on the purity of the flavors!
- 1 unbaked 9-inch pie crust (Use your favorite recipe or store-bought, but please, no skipping this step!)
- 3 large eggs (must be large!)
- 1/2 cup granulated sugar
- 1/4 teaspoon salt
- 1 teaspoon pure vanilla extract
- 2-2/3 cups whole milk, warmed slightly
- A light dash of ground nutmeg for topping
Ingredient Notes and Substitutions
Now, let’s talk milk. If you want that beautiful, rich, creamy egg custard filling that sets up perfectly, you absolutely have to use whole milk. Anything less—like 2% or skim—will result in a custard that feels thin and sad when it sets. We learned that the hard way trying to be ‘healthy’ back in the 90s—it just doesn’t give you the right mouthfeel!
And about warming that milk: this is critical for a smooth custard technique. Pouring cold milk into whisked eggs is inviting curdles because the temperature shock makes the proteins seize up. Just warming the milk gently on the stovetop or in the microwave until it’s warm to the touch (not hot, mind you!) allows it to incorporate gently and evenly. It’s a small action that makes a huge difference in your final homemade egg custard.
Step-by-Step Instructions for Perfect Egg Custard
Alright, let’s get baking! Making this is quite straightforward, but paying attention to the details—especially around temperature—is what turns a good pie into the perfect traditional custard dessert. Remember, we are skipping the pre-bake on the crust entirely. We want the crust to be tender when it meets that liquid gold!
- First things first, get that oven humming! Preheat your oven to 350 degrees F. Slide your nice, unbaked pie crust right into a 9-inch pie plate.
- In a decent-sized mixing bowl, take your three large eggs and whisk them until they are happy and a little frothy on top. This just helps give the final texture a little lift.
- Toss in your sugar and salt. Whisk this vigorously for about a minute until you can’t feel any grittiness when you rub a little between your fingers. Then stir in that lovely pure vanilla extract.
- Now for the milk—remember, it should be slightly warmed? Slowly pour that warm milk into the egg mixture while you whisk constantly! This slow introduction stops those eggs from scrambling on you. Be patient here!
- When everything is combined, gently pour that lovely liquid filling right into your unbaked pie shell. Give the top just a light, even dusting of ground nutmeg. That’s the signature look for this pie!
- Here is where we lock in the magic: To prevent cracking and achieve that incredible, creamy egg custard filling, we are using a water bath, or what the French call a bain-marie. Carefully place your pie plate inside a larger roasting pan. Then, pour hot water into the roasting pan until it’s about halfway up the sides of the pie plate. This gentle steam bath is my insurance policy!
- Bake this beauty for about 45 to 55 minutes. You’re looking for the edges to be set firm, but if you give the center a tiny nudge, it should still have a little wobble, like Jell-O. It will continue setting once it’s out.
Once baked, carefully lift the pie out of the water bath (you might want to pour some water out of the roasting pan first so you don’t splash!) and let it cool completely on a wire rack. Then, this is mandatory: Chill it in the fridge for at least four hours, but honestly, overnight is best. That cooling time is vital for the final structure. If you want more backup tips, I shared some of my favorite fail-proof baking tips recently!
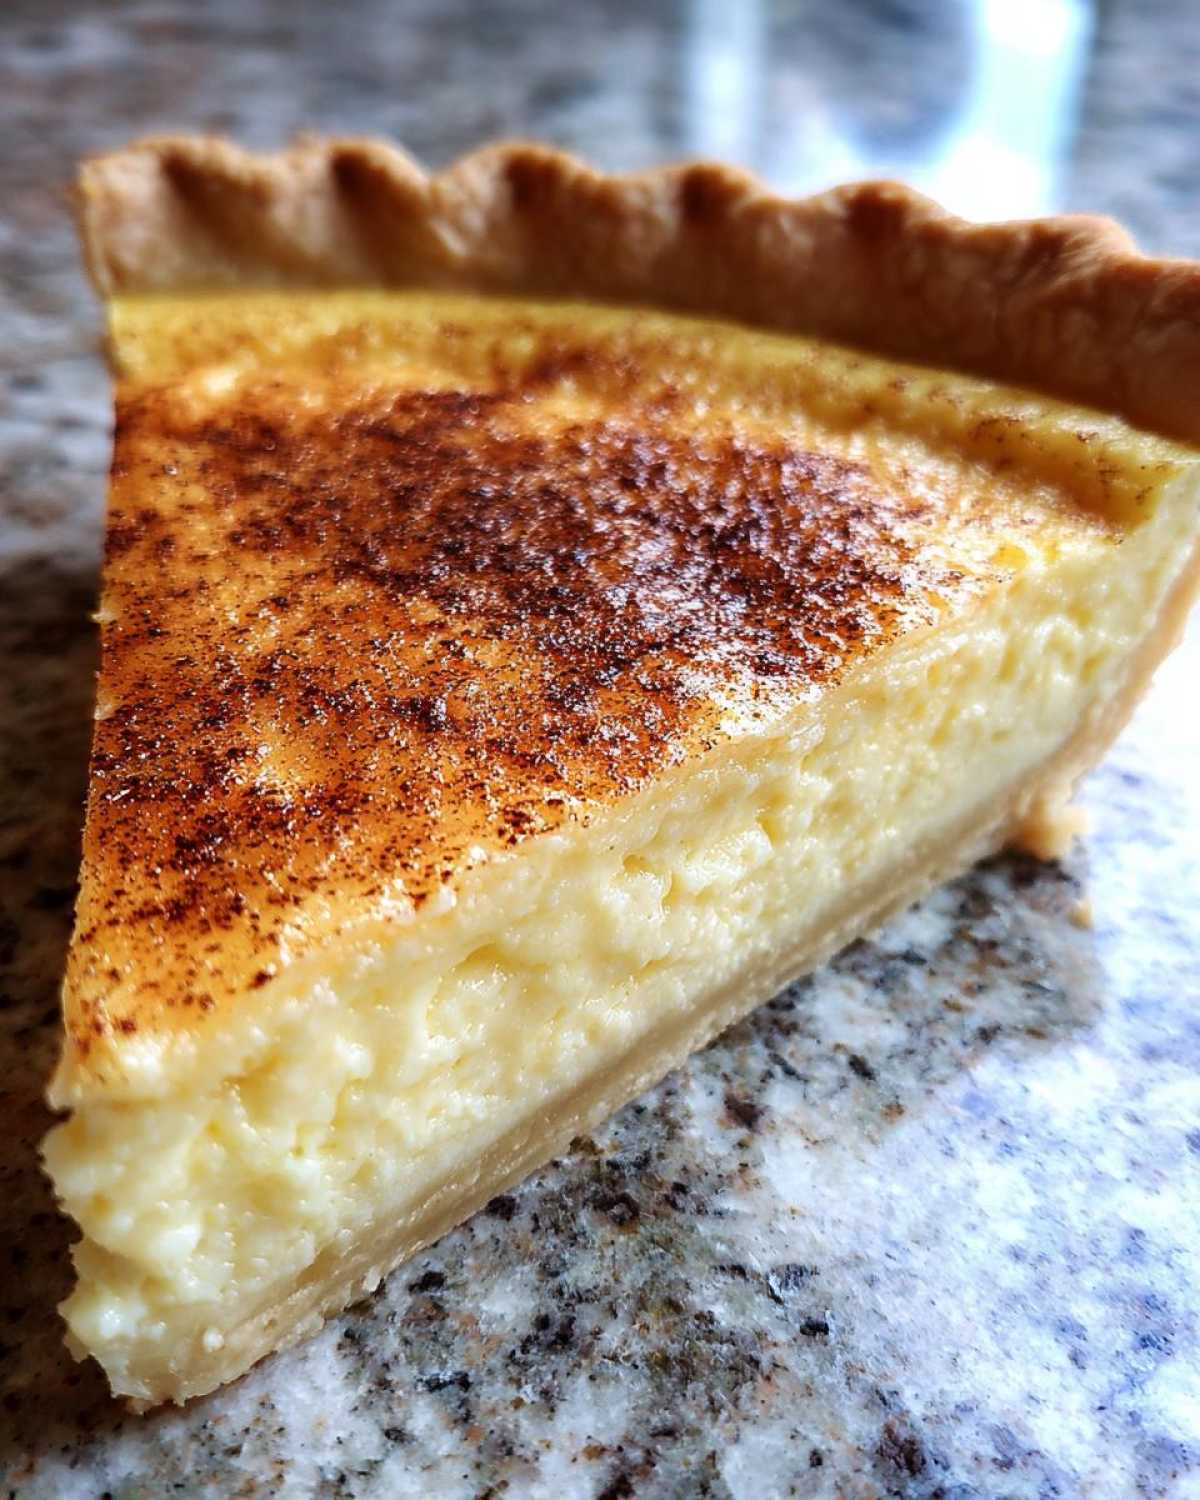
The Crucial Step for a Smooth Custard Technique
If you followed the steps above, you should have a nearly perfect texture. But if you want that absolute, undeniably silky result—the kind that melts the second it hits your tongue—you need to strain the mixture. Do this *right* before you pour the liquid into the pie crust. Just pour the whole batch through a fine-mesh sieve set over a large measuring cup. This catches any tiny, unmixed egg bits or stringy parts (chalazae) hiding in there. It sounds overly fussy, but this straining step is the true secret that guarantees that luxurious, smooth custard technique that everyone raves about!
Tips for Success with This Classic Baked Custard
When dealing with a delicate dessert like this traditional custard dessert, oven placement is everything. I learned this the hard way years ago when I used the wrong rack, and the bottom of the crust burned before the top even thought about setting! My advice? Always place your water bath pan on the middle oven rack.
Using the middle rack ensures the heat circulates evenly around the whole roasting pan. This keeps the temperature consistent for both the crust and the filling, which drastically cuts down on the chance of cracking. Remember, gentle heat over a longer time is the kindest way to bake egg custard. If you’re worried about the jiggly center, check it exactly at 45 minutes. That slight wobble is success, not failure!
For more on why temperature control matters so much in our baking diary, check out the latest entry on our blog.
Making Variations on Your Egg Custard Pie
While this recipe is our anchor—the perfect vanilla custard recipe—I love playing with it slightly once I’ve nailed the basic bake. It’s such a wonderfully forgiving dessert. It really shines as a base for other flavors, especially when you want to keep things light and seasonal.
For a brighter flavor, especially in the spring, try adding the zest of one small orange into the milk while you are warming it up. Strain it out before you add the milk to the eggs, of course. That little bit of citrus oil lifts the whole profile and pairs beautifully with that classic dash of nutmeg on top. Don’t forget that nutmeg! It’s what makes it feel like a true old fashioned dessert.
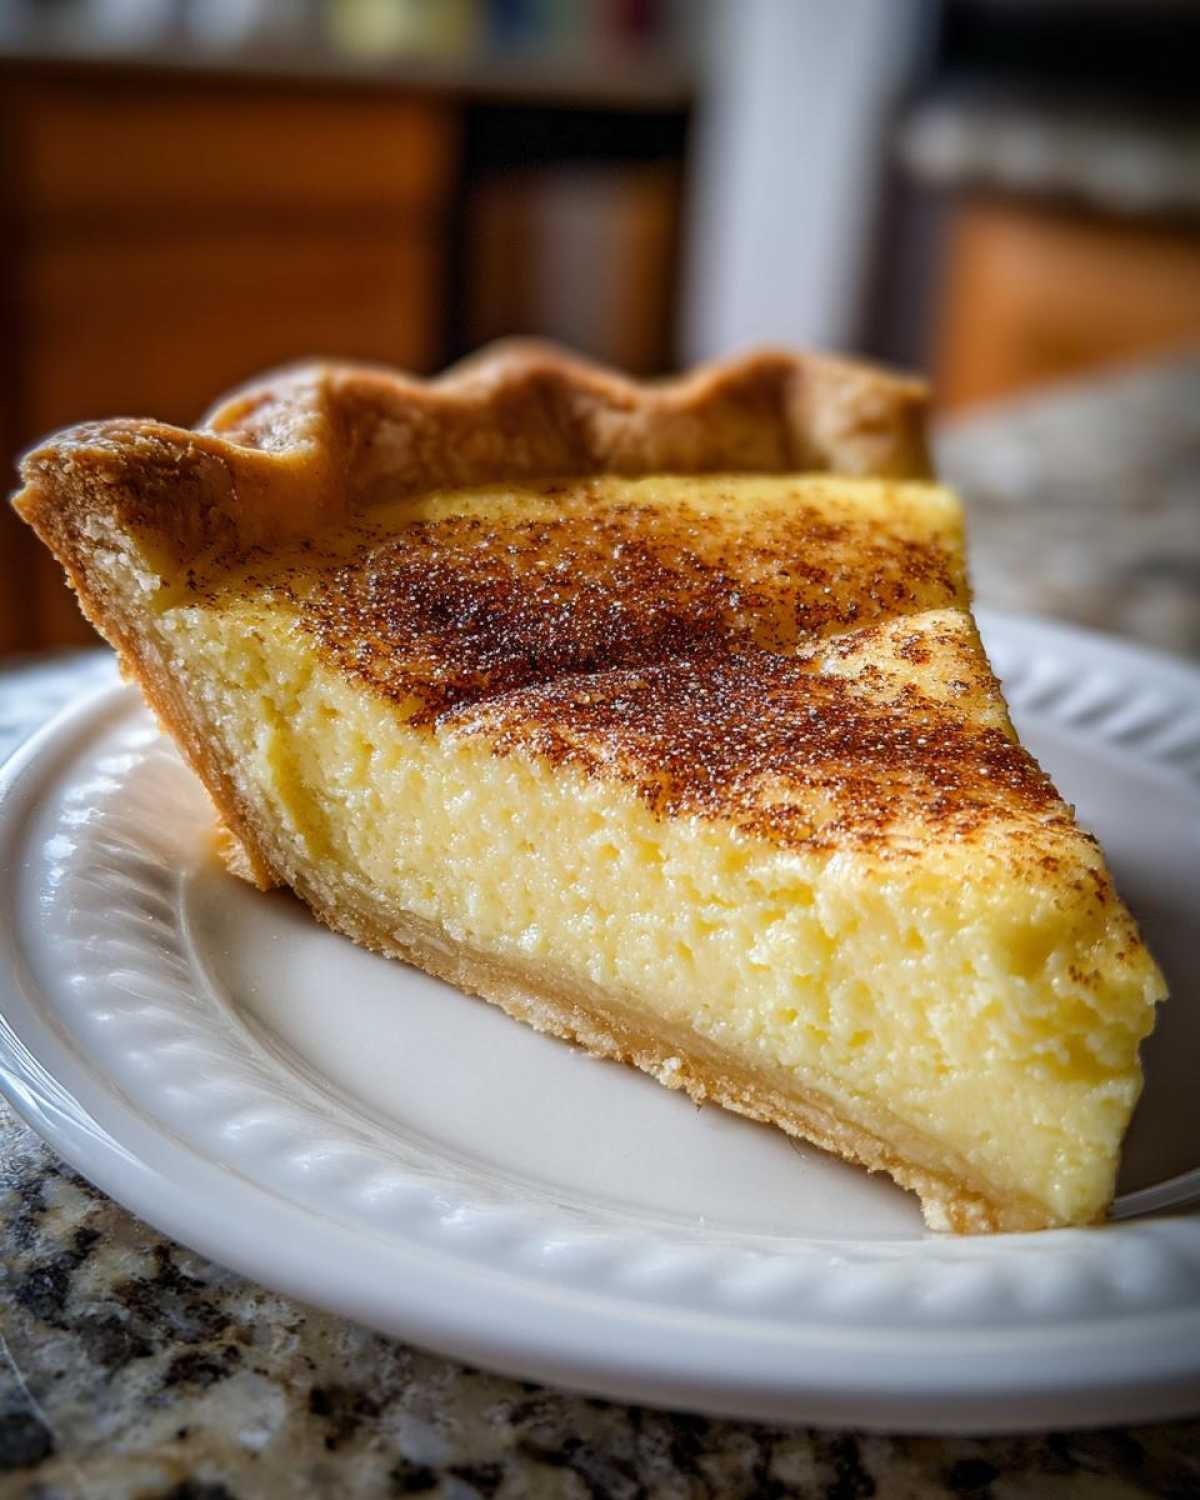
Richard actually challenged me once to try and make a lighter version for a friend who was cutting back on sugar. It took a few tries, because lowering the sugar drastically affects the set of the custard, but you *can* try using your favorite low-carb sweetener blend. Just know that for the best creamy egg custard filling, you need the structure sugar provides, so you might end up baking it a little longer or accepting a slightly softer set. It’s a trade-off, but sometimes necessary!
Another simple switch? Try swapping half a teaspoon of the vanilla extract for almond extract. It gives it a slightly European feel, almost like a delicate pastry cream, but keeps it firmly rooted as a satisfying homemade egg custard.
Serving Suggestions for Your Homemade Egg Custard
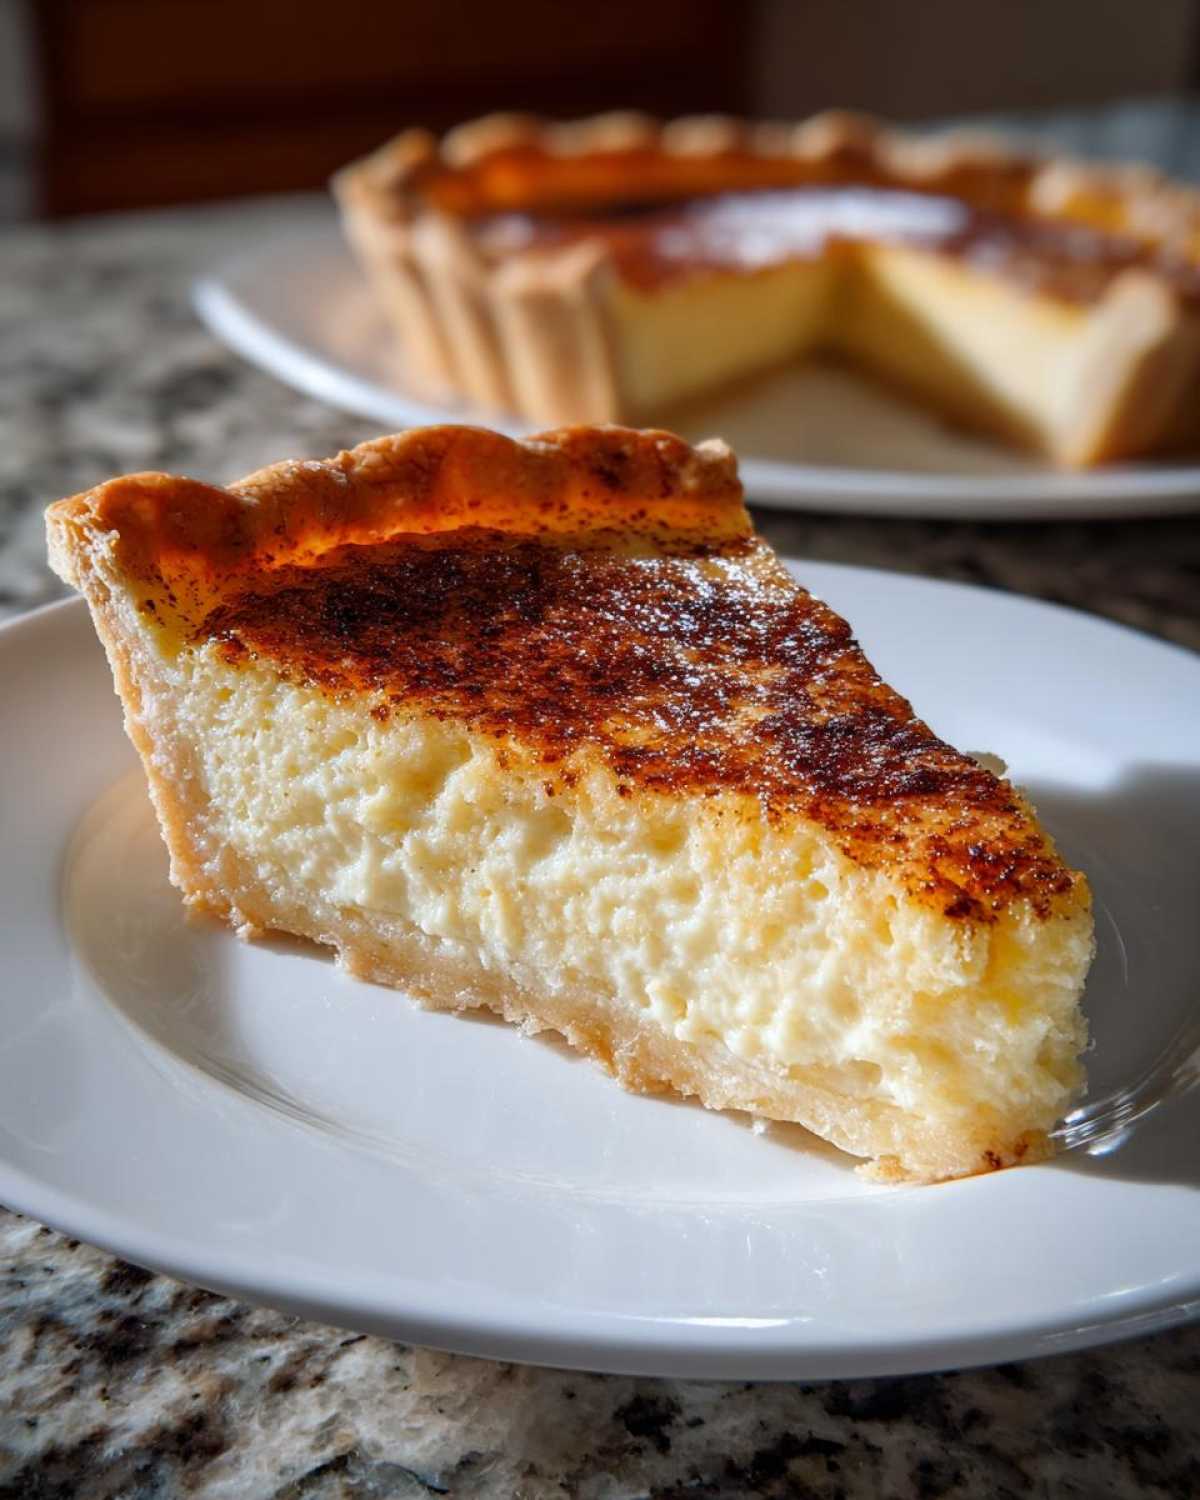
Once this pie is fully chilled—and trust me, you must wait!—it transforms into the ultimate comfort food dessert. We love serving slices slightly cool, right out of the fridge. The texture is just unbelievably satisfying against the buttery crust.
Because this nutmeg sprinkled dessert is so wonderfully simple on its own, you don’t need much fuss. A tiny dollop of fresh, lightly sweetened whipped cream is divine. If you are serving this during the holidays, it pairs perfectly with a rich pecan pie filling on the side—we like having variety on our table! For a look at another classic dessert that graces our table, check out our banana pudding recipe. This pie is truly one of those easy holiday pies that disappears first!
Storage and Reheating Instructions for Egg Custard
One of the best things about this egg custard is that it actually improves overnight! Remember how I stressed that four-hour chill time? That’s when the magic really happens and you secure that beautiful, sliceable creamy egg custard filling. You must cover the cooled pie tightly with plastic wrap before putting it in the fridge. Don’t worry about that initial layer of condensation; it’s just moisture settling.
Here’s the real secret Richard and I follow for this simple custard recipe: Serve it cold! We’ve tried letting it come to room temperature, and while it’s still tasty, that firm, decadent set completely disappears. If you absolutely must reheat a slice—maybe you’re dealing with a very chilly winter evening—just use the microwave for about 10-15 seconds, but honestly, this is best enjoyed cool.
Frequently Asked Questions About Egg Custard
Richard and I get so many lovely emails asking about little hiccups when making a homemade egg custard. Don’t worry if things look a little different than expected at first! Baking is forgiving if you know the little tricks. Here are answers to the most common things people ask us about getting that perfect classic baked custard.
How do I prevent my egg custard from cracking?
Oh, cracking! That’s the number one worry for anyone making a custard pie from scratch. The biggest culprit is setting the custard too fast, usually by using oven heat that’s too direct or pulling it out of the oven when it’s too firm. Remember the water bath (bain-marie)? That is your best defense because it surrounds the pie with gentle, humid heat, preventing the top from drying out and tightening up too fast. Also, the cooling process is just as important as the baking! Let it cool slowly on the counter first, covered loosely, before moving it to the fridge to finish setting. Patience is the final step in achieving that smooth texture!
Can I use evaporated milk instead of whole milk in this simple custard recipe?
You certainly *can* use evaporated milk, but I have to warn you, it changes things quite a bit! Evaporated milk is much more concentrated, so you would need to dilute it with water to reach the volume of whole milk, usually about one part water to one part evaporated milk to substitute for the whole milk volume. My concern, however, is the fat content. For that truly luxurious, creamy egg custard filling that sets beautifully without being rubbery, the whole milk fat is what we need. Evaporated milk tends to bake up a bit denser, which might stray from the light, jiggly nature of this easy egg custard recipe. I always push for whole milk here!
We also get asked about spices a lot! If you love nutmeg, feel free to add a tiny pinch *into* the liquid mix as well as the final dusting. It deepens the flavor profile perfectly in this vanilla custard recipe.
Share Your Experience Making This Egg Custard
Well, loves, that’s our treasure—the blueprint for the most comforting, creamy egg custard pie you’ll ever bake. Richard and I felt like we were peeling back the layers of our own memory book today sharing this one with you!
Now that you have the technique down, I truly hope you try this to see how reliable this fail proof baking tips method is. We put years of trial and error into making sure this classic baked custard turns out silky smooth without any drama. If it works for us, revisiting our memories in the kitchen, it will certainly bring comfort to yours!
If you made this pie and adored that simple, old fashioned dessert flavor, please tell us! Leave a rating below—five stars if it brought you the smooth, creamy satisfaction we expect from this recipe. I always read these comments aloud to Richard as we sip our evening tea, and seeing happy results makes our day.
Let us know if you added an extra twist, or if you stuck strictly to the vanilla and nutmeg. Every comment is a new entry in the Delish Diarist journal, and we cherish hearing about your success with our homemade egg custard!
PrintGrandma’s Fail-Proof Old Fashioned Egg Custard Pie

This is the classic, creamy baked egg custard recipe you need for a smooth, comforting dessert. We share the simple steps to make this old fashioned dessert perfectly every time.
- Prep Time: 15 min
- Cook Time: 55 min
- Total Time: 70 min
- Yield: 8 servings
- Category: Dessert
- Method: Baking
- Cuisine: American
- Diet: Vegetarian
Ingredients
- 1 unbaked 9-inch pie crust
- 3 large eggs
- 1/2 cup granulated sugar
- 1/4 teaspoon salt
- 1 teaspoon pure vanilla extract
- 2-2/3 cups whole milk, warmed slightly
- Dash of ground nutmeg for topping
Instructions
- Preheat your oven to 350 degrees F. Place the unbaked pie crust into a 9-inch pie plate. Do not pre-bake the crust.
- In a medium bowl, whisk the 3 large eggs until they are well combined and slightly frothy. This step helps incorporate air for a lighter texture.
- Add the sugar and salt to the eggs. Whisk until the sugar dissolves, about one minute.
- Stir in the vanilla extract.
- Slowly pour the slightly warmed milk into the egg mixture while whisking constantly. Warming the milk slightly helps prevent the eggs from scrambling when mixed.
- Pour the custard filling into the unbaked pie shell.
- Sprinkle a light dash of ground nutmeg over the top of the filling. This is the classic touch.
- Bake the custard for 45 to 55 minutes. To prevent cracking and ensure a smooth custard technique, use a water bath (bain-marie). Place the pie plate inside a larger roasting pan and carefully pour hot water into the roasting pan until it reaches halfway up the sides of the pie plate.
- The custard is done when the edges are set, but the center still has a slight jiggle when gently nudged.
- Carefully remove the pie from the water bath. Let the pie cool completely on a wire rack before chilling it in the refrigerator for at least 4 hours, or until fully set. This chilling time is key for a creamy egg custard filling.
Notes
- For a truly fail-proof result, strain the final liquid filling through a fine-mesh sieve before pouring it into the crust. This removes any bits of chalazae or unmixed egg, guaranteeing a silky smooth custard.
- If you prefer a less jiggly, firmer custard, bake it for an additional 5 to 10 minutes, but watch closely to avoid overbaking, which causes cracks.
- This recipe is a wonderful base for a homemade egg custard; feel free to add 1/4 teaspoon of almond extract with the vanilla for a different flavor profile.
Nutrition
- Serving Size: 1 slice
- Calories: 250
- Sugar: 22
- Sodium: 180
- Fat: 11
- Saturated Fat: 6
- Unsaturated Fat: 5
- Trans Fat: 0
- Carbohydrates: 28
- Fiber: 1
- Protein: 9
- Cholesterol: 110